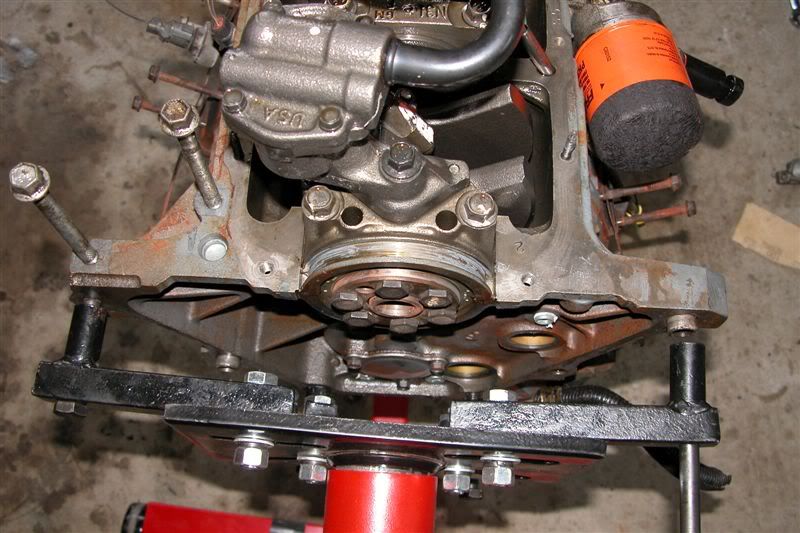
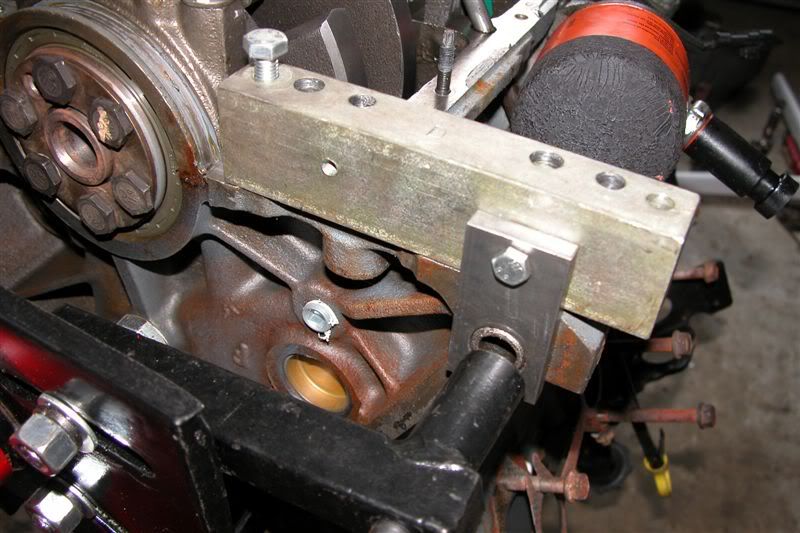
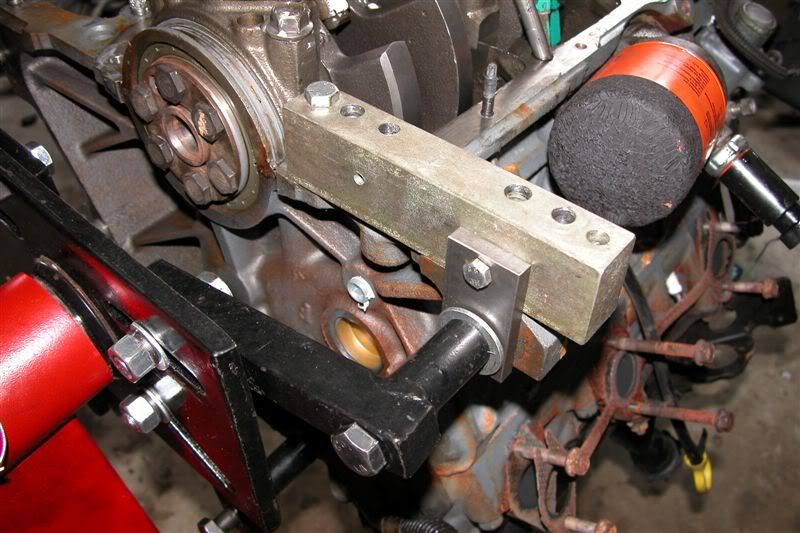
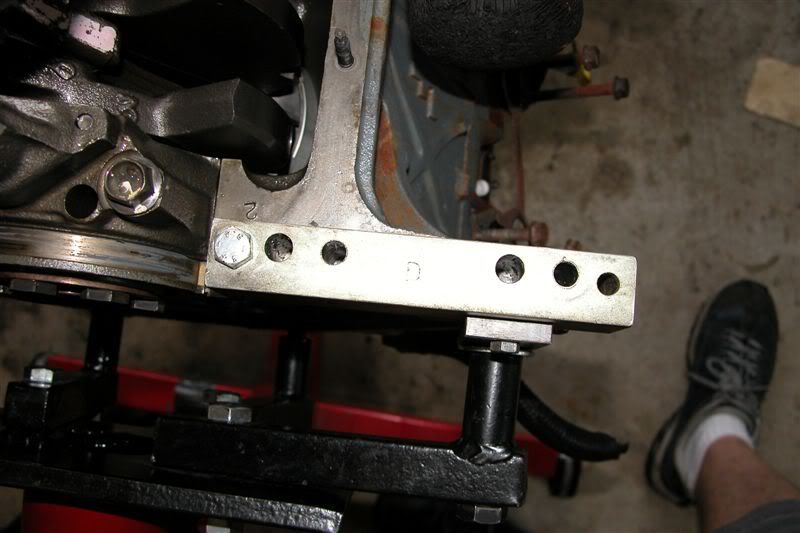
So, as I mentioned - the drilling and tapping was successful. Now I just need to get the starter off the engine that is in my Formula to test the fit. Once I do, I'll show how to adjust the height of the starter so it hits the flywheel/flexplate just right.
Back to the install:
Once the jig is in place, be sure to cover your open engine and tape the cover down to keep all these metal shavings away from the inside of your 3.4. Also, be sure to stuff rags into the exhaust openings since the shavings will fall right on the front opening. No sense in risking shavings getting in that way, either. They go everywhere! (you can see the towel stuffed in the exhaust ports two photos down)
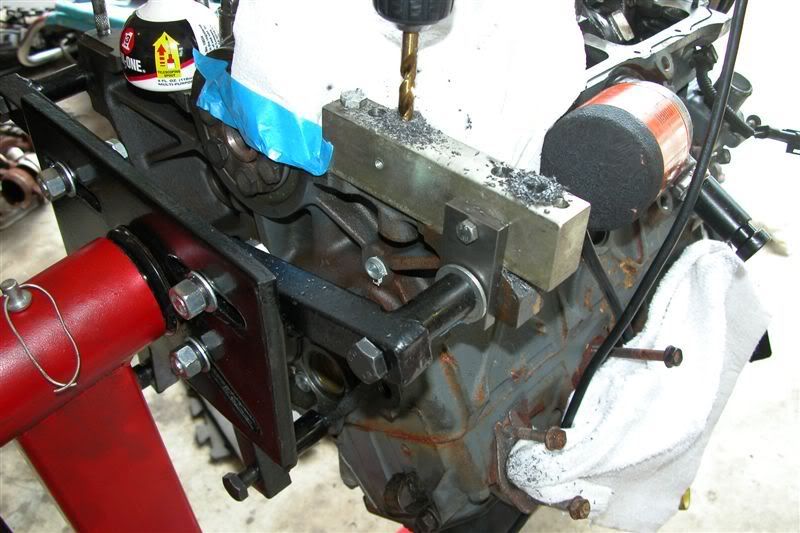
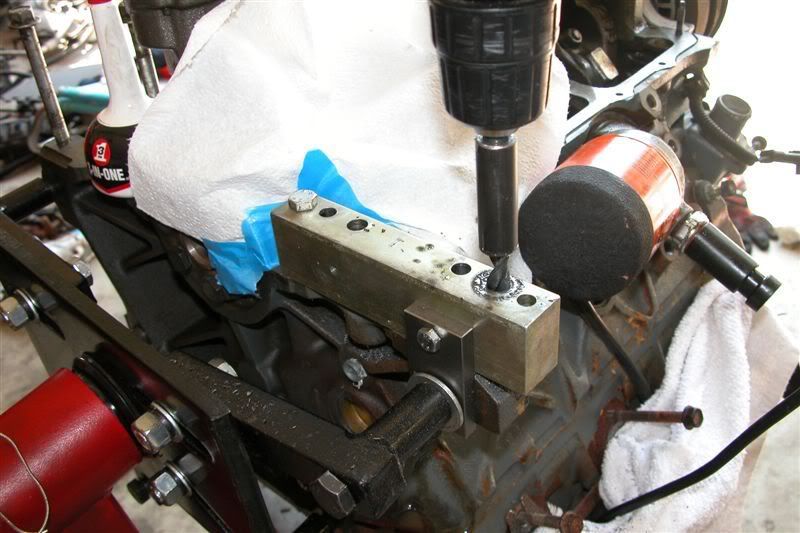
As you can see in the next photo, I have started drilling. The key here is to use the 2nd and 4th open holes from the left - and I used
lots of 3-in-1 oil which lubed the jig and kept the shaving wet so they didn't fly out so far. Again, be sure that the second open hole is above the boss because you will be drilling right through that boss. Rodney suggests using light pressure with high RPM's to best cut into the block - and that worked great for me. So, here is the drill in the 4th open hole
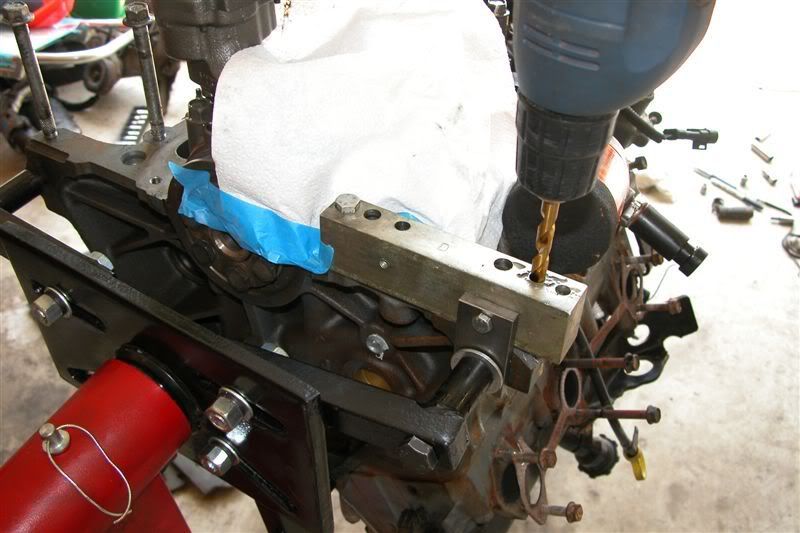
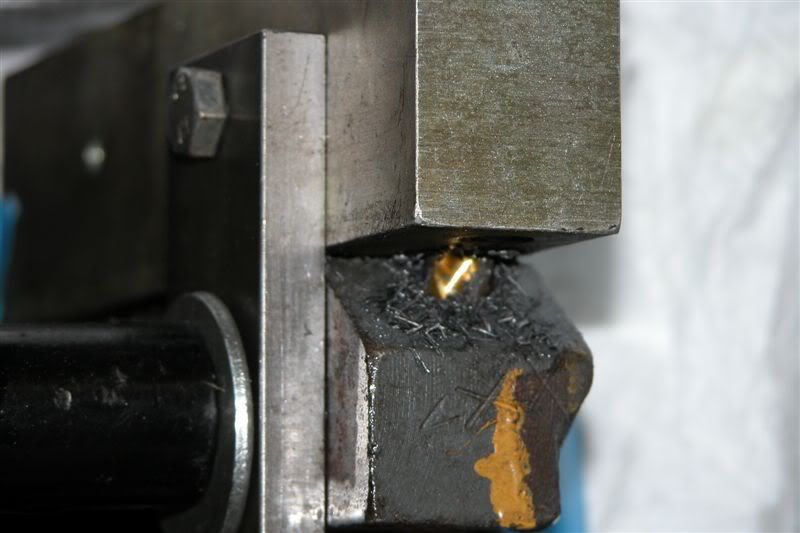
Here it is coming through the bottom of Rodney's jig and into the block. Remember - lots of re-oiling! Because of the angle of the block, light pressure here will save your drill bit!
Here is the 2nd open hole being drilled out. There was less of a mess on this one since the shavings could only come out the top - and the oil kept most of them in place on top of the jig.
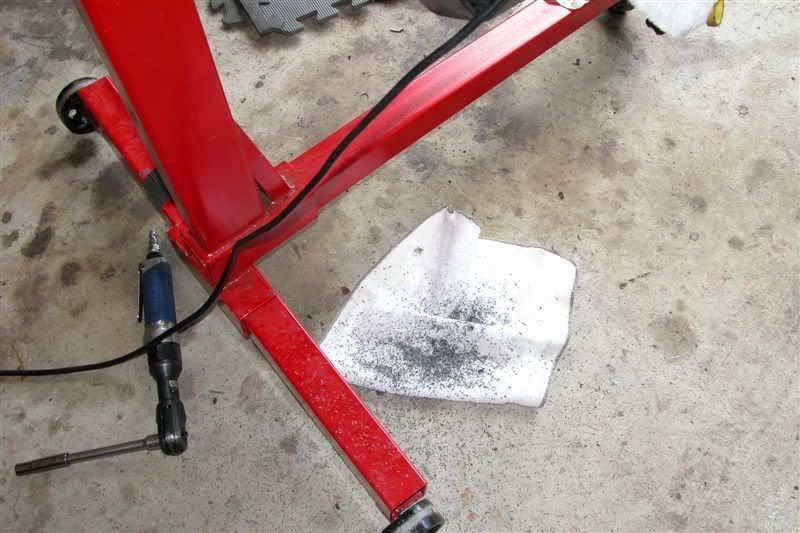
A sample of the shavings after only going halfway through the 4th opening:
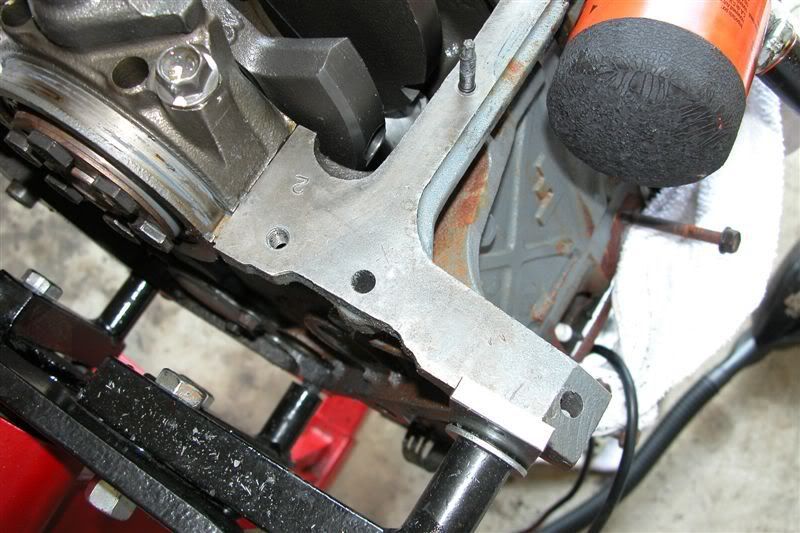
Here, we are left with two new holes. You don't have to, but I removed the taped down cover and cleared the shavings before I flipped the jig over. I put the jig back on, put down another cover and taped it down for drilling - round two. Make sure you cover the open engine area good!
Now, flip the jig over so that the letter "T" is facing you and bolt it down just as you did the first time. You're going to drill the 2nd and 4th open holes again. Before you do, place the larger drill bit in your chuck so that exactly 4" of bit is sticking out. Then, place the provided spacer over the drill bit. This will keep your bit from going too deep into each hole, thus setting the counter-bore holes to the proper depth. The final depth should be between .450" and .500".
Again, be sure to oil it every few seconds of drilling. Remember - light pressure with your highest speed is the best way to go through the block - and YES, you do go all the way through on both holes so the shavings can be removed.
Now, leave the jig in place and get the tap ready. The outer hole tapped out very easy. I went down as far as I could (through the jig) before starting on the inner hole. We'll come back to finish tapping this outer one later.
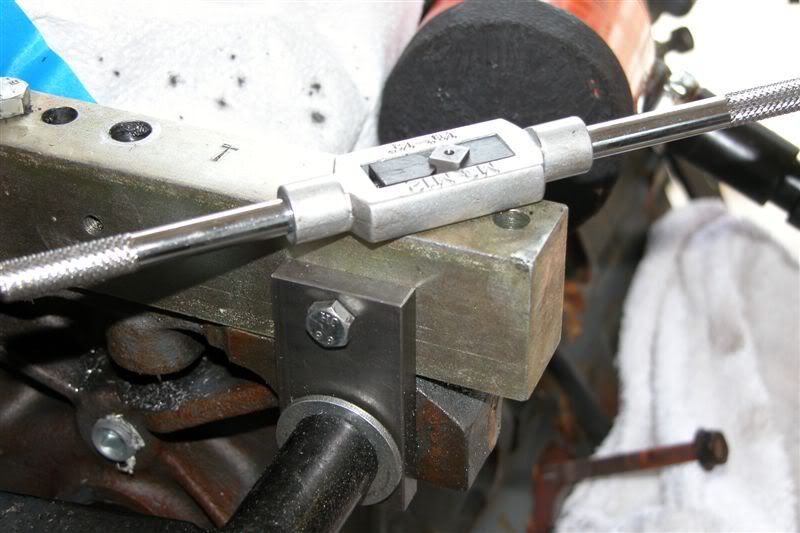
Tapping the inner hole took a bit longer because the handles on my tap hit the oil pickup. I simply gave the tap a quarter-turn, then released the handle to regrip the tap and give it another quarter-turn. When the tap gripper got down to the jig, I used pliers to carefully back it out to remove it.
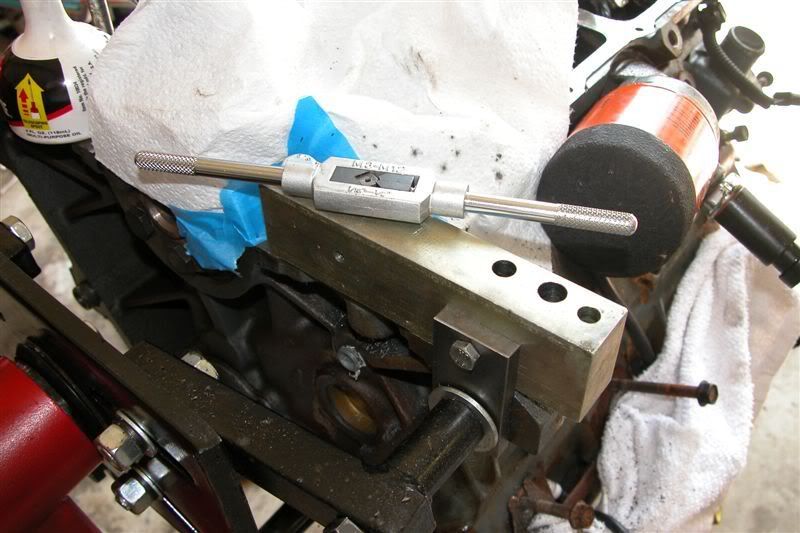
Now it's time for the next step - removing the jig to finish the tap. Clean up as best you can without disturbing the taped down protective cover. It should stay in place until the tapping is done.
Here is the tap in the inner hole - same quarter-turn procedure:
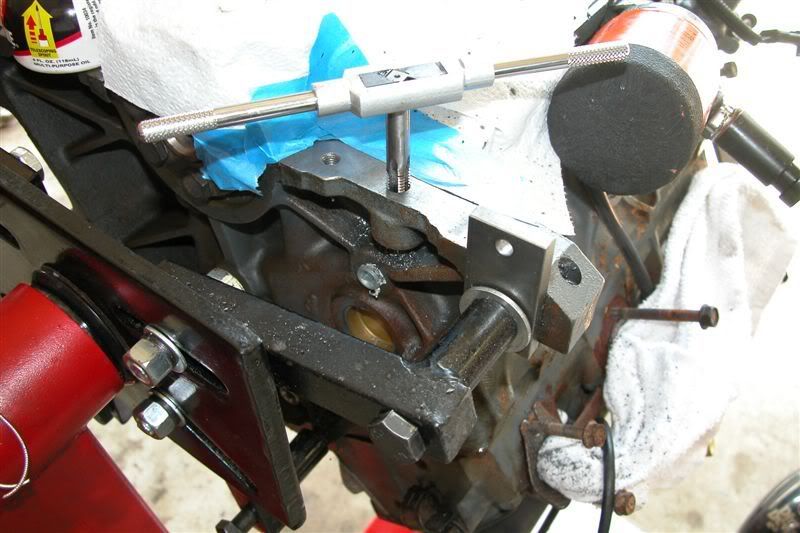
and here it is on the outer - I just went in until the threads on the tap disappeared.
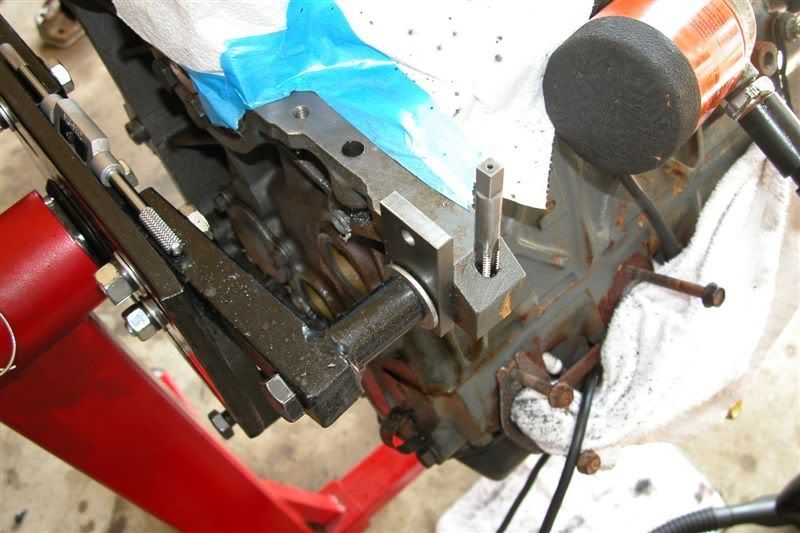
Be sure to clean up as best you can before removing the protective cover. Remove it carefully so that no shavings fall in the engine. Once I wiped everything down, I used a shop vac to clean up the block including the front area around the cam cover. I don't think shavings will hurt anything in this area (since there is no good way to keep them from falling there) but I vacuumed it all out so there was nothing that could find its way into the block.
Here, all is cleaned up and the two tapped holes are ready for some starter bolts.
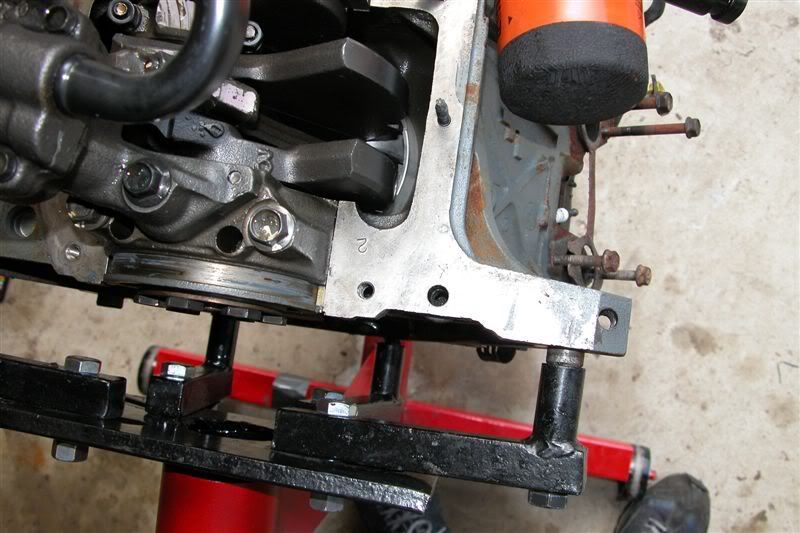
and here they are - side by side instead of staggered like the Camaro starter was
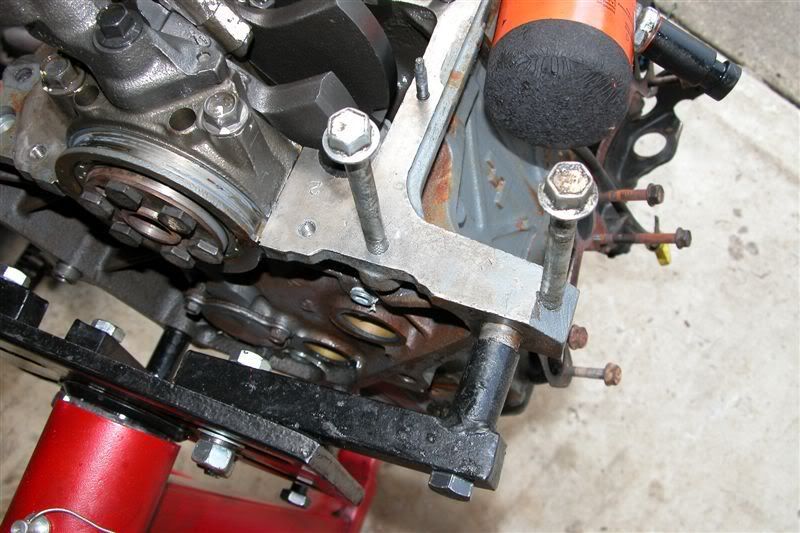
I'll show how to mount and check the starter position as soon as I get to it. More to come!


