Going to try to chronicle some of Jeff's ramen-noodle ghettoblaster budget build, for the benefit of people who ask what it takes to convert an auto to a manual.
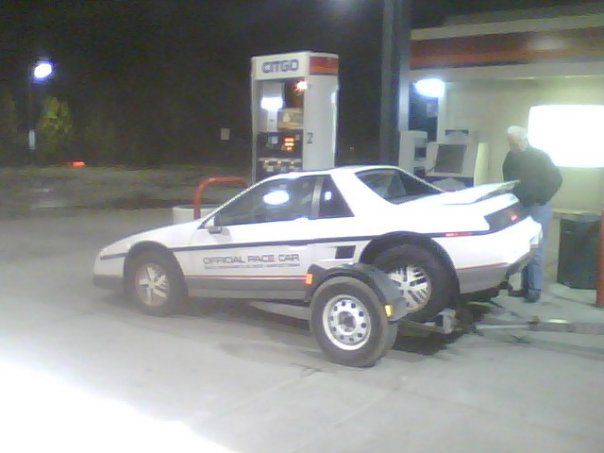
Subject: Background: I got this rough Indy, (#90 for Indy purists), about 5 years ago; bought it out of an apartment parking lot with a bad miss in the engine, and without having driven it first. Got the miss in the engine fixed only to discover the transmission fully lacked second gear. Rather than fixing it, I prioritized school and mothballed it. Dragged it with me when I moved to Detroit (where it was subsequently hit by a geriatric), then layoffs and moving and getting married and buying a house and getting a job in another state and getting divorced left it sitting longer.
I came across a forum member in Illinois looking to get a downsized commuter rig to save money on a 50 mile commute, and save the transmission issue, this car could do the job. He agreed to take ownership and has set out to convert this neglected old car into a reliable daily commuter that obtains twice the mileage of his rapidly-depreciating GM full-size SUV. His wife, understandably, sees this attempt as inherently foolish, hence my dubbing of the project "Suko's Folly" This mistake-in-progress is currently occupying about 40% of my garage space.
124k on the clock, actually not that super-rusty for a Michigan car, but loaded with "foibles" like the cradle nuts spinning in the frame. (hey, at least it has new brakes and rear struts)
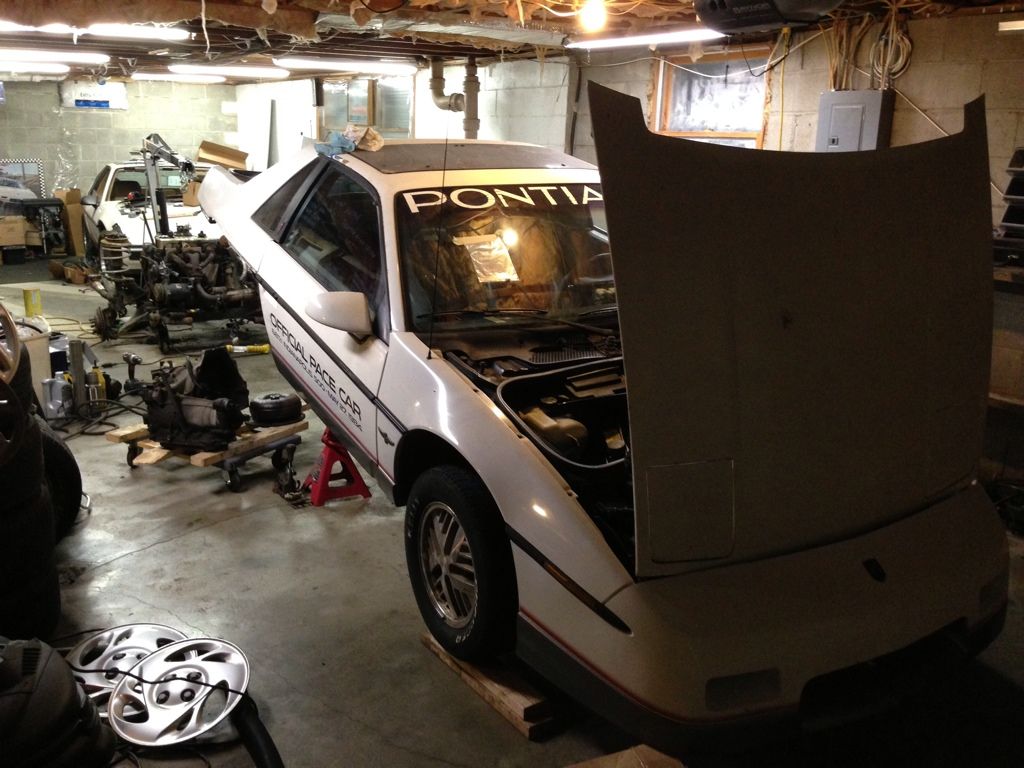
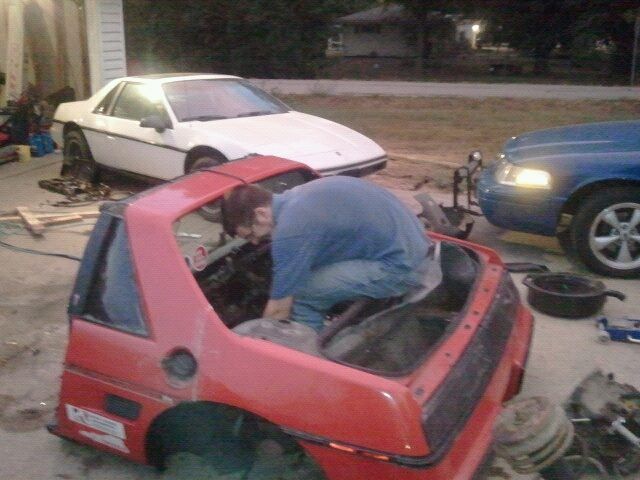
First, pull motor.
Then, scatter parts all over to appreciate just how much space a Fiero can take up when disassembled.
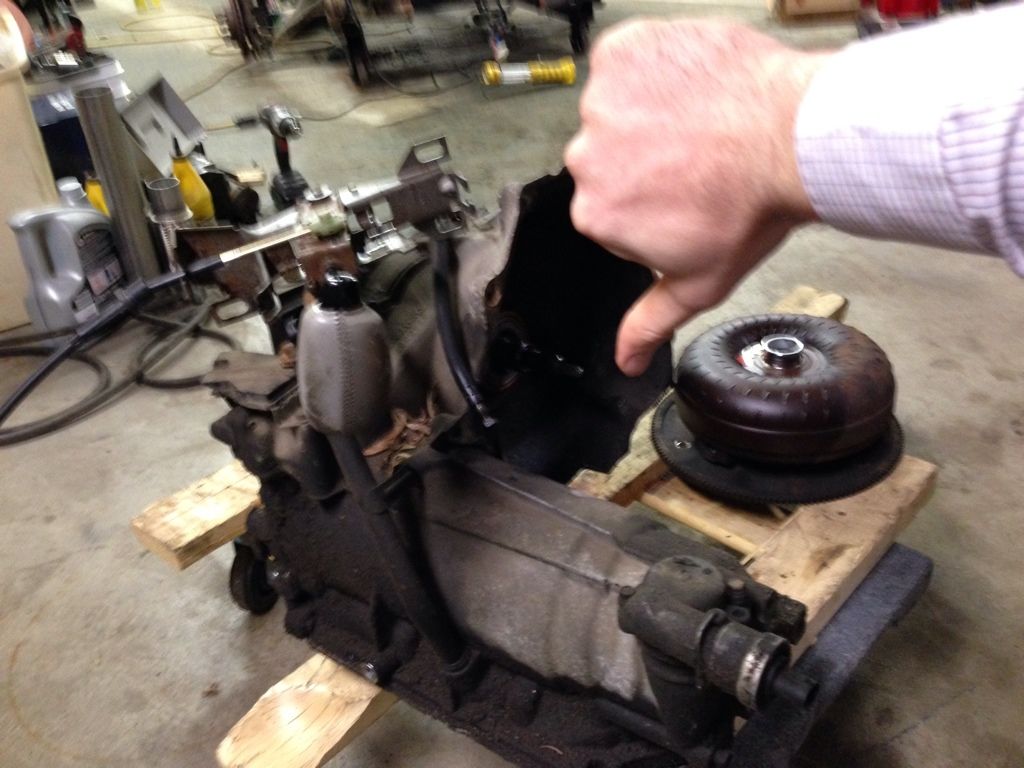
Then vent about your true feelings on automatic transmissions
Then put a proper transmission in place on the cradle, and convert the backup wiring to the transmission (Isuzu), and eliminate the trans mounted neutral safety wiring.
Proper transmissions have 5 forward gears, and can be found in my storage unit for the princely sum of zero dollars, because of this day, when Jeff and I decided that the Fiero I used for ice racing in Michigan had gotten too rusty
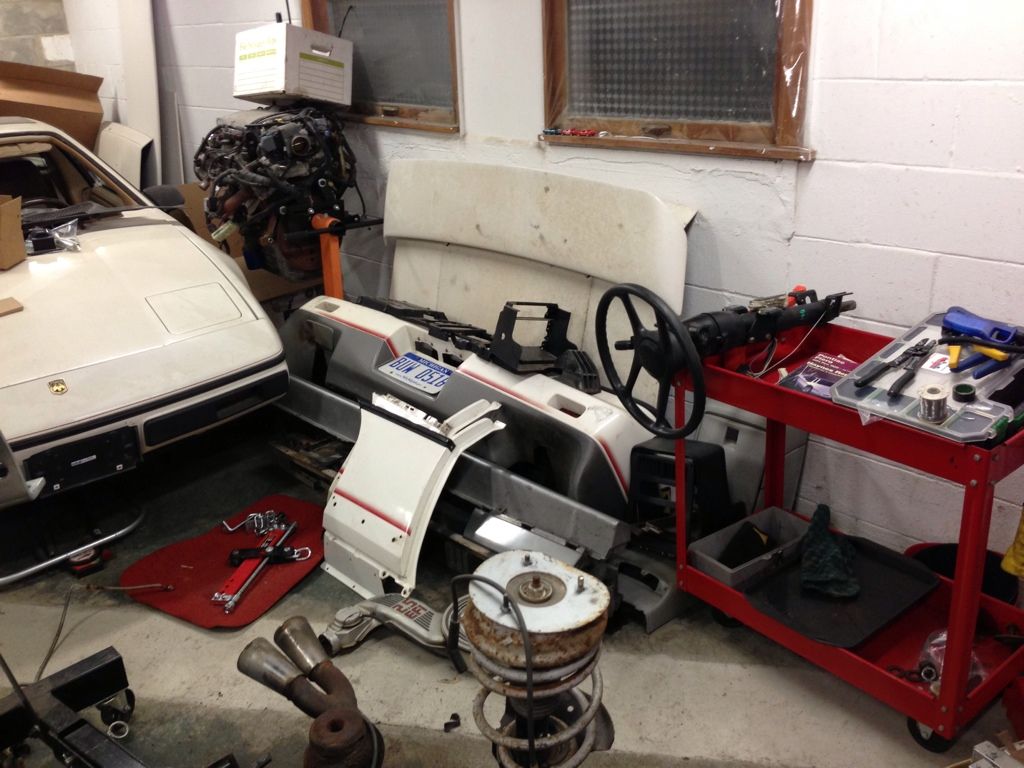
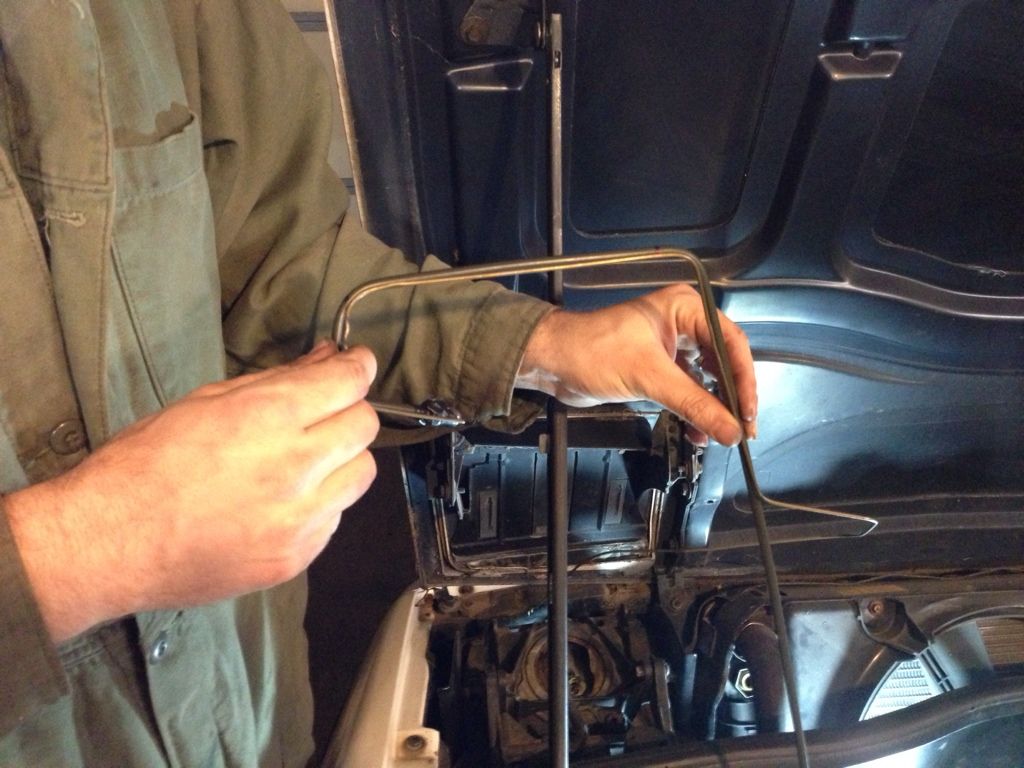
With powertrain work well underway, you can start ripping the interior apart and swapping in shift and select cables, and a correct steering column, with the key release.
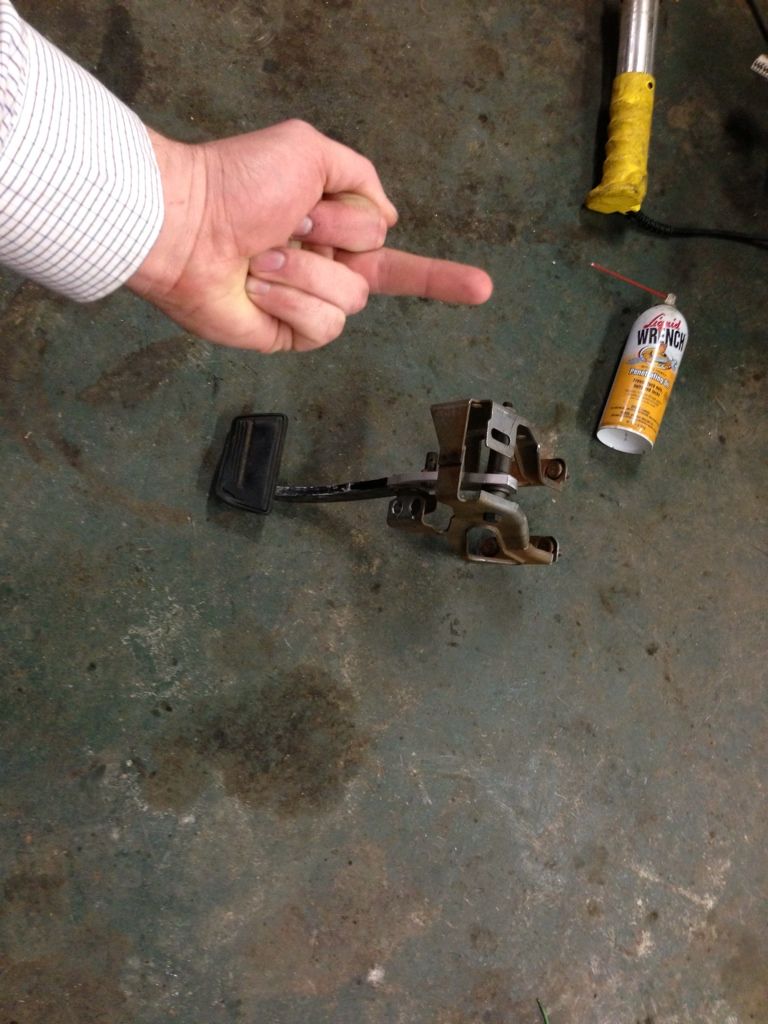
You can also install the clutch-brake pedal assembly from the donor, and discard the auto parts. Again, after wrestling with the parts, a sensitive, modern man gets in touch with, and shares his feelings on this part of the labor.
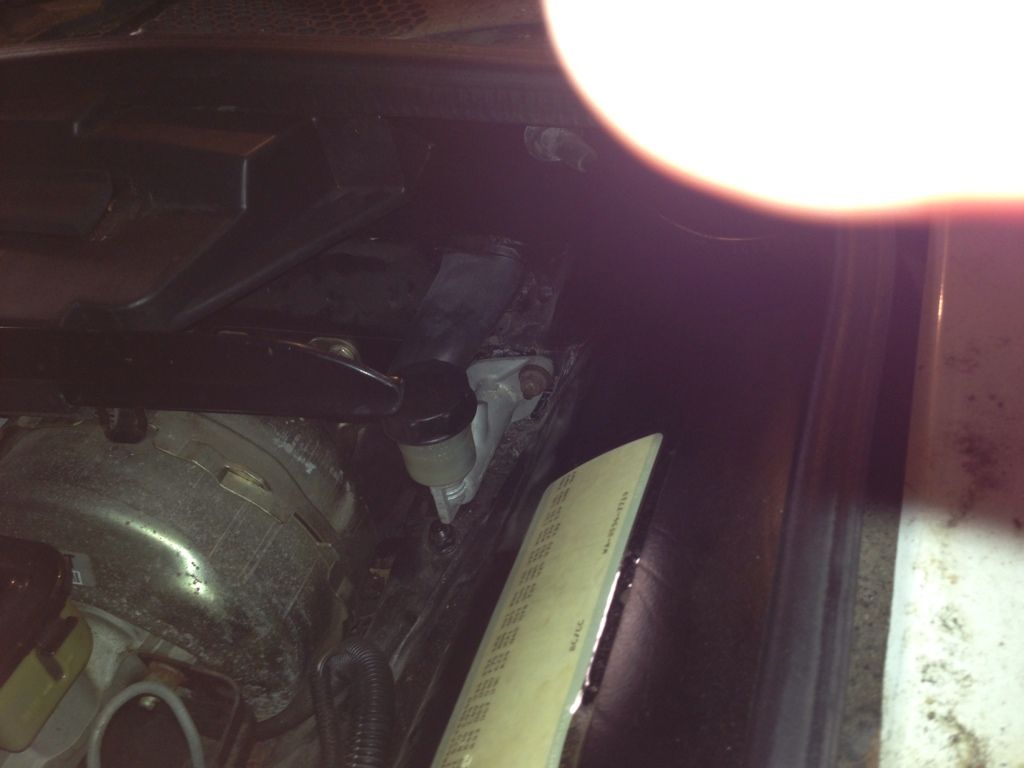
All this laying on your back, writhing in pain, inventing new vocabulary words enables you to perform the next step, installation of a clutch master cylinder.
At this point, I'd like to take a break and beg for things which are desperately needed: First, the halves of this bracket for an Isuzu: Second, a throttle return spring at the throttle body for a 1984 Fiero- 1985,1986 springs are different and don't work so well.
[This message has been edited by KurtAKX (edited 11-19-2012).]
IP: Logged
11:50 PM
PFF
System Bot
Nov 20th, 2012
ericjon262 Member
Posts: 3130 From: everywhere. Registered: Jan 2010
His wife, understandably, sees this attempt as inherently foolish, hence my dubbing of the project "Suko's Folly"
Thanks Kurt! I still want to know how I'm going to work that onto my license plate...
I suppose here is where I say that I'm going to keep track of my mileage and how much of a savings that is going to be compared to the vehicle I was driving. Like Kurt said I drive 50 miles/day which added up fairly quickly. I do have an 88 Formula that I was putting a 3800SC into that was supposed to get the majority of that mileage but that build stalled out for now and thus I found myself looking for something else to take that burden.
So I had been talking to my wife about getting another car (not necessarily a Fiero) for about a month then last week Kurt indicated that he would like to get rid of his Indy. We went to look at it Friday night and I decided to go for it. We had to clean out his garage (mine is filled with various sediment layers of projects both house and Fiero) by the time we got the garage cleaned out and got the Indy back to his house it was 1AM. We worked on it that night still, Saturday most of the day and then all of Sunday evening until 1AM again. I was hoping to get it back on the ground and out of Kurt's way but didn't quite make it. Now we both have to wait till after Thanksgiving and a little bit of traveling for work. There are a couple parts needed yet as Kurt mentioned above but hopefully it will be on the road sometime in December.
I'm looking forward to putting miles on a Fiero again and hope to possibly have it at the 30th Anniversary event. At this point the project only involves getting it on the road and reliable. Beyond that I see myself wanting to get the A/C working again (it's missing the A/C hoses going to the compressor) and fixing a leak in the sunroof but those will have to wait for now.
Kurt didn't show the parts list documented on the passenger window...
Items I need from my stash plastic rivets shifter arm heat tape passenger axle rear fascia heat shield right side Items I need to get from parts store exhaust pipe valve cover gasket 50179 R clutch line and nuts 1/4" molding clips Throttle body to air cleaner gasket 60535 air filter Things I need to beg for on PFF Isuzu shifter cable bracket throttle body return spring fuel filter bracket
Pulling the pedal assy is a major pain... If/When I do mine, I am planning to trim down the threads on the 4 studs in an attempt to remove it with less headache.
I have an 88 2.5/Auto I would love to put a manual transmission in, but it just hasn't come to the top of the list yet as I can only fit one car in the garage and it currently has a resident.
[This message has been edited by fieroguru (edited 11-20-2012).]
Pulling the pedal assy is a major pain... If/When I do mine, I am planning to trim down the threads on the 4 studs in an attempt to remove it with less headache.
Good luck, my shoulder still hurts!
IP: Logged
09:15 AM
KurtAKX Member
Posts: 4008 From: West Bloomfield, MI Registered: Feb 2002
The clutch line is actually 6mm, the fittings are bubble flare, thread on them is M12 x 1.0, measurements for the actual line are
Master Cylinder 26" hard line 6" flex line 99" hard line 9.5" flex line 1.5" hard line Slave Cylinder
Also, the Felpro VS50179T is the only valve cover gasket worth using.
It may be true that the factory line was 6mm- I measured a Fierostore stainless clutch line from another one of my cars, and found that it measured .249" (1/4" tube)- so we're going to try and make that work.
I have had good luck with making the VS50179R work, when assembled with care- in fact, on my 2.5 I have two of them stacked to create the necessary clearance for my valvetrain mods.
The clutch line is actually 6mm, the fittings are bubble flare, thread on them is M12 x 1.0, measurements for the actual line are
Master Cylinder 26" hard line 6" flex line 99" hard line 9.5" flex line 1.5" hard line Slave Cylinder
Cool, thanks for the info. Have you ever successfully put this combination together on your own? Specifically the flex lines? I'm not excited to spend $160 with the Fiero Store for their version.
IP: Logged
11:26 AM
darkhorizon Member
Posts: 12279 From: Flint Michigan Registered: Jan 2006
Cool, thanks for the info. Have you ever successfully put this combination together on your own? Specifically the flex lines? I'm not excited to spend $160 with the Fiero Store for their version.
No, while I was doing the research, I got ahold of a pretty good condition clutch line, which is what I took the measurements from, so I've been saving that. I actually contacted a representative from AGS, who make hard lines and rubber flex lines, to try and find a flex line with the M12 x 1.0 threads, and at the time, they didn't make one yet, BUT he sent me a prototype, so I believe they are close to production, if they aren't already out by now.
Cool project. I too have an Indy I'm fixing up to use as a daily driver in the summer. Mine's an auto and it works just fine so I'm sticking with it. The car should get better mileage than my Colorado I hope.
All this laying on your back, writhing in pain, inventing new vocabulary words enables you to perform the next step, installation of a clutch master cylinder.
Did you not take out the driver's seat? Makes things easier. Much more fun when it's done - no?
Did you not take out the driver's seat? Makes things easier. Much more fun when it's done - no?
Swapped a Getrag 5-speed into my Indy as well.
I did not take the seat out. This car has a sunroof that has been leaking for quite some time and I'm afraid of what I will find. The current plan is to glue the sunroof shut again (it was previously) and wait till next summer to take out the carpets, clean them and assess the rest of the situation.
I'm still going to be stuck with the stock duke so I won't be able to have as much fun as you.
[This message has been edited by Jefrysuko (edited 11-21-2012).]
IP: Logged
11:44 AM
Nov 27th, 2012
KurtAKX Member
Posts: 4008 From: West Bloomfield, MI Registered: Feb 2002
I have something funny to tell you about the high idling ecm, which also might qualify as 'bad news'... suffice it to say that code 51 was pretty accurate.
[This message has been edited by KurtAKX (edited 12-04-2012).]
The CAT on this car was rotten and rattling thus it needed replaced. I went to a local exhaust shop and got a 2" dia piece of pipe 22" long expanded on one end for $5 that is 3x thicker than what can be normally found in the local parts stores.
Here's a video of Kurt welding it. Does that mean he gets all the credit? I should have gotten a picture of his pressure test rig or the smoke coming out the open EGR port while we were welding. We won't talk about how we had to spread the exhaust back out with a floor jack to keep it from hitting the cradle because we forgot to check that clearance before fully welding.
The original coil had seen better days as it's connector way deteriorated such that it could no longer retain the coil wire. I was happy to replace the discontinued 84 coil for this newer one off a 92 GMC truck with a 4.3
Had to weld a nut on the exhaust manifold as the threads were non existent. This was after a parts store run for new bolts and finding only the studs in the picture.
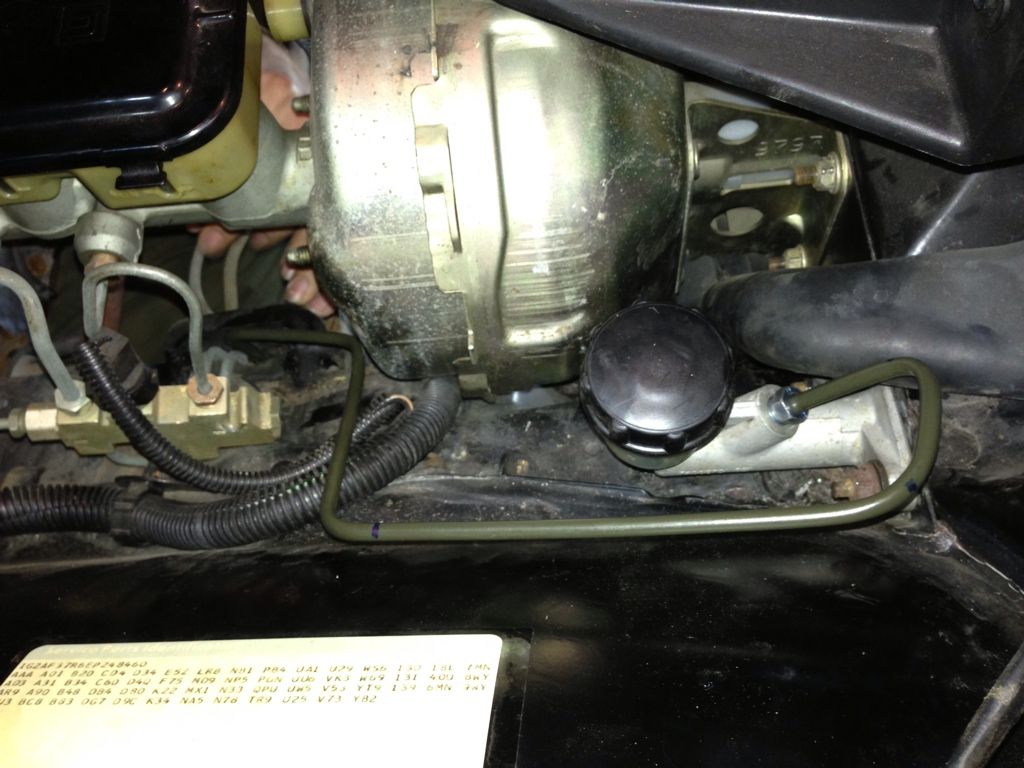
This shows some of the wiring changes for the Auto->Manual swap and the new plug wires and the missing isuzu bracket (got one from 86toy now - Thanks BTW) and i'm sure some other things I can't think of right now.
You know those pesky cradle nuts that everyone has problems with spinning in the frame? Well this is my solution. We took off the rear bumper to gain access to them and welded a piece of scrap to them in order to keep them from spinning. We then cleaned them up a little bit as re welded them as shown below for reassembly.
IP: Logged
01:52 AM
KurtAKX Member
Posts: 4008 From: West Bloomfield, MI Registered: Feb 2002
Originally posted by Jefrysuko: Had to weld a nut on the exhaust manifold as the threads were non existent. This was after a parts store run for new bolts and finding only the studs in the picture.
You didn't mention how you made me re-weld the tab to the bottom of the heat shield after "someone" cut it off!
IP: Logged
10:21 AM
KurtAKX Member
Posts: 4008 From: West Bloomfield, MI Registered: Feb 2002
Took it on it's maiden voyage last night! I don't have any pictures because it was late and I've been concentrating on getting it on the road with the little bit of time I've had to work on it.
Here's what I have left to do...
Tires (Currently has a mismatched set)
ECM (Still running the one with the Auto prom. We thought one of us had a manual one lying around)
Trim (Have a couple pieces of trim that I need clips for)
Alignment (Don't want to spend the money but probably should)
Gage illumination (Got a bulb out and the climate control isn't lighting up at all. I think Kurt didn't plug it in!)
Well, I got most of the items knocked off the list and probably put about 10 miles on the car getting it sorted out.
I say "most of the items" because I still need Tires, alignment, 1 piece of trim attached and figure out why the climate control doesn't light up. I also wanted to change out the temp switch for the fan last night and had brought a switch and a piece of wiring pigtail in order to do so. The original 84 2 speed fan switch was not working and I also wanted to change over to the newer single speed switch as the fan has already been converted to single speed. I didn't however know what temp setting was for the switch I had found in my tool box and Kurt decided to try and figure it out for me with a torch and a infrared thermometer. I heard the roar of the torch for a short while and then a thud and an Uhh Ohh.
Needless to say I didn't get the new fan switch installed yesterday...
I'll post a video of it moving under it's own power a little later today...
Here's a couple pics of the home-made clutch line:
Not pictured here is the flaring (ISO "bubble" flare, similar to the first step in a "double" flare) Also not pictures is reaming out the M12x1 nuts from 6mm to 1/4" to clear the cheap, common roll of poly-coated steel brake tube we bought. (we bought a 5 pack of the nuts from Autozone, because it was cheaper than buying 2)
Oh yeah, and if you look at the pictures, you'll see that after flaring the first end, I taped the nut in place at the end of the tube. One time I carefully bent a complex section of brake tube, and realized after the fact that the nut had slid down to the other end of the tube, and due to the bend radii I couldn't get it back where it belonged.
[This message has been edited by KurtAKX (edited 12-21-2012).]
Just a set of standard 15" lace wheels. I struggled with what tires to buy for quite a few days and that's what I finally decided. The main struggle was that I want to keep the costs down such that I can start making a return from driving it vs. my truck yet I want it to be safe and reliable.
I looked on Craigslist, E-bay, PFF and a local forum for some decent used tires for either 14", 15" or 16" wheels as we have wheels in all three sizes lying around. After several days of frustration I decided to buy the cheapest set of tires I could find at Walmart. Luckily Kurt talked me out of that and I ended up with the Falkens for hopefully the same price if I don't get gouged for mounting and balancing.
I would have rather run the 16" Celica GTS wheels I have but just couldn't justify the extra expense. I also despise the feeling of driving on 14" wheels with Fiero size tires and there really is no 14" tire options anymore thus 15" won out.
Found a couple other pictures of the last couple items being done to the car...
Got another fan switch and put that in. It's from a turbo Grand National and should operate at 204/220. Also had noticed some frayed wires on the ECM temp sender so swapped that out for one of the later styles as well.
This has been my helper through quite a bit of the process
And here's Kurt having fun but failing at doing a donut in his driveway
IP: Logged
02:09 AM
darkhorizon Member
Posts: 12279 From: Flint Michigan Registered: Jan 2006