Jay,
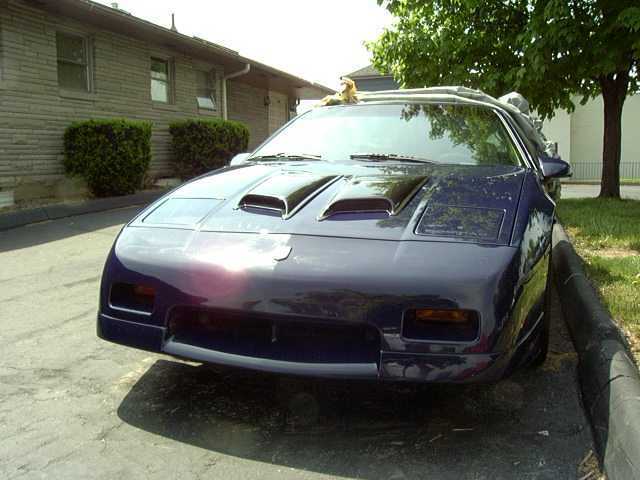
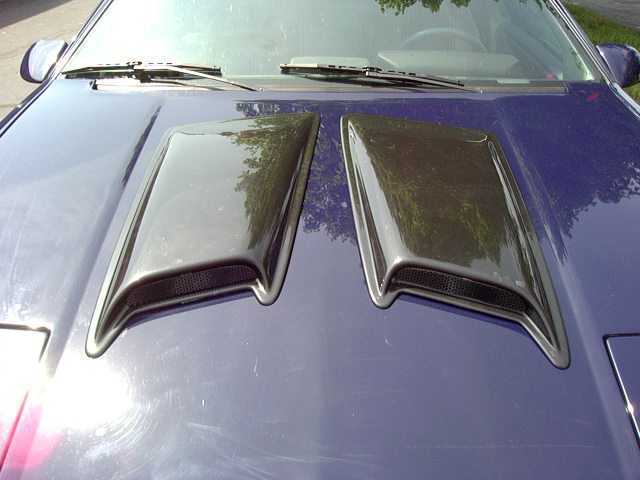
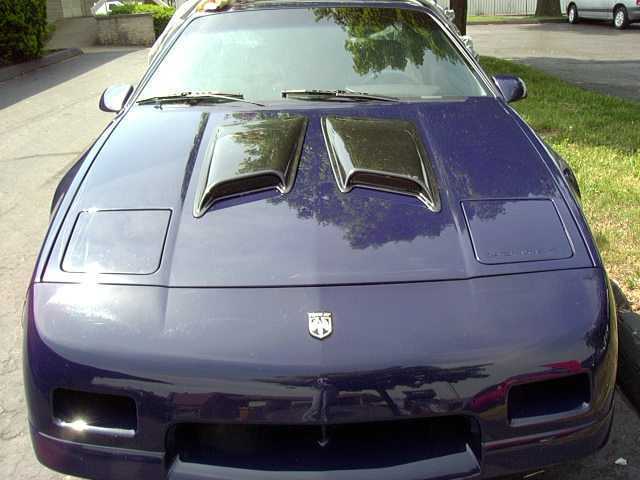
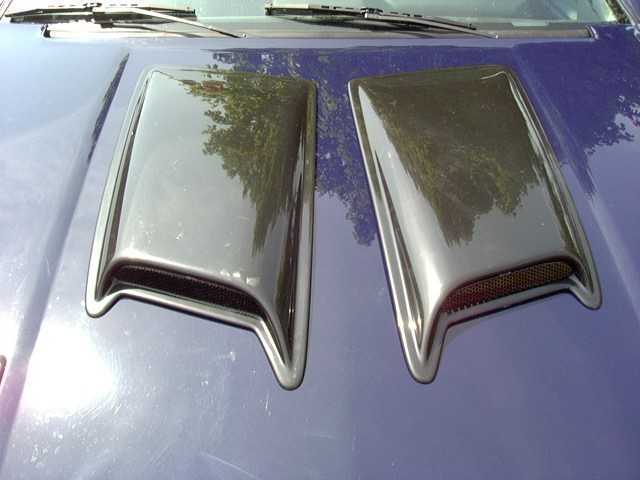
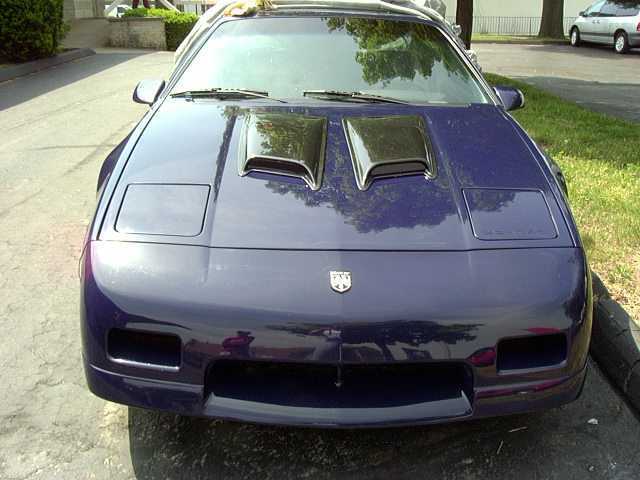
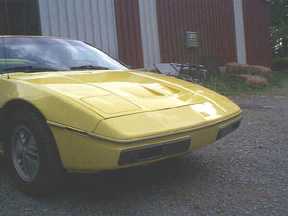
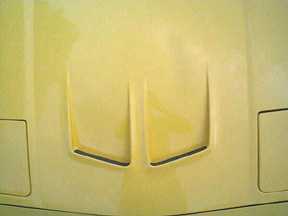
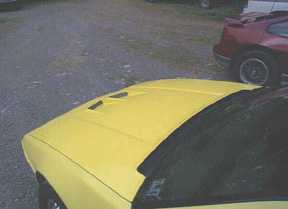
I did a search to see if anyone has been talking about my vents while I have been working on otherp rojects. I got my first set of vents installed today on my fiero, they look awesome. Ill get some pics posted asap.
Heres how the install goes, Ill send you the raw fiberglass vents, in white gelcoat. You sand down the edges to your liking. then take a tape measure and find the exact center of the front and back of your hood. Take some 1/8 fineline tape and make a perfect line down the center of your hood. Then measure up that line 11 inches and 13 inches, this aproximately where you need to cut the holes, but off to the sides of the tape. place the vents wherever you like, within these dimensions, I put mine each 3/4 of an inch from the line. take a pencil and draw on the inside of the vent onto the hood. this will be the hole you need to cut in the hood. The hole will actually be a little larger than the hole in the vent, because the rear of the hole tapers into the back of the vent, and some clearance will have to be made. So cut the hole to fit the vent. Then do the same for the other side, keeping in mind you want both of them to be in the same dimension from the center line. Its best to eyeball it. Once you get both vents test fitted and you like the fit, take the pencil and draw around the vent. take some 220 grit sandpaper and scuff the inside of that area, and about 1 inch past the line. Get a tube of liquid nails heavy duty adhesive. (the kind you use in the chaulking gun). put a half inch bead around the outside under edge of the vent, and around the hole. Lay the vent into position, and lay a few heavy objects on it to set it into place. I used two phone books, with an old car battery on top of them. Allow the adhesive to set up for about 2 hours, and take the stuff off the vent. take a razor blade and cut any adhesive that may of oozed out, off. then take some more 220 sandpaper and sand any adhesive that may be on the surface, and sand the outer edge about an inch back of the vent itself. Allow the adhesive to dry for a day.
Next get some short strand fiberglass filler and mix up a small amount. take the filler spreader and spread a small bead around the edge of the vent. This is to smooth it into the hood. Allow it to dry and sand smooth with 80 grit paper. Once you are satisified with the appearance, scuff the entire vent with 220 grit paper, and proceed to do whatever method of paint prep you feel as necessary.
I did this today on my first set. The whole procedure took about 5 1/2 hours, minus the paint work. that will all be done again when I get my stage 2 body kit installed. Ill get the pics posted as soon as I can.


