This project has been in the making for over a year...
After my recent move to Alberta and passing the local registration safety inspection (with this mod), I guess it's time to reveal my latest project and create another work log with tons of pictures... just the way I like it

 So here it is...
 An idea leads to another...
~~ ALL RED TAIL LIGHTS ~~We start with a known mod that has been done by a few others but with my own little twist.
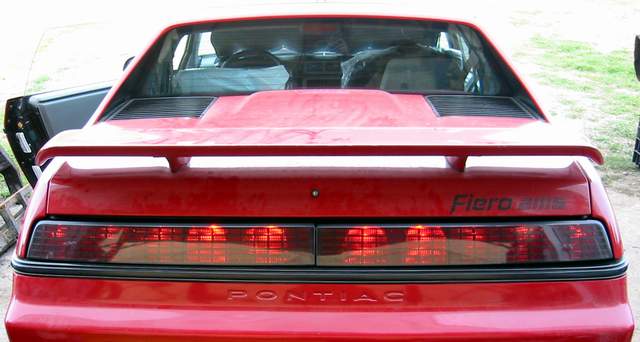
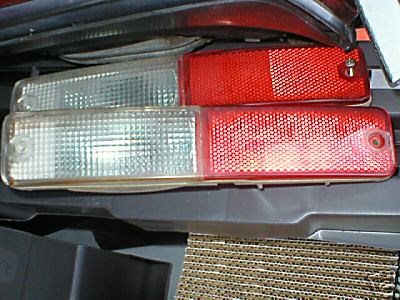
In order to create a "cleaner" look to the Notchback tail lights, I've switched the stock white (clear) lenses with the red ones.
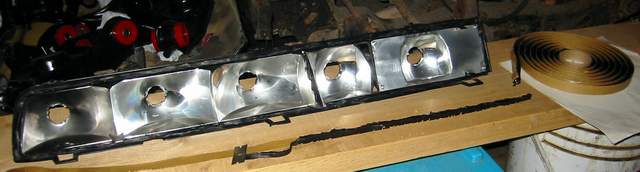
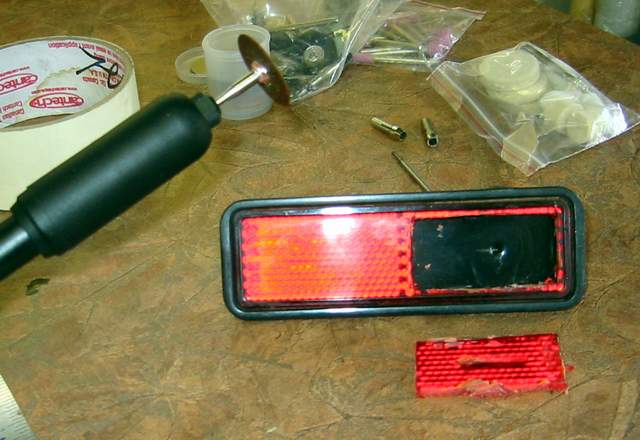
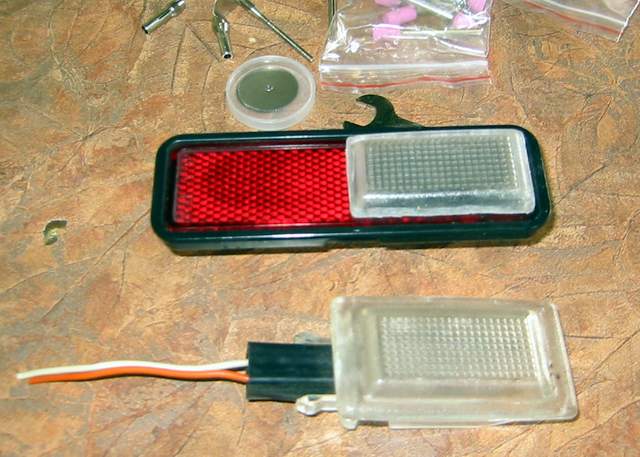
Notchback tail lights in stock configuration after disassembly
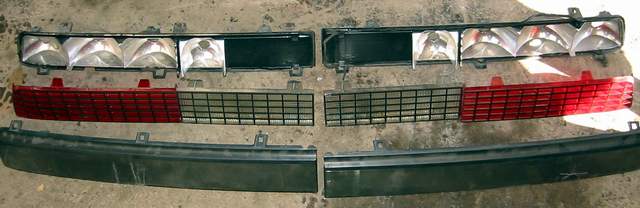
A spare red lens cut to fit and replace the clear lens

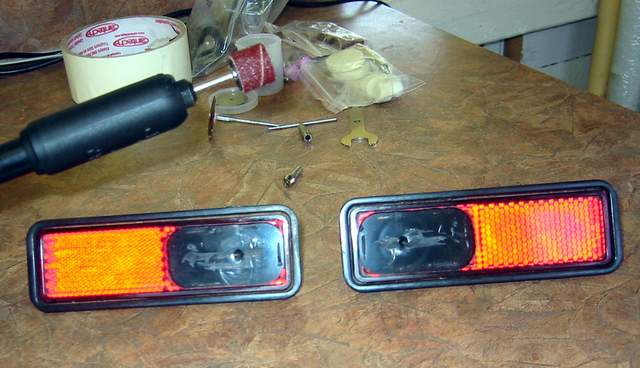
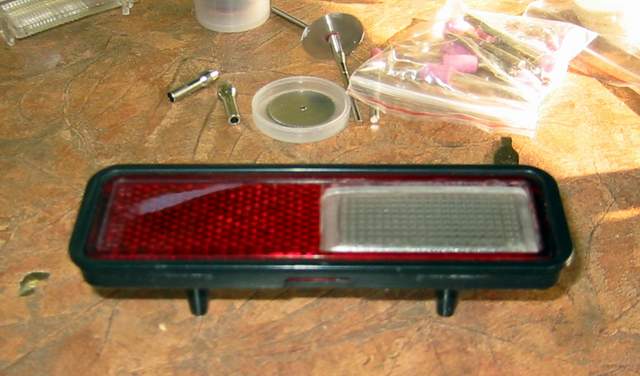
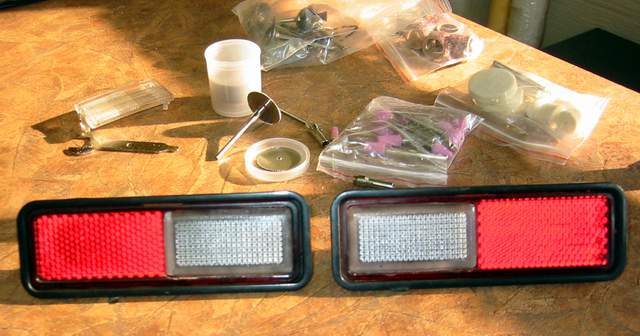
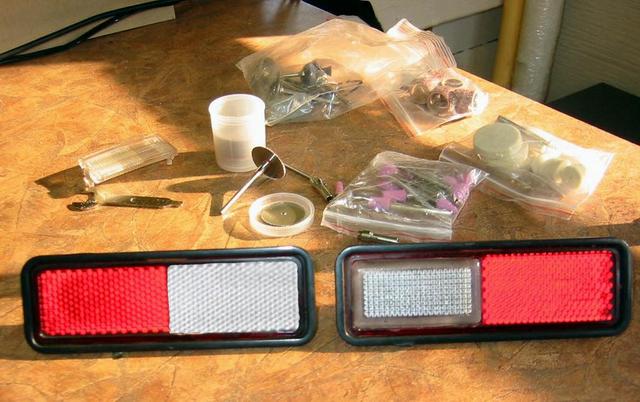
The "new" pieces to complete the red setup
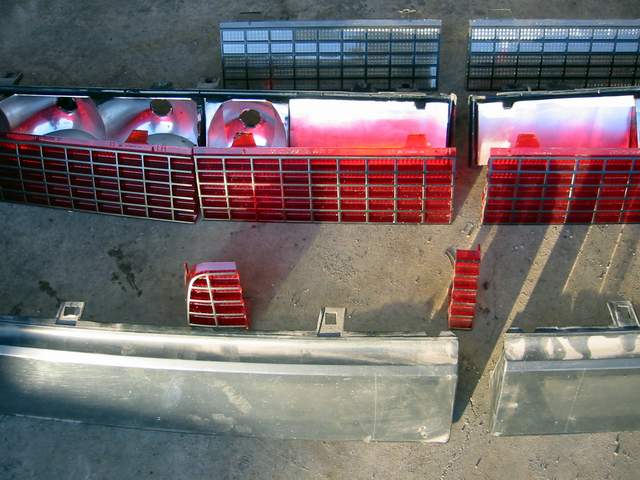
In order to improve this full red lens idea I've chose to add a 5th light reflector into the empty location at the center of the tail light.
started with a flat aluminum piece.

Chopped a reverse light reflector from the spare tail light and created an opening for it

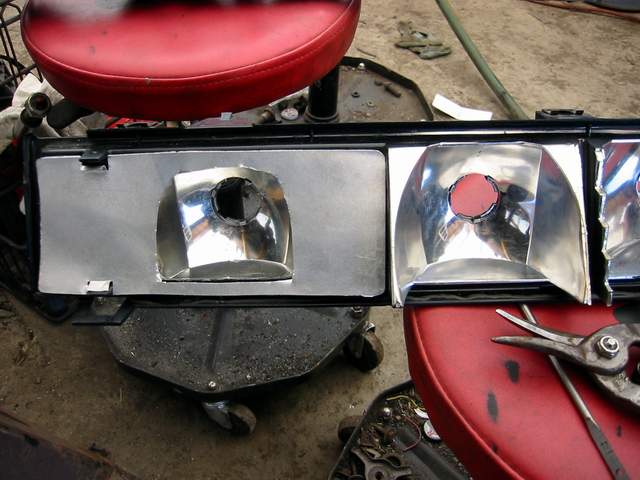
Cut, bend, screw and epoxy into place

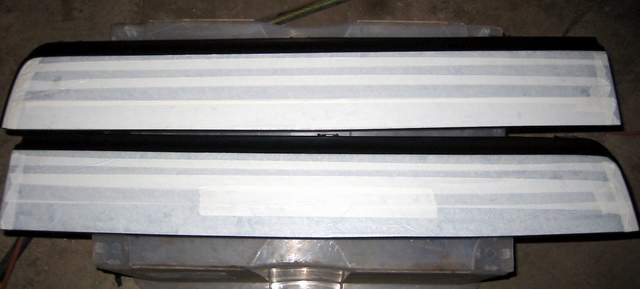
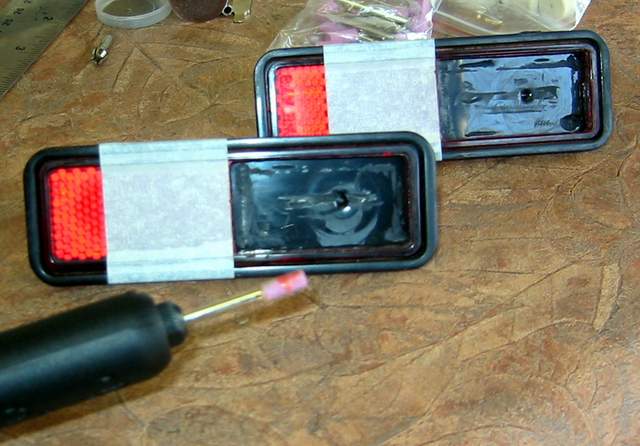
"Butel" sealant strip to reassemble the tail light
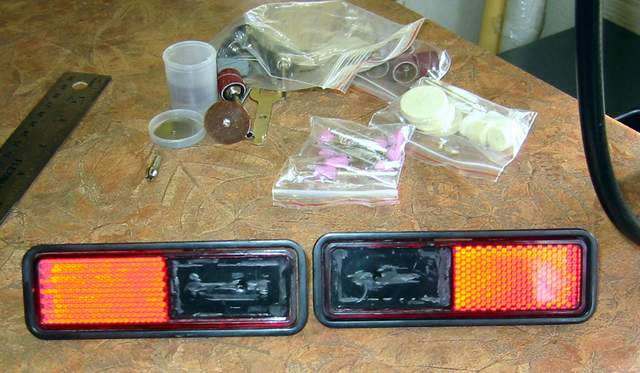
Fresh layer of black paint on the tail light surround
Rewired a 5th light socket
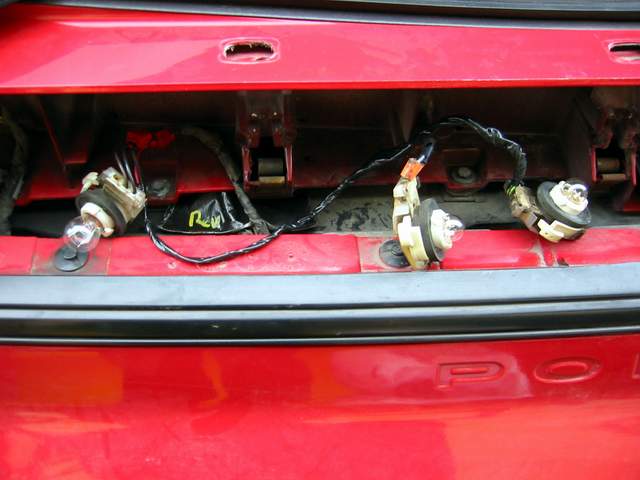
My own tail light Christmas tree
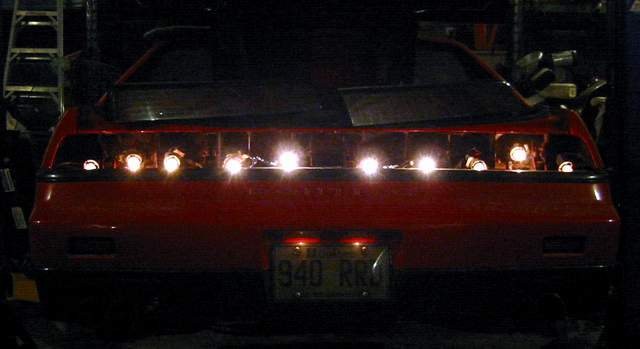
Installed and RED!!!
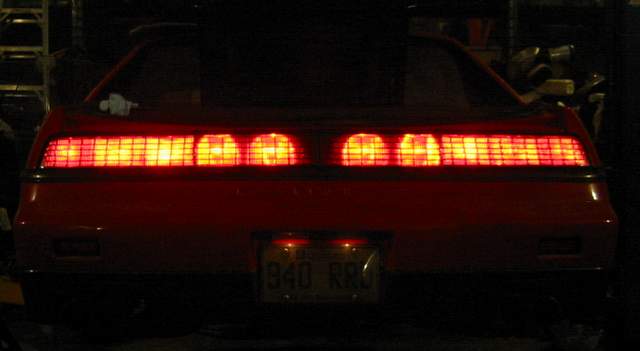
As you can see the center 2 lights are different in shape (it's the original reverse light housing size)
I'm not happy with this shape, but it would do for now.
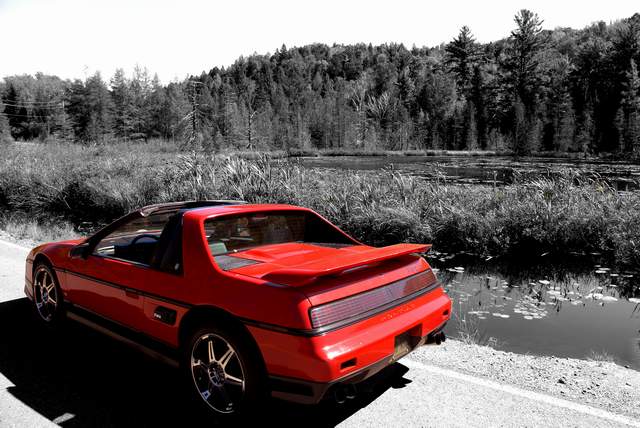
the "Clean" Red look @ Carlisle 07.
 Note: I would like to refer to Fieromaniac's Notchback Taillight custom LED-setup as one of the most impressive tail light projects, however this is a more simple Stockish look for the Notchback.~~ REVERSE LIGHTS ~~
As I've mentioned
an idea leads to another... and at this point I've started looking into
reverse light options.To summarize that thread:
Option 1: Reverse light mod done by Fieroking from a Pontiac Sunfire
Option 2: The fog light option (to obvious IMO)
Option 3: The solution came from a Dodge Stealth and PT Cruiser reverse lights
 ~ Idea:
Adding a reverse light in the recessed reflector location that would look "right" - like it belongs there.
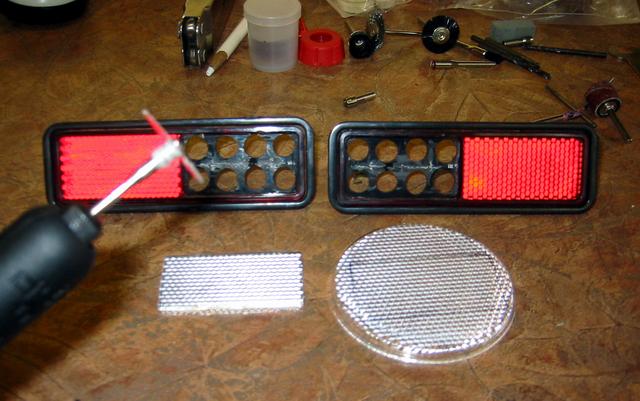
~ Concept:Split the stock reflector and add a shallow light source in the back, covered by a clear / reflector lens
Unfortunately, I was not able to find a split reflector / reverse light that would fit the stock location.
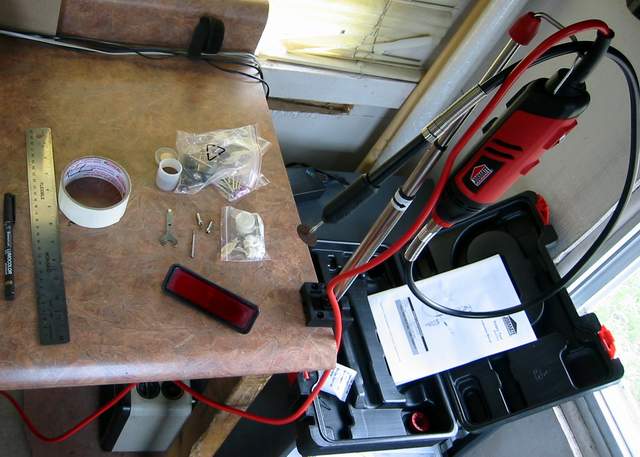
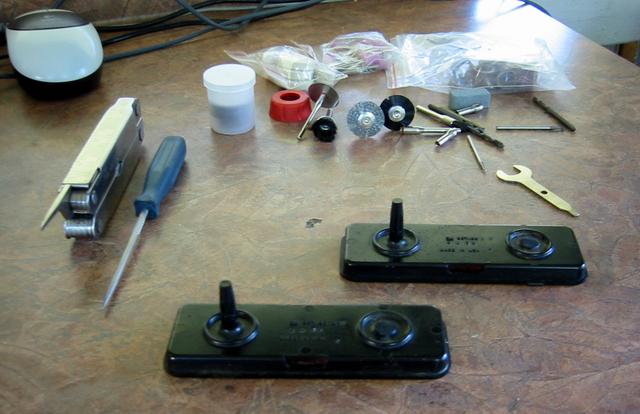
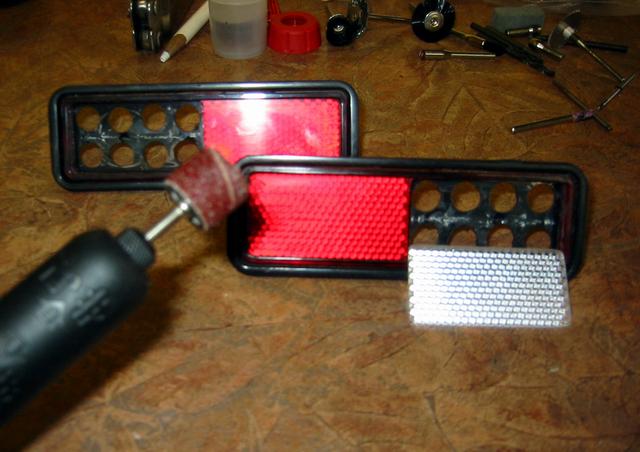
So it's time to bring out the Dremmel tool
Cut....
Trim...
Mark...and Trim...
The new section is ready
I like using Fiero parts for my mods, so my first choice was a trunk light lens. (Thanks to Benoit the co-owner of this idea

)
The lens fits great but doesn't look right due to the frame section of the lens
I've tried the interior light lens as well

Then ran a quick Photoshop (on left) and decided on a clear reflector to match the red reflector
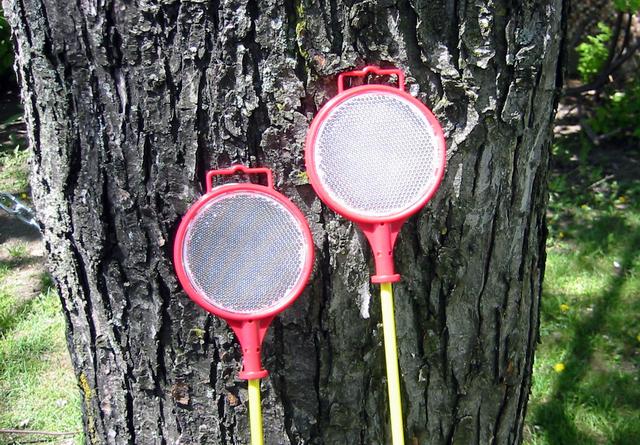
Found a couple of these road reflectors for $6 @ Canadian tire
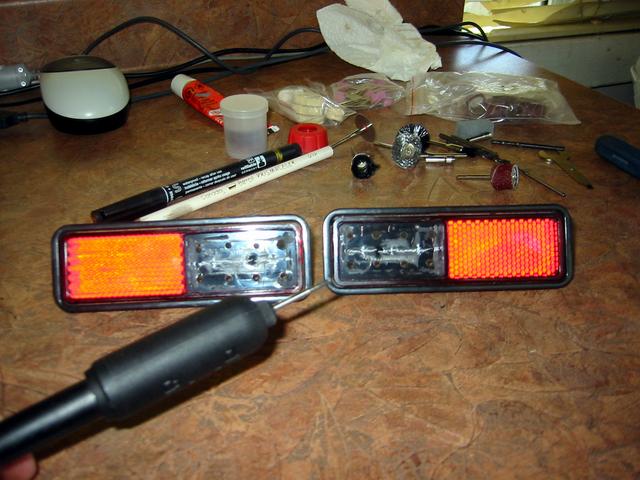
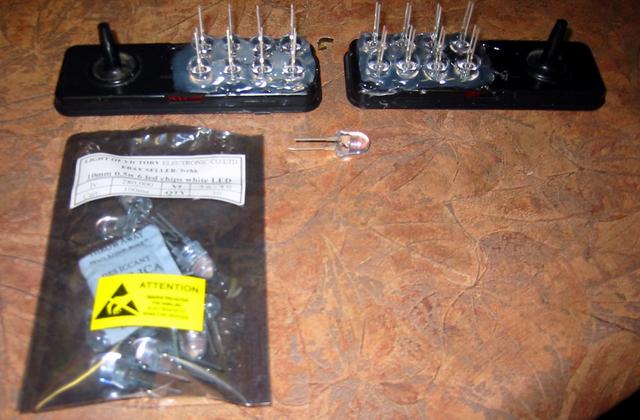
Now, to address the lighting part. Trim the inner plastic attachment rod
Drill the LED holes
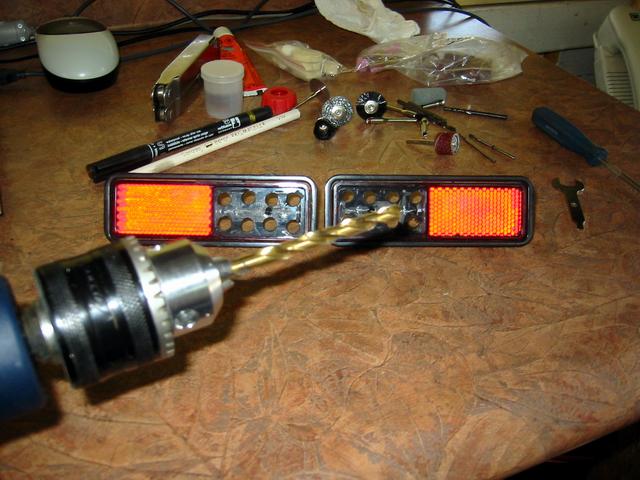
More dremmel tool action LOL
Some plastic glue........And...Perfecto


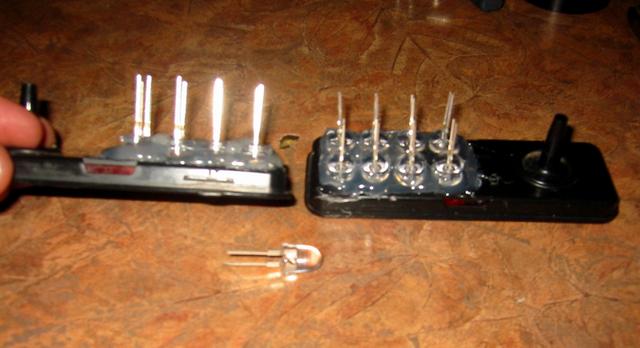
With the advice of Fieromaniac I've got these 10mm Super bright white LEDs from Hong Kong via eBay
Light-of-Victory-Led-Store and read the
LED Circuitry Tutorial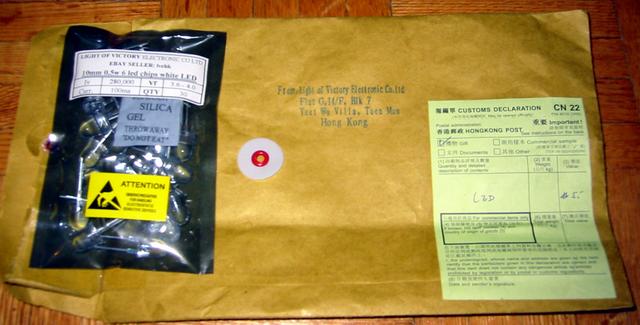
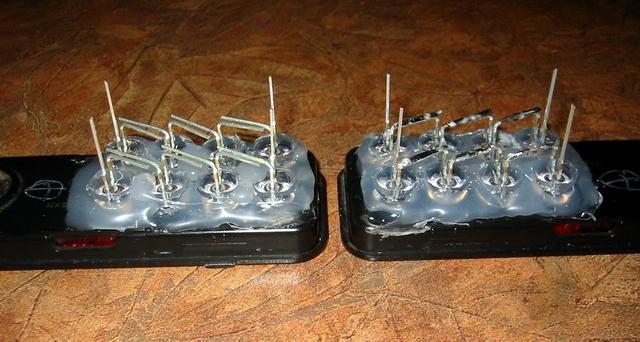
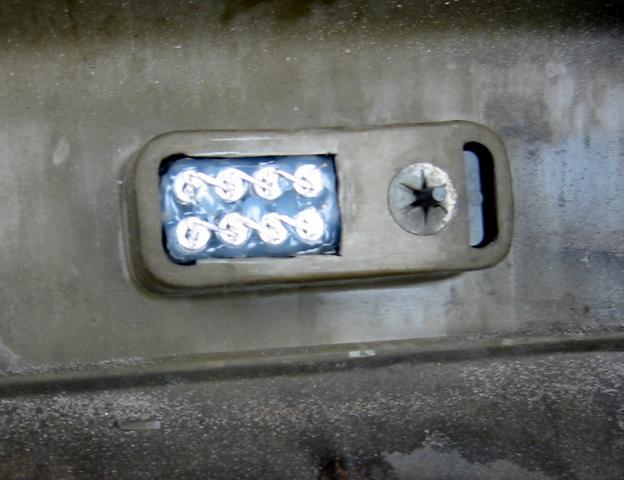
Centered and glued the LEDs with TONS of hot glue
Using the Current Limiting Resistor Calculator for Leds here:
http://ledcalc.com/#calcIt gave me a few options for wiring, the easiest way looked like a series connection of 4 and 4 with a 4.7 Ohm resistor.
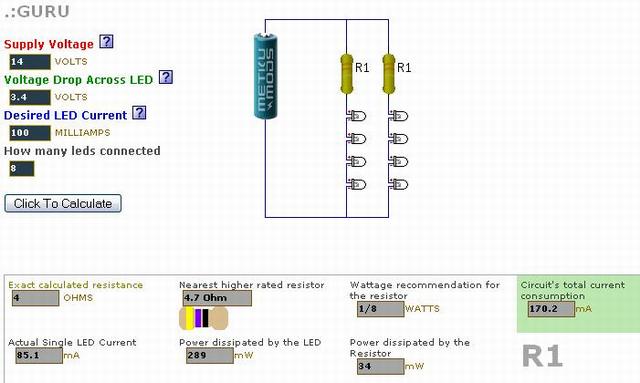
With some
advice from Marvin McInnis eventually I've used a higher resistor to protect the LEDs from over heating.
Soldered the leads
 ~~ INSTALLATION ~~
Bumper off
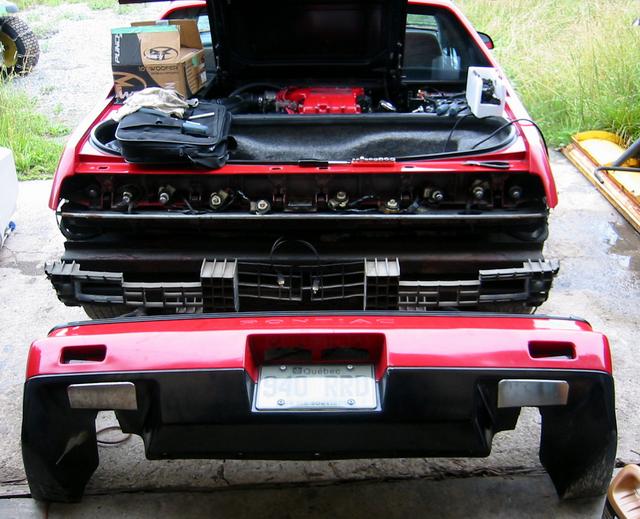
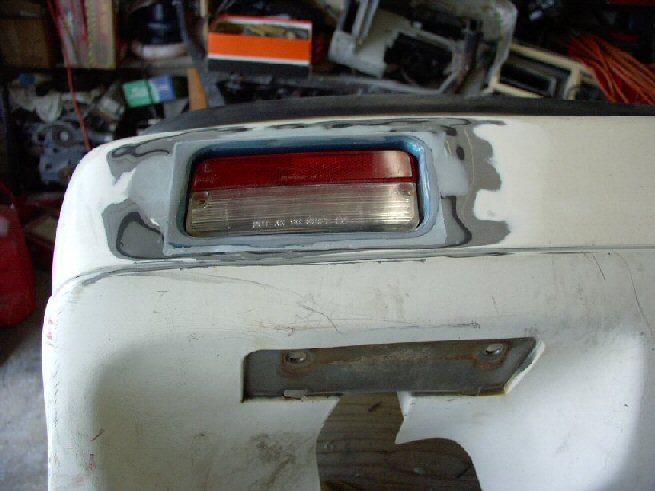
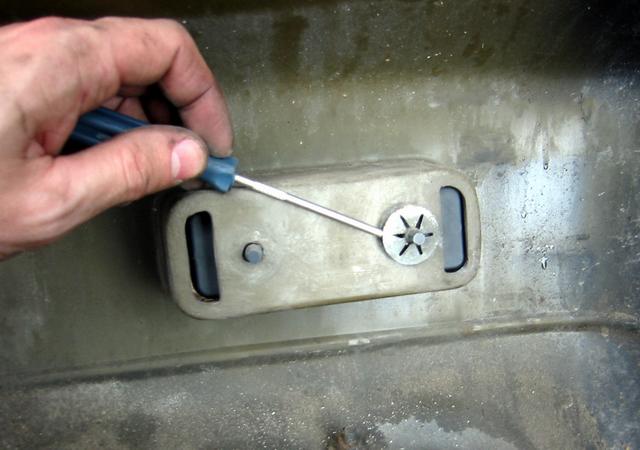
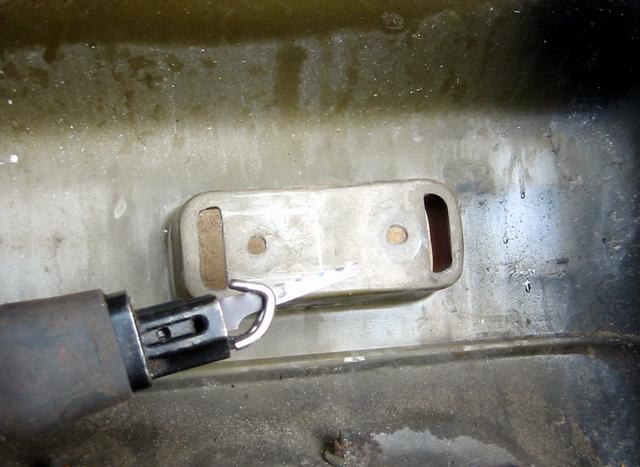
Remove old reflector
Cut
Fit
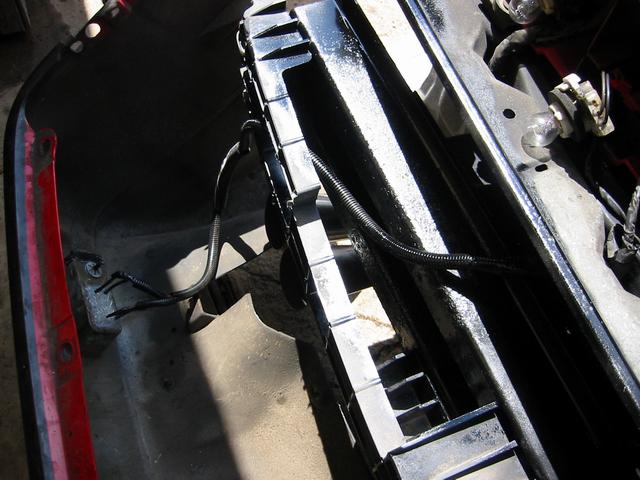
Wiring to the old reverse lights
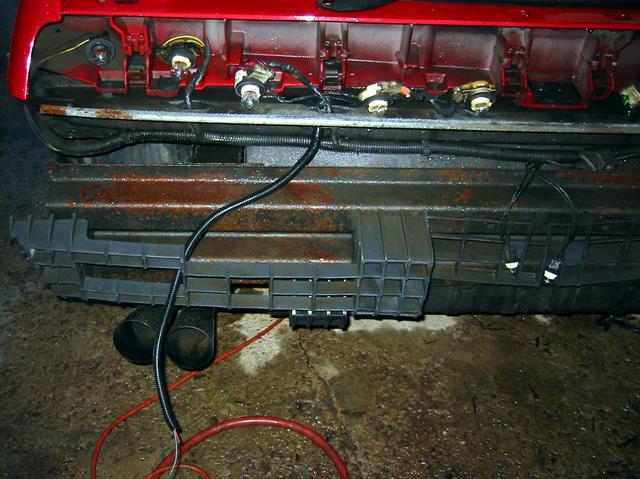
Resistor soldered to (+) lead and everything covered with MORE hot glue

Wiring complete for both sides
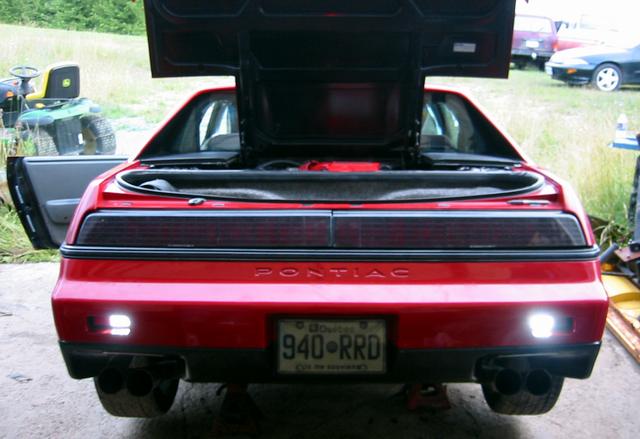
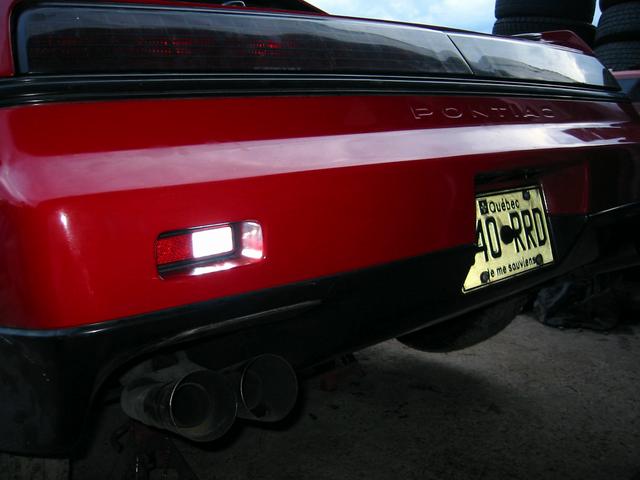
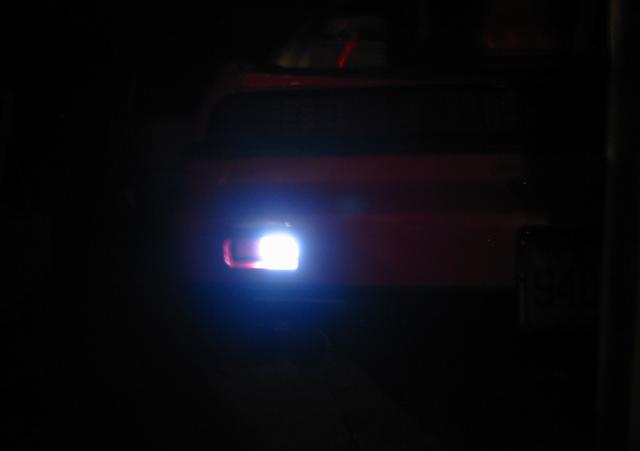
Let it shine
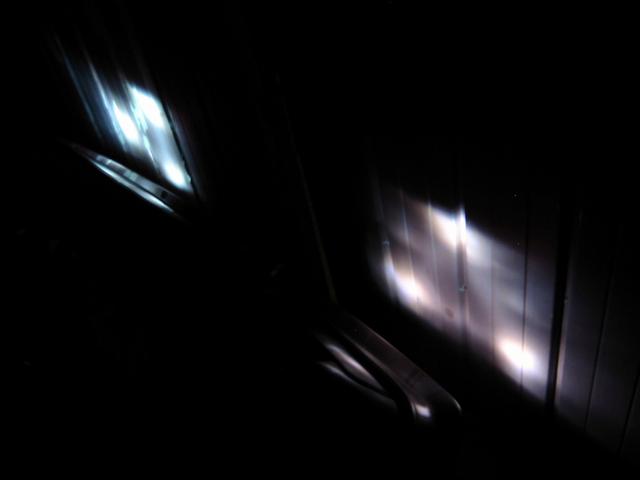
After dark we can see the light pattern on the garage door. Due to the reflector used the light is not shinning straight but in a triangular pattern. Not great, but it would do.
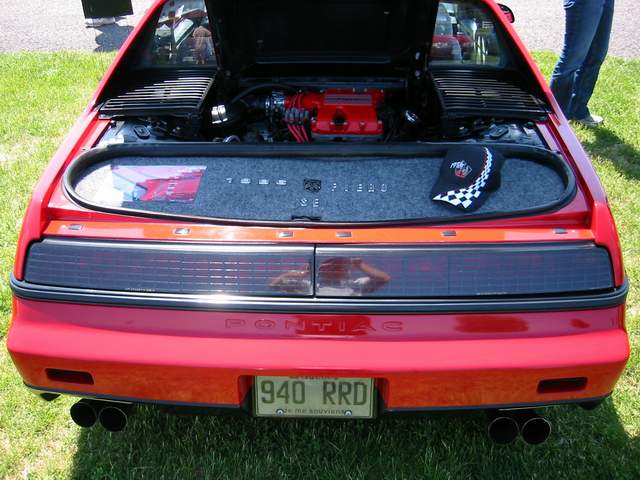
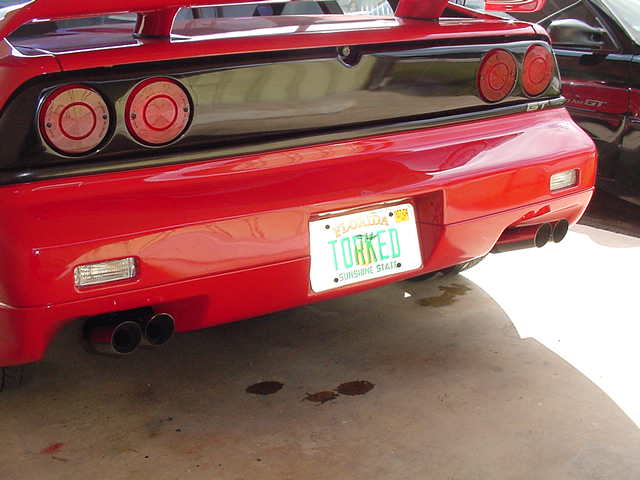
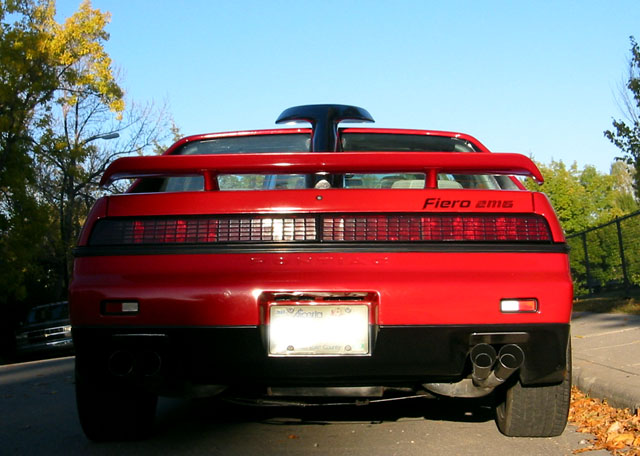
And the final look in a more recent shot.
Bottom line:
$20 for a set of rear reflectors and trunk lights (for experiment)
$17.48 for 30 LEDs shipped from HK (used only 16)
$15 +/- Soldering wire, wiring, plastic tubing, resistors
$ 7 for the clear reflectors.
$ 3 Hot glue
$$ Tools
And about 10+ hours work - Priceless
As mentioned I have passed an "Out of Province" safety inspection with this setup to register my car in Alberta.
**Please note: This does not mean that it is legal nor does it mean that you would pass safety inspection with a similar setup.
Final word: This setup has held up the drive from Pontiac, MI to Calgary, AB and a few coin-op pressure car washes. This setup
does not provide a significant improvement over the stock reverse lights, it was made to provide a good solution to the "All Red Tail Lights". To say that it is a necessity project would be untrue, but we all customize our Fieros to our liking and I just love the looks of it
 Opinions, comments, ideas are always welcome
 ~~~~~
***Disclaimer: This is an amateur write-up. Information here is provided for explanation of the general idea, I will not be held responsible for any damage to your car, your garage going in a blaze or destruction of your marriage life Please use information at your owe risk - Thanks.***------------------
 T-Top ~HUD~LEDs ~Red Fieros~Carputer~Go West
[This message has been edited by Mister (edited 10-03-2008).]


.jpg)

