|
|
|

|
The "Make Me Broke" Build 88 Formula by tomanyfieros
| Started on | : 12-29-2009 01:20 PM |
| Replies | : 78 |
| Last post by | : MadDanceSkillz on 10-08-2010 11:11 PM |
|
|
|
|
Dec 29th, 2009
|
tomanyfieros
Member Posts: 2702
From: Albany, Ohio
Registered: Nov 2000
|
Well as we all know - these cars seem to suck every penny out of our pockets.... and this one is no different! I will start off with thanking 007Doug for selling me this 88 CBJ coded T-Top formula. It is pretty much rust free in the trunk area - but we are learning it has a little bit more surface rust as Dementia (my builder) takes this car apart. Right now - here are the plans/parts for this build: 3800 Super Charged - 49K miles on the Gen5 motor (05) North * Throttle Body All new Poly bushings (front and rear) New Struts/Shocks (KYB) New Style Fuel Sending Unit (Fiero Store) Rodney Dickman Rear Decklid Strut FastFieros Block Off Plates Fiero Store 1 Inch Lowering Springs V8 Archie Front Mount Battery Box ----------------------------------------------------------- Those are the parts that are already ordered and are awaiting install  Once all this is completed - 18 inch wheels - paint and some Mr. Mikes Leather will be coming... So lets start with some pics! (Thanks Chris!) Bought from 007Doug  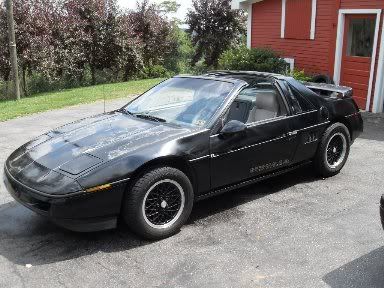 Picked up the motor and on my way to Chris's house to drop off the "mess" before I leave for Japan!  Let the fun begin!             Xmas time     And you can take it from here Chris 
IP: Logged


|
01:20 PM
|
|
|
PFF
System Bot
|
|
|
|
bowrapennocks
Member Posts: 872
From: Seattle WA
Registered: Jun 2008
|
Make me broke is an appropriate phrase. Good luck on the build. I have been working on a similar car, an 87 Notchie T-top. I wish I had gone the same engine route as you. Mine was a 4 cyl/62K mile car with a blown engine that I put a used 2.8 in. My car is almost finished after a year...keep up the work and you will have a great car. Jim ------------------

87 T-top 2.8 5sp Camaro Dash Bonneville door panels; 86 355 body & interior kits 3.1 Auto; 85 SE 2.5 5sp, 86 SE 2.8 auto parts car
IP: Logged


|
05:16 PM
|
|
|
Dec 30th, 2009
|
TM_Fiero
Member Posts: 1077
From: Brookville, PA
Registered: Jun 2002
|
This is a build I'll be watching. I have a black 88 Formula with t-tops also. I'm very happy with how mine is. I'll be interested to see how yours turns out. Are you going to keep it black?
IP: Logged


|
12:24 AM
|
|
N3M3S1S
Member Posts: 3866
From: Dover, DE
Registered: Dec 2007
|
A black t-top Formula and you're putting in a 3800S/C.. That's pretty much my dream Fiero. I'm jealous.
IP: Logged


|
01:17 AM
|
|
|
Jan 1st, 2010
|
Dementia
Member Posts: 958
From: warren,OH
Registered: Jul 2007
|
IP: Logged


|
09:58 AM
|
|
Francis T
Member Posts: 6620
From: spotsylvania va. usa
Registered: Oct 2003
|
As it has been said before, if you want to make a small fortune, start with a big one and then get into sports cars! ------------------
[IMG]

trueleo.com
RSpiderII@aol.com
IP: Logged


|
10:06 AM
|
|
|
Jan 2nd, 2010
|
Dementia
Member Posts: 958
From: warren,OH
Registered: Jul 2007
|
IP: Logged


|
11:48 PM
|
|
|
Jan 3rd, 2010
|
Dementia
Member Posts: 958
From: warren,OH
Registered: Jul 2007
|
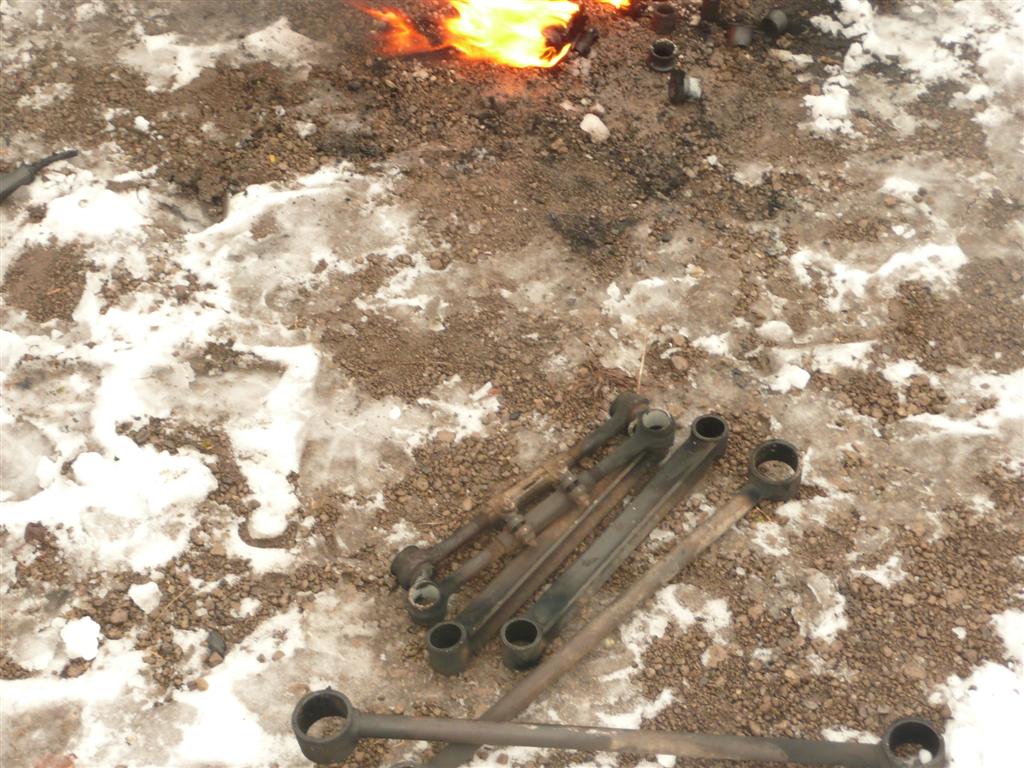
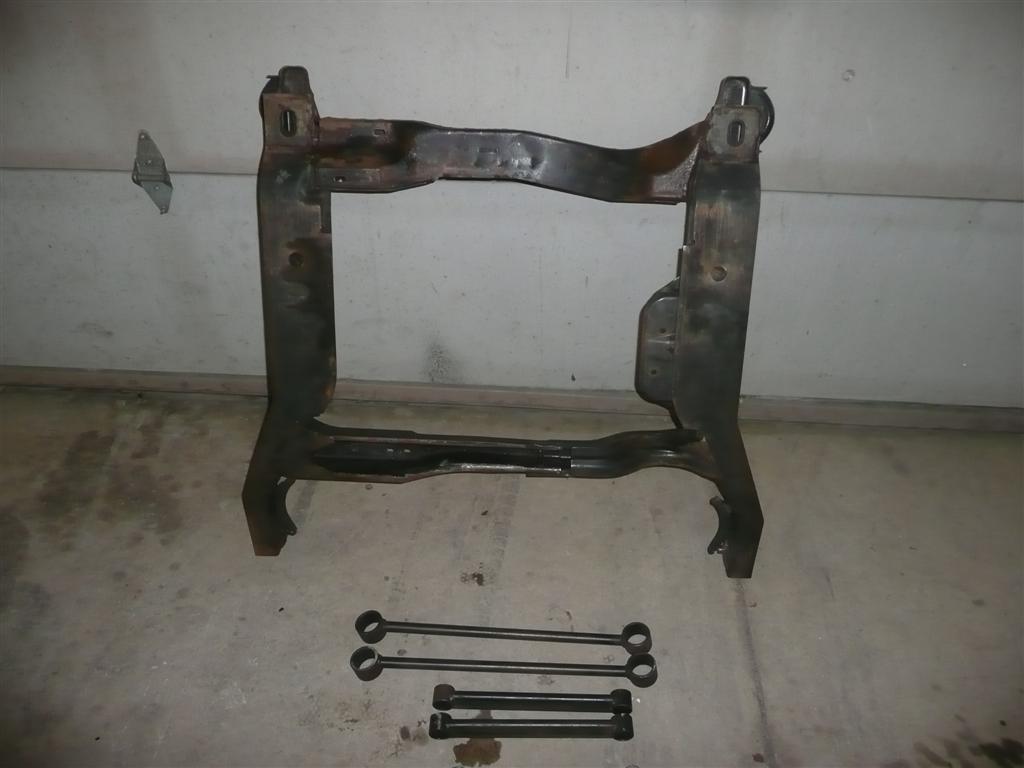
Well got the cradle painted today. I waited til after the brownies got the W today! As you can see in the 1st pick I didn't forget to cover my brothers car. So if you ever hear him complain of over spray its not from me. The plastic did a good job and I left the door open to draft the fumes out. The cradle came out about as good as it could not being blasted and all. When it comes time the rear suspension will look good with everything painted, new bushing, the new struts and springs.   [This message has been edited by Dementia (edited 01-03-2010).]
IP: Logged


|
07:50 PM
|
|
pro street dave
Member Posts: 288
From: ravenna ohio
Registered: Dec 2006
|
Dementia. Looks like a nice job to me. i would have liked to get together sum time. I do not check messages to offten.
IP: Logged


|
09:21 PM
|
|
|
Jan 4th, 2010
|
Dementia
Member Posts: 958
From: warren,OH
Registered: Jul 2007
|
Hey Dave good to hear from you. Happy New Year by the way. My brother and I have been meaning to come see you. Maybe we can get that done soon. Do you or anyone for that matter know where and what I can get to paint the engine bay back as close to stock as possible? Chris
IP: Logged


|
08:49 AM
|
|
pro street dave
Member Posts: 288
From: ravenna ohio
Registered: Dec 2006
|
Dementia i hope 2010 is good for you.
IP: Logged


|
08:40 PM
|
|
|
PFF
System Bot
|
|
|
Jan 5th, 2010
|
Tstang429
Member Posts: 1850
From: Parma, oh
Registered: Jun 2008
|
Chris you works lookin good. nice to see your brothers car on all four wheels. Gotta give you a call sometime to give you the parts i owe you. keep up the good work looking forward to seeing this car complete.
IP: Logged


|
01:58 AM
|
|
Jason88Notchie
Member Posts: 1821
From: Elyria, Ohio, USA
Registered: Oct 2009
|
Greetings from Elyria!! Looking good. I'm going the same route on my build with the POR15. I have my 88 striped down and about to pull the duke. It's just been too damn cold out there!!
IP: Logged


|
01:15 PM
|
|
|
Jan 7th, 2010
|
tomanyfieros
Member Posts: 2702
From: Albany, Ohio
Registered: Nov 2000
|
Updates? 
IP: Logged


|
05:24 PM
|
|
|
Jan 8th, 2010
|
fastmax
Member Posts: 79
From: burghill,OH
Registered: Dec 2008
|
tomanyfieros have you came back on this side of the pond yet ?
IP: Logged


|
05:23 AM
|
|
tomanyfieros
Member Posts: 2702
From: Albany, Ohio
Registered: Nov 2000
|
Not yet... I will be home mid Feb... and can not wait!!
IP: Logged


|
07:26 AM
|
|
|
Jan 12th, 2010
|
tomanyfieros
Member Posts: 2702
From: Albany, Ohio
Registered: Nov 2000
|
Bumpn for updates ?
IP: Logged


|
01:00 PM
|
|
Dementia
Member Posts: 958
From: warren,OH
Registered: Jul 2007
|
Not much to update yet. Been busy handling other things, but I did get the engine on the stand. Exhaust and acc. stripped off.Probably more pics by the weekend. I didnt forget about the parts Theo just haven't been up your way. Besides that will give you more time to get things done on the coupe that I can check out. Chris
IP: Logged


|
07:53 PM
|
|
|
Jan 14th, 2010
|
fastmax
Member Posts: 79
From: burghill,OH
Registered: Dec 2008
|
Bump for some more pic . This is going to a sweet SC 88 t-top i can't wait to see it and hear it run !!!!!!!! Dementia is a little bit of a perfectionist so i no it will be right .
IP: Logged


|
08:51 AM
|
|
|
Jan 17th, 2010
|
Dementia
Member Posts: 958
From: warren,OH
Registered: Jul 2007
|
OK time for some updates. I took all the accessories off along with the blower and lim. Done some scraping, degreasing, and wire brushing for quite a few hours. I painted the oil pan and timing cover, let them dry overnight then masked them off and cleaned and scraped some more then painted the block and heads. Turned out real nice. Also got the lim cleaned, painted, and tapped for the heater hose. I'll go take a pic of it in a few after the last of the jets game. The trans was also degreased(brake clean) and ready for paint. The trans we're using has been tore down, clutches inspected, some new seals, filter/gasket, and a zzp shift kit. All the cleaning sure is pain staking, time consuming work but in the end its well worth it. Remember 90% prep, 10% paint. I hope to have it on the cradle by next weekend. Then it should be looking real good even if I do say so myself.  The paint used was rustoleum engine black and aluminum. Chris          
IP: Logged


|
07:51 PM
|
|
Dementia
Member Posts: 958
From: warren,OH
Registered: Jul 2007
|
IP: Logged


|
10:06 PM
|
|
|
PFF
System Bot
|
|
|
|
|
Jan 18th, 2010
|
AusFiero
Member Posts: 11513
From: Dapto NSW Australia
Registered: Feb 2001
|
Nice sized garage/workshop you have there. I am jealous. What is all that white stuff on the ground though? 
IP: Logged


|
05:38 AM
|
|
Dementia
Member Posts: 958
From: warren,OH
Registered: Jul 2007
|
Ah yes it is a pretty good size shop. 40x44 plus its got another 30x40 addition but it dont have concrete. Still nice storage though. I wish that white stuff outside was worth what some other white powder was worth I'd be rich and so would most of the northern part of the US. Since that pic was taken we've got 6 to 8 more inches. 
IP: Logged


|
08:53 AM
|
|
Tstang429
Member Posts: 1850
From: Parma, oh
Registered: Jun 2008
|
Lookn real good. your a man of true insperation.
IP: Logged


|
10:07 PM
|
|
|
Jan 19th, 2010
|
Dementia
Member Posts: 958
From: warren,OH
Registered: Jul 2007
|
IP: Logged


|
10:55 PM
|
|
|
Jan 20th, 2010
|
fastmax
Member Posts: 79
From: burghill,OH
Registered: Dec 2008
|
Dam looking good . What is your plans for the top half more paint or maybe some chrome i would like to see some chrome like valve covers SC and ext.
IP: Logged


|
09:02 AM
|
|
|
Jan 22nd, 2010
|
tomanyfieros
Member Posts: 2702
From: Albany, Ohio
Registered: Nov 2000
|
I must admit... Looking DAM GOOD! From the sounds of it... We will be flying home 4FEB.... will be looking forward to making a drive up just to drool over it, and maybe lend a hand or two :-)
IP: Logged


|
11:57 PM
|
|
|
Jan 29th, 2010
|
tomanyfieros
Member Posts: 2702
From: Albany, Ohio
Registered: Nov 2000
|
You guys dont even know how well it looks now!!! Chris - I emailed ya back!
IP: Logged


|
03:06 AM
|
|
FieroGTguy
Member Posts: 3087
From: Indianapolis , IN
Registered: Mar 2001
|
| | | quote | Originally posted by Dementia:
Gotta little more work done.
|
|
Do you know Steven Branch that runs a shop in North Jackson/Warren, OH? He installed my L67 swap about 7 years ago. He just finished my friends L32 swap. He is a 30yr GM vet tech that created a swap without any help at the time for himself, and created several afterwards. He used the GTP fuse box with a trunk mounted PCM. You should swing by in the swap on your test drive.  Greg ------------------

IP: Logged


|
03:48 AM
|
|
Dementia
Member Posts: 958
From: warren,OH
Registered: Jul 2007
|
No I dont know him but it sounds like I would like to. PM his info if you dont mind. Jason I got your email but I have to go to work now so I'll shoot you one back later. I'll also post updated pics later. Chris
IP: Logged


|
07:34 AM
|
|
|
Jan 30th, 2010
|
fastmax
Member Posts: 79
From: burghill,OH
Registered: Dec 2008
|
bump back to the top
IP: Logged


|
05:48 PM
|
|
|
PFF
System Bot
|
|
Dementia
Member Posts: 958
From: warren,OH
Registered: Jul 2007
|
IP: Logged


|
06:39 PM
|
|
|
Jan 31st, 2010
|
fastmax
Member Posts: 79
From: burghill,OH
Registered: Dec 2008
|
Looking good i like that mount (NO DOG BONE) that is what i'am talking about !!!!!!! That stock dog bone that we have to use on are 3800 S/C look like sh** well at least think they do .Now that one you maid i like it a lot better i would like two have one that was nicely polished or better yet chromed looks great keep up the good work .
IP: Logged


|
10:24 PM
|
|
|
Feb 1st, 2010
|
ambfiero
Member Posts: 386
From: In here its like living in goonville
Registered: Jan 2003
|
Looks good Jason, I cant wait to take a ride in it. Be safe and return home soon buddy! ------------------
In loving memory of Harold Hummel (PFF 4WHEEL)
1936-2004
IP: Logged


|
02:38 PM
|
|
|
Feb 3rd, 2010
|
tomanyfieros
Member Posts: 2702
From: Albany, Ohio
Registered: Nov 2000
|
Thanks for the comments guys  I know Chris is putting in A LOT of hrs and hard work into this swap... and its gonna show when its finished for sure!! So Chris.......... I found out about 20 mins ago how much Im getting back in taxes.... and lets just say - the 3.4 pulley and the 1.9 rockers on being ordered here shortly.... and if your still willing to sell me the exhaust manifolds.... I will take them  I have to wait till I get home to send in some cores so that I can order the stainless exhaust the fierostore sells...... shes gonna look per'ty! Thanks! Jason
IP: Logged


|
07:02 AM
|
|
Dementia
Member Posts: 958
From: warren,OH
Registered: Jul 2007
|
|
|
Feb 4th, 2010
|
Dementia
Member Posts: 958
From: warren,OH
Registered: Jul 2007
|
I got the engine bay stripped, cut the battery box out, cut some of the extra mounting tabs off, cleaned it, sanded, ground it!, and all kinds of other good junk. Removed deck lid hinge tension bars, had to fill in some little holes by the battery box and also the front passenger side cradle mount. That bolt wouldn't come out. After I got the cradle down I bet I had to beat on, drill, and heat that bolt stuck in the cradle for at least an hour. I didn't think it was come out but it finally broke free. I used a little bit of icing over the welds by the battery box, 3M undercoat down low then top coated it and the rest of the engine bay with a satin black. IMO thats damn close to factory color it even had a fiero on the can. 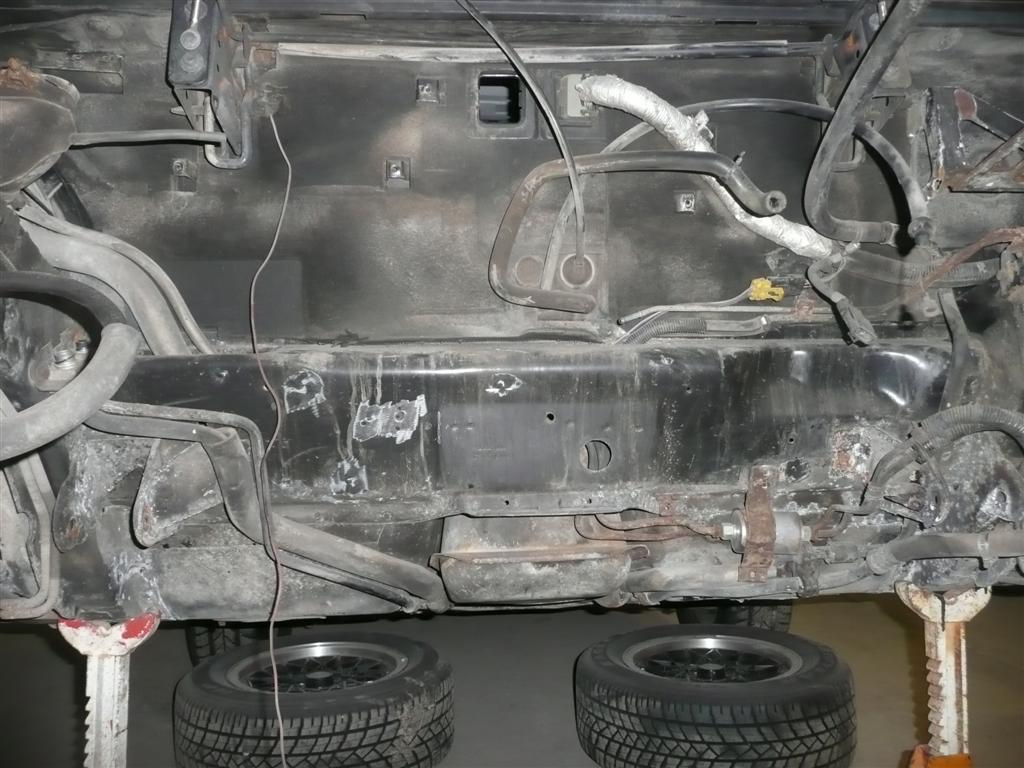 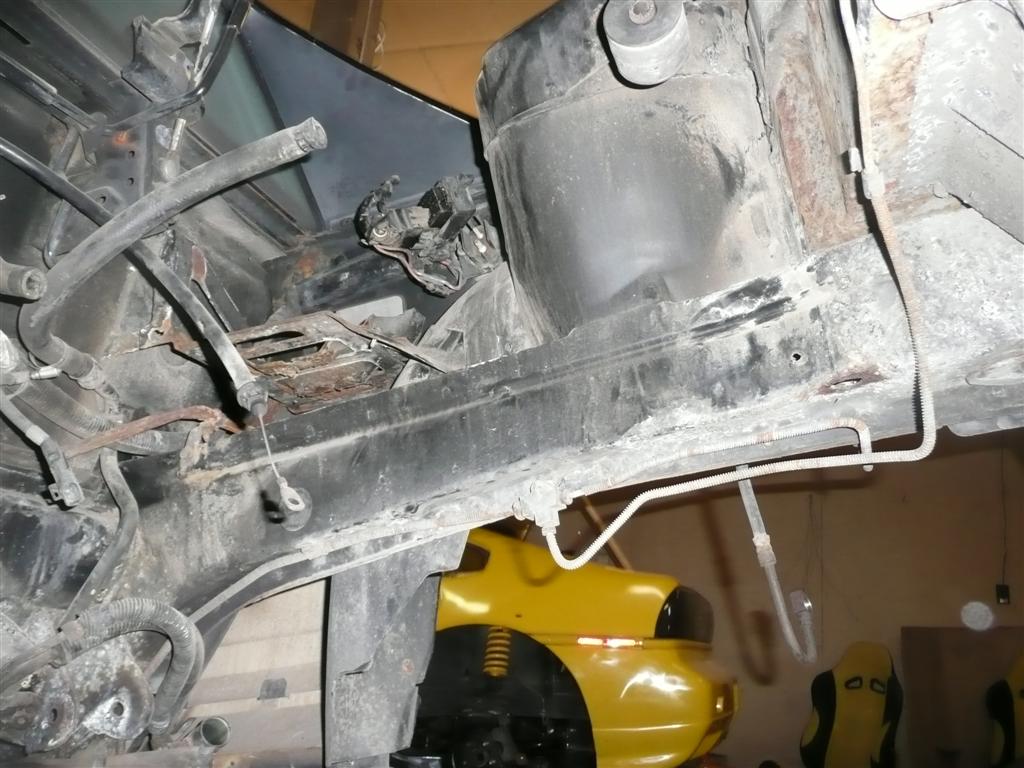 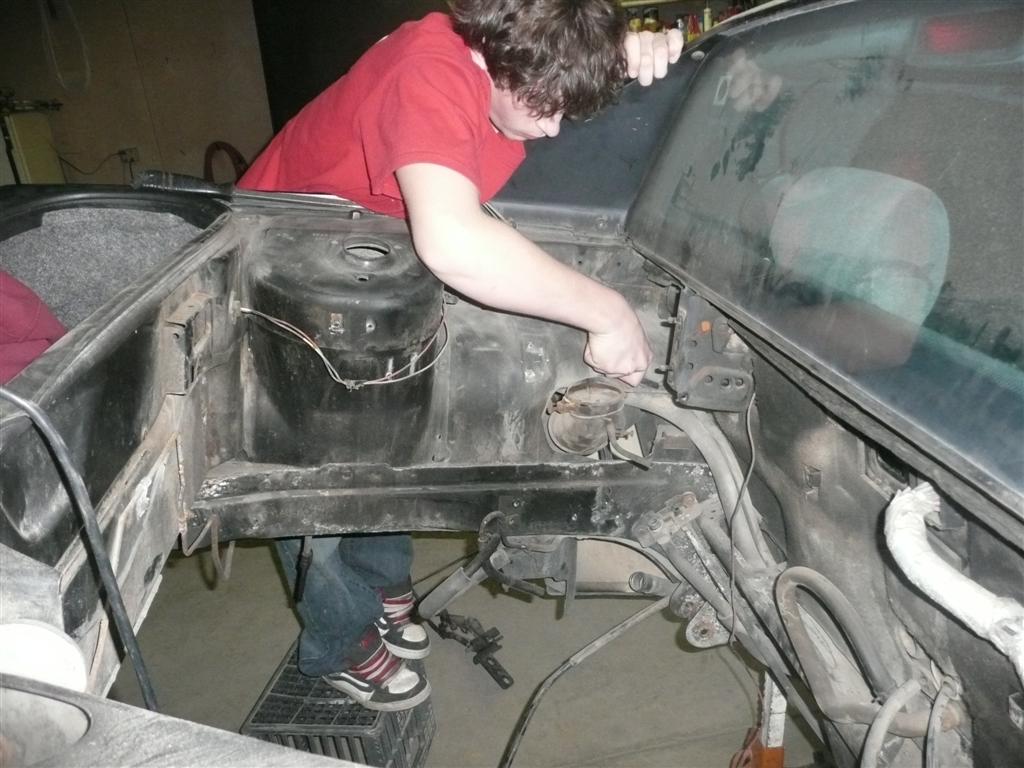 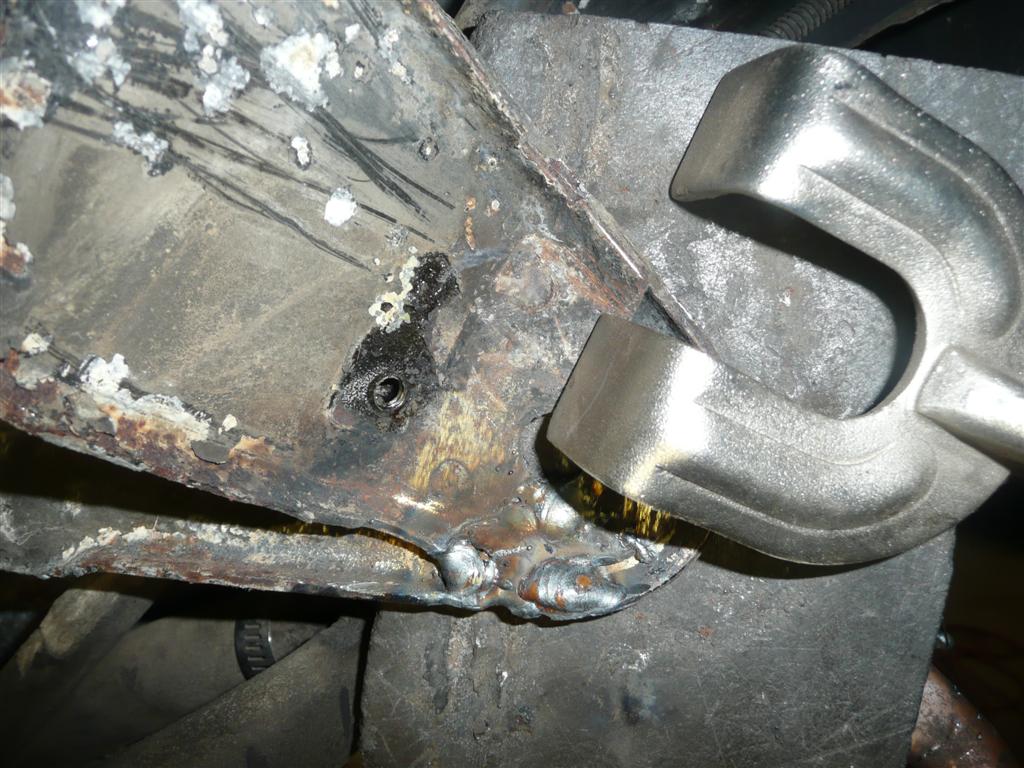 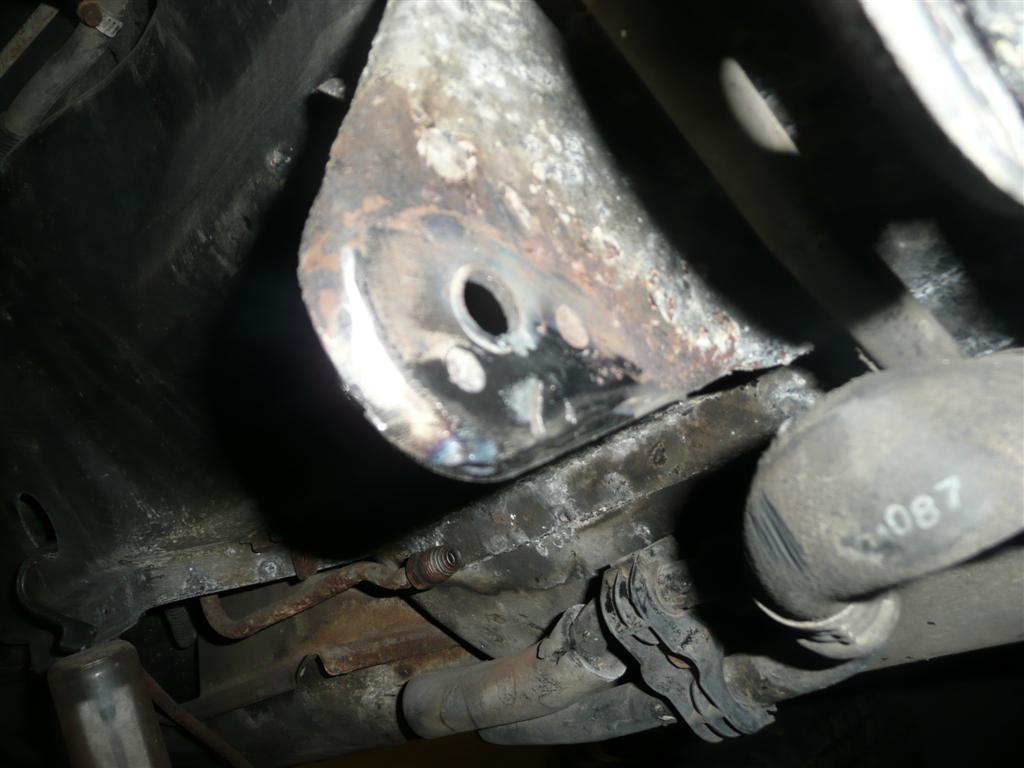 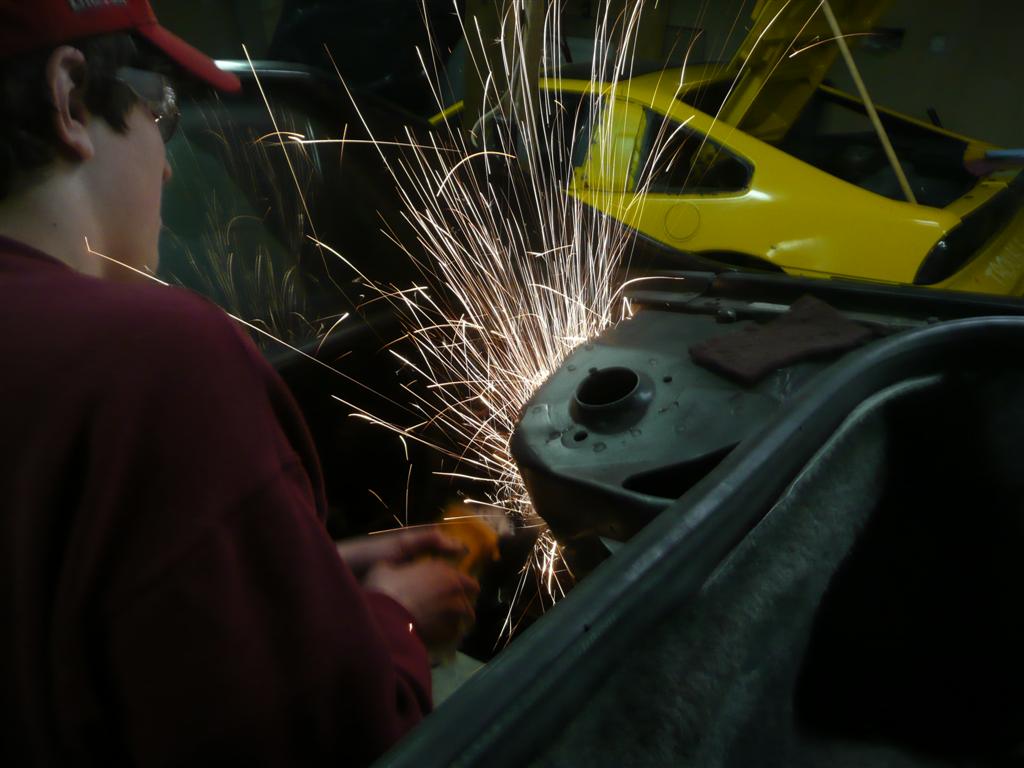 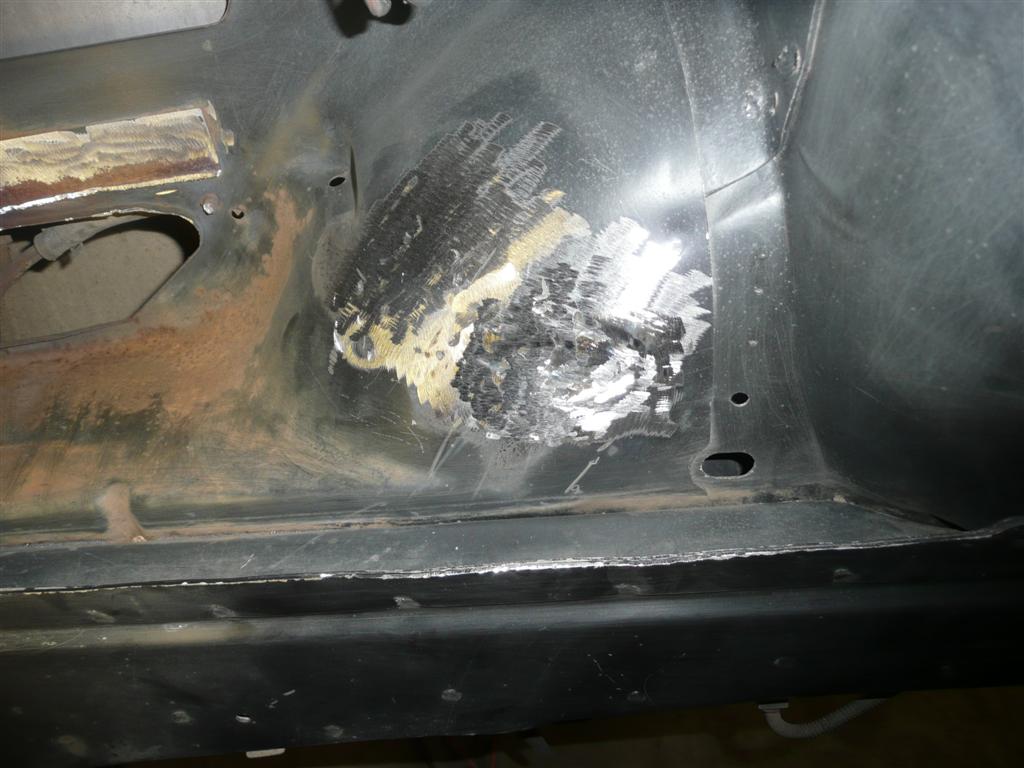 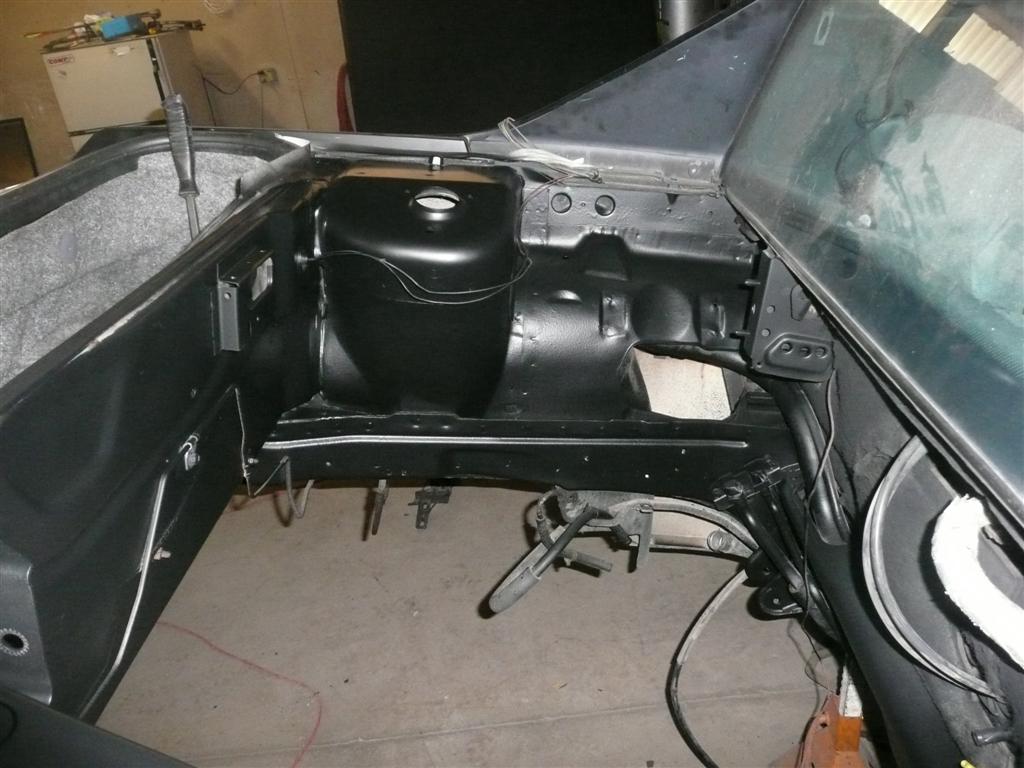 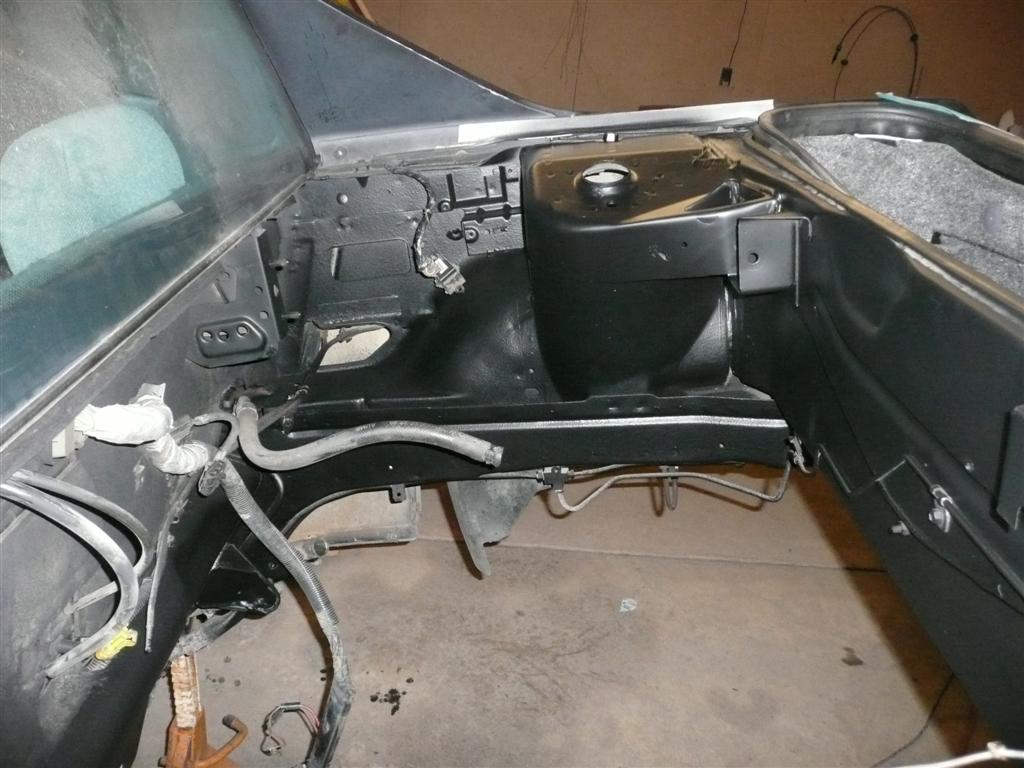 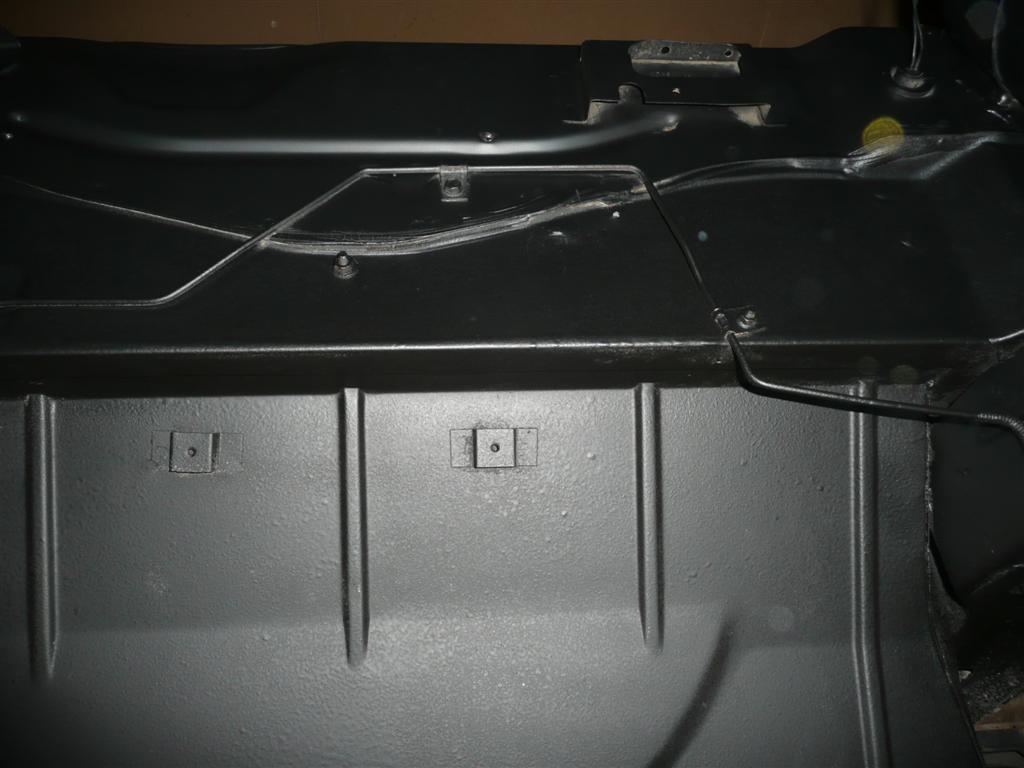 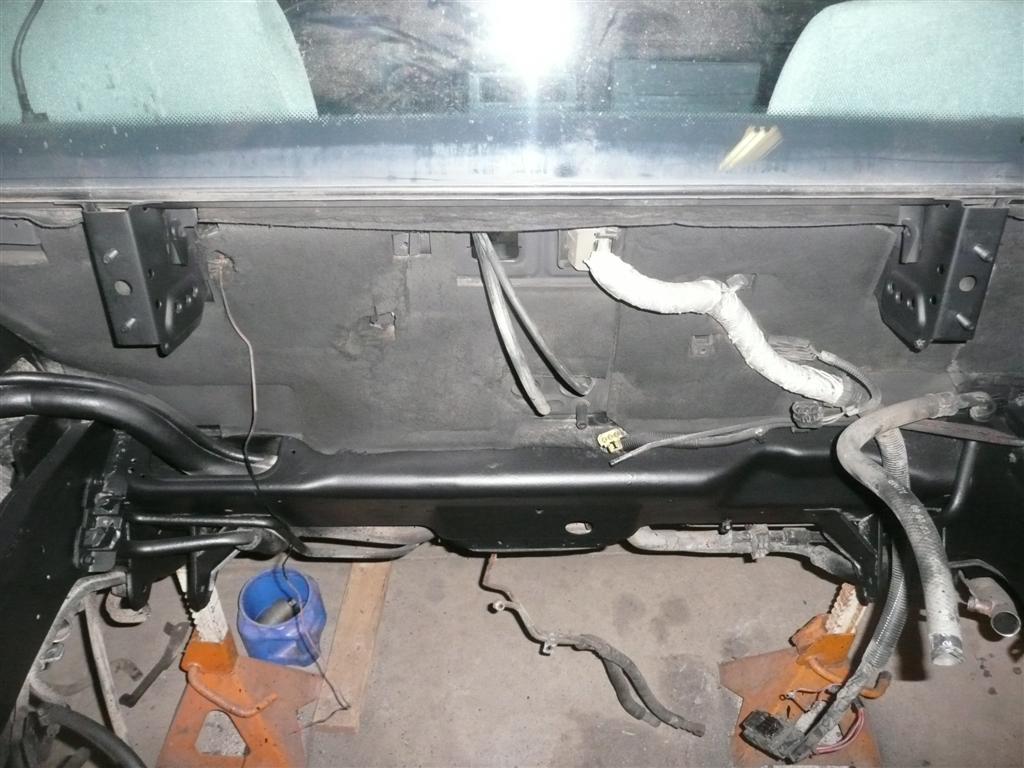
IP: Logged


|
02:14 PM
|
|
fastmax
Member Posts: 79
From: burghill,OH
Registered: Dec 2008
|
looks good that is got to be what is on my car it looks all most the same keep up the good work i will stop over tomorrow and see it
IP: Logged


|
08:46 PM
|
|
|
Feb 12th, 2010
|
Dementia
Member Posts: 958
From: warren,OH
Registered: Jul 2007
|
Not much to update right now. We had about a foot of snow last saturday and I pretty much put my back out of commission for a week. I'll have to work slow and smart for a while. Good thing my youngest son dont mind helpin dad. He pulled the gas tank yesterday, got the new pump put on the new sending unit, and dumped all the old gas out of the tank. I'm going to try and not use that tank. The whole inside is covered with fine rust. I have an 87 gas tank at the other shop I'm going to check it today to see how it looks. Anyone heard from Jason? He was suppose to fly out of Japan on the 4th and haven't heard a word. Hope everything went well. [This message has been edited by Dementia (edited 02-12-2010).]
IP: Logged


|
07:56 AM
|
|
|
Feb 16th, 2010
|
tomanyfieros
Member Posts: 2702
From: Albany, Ohio
Registered: Nov 2000
|
Well I made it home to Ohio - and things with the "family" have been settled.... and I still have a girlfriend... lol....
I just ordered the 1.9 rockers - the 3.4 pulley and the re-useable bolts... they should be on the way here pretty soon.... once you get them, let me know - and I will see about driving up and spending the day helping.
Thanks!
Jason
IP: Logged


|
08:13 PM
|
|


 Once all this is completed - 18 inch wheels - paint and some Mr. Mikes Leather will be coming...






 The paint used was rustoleum engine black and aluminum. Chris


