
 
     |
| Red 88 GT LS4 / F40 Build (Page 1/5) |

|
GPickardt
|
JUN 07, 09:18 PM
|
|
I started a build thread in the link below, but the title didn't really give the proper information. I am going from the reverse perspective since this is already built, not quite finished, but it is running and driving. I will recap on a couple of things, mainly the build list, then start from the engine and work though the build process from the beginning including lessons learned, points of contact, and as complete of a list that I can provide.
See below for some of the initial details.
http://www.fiero.nl/forum/Forum1/HTML/098278.html

I will kick this off with a build list to start the new thread.
2007 LS4 Engine
Engine Package / LS2 Intake package w MAF /
LS7 manifolds / F40" Fakhri
LS3 Throttle Body gold Craigslist SD 100
213-1694 ACDelco O2 Sensors Amazon 102.12
98201 -8AN female connector Amazon 21.16
644123 -6AN male connector Amazon 27.18
Braided Fuel Hose Amazon 44.83
LS3 Camshaft Ebay 99.95
12633906 LS2/LS3 Timing Cover pkg Hawks Motorsports 89.95
3/8 stainless LS7 manifold Tab Zone Chassis Comp 152
12577660 / 24507976 Dipstick / Tube GM Parts Direct 25.77
HAR-1063 Stand alone 58X LS2 / T56
w/ LS3 throttle pedal (DBW)" PSI Conversions 569
Wiring Harness Mod / Battery
relocation cables / Dist block" Joe Sokol (Fiero King) 318.75
Brackets, Starter Eidolonic 180
7121 E38 ECM Tuning Sinister Performance 120
Valley Cover / Gen 4 Katech
OPSU adapter Eidolonic 220
LS7 Lifters / Trays Eidolonic 120
F40 6 speed manual transmission
Transmission Fakhri (package deal)
SF963-F40 / SCL S4aF40 "
Flywheel / Stage 3 clutch
Long flywheel bolts included" SPEC 902
SFD963-F40 / N1776-390 "Clutch disc
Throwout bearing / spacer" SPEC (corrected)
Axles West Coast Fiero 700
Mount / bearing carrier West Coast Fiero 350
Clutch Master Cylinder Rodney Dickman 65.95
F40 Shifter bracket Fieroguru Performance 95
F40 reverse lockout Fieroguru Performance 45
F40 cables Fieroguru Performance 230
F40 clutch line adapter Fieroguru Performance 45
Starter bracket Fieroguru Performance 95
1988 Engine Cradle
88 cradle w/ suspension Pick a part San Diego 200
Rear wheel bearings Advance Auto 130
Rear suspension bushings Rodney Dickman 149
Knuckle Long Bolts Rodney Dickman 8.89
Rear Knuckle Girdle Kit Rodney Dickman 59.95
EBC-DP2325 Green Stuff Brake Pads Summit 177.36
RUS-692110 Russell SS Brake Lines Summit 99.97
TFF-2232NB 11in Brake Booster Summit 123.99
YH141897 / YH141898 12 Inch
Corvette Rotors (15 lbs) Carquest 279.96
Coolant System
Water fill neck West Coast Fiero 275
Champion Radiator Fiero Thomas 175
Coolant Hose Autozone 16.95
Coolant Hose Autozone 14.99
Heater Hose (by the foot) Advance Auto 18.45
Miscellaneous
Rear deck lid strut kit Rodney Dickman 112
Audew Battery Connectors Amazon 14.99
C6 Exhaust Tips zmcdonal 135
CAN-BUS OBDII Kit Guages Speedhut 643
Front Ball Joints Rodney Dickman 126
33737 Wix Fuel Filter Amazon 41.85
I am sure there are other little things, besides the dual exhaust system, but I will try to cover it in those build areas.[This message has been edited by GPickardt (edited 06-07-2018).]
|
|

|
motoracer838
|
JUN 07, 09:23 PM
|
|
|

|
GPickardt
|
JUN 09, 09:10 AM
|
|
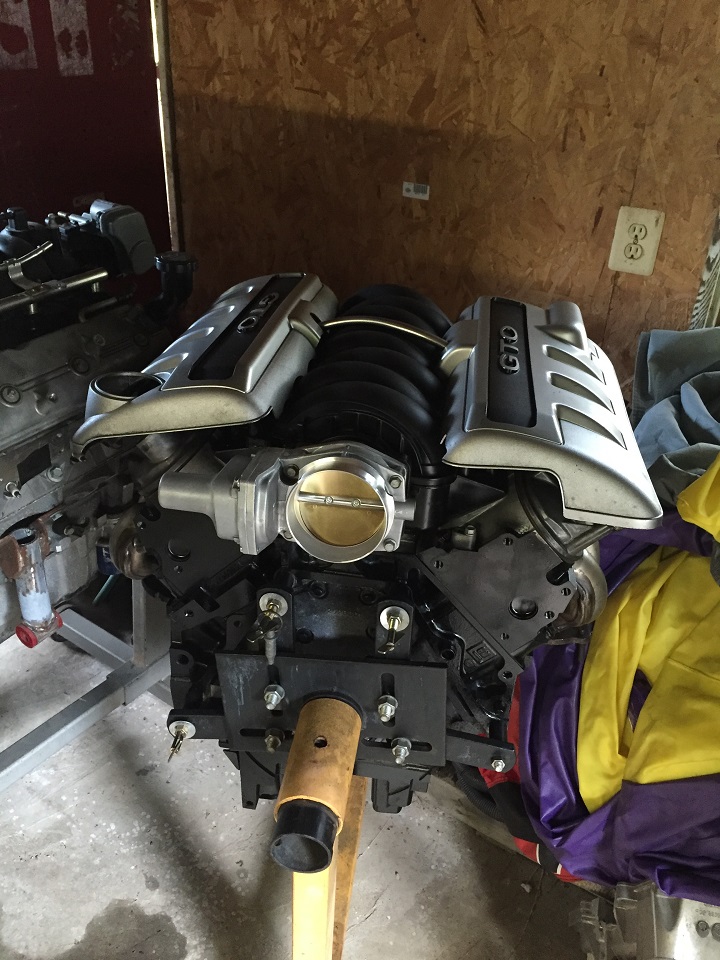
This swap obviously starts with the engine. We brought an earlier model with lower miles with us from California, but ended up finding other parts, the main one being a PSI wiring harness that came with connectors to support 58X timing through an E38 ECM. ECM connectors are completely different for other versions, so we ended up sticking with the higher mileage engine for that reason alone. You can convert the timing wheel from 24 to 58, but didn't want to pull an otherwise very clean engine apart. I will use that one for my second swap.
Our first step was to do the DOD delete. This requires a new valley cover, at least (4) lifters, pushrods, and trays (LS7 type). I found a member on the forum that was doing a swap on a MR2 and had gone another direction. The valley cover was an LS6 style and he had the OPSU mount machined, and bought a Katech angled OPSU adapter for the LS2 intake. I also capped the vent port as I didn't need the additional outlet for my build. For my second build, I will use a plain style valley cover and purchase Fieroguru's distribution block that runs off of the oil filter adapter on the engine block.
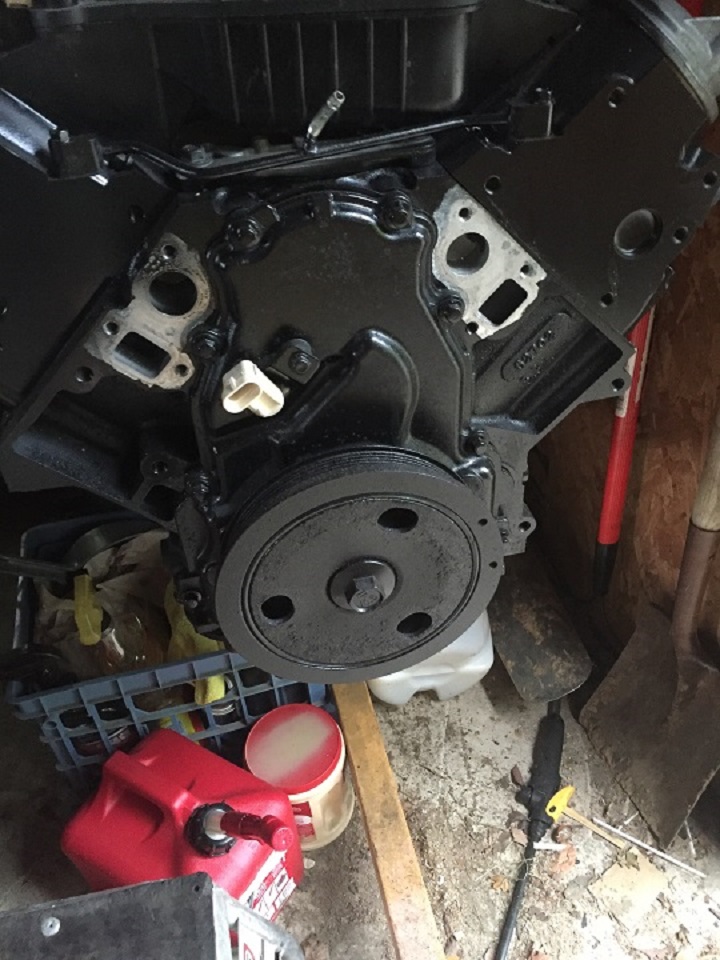
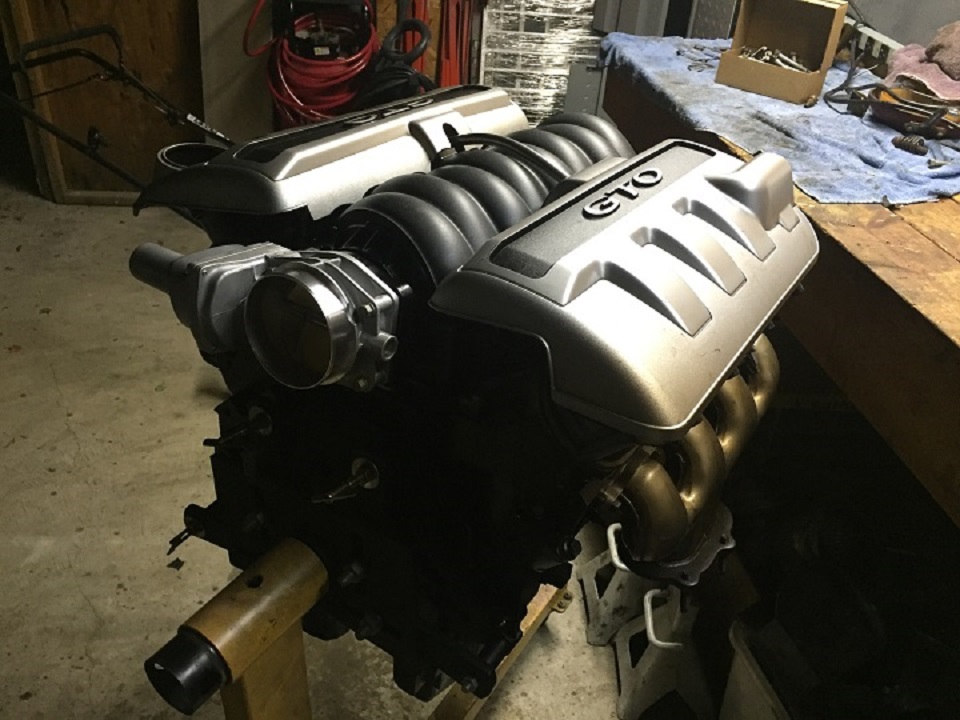
Got everything built back up, and learned I needed an LS2/LS3 style Front timing cover so I pulled everything back apart. As part of the cam install, I had already installed the new timing chain set and was able to find a single bolt LS3 cam even though I had purchased a 3 bolt timing set from Brian Tooley racing. I will have it for the second build if needed. For the timing cover, depending on the belt routing you end up with, this dumps out in the middle of the cover just above the balancer pulley so you will need to plan for that. You will see the LS2/3 setup in later photos
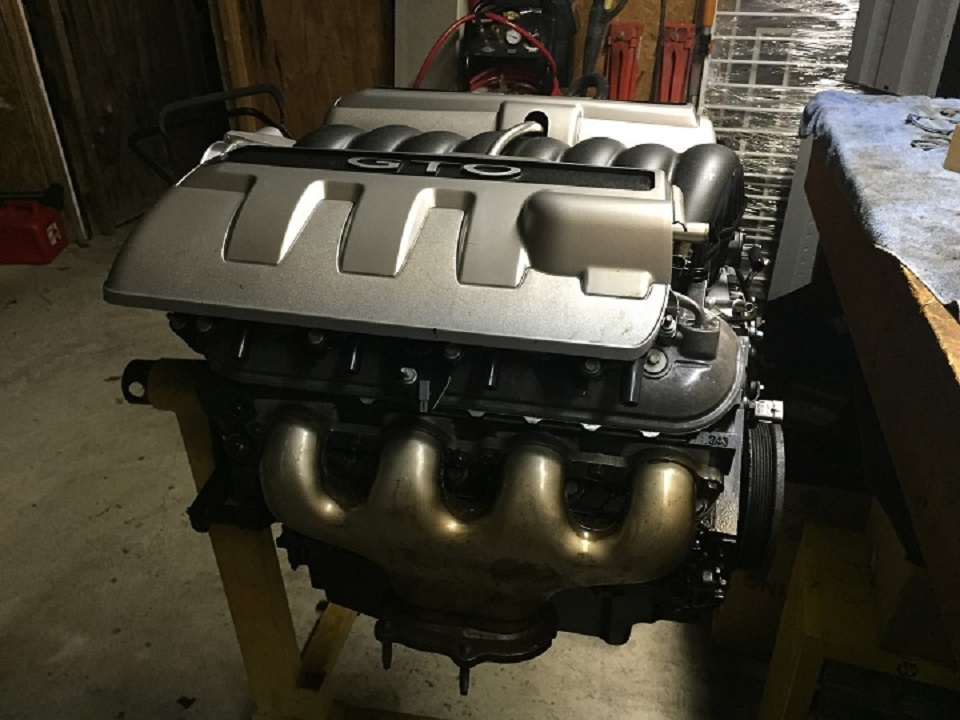
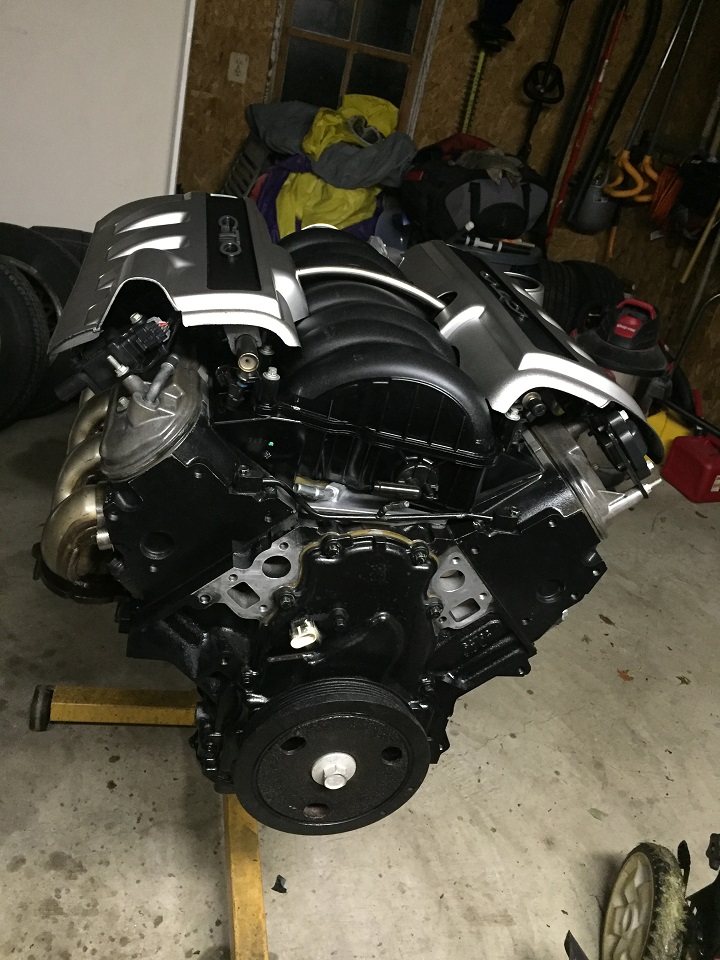
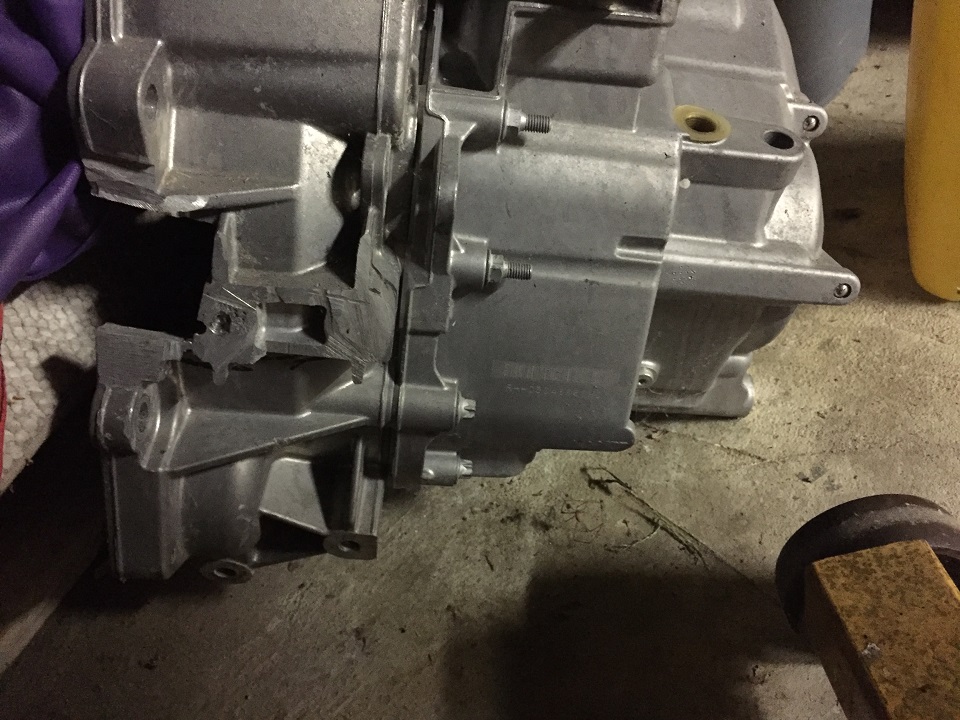
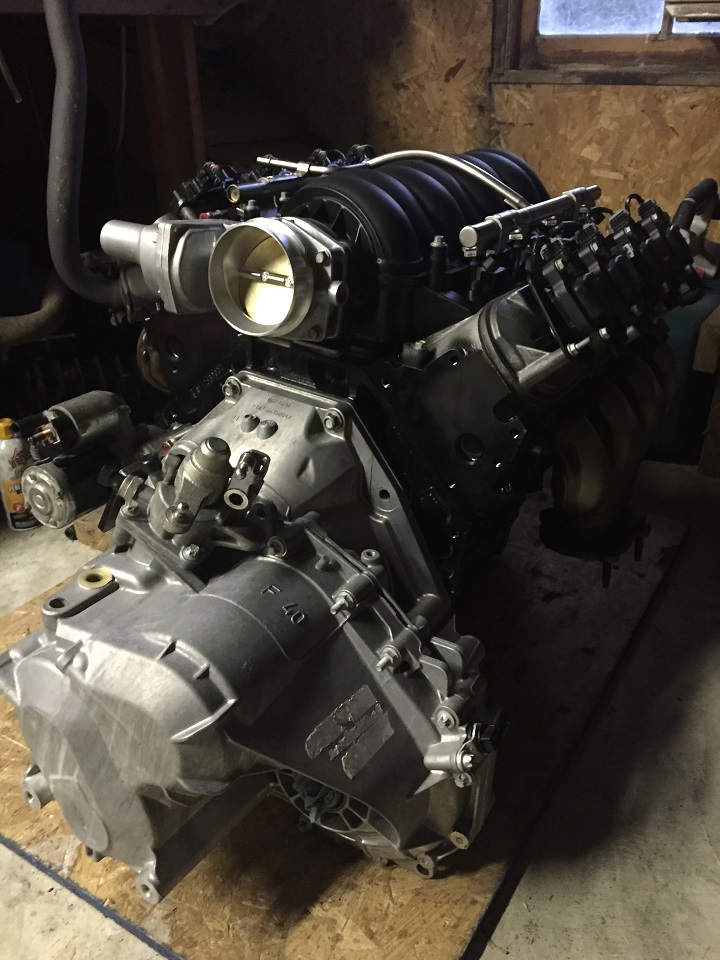
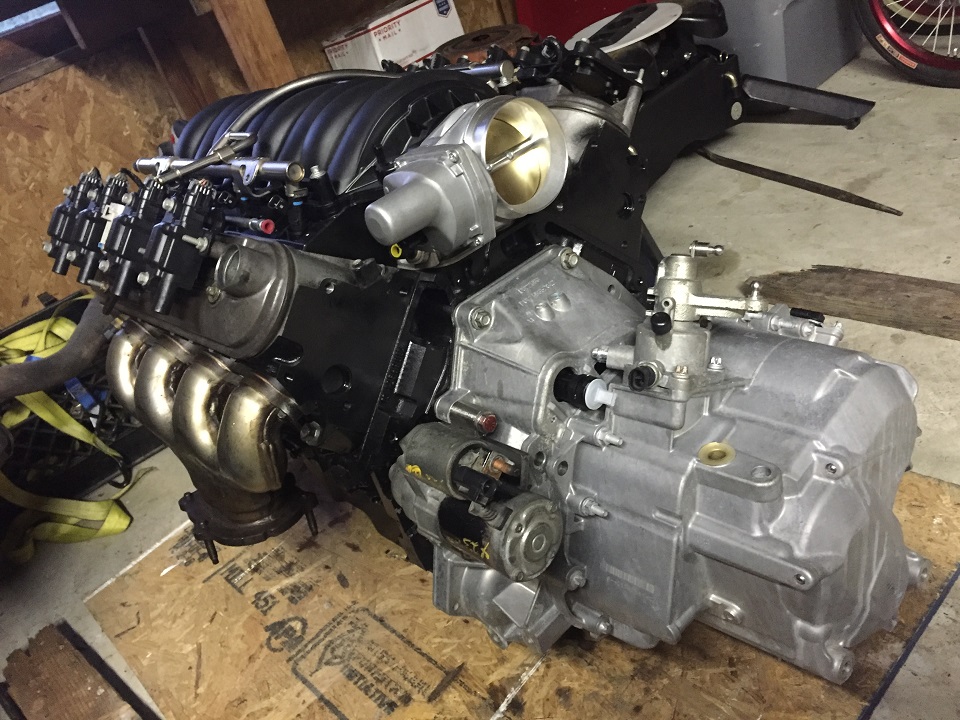
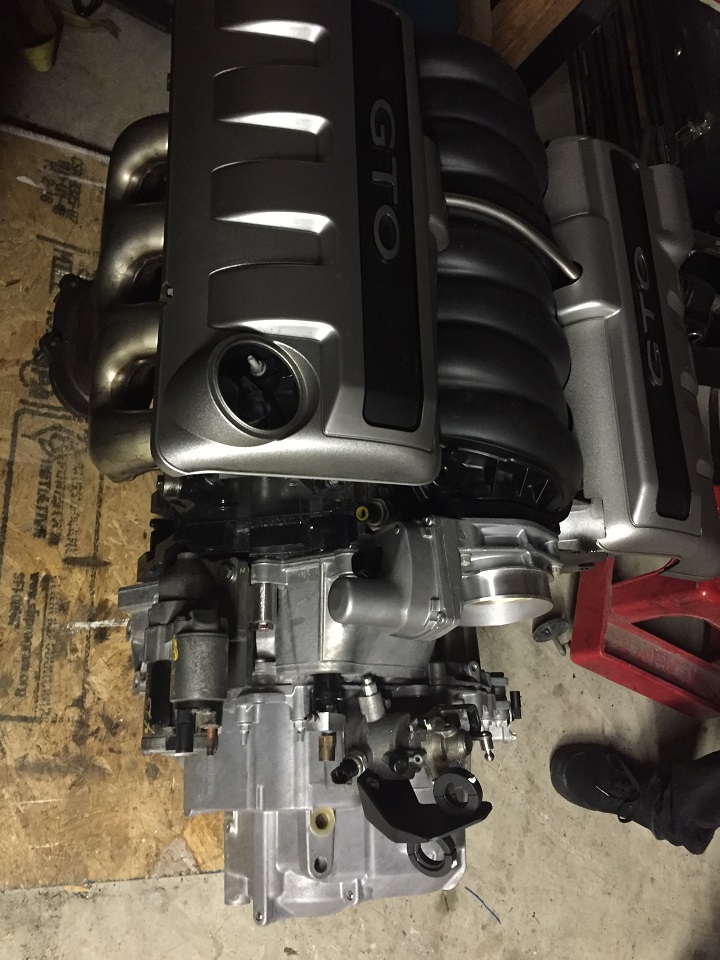
Next we move on to the transmission. Same issue as everyone else, we have to cut the hole for the starter bracket. 2 things - start small once you ge the bracket to mark the area, you can always go larger, and get Fierogurus new bracket, it works well with no additional mods. I did incorporate the WCF mount on this bracket by welding the lower portion to the Fieroguru starter bracket.
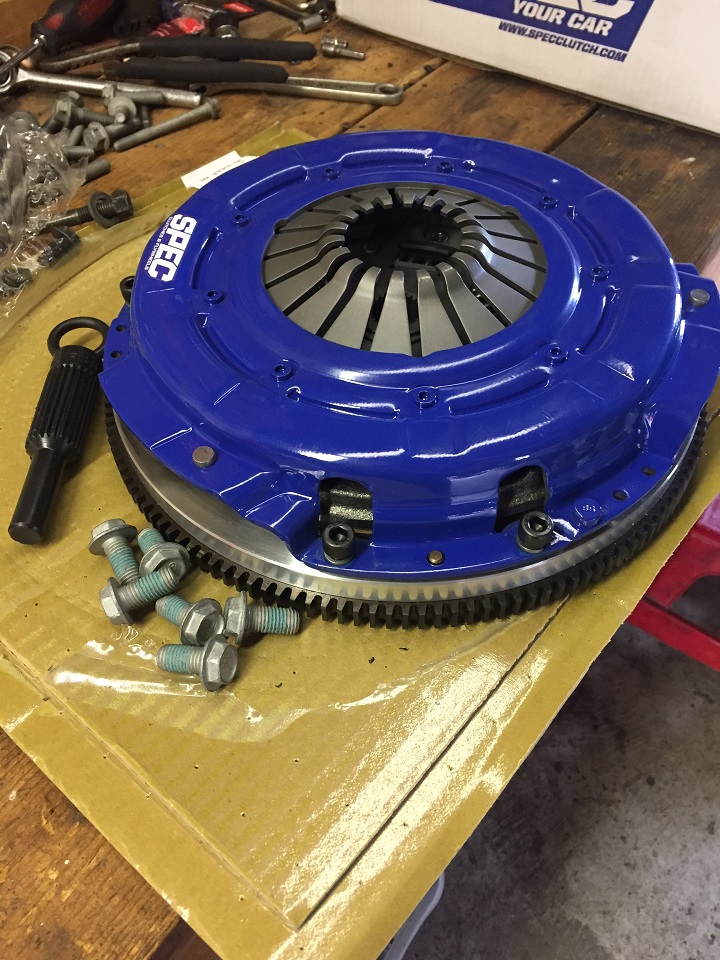
I called and found that SPEC had a flywheel and clutch setup for the conversion. If you go to their web site you will find the LS4/F40 under their conversion options. As you will read more about later, this is the first setup from SPEC, but was nice and came with everything including longer flywheel bolts. We went with the Stage 3, 6 puck setup and even though it works well, it does take some getting use to for normal driving conditions. This part of the build probably cost me the most in terms of time and money and as you will see later, took the most work to fix all of the issues.
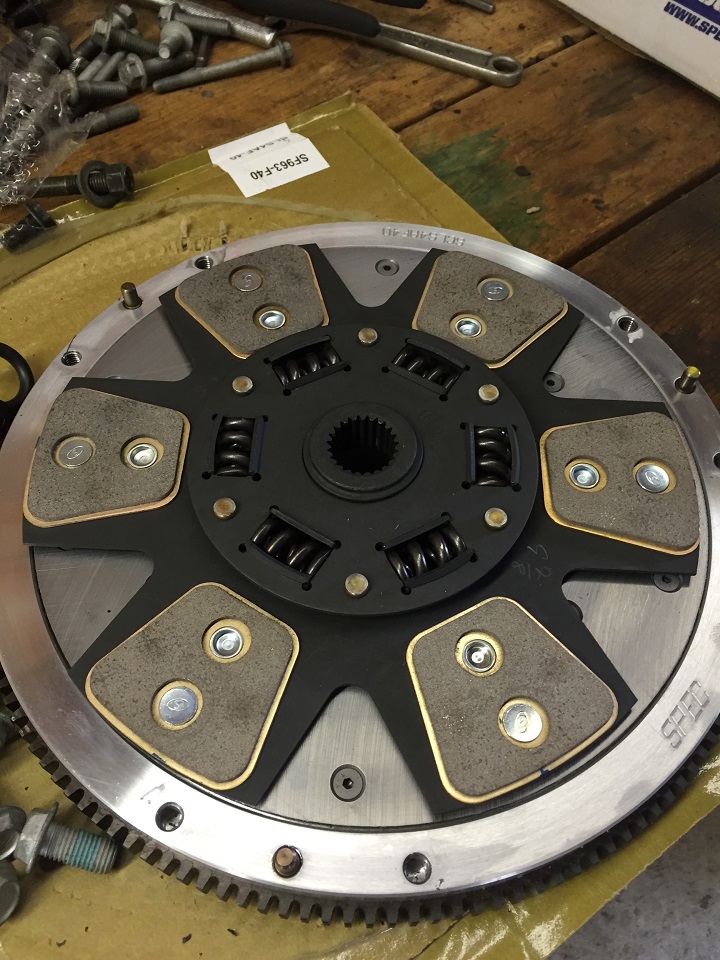
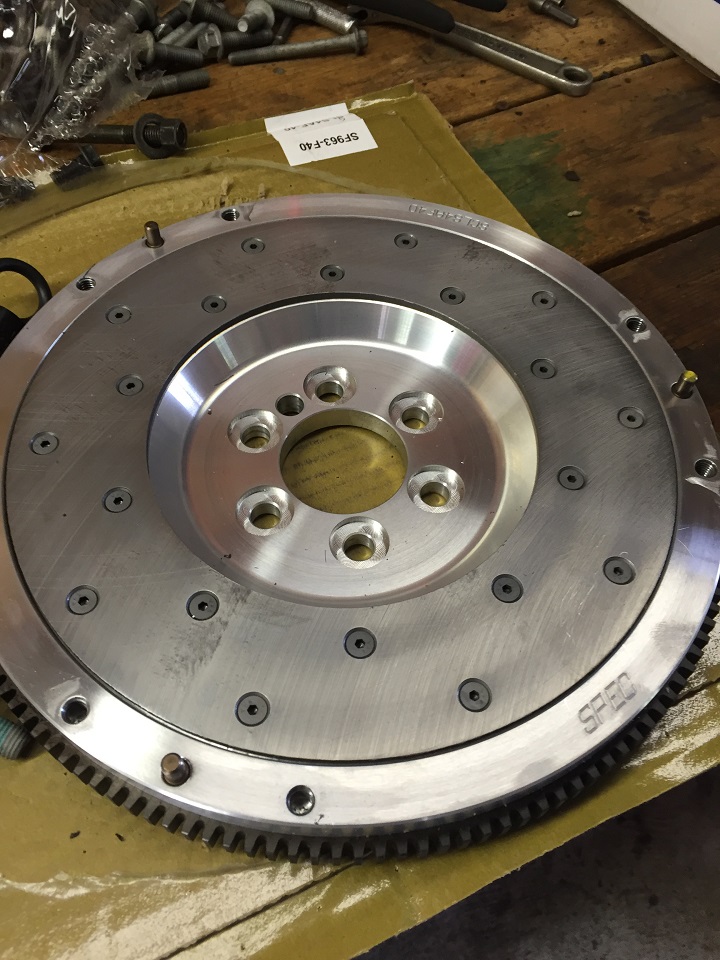
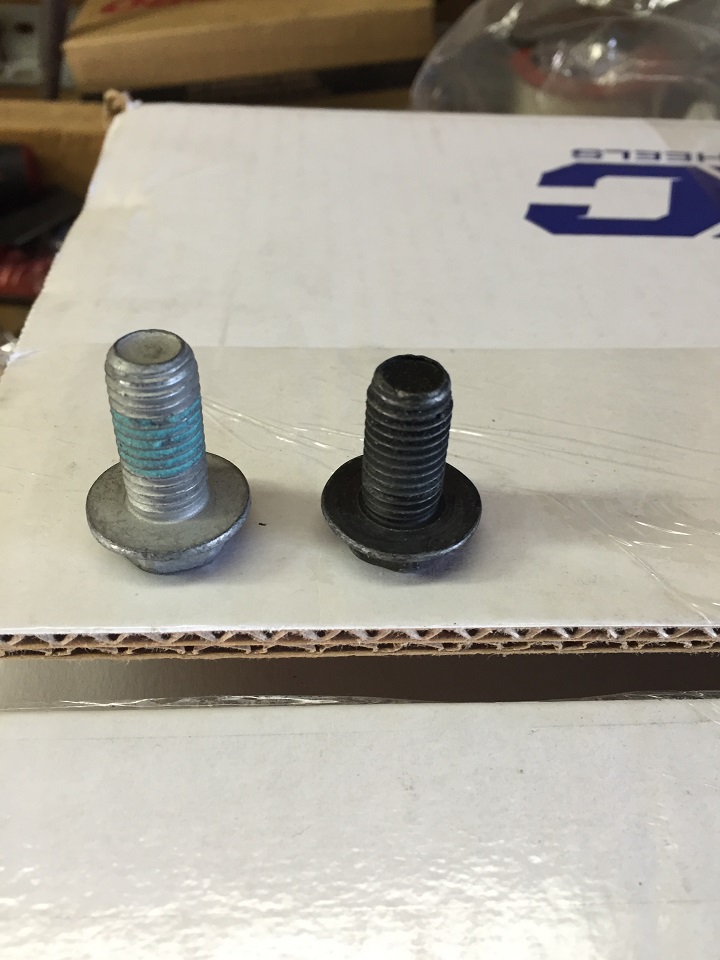
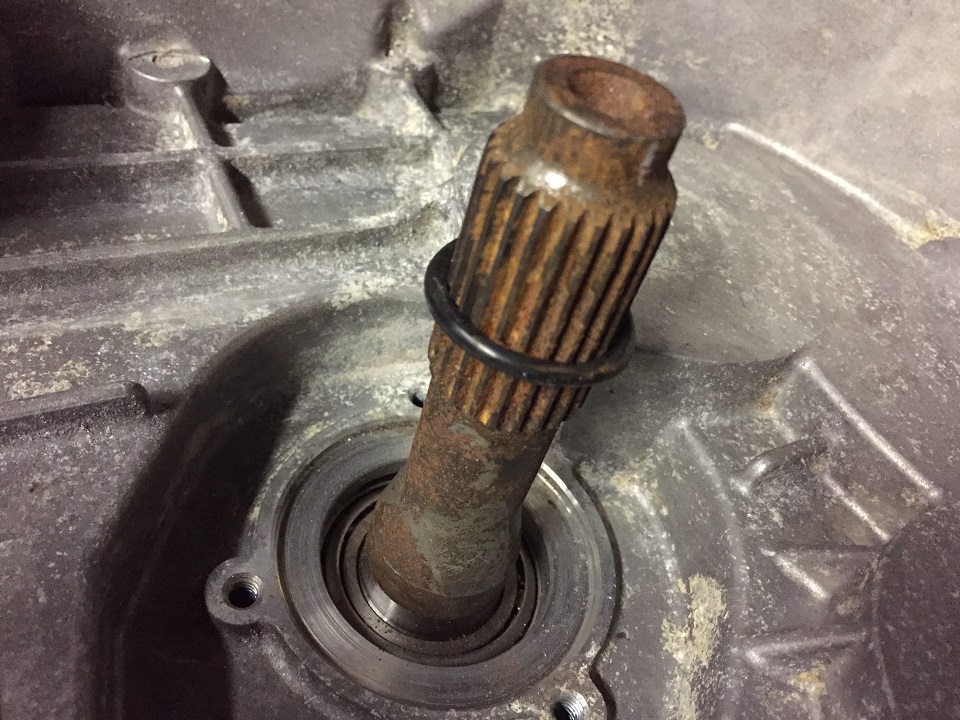
Next step was to measure and check the spline engagement. I measured the distance from a flat surface to record how much engagement there would be, but you can get a better idea using an o-ring slid over the input shaft and bolt the assembly together to see how much shaft engagement you have.
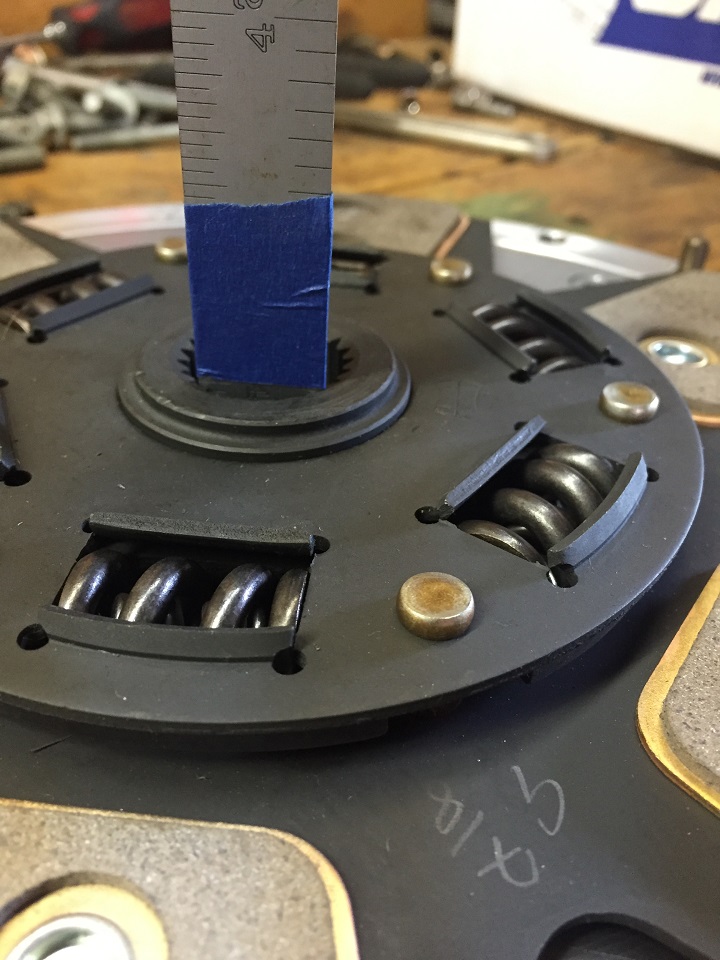
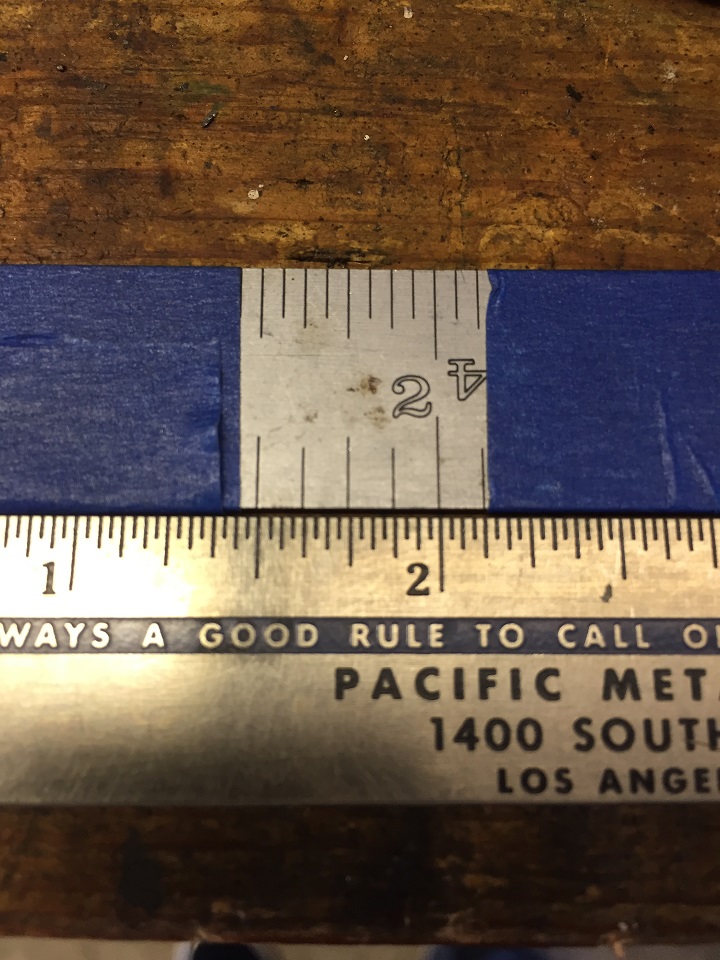
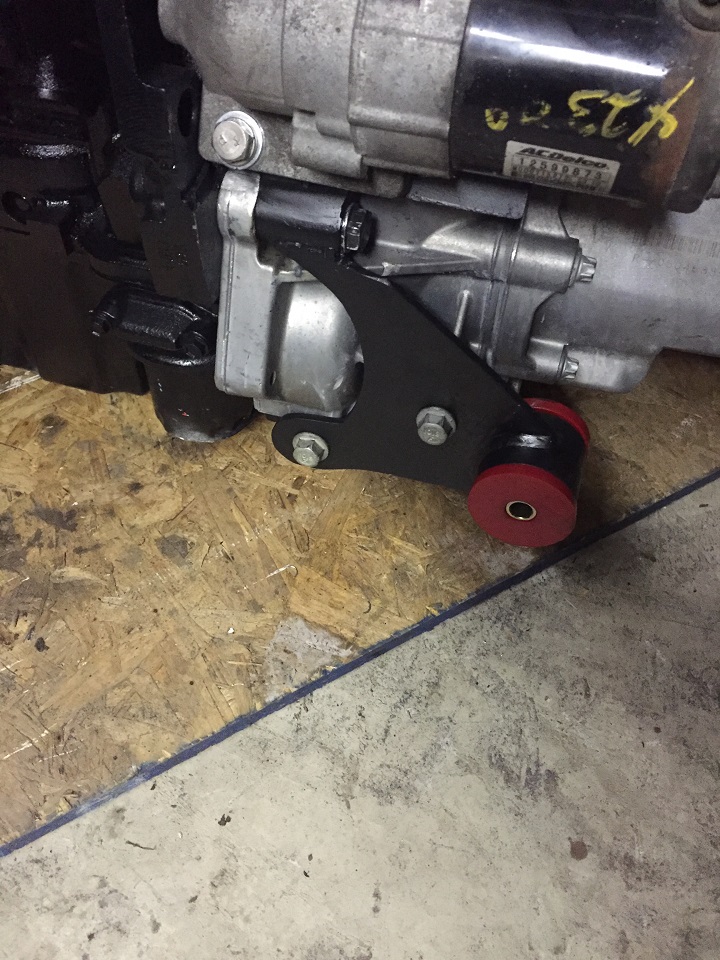
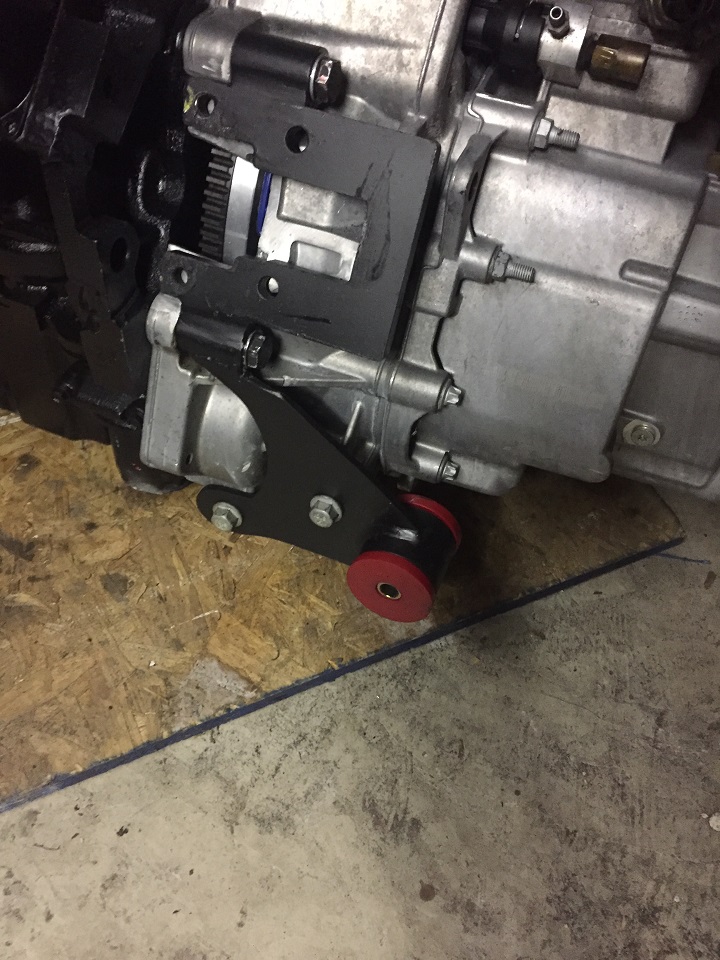 [This message has been edited by GPickardt (edited 06-09-2018).]
|
|

|
GPickardt
|
JUN 09, 12:43 PM
|
|
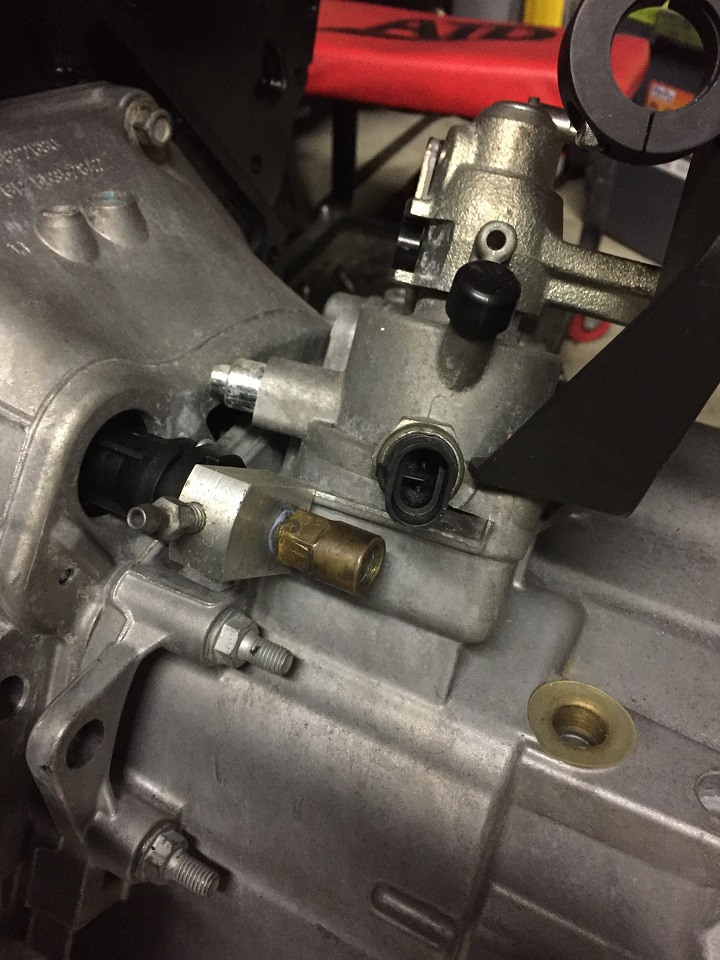
Besides the mount for the starter and cradle, the Fieroguru cable bracket and clutch line adapter were purchased for this build. Since this trans was already setup for a Fiero install, it already had the line adapter with bleeder already installed and I ended up reusing it on the final assembly.
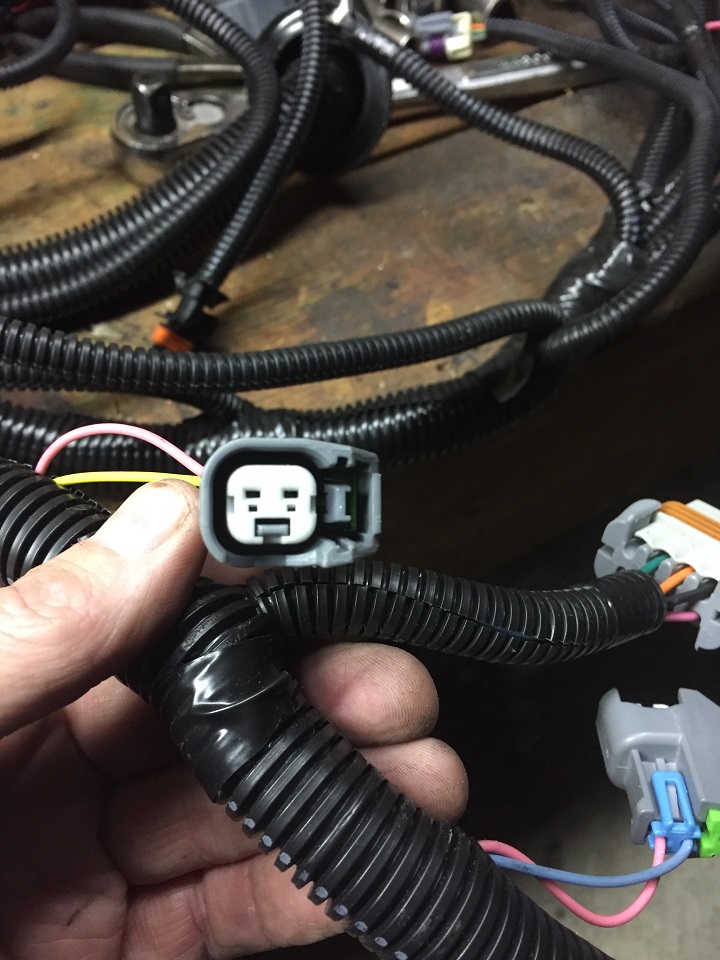
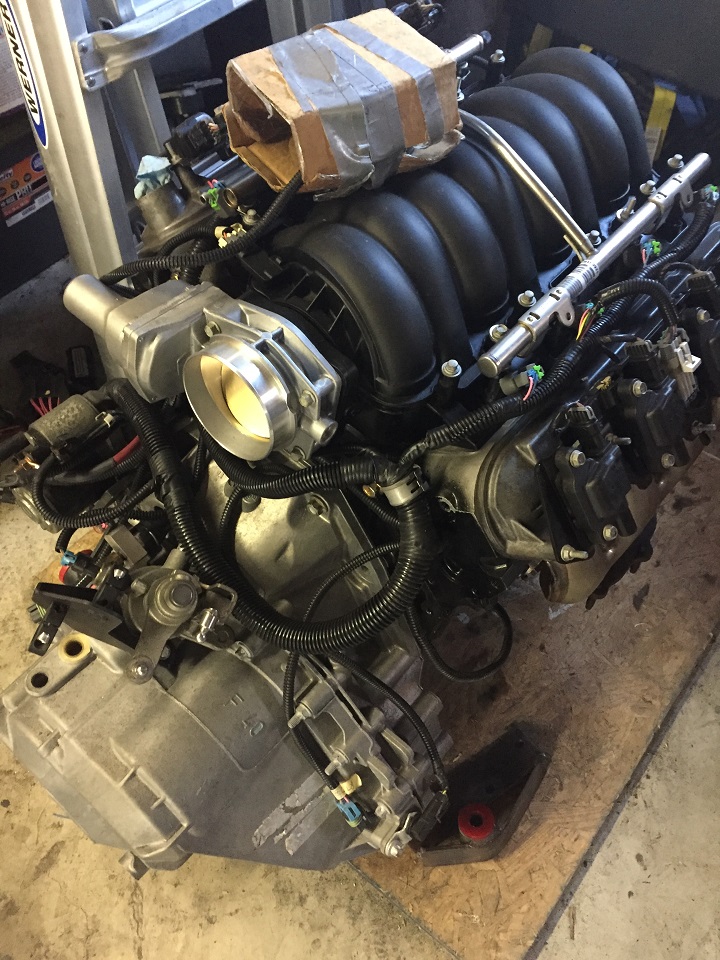
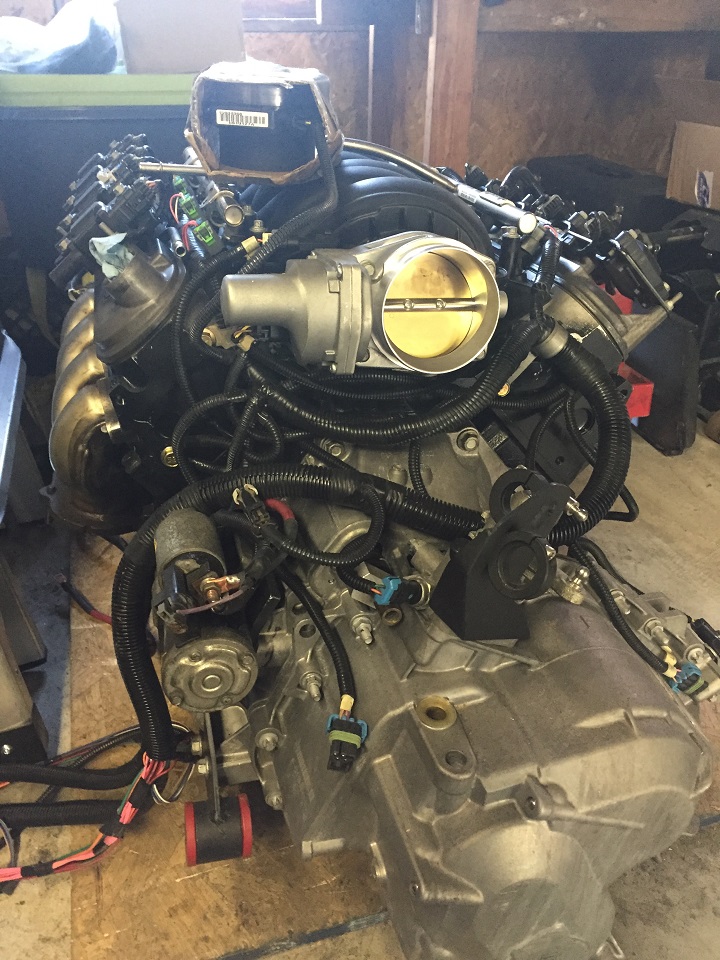
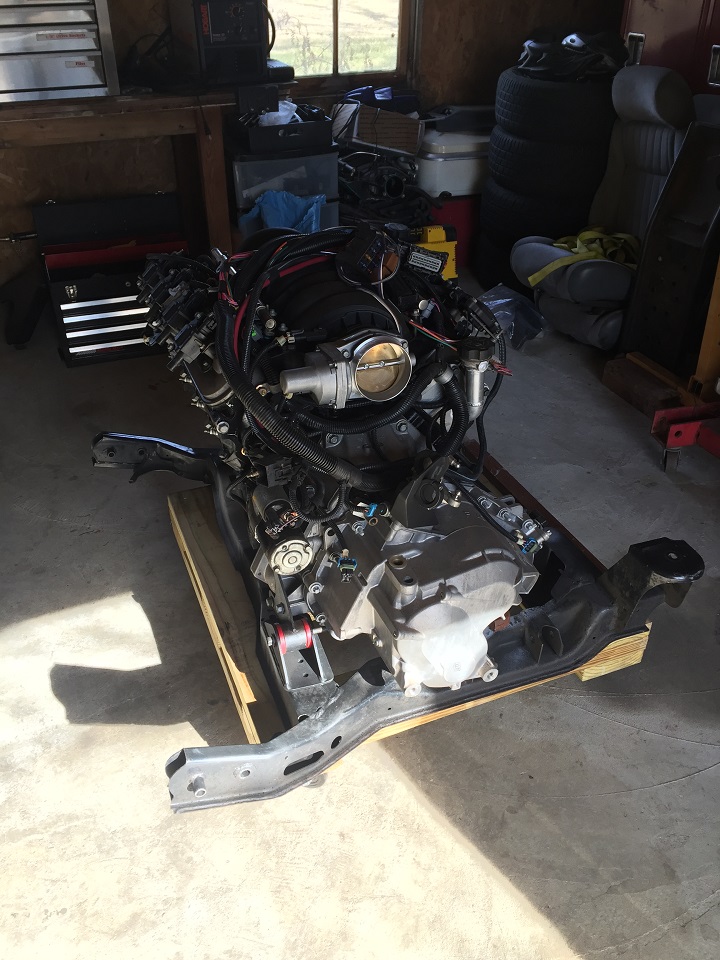
With the engine and trans now together, I reached out for some help with the wiring harness and got in touch with Joe Sokol (Fiero King) for the wiring harness mods. Joe ended up modifying my PSI harness to work with the Fiero connections, built battery re-location cable set that included a battery power block out of a Caddy for quick dis-connect when removing the cradle, and modified the VSS, starter, and Alt connectors for my specific application.
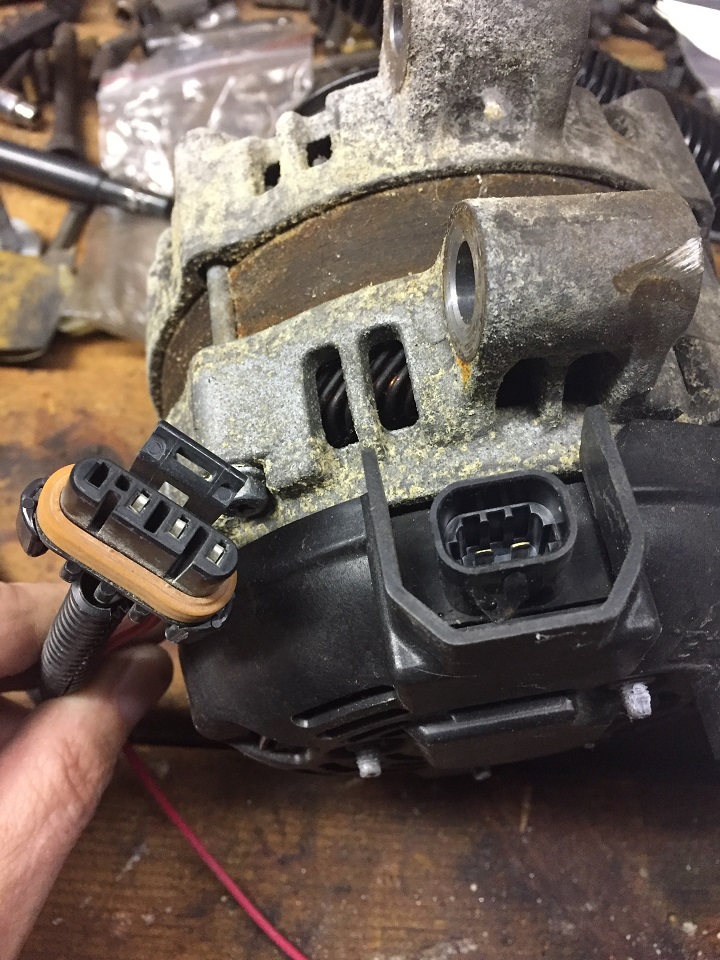
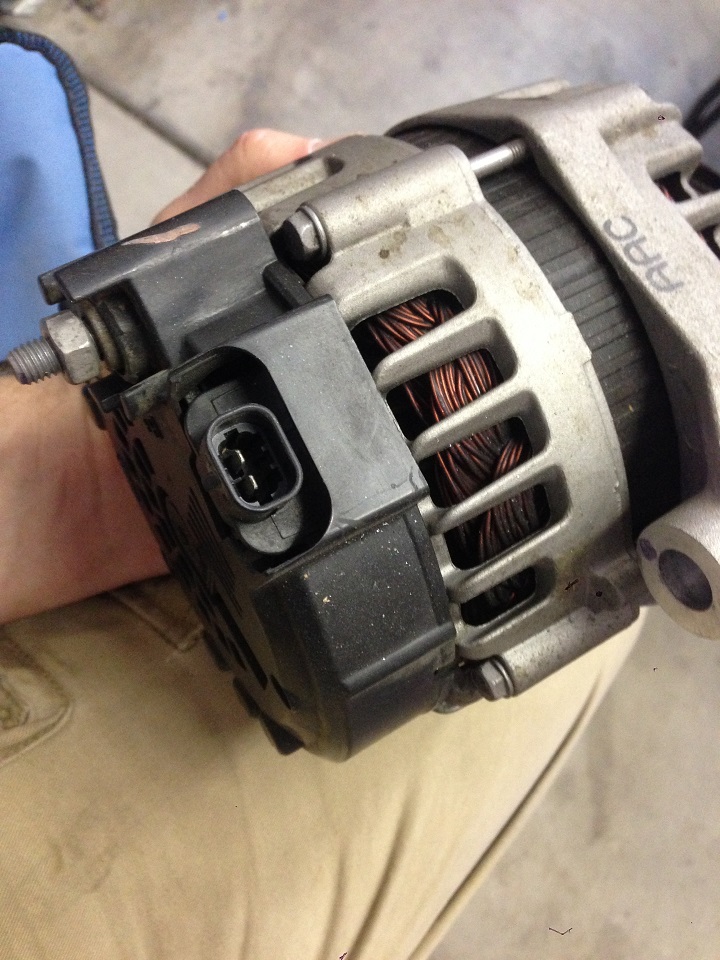
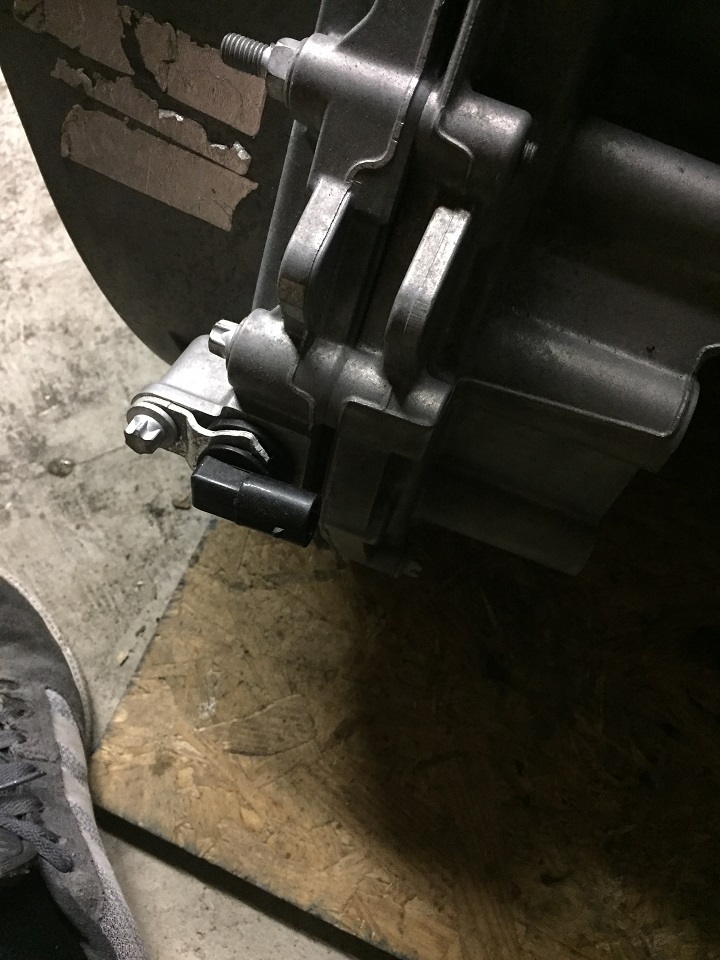
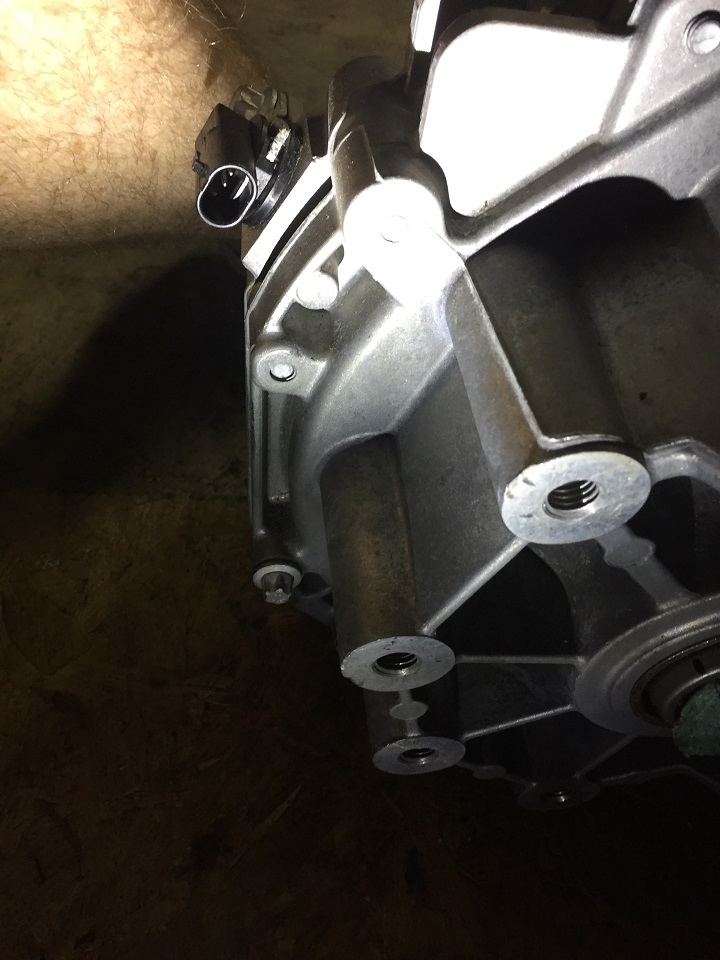
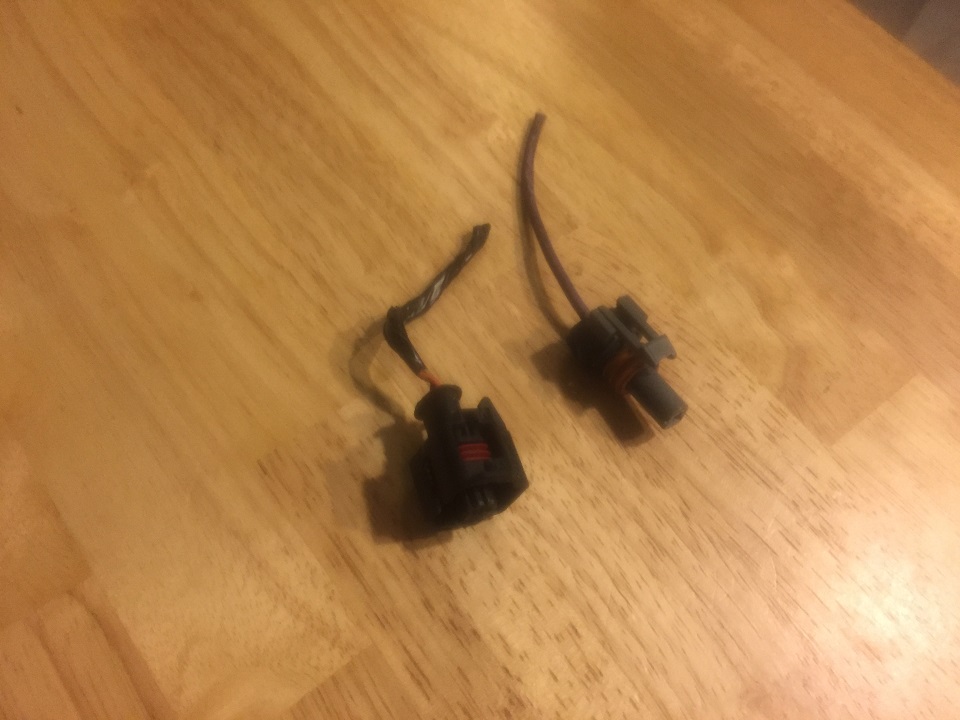
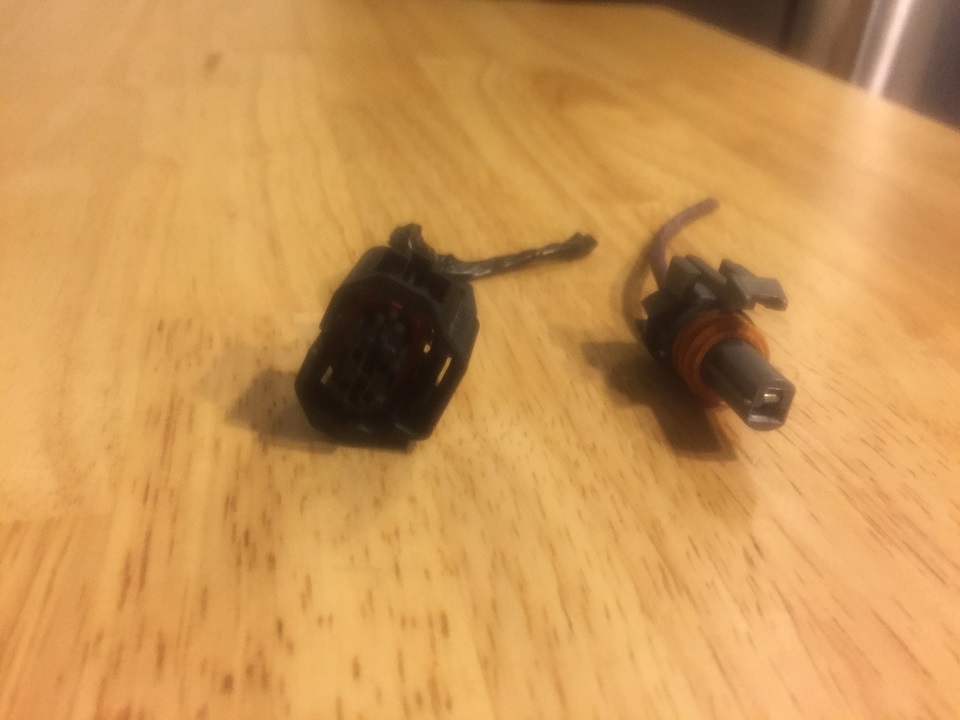
The finished product is great quality, but because I started with a generic stand-alone out of the box harness, it is not a clean as I would have preferred. Looks and works great, but I will likely pull the second harness apart and re-wire the complete engine myself for the next build now that I understand a lot better what is needed.
 [This message has been edited by GPickardt (edited 06-09-2018).]
|
|

|
KissMySSFiero
|
JUN 09, 04:44 PM
|
|
Can't wait to see more.
What did you end up doing for the accessories up front? Did you keep the AC? ------------------
SSFiero@Aol.com
|
|

|
GPickardt
|
JUN 09, 05:19 PM
|
|
| quote | Originally posted by KissMySSFiero:
Can't wait to see more.
What did you end up doing for the accessories up front? Did you keep the AC?
|
|
I will post photos, but no, I did a top mount alt and used a belt tensioner where the ac comp was. Plan is to put it back in later if I can get a tune that will support running ac.
|
|

|
GPickardt
|
JUN 09, 05:30 PM
|
|
Before exhaust, but coolant system is fully functional at this point. Still needed to do some additional bleeding.
Yes, it is vertical, we know. Future ones will be corrected.
Gary[This message has been edited by GPickardt (edited 06-11-2018).]
|
|

|
Patrick
|
JUN 09, 05:56 PM
|
|
| quote | Originally posted by GPickardt:
Yes, it is vertical, we know. Future ones will be corrected.
|
|
In the meantime, fix your link.  (End bracket is missing.) (End bracket is missing.)
|
|

|
GPickardt
|
JUN 16, 09:56 AM
|
|
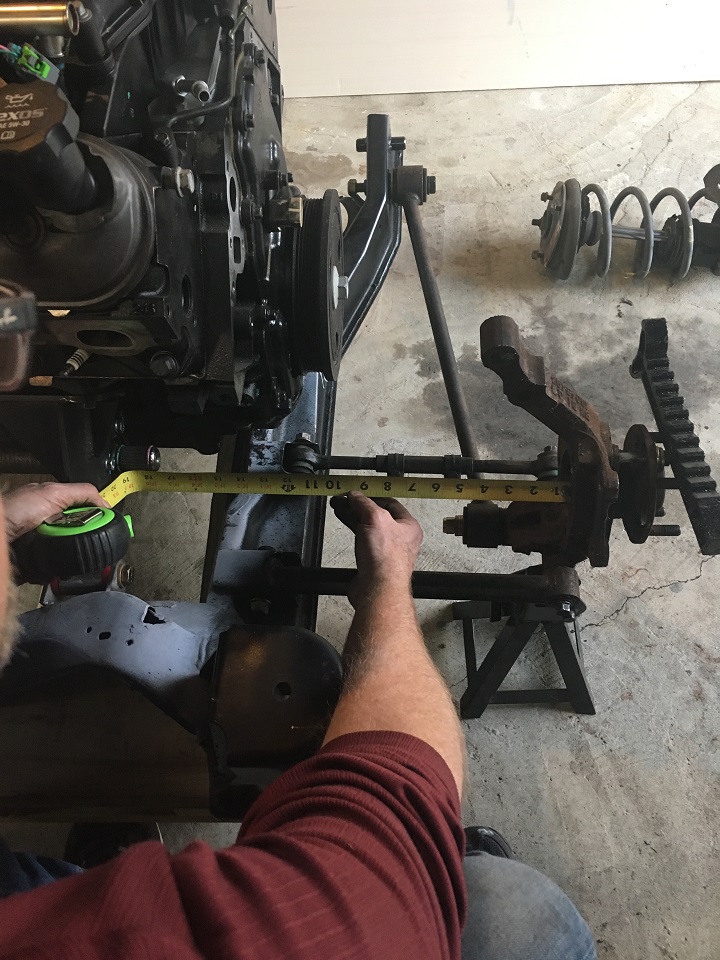
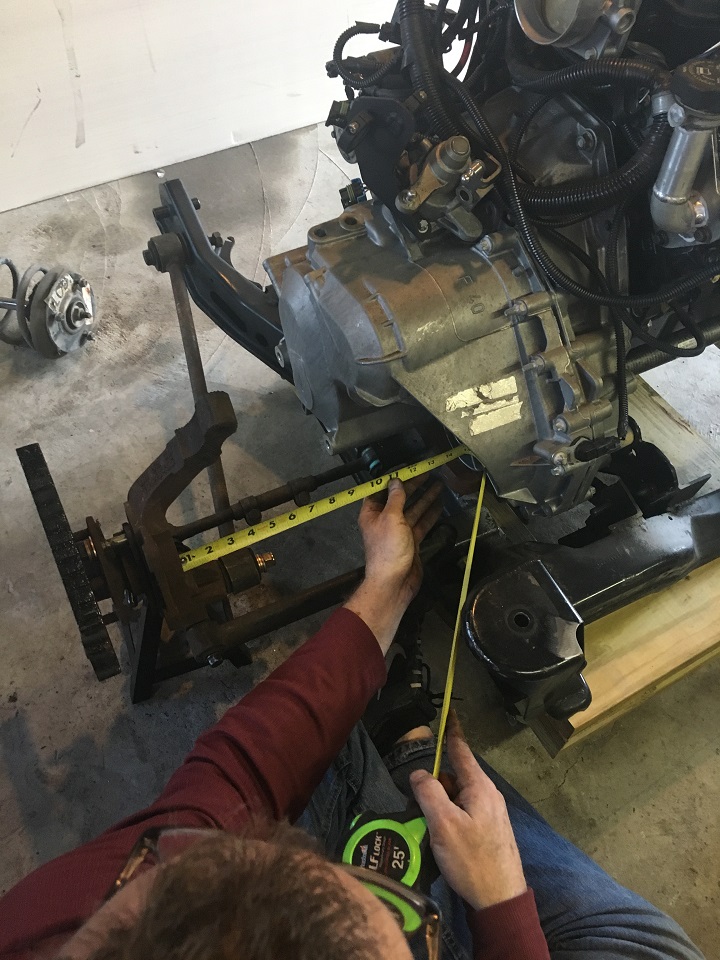
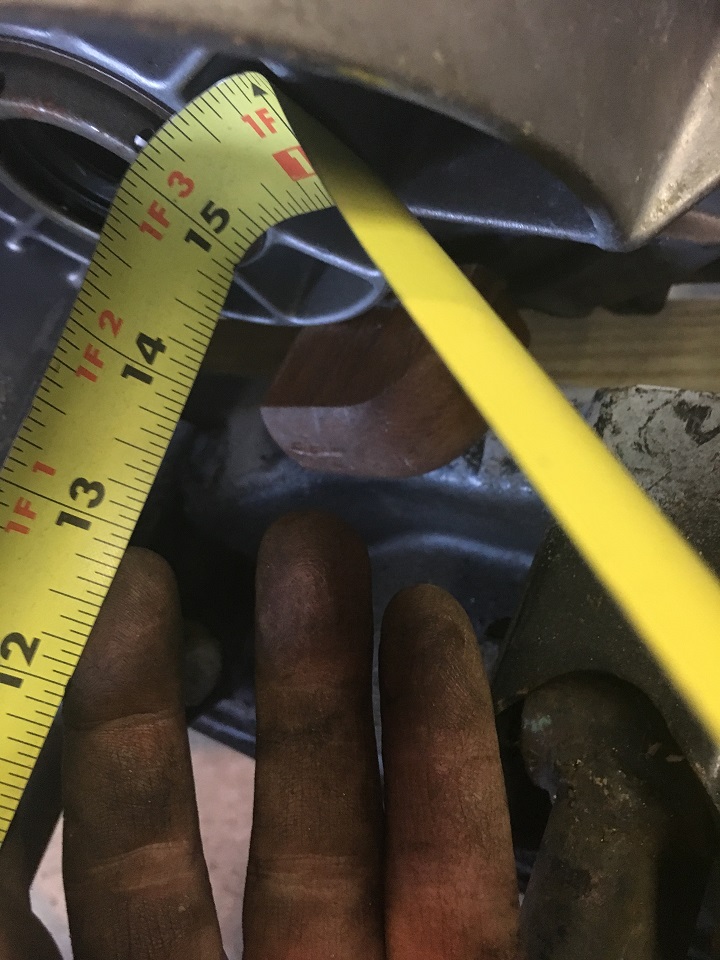
Before we moved to Maryland from California, I had built the engine and trans brackets with some help from a friend. When I bought some of the parts from various PFF members, one of the things I had acquired was a trans/starter mount from WCF. Although it would have worked as it was, I preferred Fierogurus mount, and as I mentioned previously, I modified the WCF mount and welded the new starter bracket to the integrated starter/trans mount. It bolts directly on where the stock mount location was. I called and spoke with Chris at WCF, and he was extremely helpful. He did tell me up front that they were very busy and that if I needed parts made quicker, I might want to explore other options. Long story short, I went with WCF and had them make a rear engine mount with an integrated bearing carrier, a water fill neck, and axles. I used the dimensions for engine placement from Fierogurus build thread for I think the auto or build #2 and I can tell you that all of my measurements came within 1/8th of his. This was very helpful to do a single install test fit. In the end, I made no changes to the setup and outside of removing the engine for other reasons, it fit well the first go.
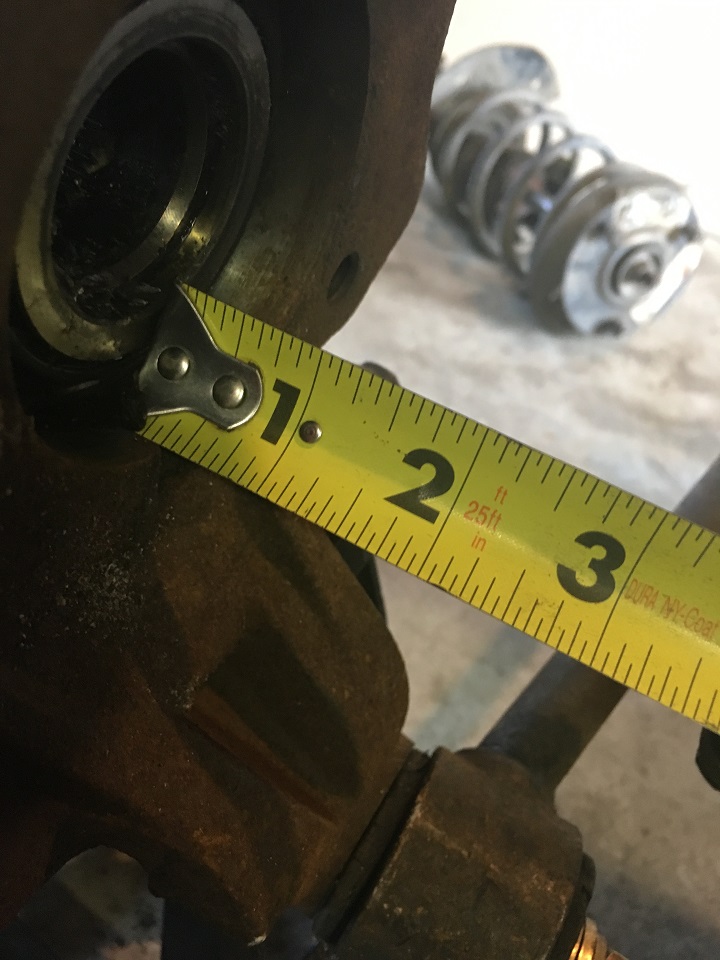
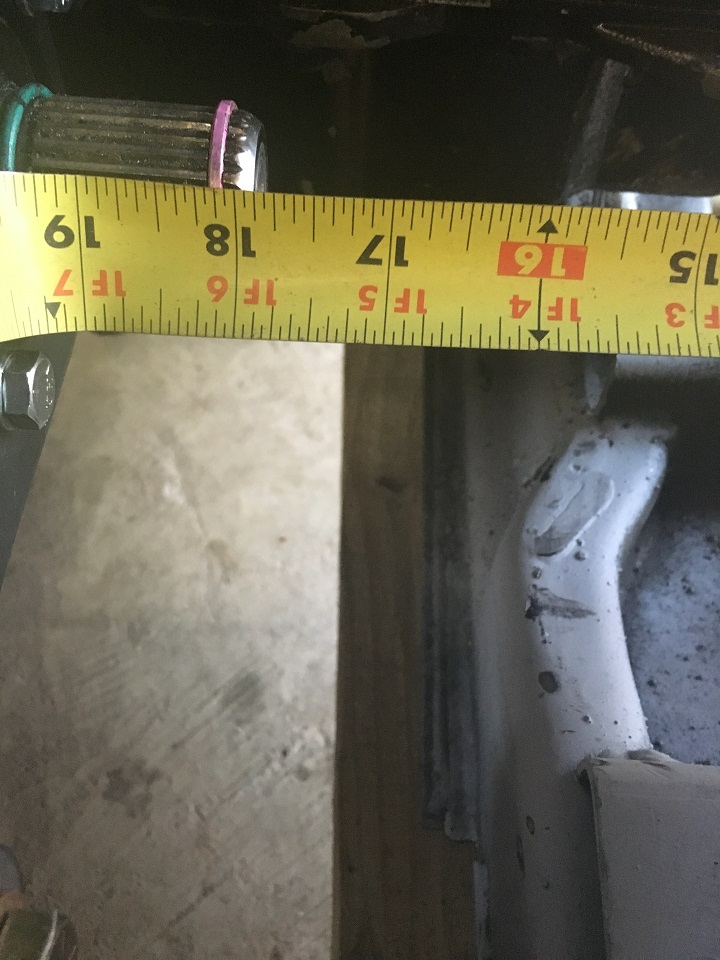
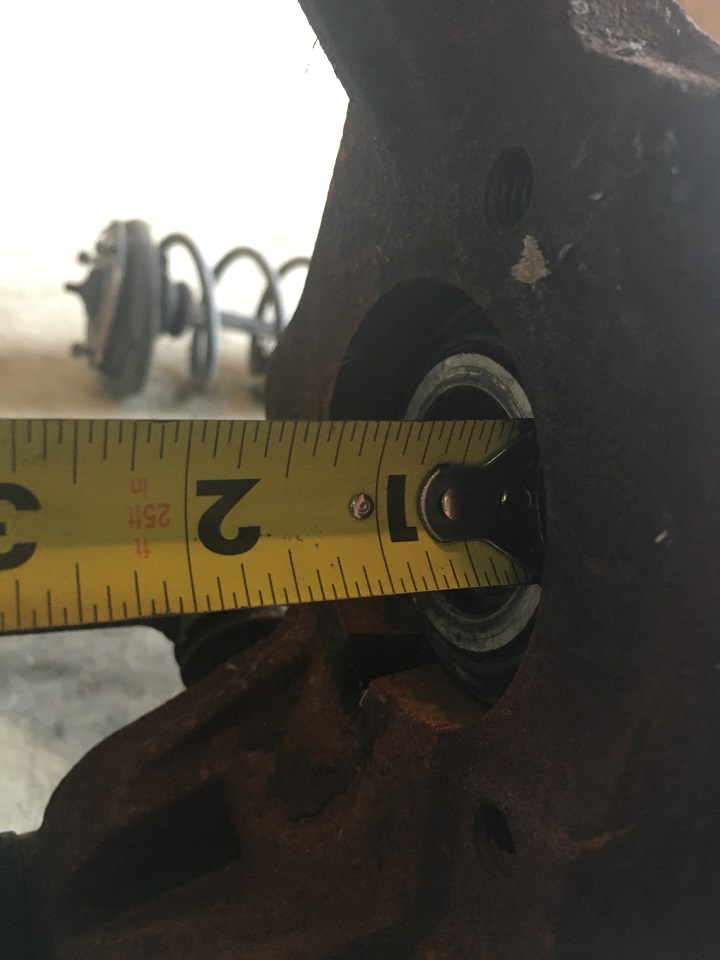
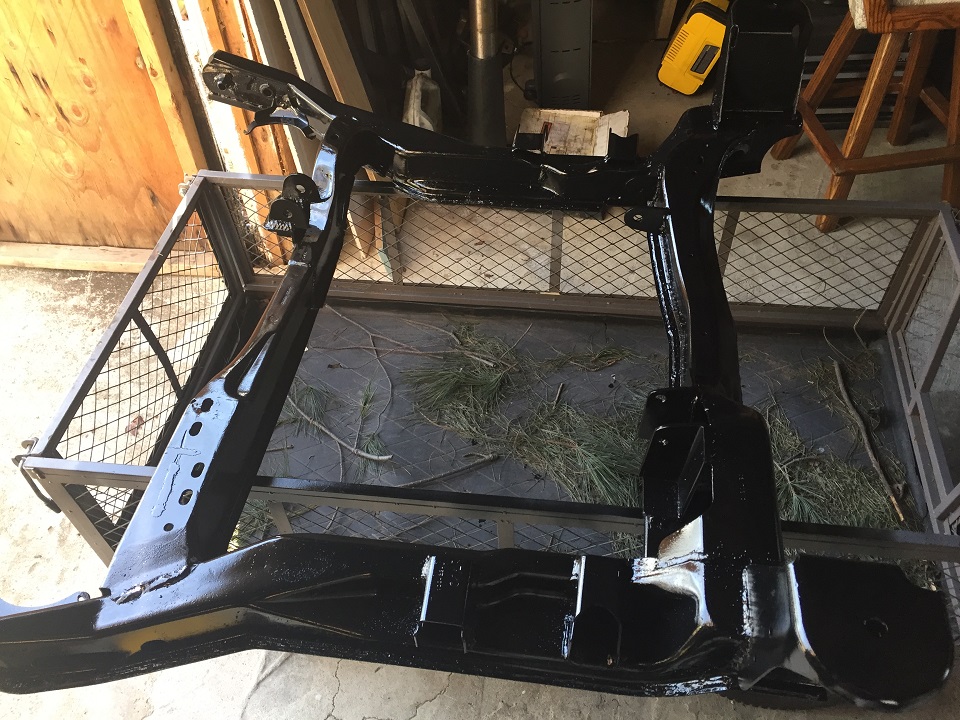
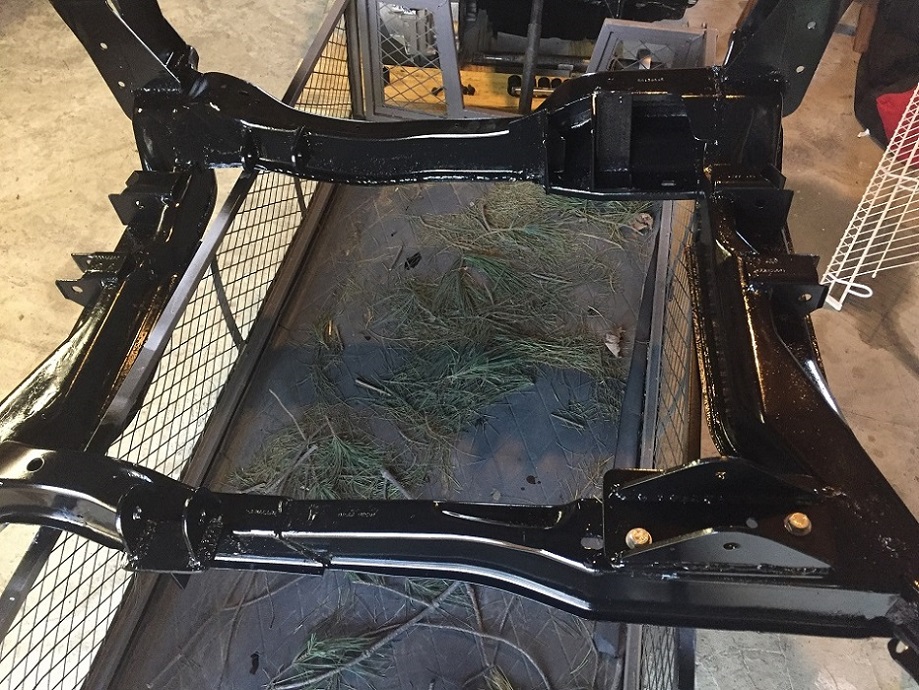
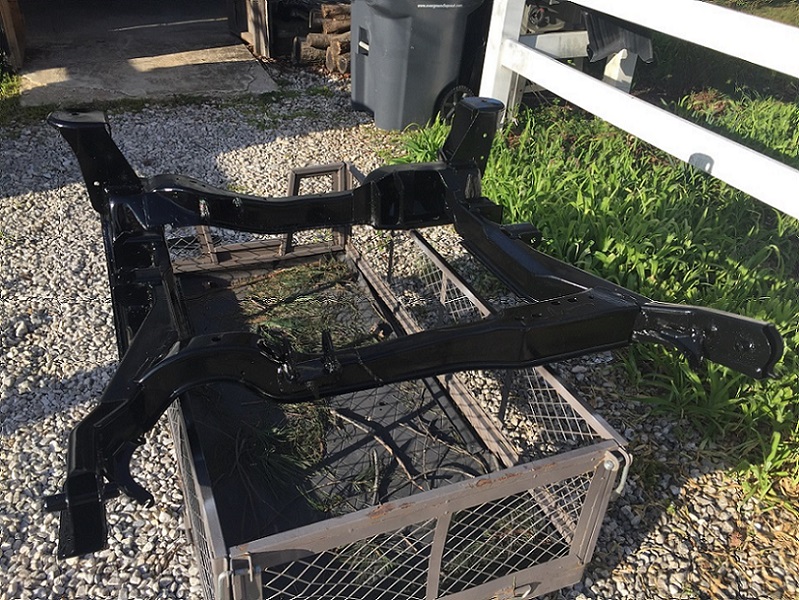
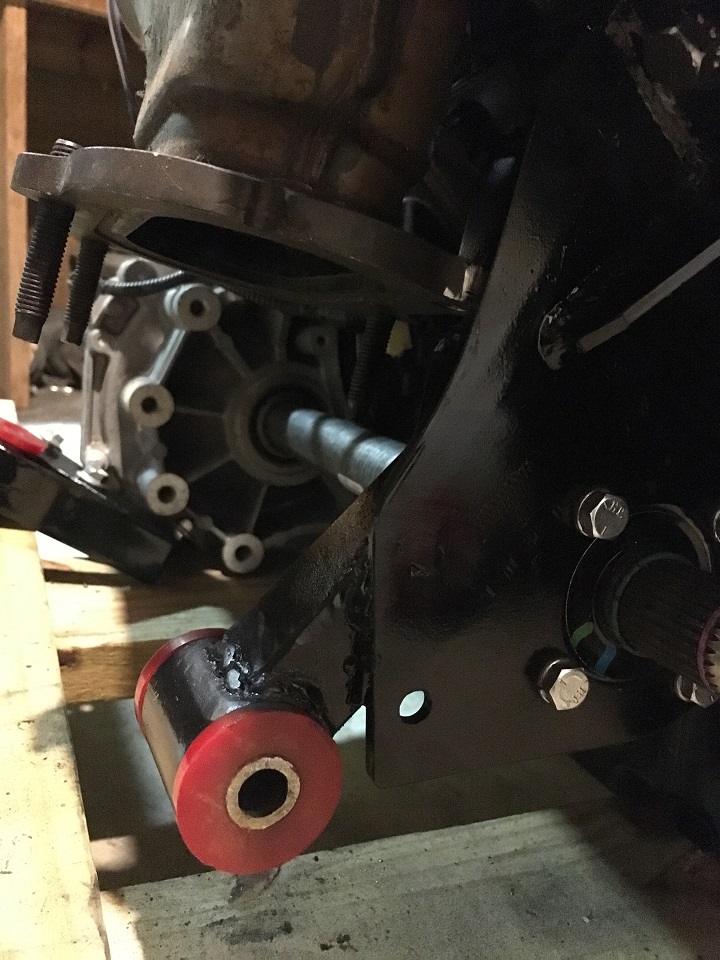
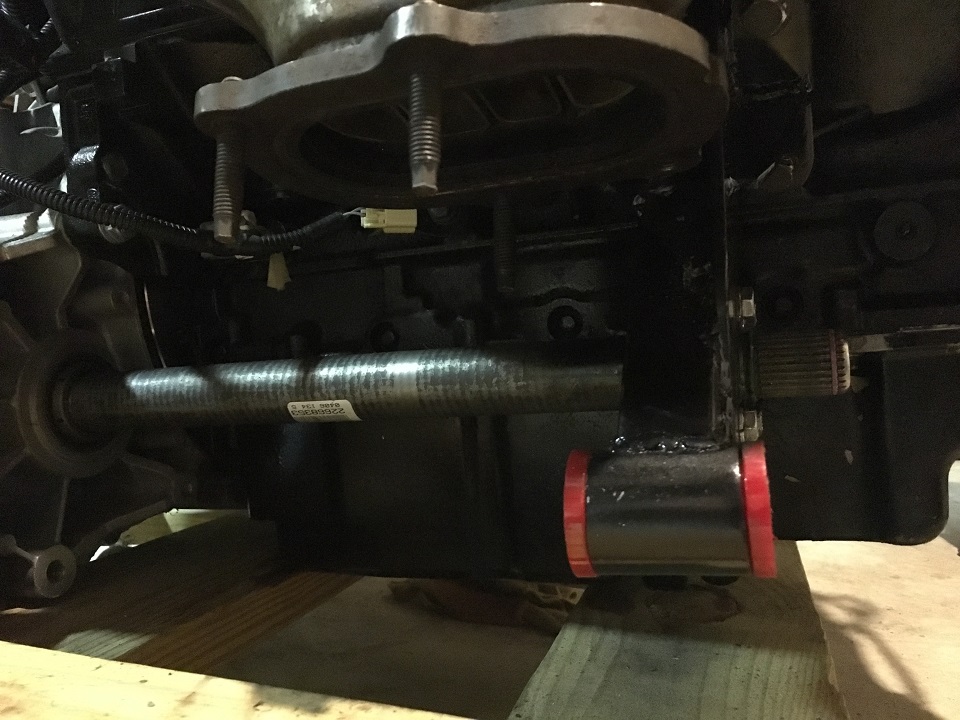
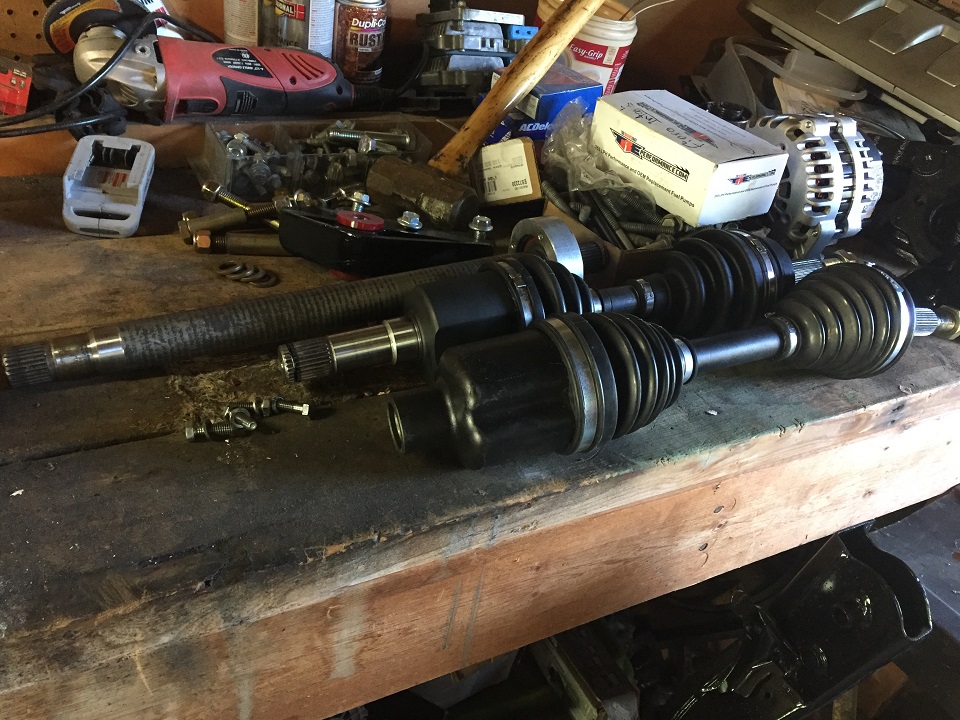
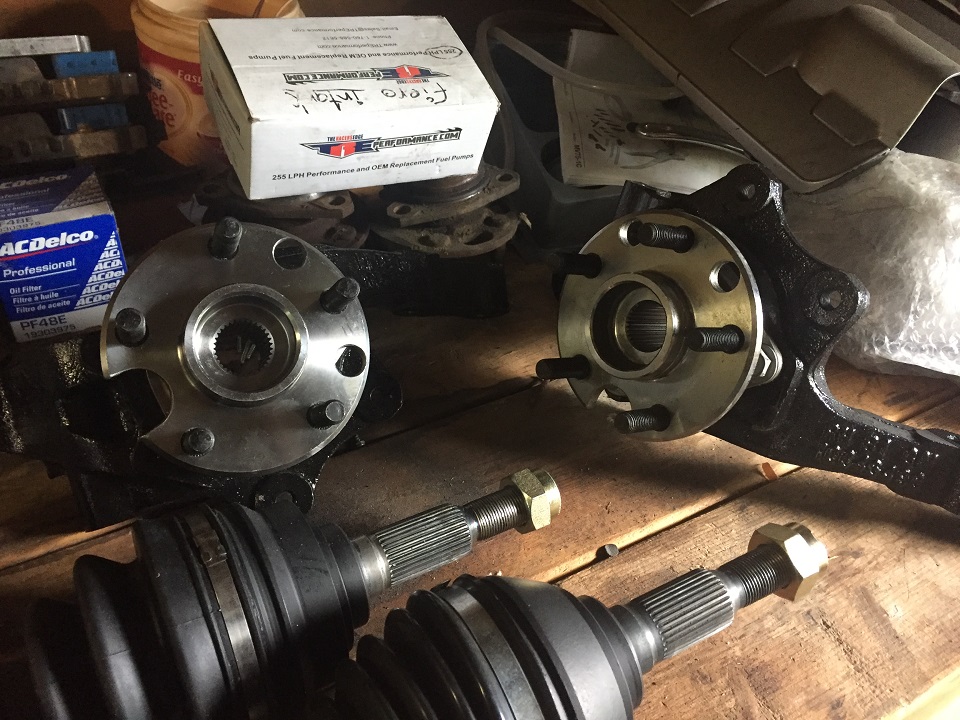
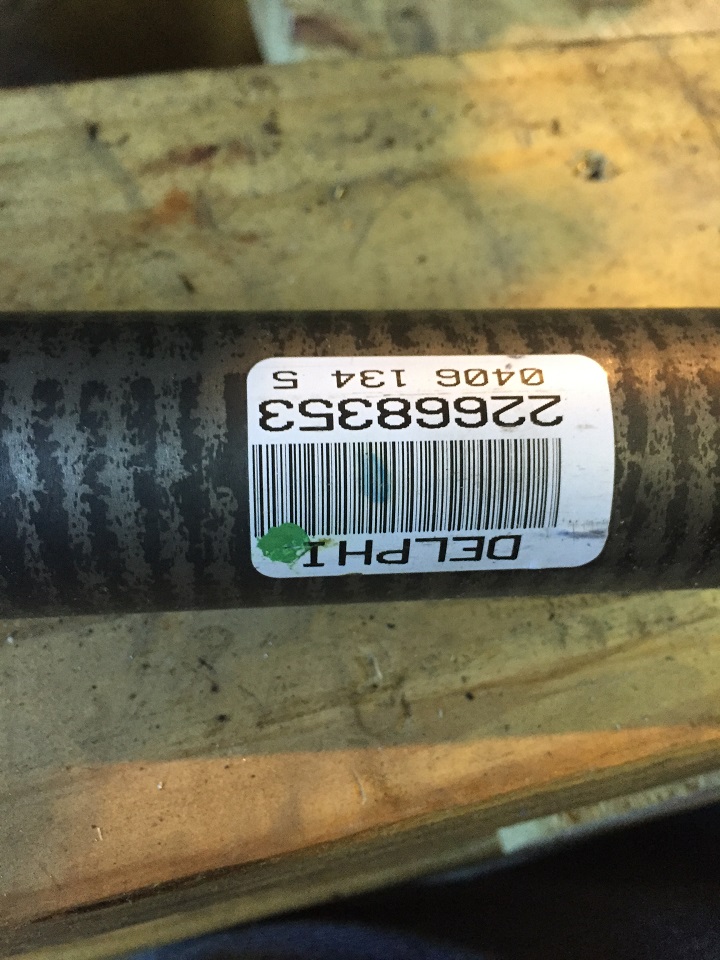
One of the other things I didn't do, but wish I had done, was to invest in getting the cradle powder coated. I used the rustoleum professional series paint in the large silver can that you can get from Lowes, or any parts store.
Another note: I ended up modifying the WCF engine mount/bearing carrier to add the mount I had made with a poly bushing instead of the solid mount WCF provided. I also modified their mount for additional clearance on the LS7 manifold. You can see I had to remove a stud in one of the photos, and trim the mount down to clearance the collector plate for the exhaust build up. I will show you photos later of how it turned out with the exhaust bolted up.[This message has been edited by GPickardt (edited 06-16-2018).]
|
|

|
GPickardt
|
JUN 16, 10:05 AM
|
|
|
Double post. [This message has been edited by GPickardt (edited 06-16-2018).]
|
|
    
  |
|


