|
| Clutch release bearing failure prompts refresh (Page 1/4) |

|
fierosound
|
JUN 24, 08:39 AM
|
|
|
|
|
fierosound
|
JUN 24, 08:58 AM
|
|
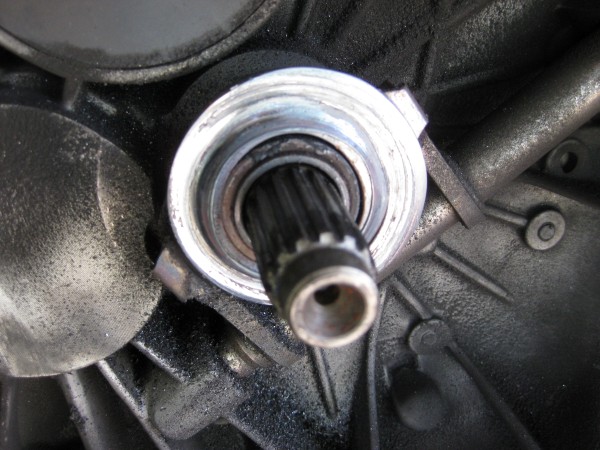
I bought a new Fiero Store Getrag clutch fork shaft Design 1 in my case (still "ouch" on price), bushings and shaft seal to go with it.
Item http://fierostore.com/Produ...ail.aspx?s=54030&p=1
The top bushing is easy to knock out with Rodney Dickman's bushing tool.
But you need a specialized tool to get the lower bushing for the clutch fork out. Yup. I already tried the "grease trick" with no result.
But a found a transmission shop who said they could remove it for me.
They told me they use a slide hammer with pilot bushing extractor to hook under the bushing.
It was a struggle, but they got it out - basically cut cutting the thing in half with a hammer and chisel.
They all had pizza for lunch the next day 
 [This message has been edited by fierosound (edited 06-24-2013).]
|
|
|
|
fierosound
|
JUN 24, 09:00 AM
|
|
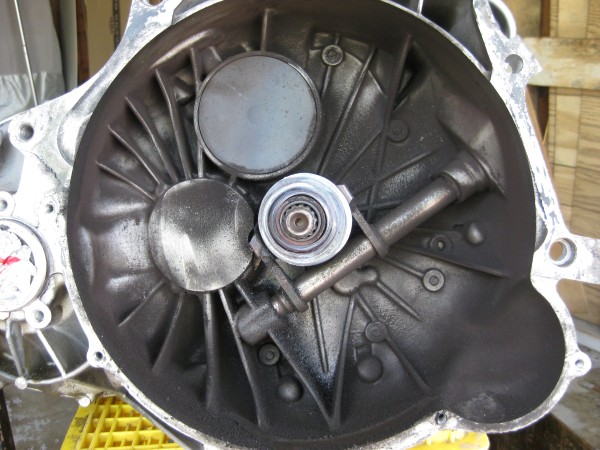
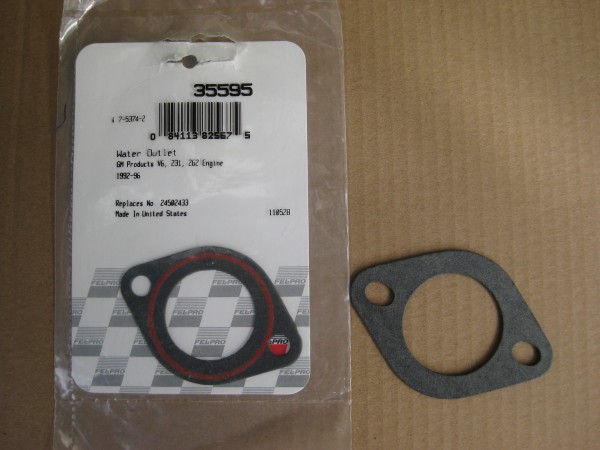
I found that my transmission had been seeping for some time from the cup-shaped shift shaft cover.
This metal cover has a rubber sealing edge embedded on it - not replaceable - and the covers are discontinued.
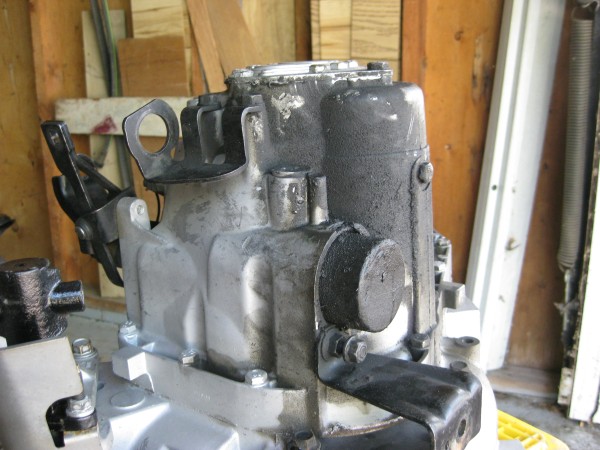
After cleaning up and repainting the transmission I reinstalled the shift shaft cover.
When last rebuilt, they installed this with silicone - so I cleaned up the edge as best as I could, leaving most of the original rubber seal intact.
I trimmed back the rubber edge about 1/16 inch, and applied a bead of Permatex Anaerobic Gasket Maker #51813.
 [This message has been edited by fierosound (edited 09-02-2023).]
|
|
|
|
fierosound
|
JUN 24, 09:10 AM
|
|
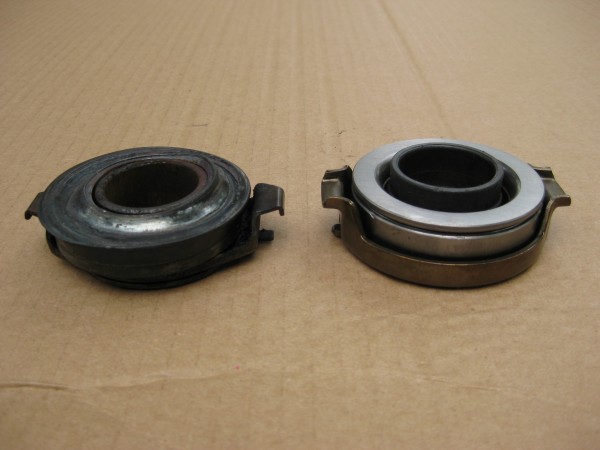
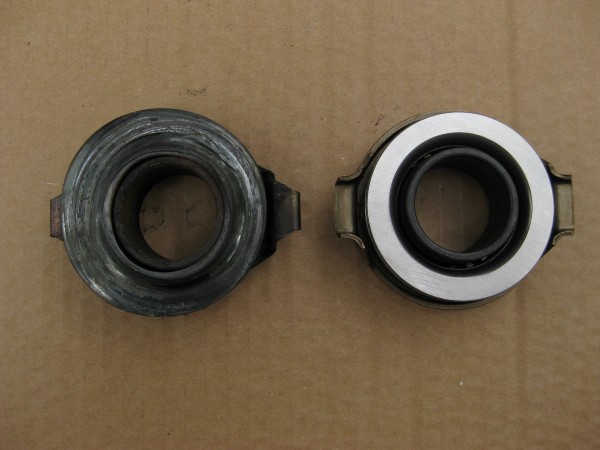
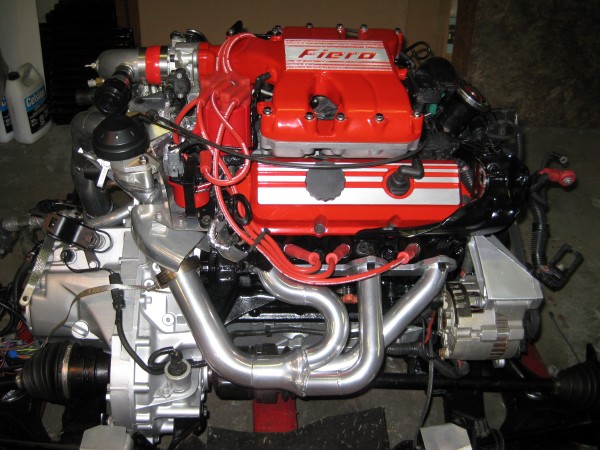
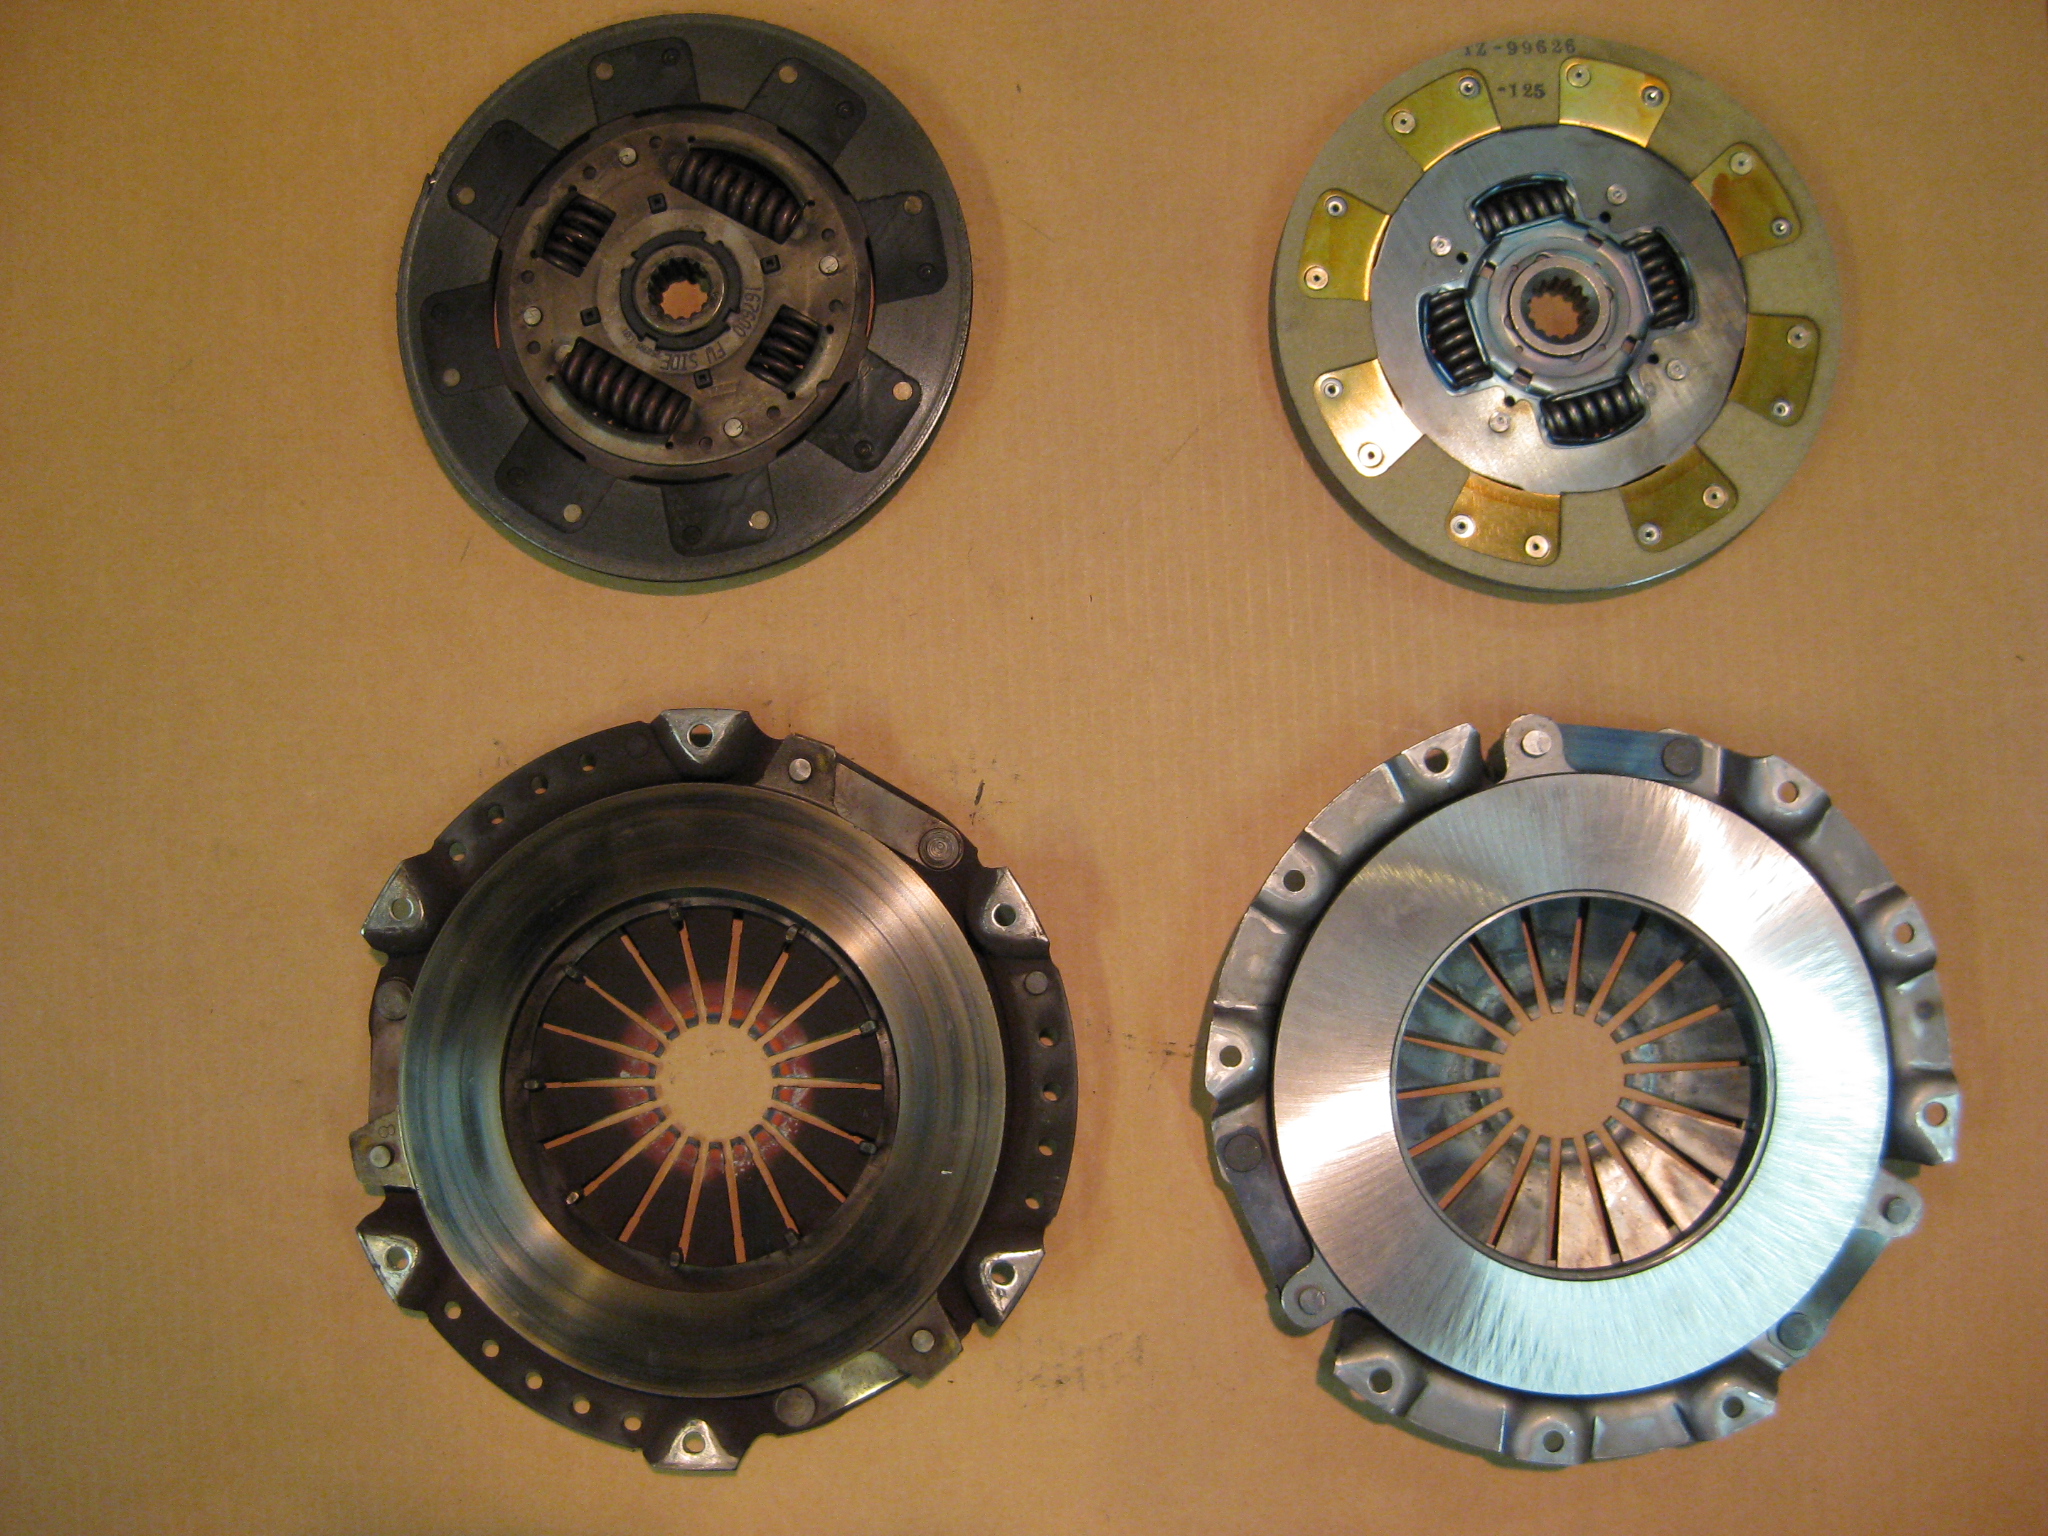
The clutch kit I got was a Bully Stage 3 www.bullyclutch.com
Kit includes a new release bearing and clutch alignment tool.
They don't list any clutches for the Fiero but they do for the Cavalier (guess they don't know they're the same)
Chevrolet Cavalier 2.8L Eng (Getrag/Muncie 5 Spd) 1987-89
Stage 1 04-0881
Stage 2 04-0882
Stage 3 04-0883 - what I ordered
Stage 4 04-0884C
Stage 5 04-885C
The center hub of the Bully disc is smaller, but otherwise they look a lot alike.
Because of the Bully pressure plate redesign, the pedal effort is light while still giving great clamping force.
I still have a Spec Stage 2 in my Indy - it's a real chore to drive now compared to the Bully.
EDIT: I was SO happy with this clutch, I installed the same one in my Indy as well (w/Getrag 5-speed).
https://www.fiero.nl/forum/...L/000077-6.html#p214
Spec Stage 2 vs Bully Stage 3

 [This message has been edited by fierosound (edited 09-02-2023).]
|
|
|
|
fierosound
|
JUN 24, 09:13 AM
|
|
OK - you buy the Fiero Store Getrag clutch fork shaft (Design 1 in my case), bushings and seal to go with it.
You go through all the grief of getting that "darned" bottom bushing out and get the shaft, bushings and release bearing installed.
Everything looks good - you bolt the transmission to the engine and drop it on the cradle. So far so good...
NOW you go to install the clutch slave cylinder and something doesn't fit quite right. I thought I had screwed up somewhere.
BUT I remembered Troy mentioning something about this when he rebuilt the Getrag I was installing in my Indy.
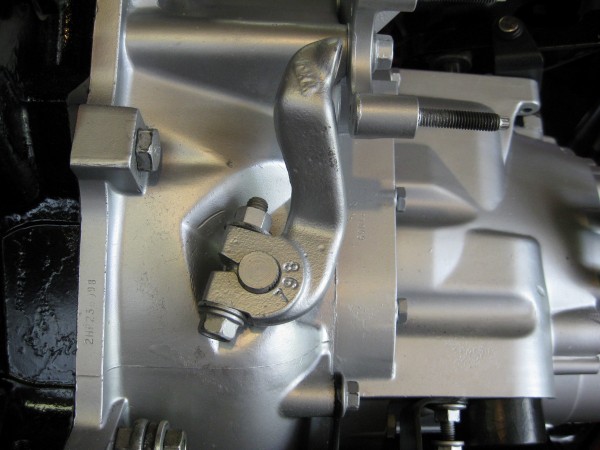
There is something odd about these FS Getrag clutch shafts - they "clock" wrong. (this is the 2nd one I had bought)
A phone call to Troy and I knew what to do. Remove the clutch arm to modify it (NOT the shaft).
Using a round file, file off the first tooth by the "8" and slightly elongate the bolt hole. You can install "1 tooth over".
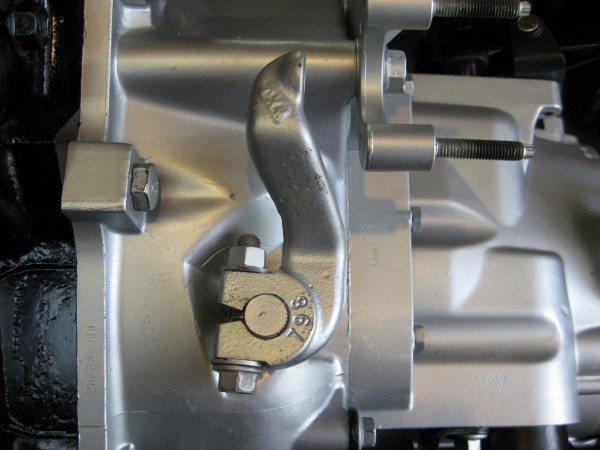 [This message has been edited by fierosound (edited 09-02-2023).]
|
|
|
|
fierosound
|
JUN 24, 09:14 AM
|
|
|
|
|
fierosound
|
JUN 24, 09:16 AM
|
|
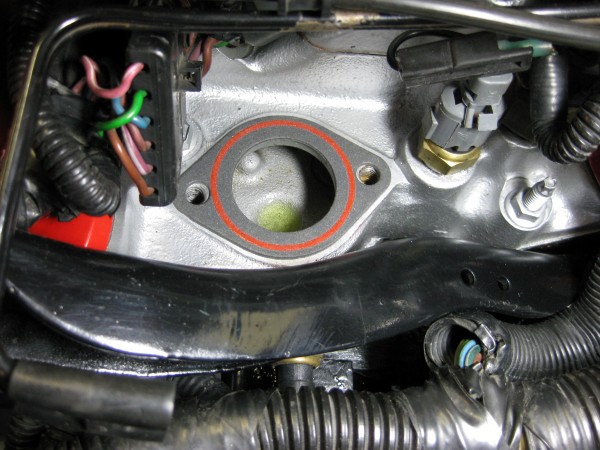
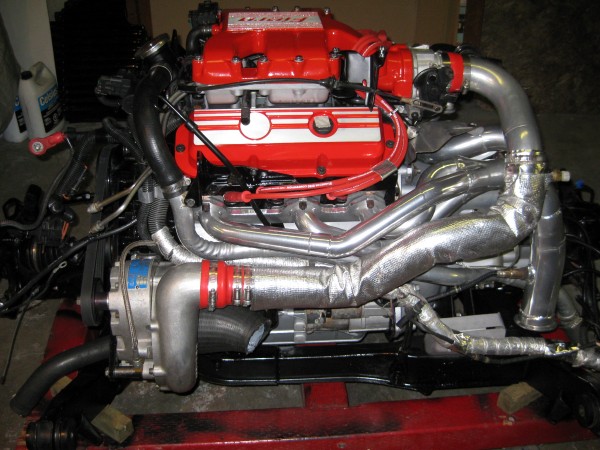
I had the headers off to get a new ceramic coating and to repaint the engine.
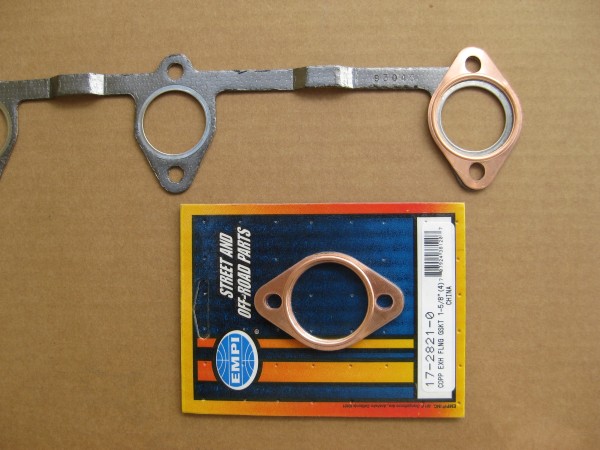
I'd heard about people using these VW exhaust gaskets for the V6 engine and decided to look some up.
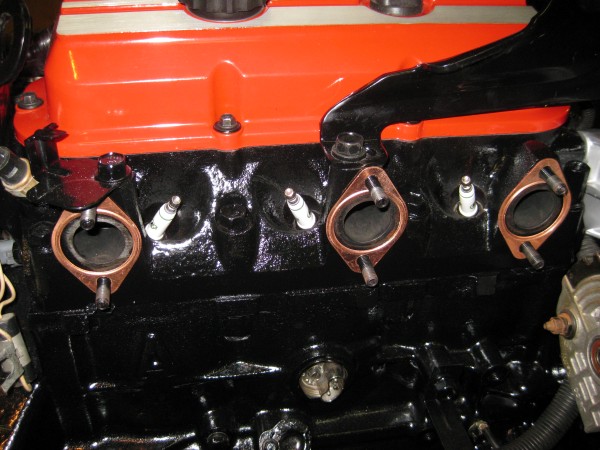
I found these copper ones with the 1-5/8" hole that people were recommending. (4 in a package)
It's only once I got them that I noticed the stock exhaust gasket and heads only have a 1-1/2" outlet anyway.
1-1/2" rings also available - could have also used those. All installed - no leaks. YAY!!
California Import Parts (separate websites for Canada and US customers) http://www.cip1.com/
Canadians won't be "importing" from the Langley B.C. store...
 [This message has been edited by fierosound (edited 09-02-2023).]
|
|
|
|
fierosound
|
JUN 24, 09:55 AM
|
|
|
|
|
92wastheyear
|
JUN 24, 10:09 AM
|
|
|
This is pretty neat. As a recent (re)entry to the Fiero world, I am finding this type of thing fascinating. I am still leery of tackling something so big...but luckily I have nothing big on the horizon (knock on freakin wood). Great job
|
|
|
|
fierosound
|
JUN 24, 10:12 AM
|
|
|
|