|
| 88 GT 3800 L67 Swap and Restoration (Page 2/5) |

|
olejoedad
|
SEP 07, 10:09 AM
|
|
|
|
|
MichiganReefer
|
SEP 07, 08:58 PM
|
|
|
|
|
MichiganReefer
|
FEB 05, 12:52 AM
|
|
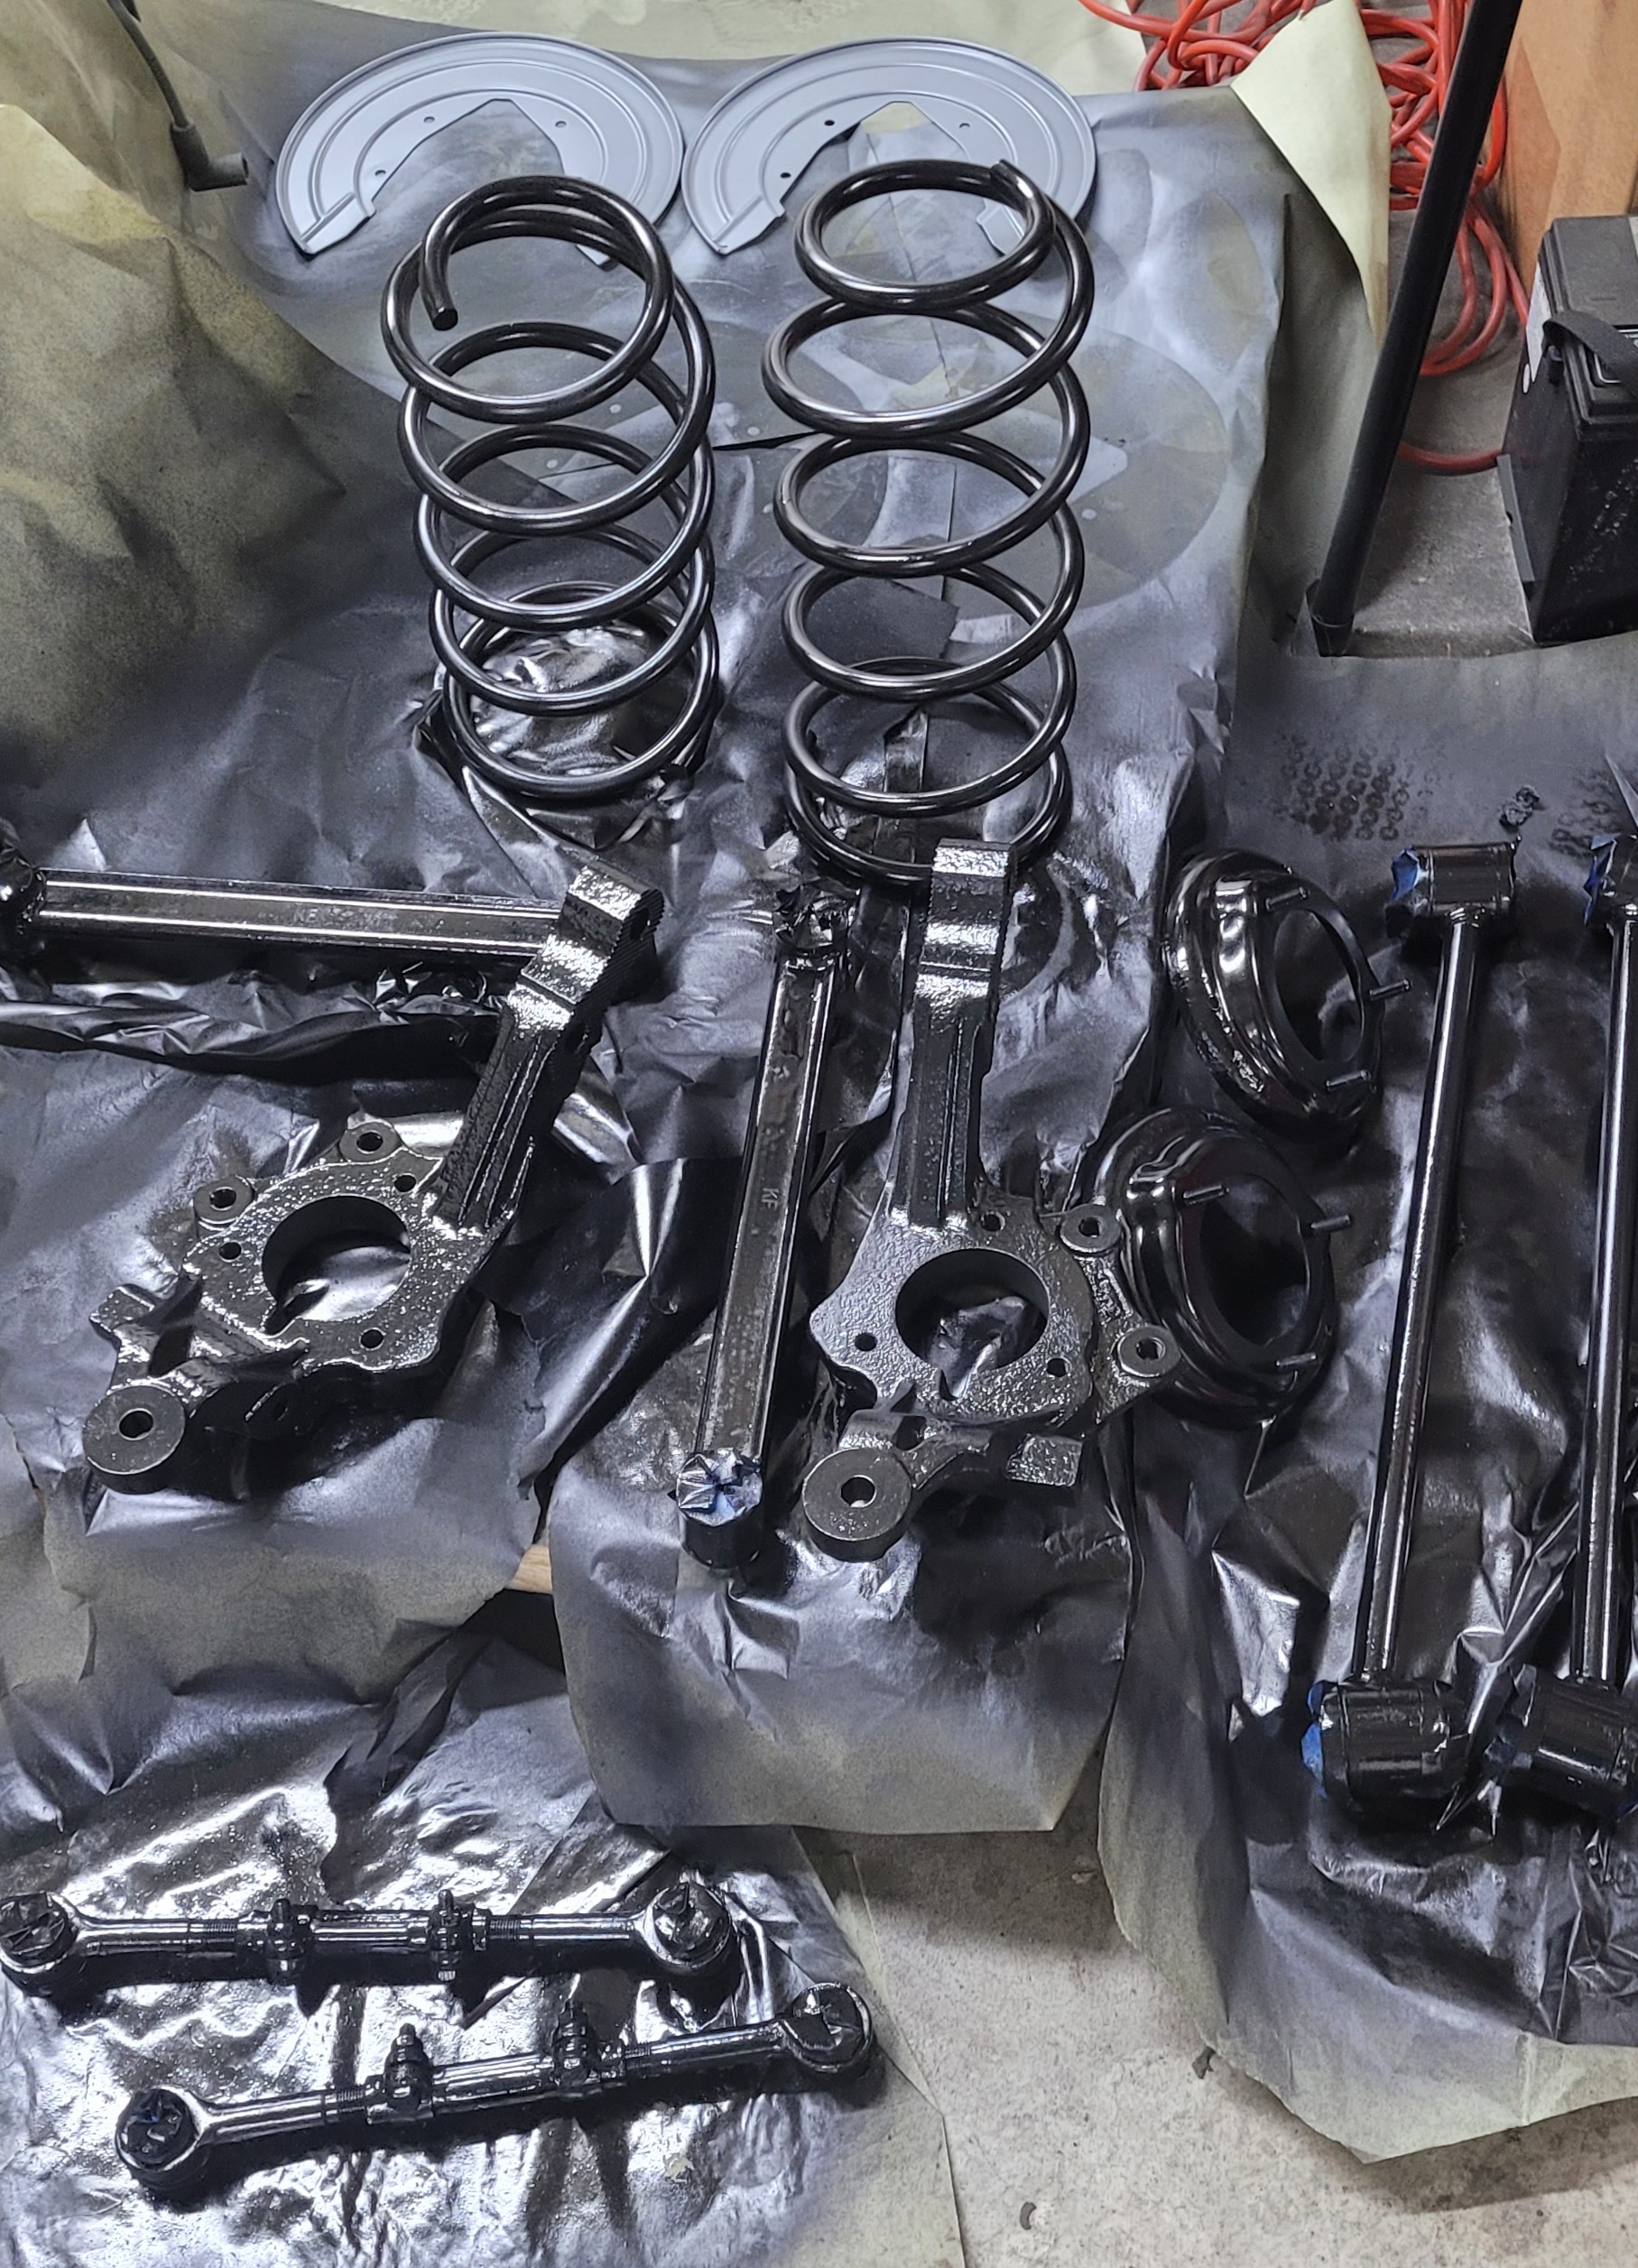
While I've been waiting on funds to purchase the other things I need to compete the swap, I've worked on the rear suspension and subframe.
The rear suspension was much easier than the front because of the lack of ball-joints. Everything was sandblasted, primed, and painted. I also went with polyurethane bushings in the rear (as I did up front). I'll need to still do the rear stab-bar on another day.
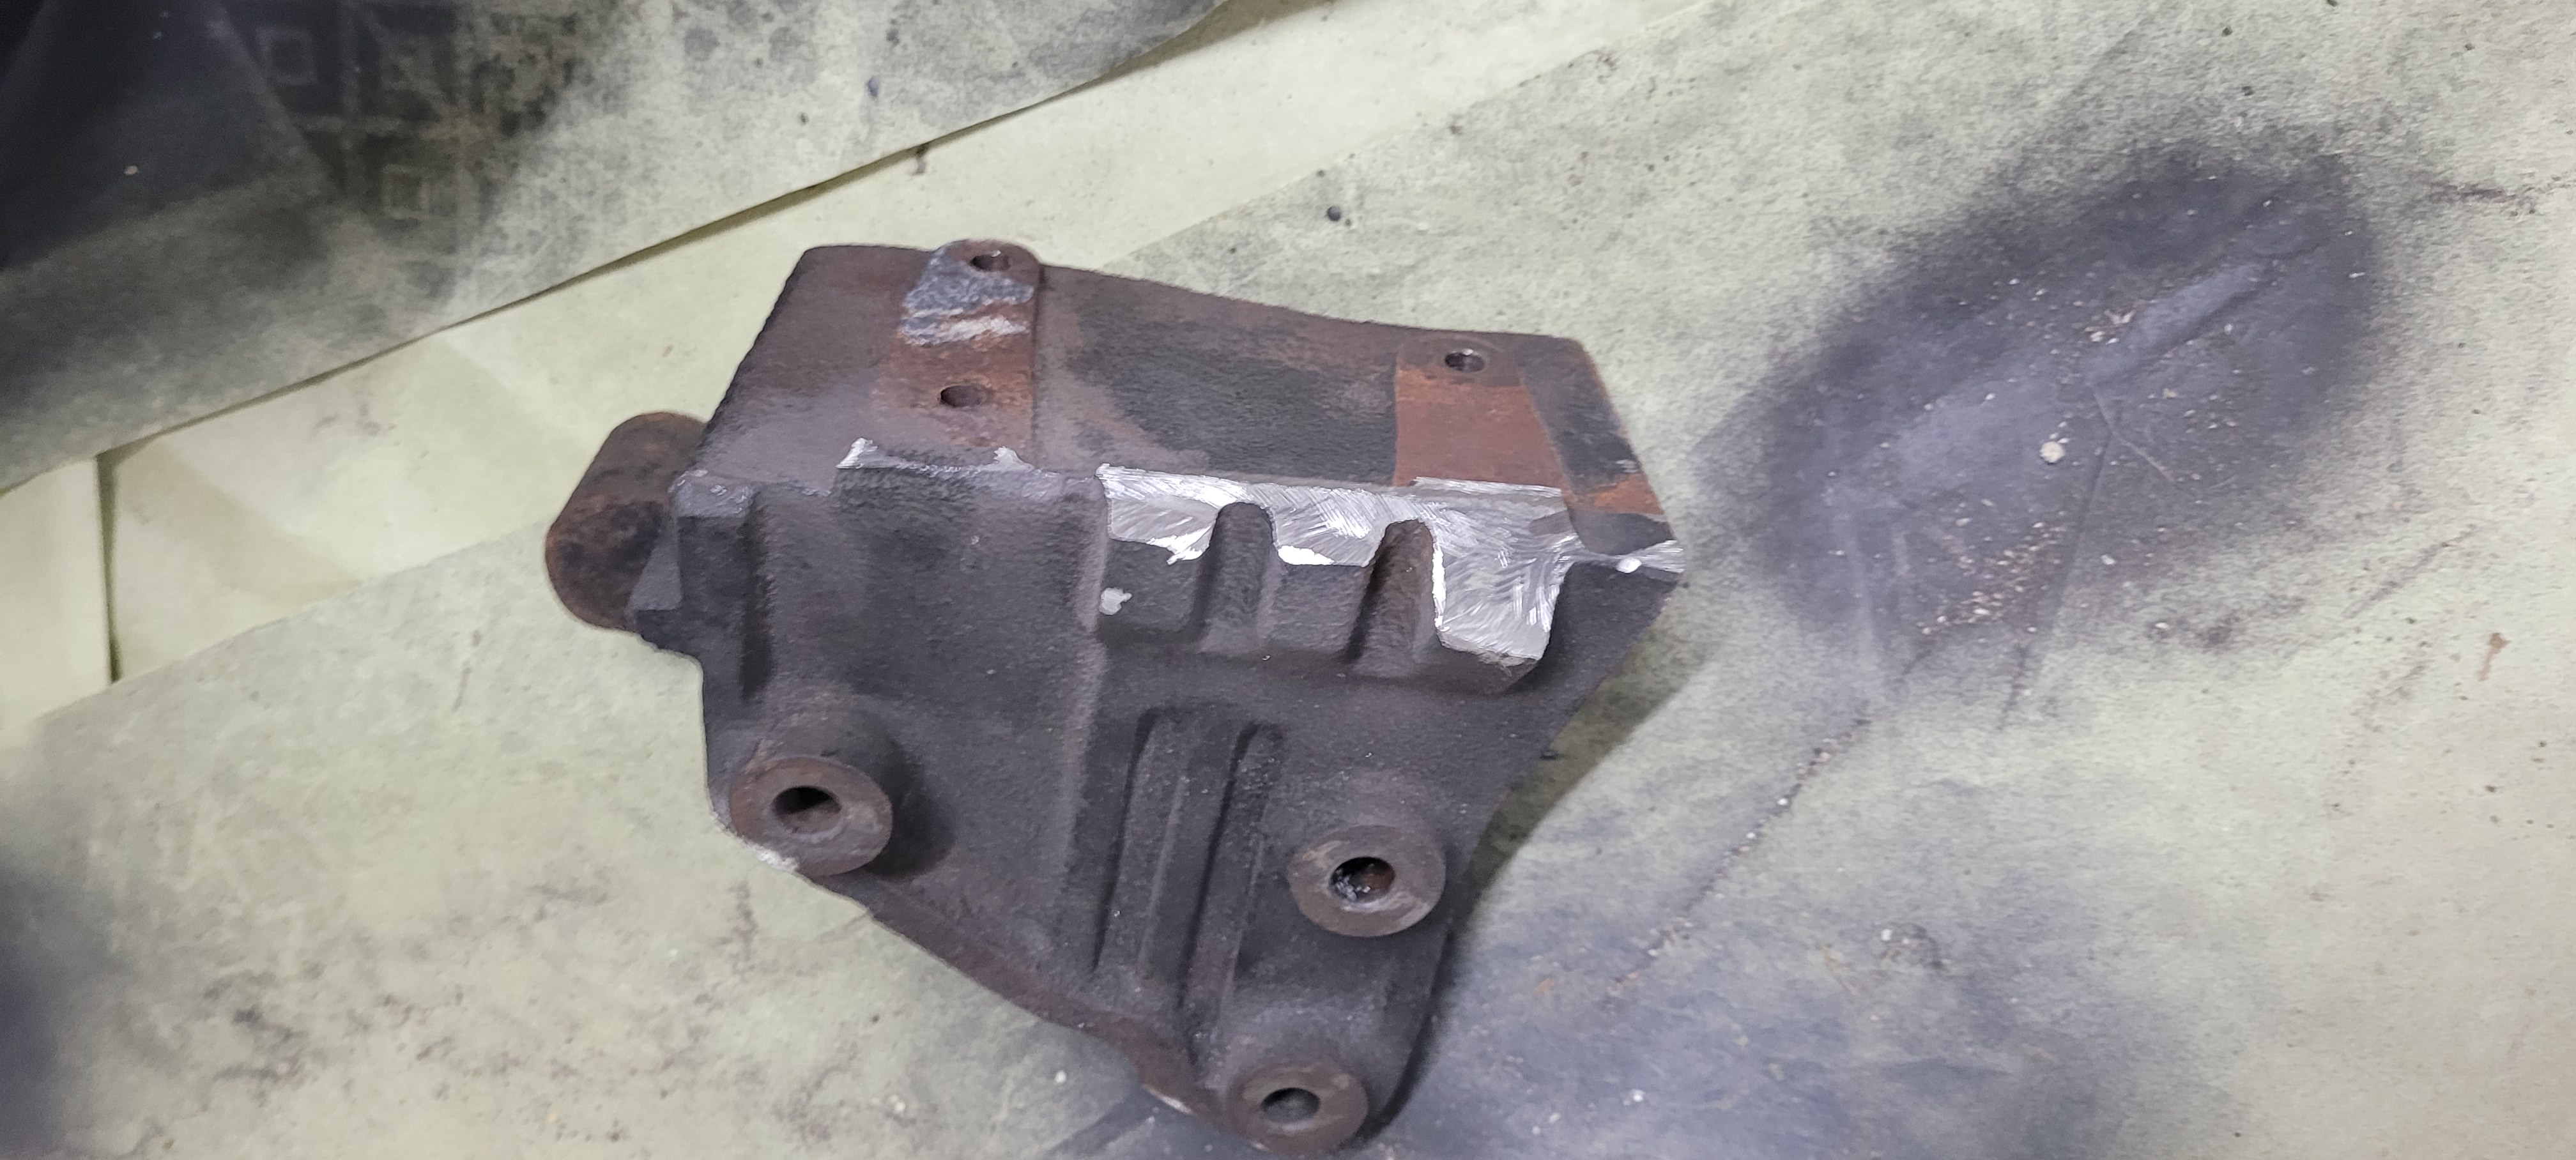
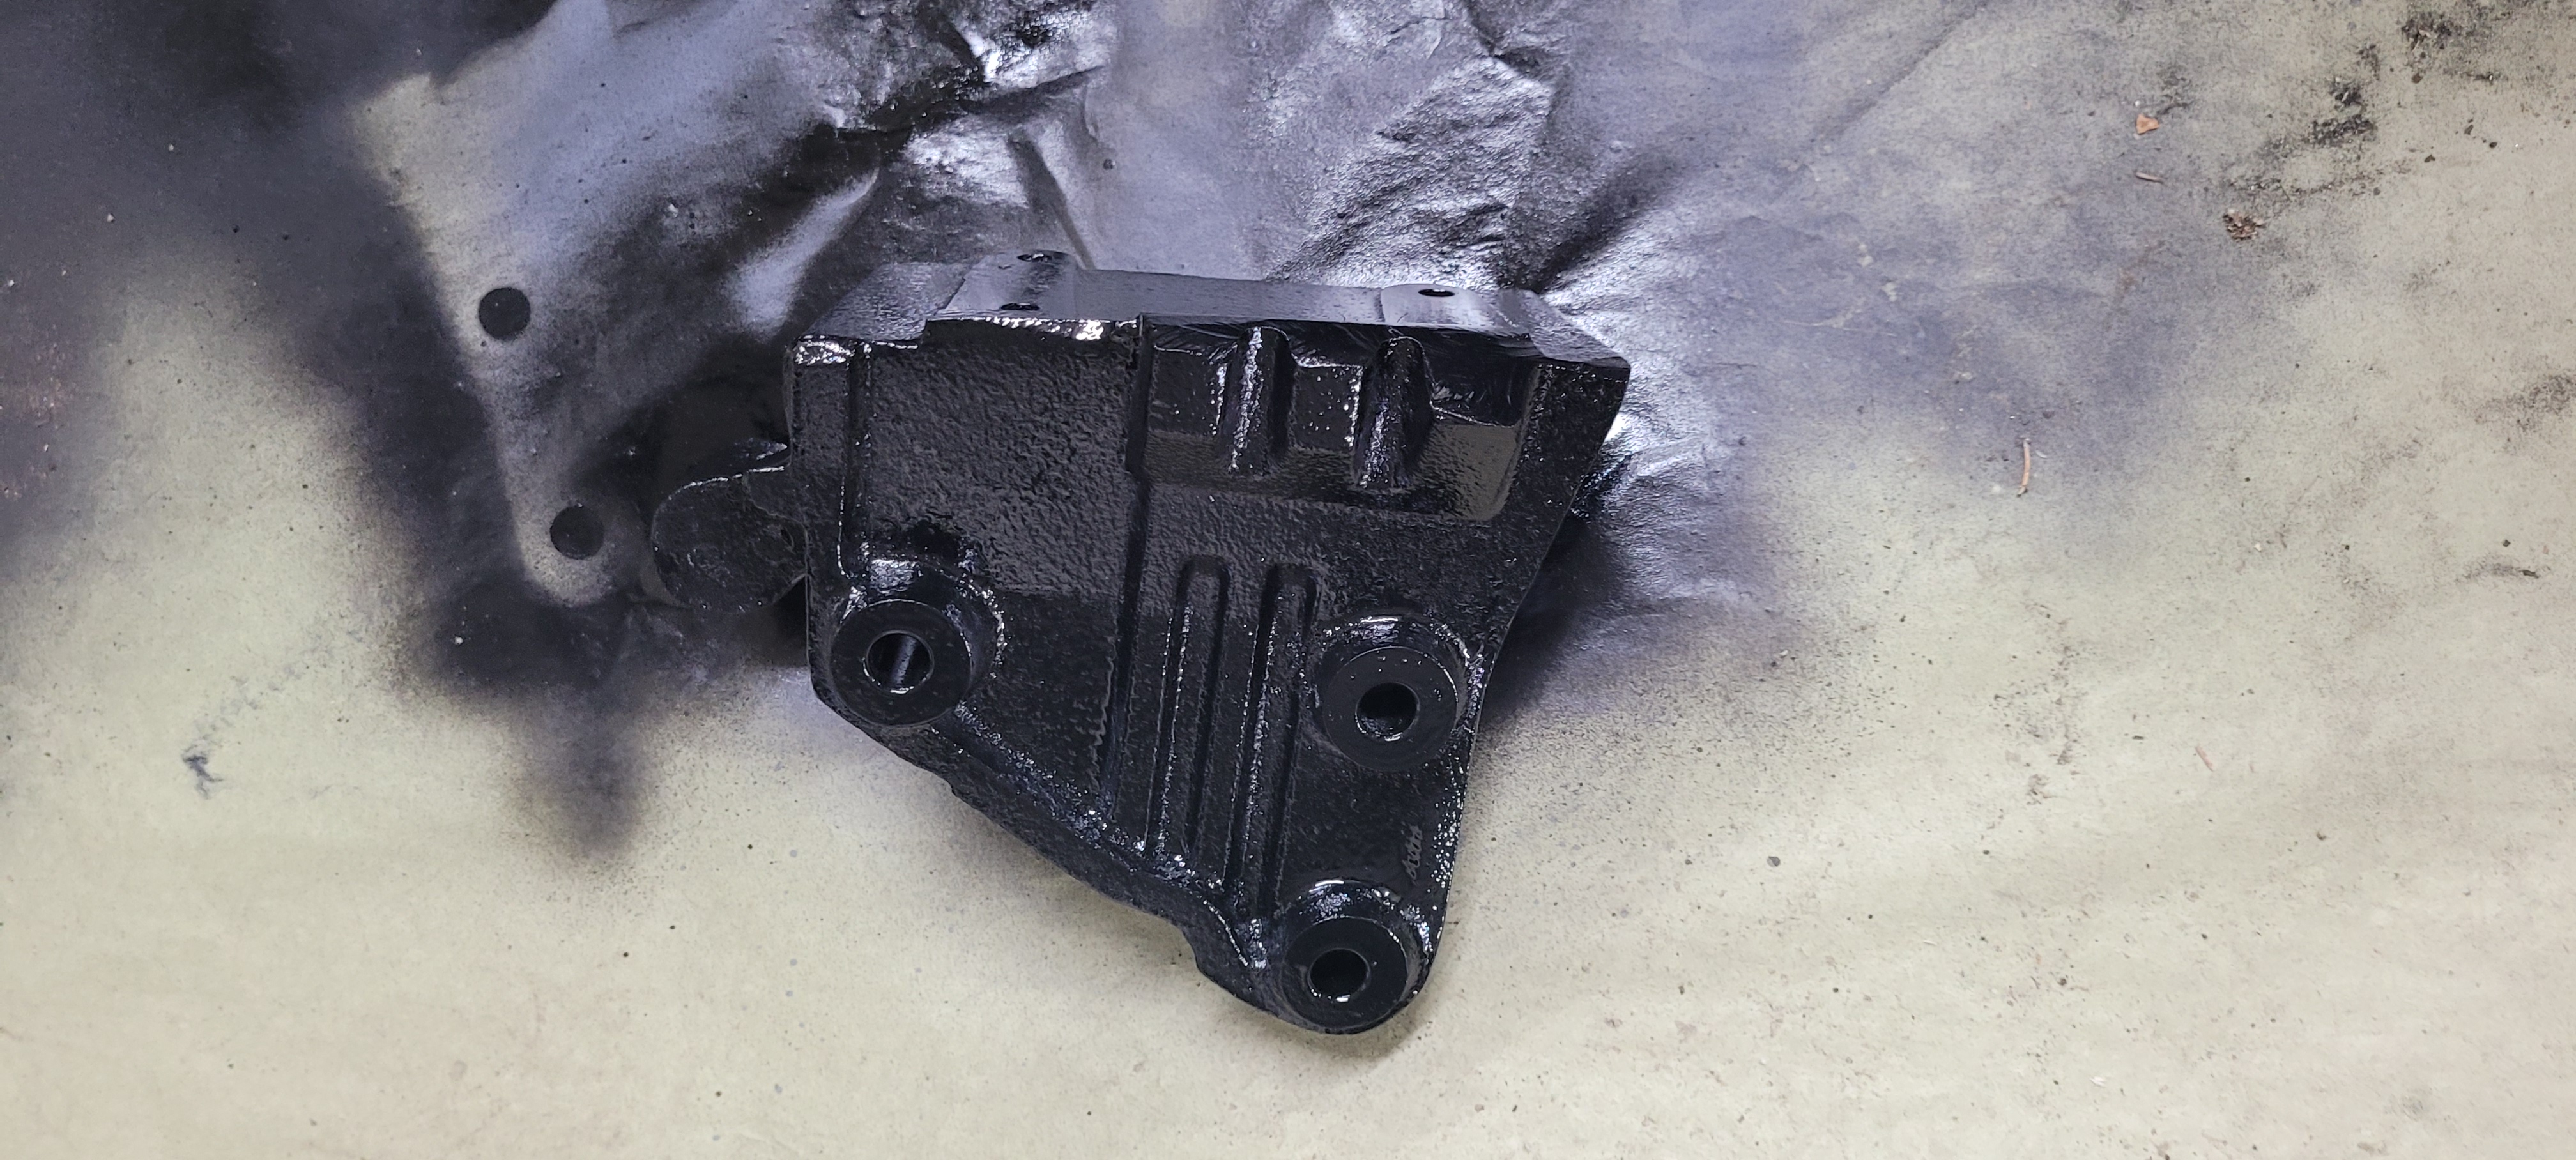
My rear subframe had some damage on the forward-most member, I assume a pothole or rock was hit at some point. It took some persuasion with a torch and a BIG crescent wrench, but it's now bent more in shape. Something I'm satisfied with for now, I could've taken it to a shop but didn't need to spend the money there.
Quick before and after.
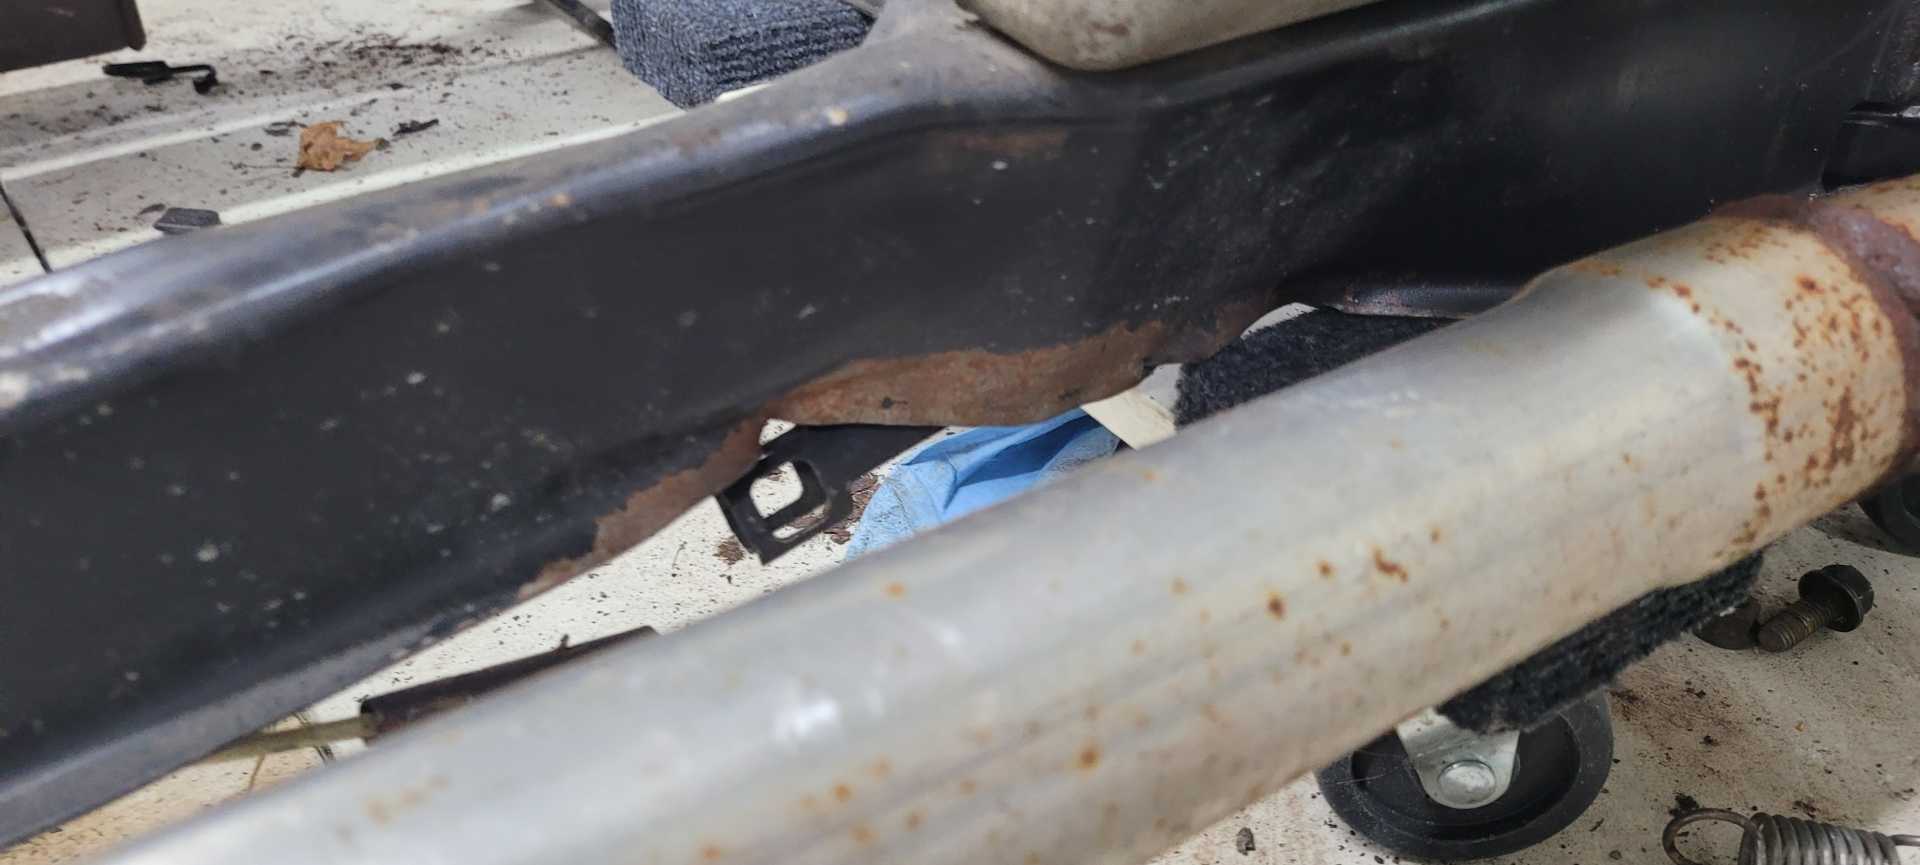
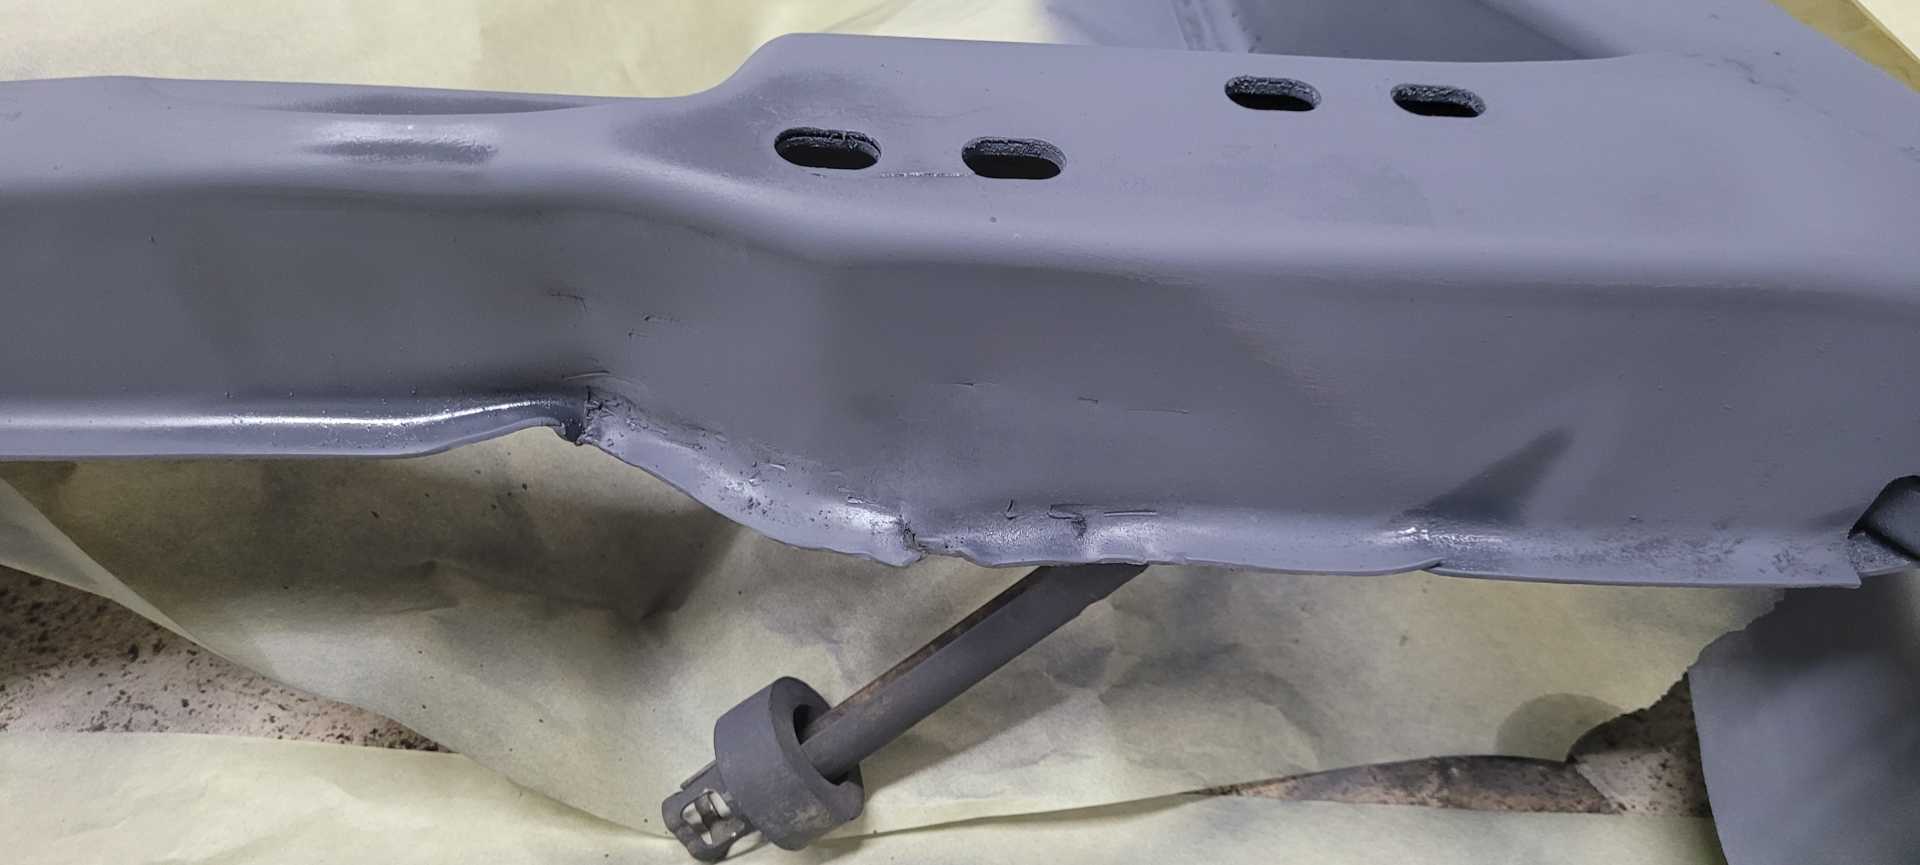
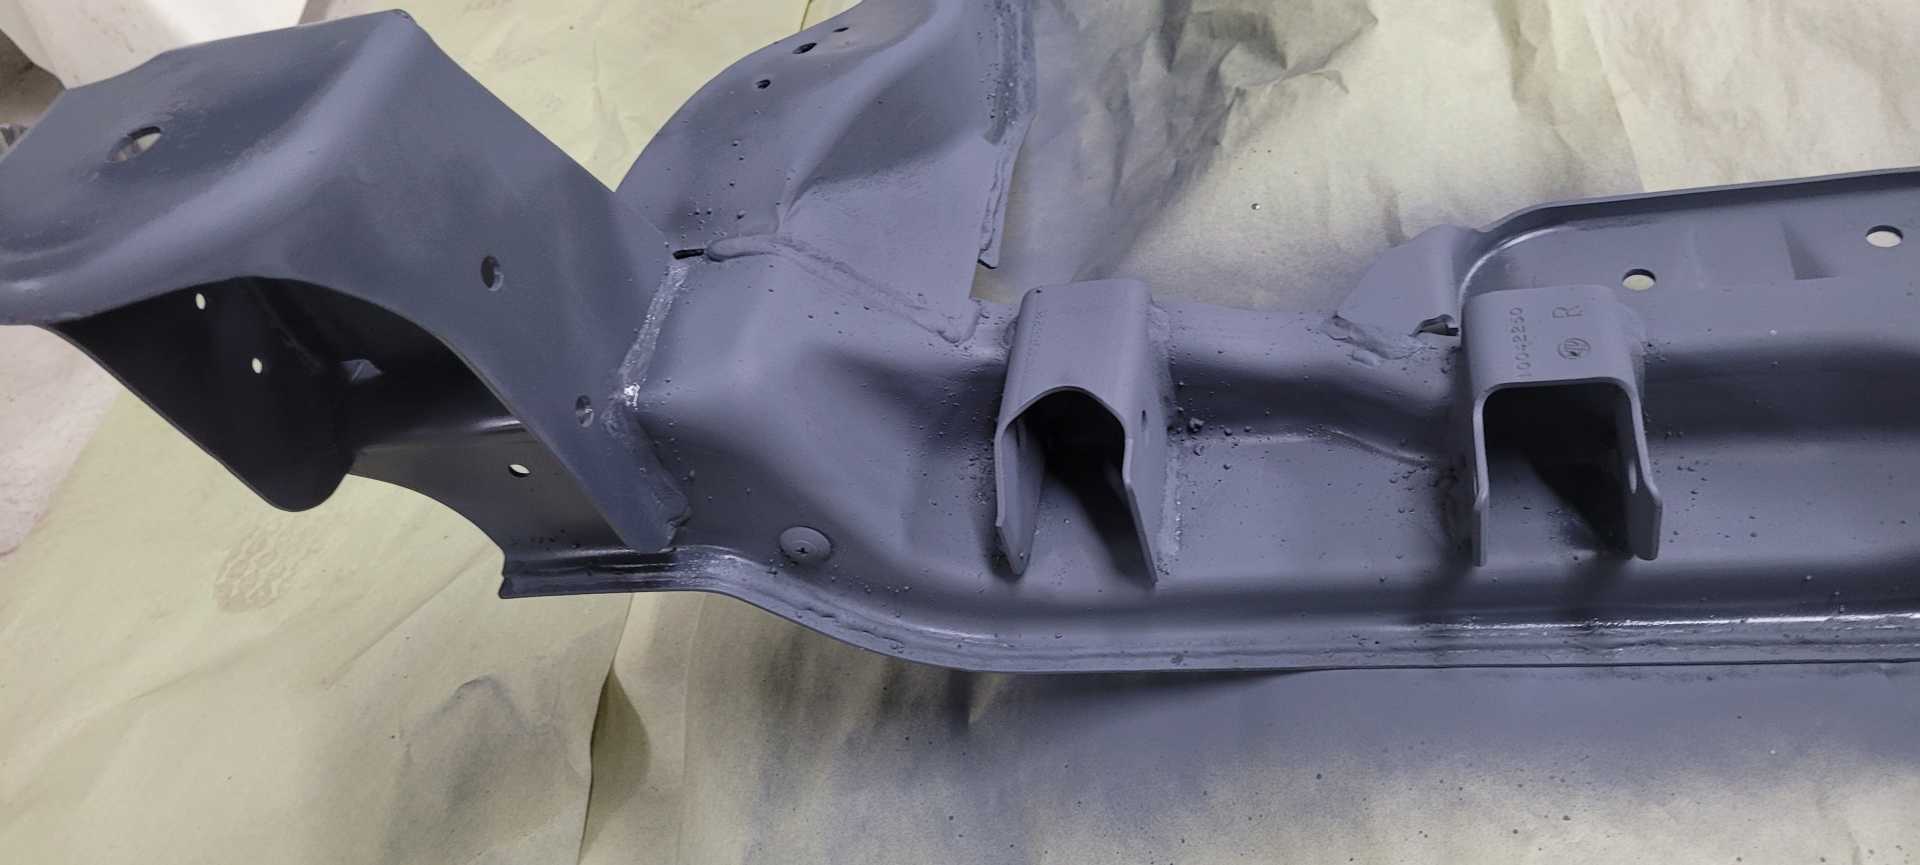
Luckily the damage wasn't effecting the fitment or anything, would've just taken away some of the fore-aft stiffness. I removed all the exhaust hanger brackets, degreased the entire thing, sanded it down, and degreased it again. The first few coats of self etching primer are now curing. I'll return to the garage and finish up the bottom side.


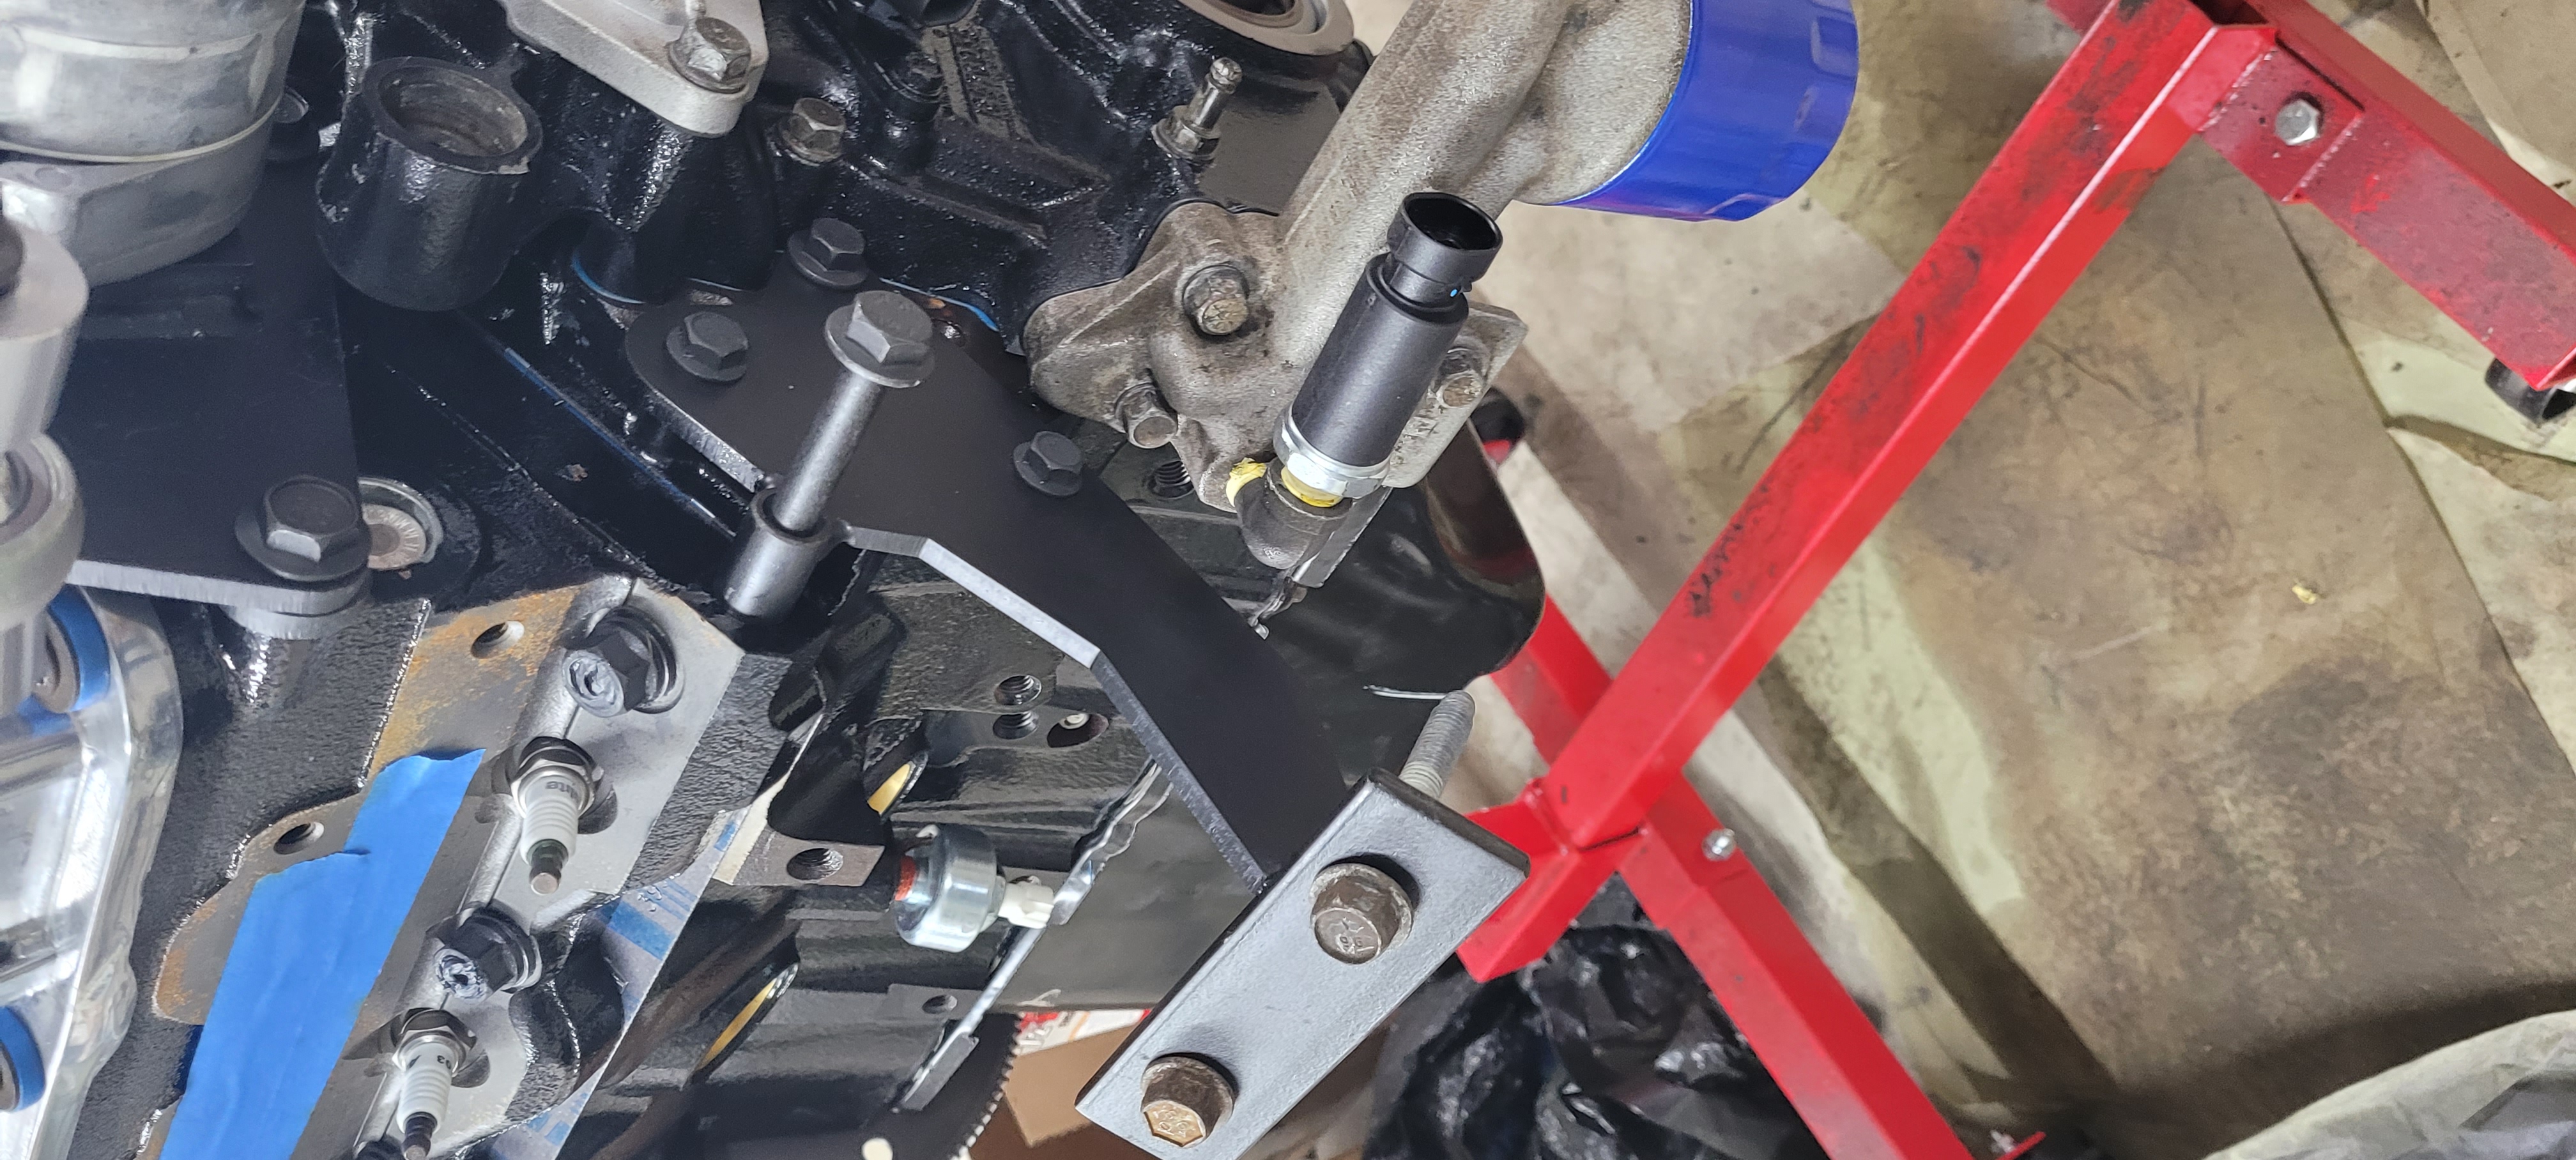
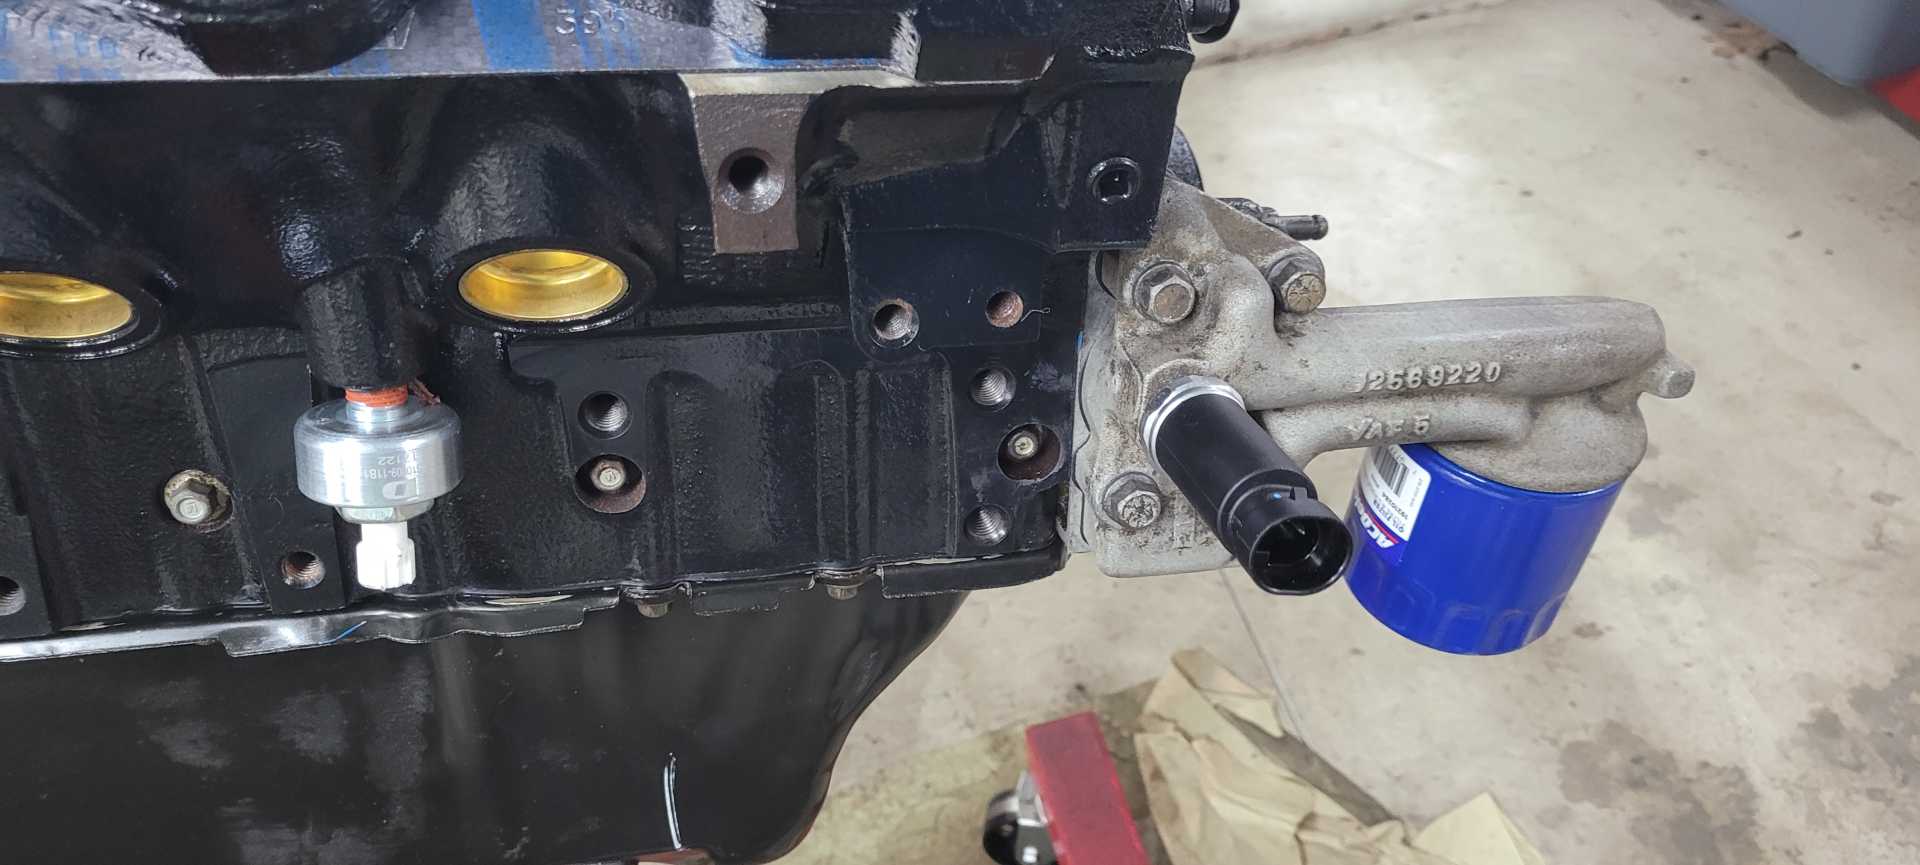
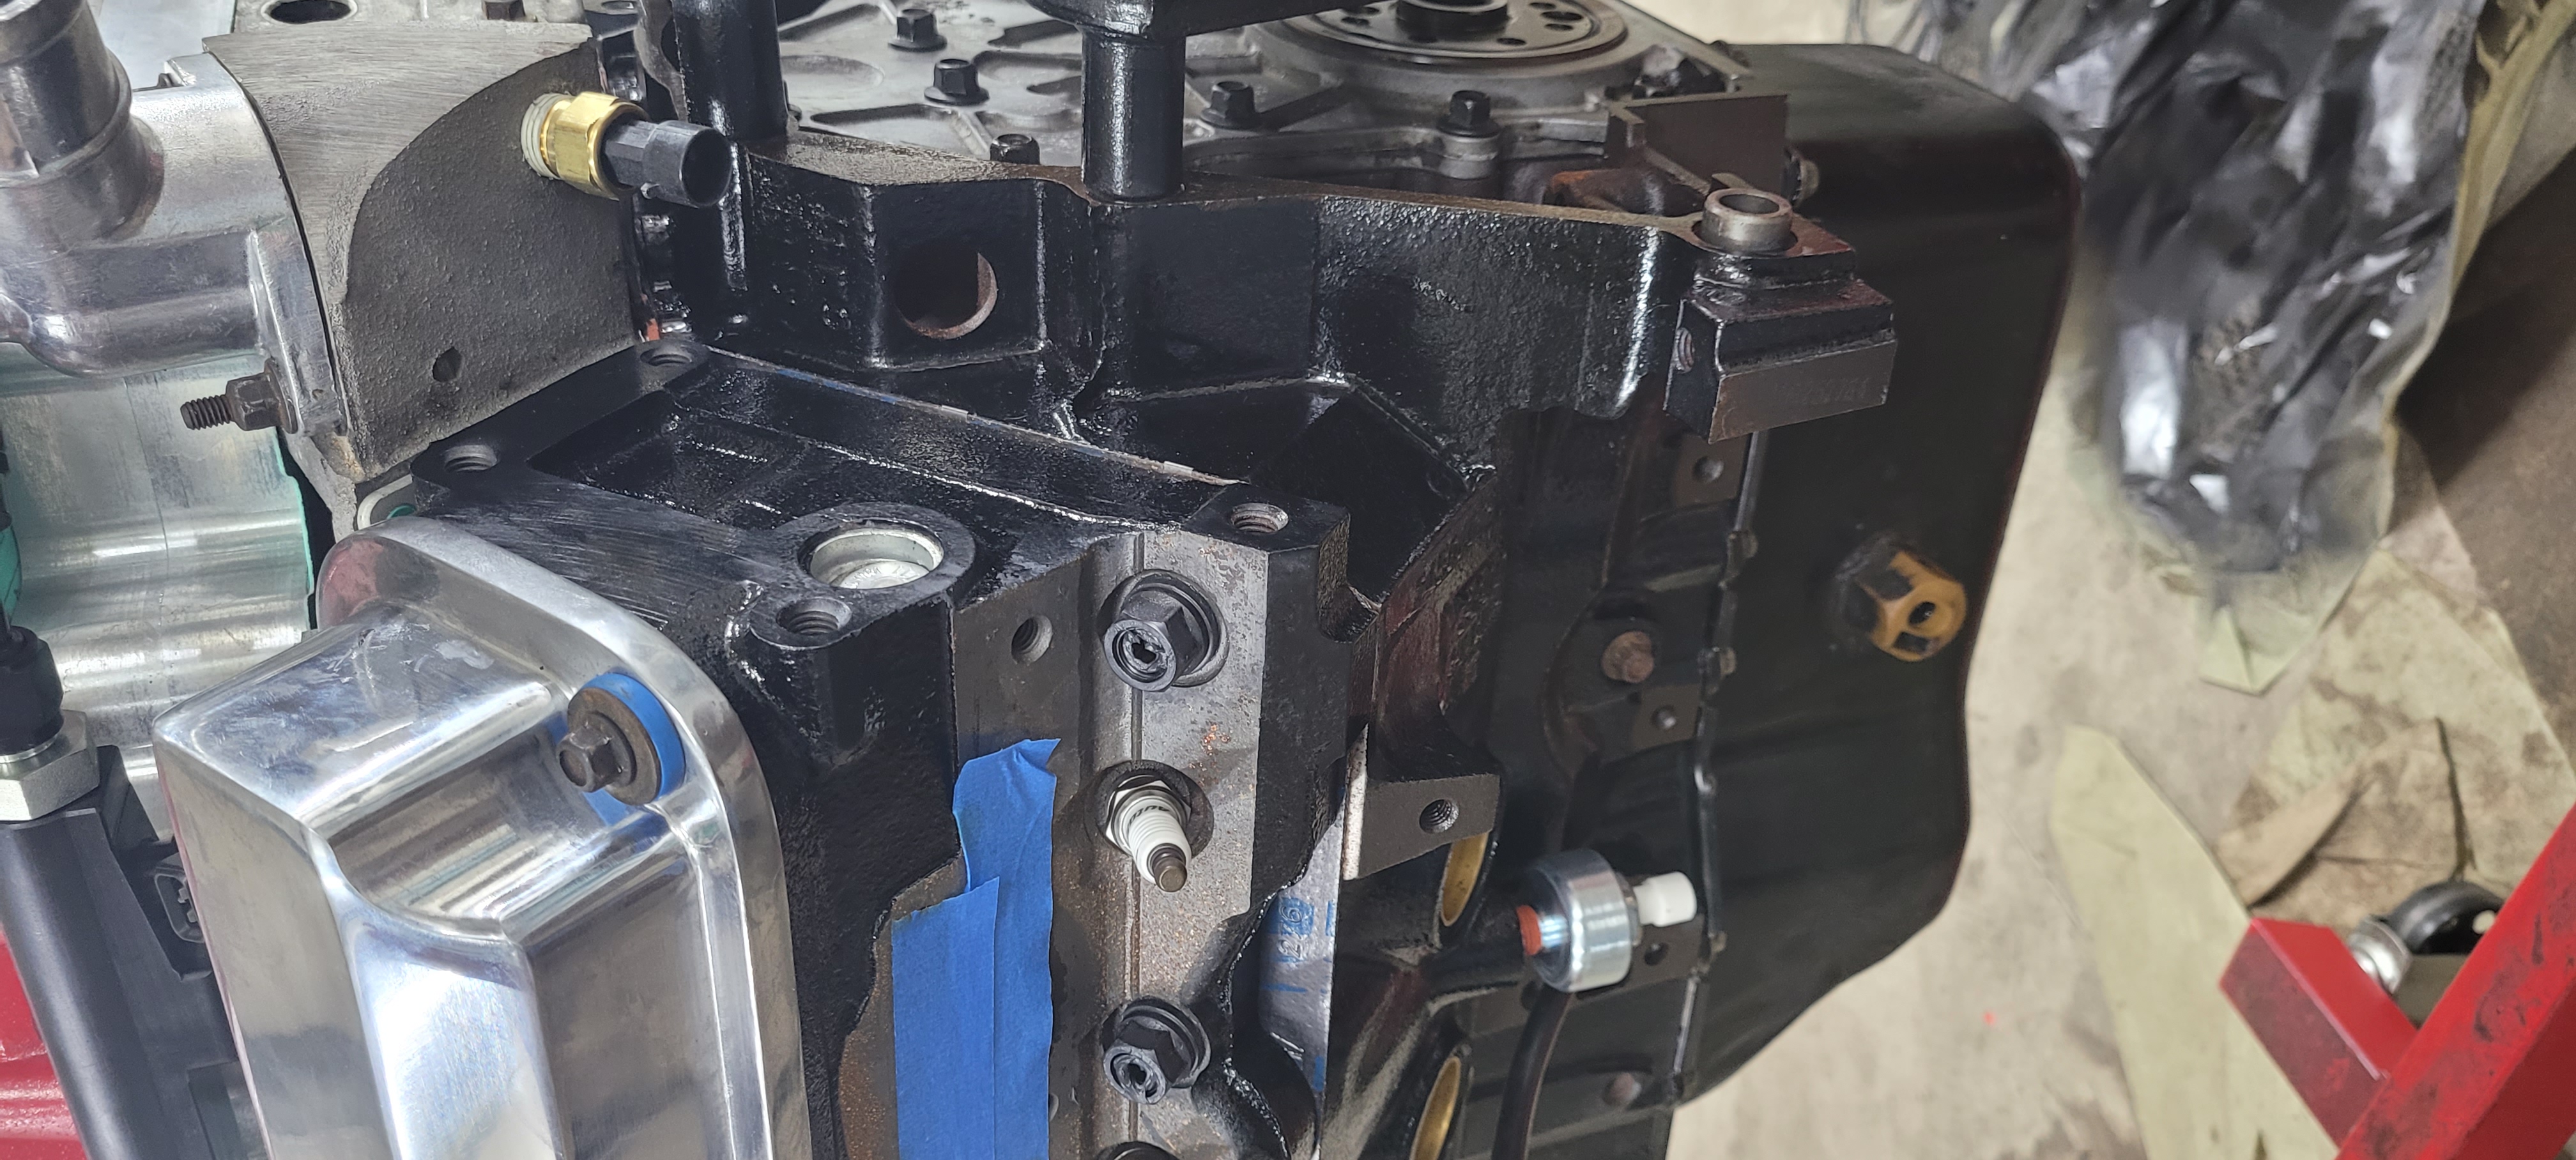
The last thing I got to today was some sensors for the engine and transmission. Knock sensors, 3 pin coolant, and 3 pin oil pressure sensors for the engine.
The transmission got a new speed sensor, shift position module, and a new dipstick & tube.


|
|
|
|
olejoedad
|
FEB 05, 12:39 PM
|
|
That's looking very good!
Time well spent!
|
|
|
|
cam-a-lot
|
FEB 05, 05:20 PM
|
|
Great thread
Looks like you have new front hubs. Where did you get them? The cheap chinese knock-off hubs on eBay for 88 have been sketchy.
Rodney makes rebuildables ones for 88. Hopefully you did not toss your old ones. Apparently they can be re-packed with fresh grease- I have not tried to do it yet
|
|
|
|
MichiganReefer
|
FEB 06, 02:09 PM
|
|
|
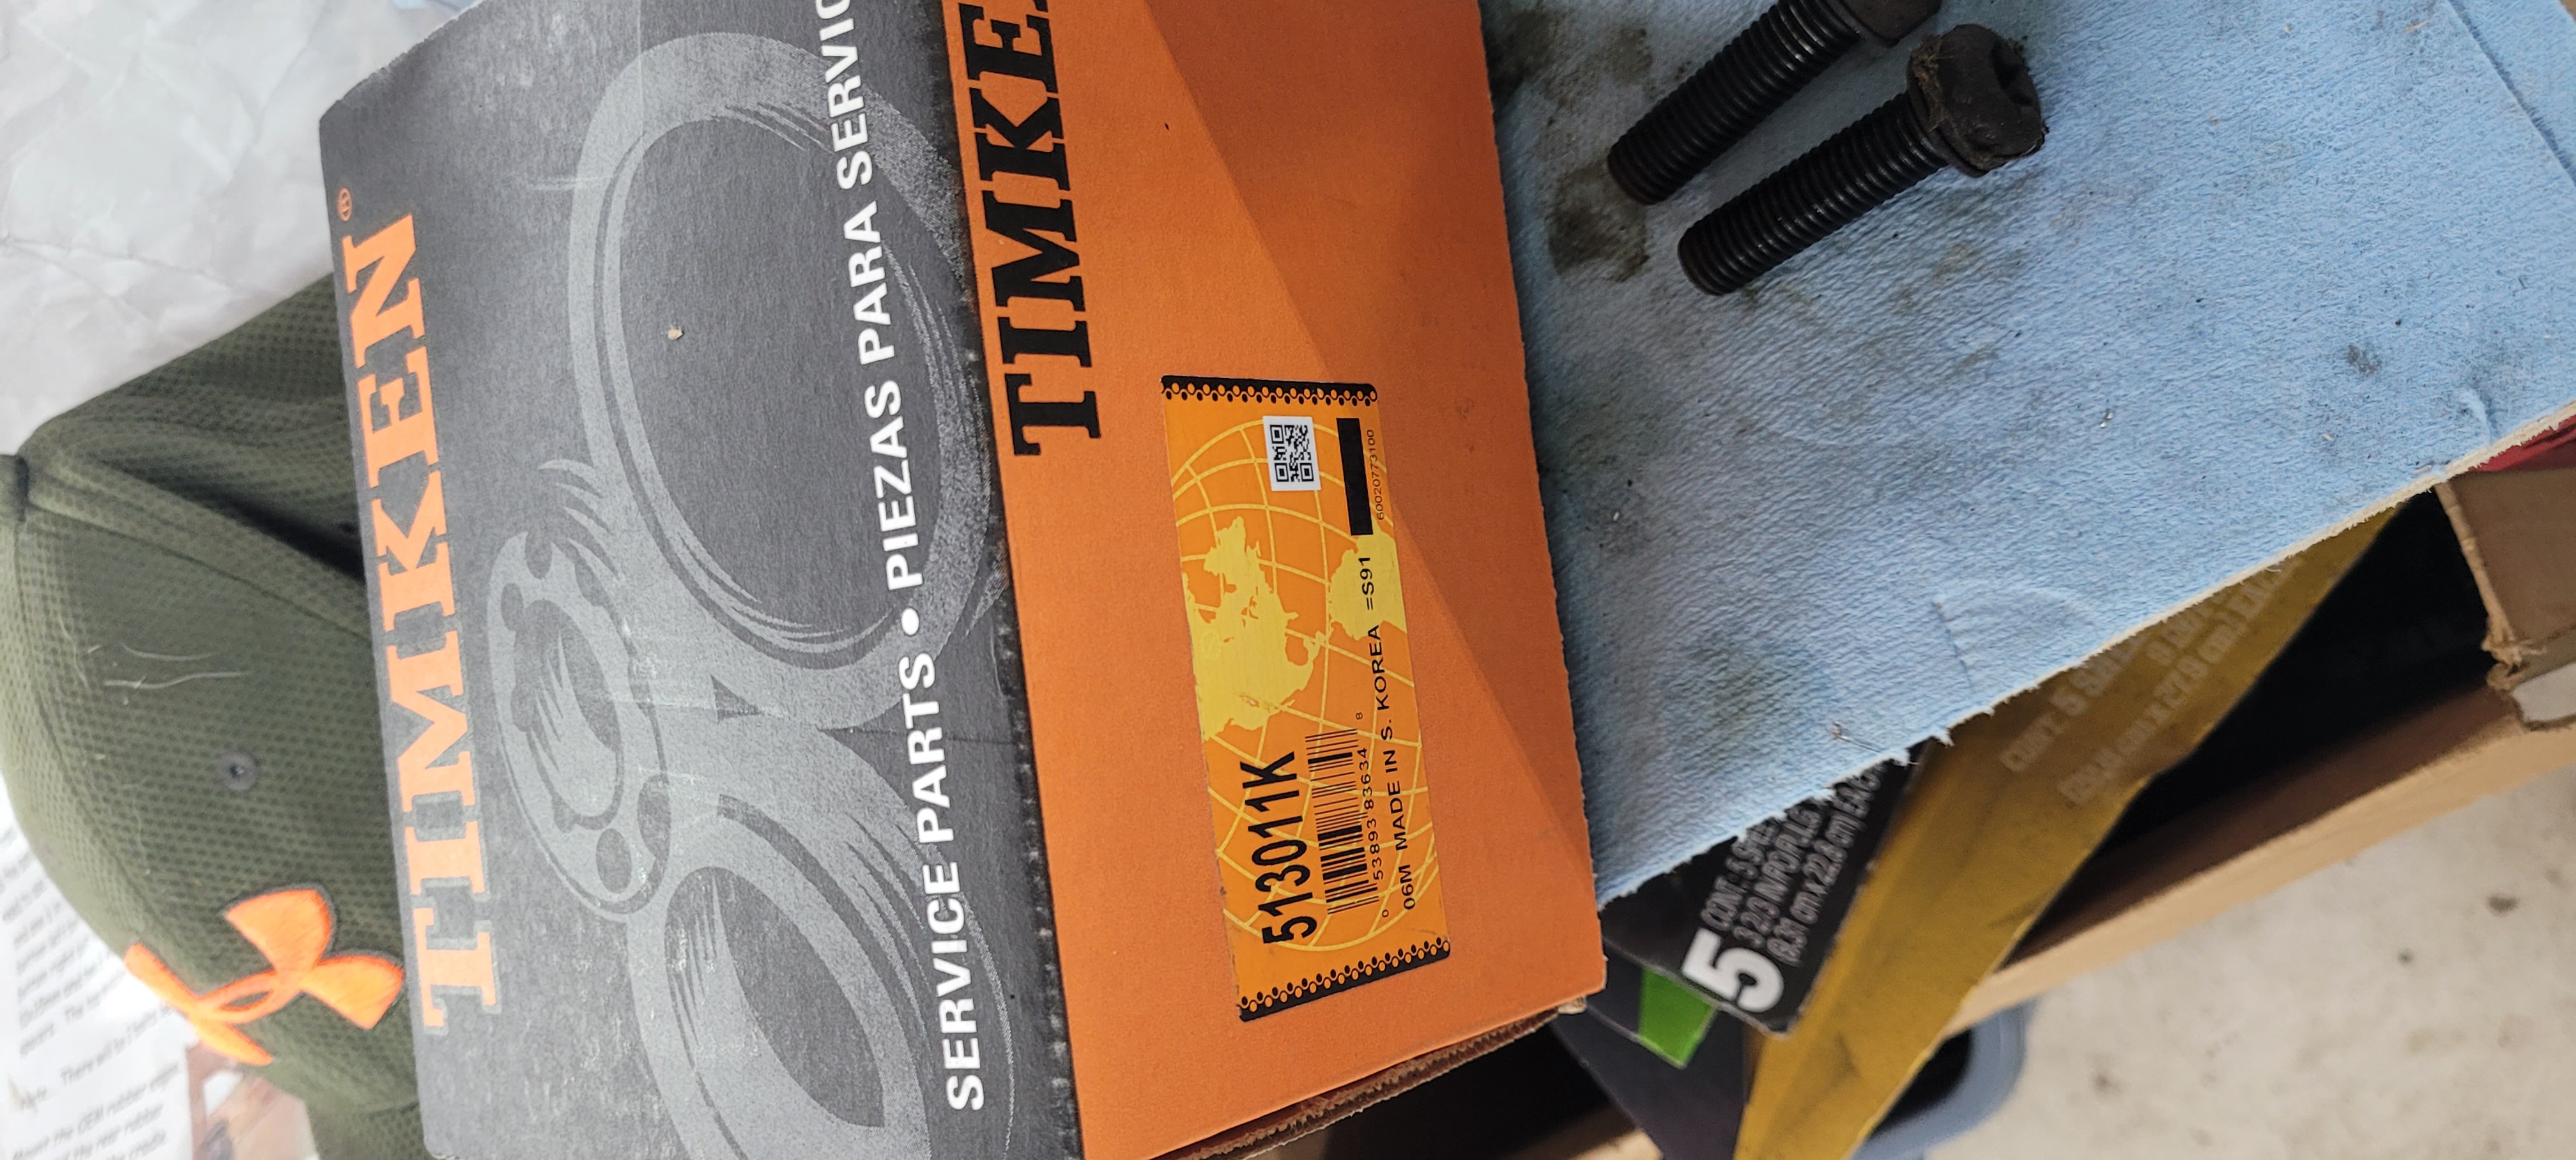
I bought Rodney's rebuildable front hubs. I do still have my old ones, but not sure what I want to do with them yet. I'm eyeing up Timken rear hubs, I've seen some threads talk about them in a good way. Any opinion on which rear hubs not to buy?
|
|
|
|
Larryinkc
|
FEB 06, 03:49 PM
|
|
|
|
|
MichiganReefer
|
FEB 21, 05:54 PM
|
|
|
|
|
MichiganReefer
|
MAR 13, 07:22 PM
|
|
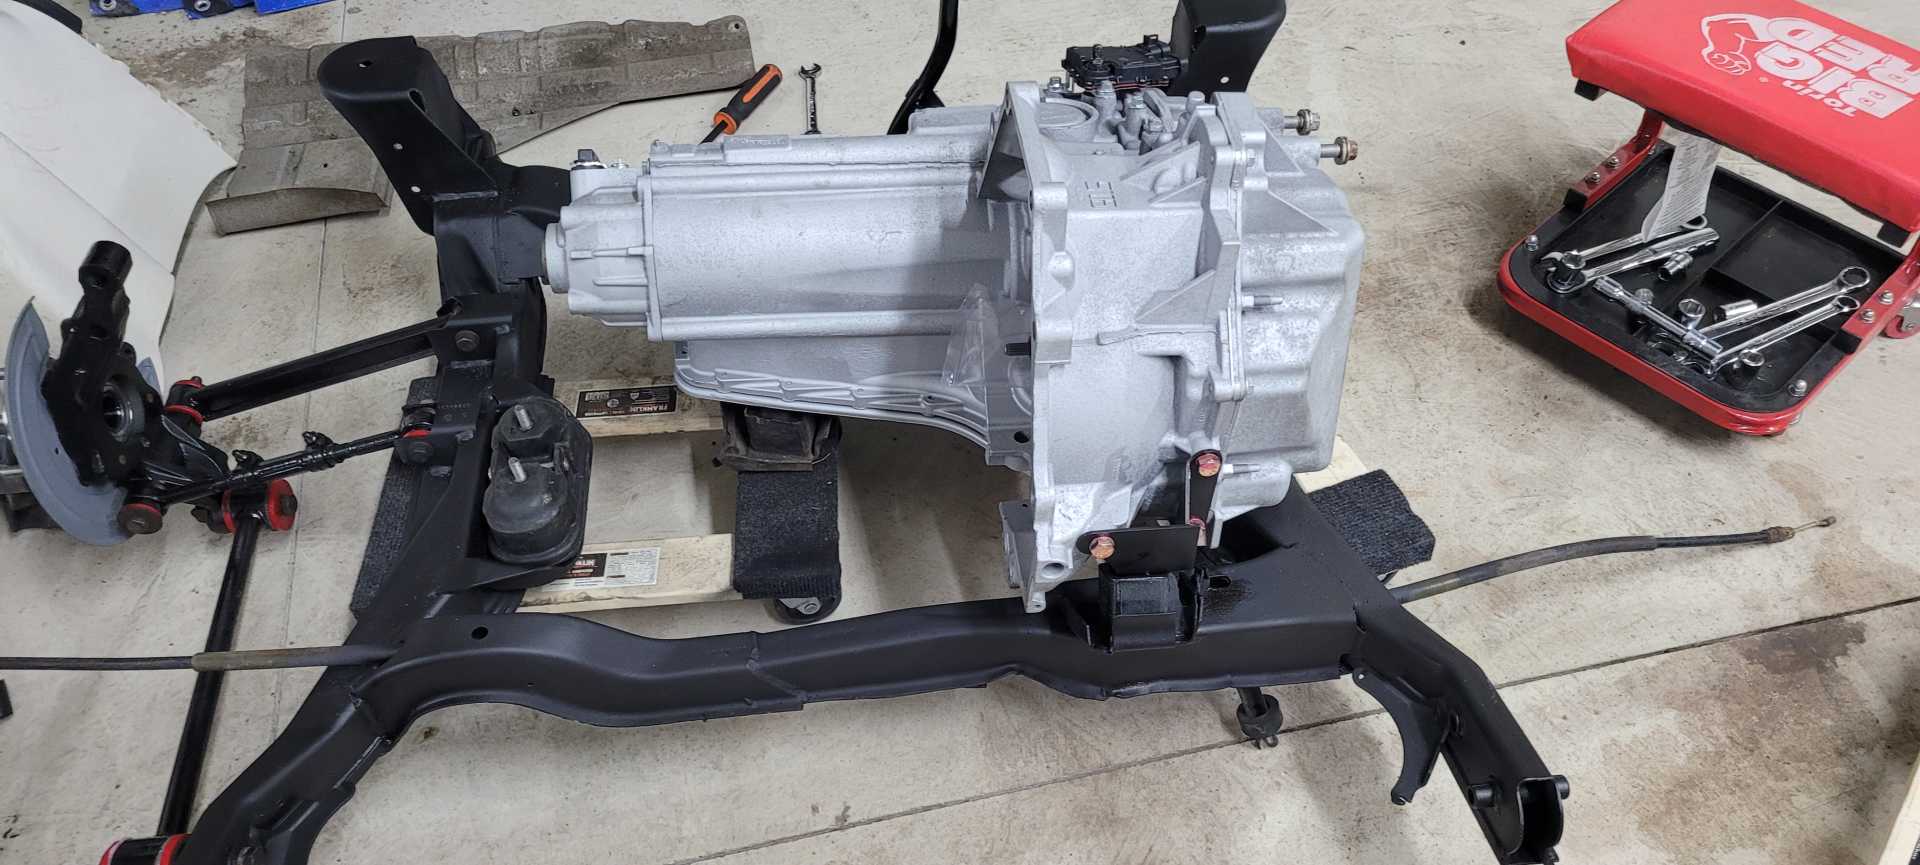
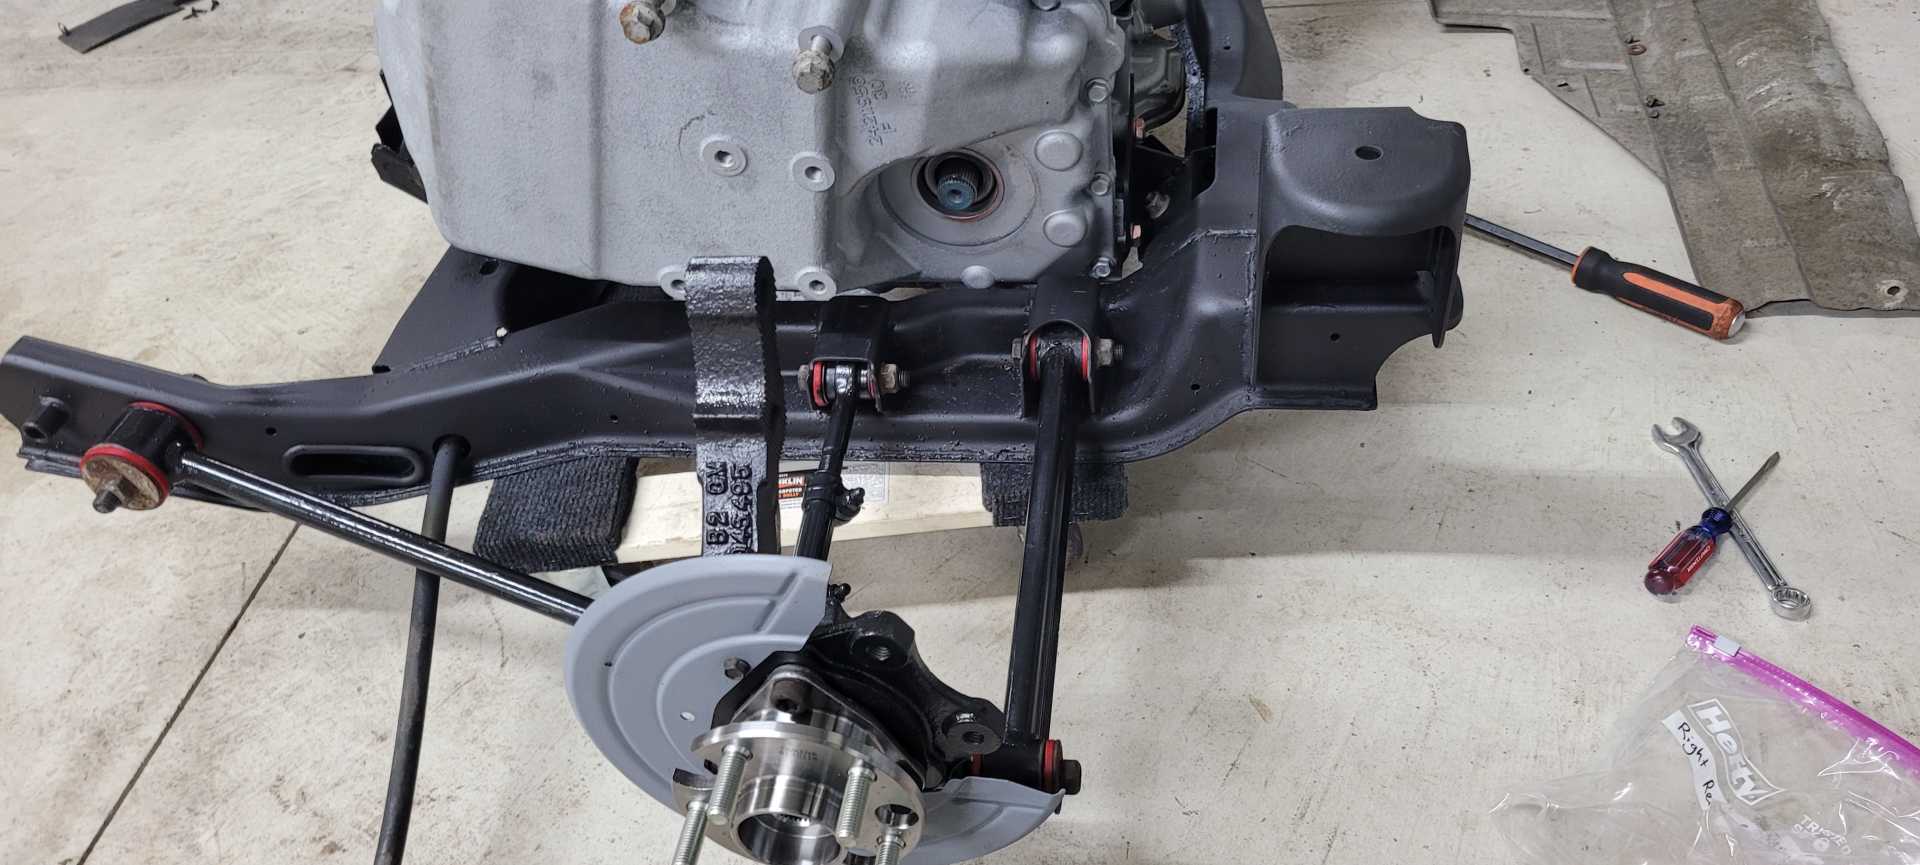
It's been a while since my last update, a series of winter storms here in Michigan left my garage without power for 3 weekends in a row. I'm definitely in the home stretch now with all the major purchases out of the way, and only the integration and buttoning up left to do. First thing I tackled was assembling the rear suspension to the cradle, then struggling to mount the transmission to it. I initially had secured the powertrain mounts down to the cradle, but because of the taper of them couldn't drop the transmission down like I expected. To avoid the issue I pulled the rubber mounts off of the cradle and lowered the transmission with mounts attached onto the cradle which allowed me to line the studs up with the holes in the subframe without too much force.
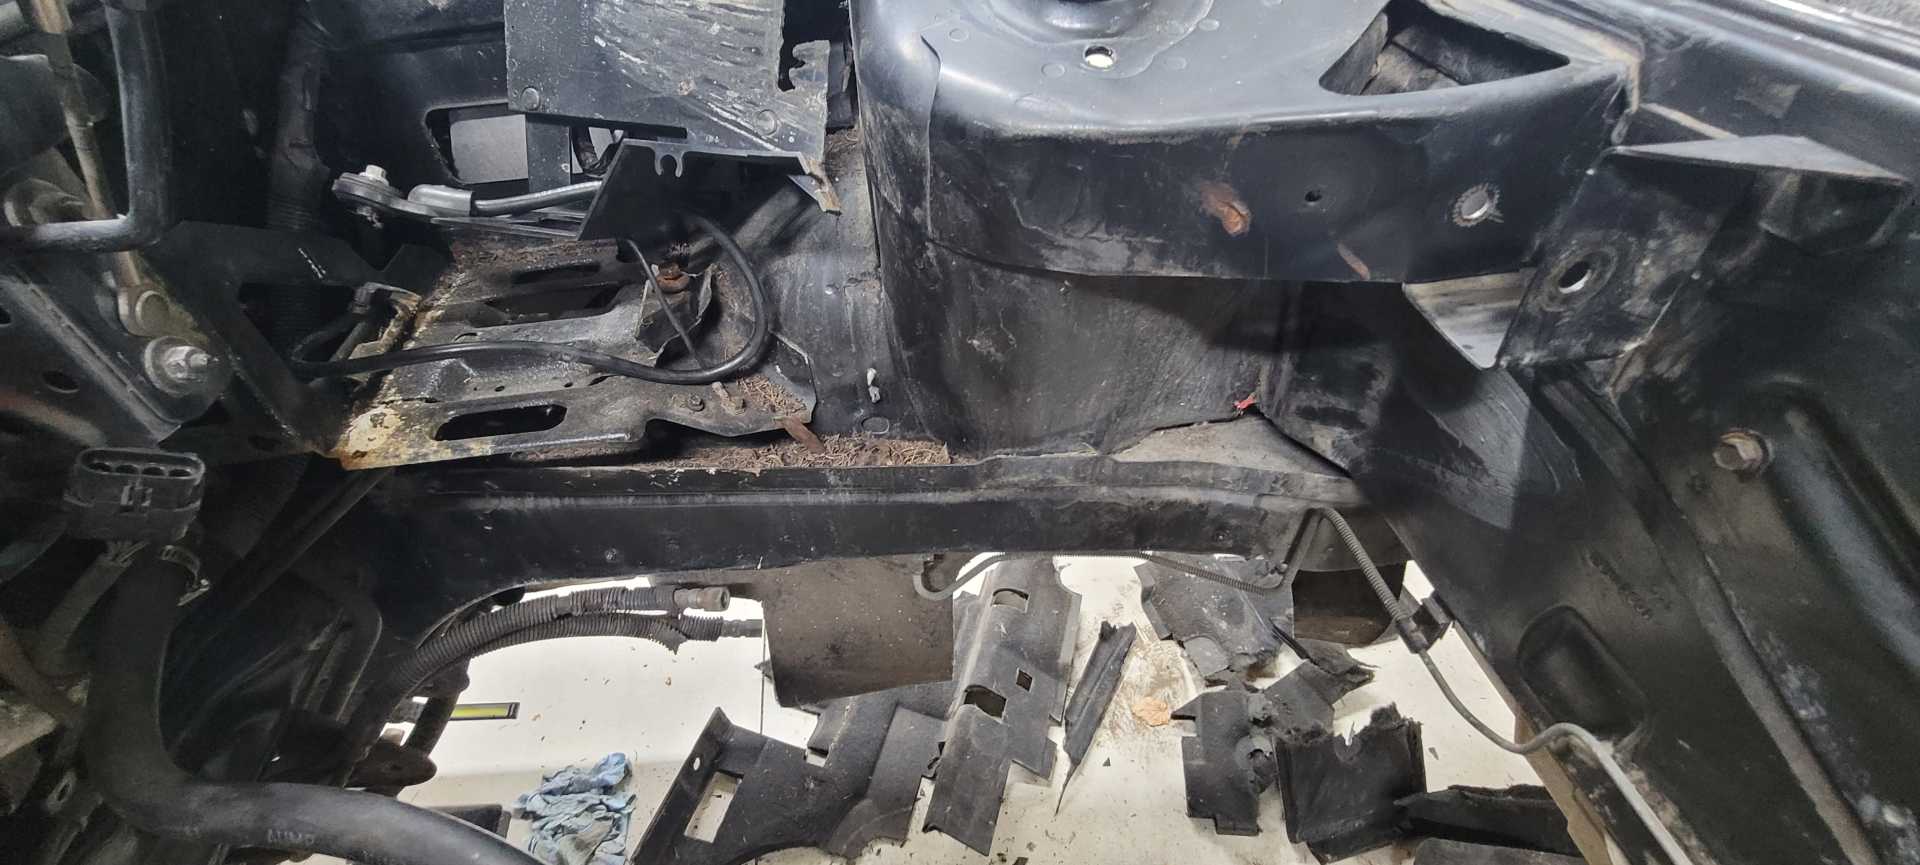
I then moved my attention over to the engine bay where I took some time to take some reference pictures and pull the engine bay insulation from the walls. I was expecting to see some rust behind it, but was pleasantly surprised that I found basically nothing (other than a scrape on the rear passenger side). I'll be shop-vacing all of the dirt up, degreasing it, and touching it up before I install the new Boom-mat insulation I ordered from Summit.
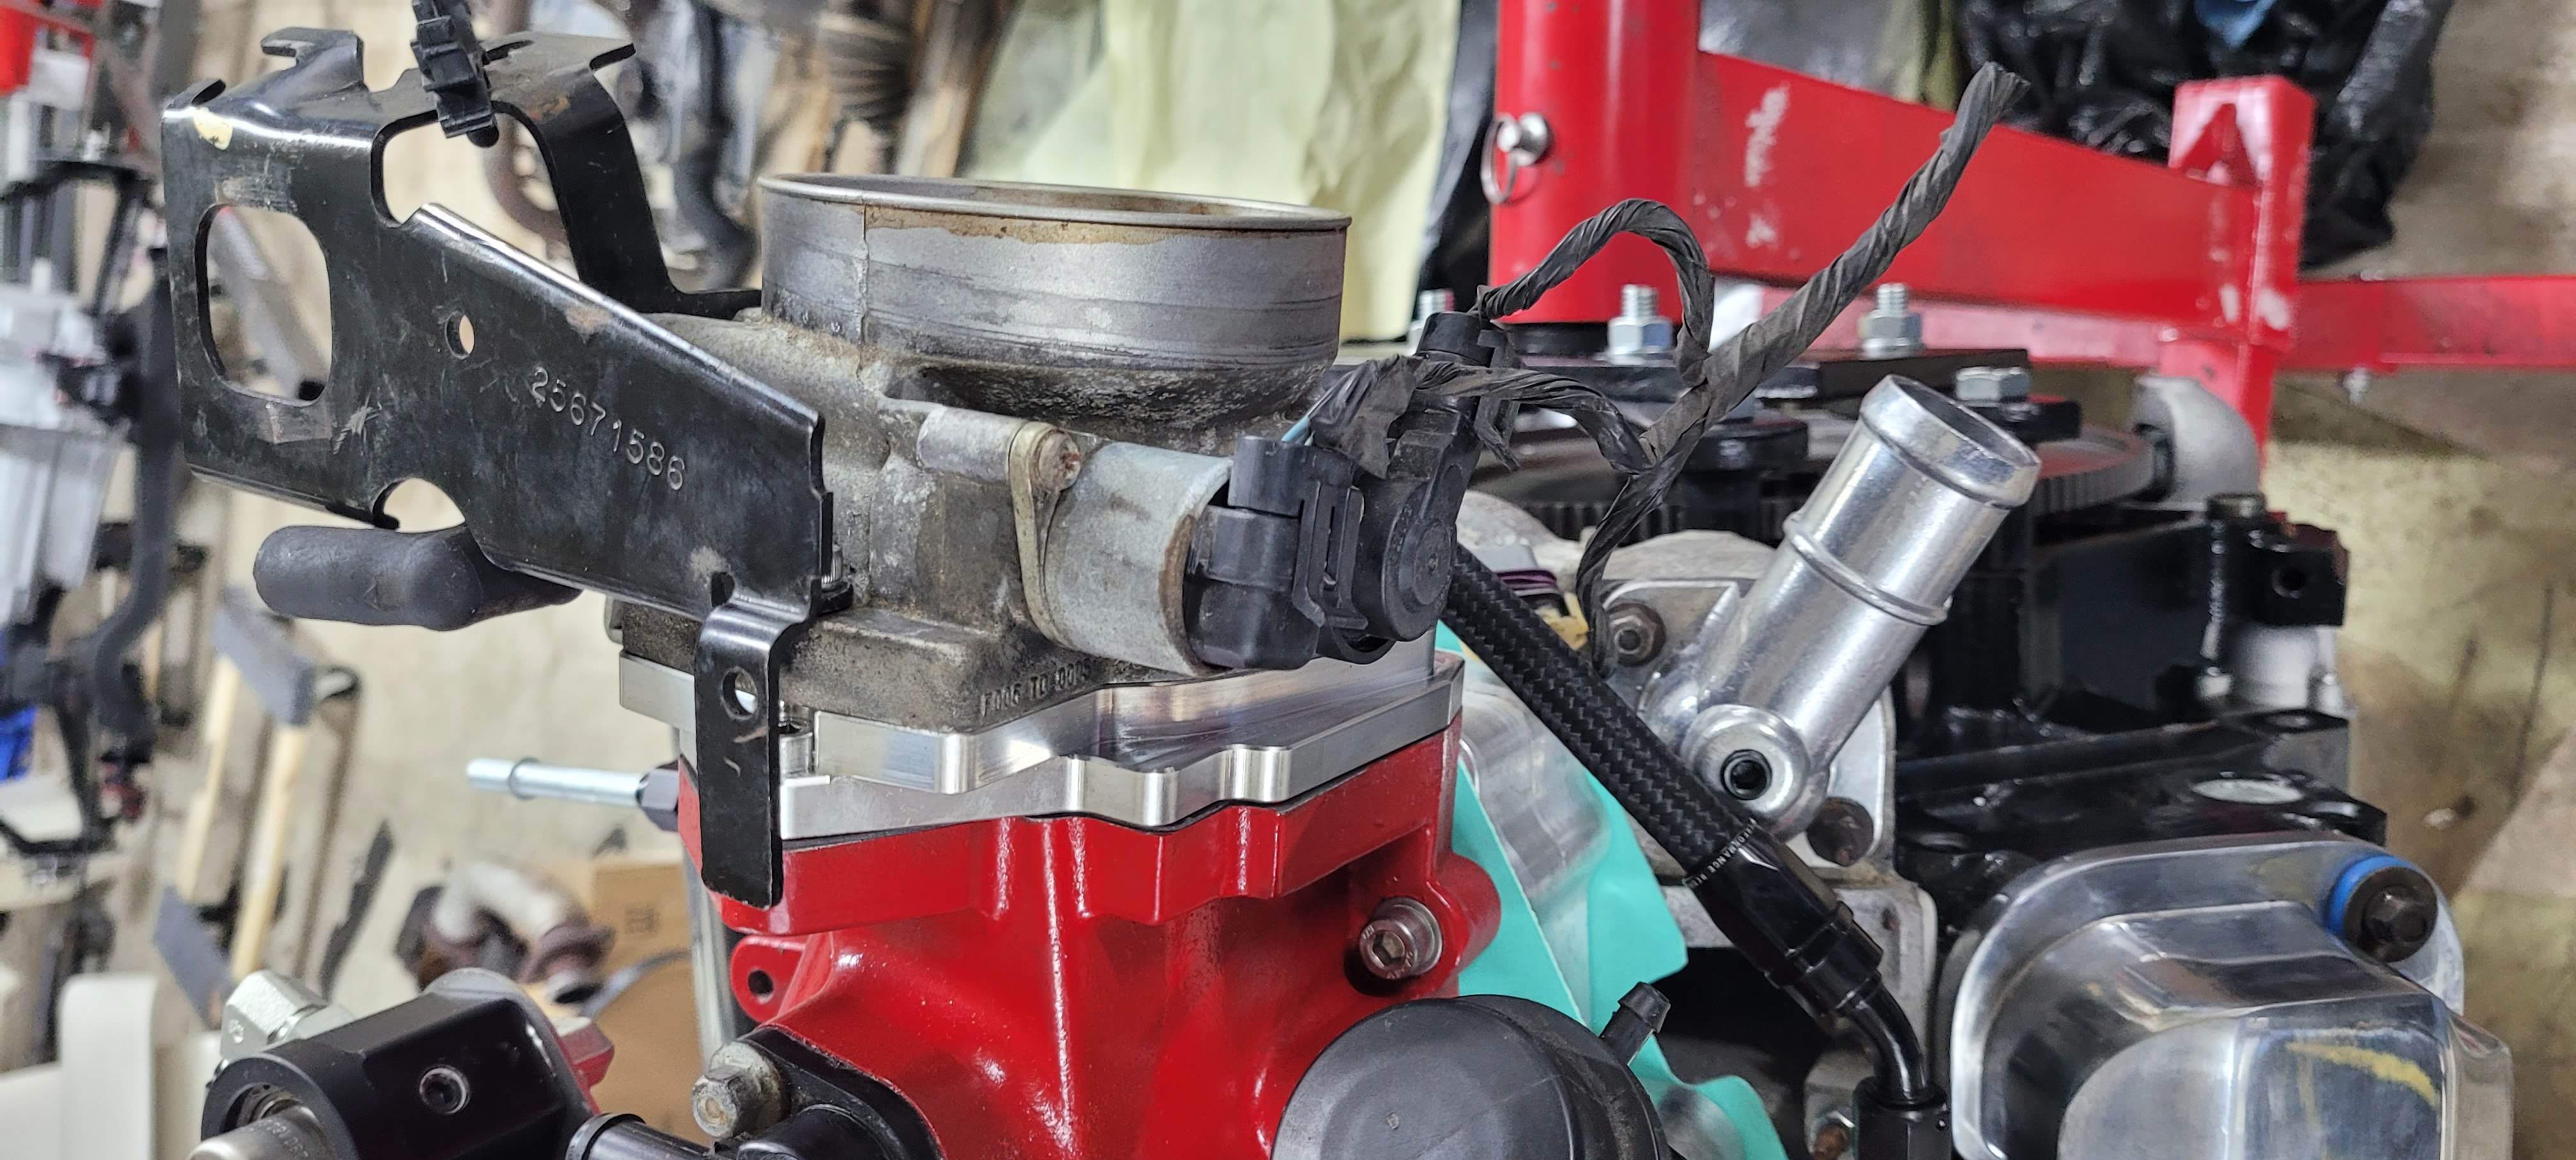

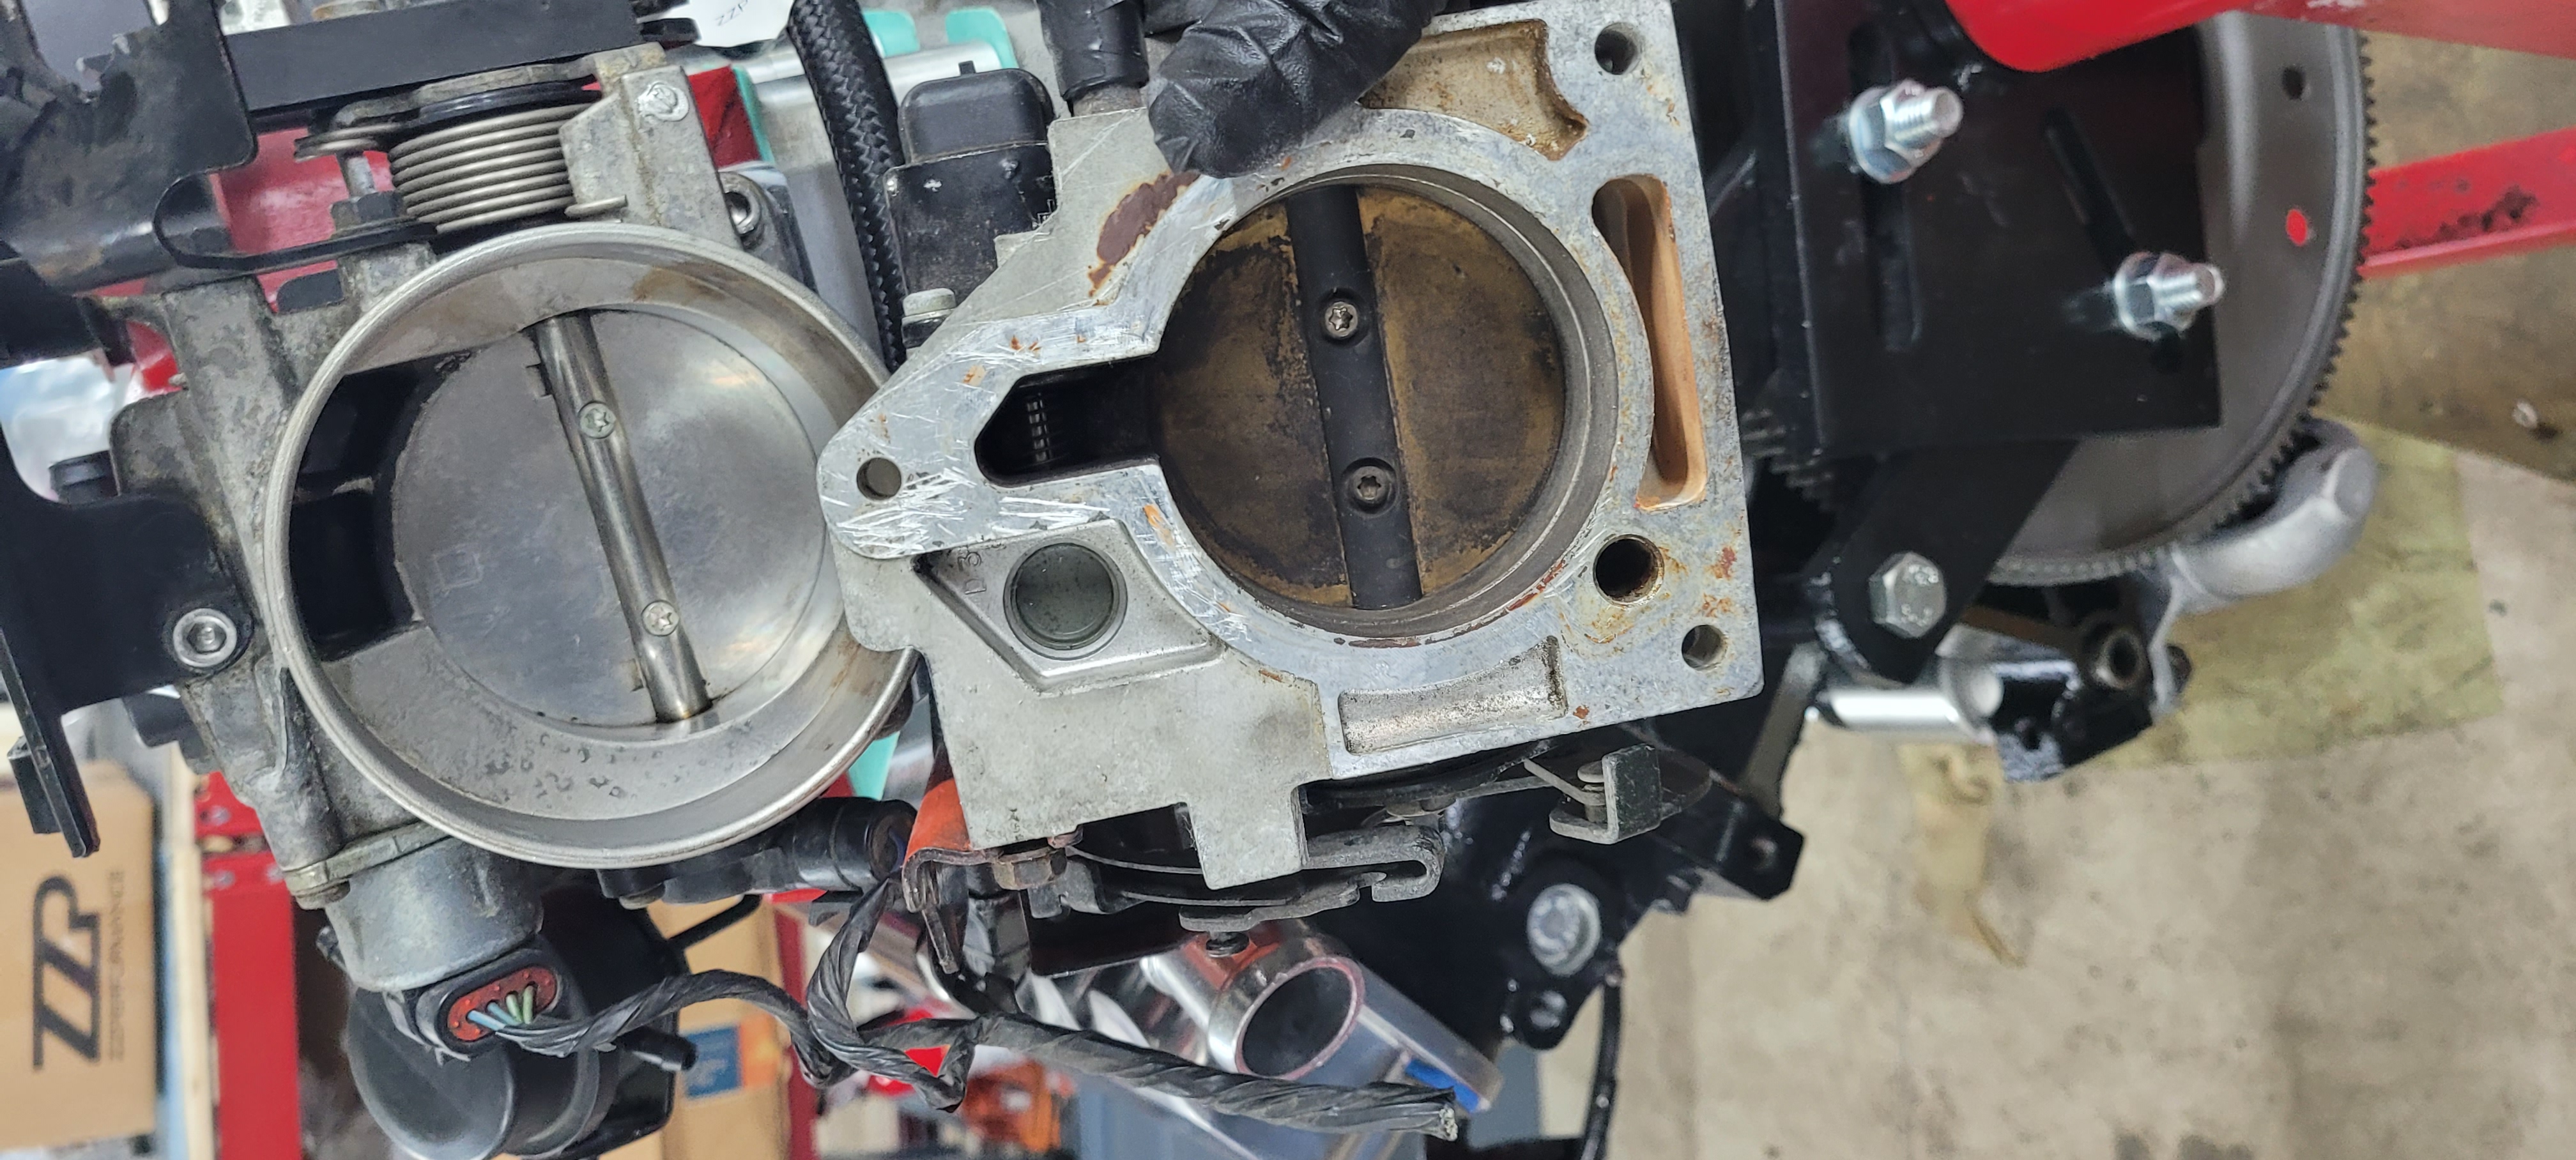
The next thing I moved to after getting tired of being cramped in the engine bay was the small things left to do on my engine. I was recommended to go with a Northstar Throttle body and 4" intake based off of all the mods I've done, so I ordered ZZP's conversion kit and picked up the MAF and TB from a junkyard. Cleaned them up and installed them.
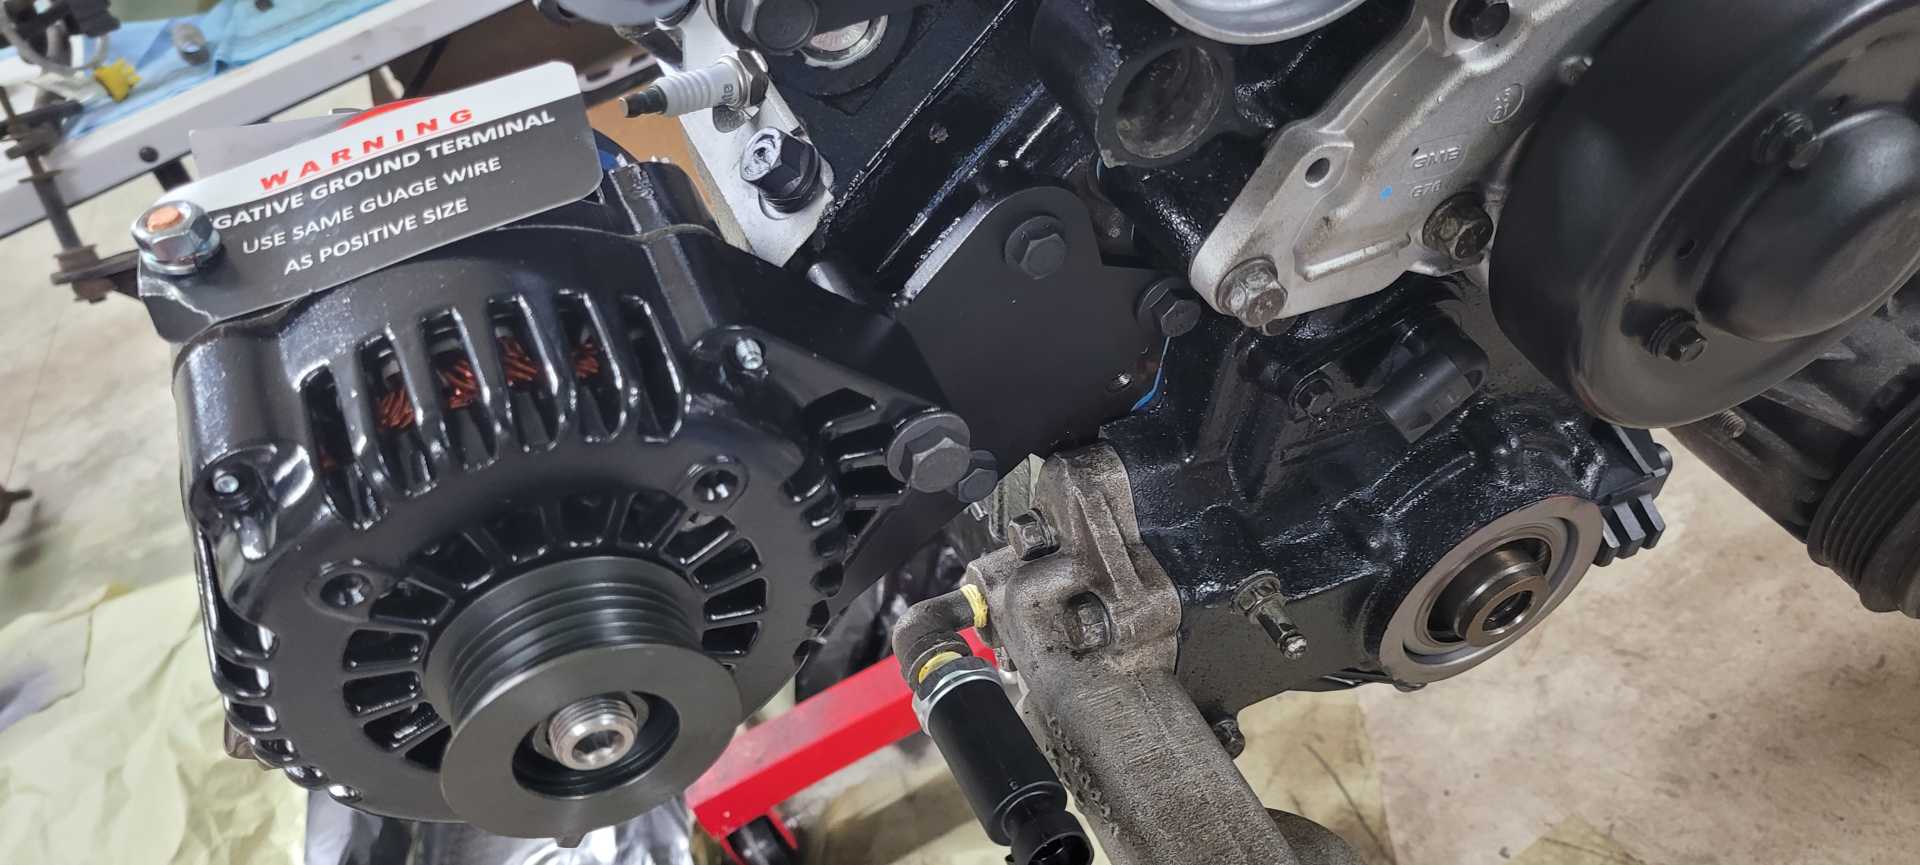
I also opted to buy a higher output alternator from Powermaster, I am very impressed with the look of it. The powder coating feels stout and I have high hopes for its durability. At the same time I installed the stock AC compressor after cleaning it up, fingers crossed it still works.
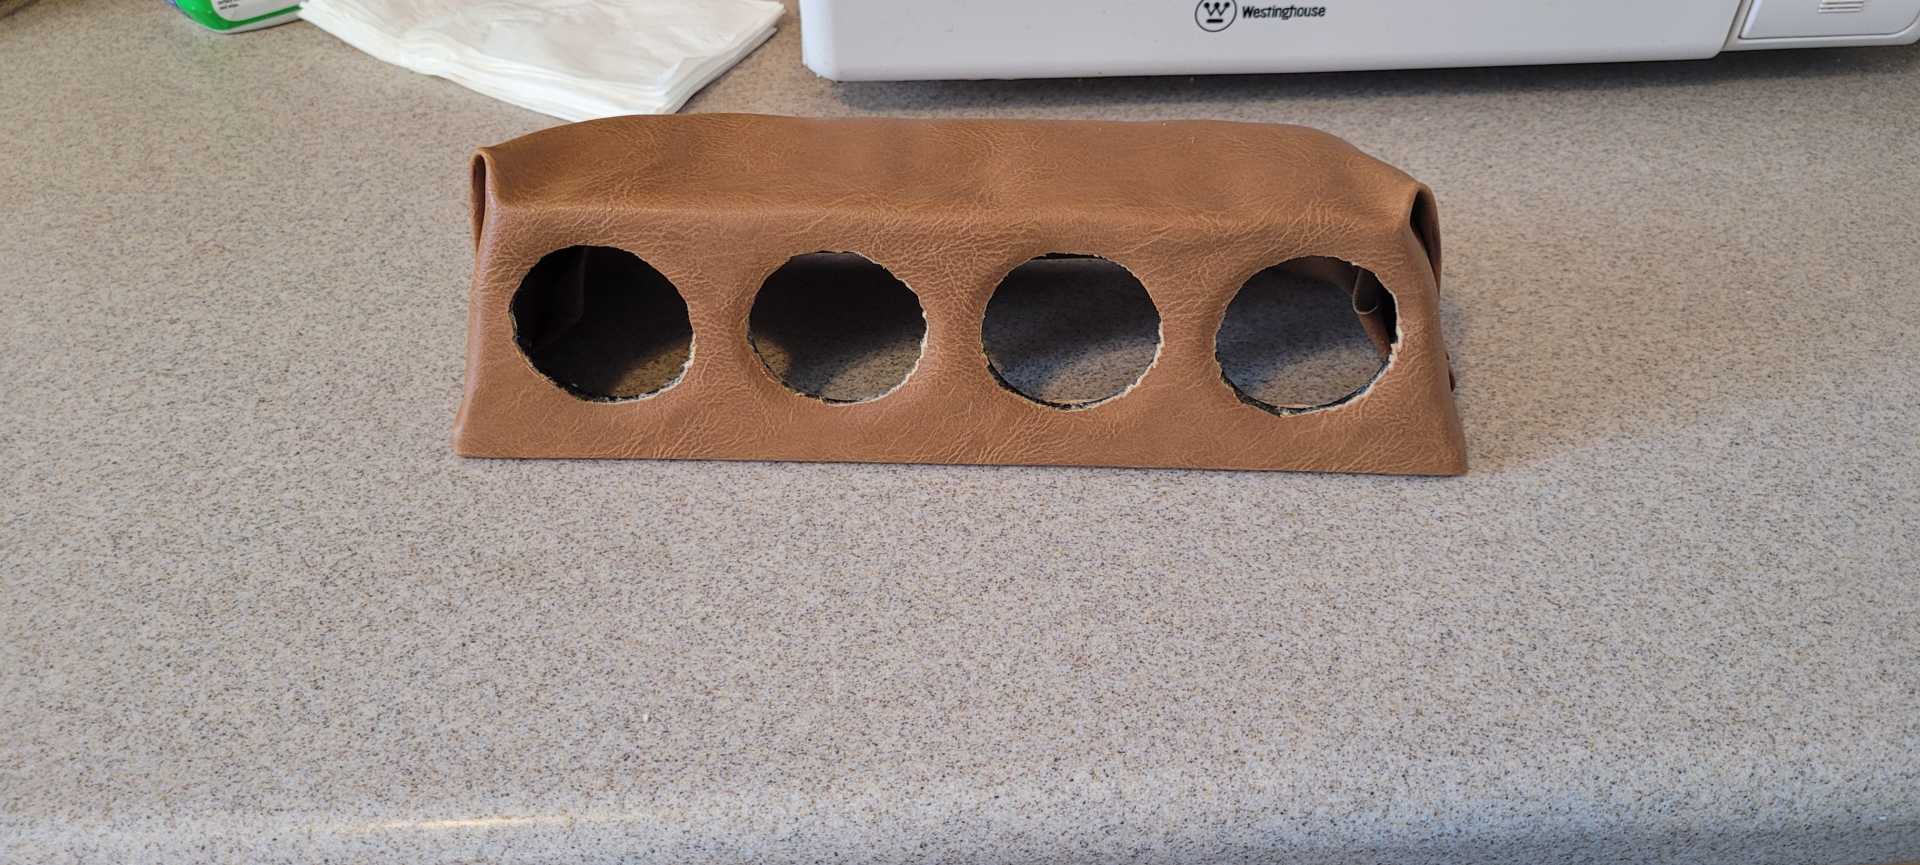
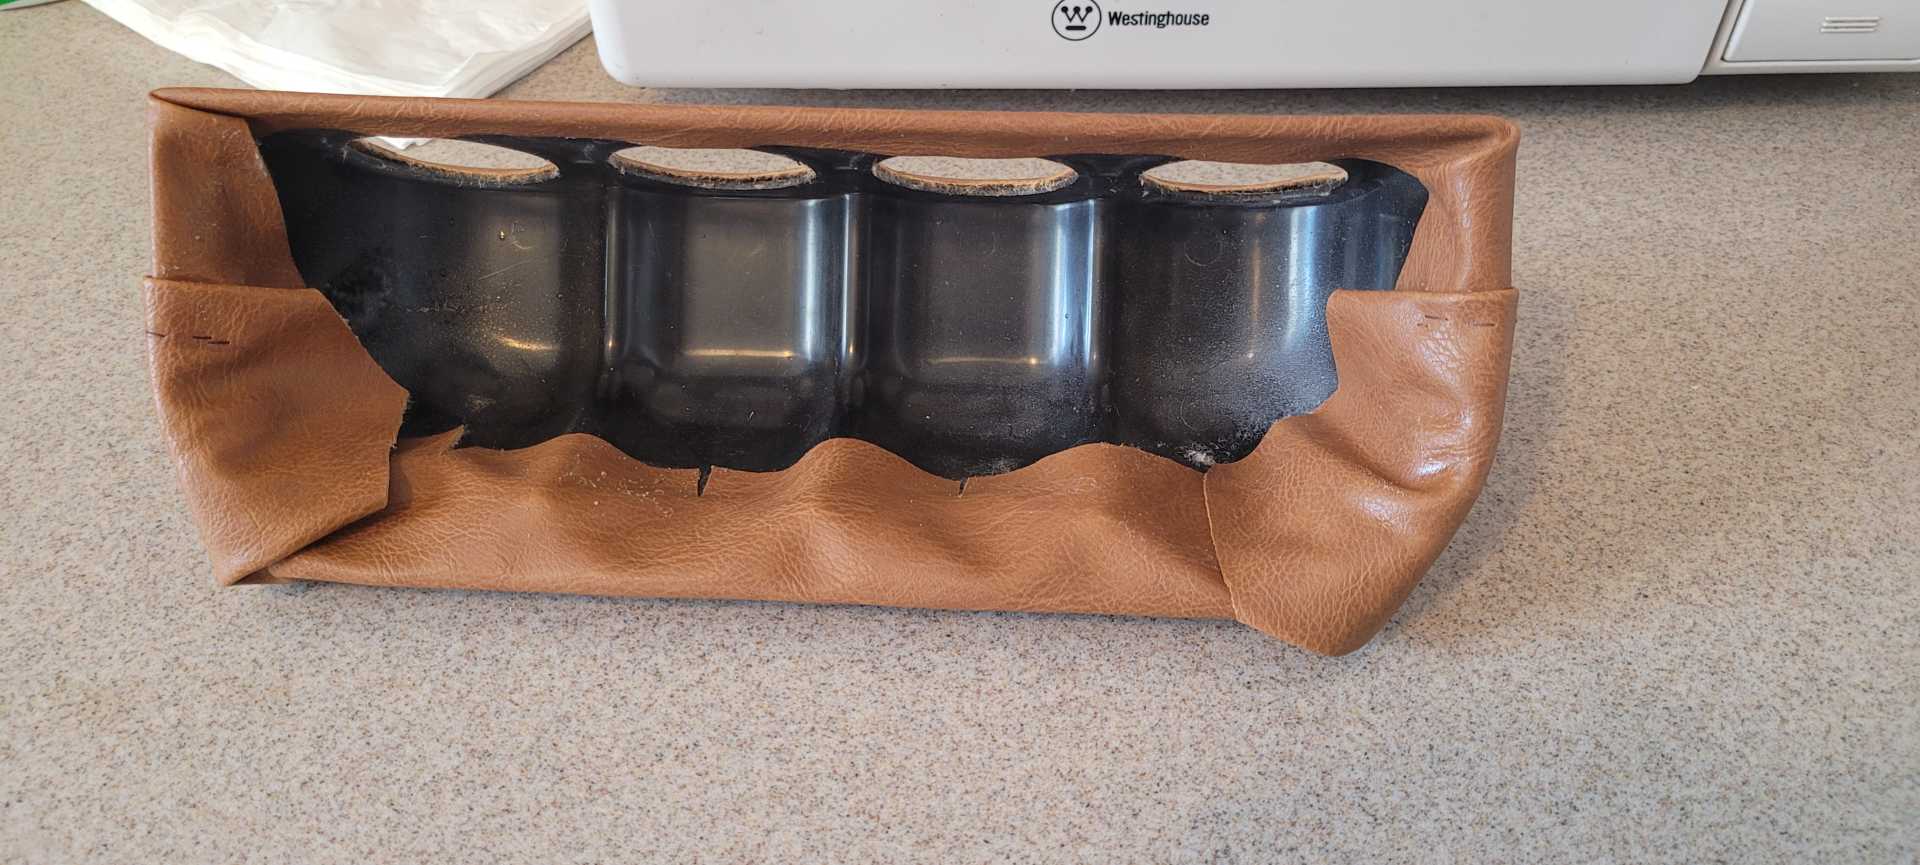
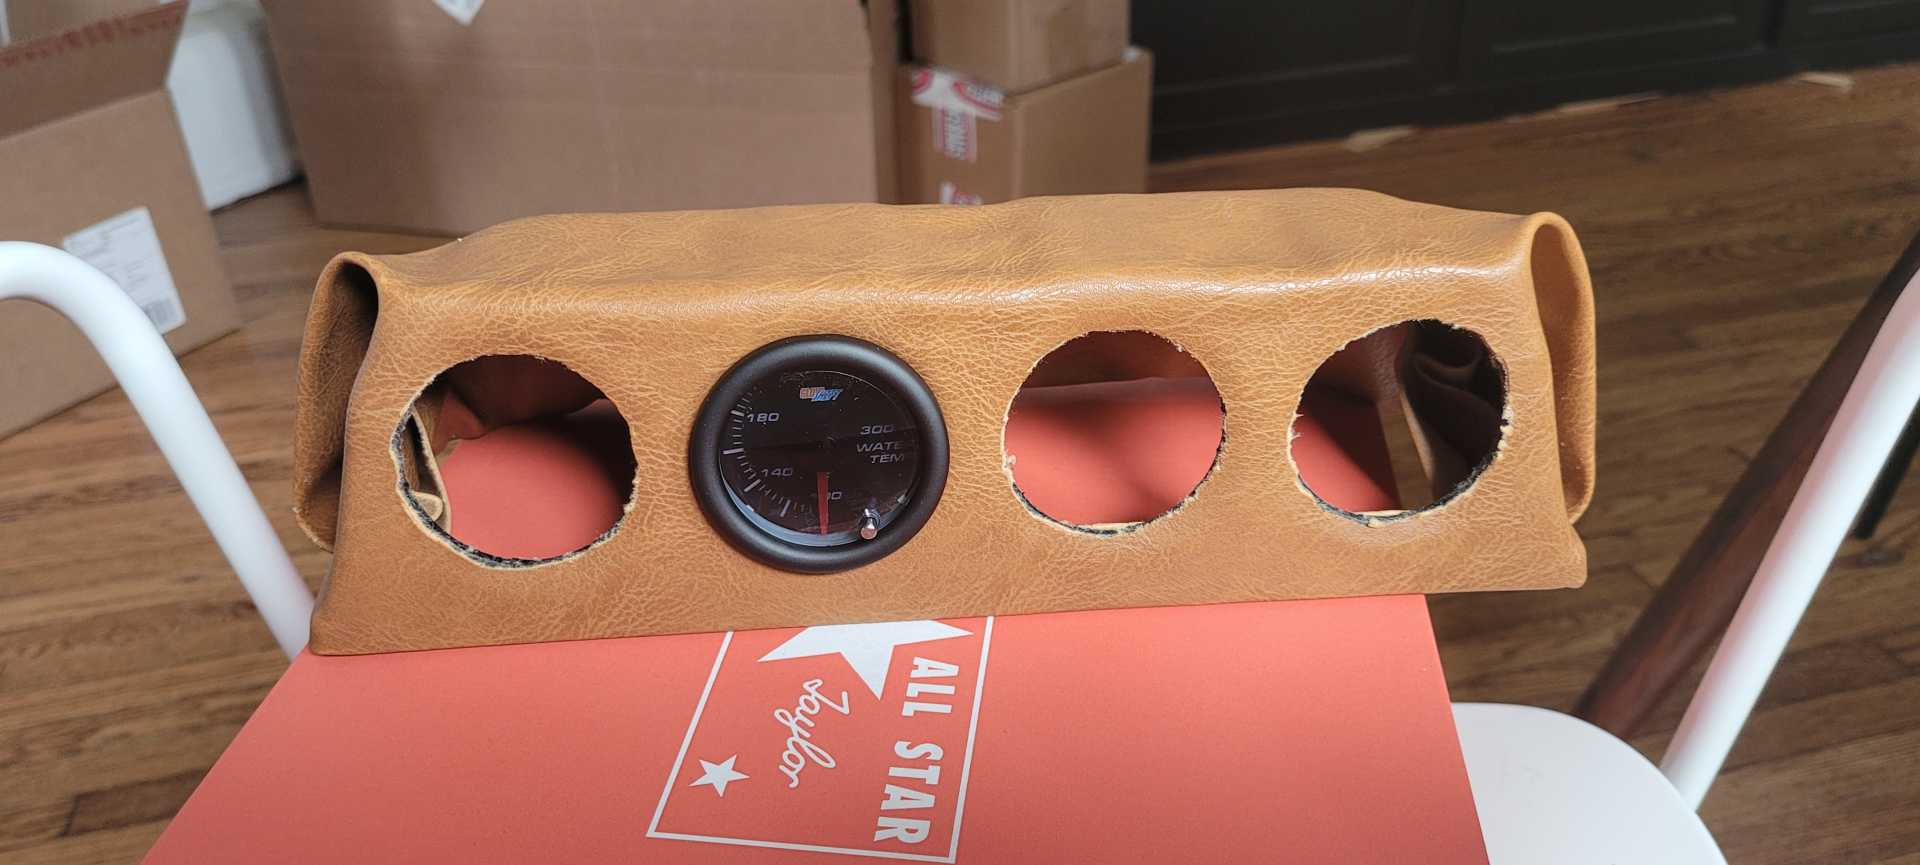
The last thing I worked on this past week was an arts and craft project. I have decided to go with Glowshift aftermarket gauges and tried to think of ideas that I could implement a gauge pod without it looking too out of place/aftermarket. I spent 30 bucks on Glowshift's 4 gauge universal pod and 15 a yard of brown pleather. I DIY'd upholstering it. I don't think it looks too bad, although I can notice all my mistakes. I used some instant adhesive and hand sewed the 'ears' down. Props to anyone who does upholstery as a trade because this took me 2 hours with 0 experience.

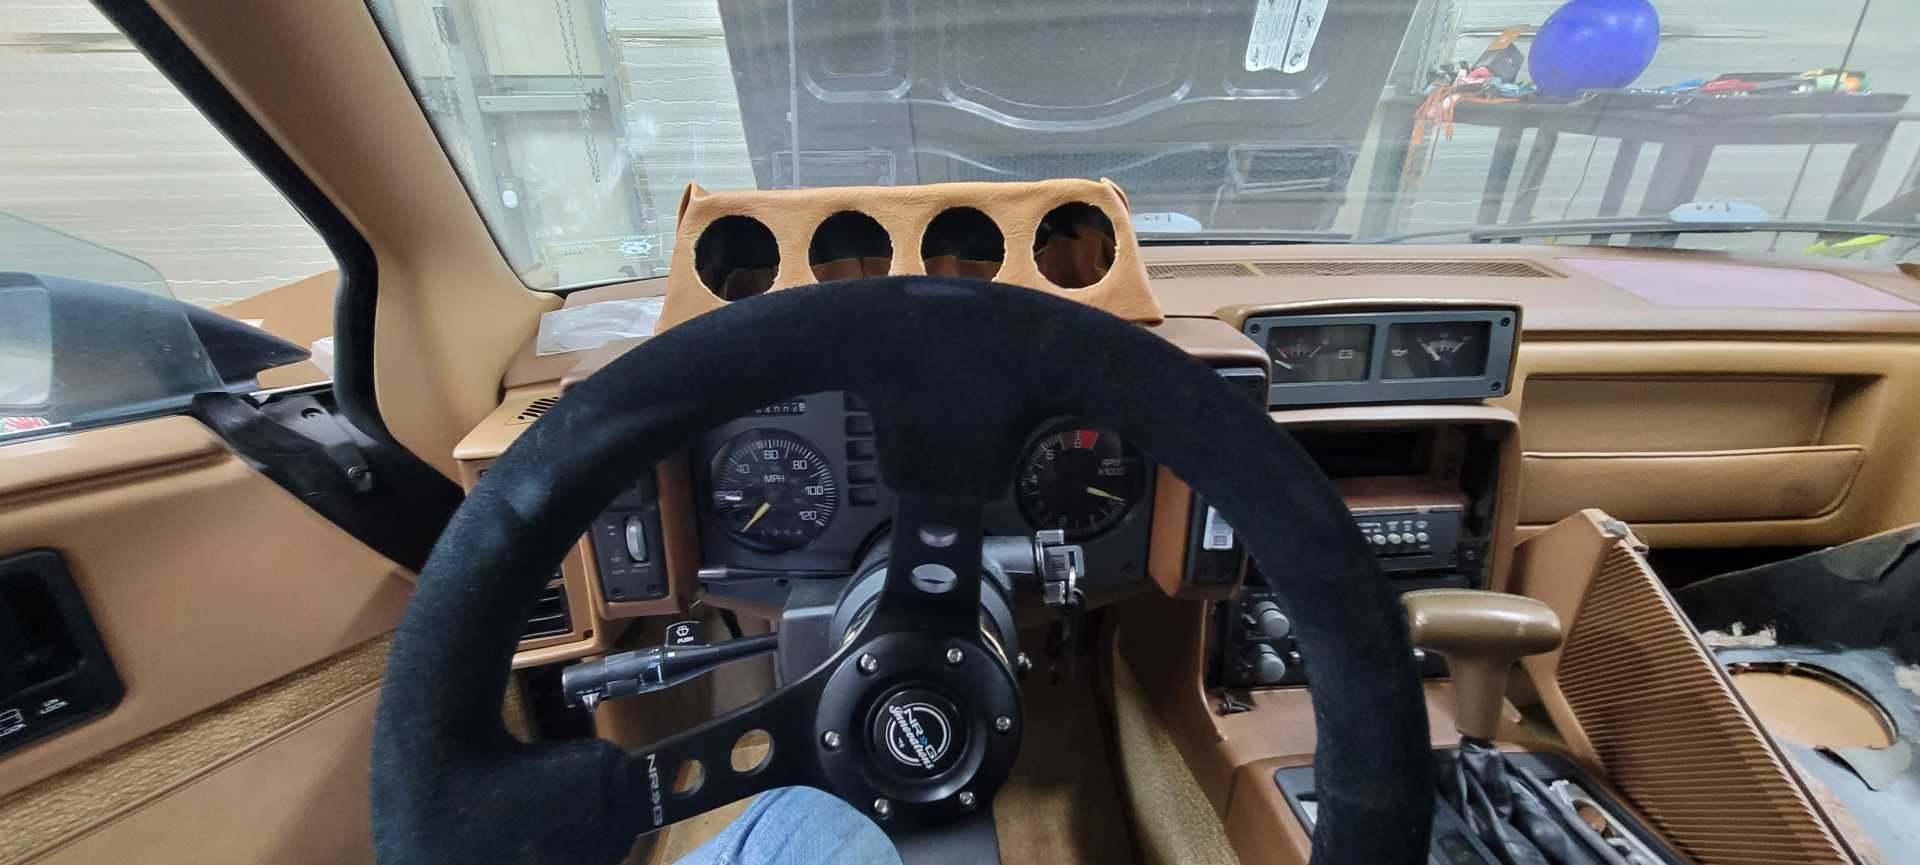
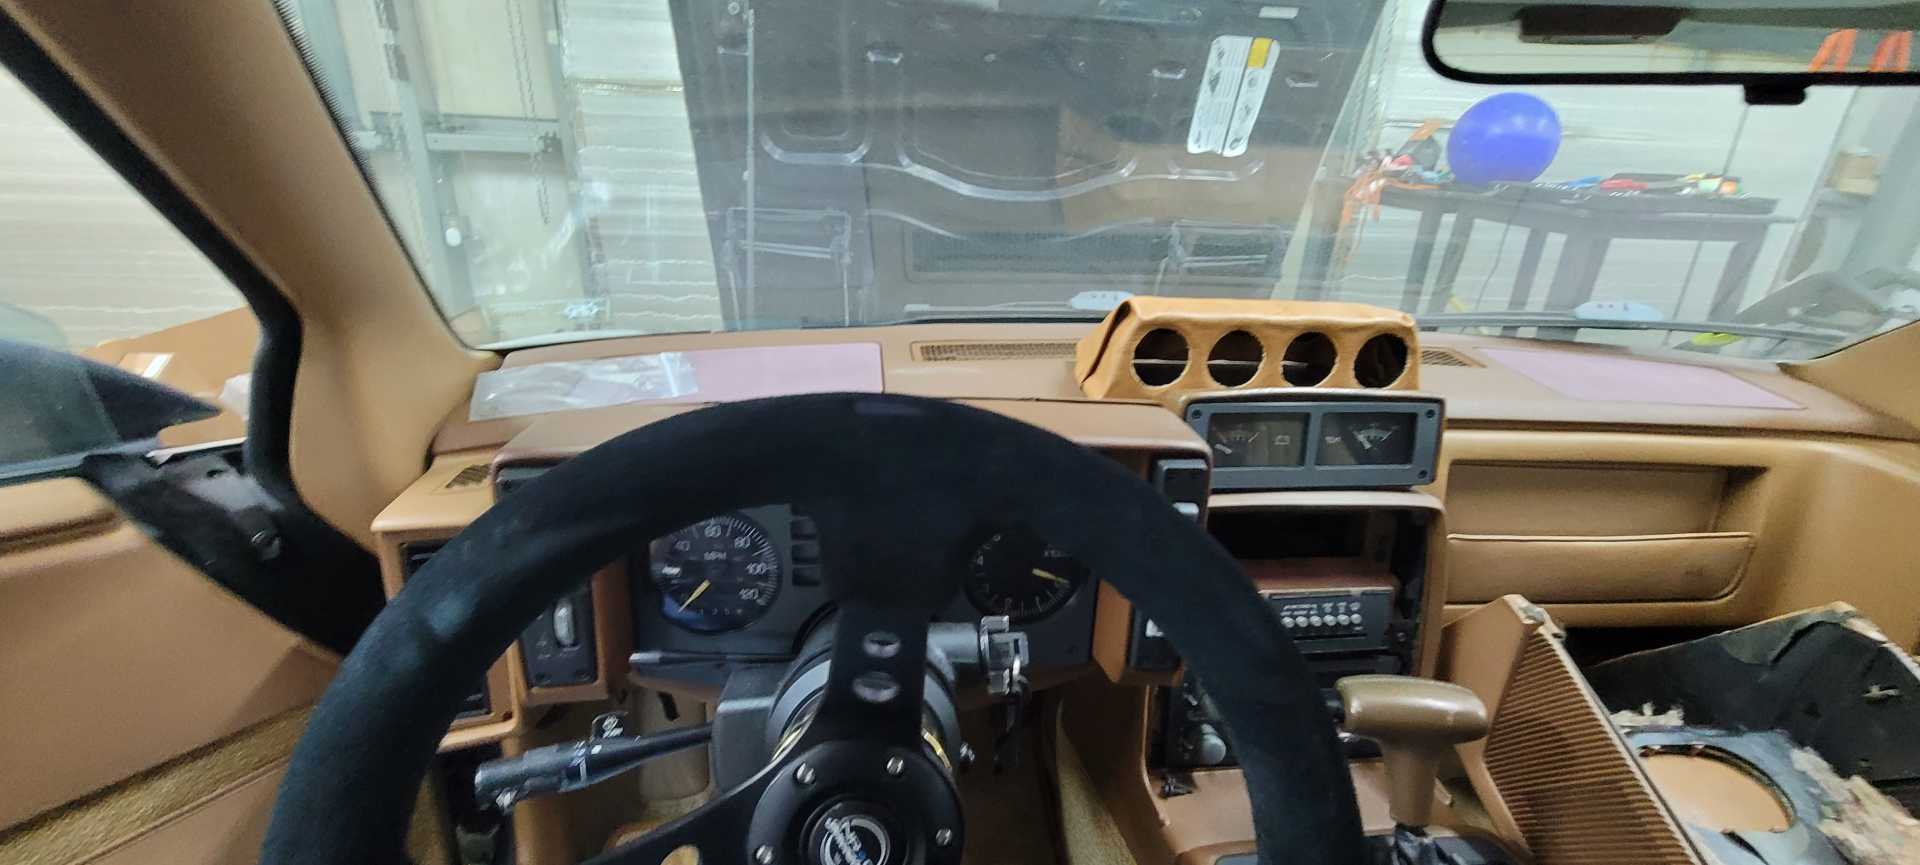
What's the consensus on the position? My preference is behind the OE GT gauges in the center of the dash.
|
|
|
|
cam-a-lot
|
MAR 13, 08:07 PM
|
|
Great thread. Very helpful pics
Where are you putting your PCM? Mine is unfortunately in the stock Fiero position. Would have been better to leave it in the engine bay instead of heating up the center console..
Do you have any photos of your new firewall insulation?
What are the plans for exhaust?
|
|
|
|