|
| Let's Prep and Paint a Fiero! (85 GT) (Page 2/4) |

|
IMSA GT
|
JUL 17, 07:36 PM
|
|
|
While you're under that windshield cowl, you could mesh over the cabin air intake to keep rodents out of the airbox.
|
|
|
|
Matthew_Fiero
|
JUL 18, 12:17 AM
|
|
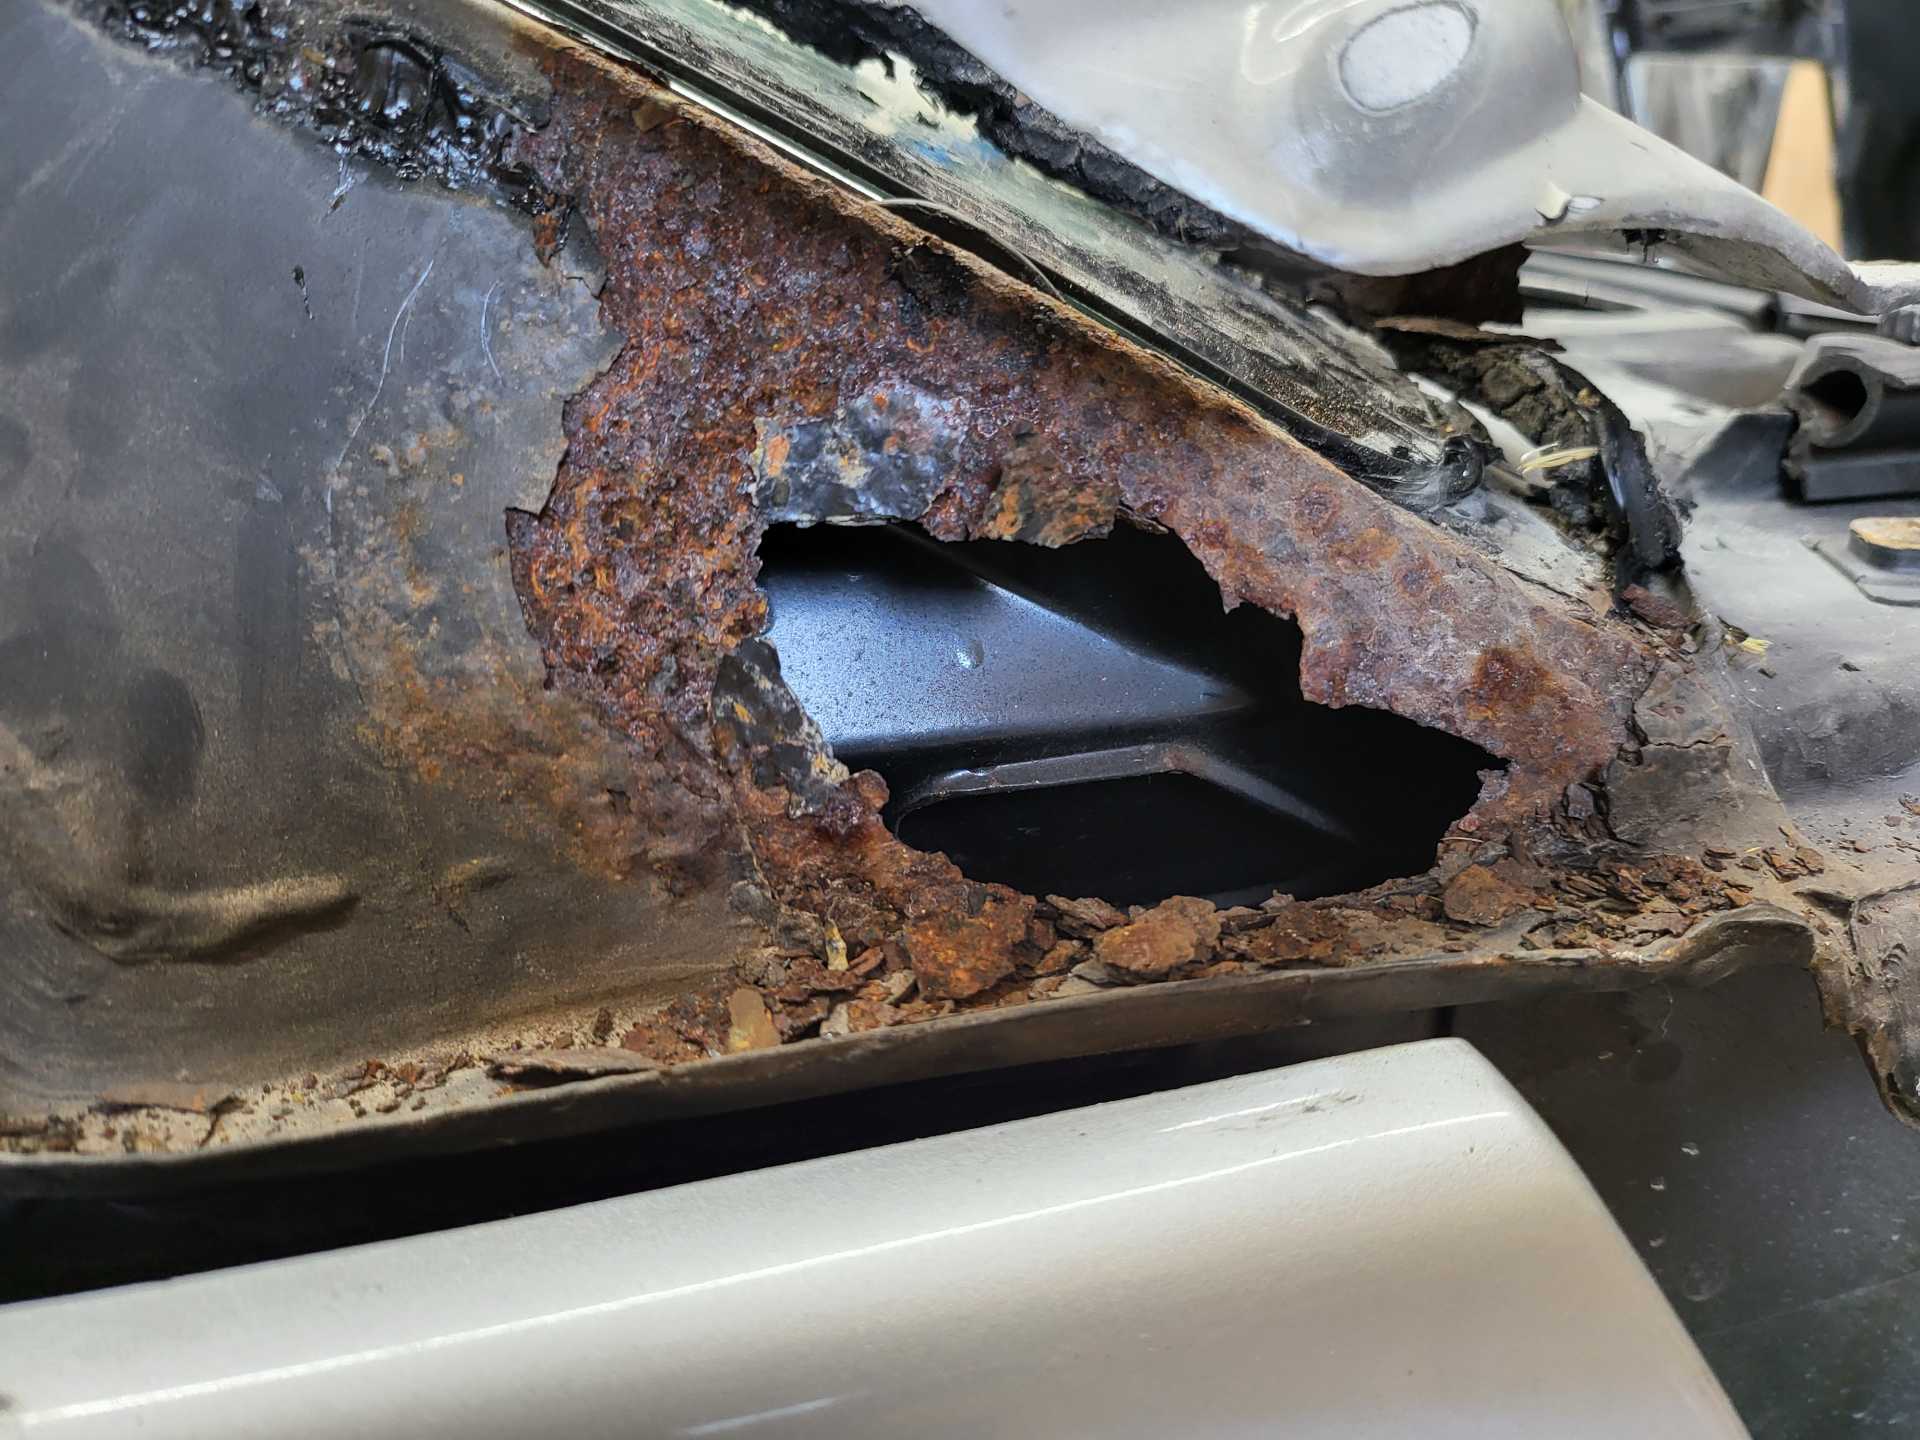
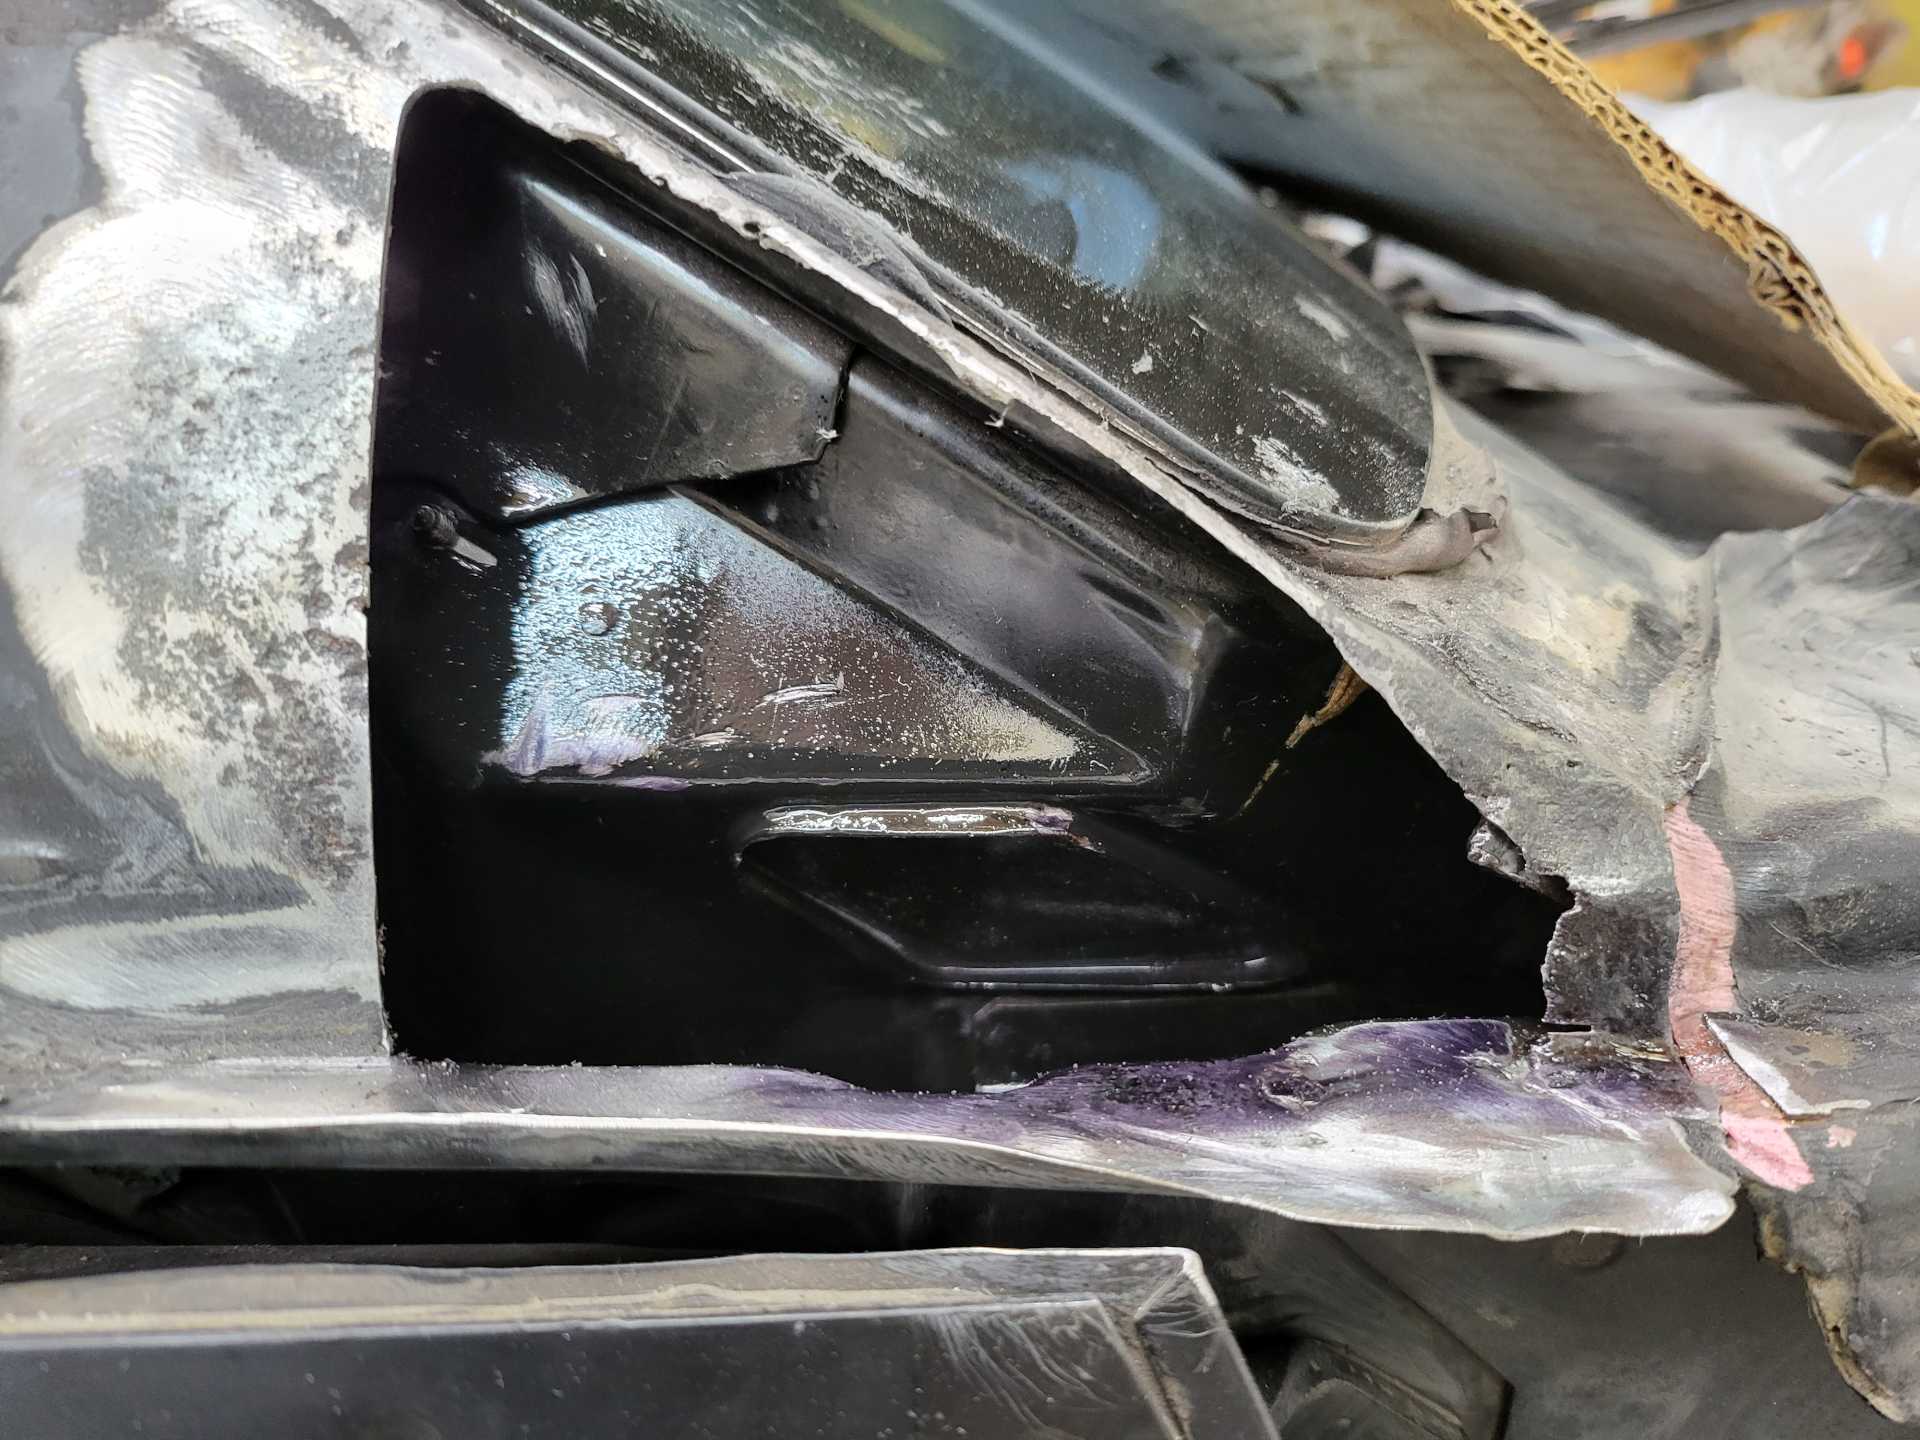
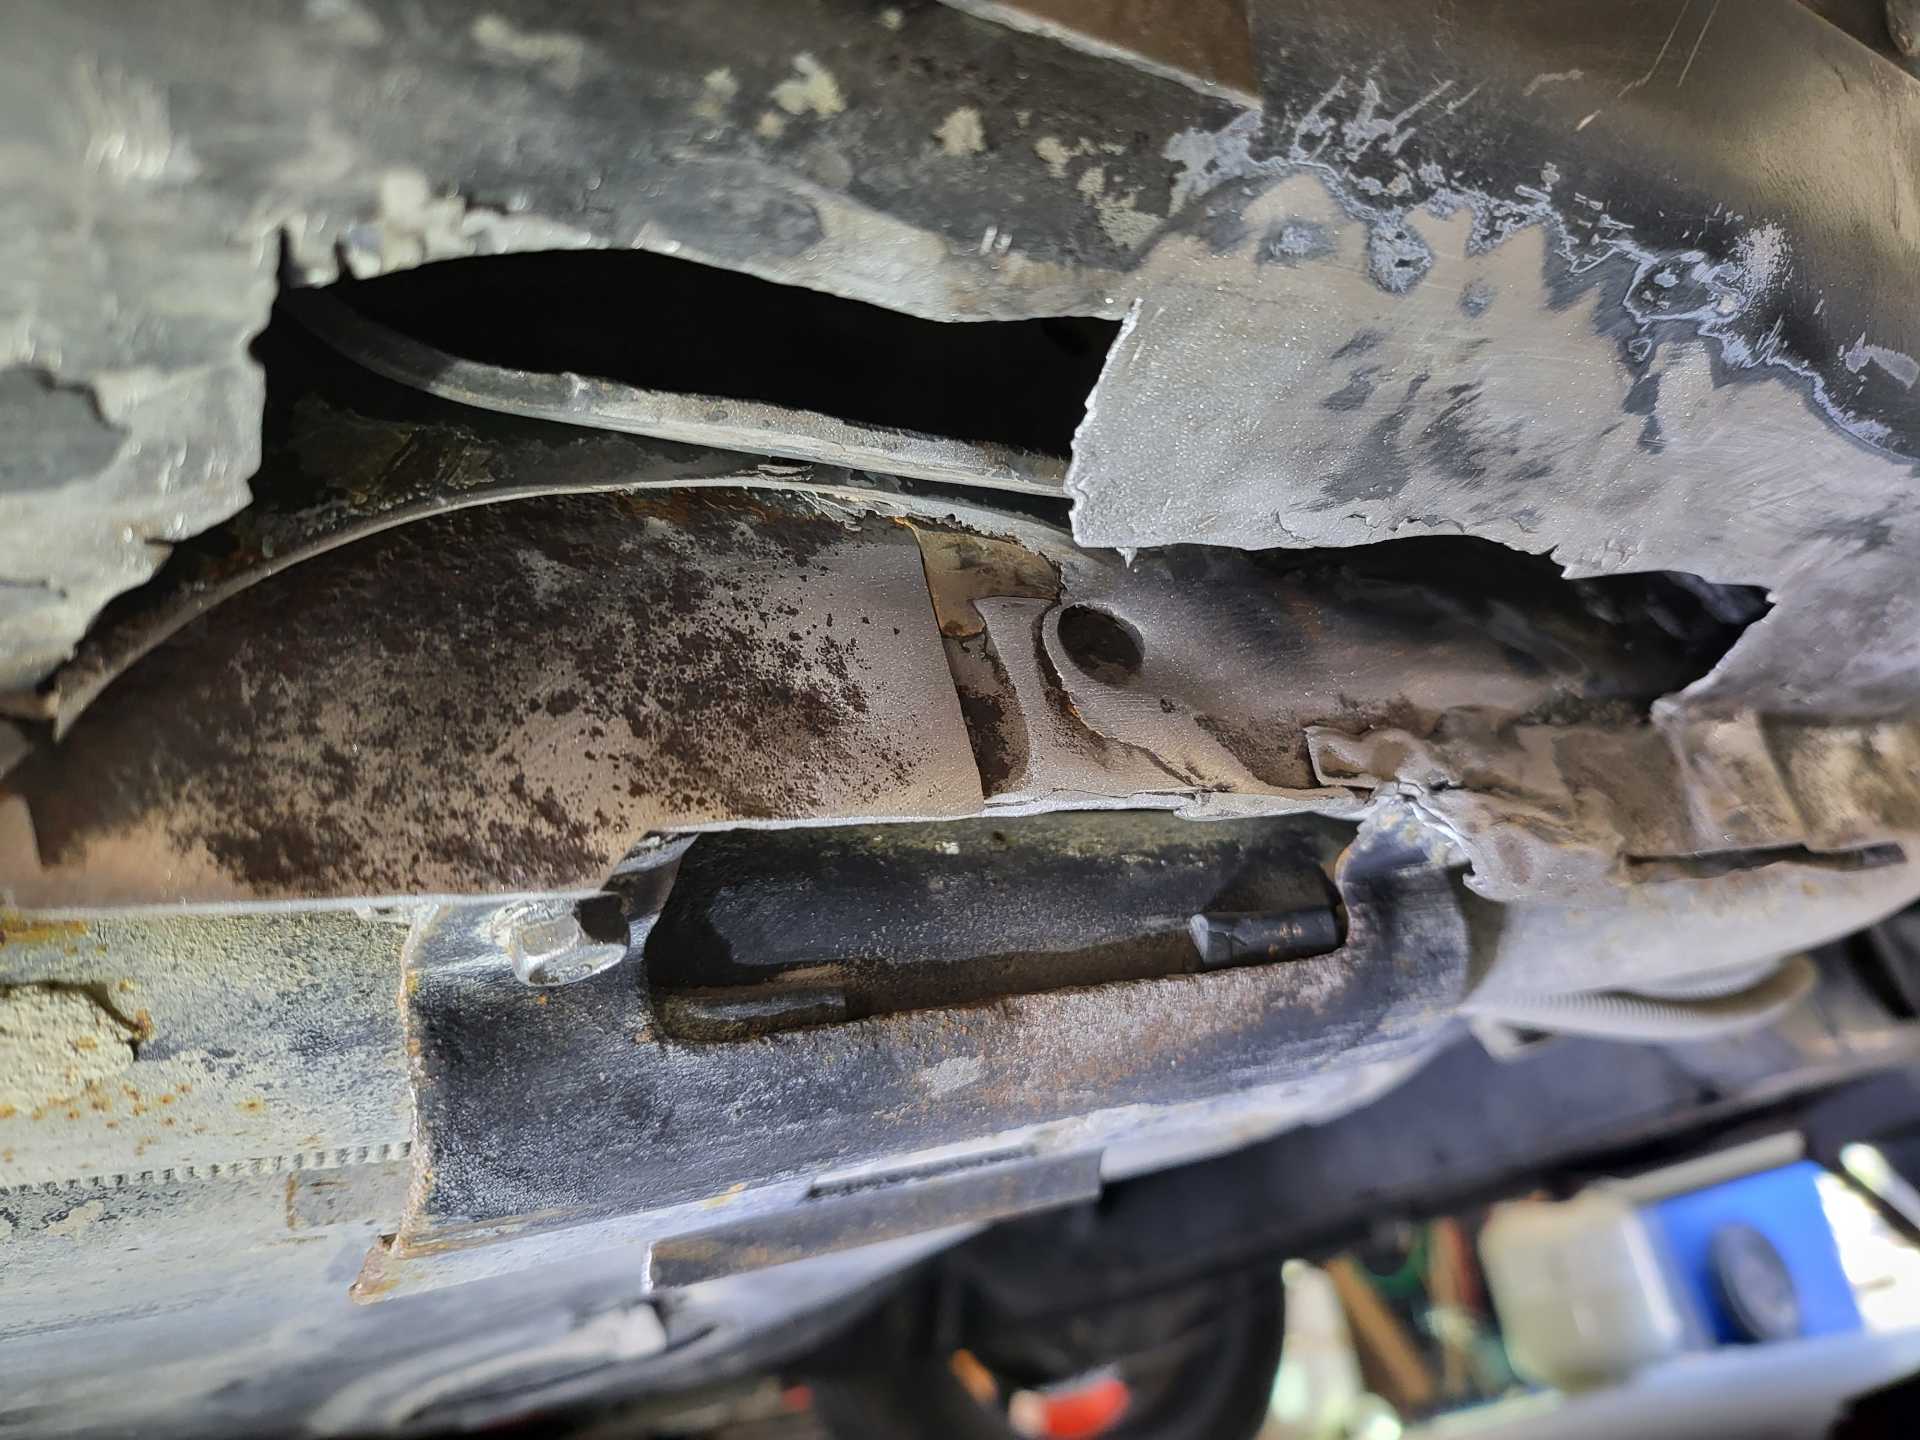
Tackled one last rusty/problem area on the frame. At some point the car was jacked up incorrectly and left this:
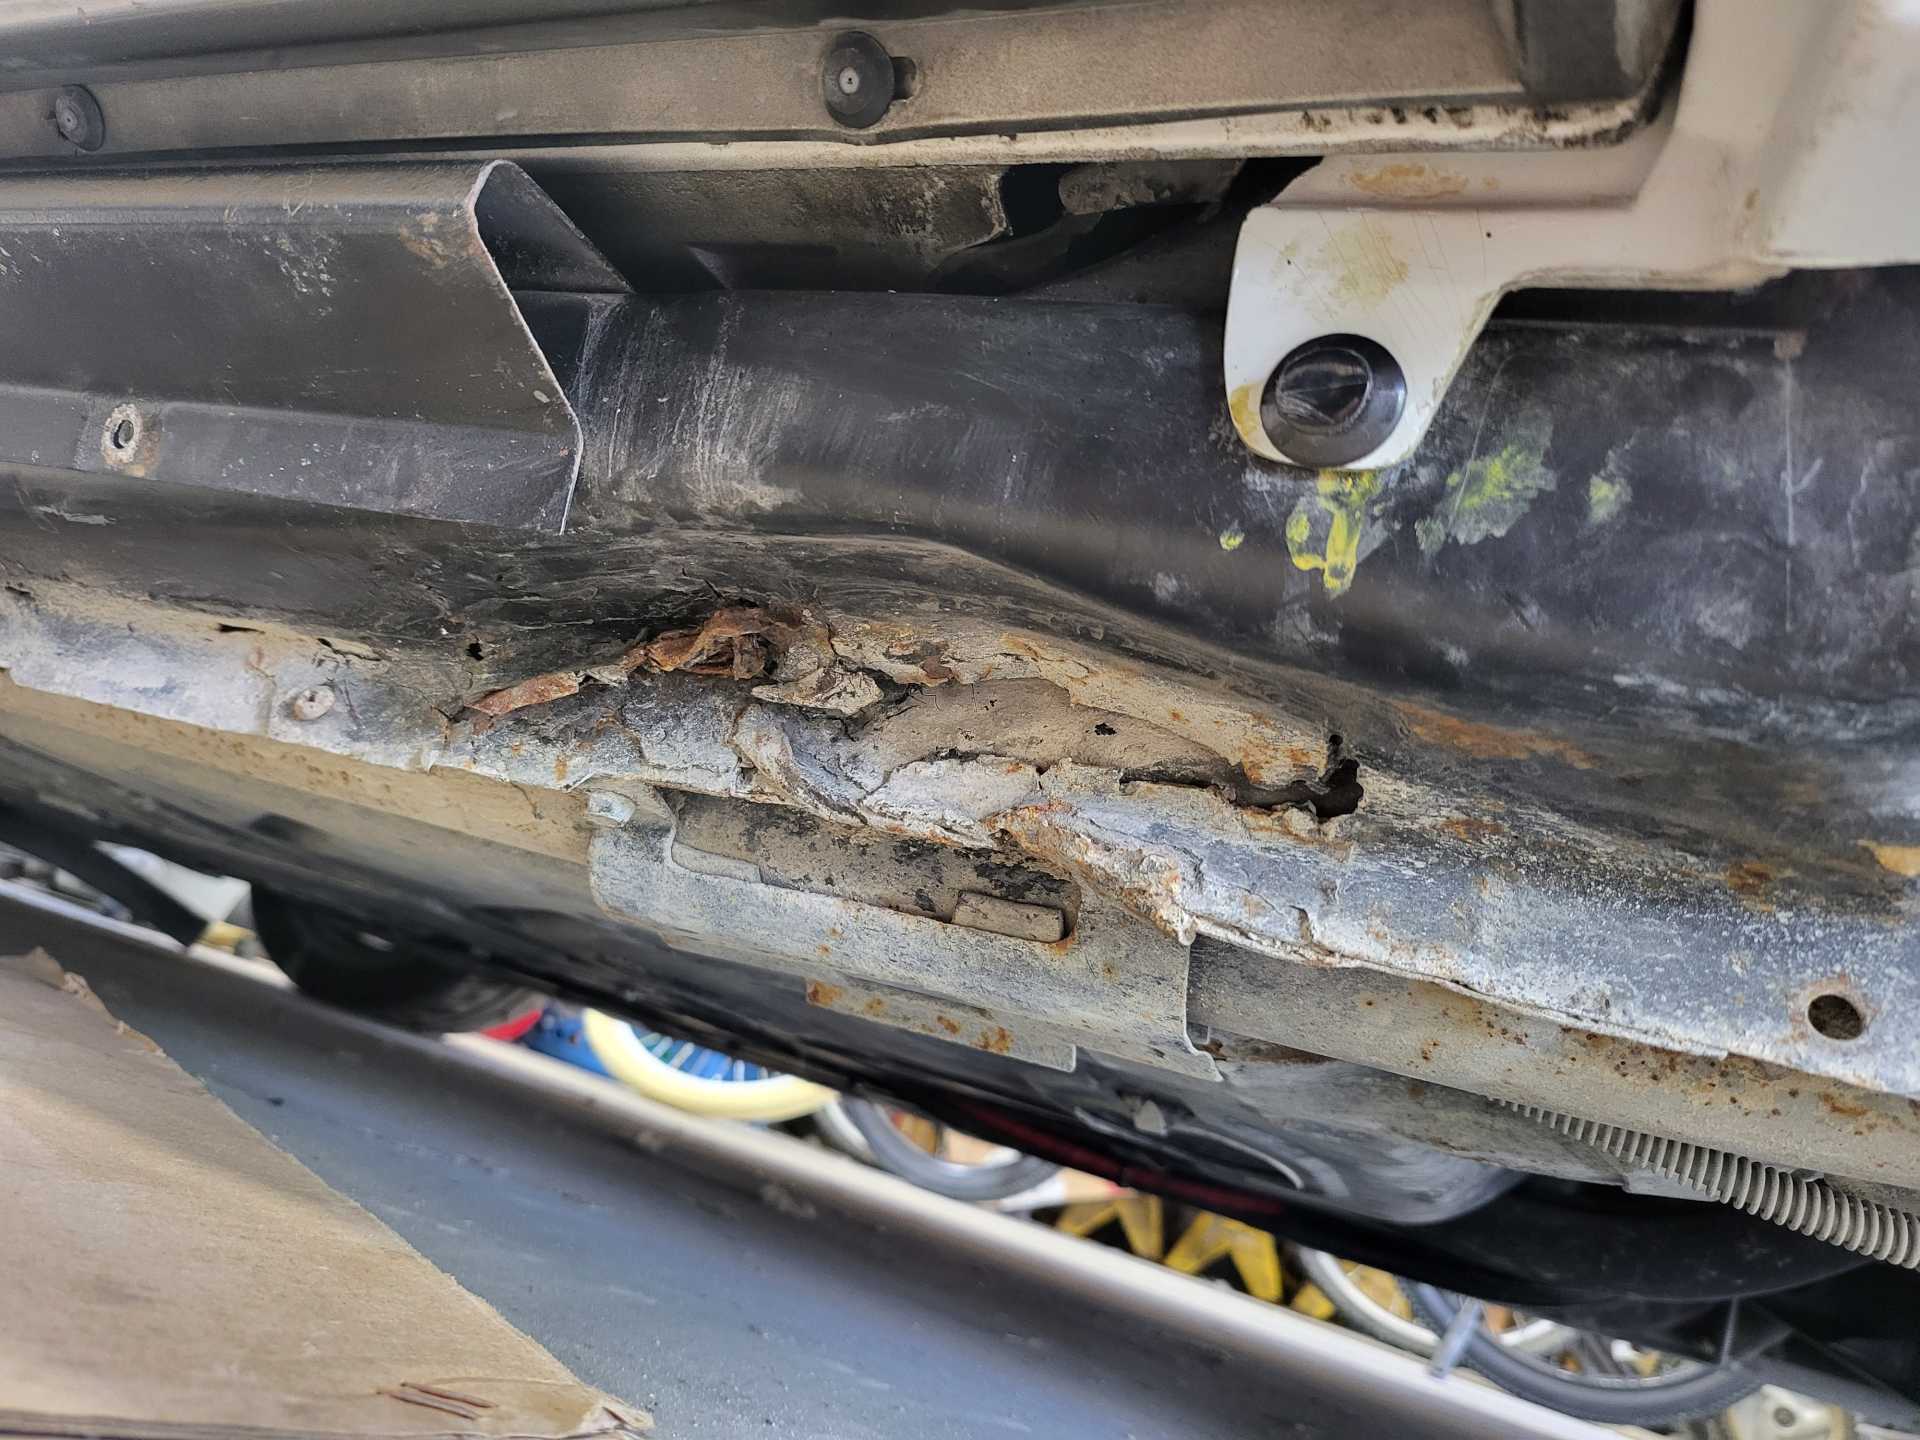
Cleaned it up a bit and straightened out the collapsed portion.
I am not sure if I am going to be able to get ALL the rust out of the jacking location. I'll just have to do my best and weld it shut again.
So now I have three spots to weld up: The passenger side A pillar, the windshield wiper area and the driver side jacking location.[This message has been edited by Matthew_Fiero (edited 07-18-2024).]
|
|
|
|
Matthew_Fiero
|
JUL 19, 08:05 AM
|
|
I took the exhaust off last night. That was a nightmare I'll never use that exhaust wrap again.
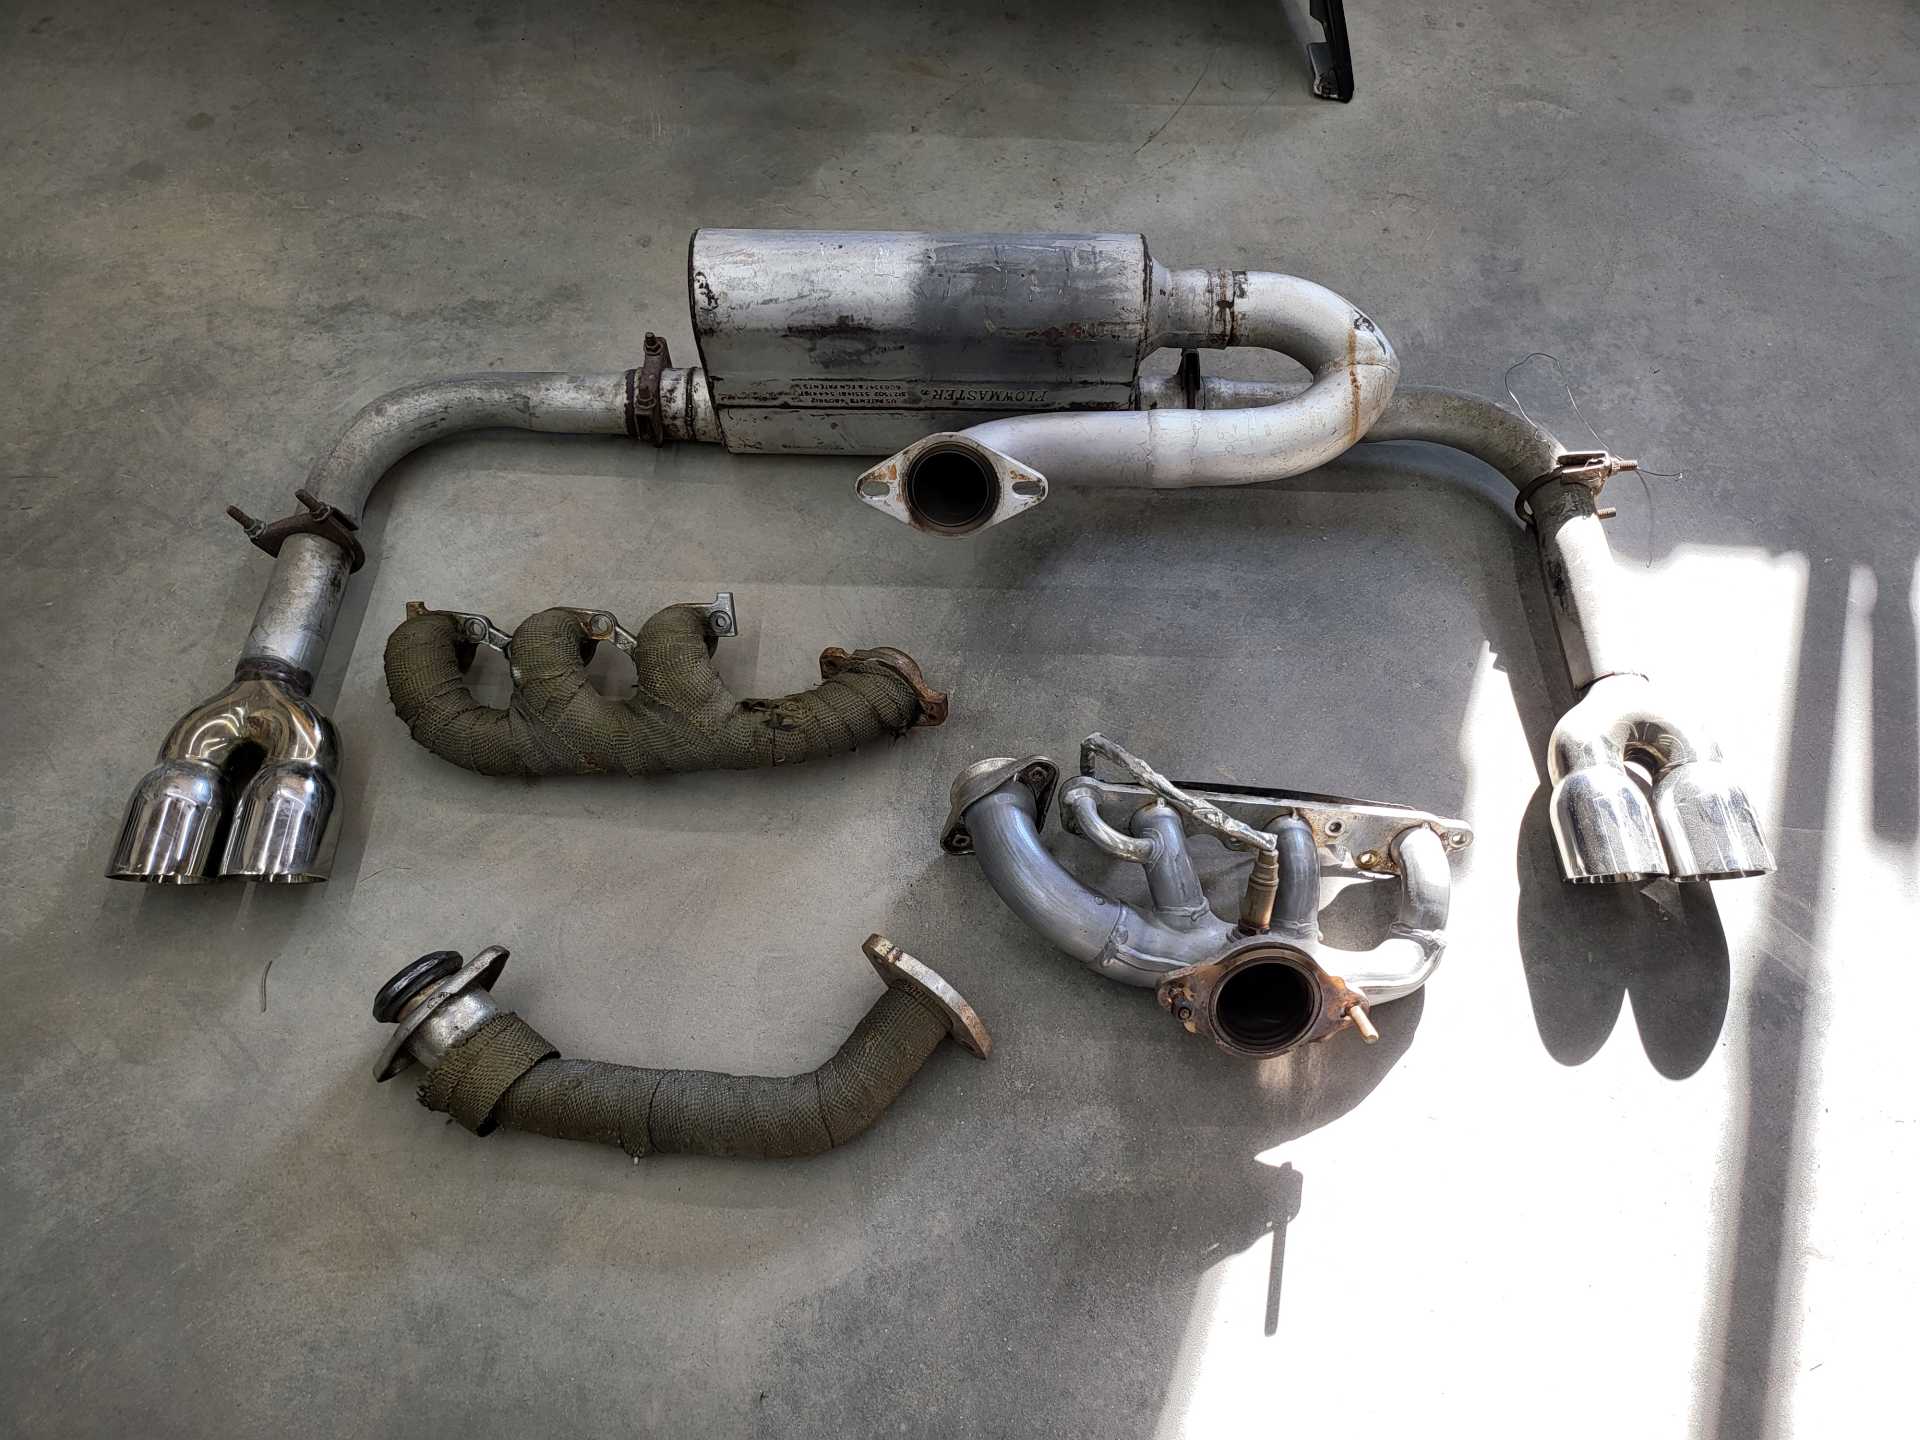
Anyone interested in a set of ceramic coated, port and polished 3800 exhaust manifolds?
Looks like the next week will be dedicated to welding and exhaust.
I'm really not comfortable welding so close to the windshield. I might use a panel bonder on the edge closest to the glass and weld the remaining section.[This message has been edited by Matthew_Fiero (edited 07-19-2024).]
|
|
|
|
Matthew_Fiero
|
JUL 22, 03:04 PM
|
|
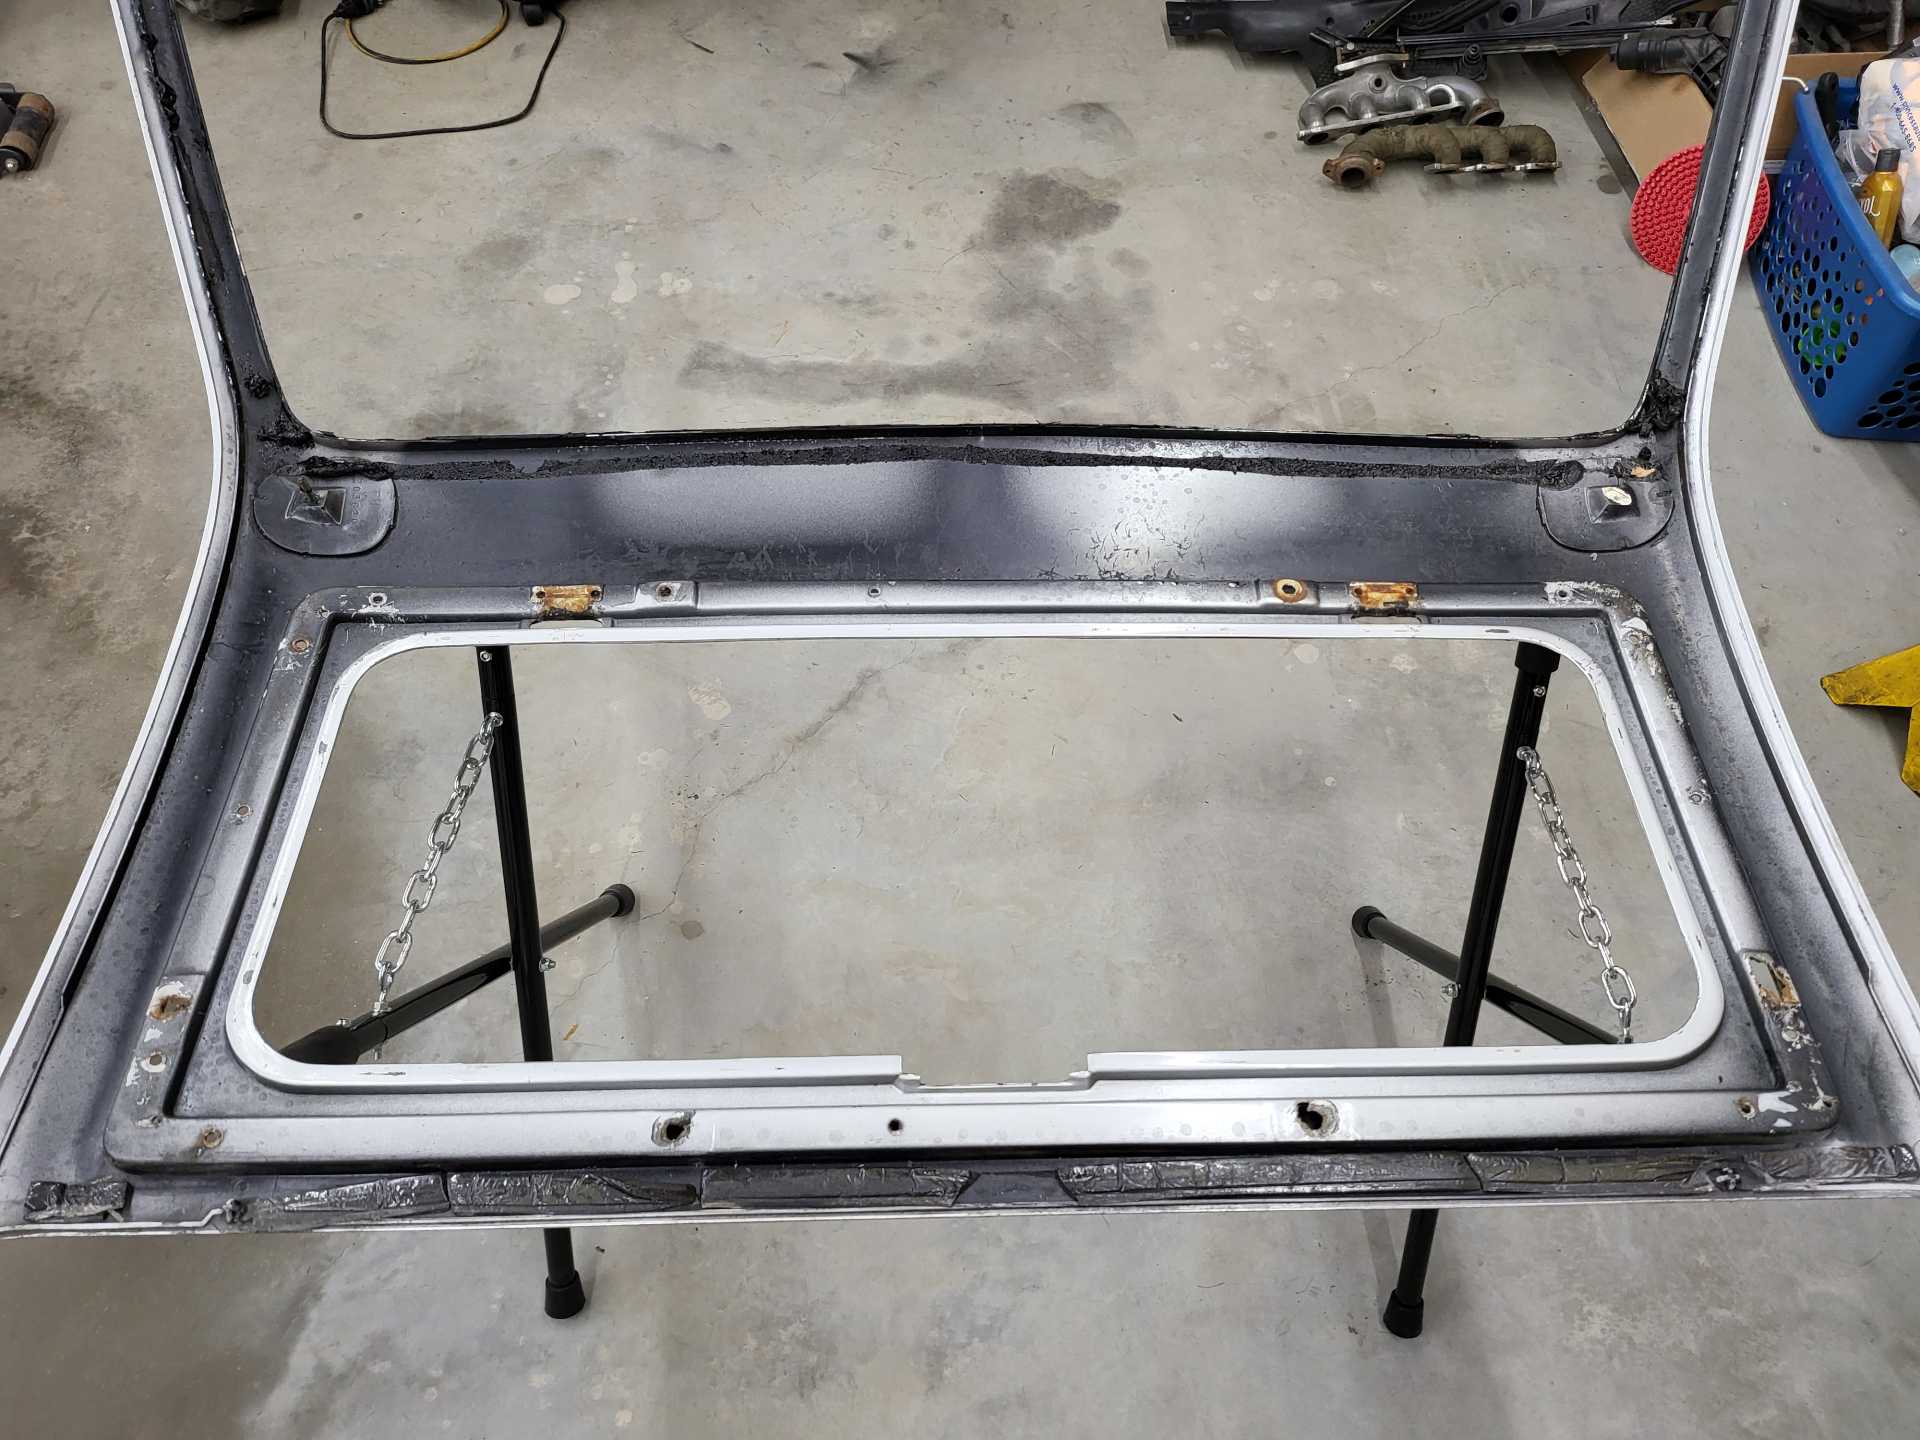
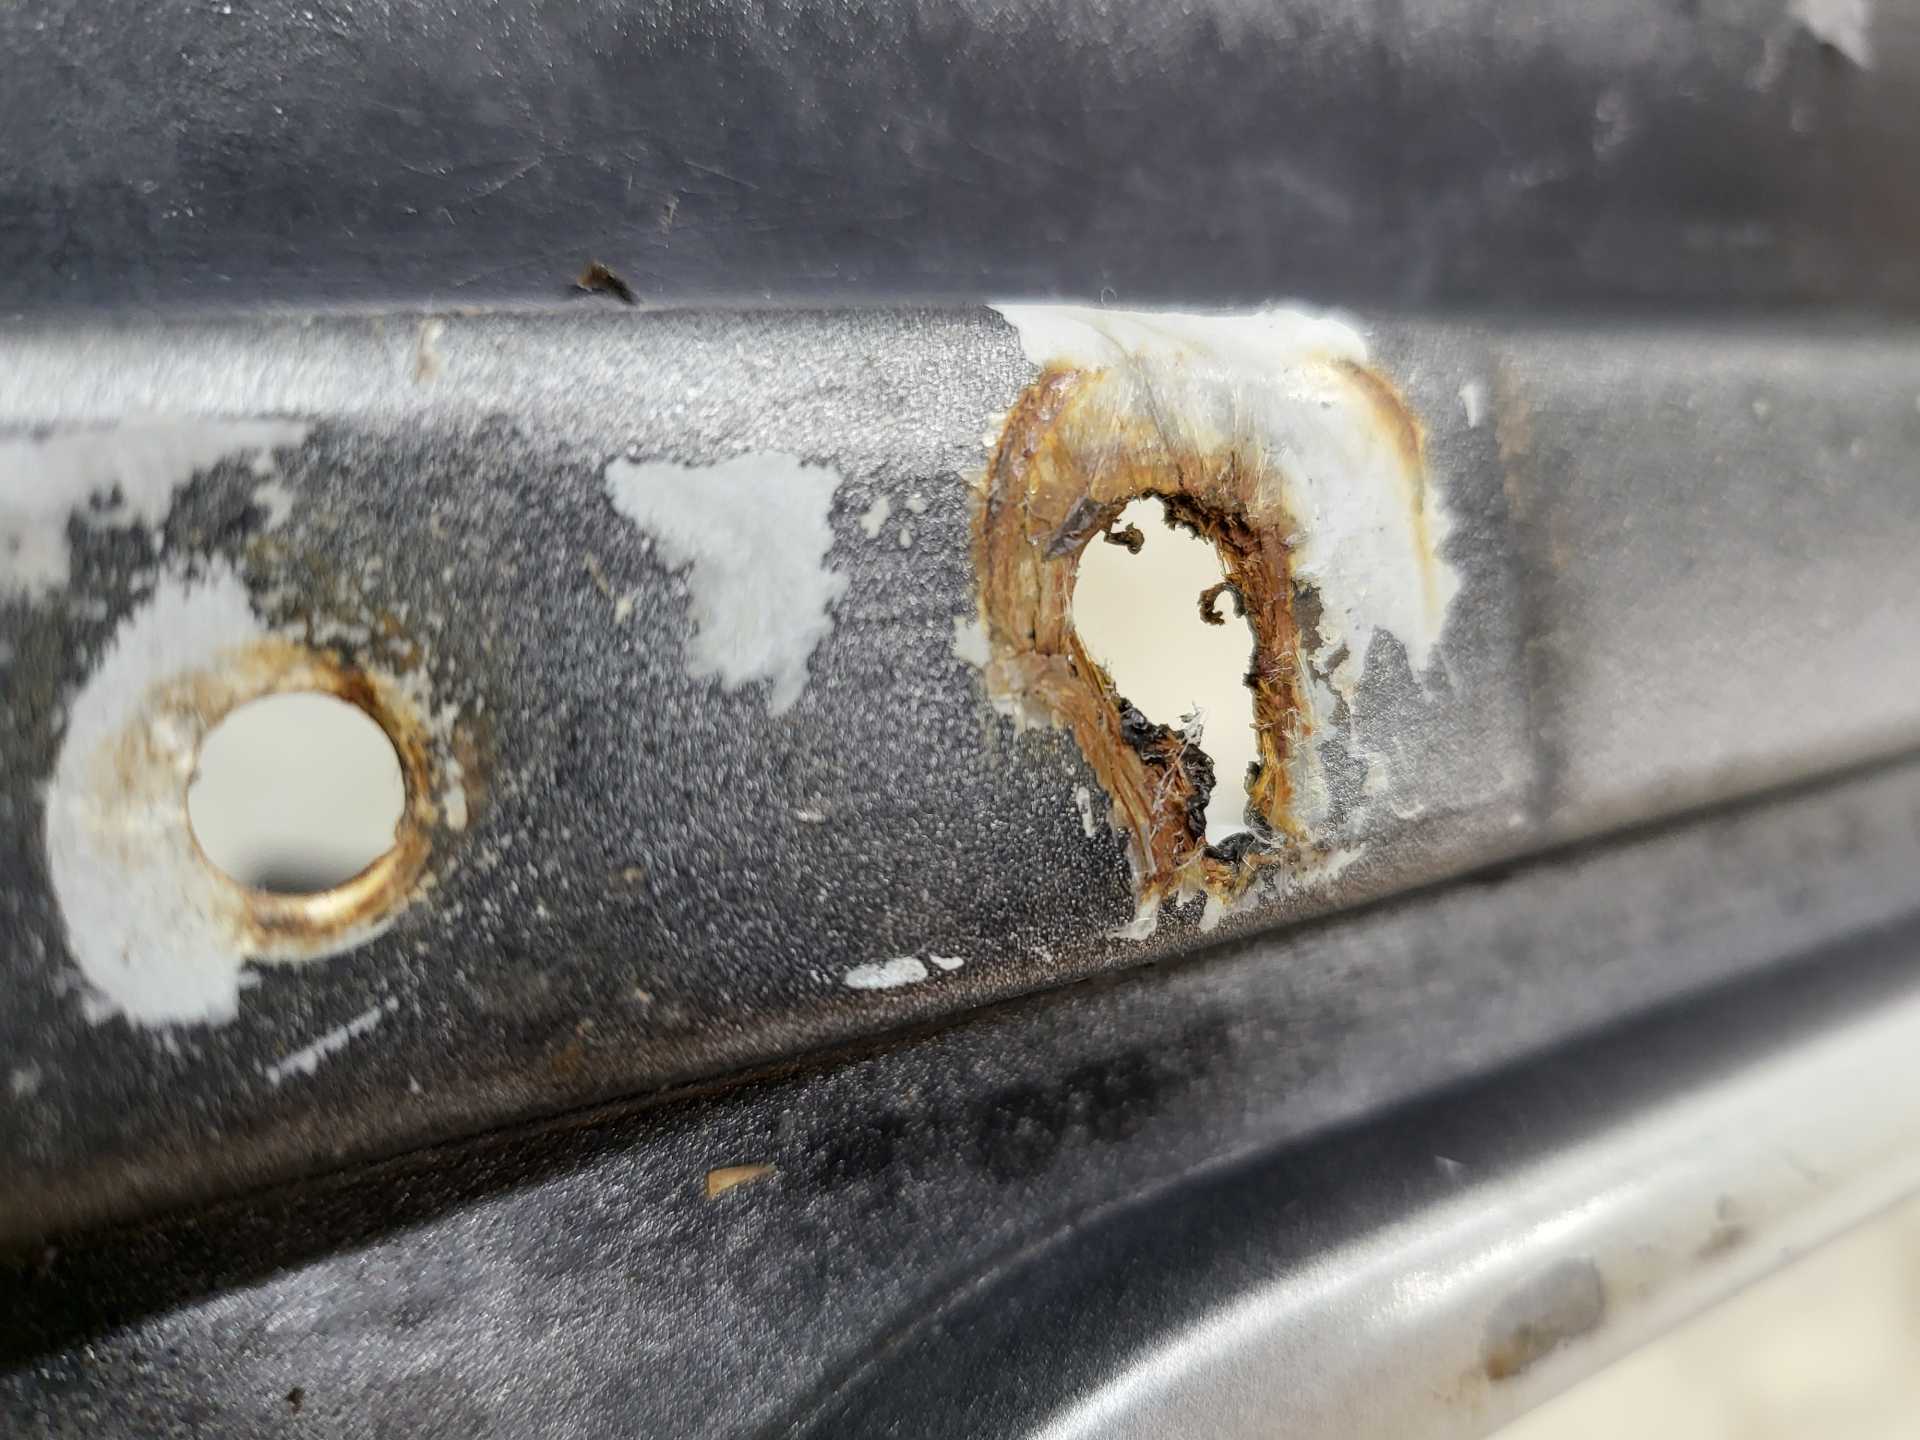
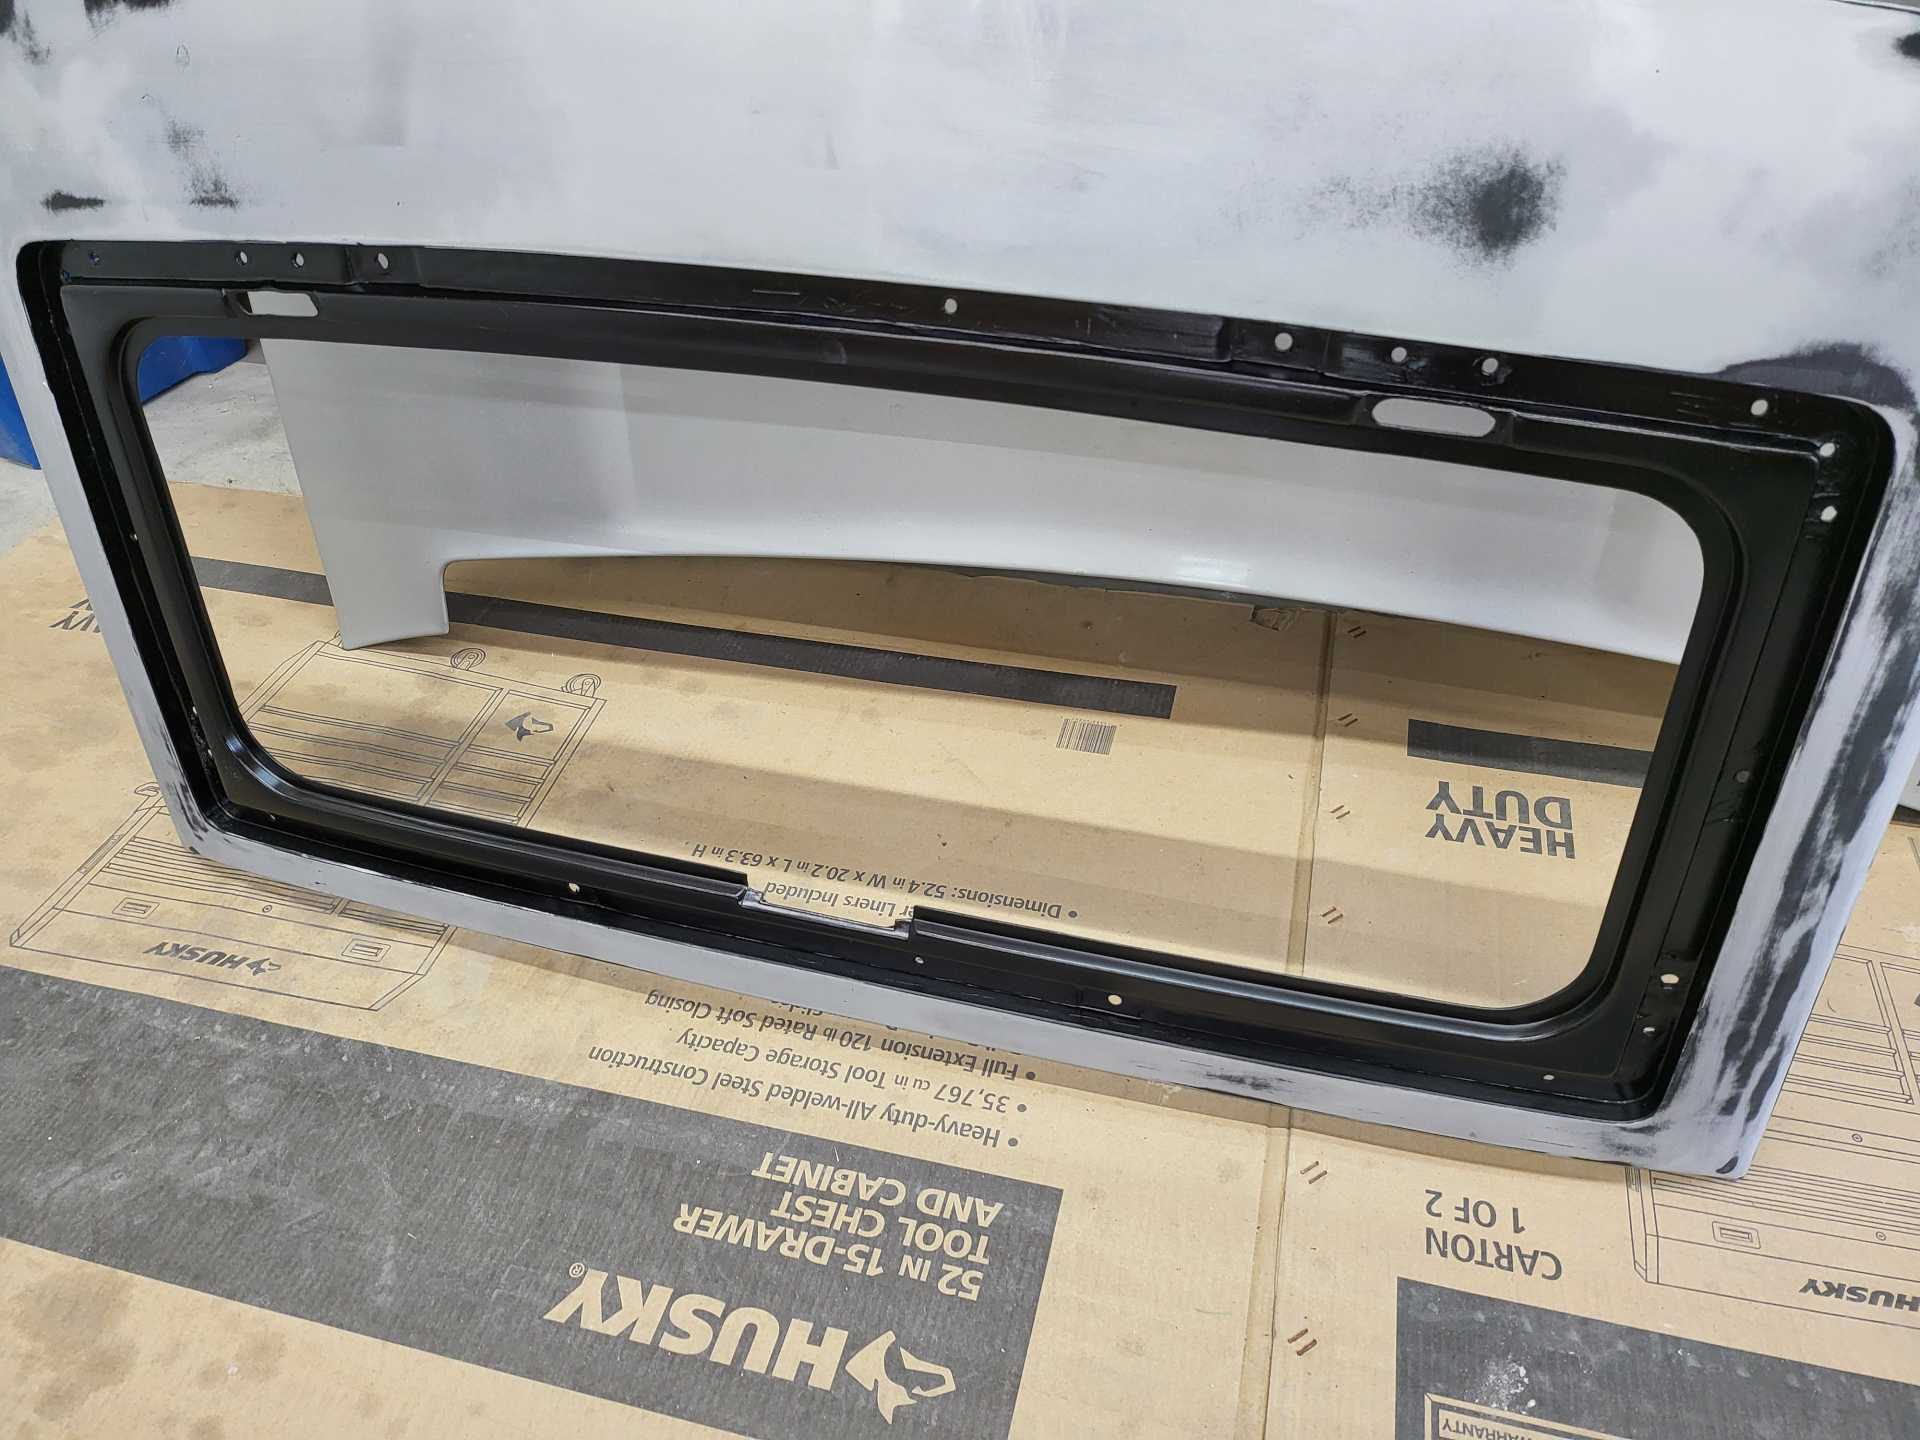
I've started prepping the roof panel for repair. I carefully removed the sunroof rails by drilling out the rivets and separating the double sided tape (I installed these years ago)
There is some damage aside from the stud being broken out:
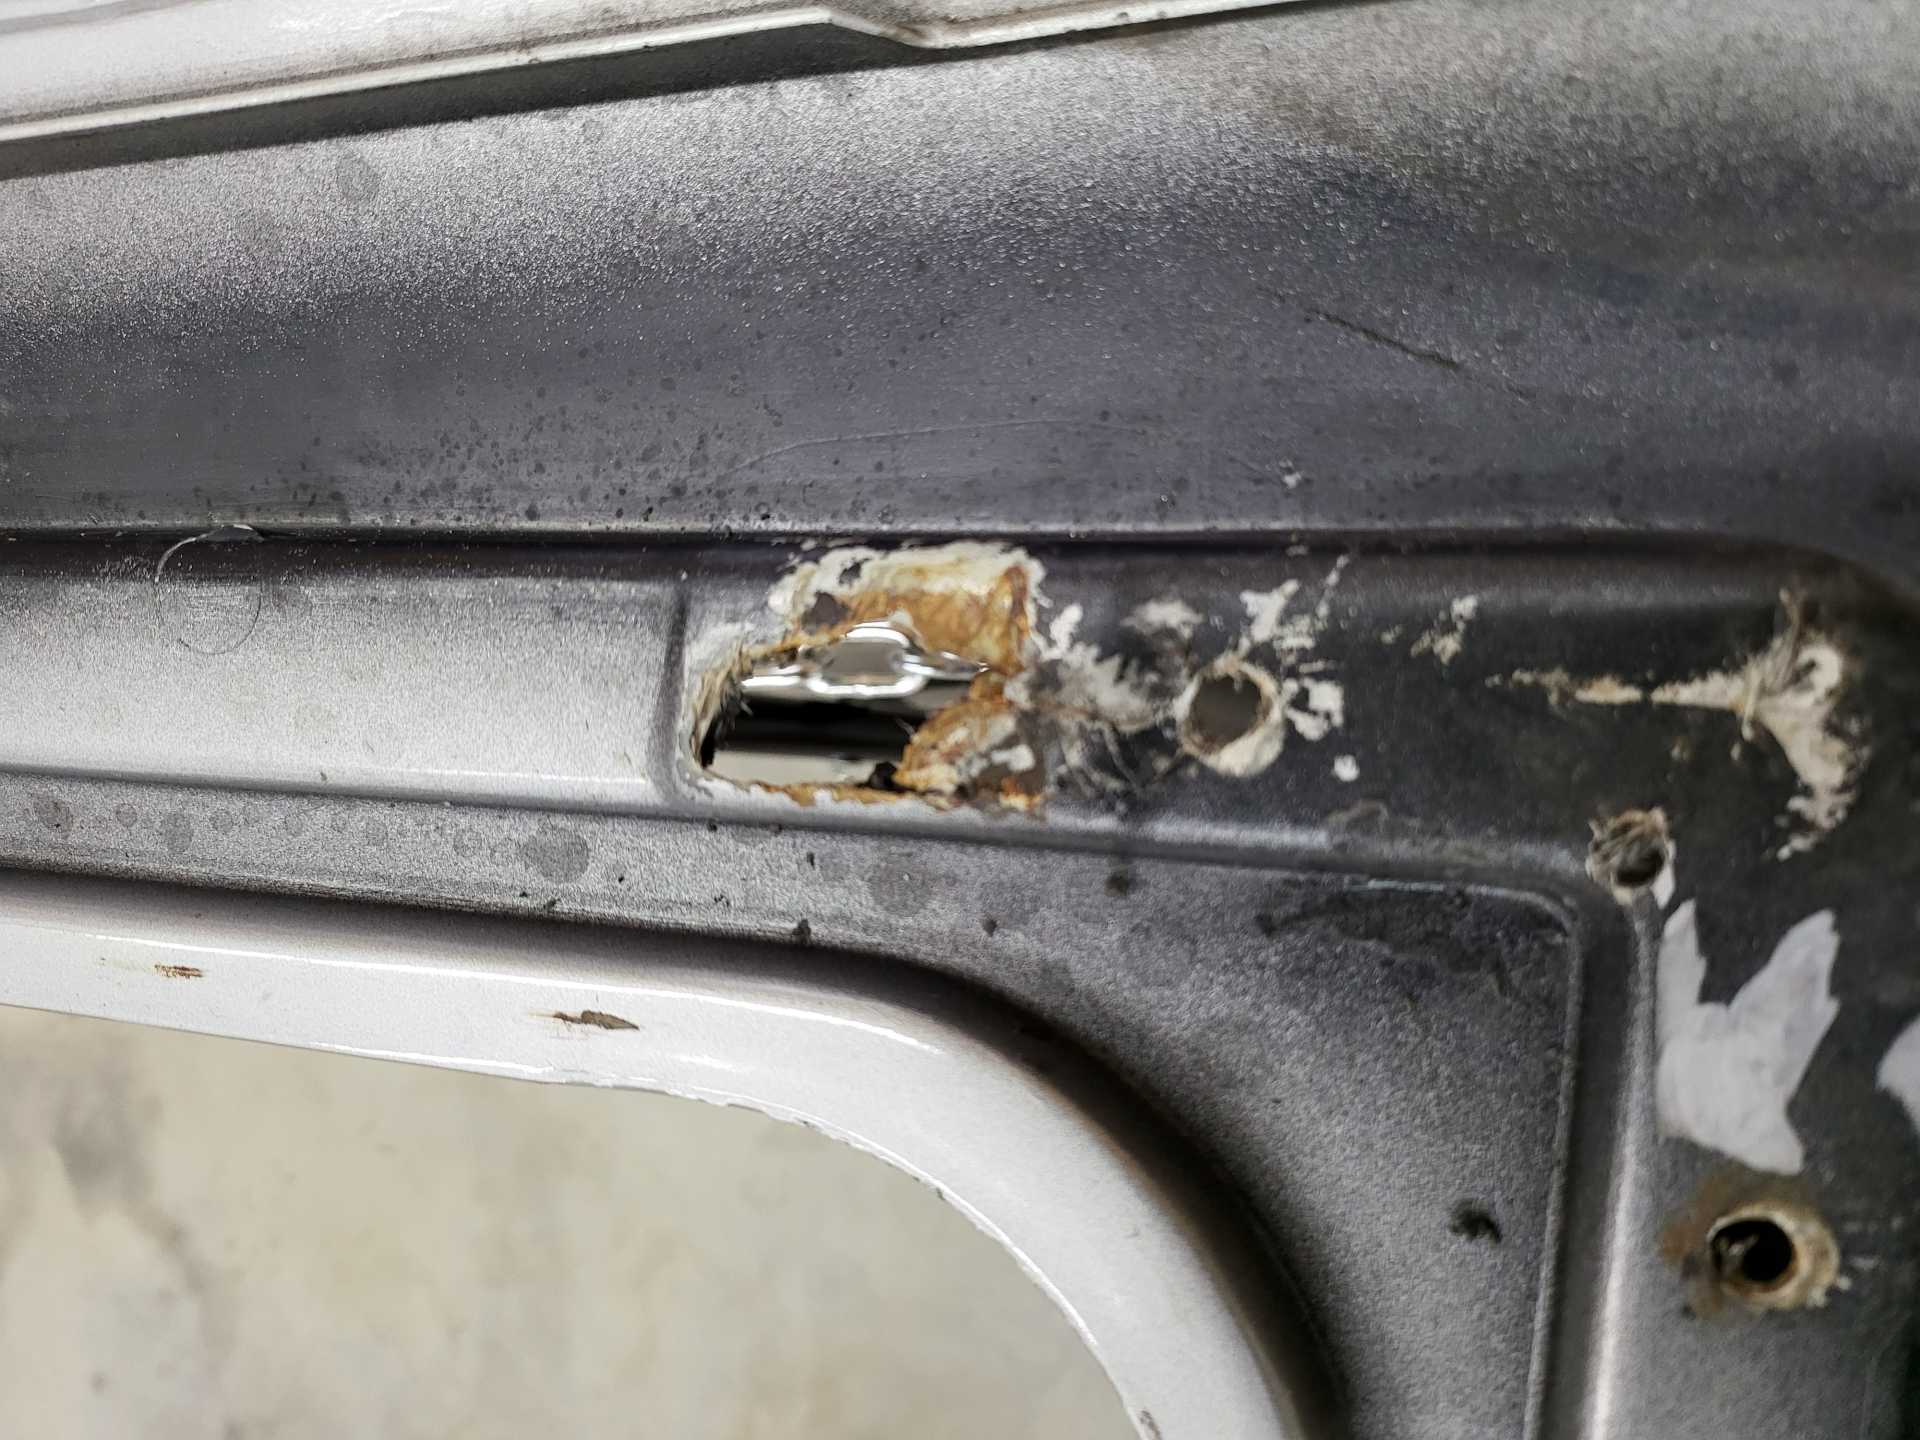
(yikes I'll fix the focus shortly)
Found a rear bumper in great shape and a spare 4spd Muncie!
|
|
|
|
Matthew_Fiero
|
JUL 24, 12:42 PM
|
|
Got the roof section completely sanded. I spent extra time on the sunroof rail area to clean out rusty fibers. I backed with aluminum tape and filled all the holes with resin. The most damage was around the incorporated nut in the previously rotted sunroof rails.
I'll take better pictures of the post epoxy. Just saw they didn't turn out.[This message has been edited by Matthew_Fiero (edited 07-24-2024).]
|
|
|
|
Matthew_Fiero
|
JUL 31, 12:09 PM
|
|
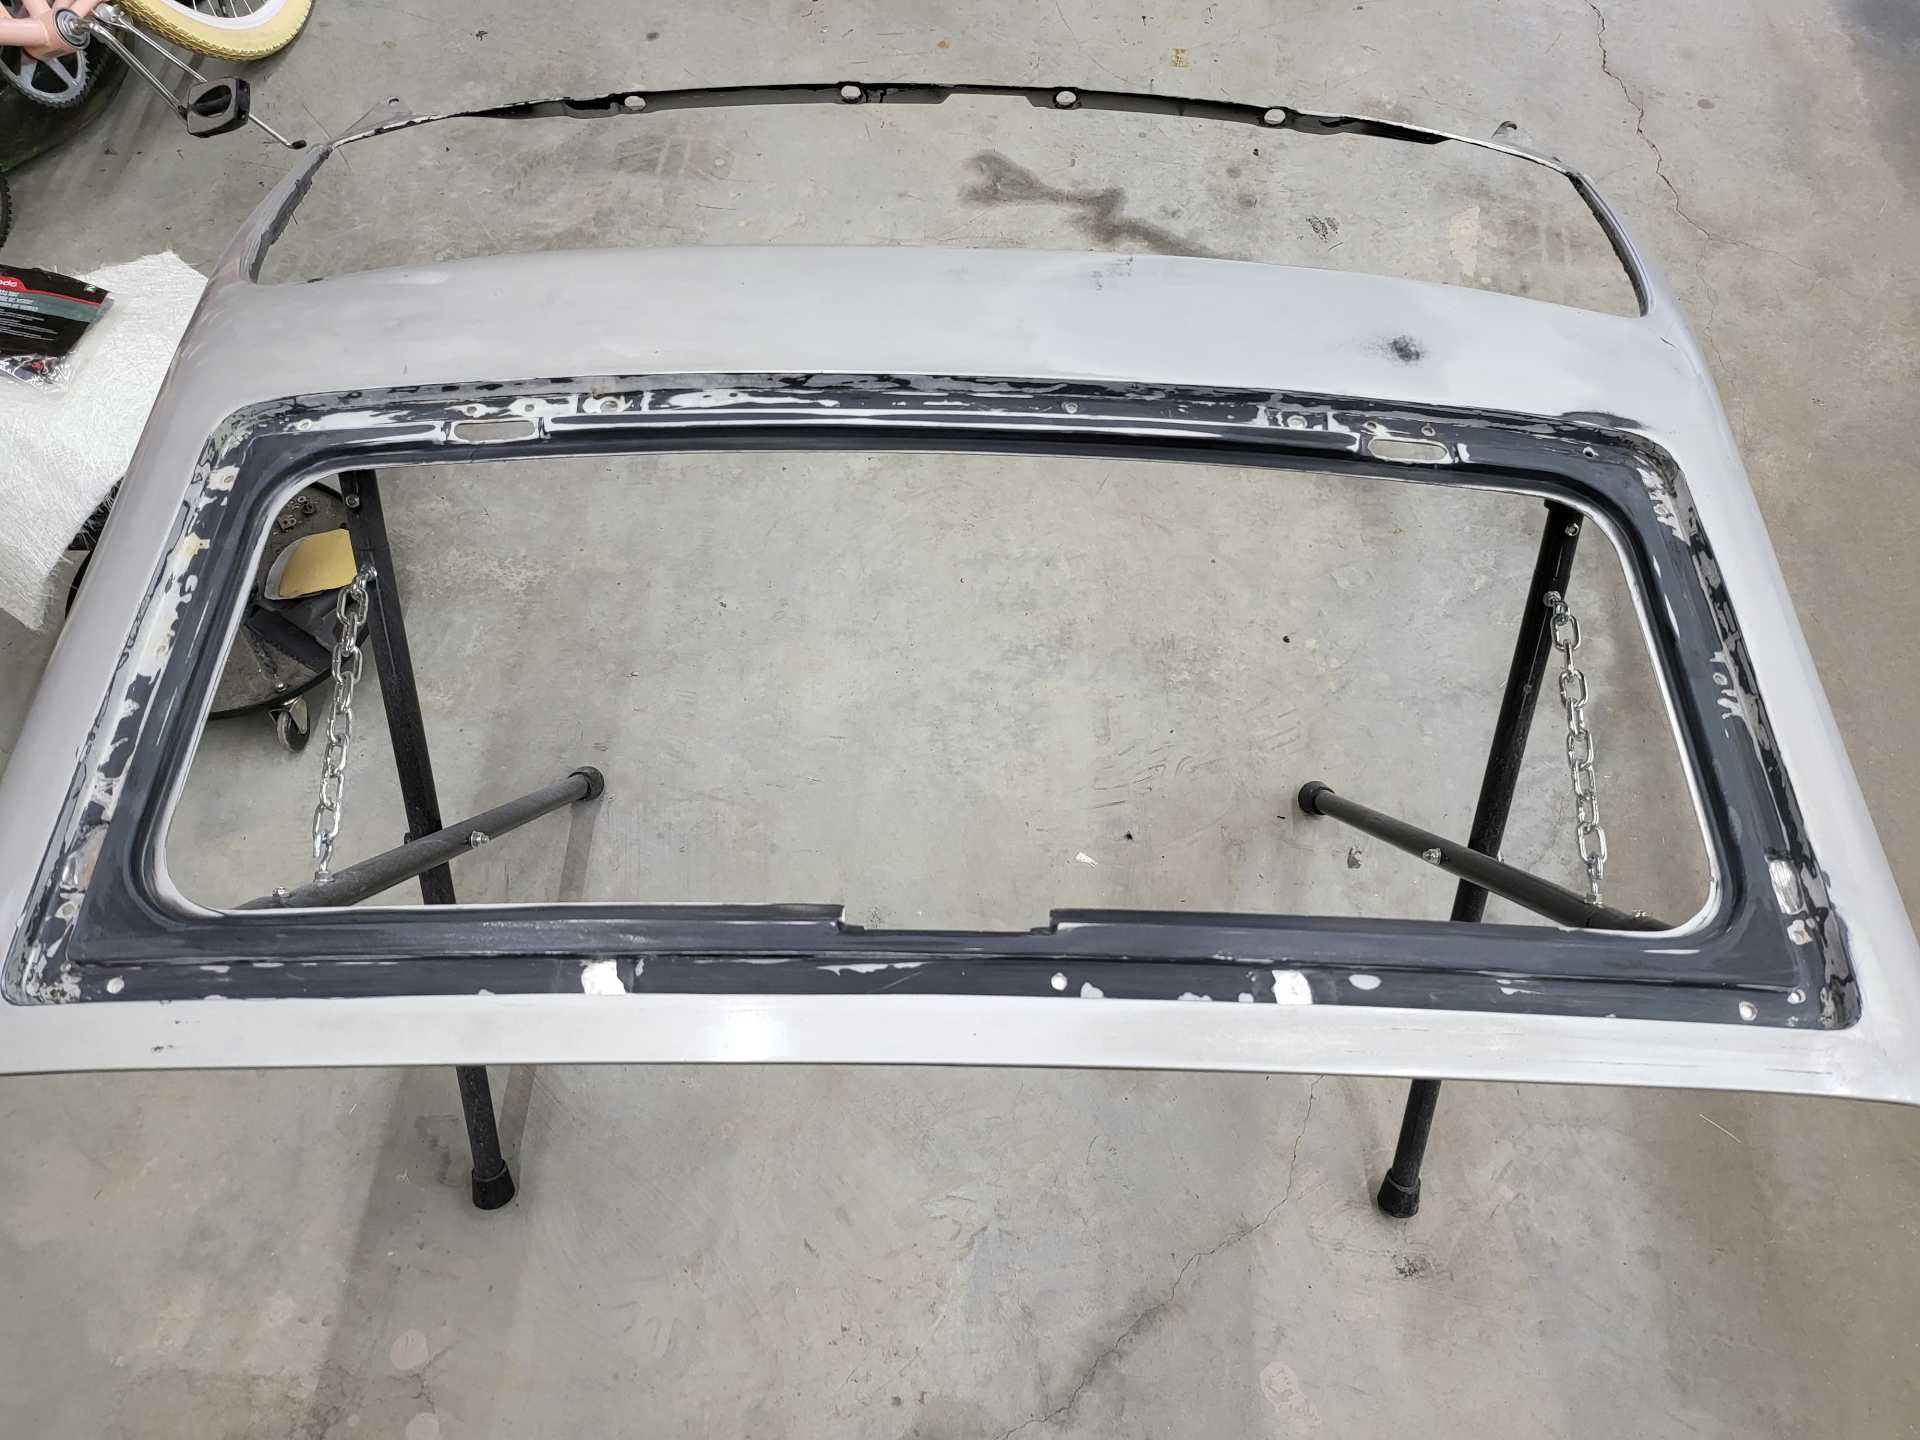
I managed to finish the sunroof rail section on the roof and set it aside. The roof section is now ready for primer. This took a surprisingly lot of time.
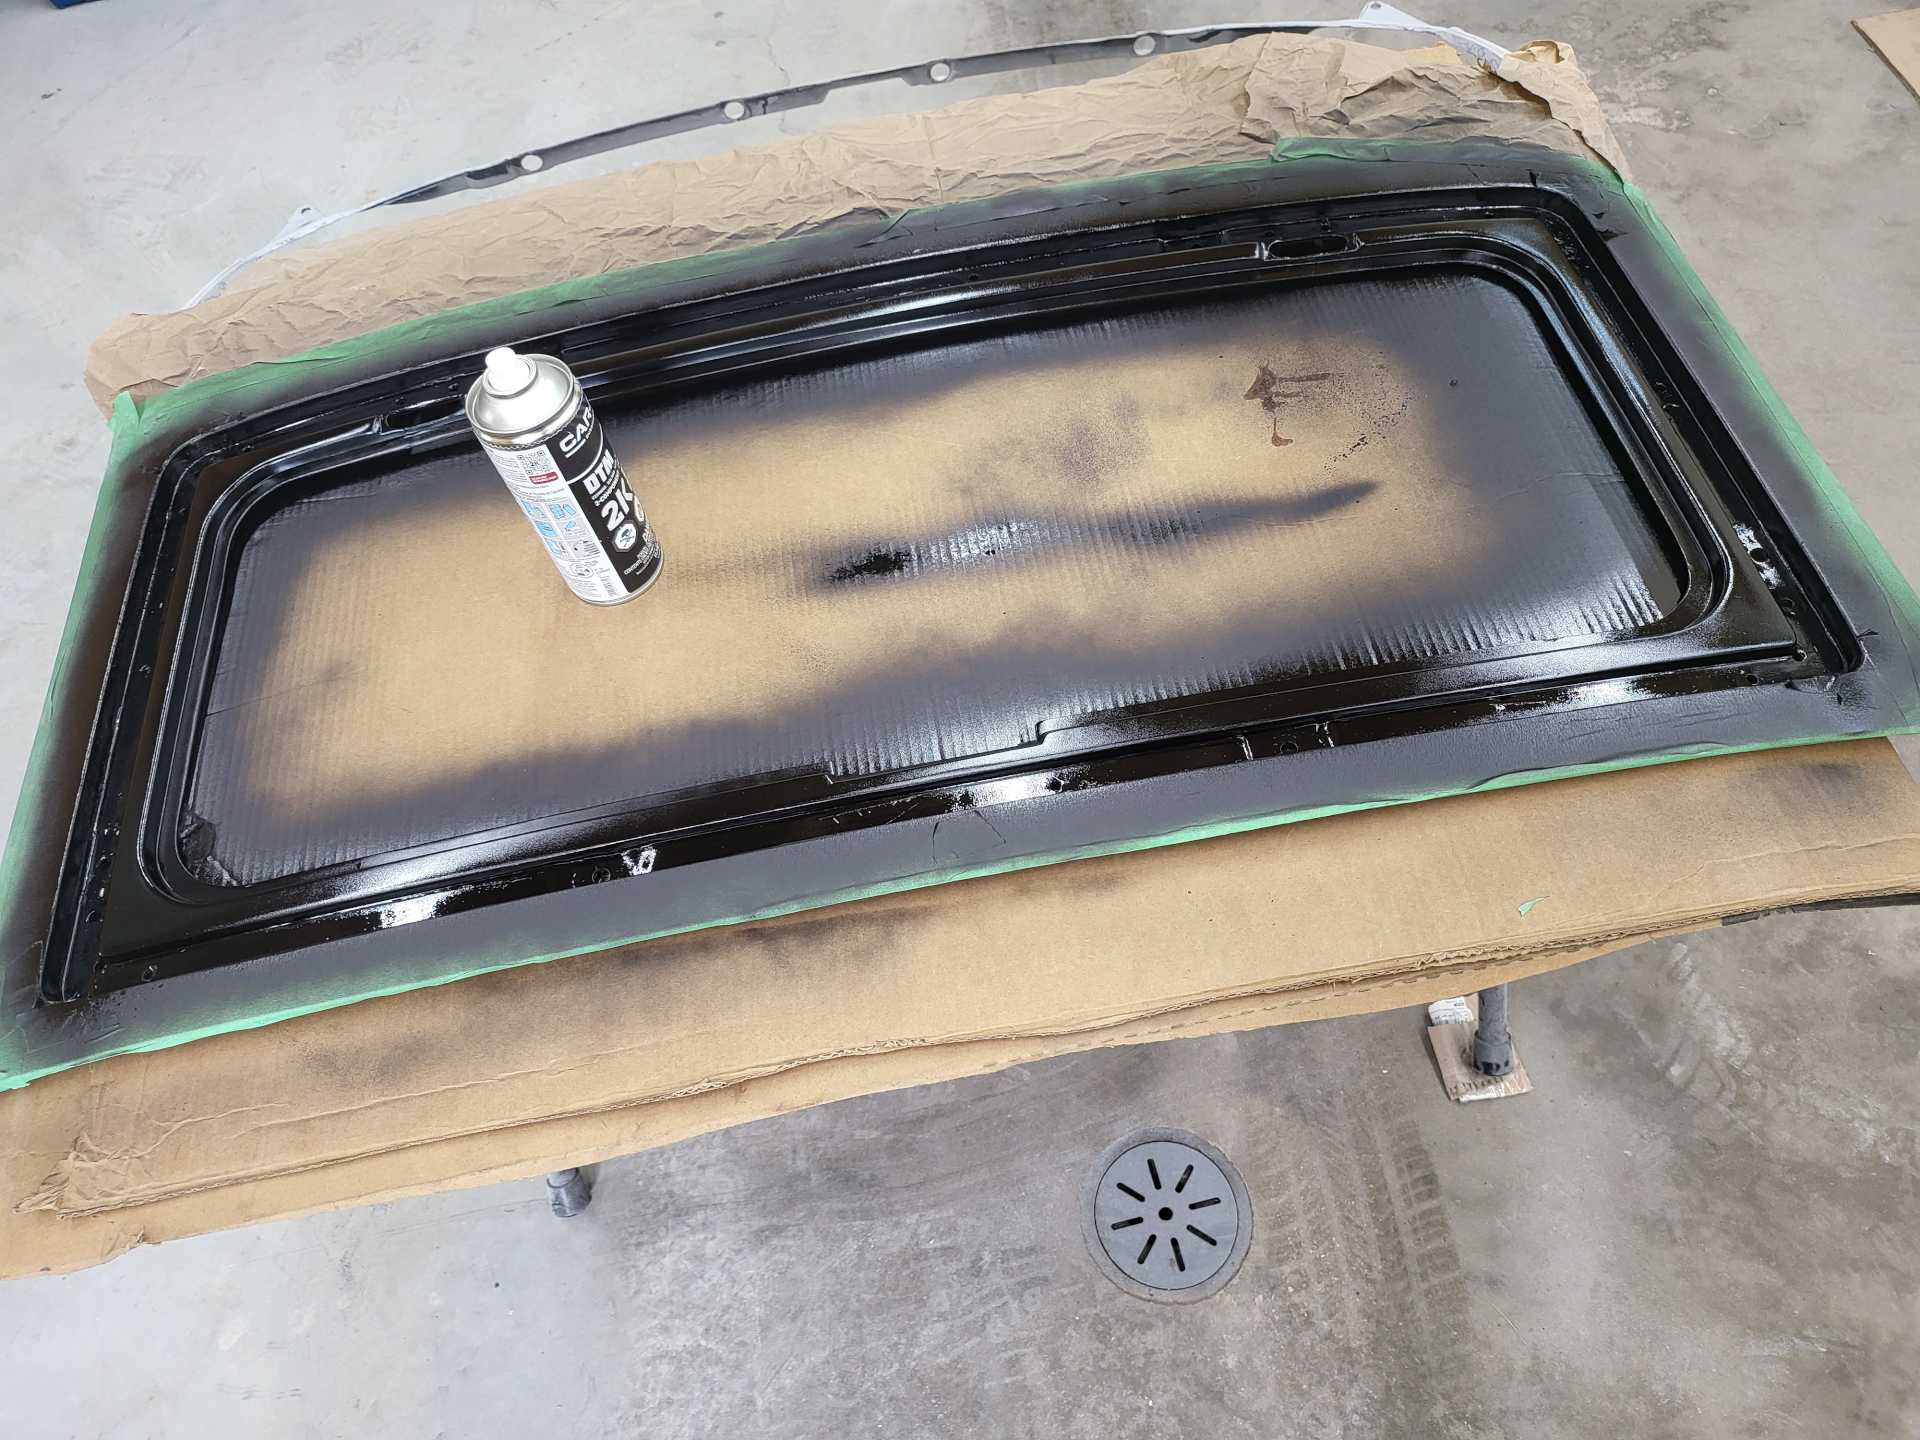
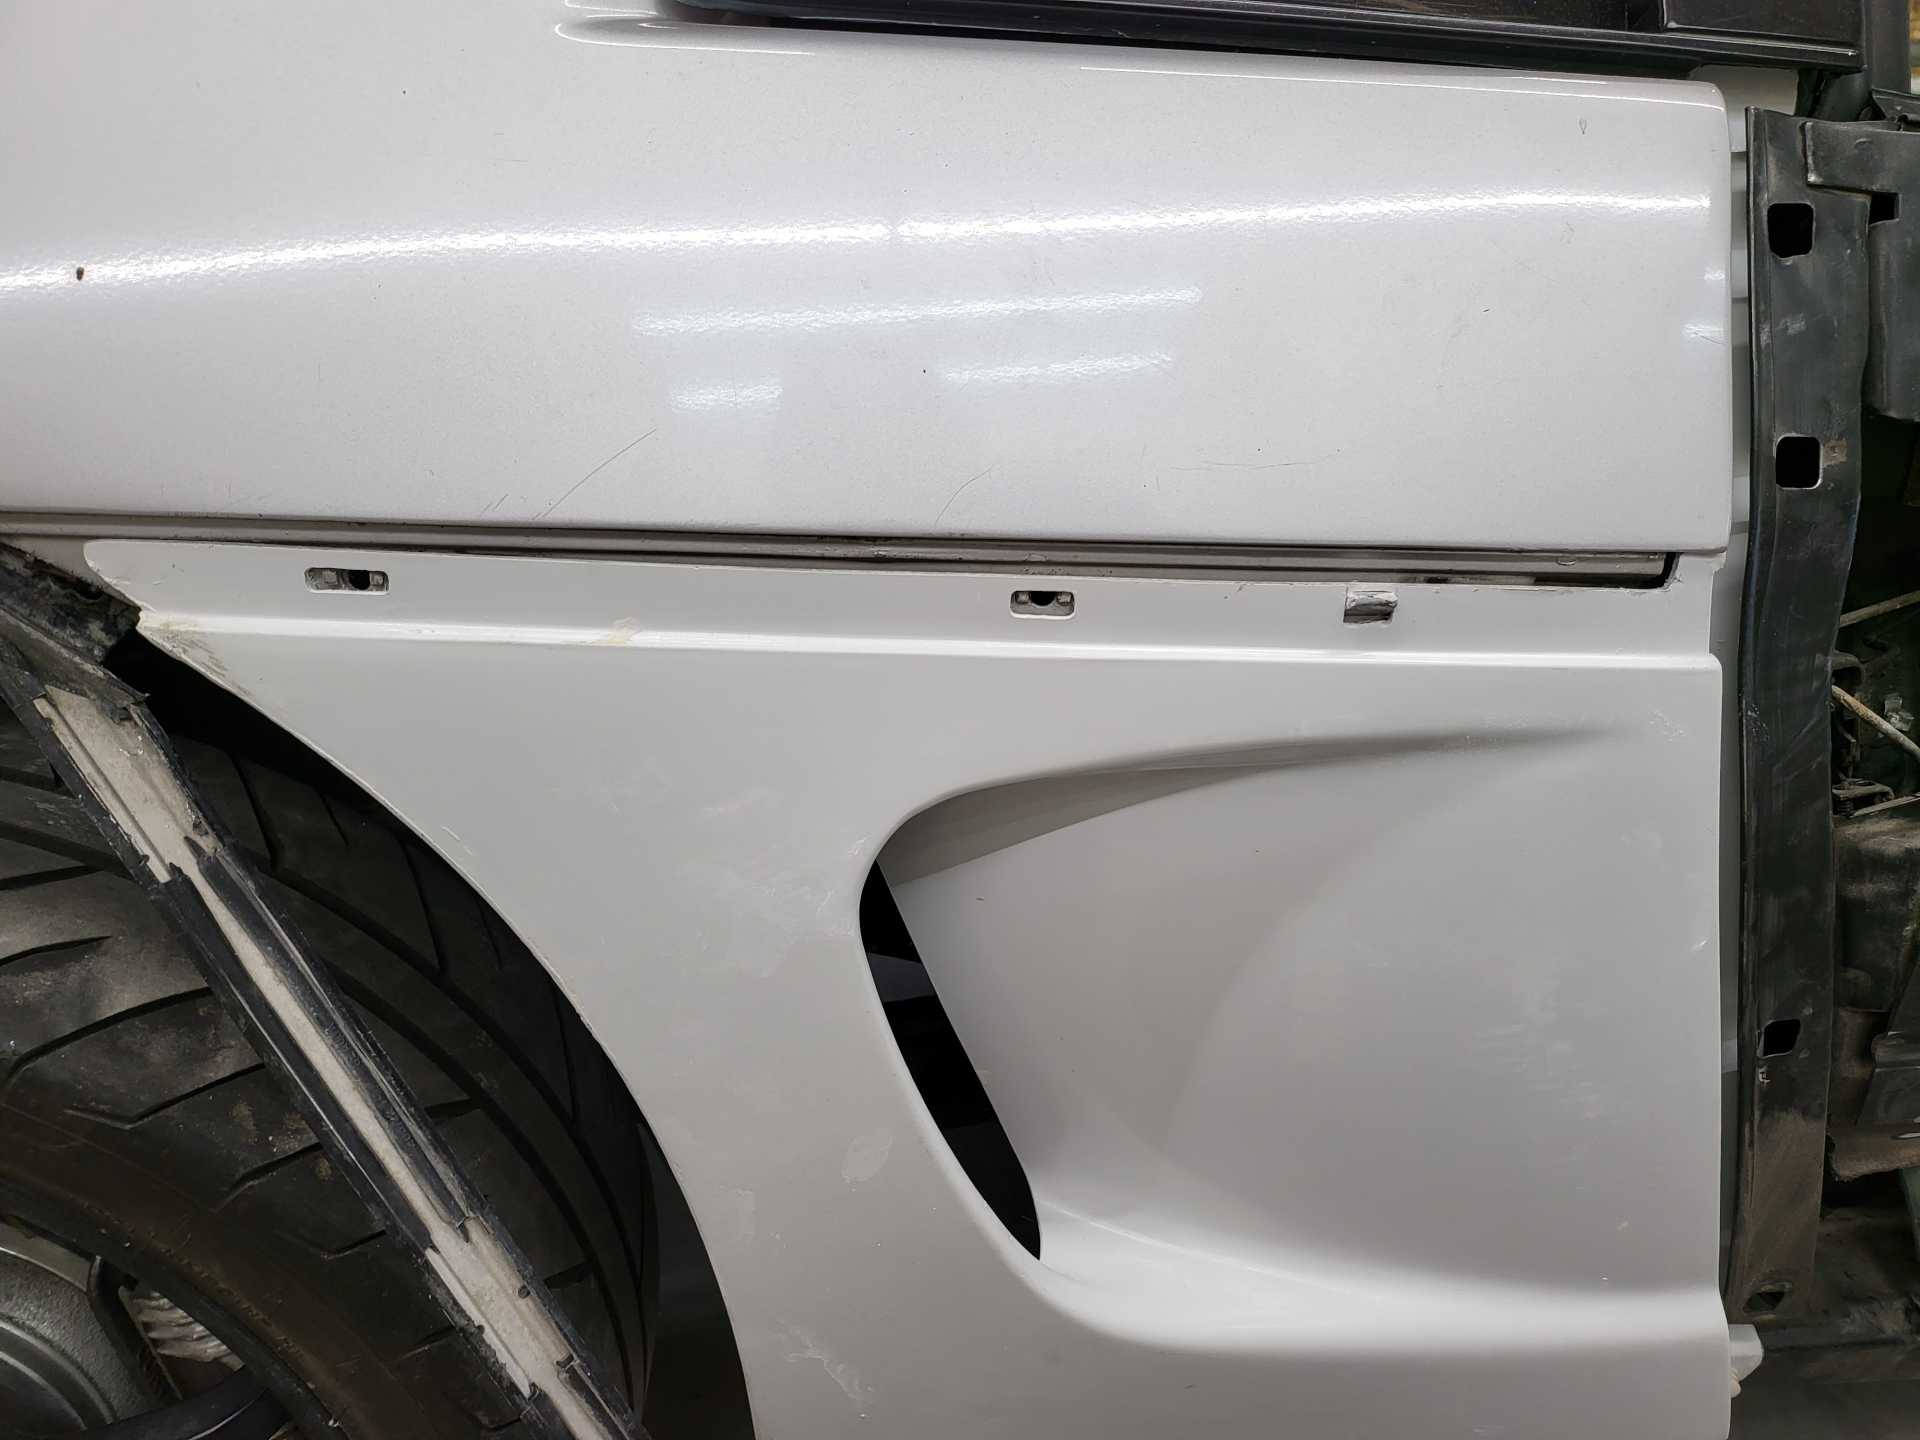
Drilled out the holes and slots for the side scoops:
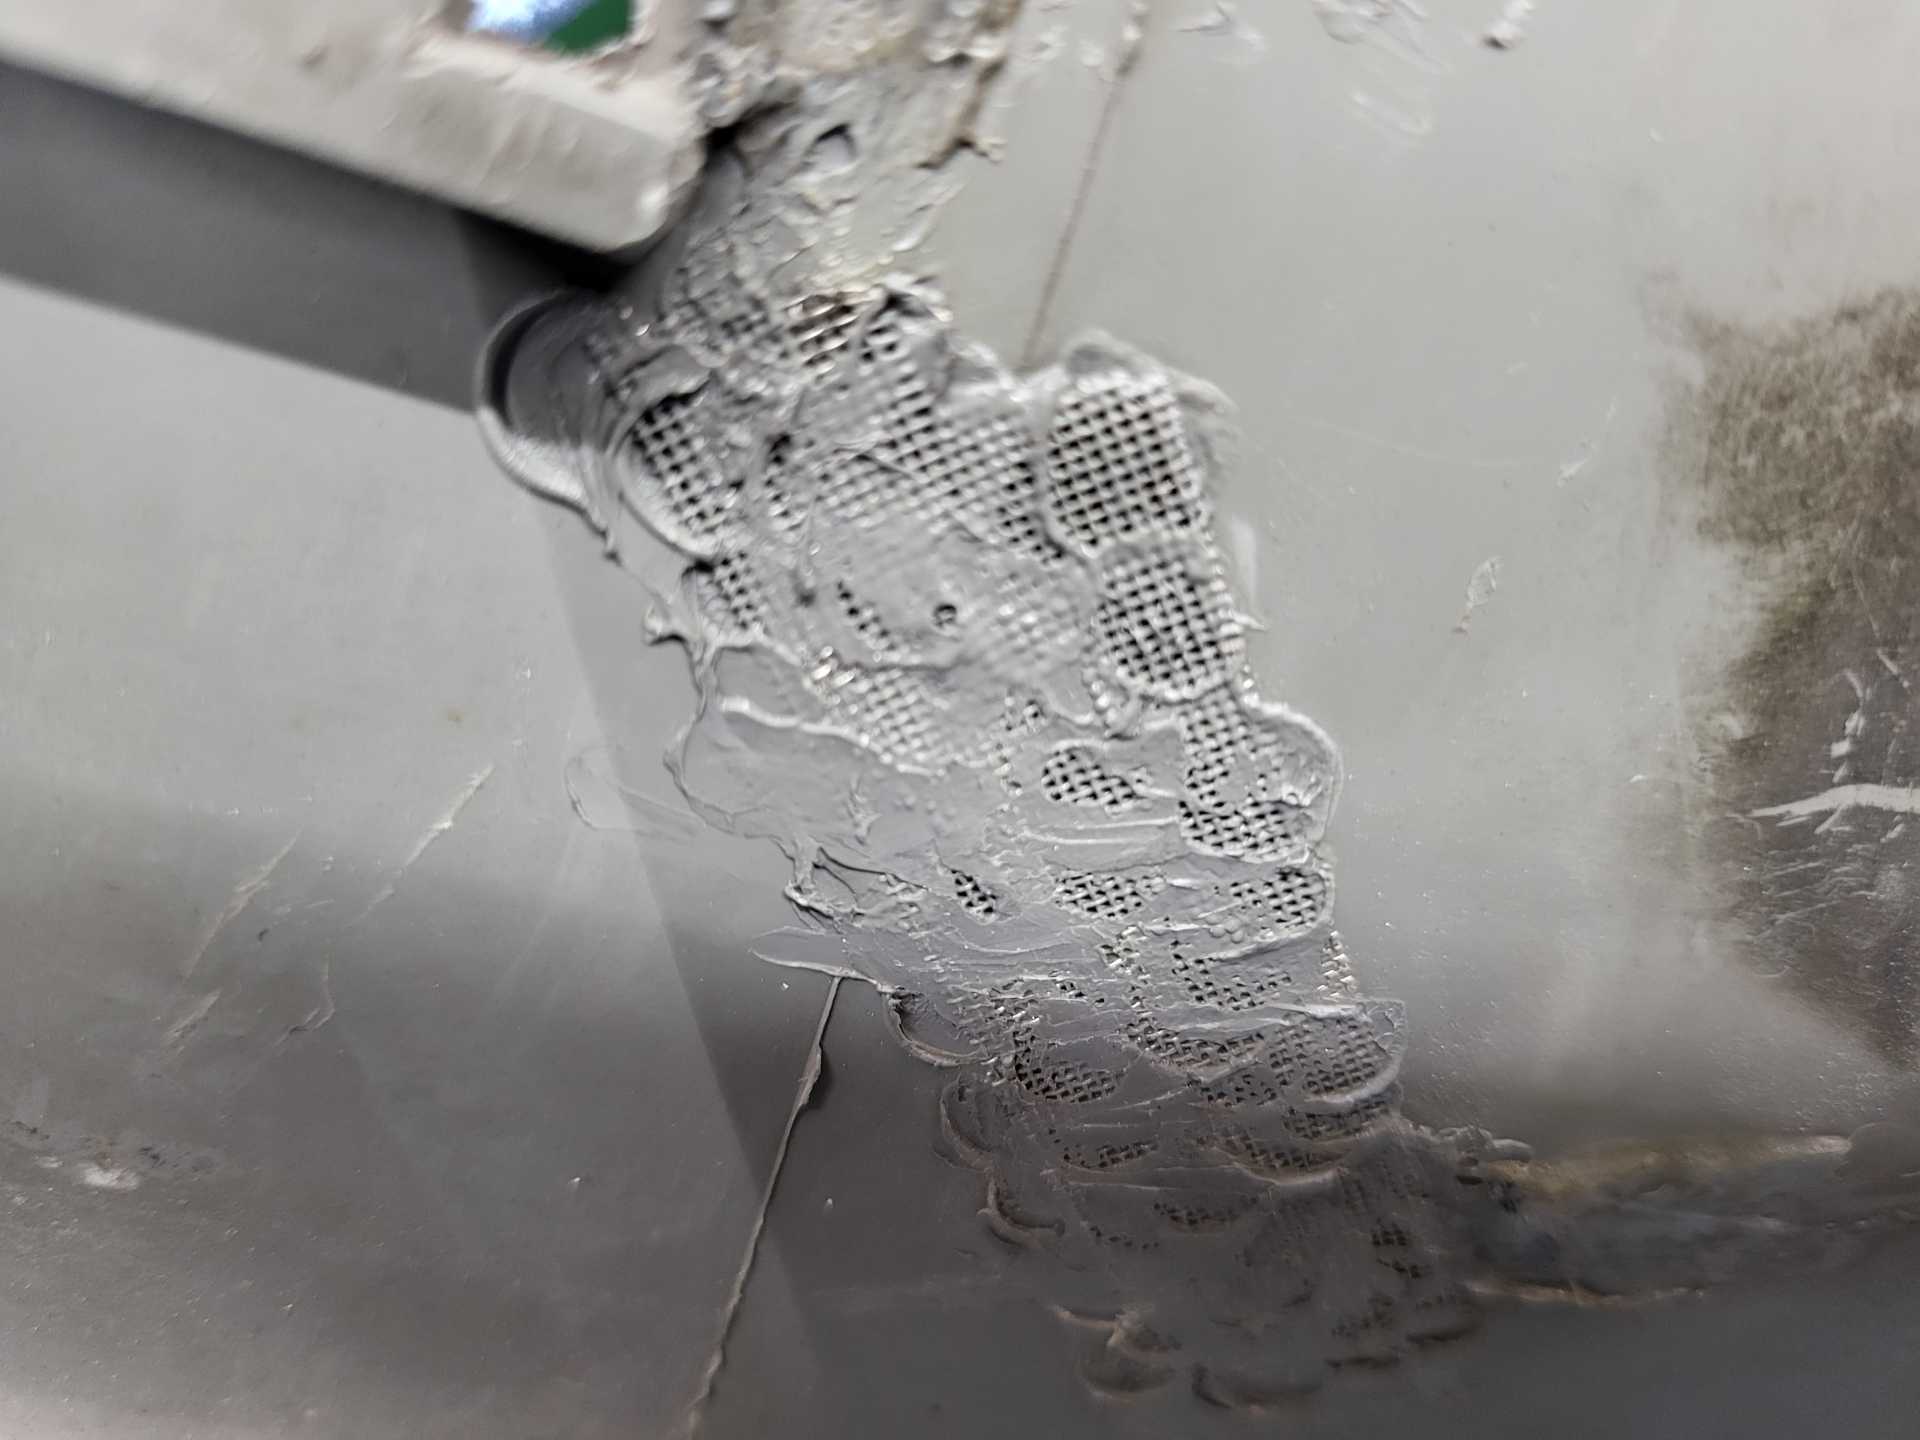
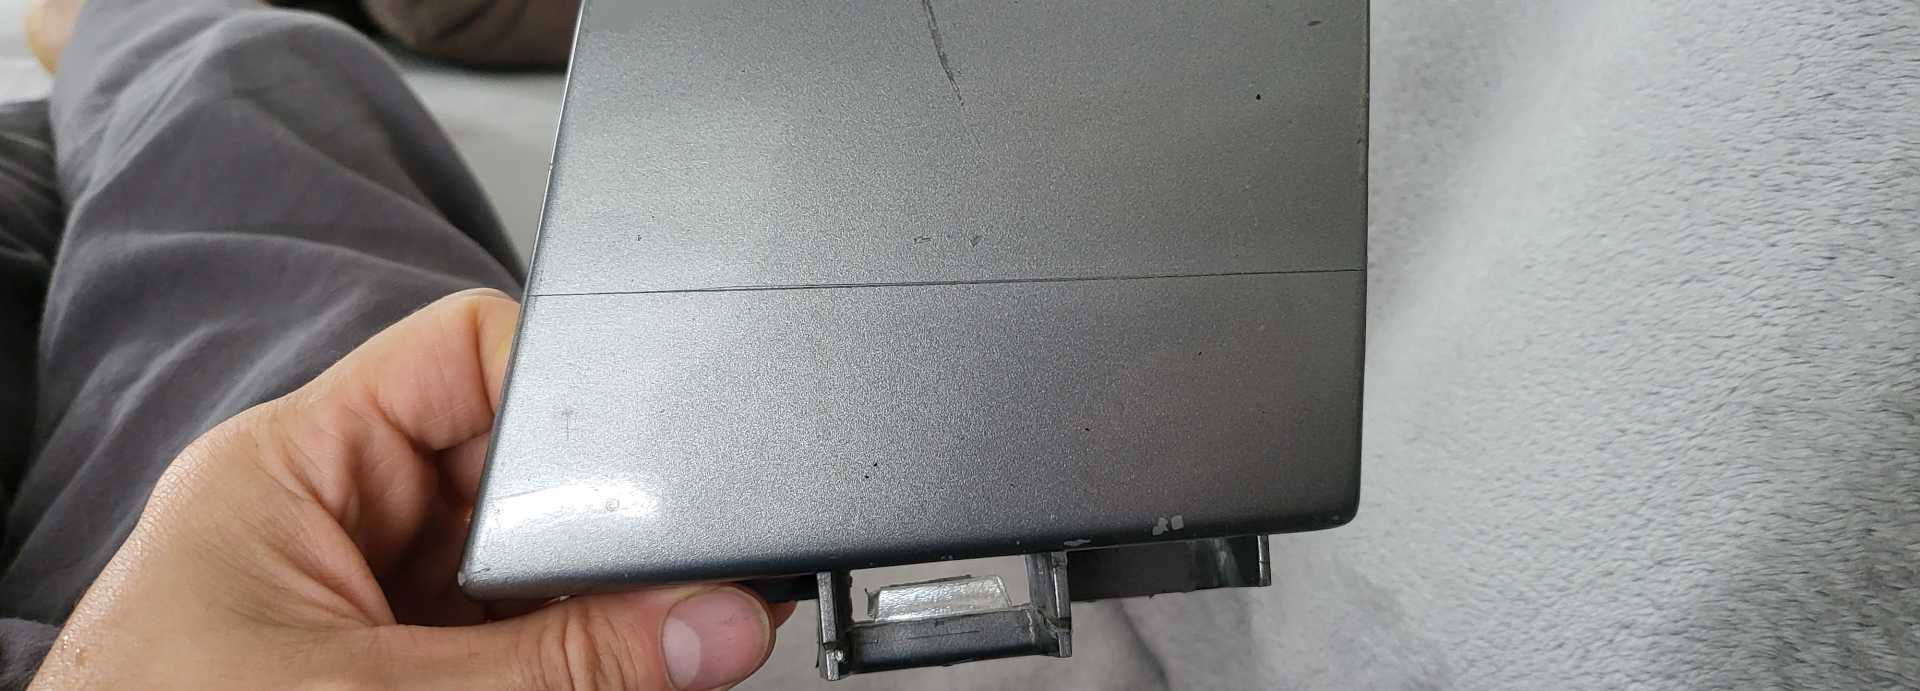
For the crack on the lower rocker I cut a section of metal screen that came with the plastic welder kit and I melted it into the back side of the crack. The hot staples held the part in place. Overall it seems to be a solid repair. I just have to figure out how to sand and smooth the visible side to not look repaired.
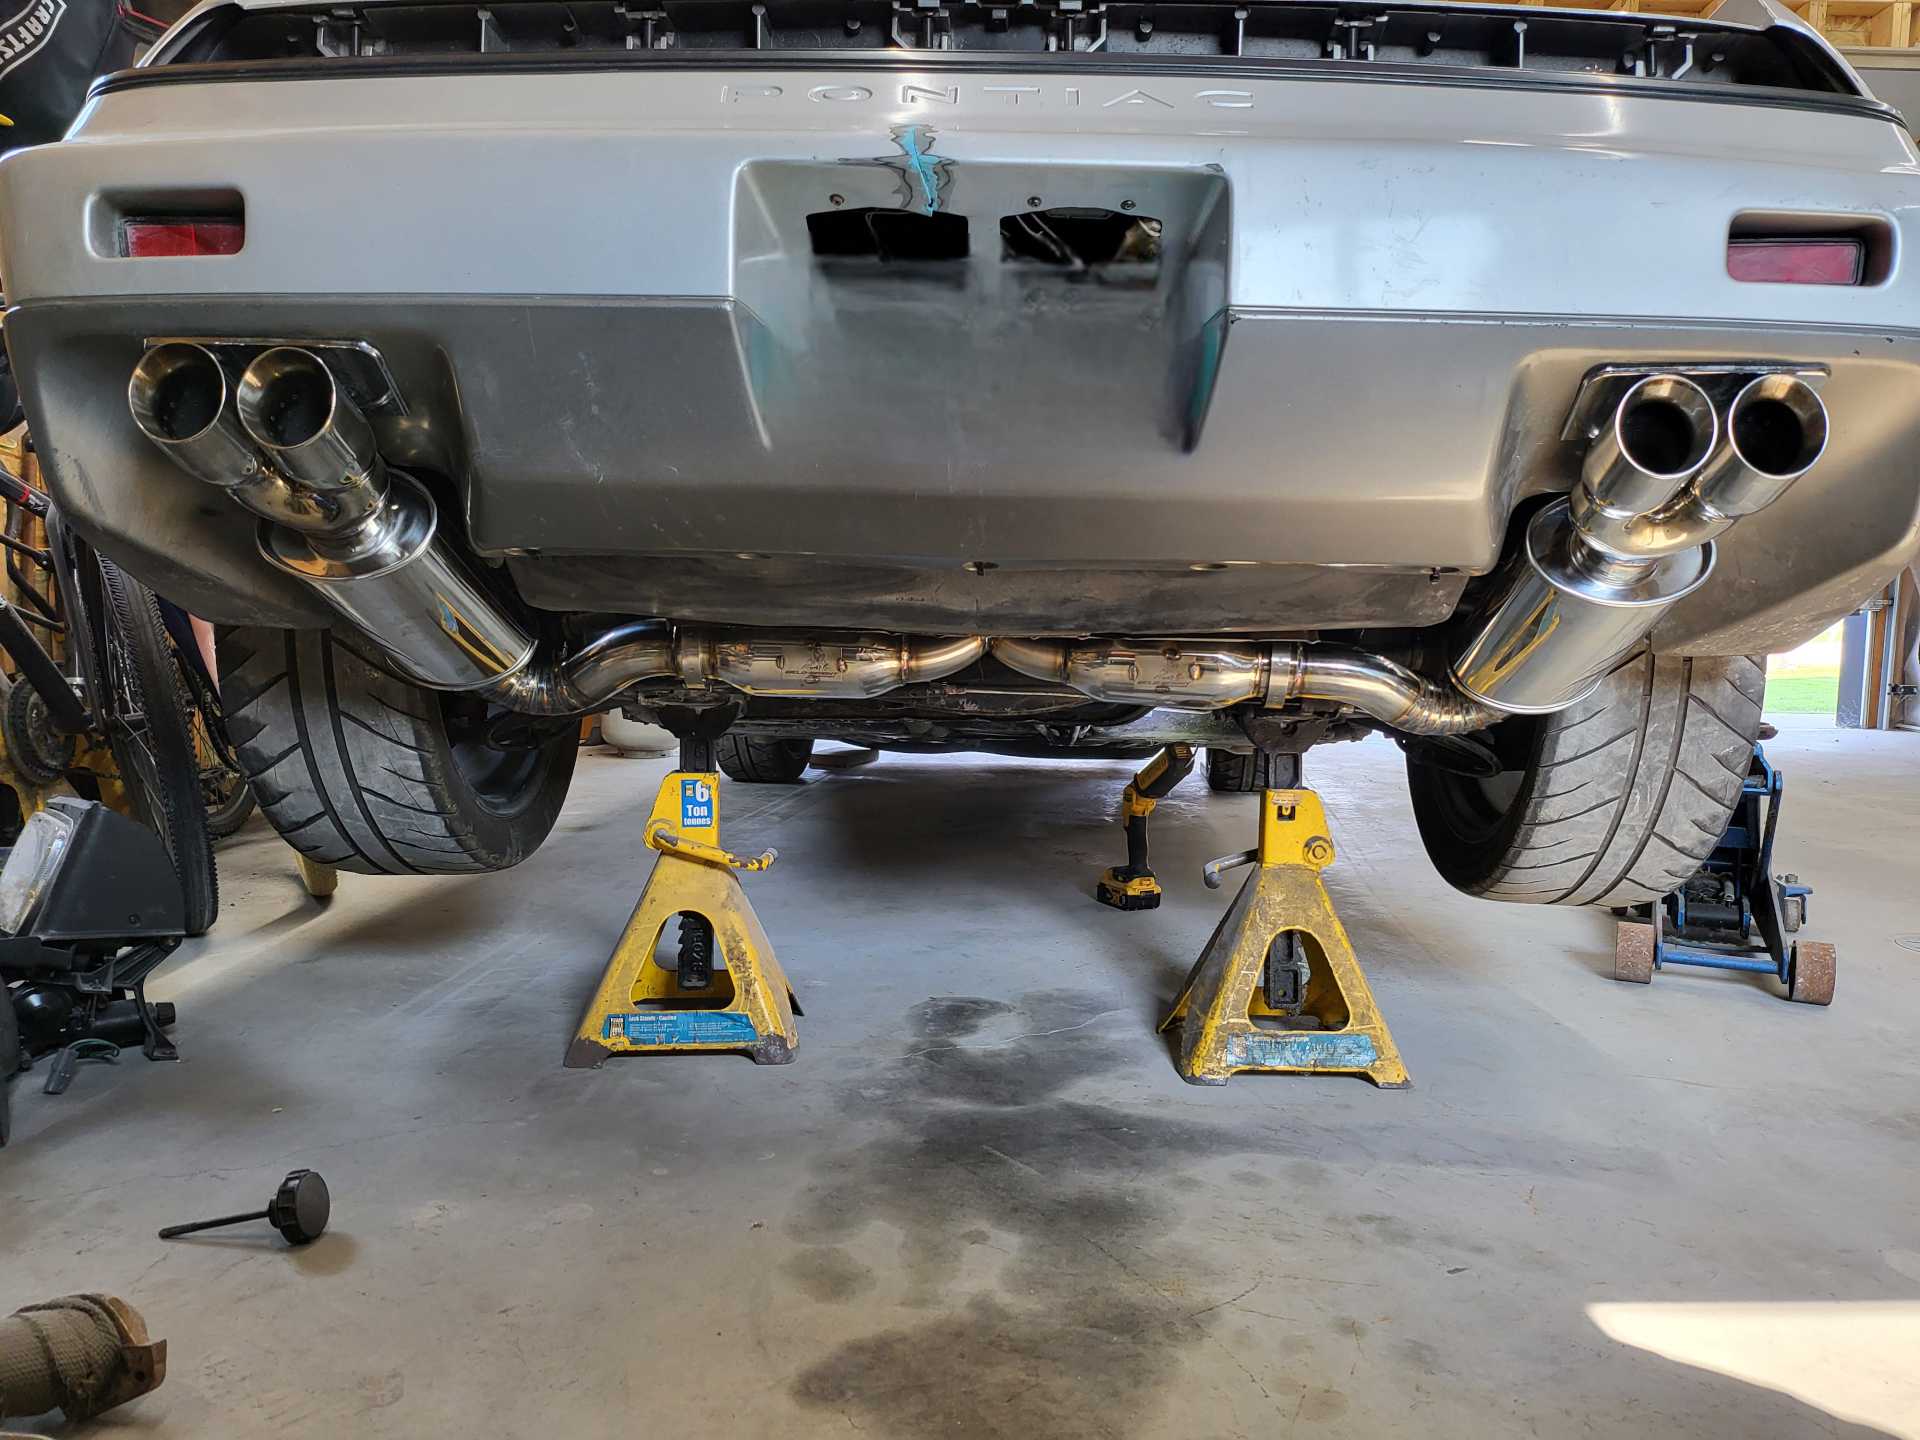
The exhaust is finished. ZZP powerlogs and 4 resonators with C6 resonating tips. All stainless steel.
I am now in the process of repairing the crack in the acquired outer passenger side door skin with panel bonder and i will be attaching the Aus body panel to the door. More pics to come.
|
|
|
|
Matthew_Fiero
|
AUG 03, 07:52 AM
|
|
|
|
|
Matthew_Fiero
|
AUG 17, 08:12 AM
|
|
|
I've got quite a bit accomplished considering how I've been feeling. I'm bumping this to remind myself to provide an update tonight.
|
|
|
|
Spadesluck
|
AUG 17, 08:25 AM
|
|
Impressive amount of work being done. Good job
|
|
|
|
Matthew_Fiero
|
AUG 28, 04:36 PM
|
|
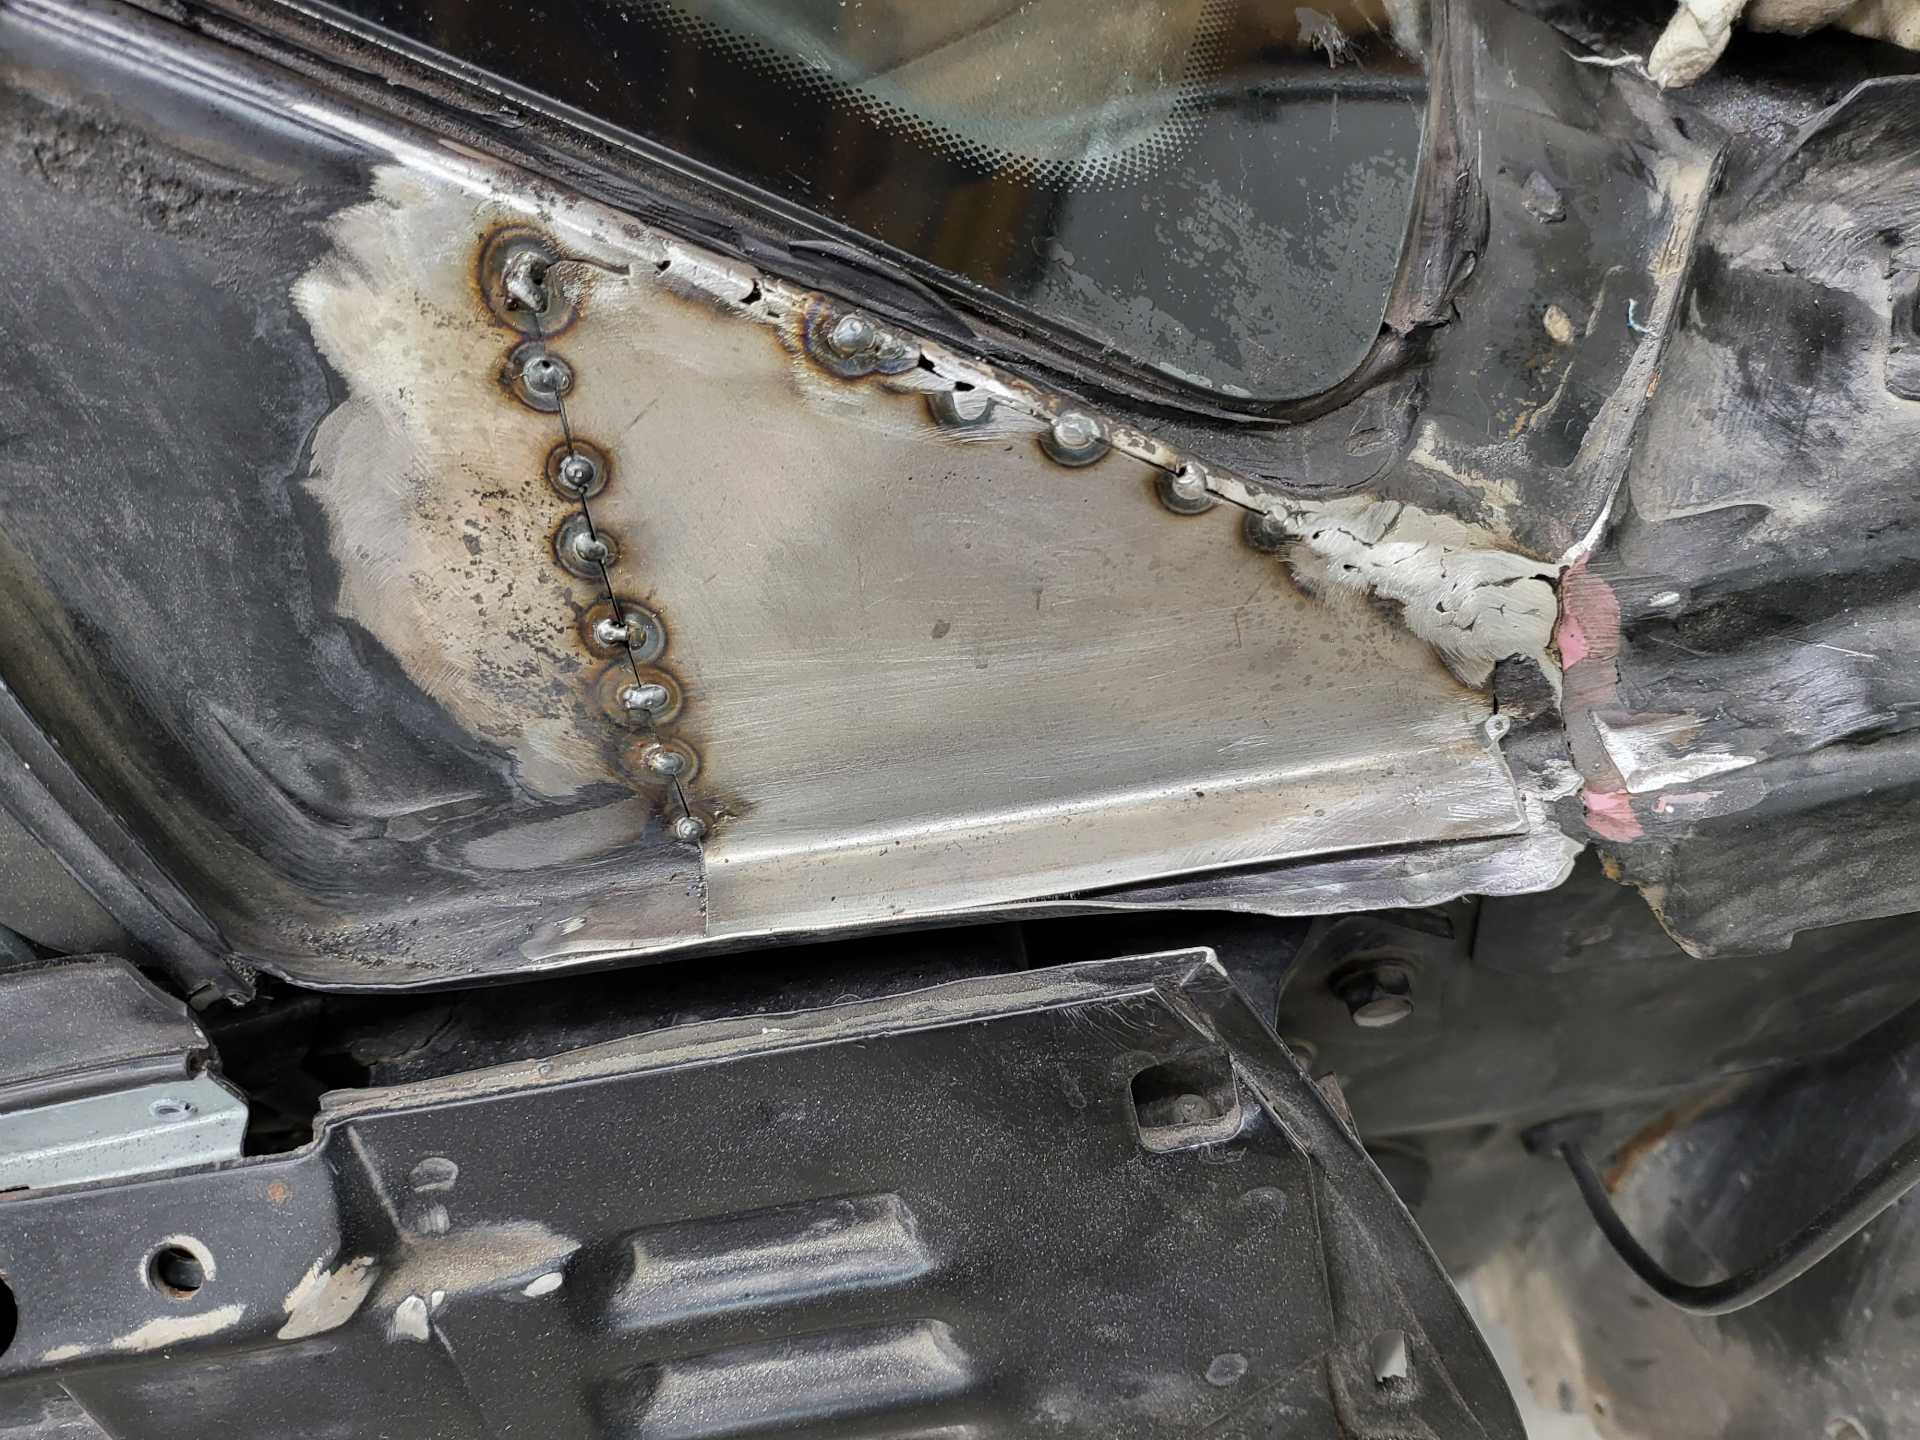
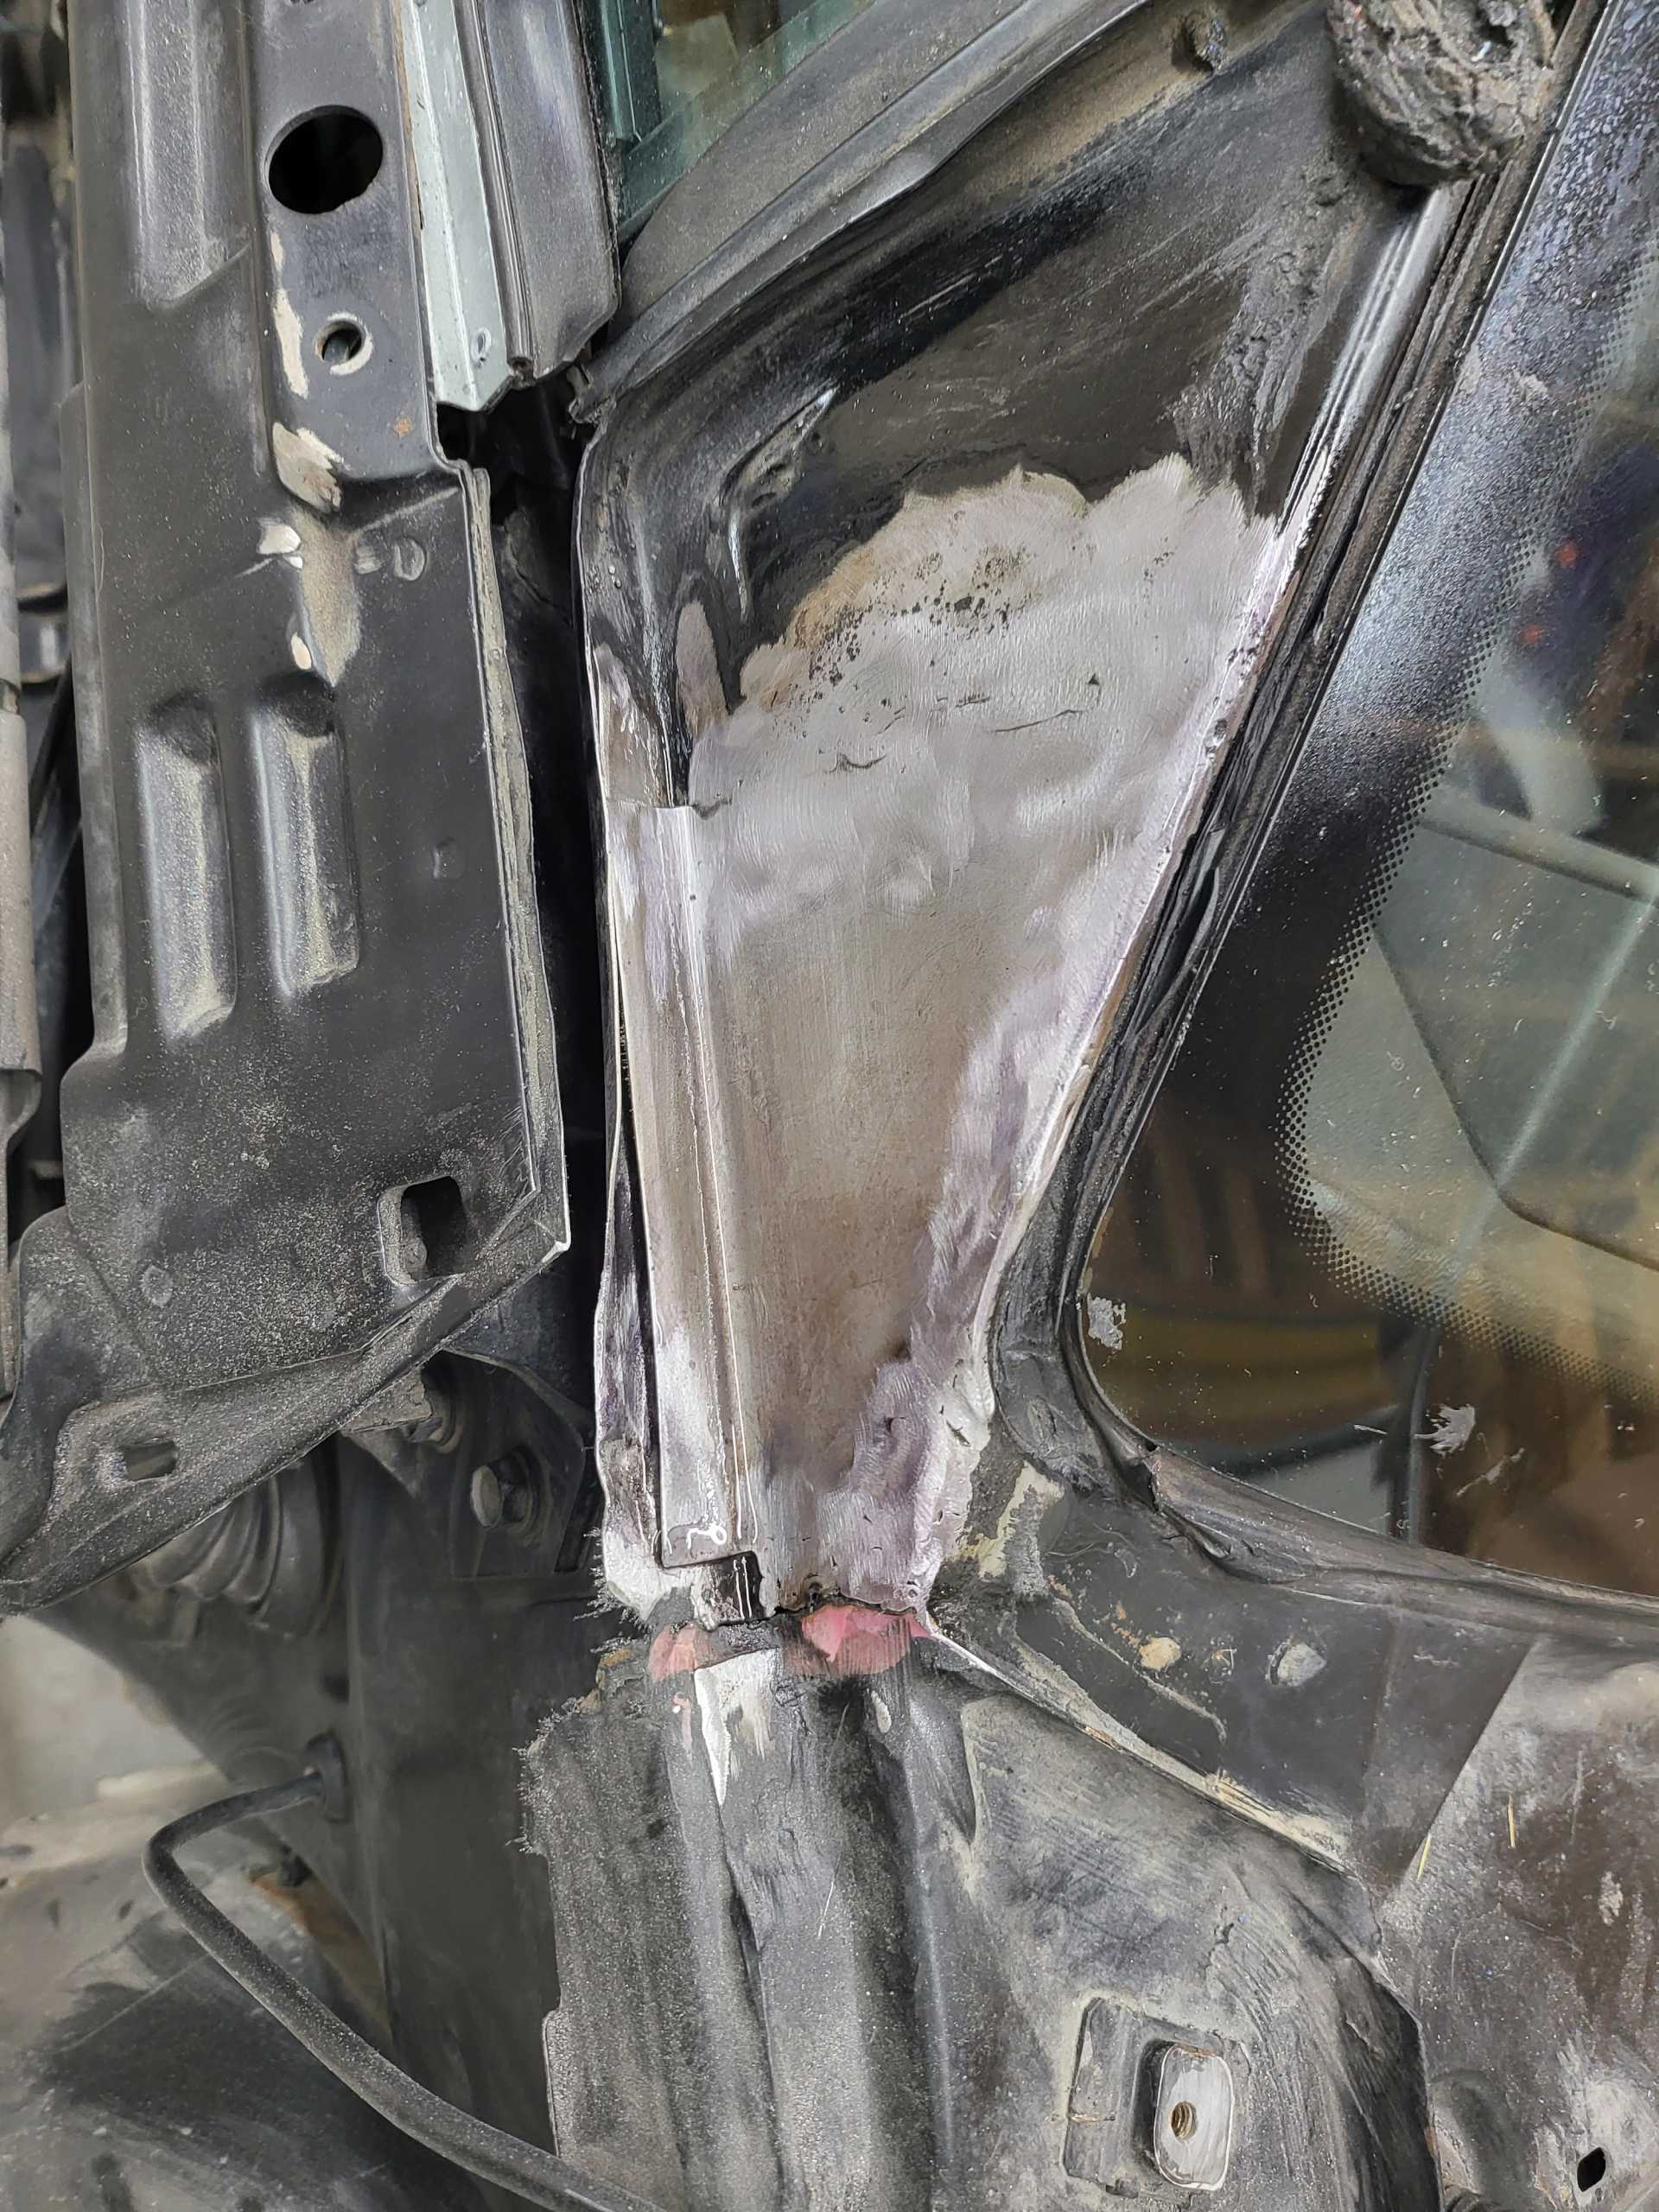
Finished with the rust hole in the a-pillar and pass side jacking area. It's like nothing happened! 

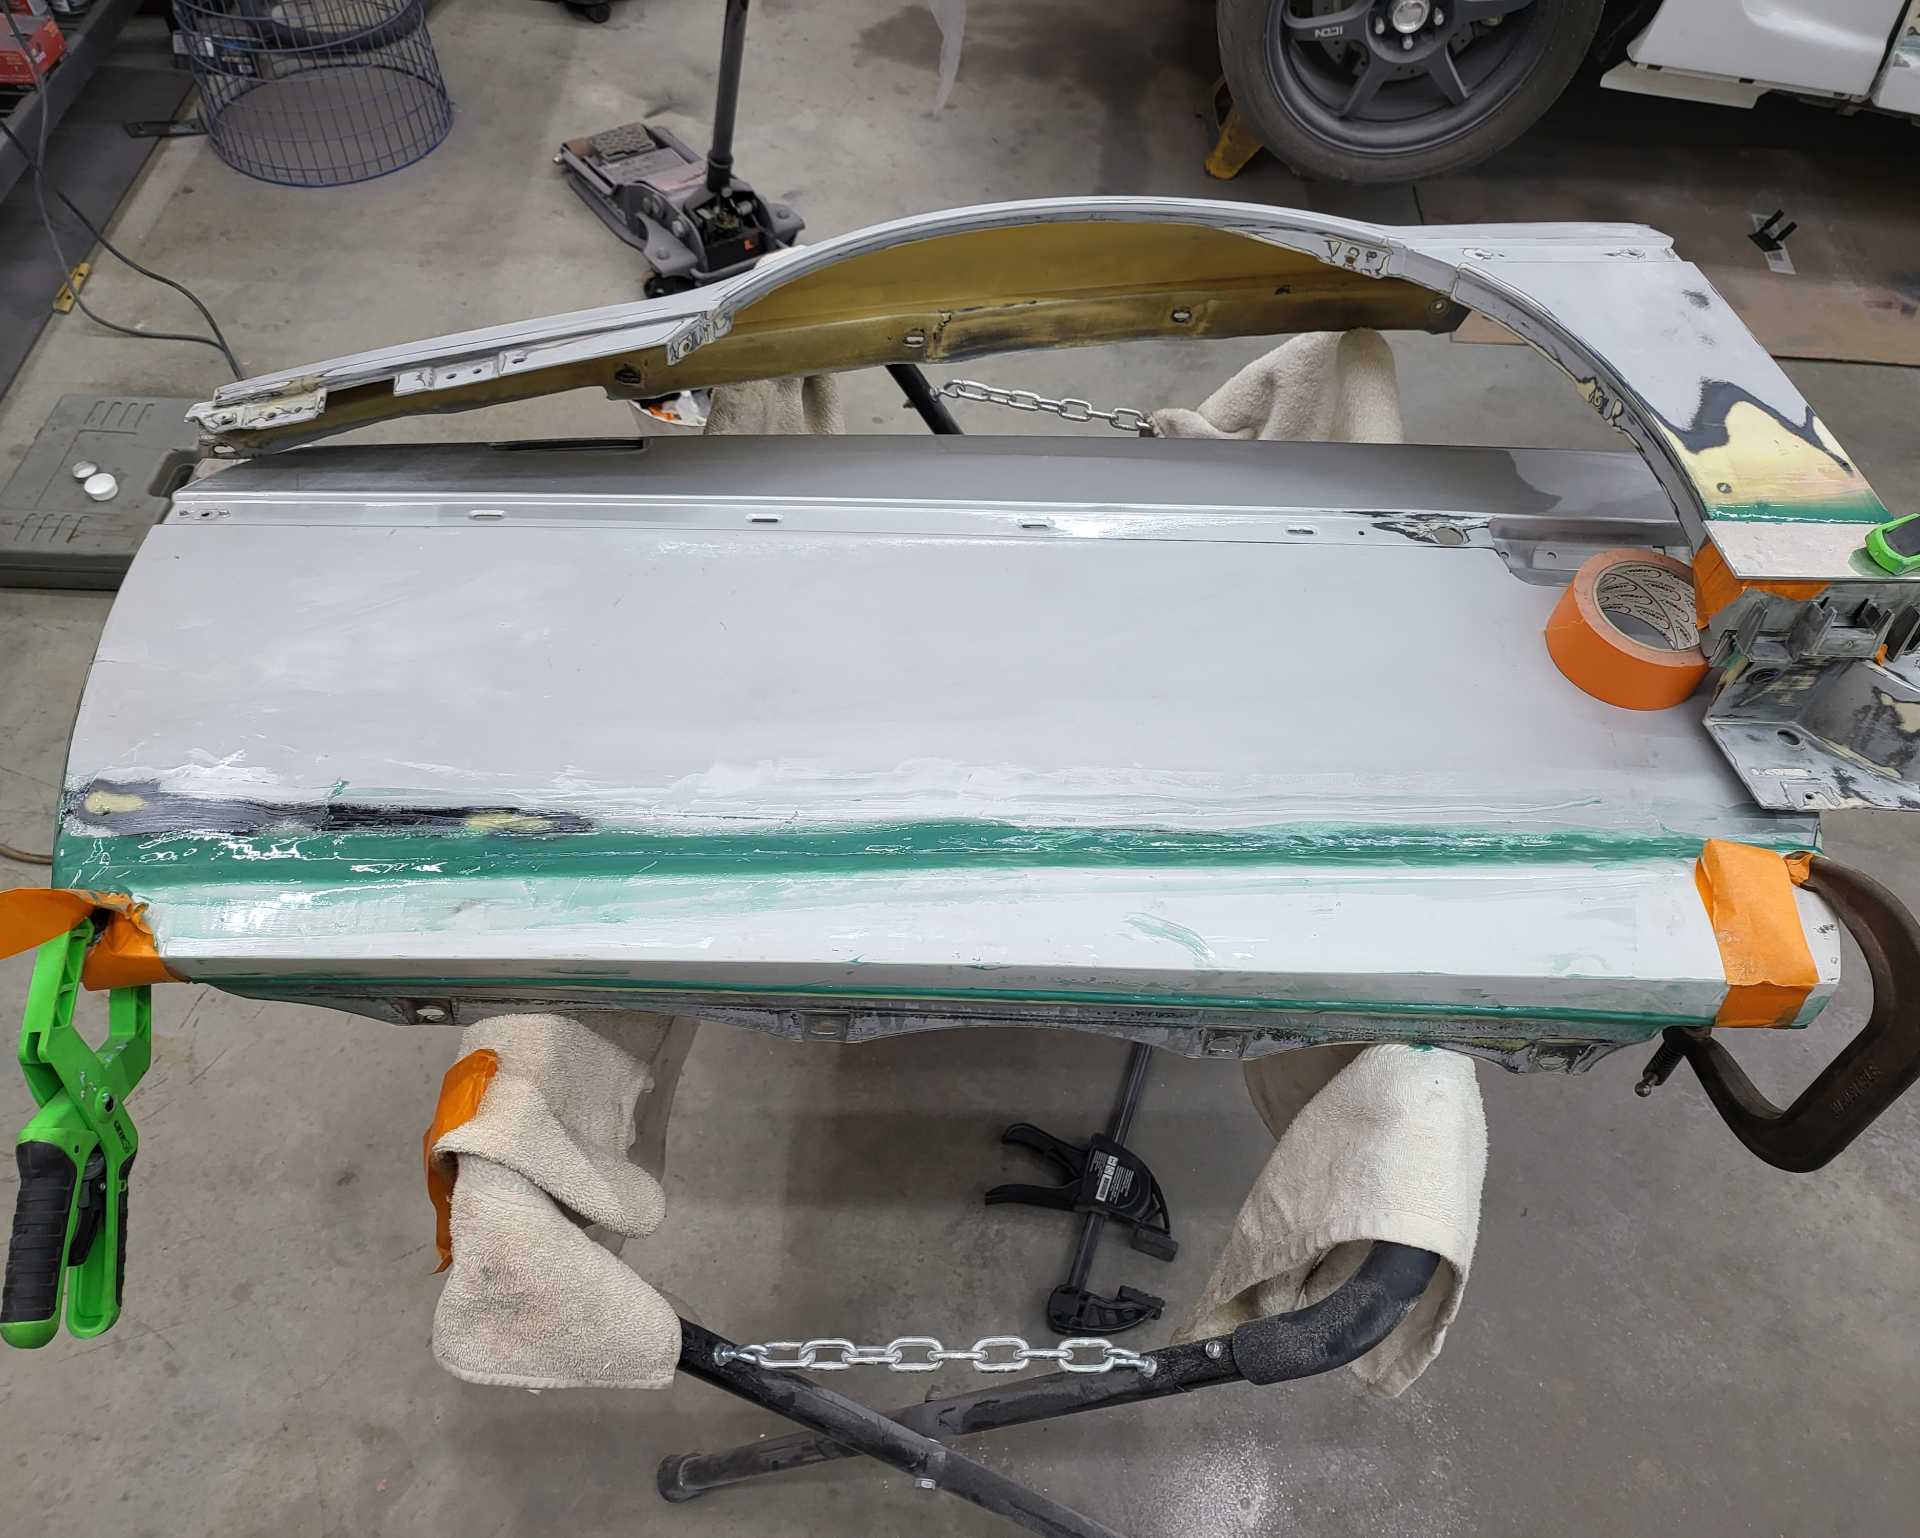
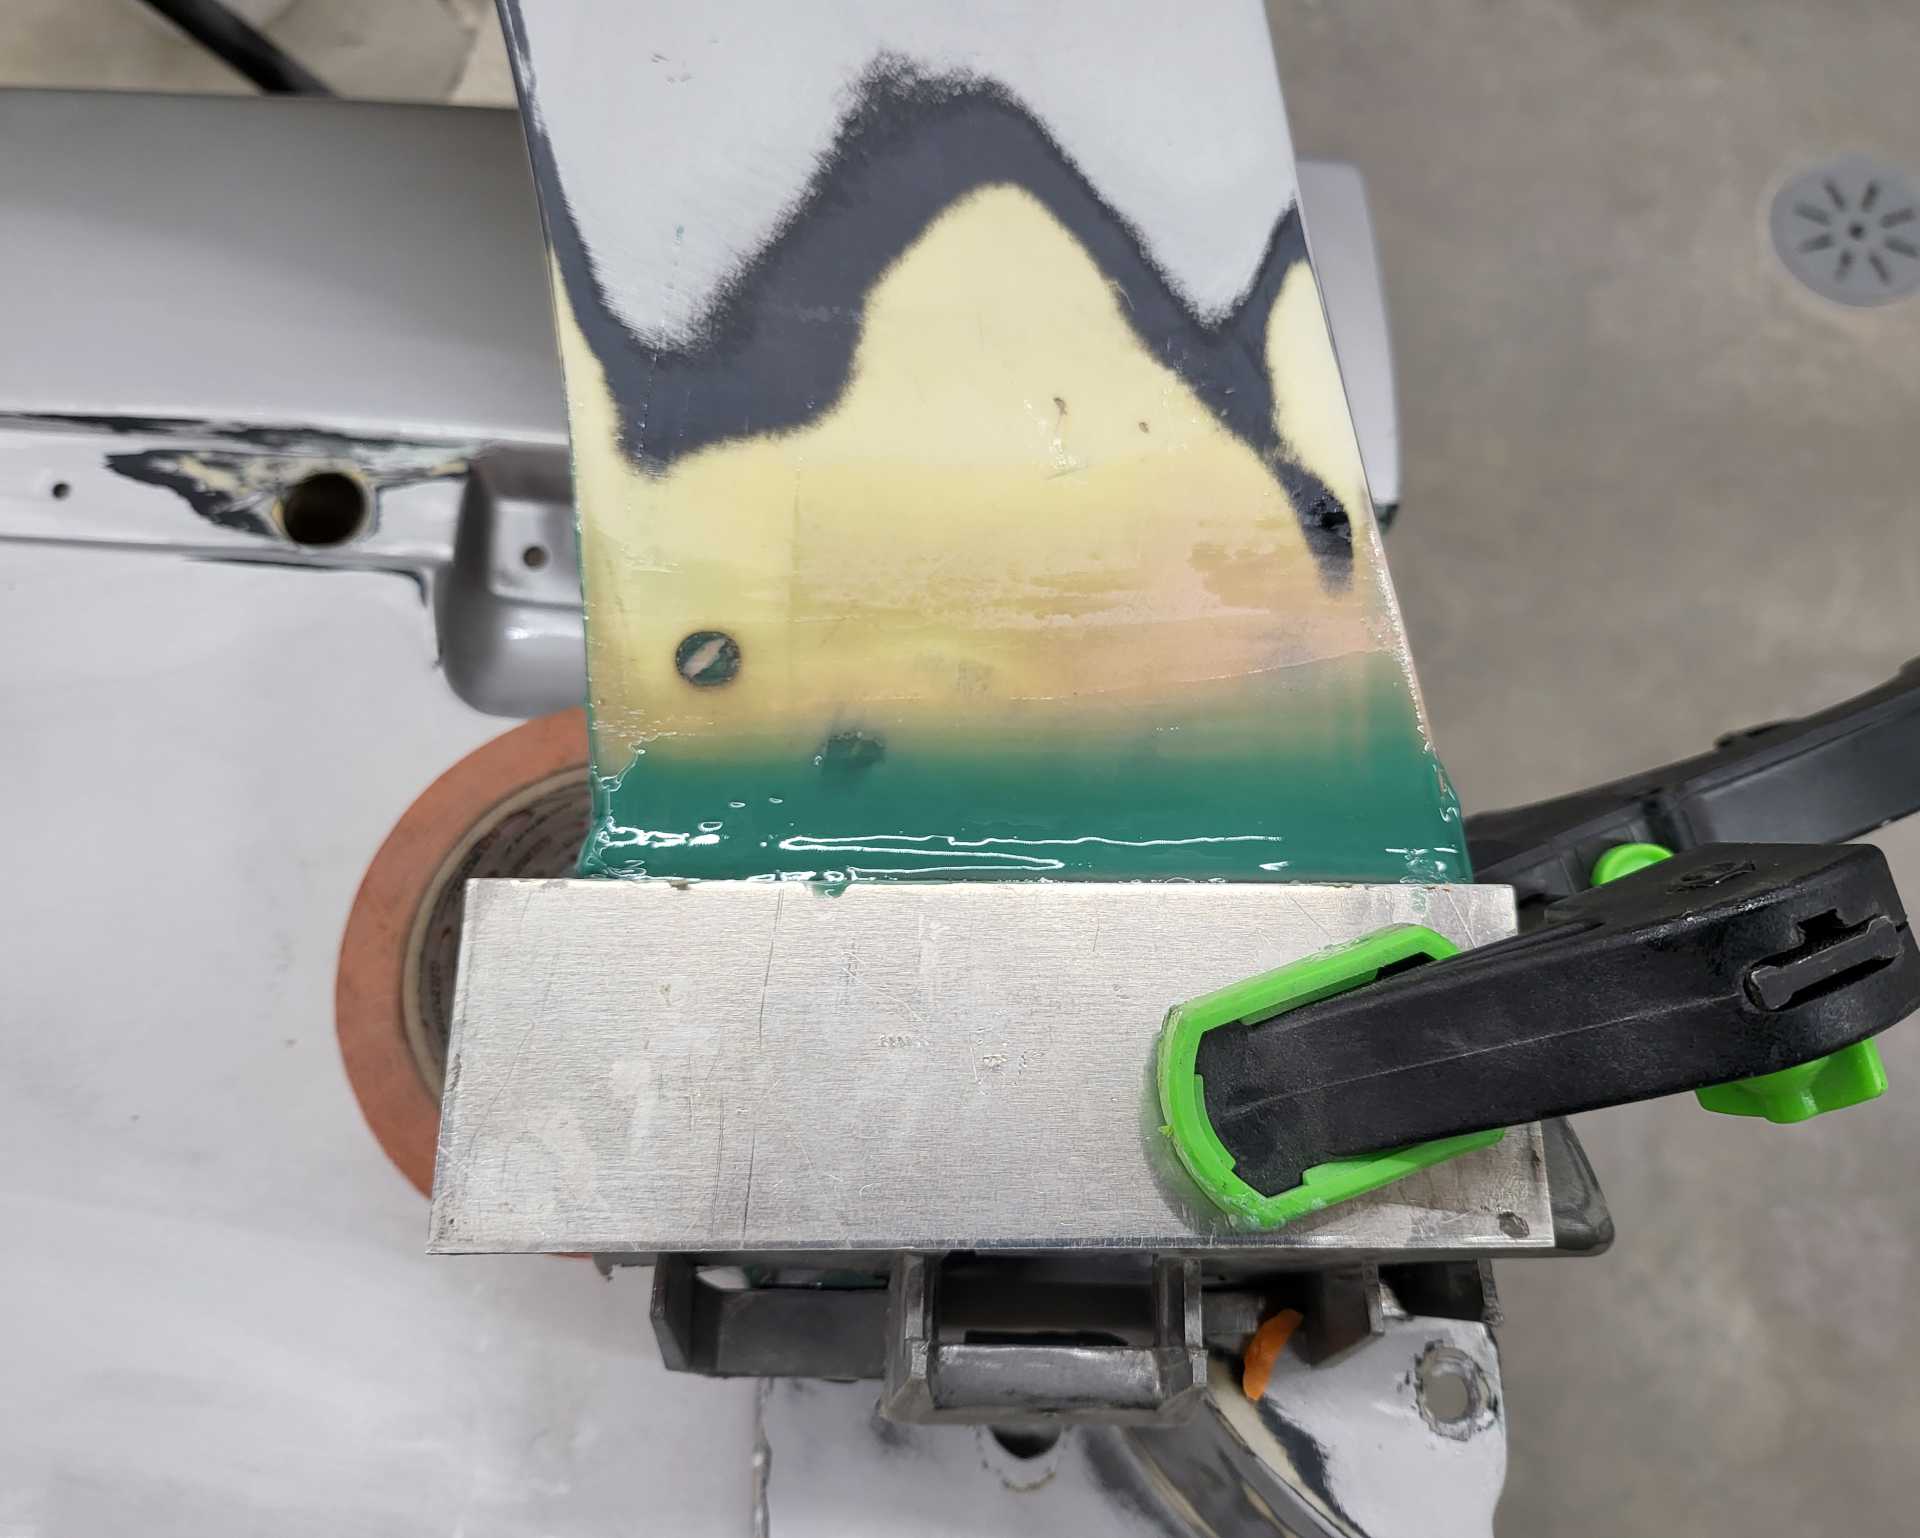
Next I tackled the passenger side AusFiero Stage II body kit.
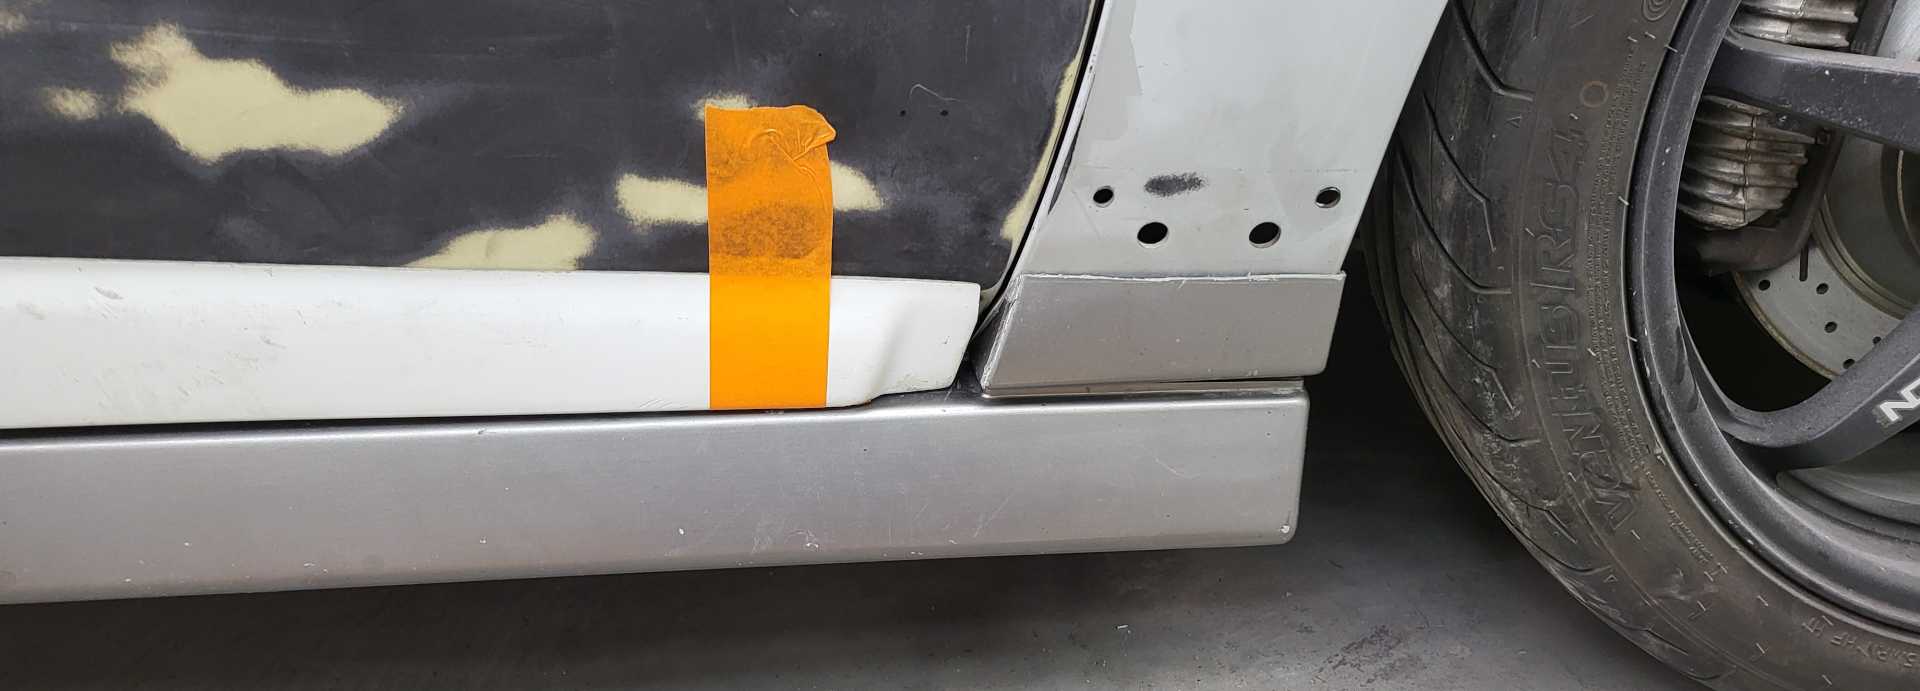
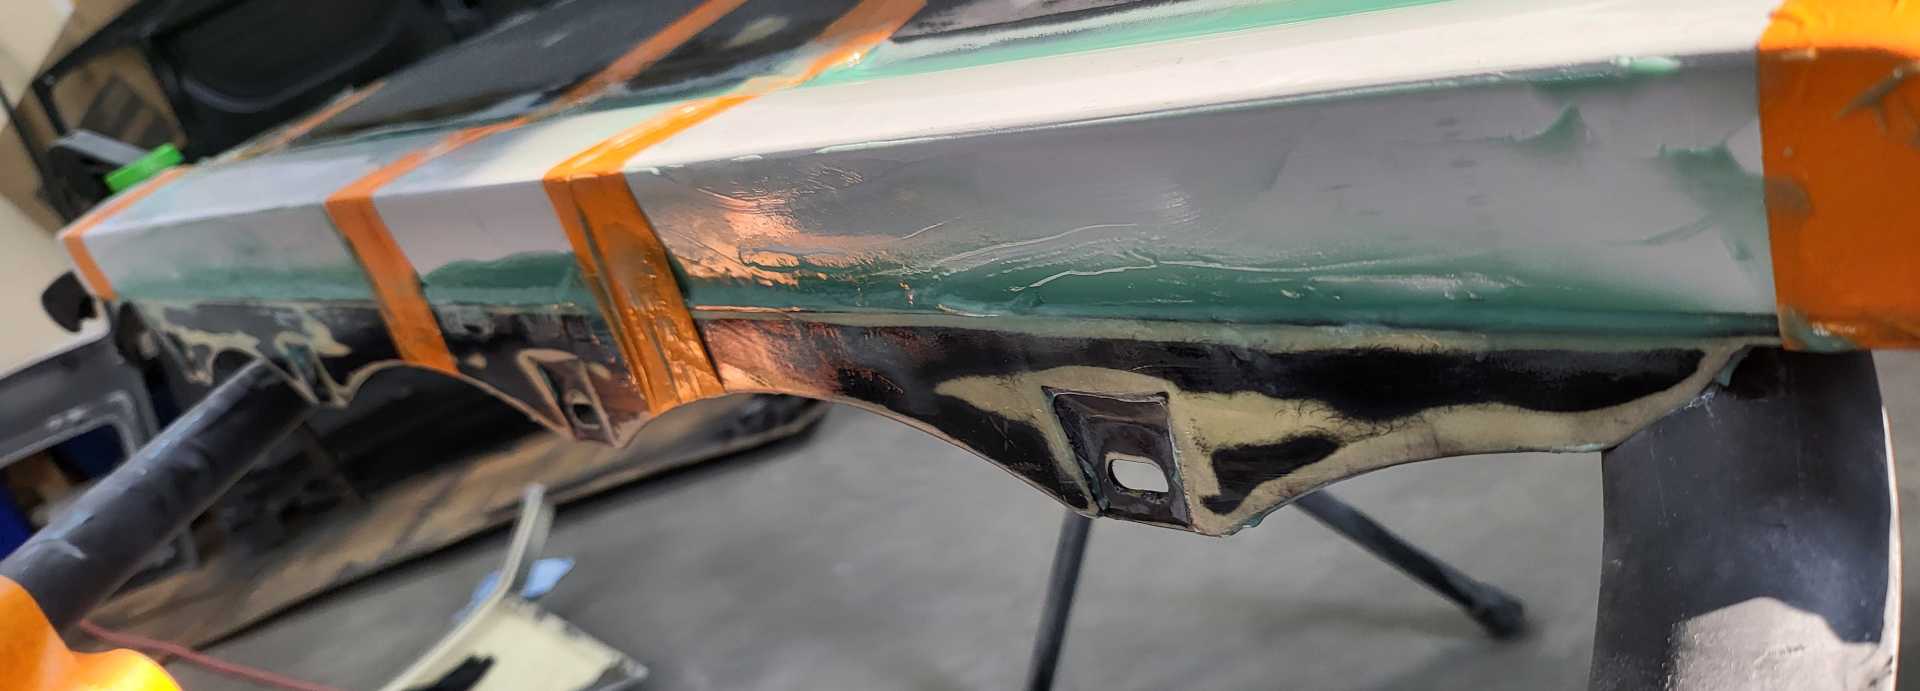
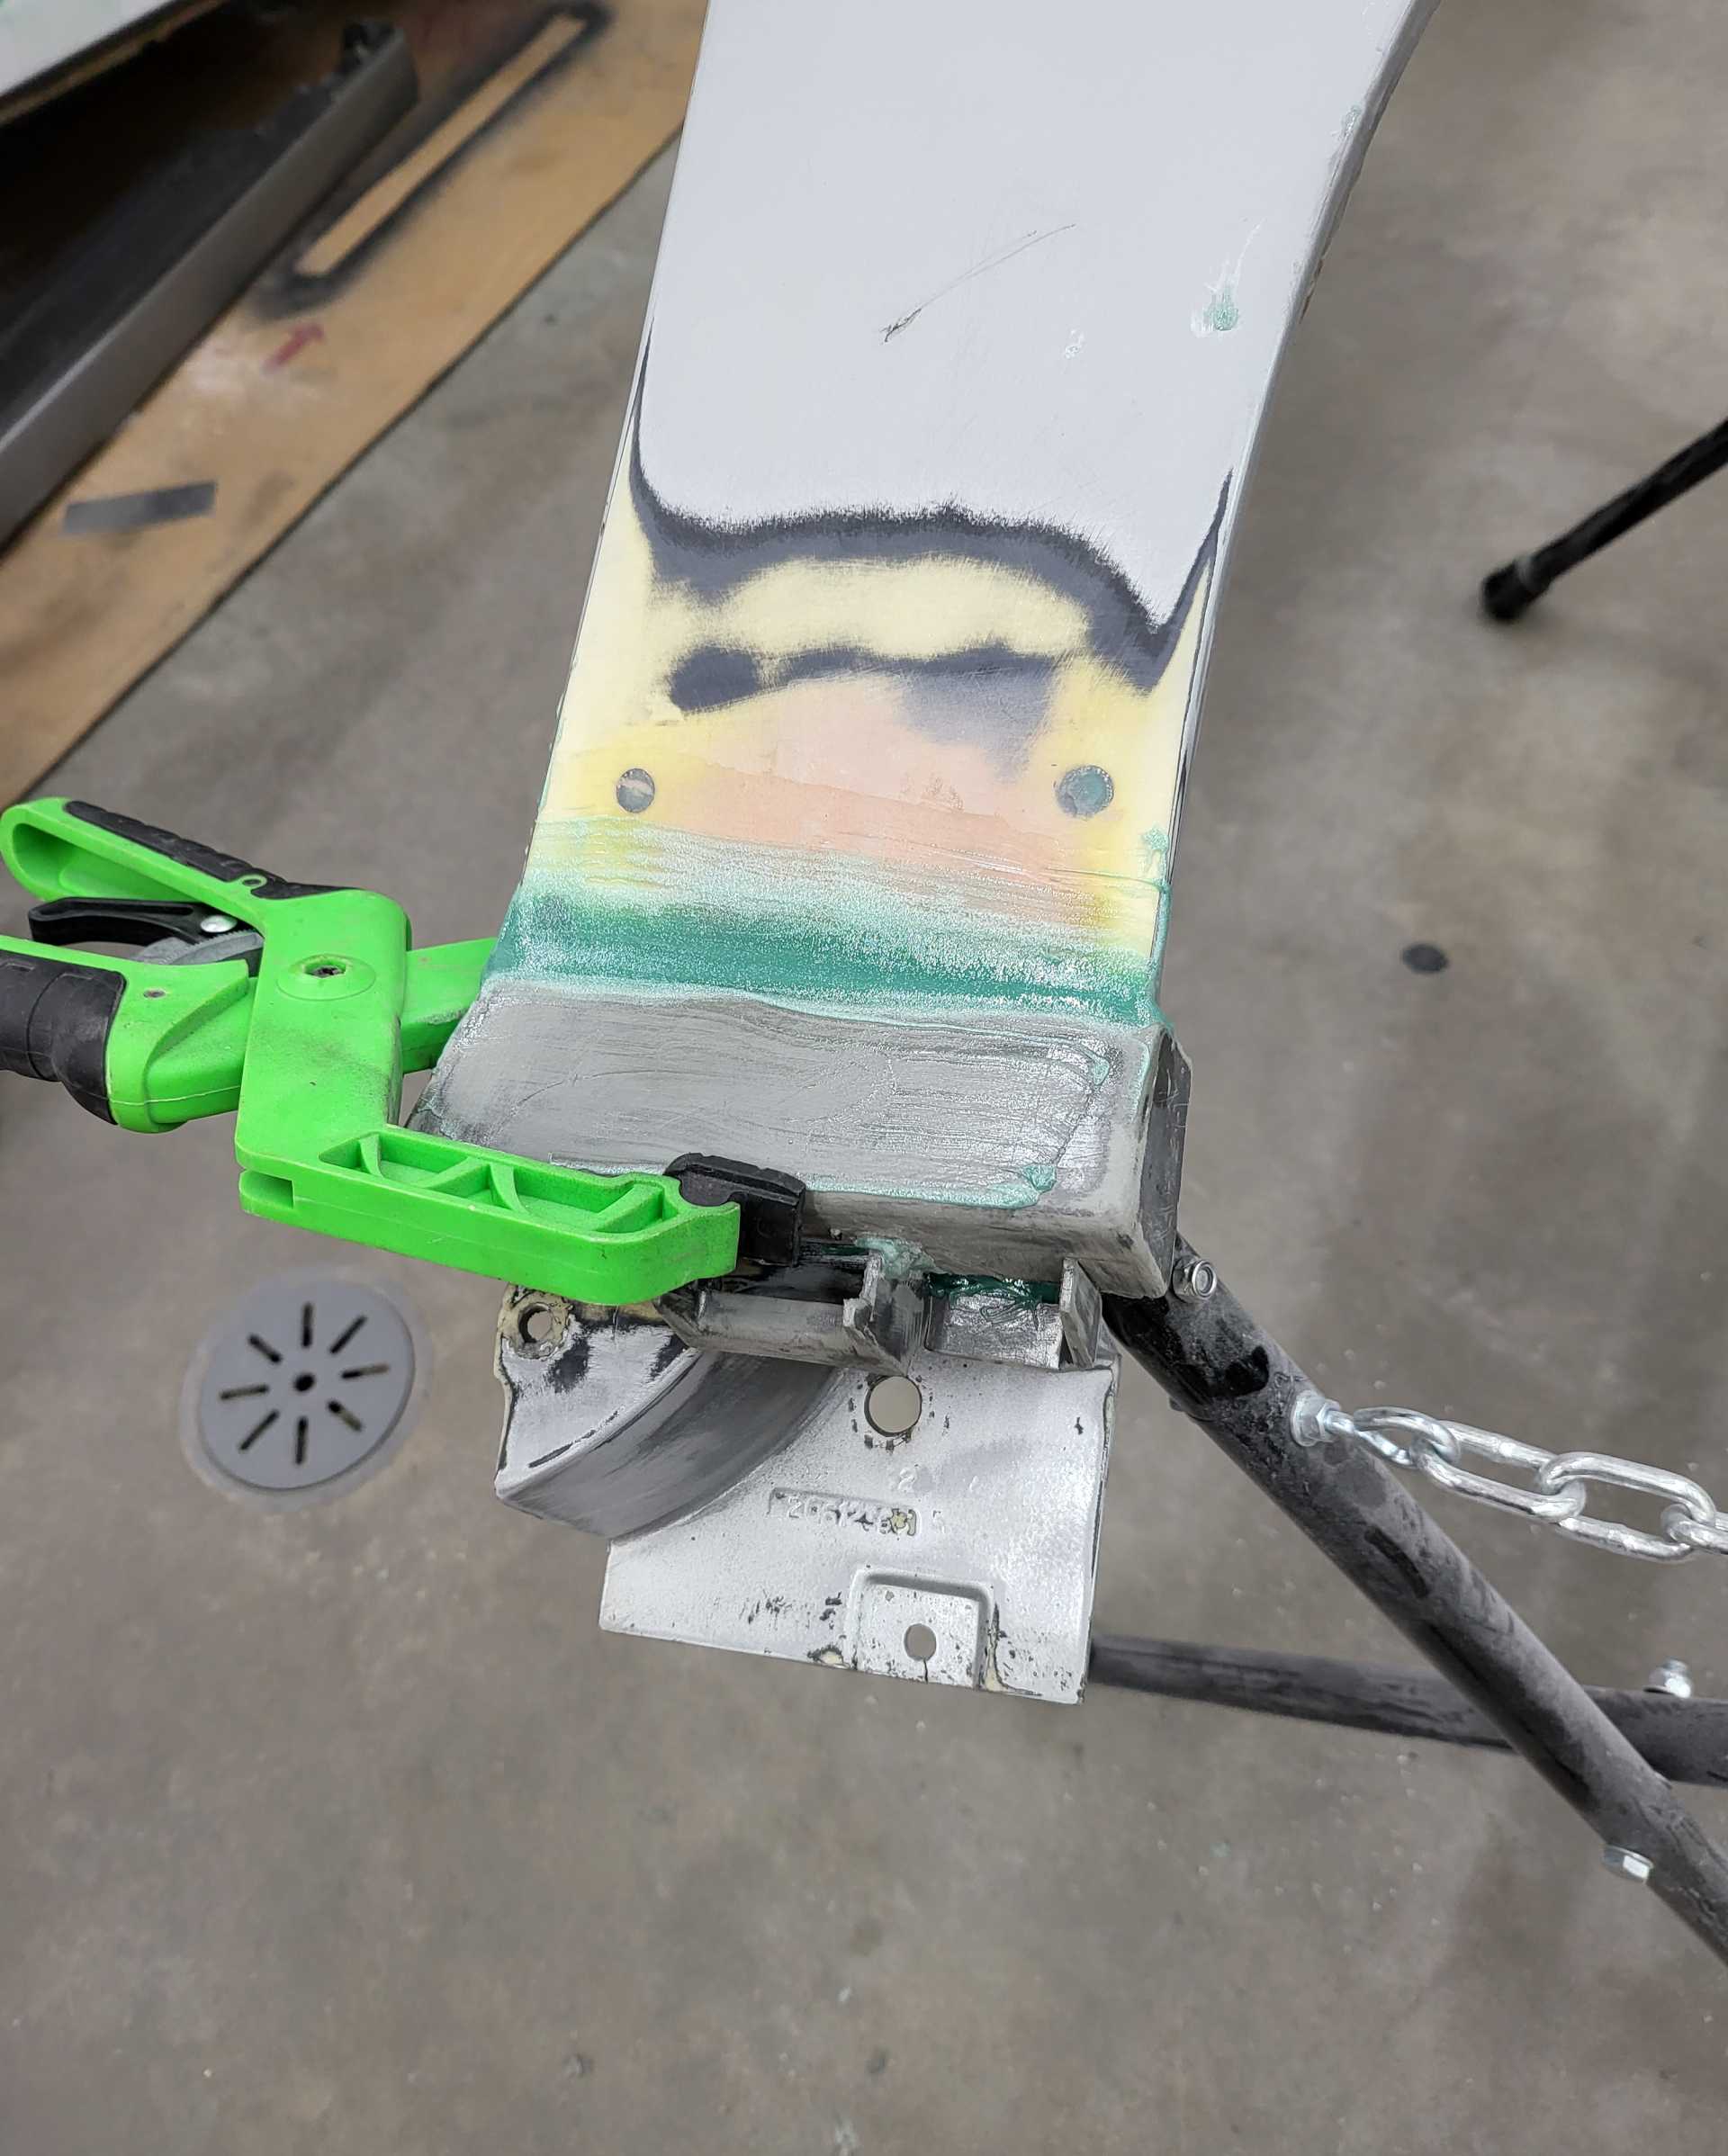
I had to figure out what to do with the front fender as there is an awkward gap.
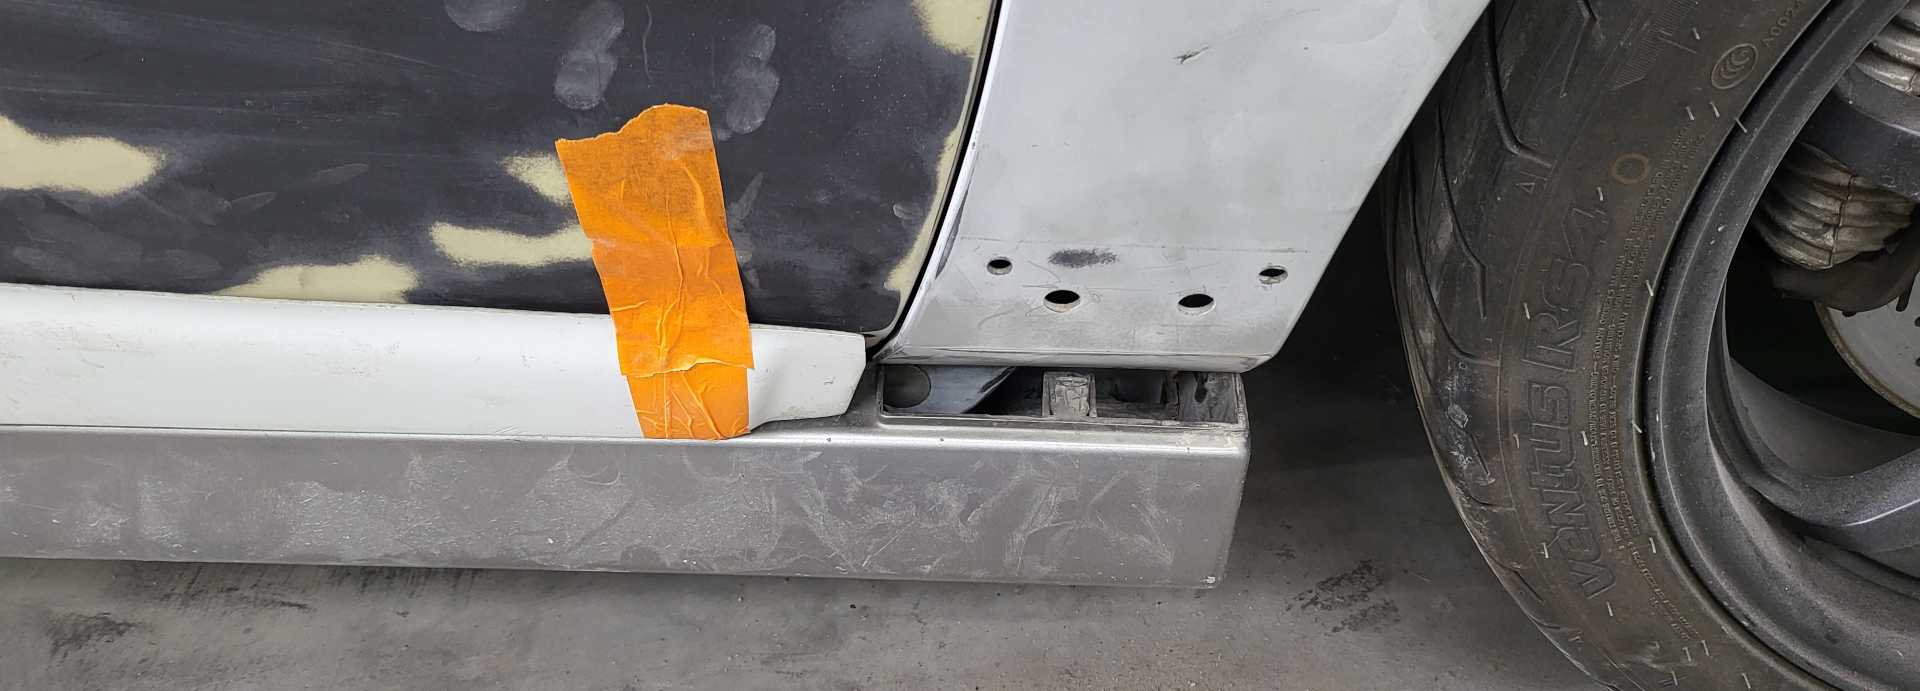
So I decided to use the stock molding and cut it to the same angle as the molding that will be mounted to the door.
Marked and cut:
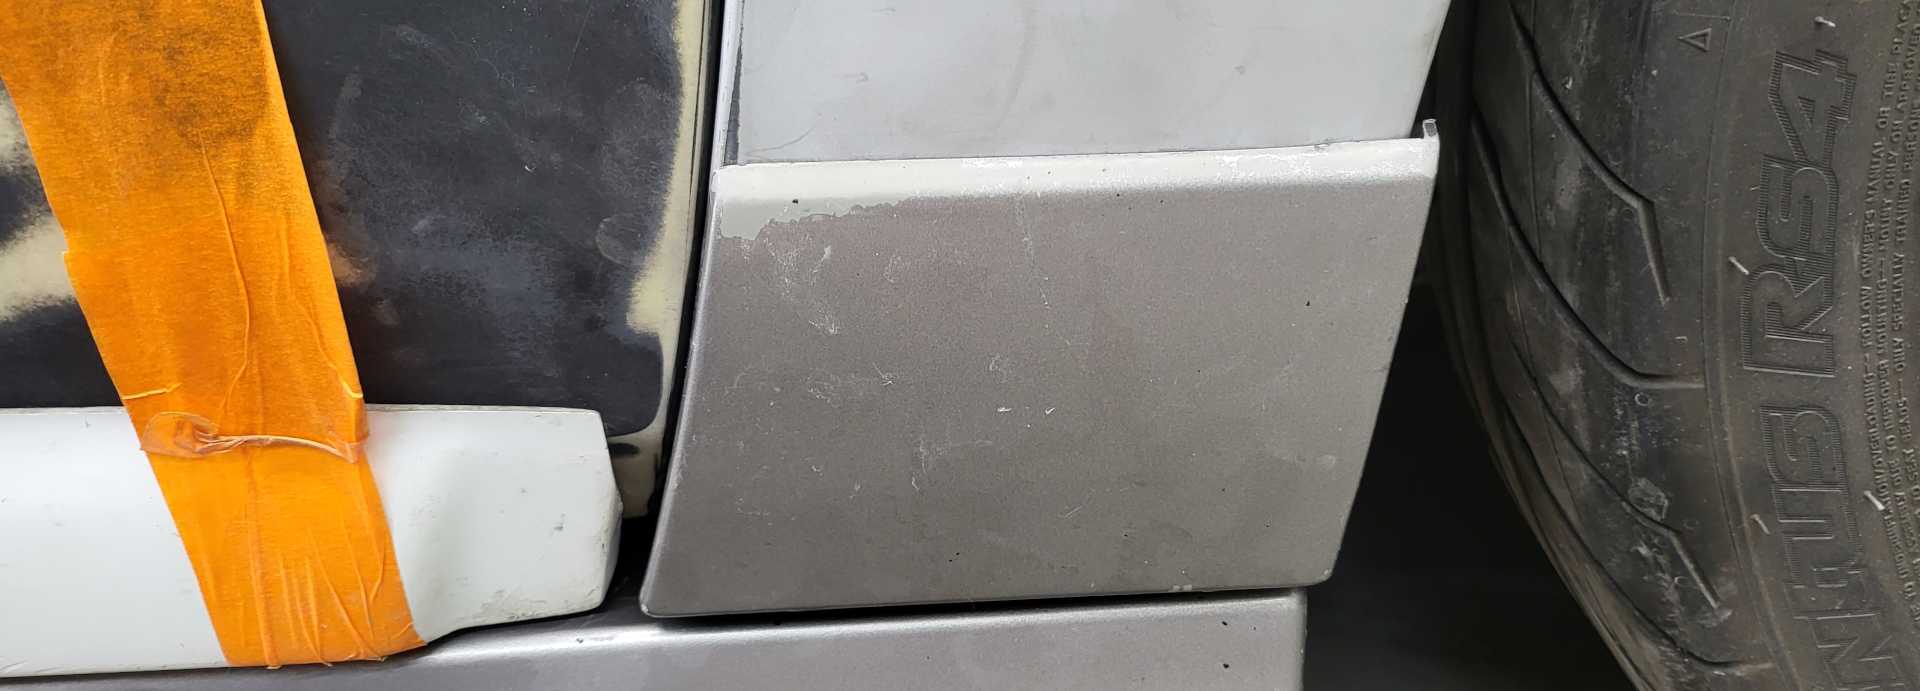
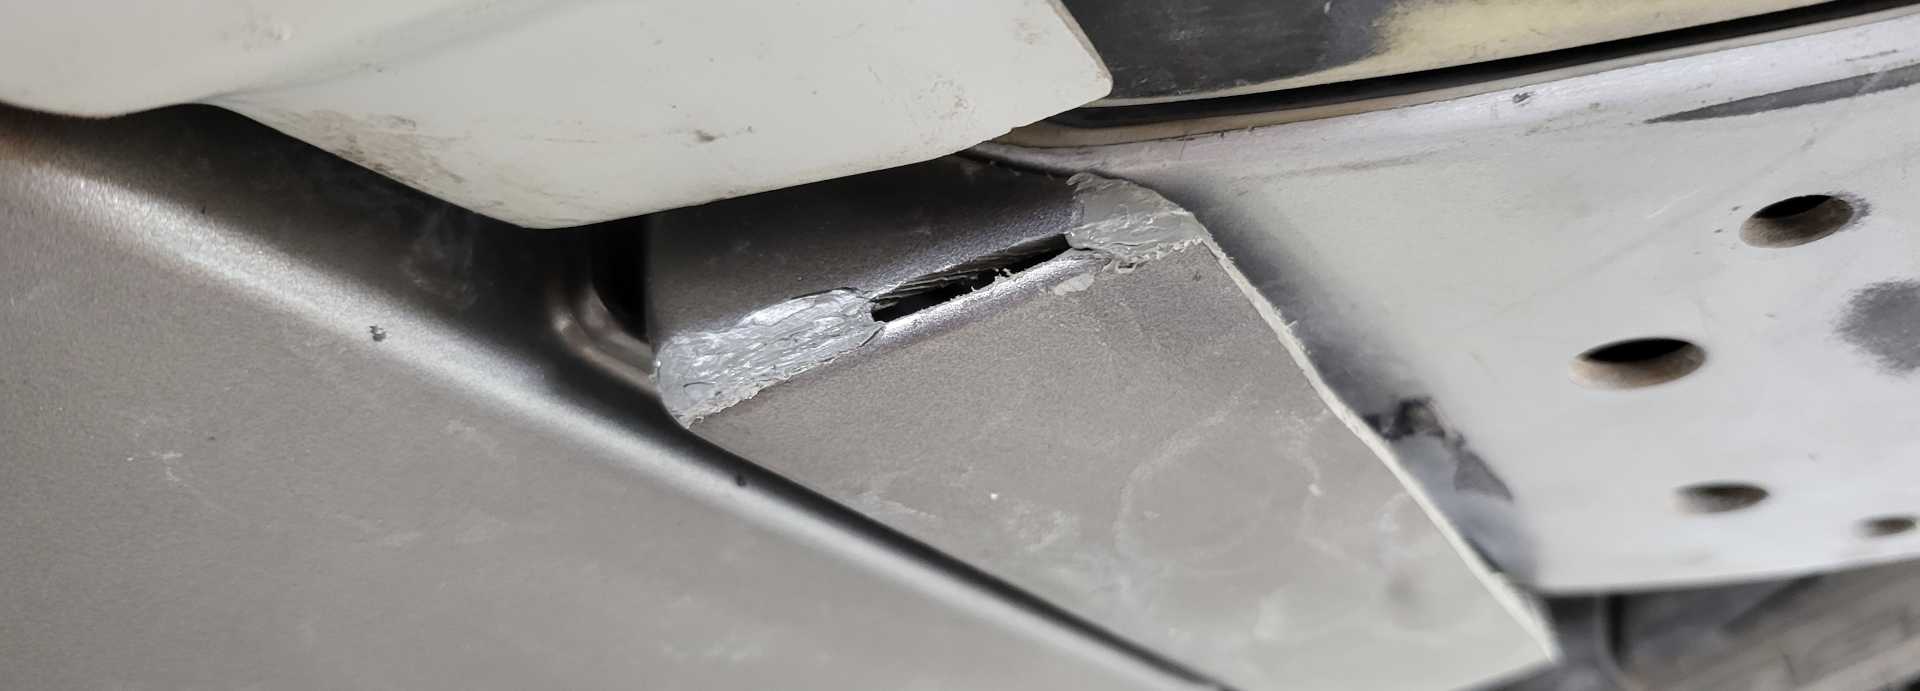
In order for the molding to contact the fender I cut out a corner on the rear edge and melted it together. I didn't take pictures of the completed melted area and it turned out nice.
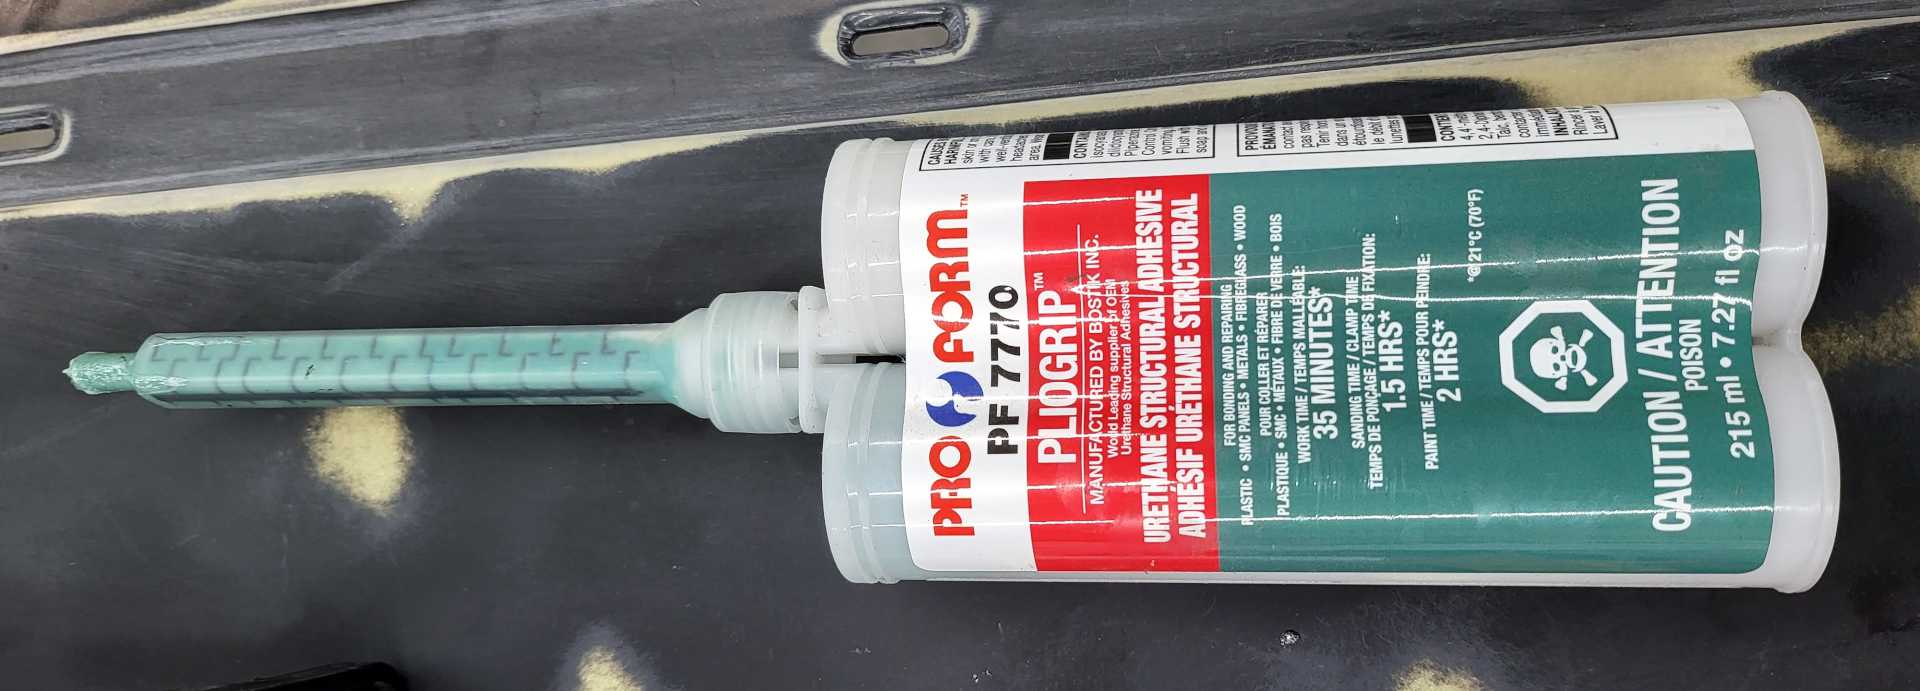
This is my weapon of choice. It has a 35 minute working time so plenty of time to bond a panel to a door.
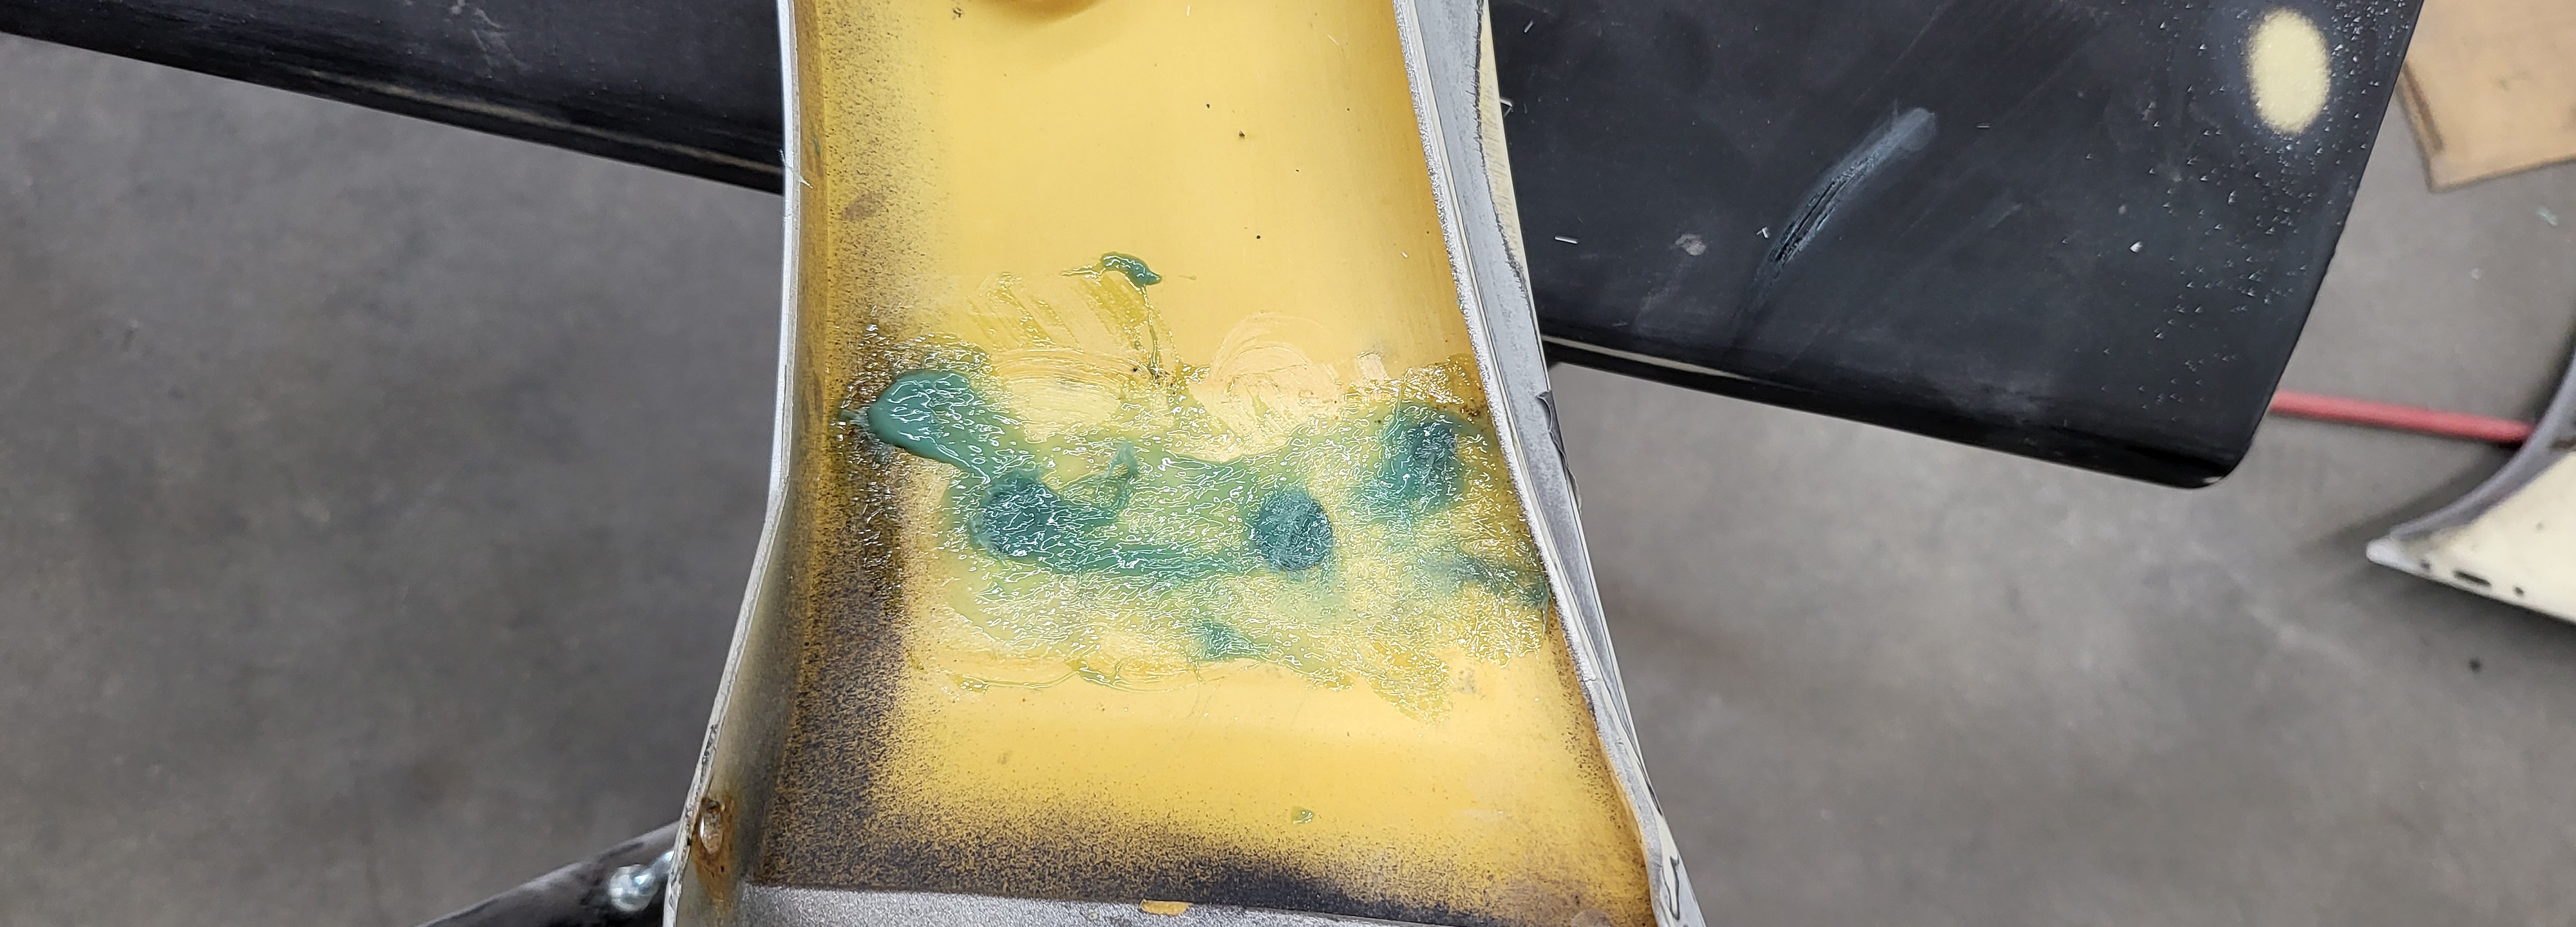
Used some fiberglass matting and mixed it in with the panel bonder and filled in the holes on the fender.
Put some adhesive on the back of the panel
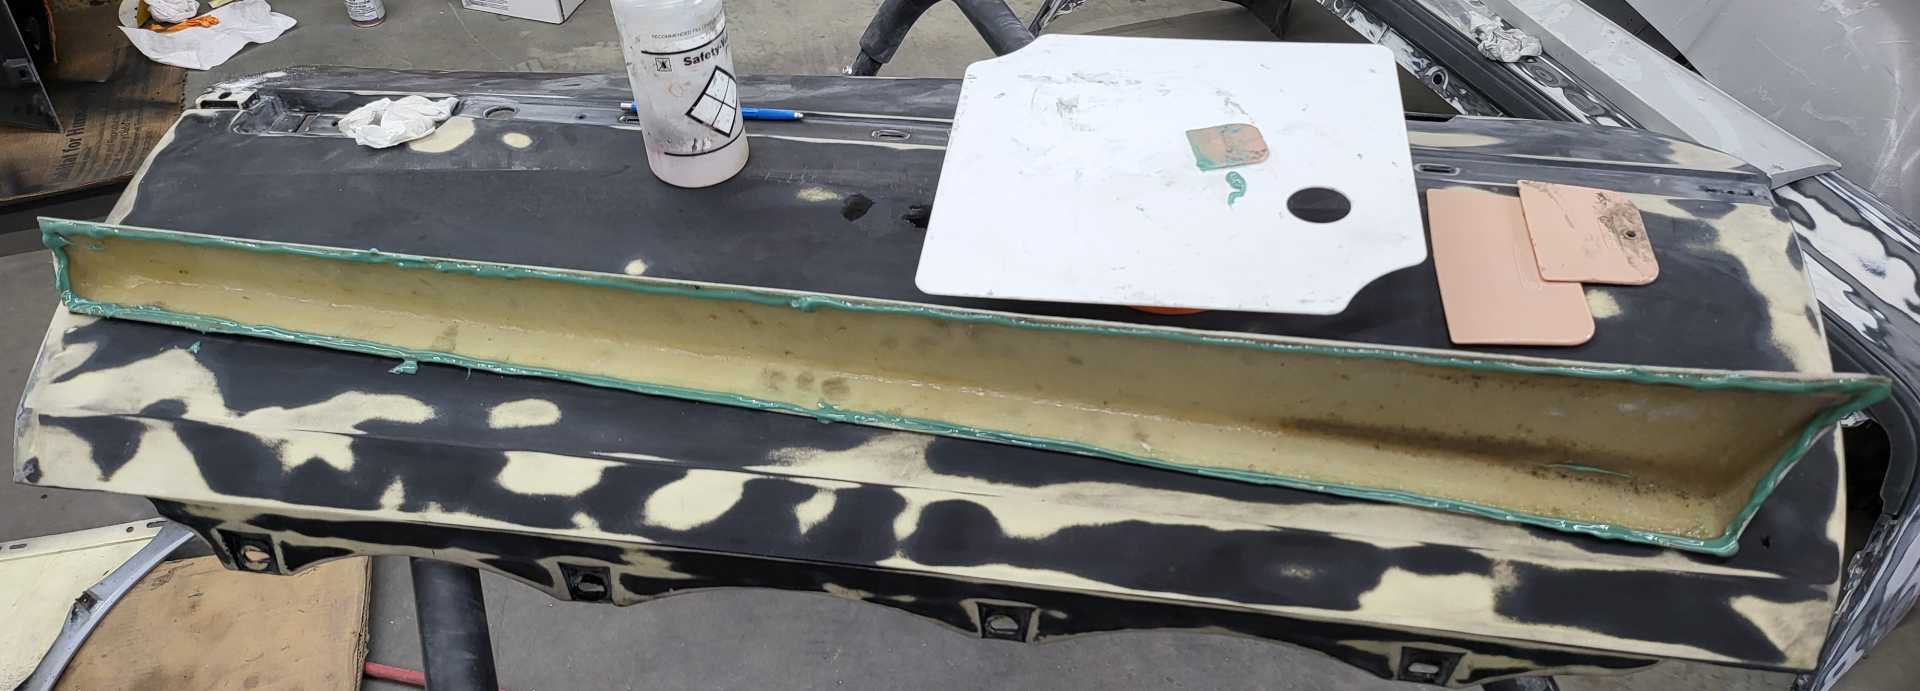
And bonded it to the door. Learned lots of lessons here on applying this, how to smooth it and how much to apply.
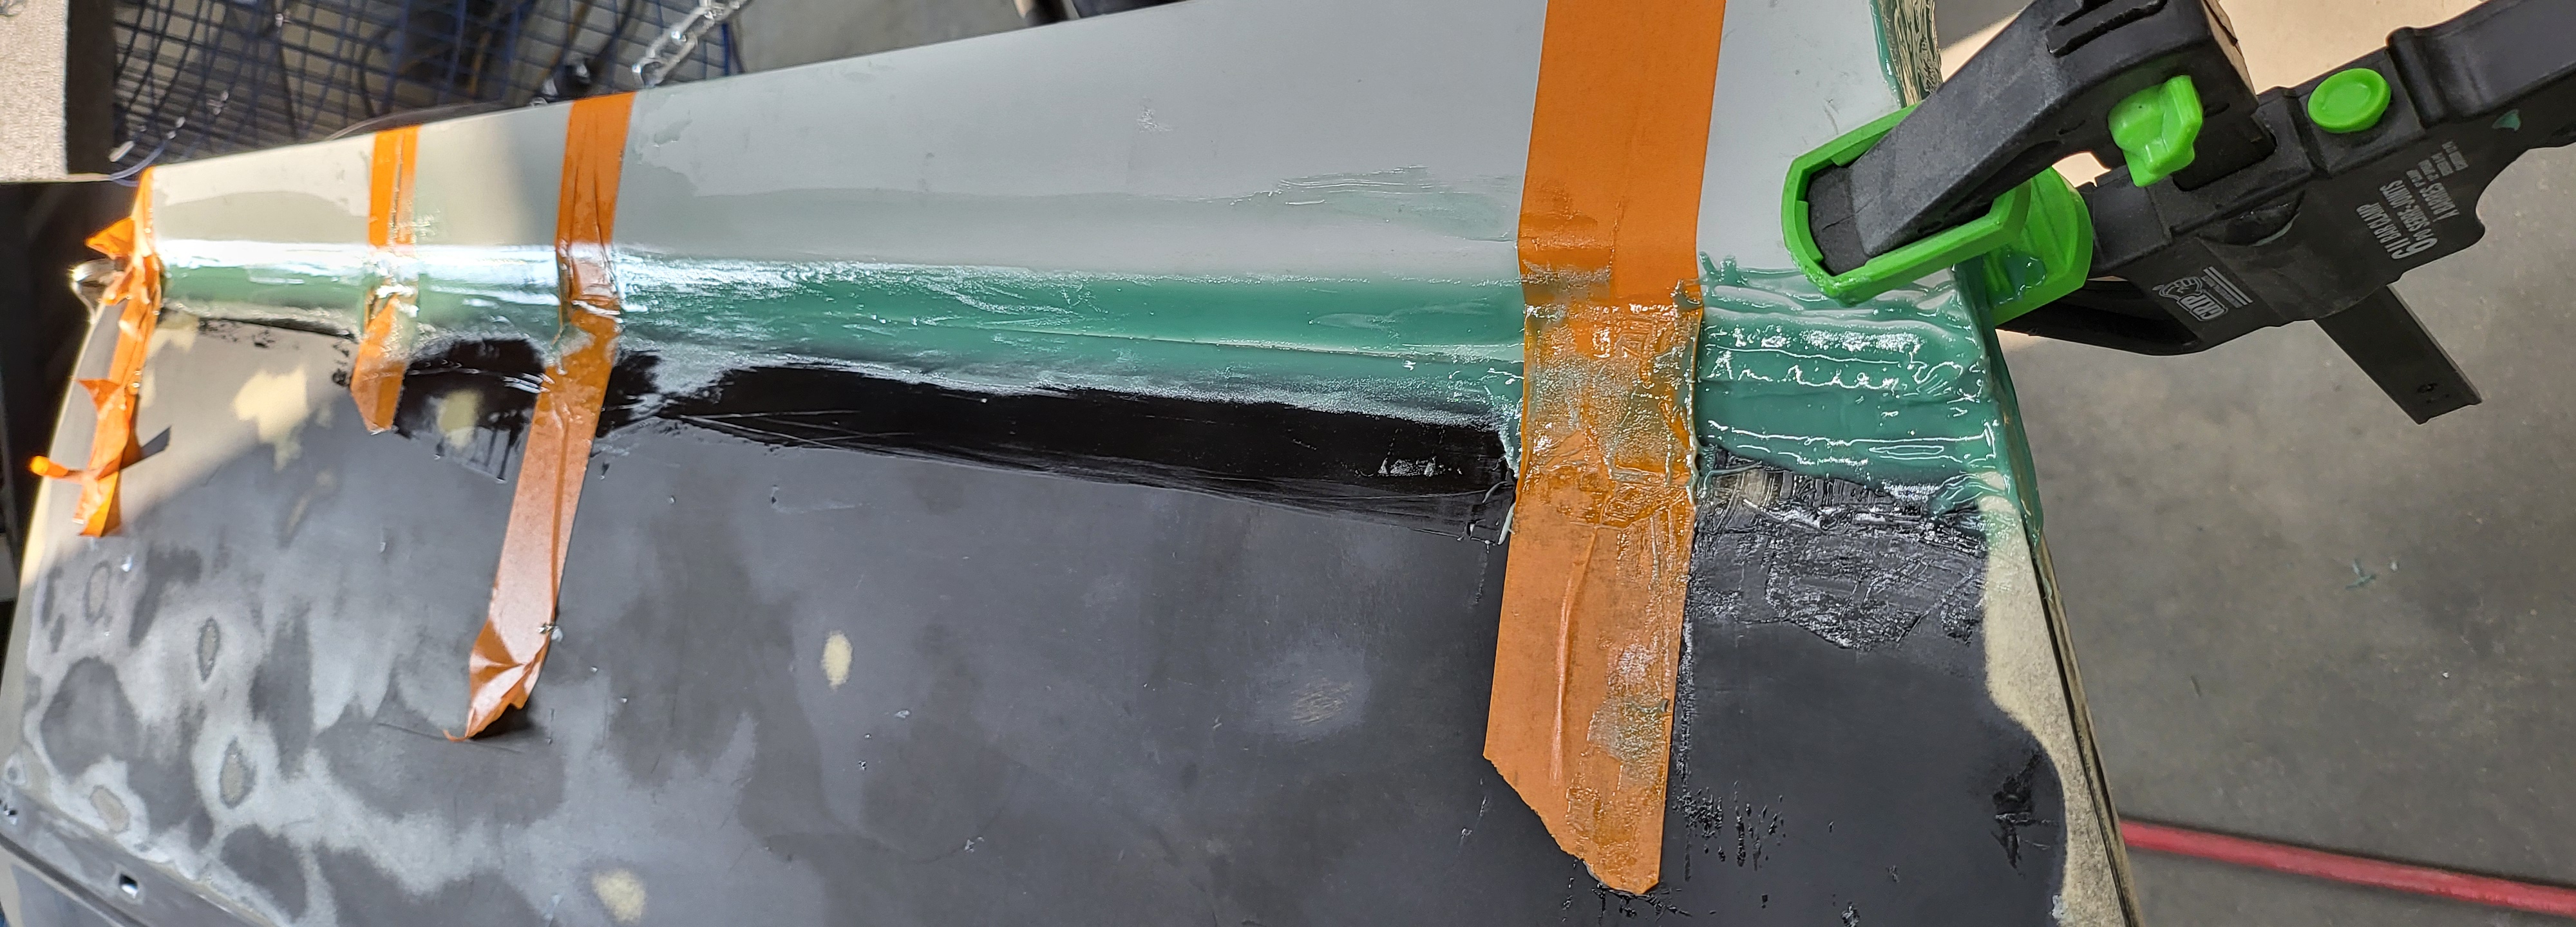
Then bonded the little molding I modified.
I'll be riveting the molding to the fender in the original location in case it ever decides to come off. The door is on it's own I decided not to resin in studs. The adhesive seems pretty strong. I wiggled the door and banged it around a bit and it is holding well.
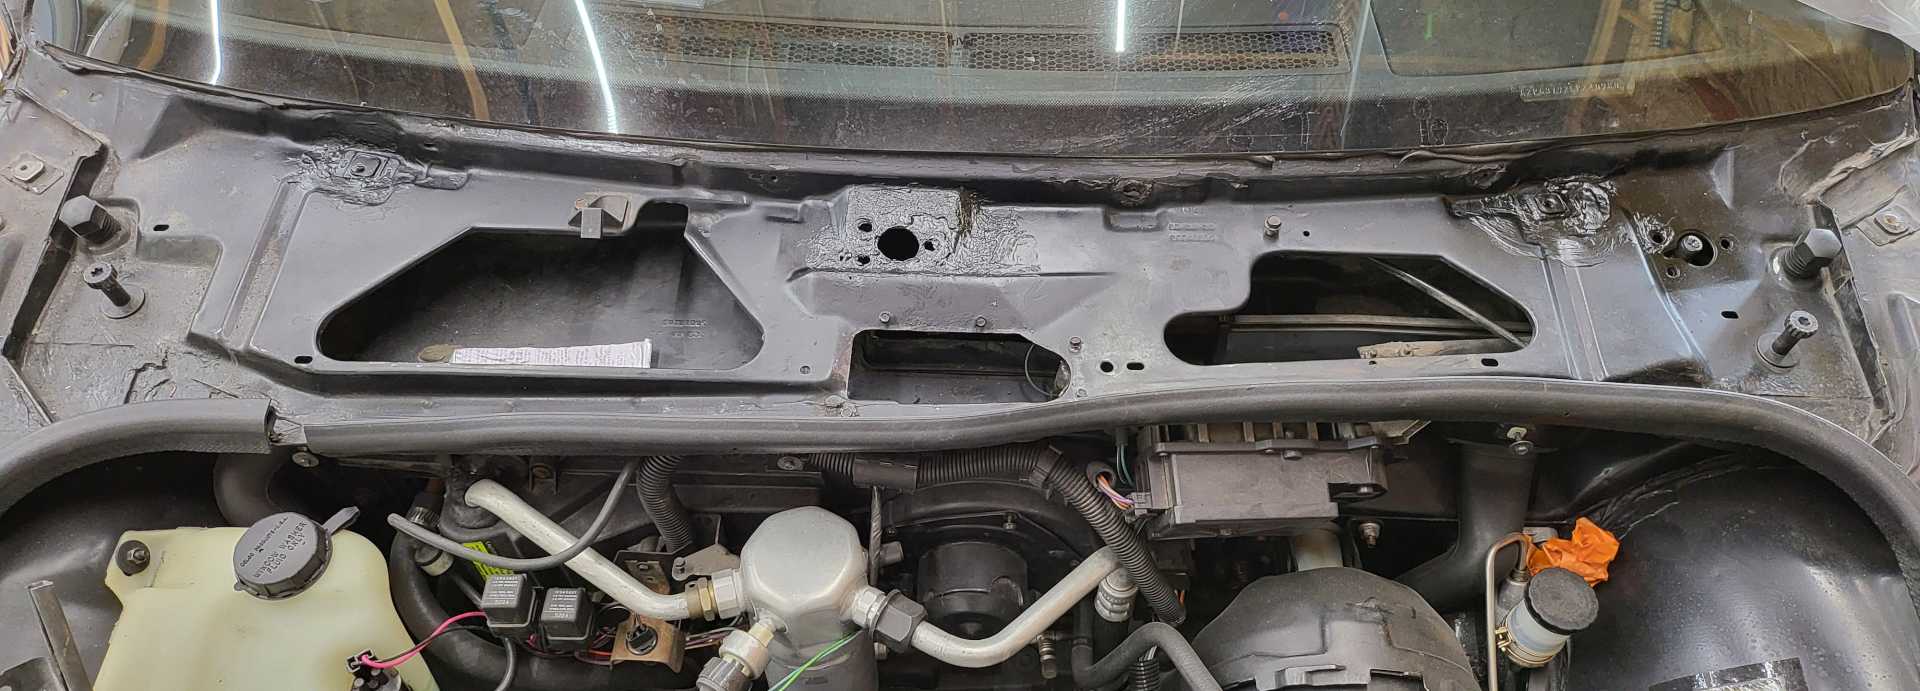
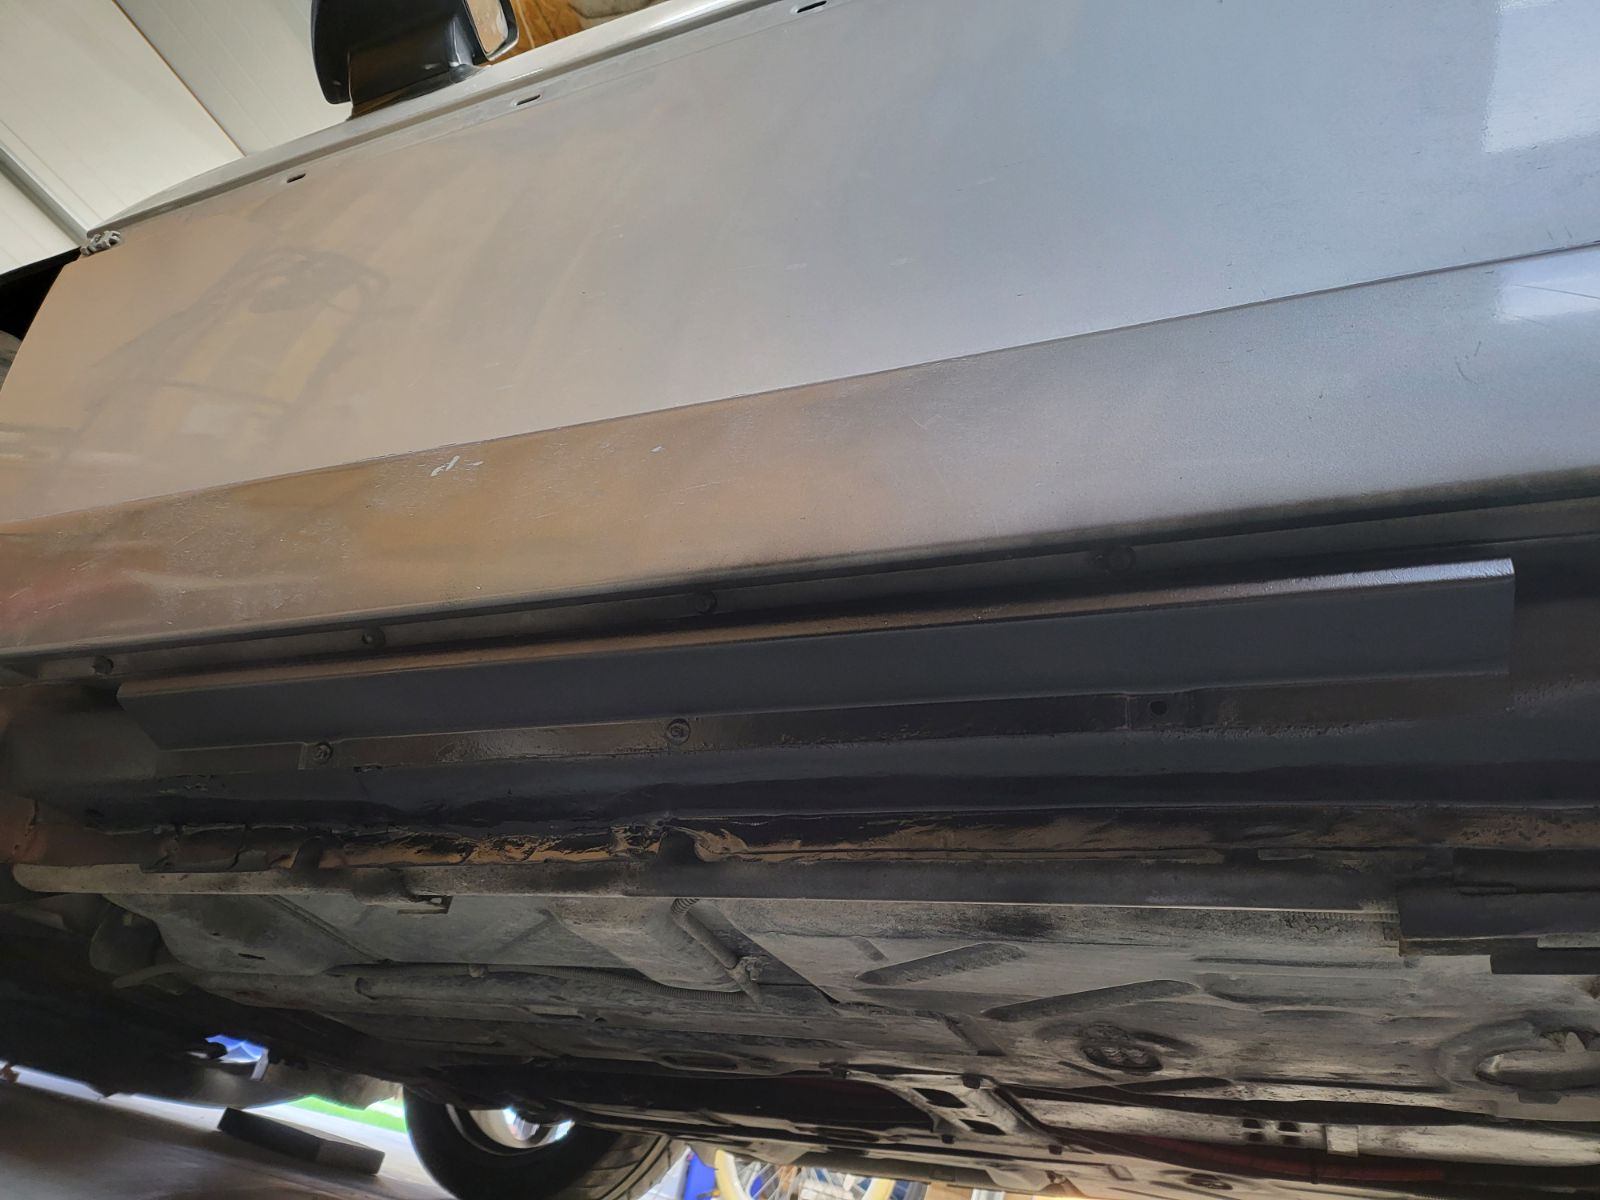
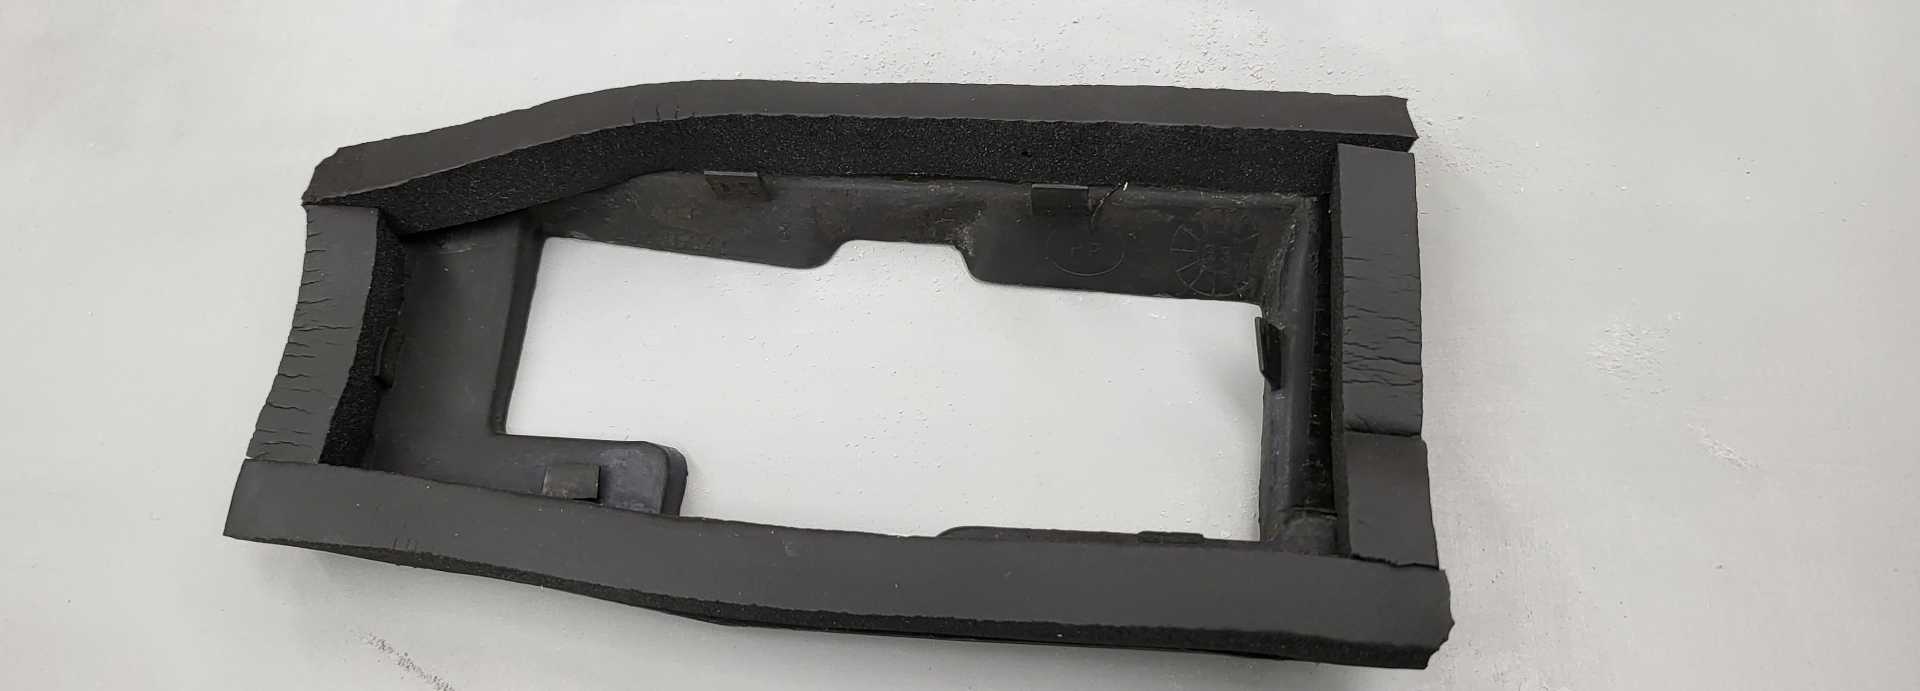
Finished cleaning up the front area. I found some new foam (1/2" weatherstripping) and applied to the the cover on the latch. I then proceeded to put together the rest of the windshield wiper area components and is now complete.
The rear bumper I picked up ended up painted 3 times. Originally red, then black then white. Took days to sand.
Same as the wing and wing stands. Sanding off silver, black and red. All the black and red paint was shiny and not sanded. Whoever painted this both of them did the bare minimum. As I was sanding the black layers were peeling off the red.
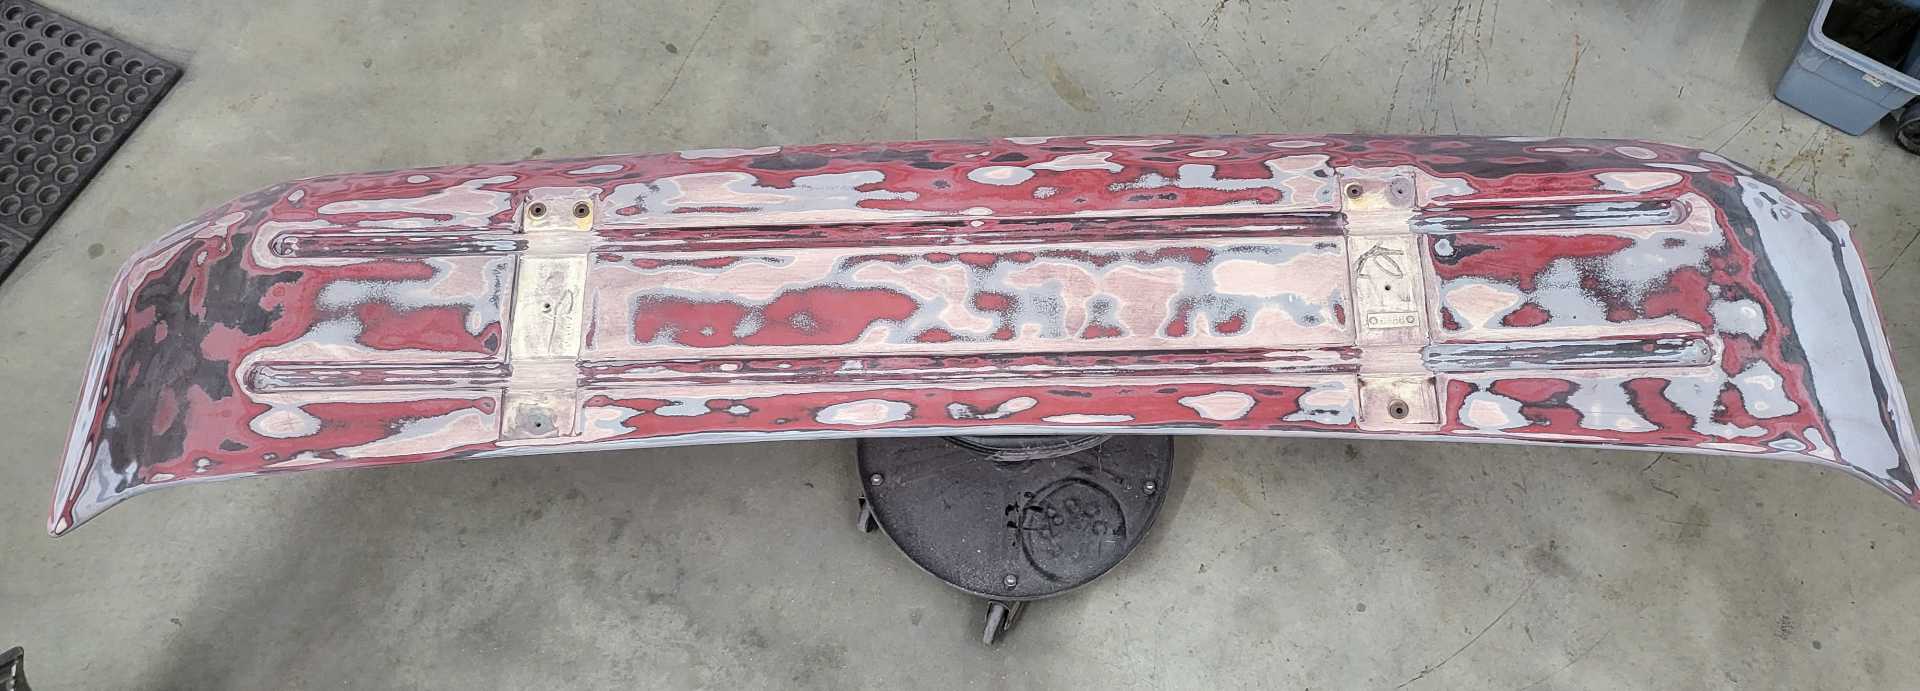
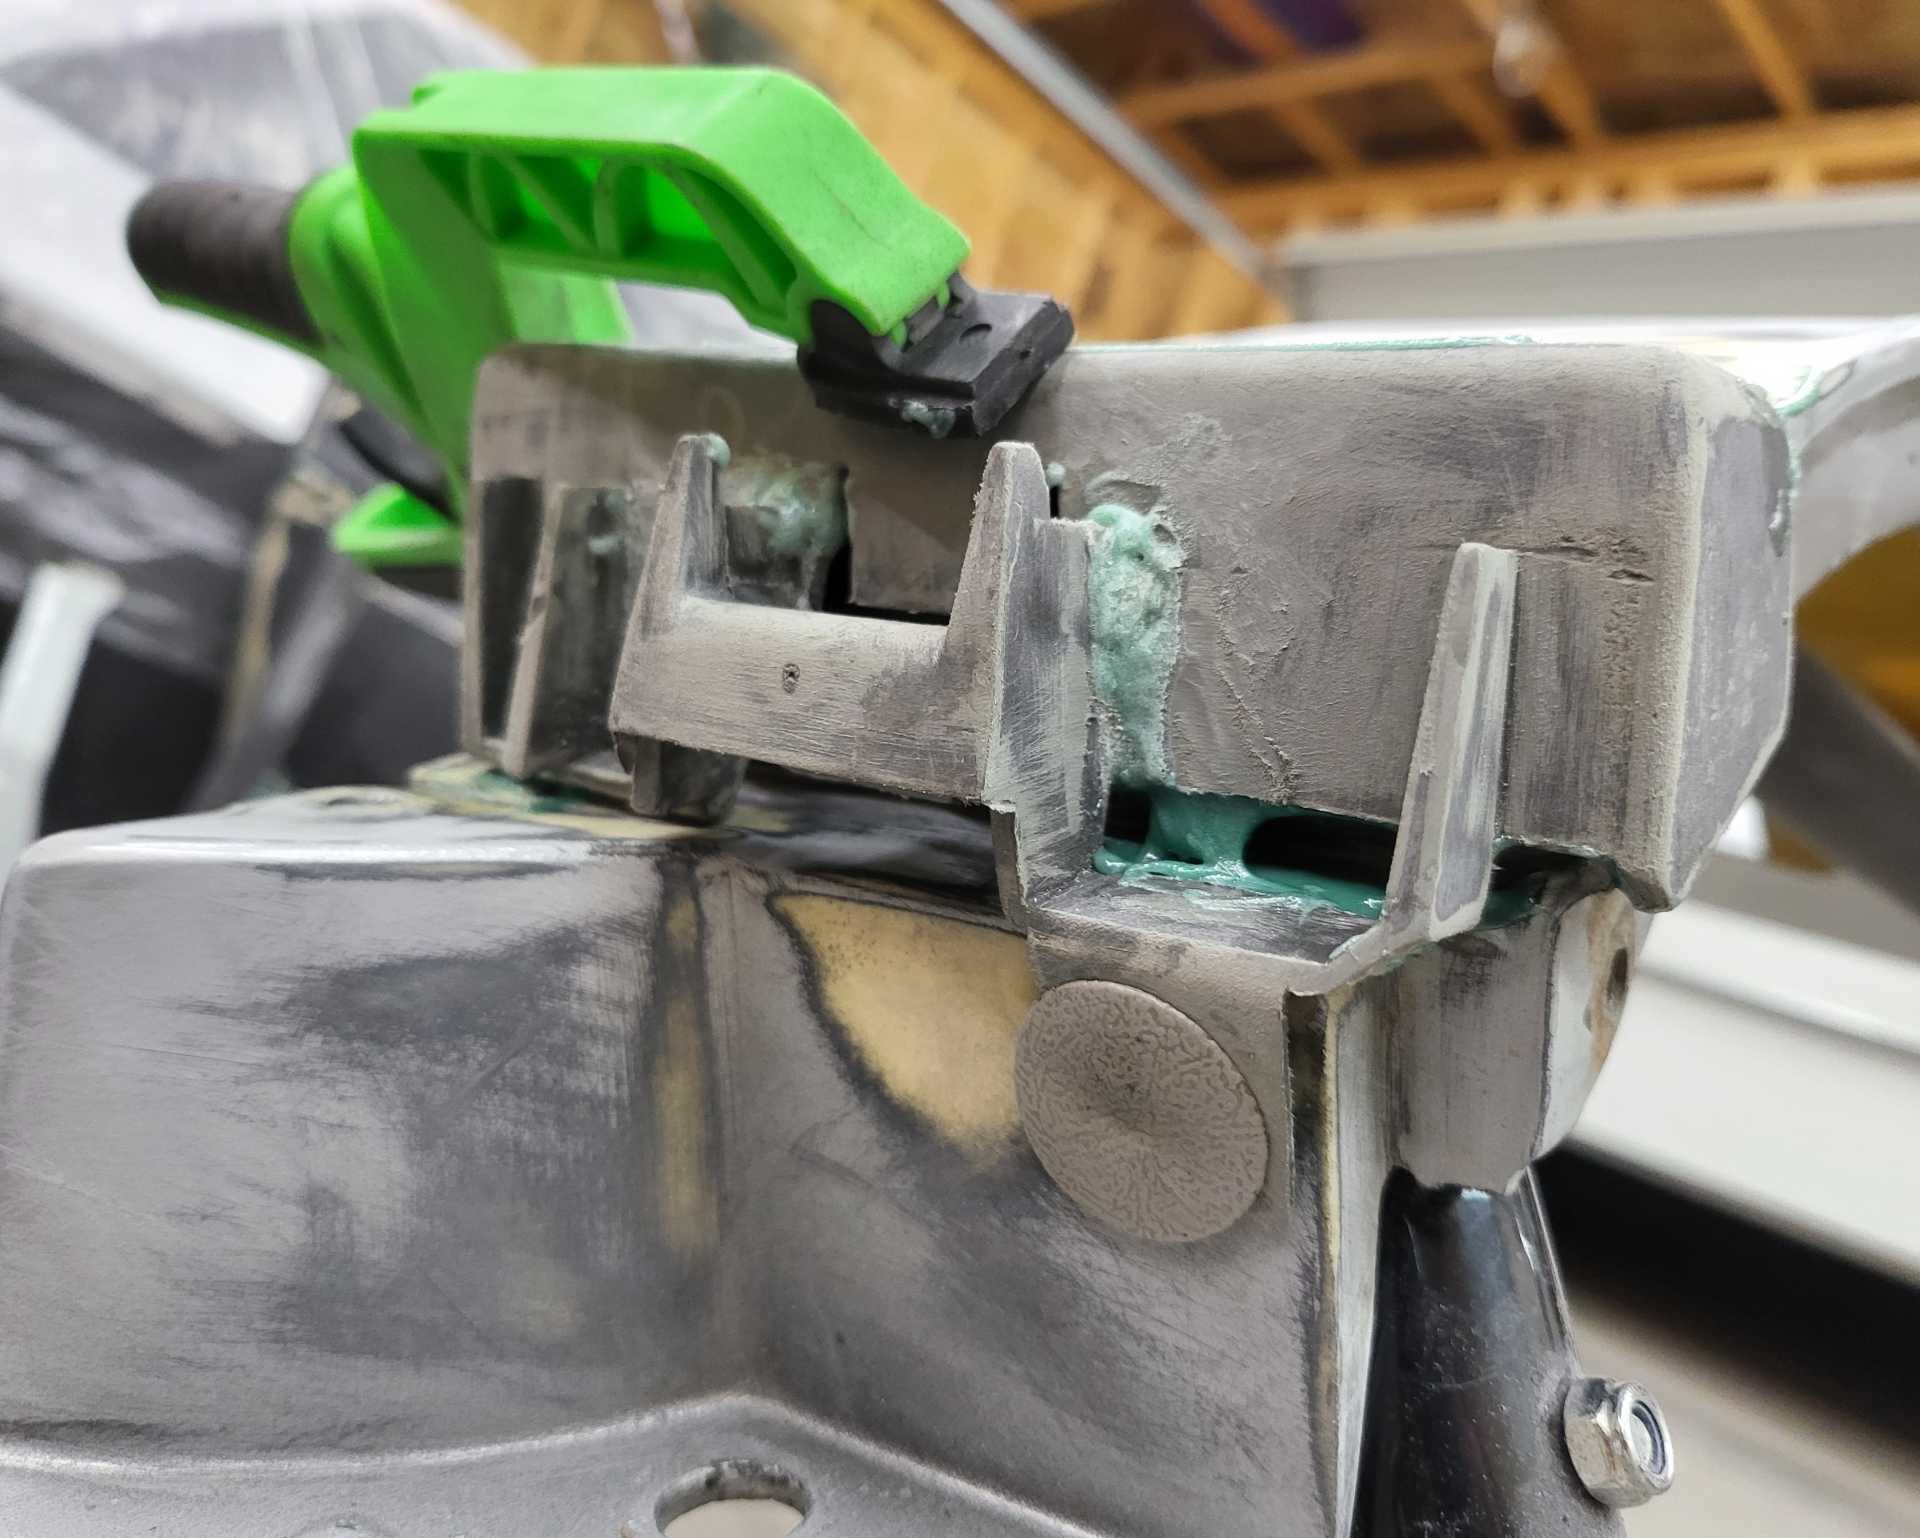
Had to bond in a new nut on each side as they broke loose when removing the wingstands. The panel bonder (shown in the pic) can be very sensitive to mixing and for some reason I couldn't get it to cure hard to hold the nut in. I tried 3 times! JB Weld worked like a charm and is permanently bonded to the wing.

I will be painting the wing and wingstands together as one assembly. I just had to get all those layers off.
Bonded the other body panels on the driver side. Obviously I cut the fender molding to complete the profile
The driver side is MUCH more challenging than the passenger side as the door is not lined up properly and I cannot seem to use the adjustment method on the hinges to get it to line up. So I had to make sure the panels were bonded onto the door so that one day when or if I figure out how to align the door to the car that the panels should line up properly.
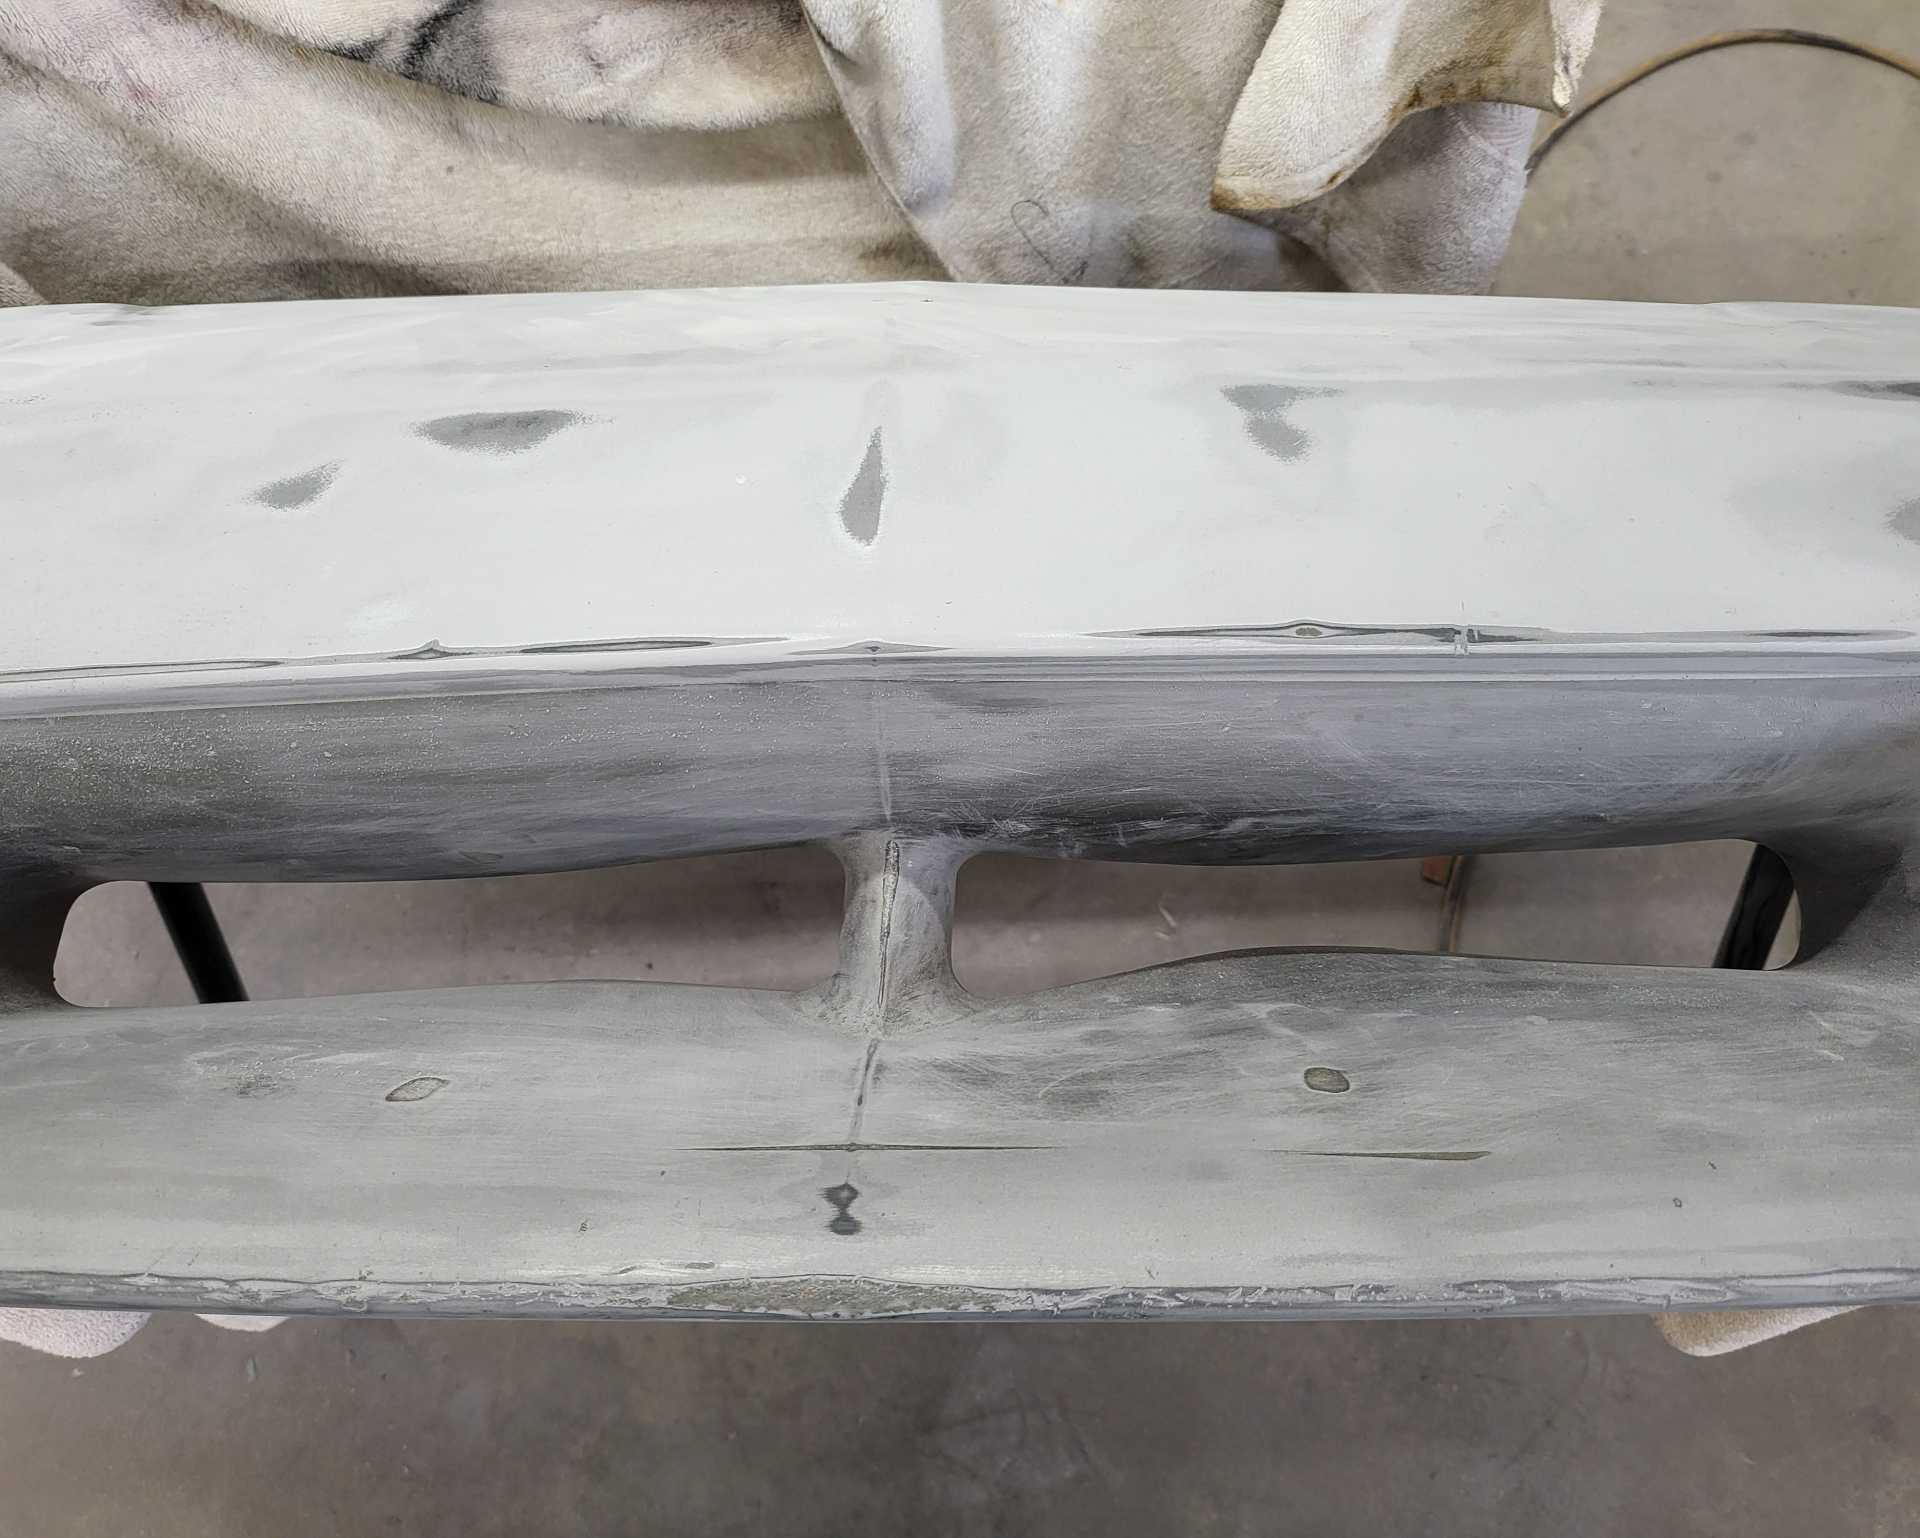
A lot of time on the front fascia. It was heavily dented on the lower drivers side corner when I first saw the car so many years ago and using a heat gun, autobody dollies and lots of patience I was able to get the RIM to conform 98% of the way.
I don't have good pictures of before but you can see the "ring" where the entire corner was inside out.
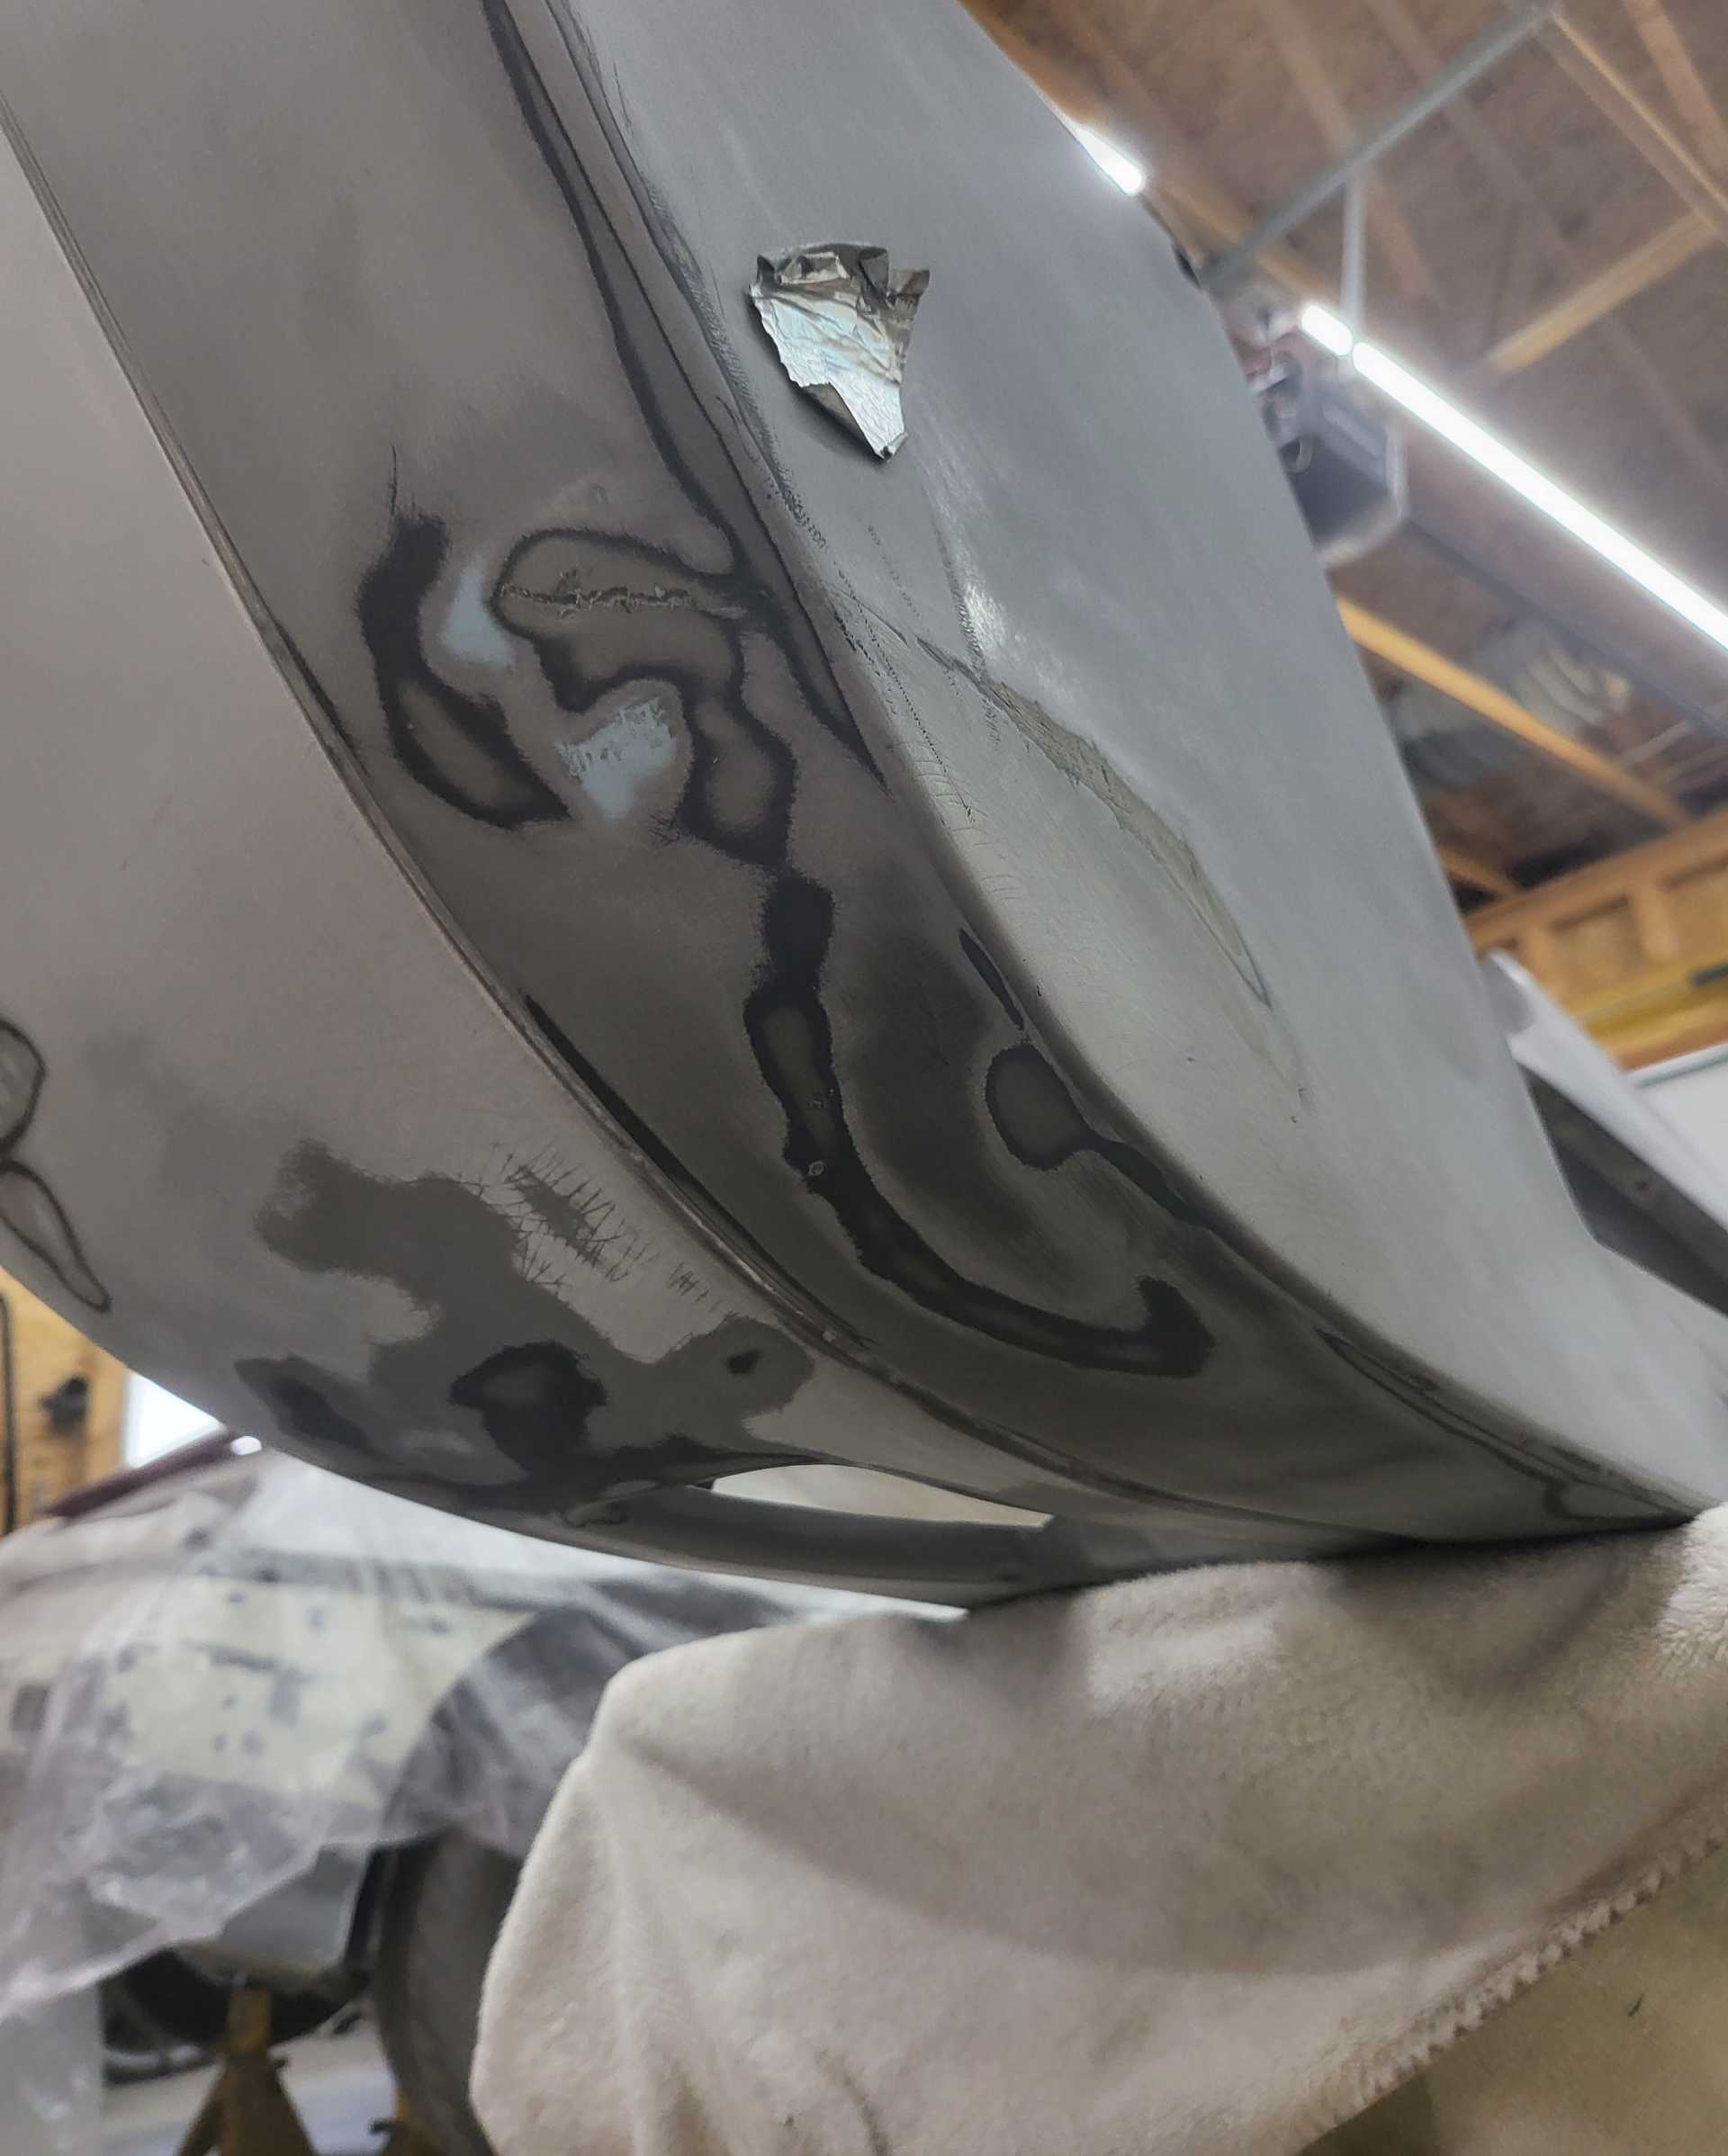
There is a hundred little chips, dings and cracks in the bumper I will be using the panel bonder to fill in. You can see the entire front is littered with damage.
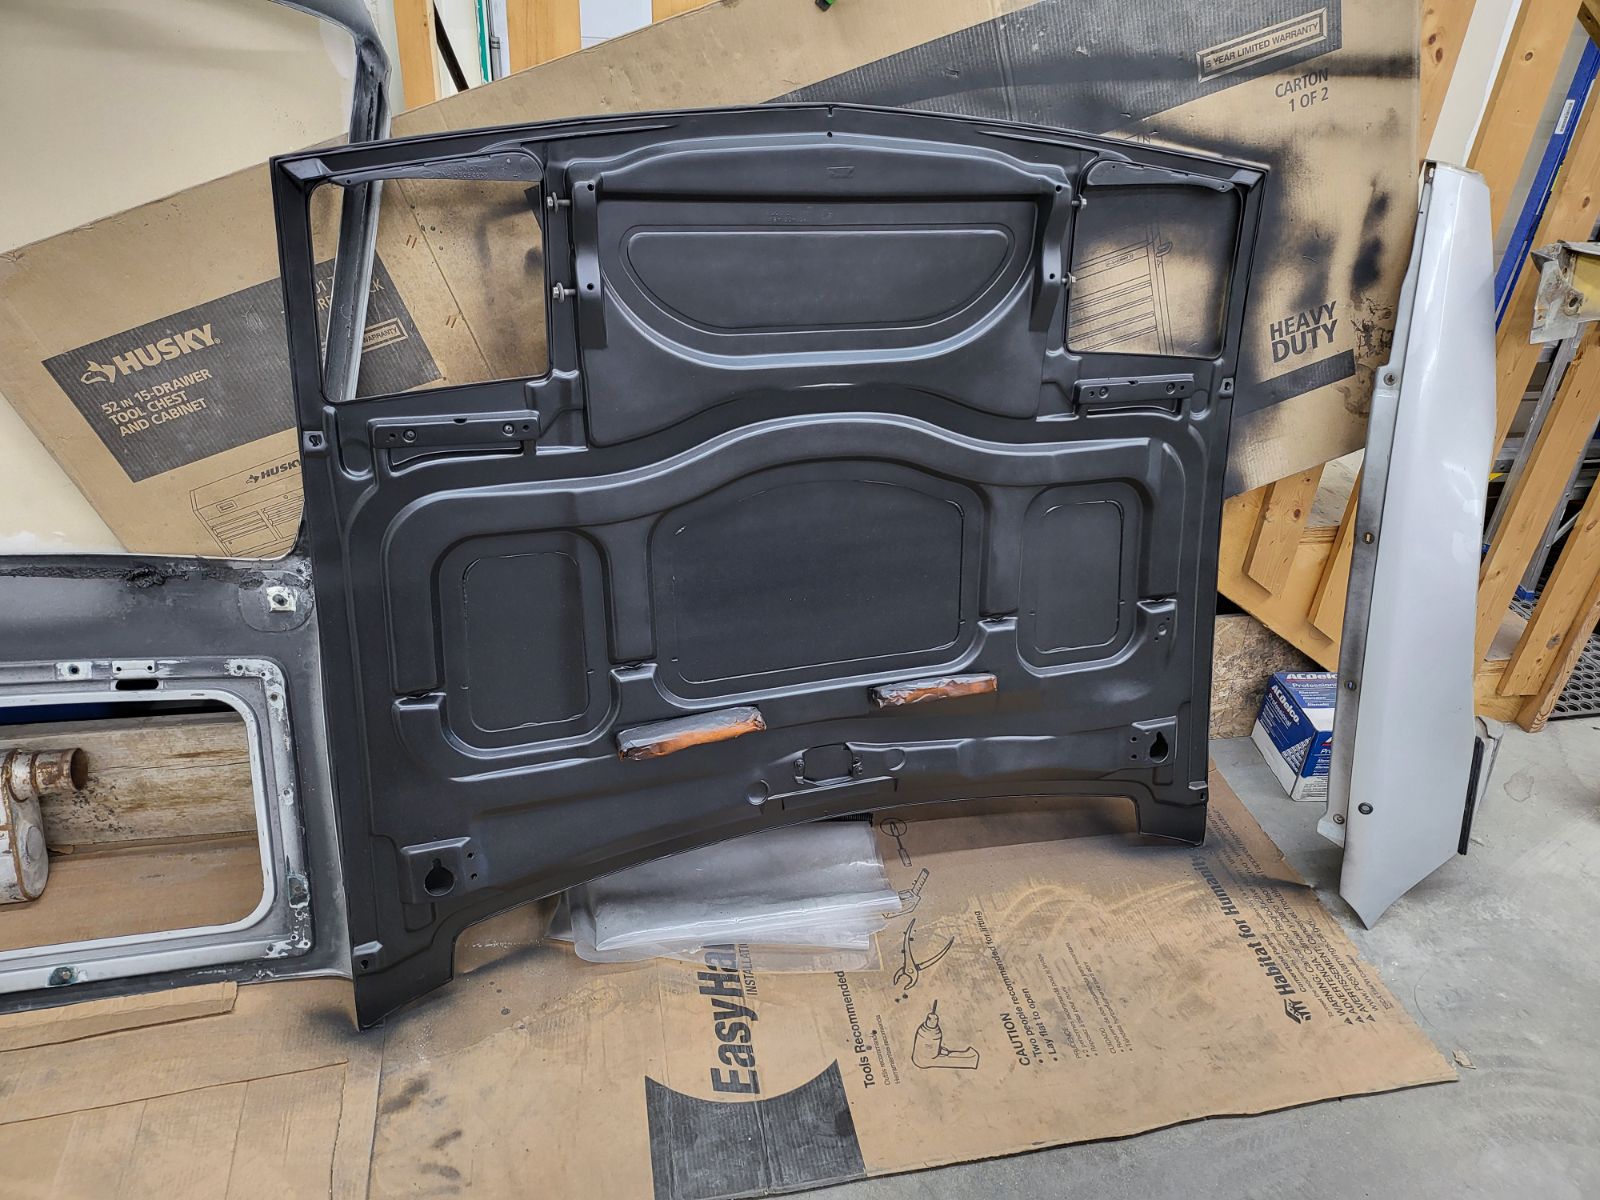
On another note the decklid and hood are finished. For the decklid there was around 10 decent cracks and 2 tears in the support structure of the decklid. After all the crack repair and straightening it looks fantastic and is straight! I cannot find the pictures and I have put them on the car for now so I will take pictures again when I have them off. The epoxy primer/top coat used looks near identical to the stock coating.
More to come! I have to sand the notchback clip, repair the holes where the sail panel clips go into and finish the repairs on the front fascia and then it's primer time.
|
|
|