|
| 88 GT 3800 L67 Swap and Restoration (Page 3/5) |

|
MichiganReefer
|
MAR 13, 11:41 PM
|
|
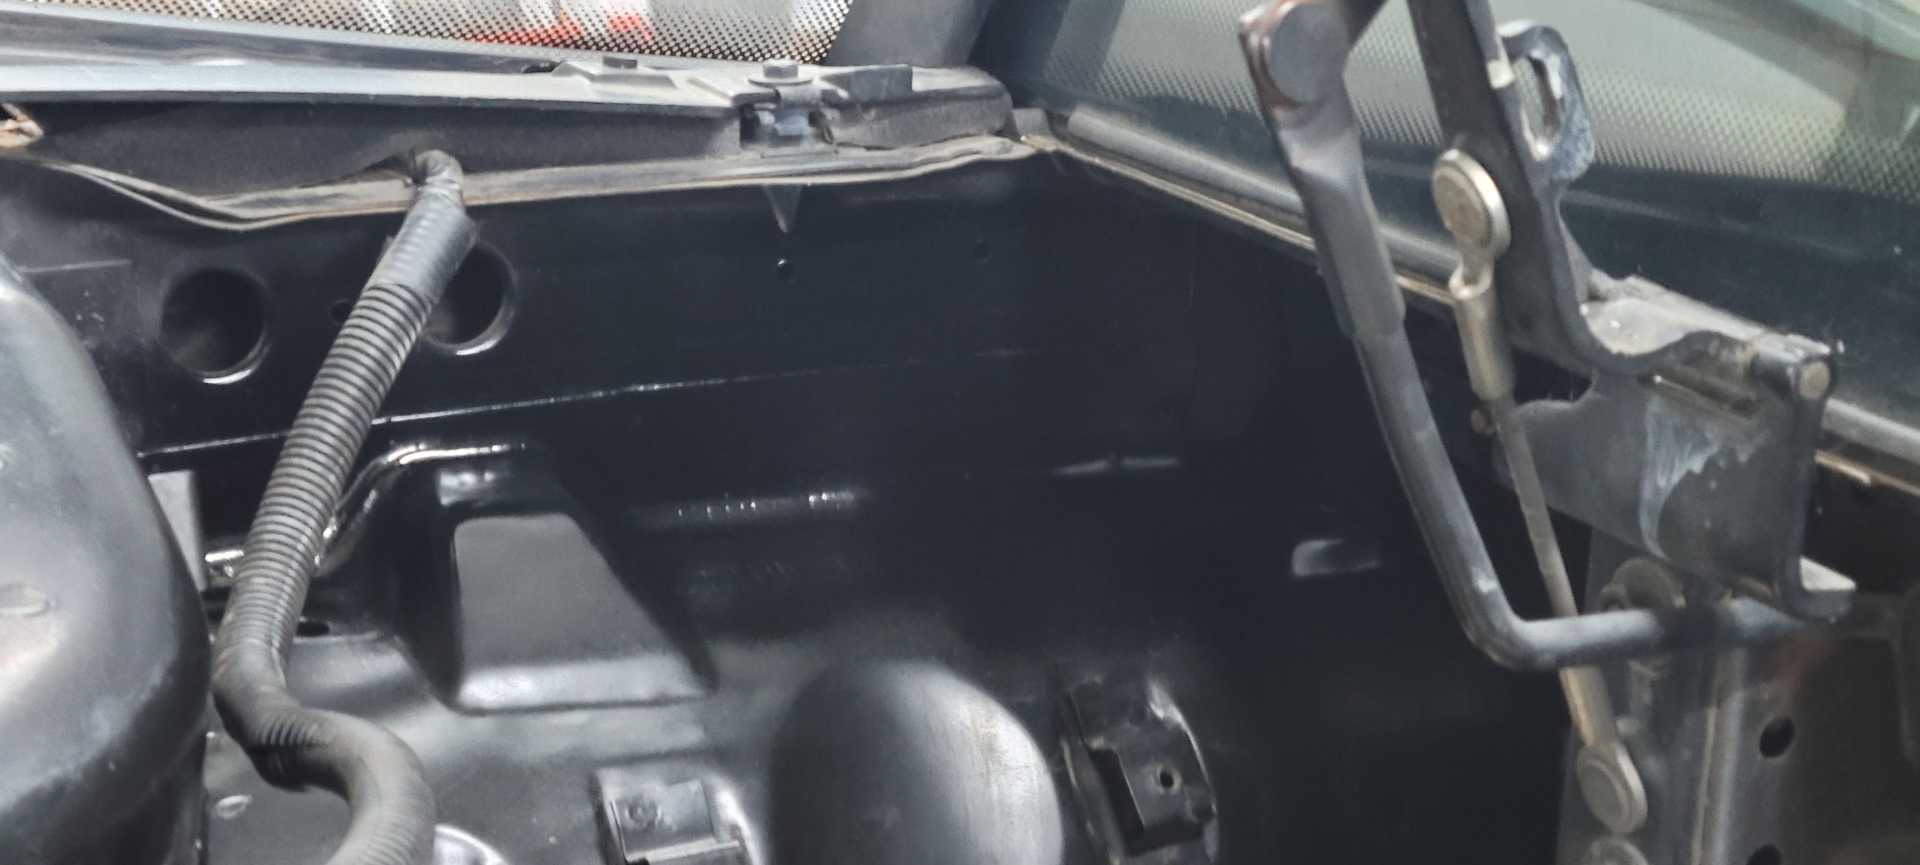
I plan to stick my pcm in the stock location as well. I was told to NOT ground it to the frame, keep in insulated (I'll use some plastic or something).
I still have the new insulation rolled up in the boxes, but will get a picture this coming weekend as I'm working on it, but here is the link to the stuff I bought. I hope 2 sheets will be enough for me. https://www.summitracing.com/parts/DEI-050129.
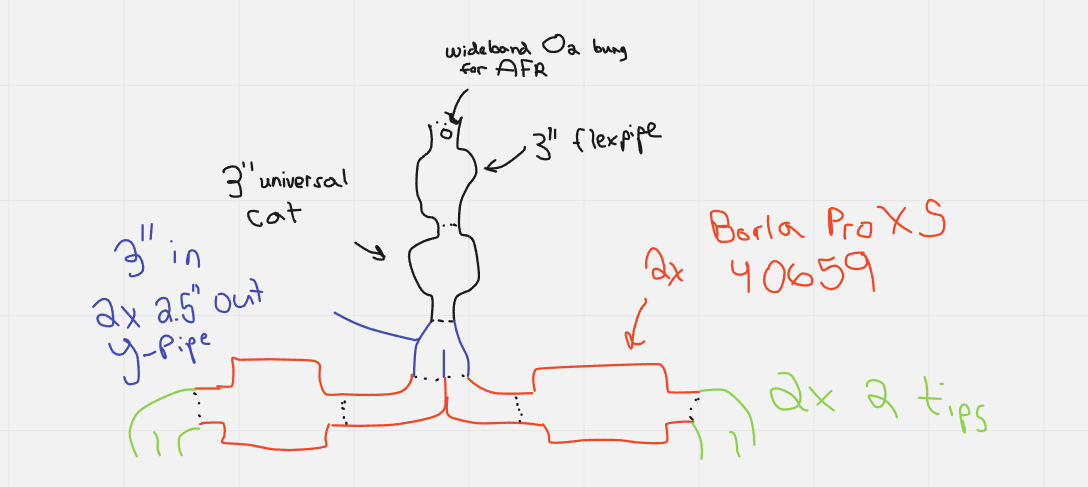
For the exhaust I've gone the slightly easy route of ordering ZZP's stainless power logs w/ the ceramic coated cross over pipe. Beyond the manifolds I still need to do it myself/have it made. Here is a very crude doodle I have for my idea. I need to still talk with an exhaust shop to see how much this would set me back if I had someone do it. I'm wanting to to 304 stainless and I hardly can weld.
|
|
|
|
MichiganReefer
|
MAR 13, 11:46 PM
|
|
|
Follow up question for anyone lurking in this thread- Has anyone had issues with West Coast Fiero lately? I ordered my passenger side halfshaft through them. They shipped me a box, either without the halfshaft or it busted itself out of the box in shipping. I haven't received a reply from them yet. Is there anyone still making them that I can contact not via facebook?
|
|
|
|
Raydar
|
MAR 14, 01:43 PM
|
|
| quote | Originally posted by MichiganReefer:
... Is there anyone still making them that I can contact not via facebook? |
|
There's a guy in Texas named Stephen Poe, who has done tons of 3800 swaps.
He used to be on here as MstangsBware. I don't know if he'll respond to a PM or not. He hasn't been here for a while.[This message has been edited by Raydar (edited 03-14-2023).]
|
|
|
|
olejoedad
|
MAR 14, 02:42 PM
|
|
|
WCF has proved time and again to be an unreliable source for anything.
|
|
|
|
zkhennings
|
MAR 16, 10:26 AM
|
|
|
Nice build, I will be watching.
|
|
|
|
MichiganReefer
|
MAR 21, 06:40 PM
|
|
|
|
|
MichiganReefer
|
APR 24, 08:22 PM
|
|
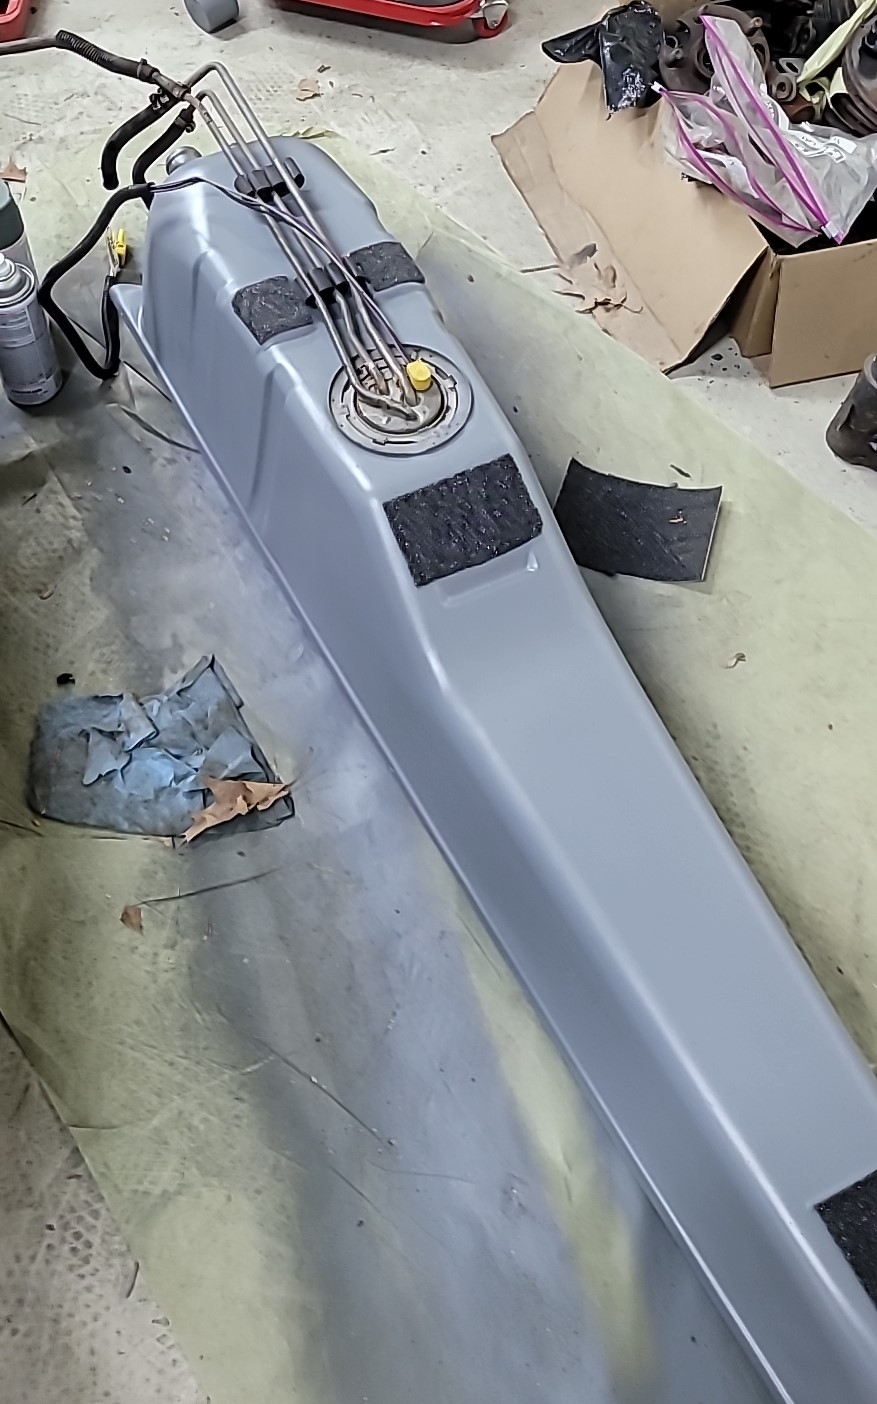
After much trouble, I finally made the universal fuel level sender work, wrapped it up and dropped it with the new walbro fuel pump (# GCA758-2) into the freshly painted gas tank. While I was under there I replaced the 2 filler hoses to the tank, and honestly it seemed to go up fully empty easier than it did to lower it with a couple gallons of fuel still in it. I did create a guide post on how I made the fuel level sensor work- for those interested.

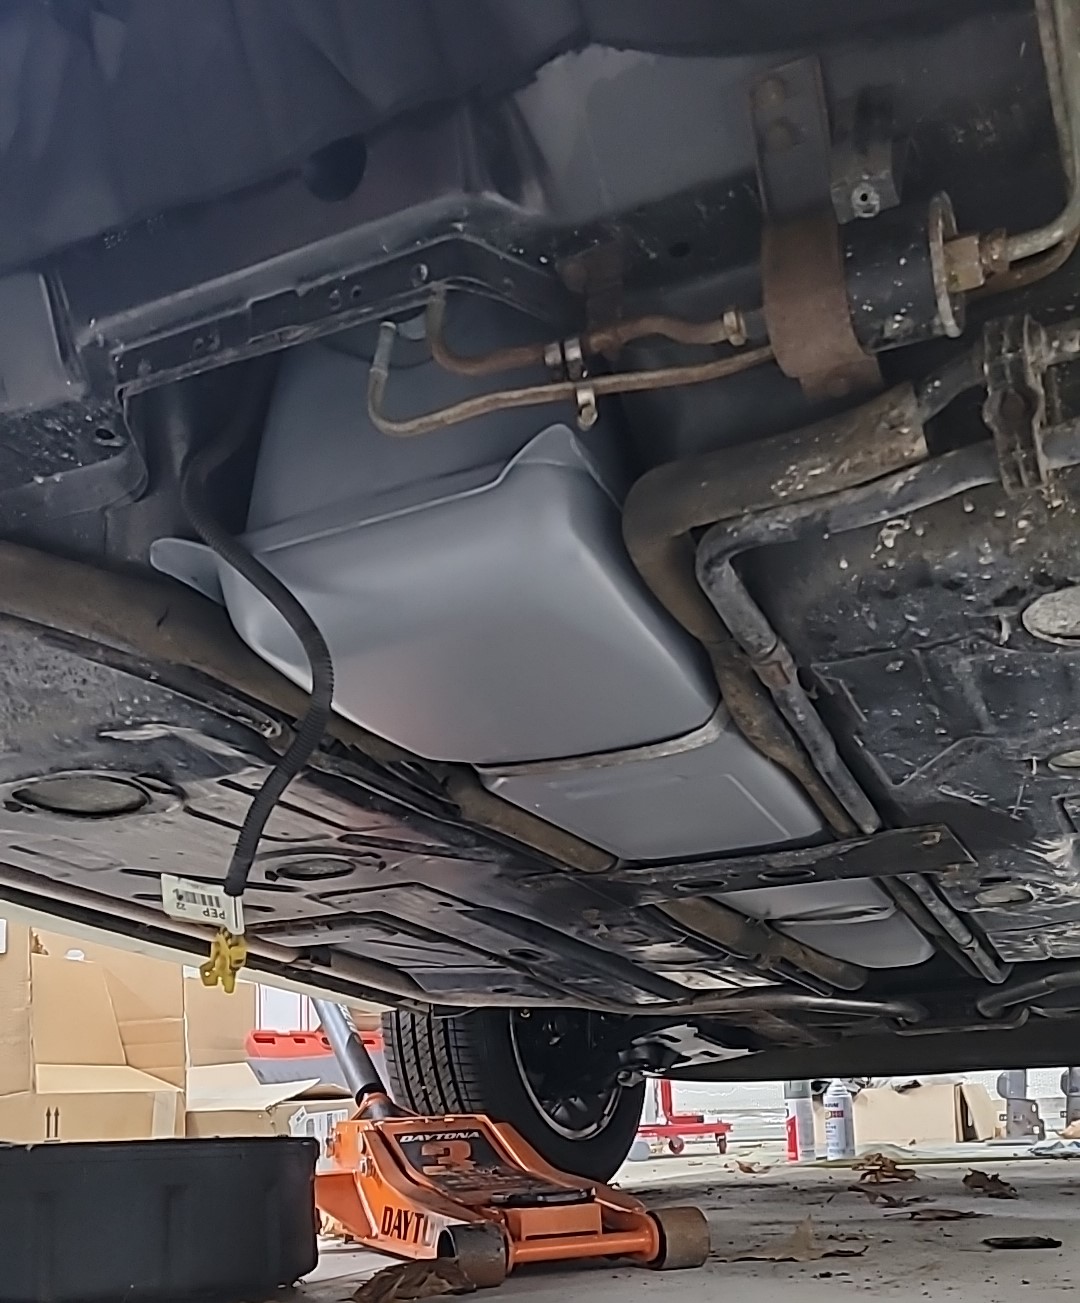
I then did a number of things to get ready to mount the engine and transmission together- starting with the transmission. I was able to get the correct half shaft from WCF. It was such a trouble and hope others we're having as much difficulty as me. The first one they shipped broke its way out of the box during shipping. The 2nd one they sent was for a 4t65e rather than the 4t65e-hd like they intended to send. They got it right the third time with the one I needed- and I was able to send the incorrect one back with a return label they included. I was frustrated because of how long I needed to wait for it, but they called be back and made it right which I appreciate. Got the passenger half-shaft installed first then filled the torque converter with as much fluid as possible and installed that as well.

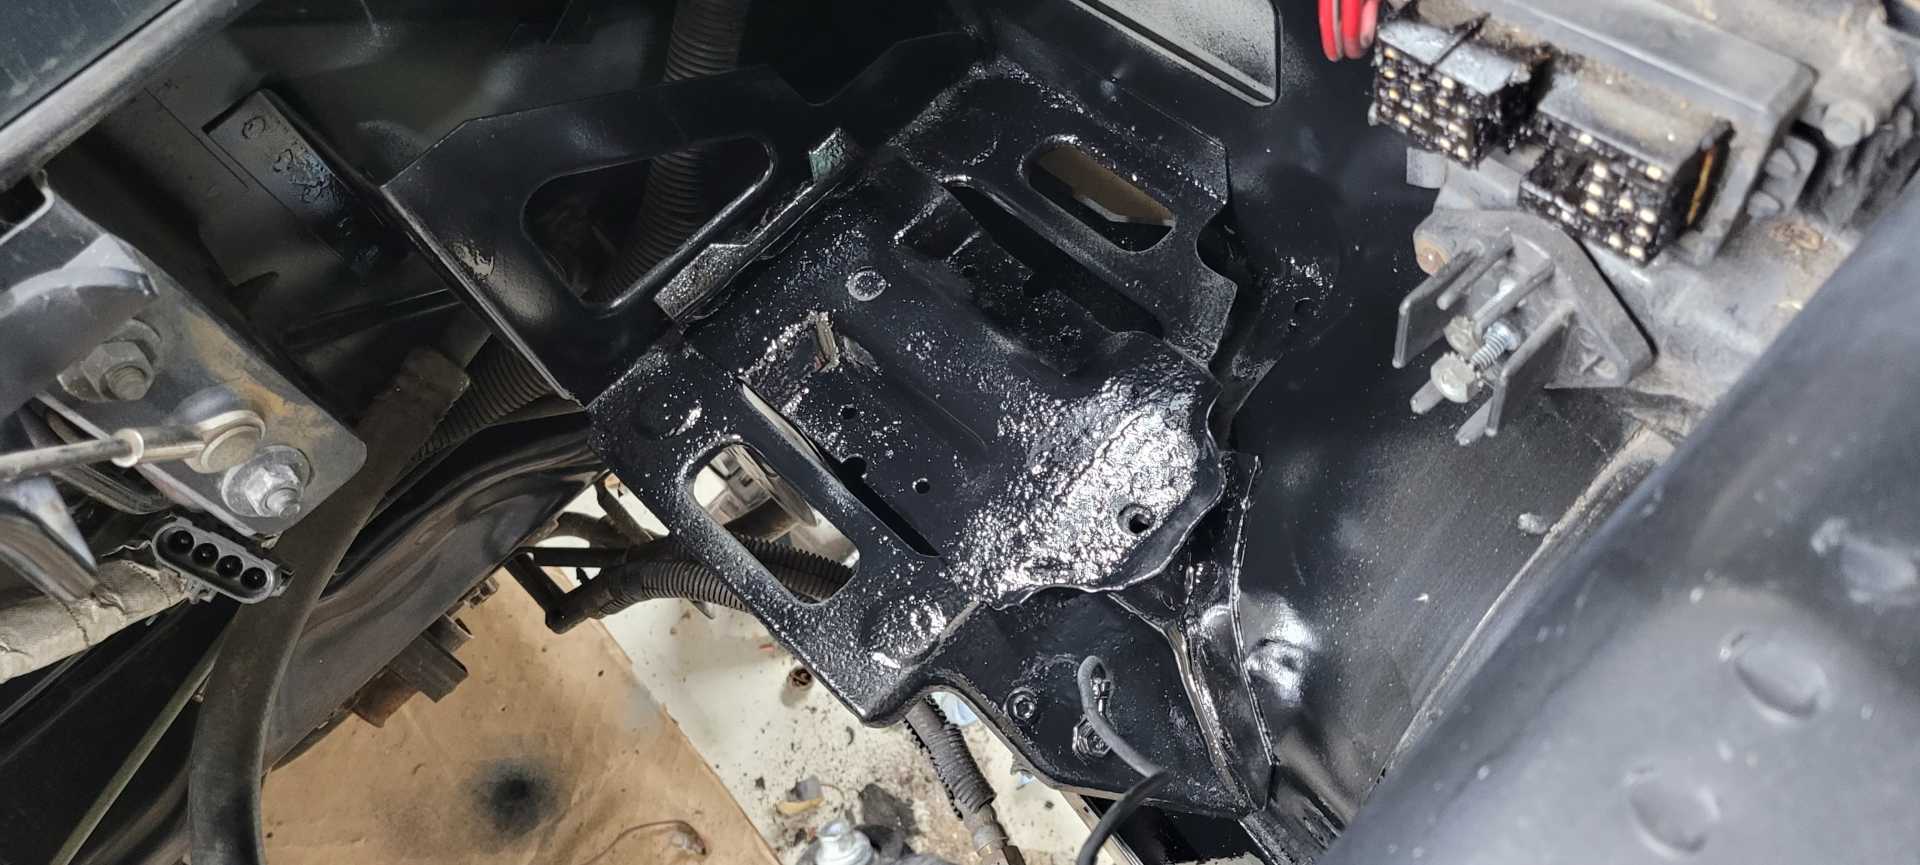
Moving to the engine, I put a few of the last remaining things on it that I needed to. Followed DarthFiero's guide on priming the oil pump, filled it up with oil and replaced the oil filter with a non-modified one. I then put the engine mount bracket on the underside of the front of the engine, fitment was good.

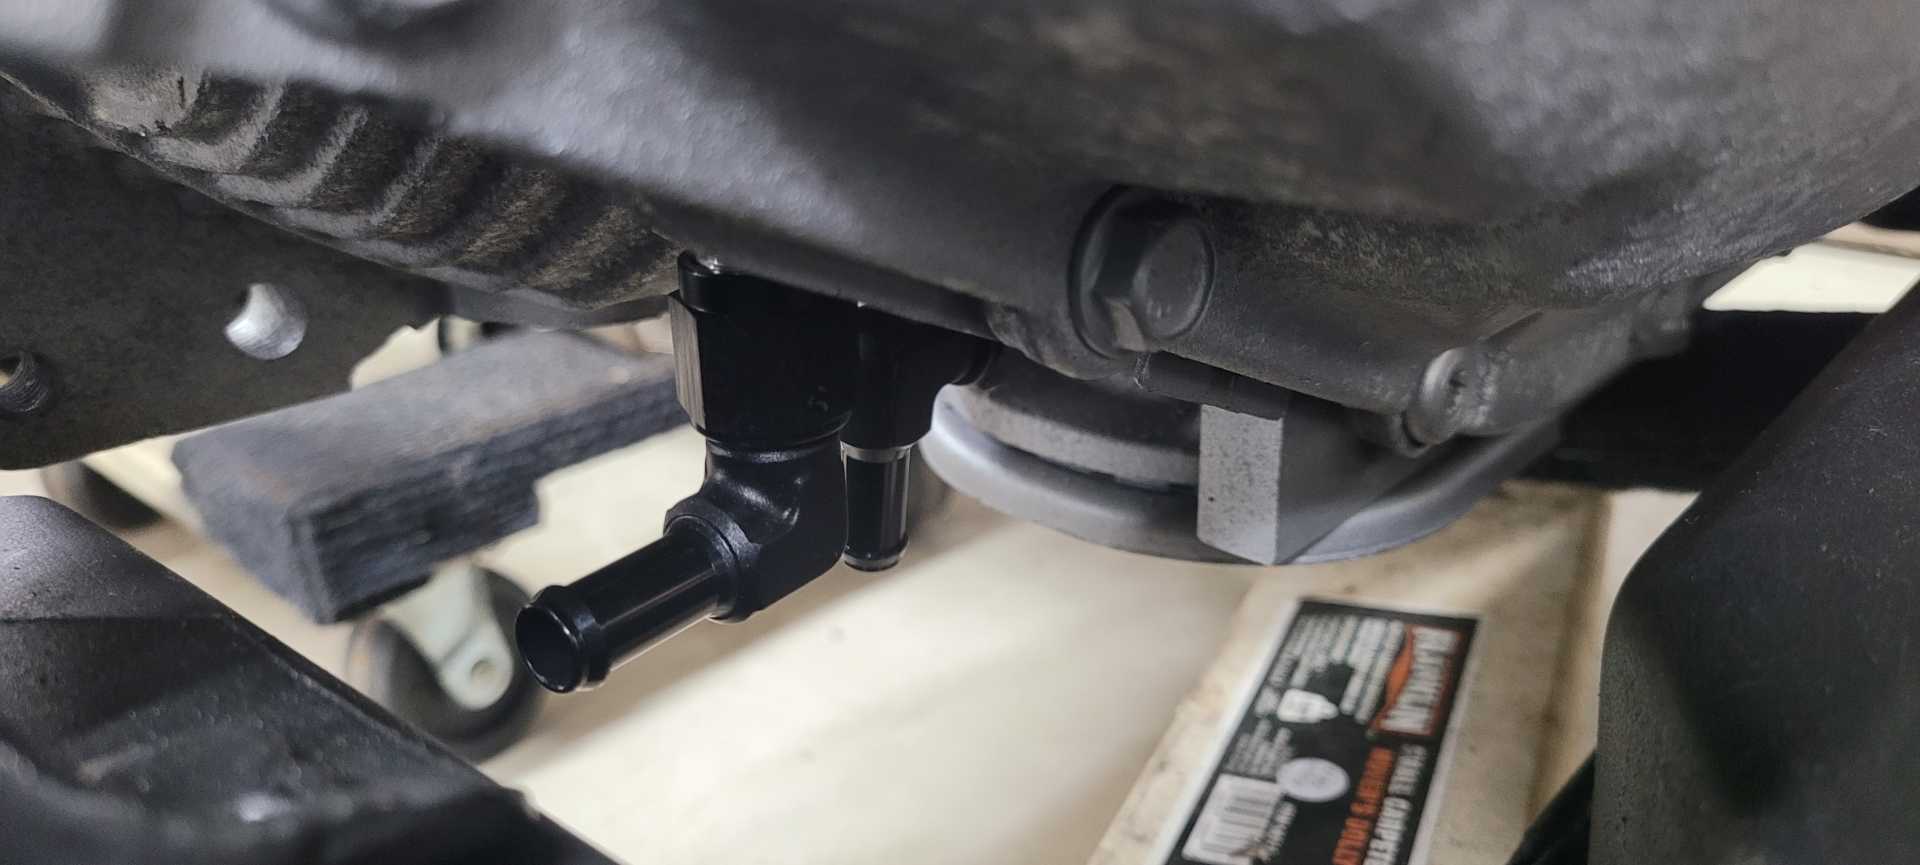
I installed the exhaust manifolds and ceramic crossover pipe from ZPP, that also went smoothly. I still haven't torqued it down yet until the paint on the engine lift points cures.


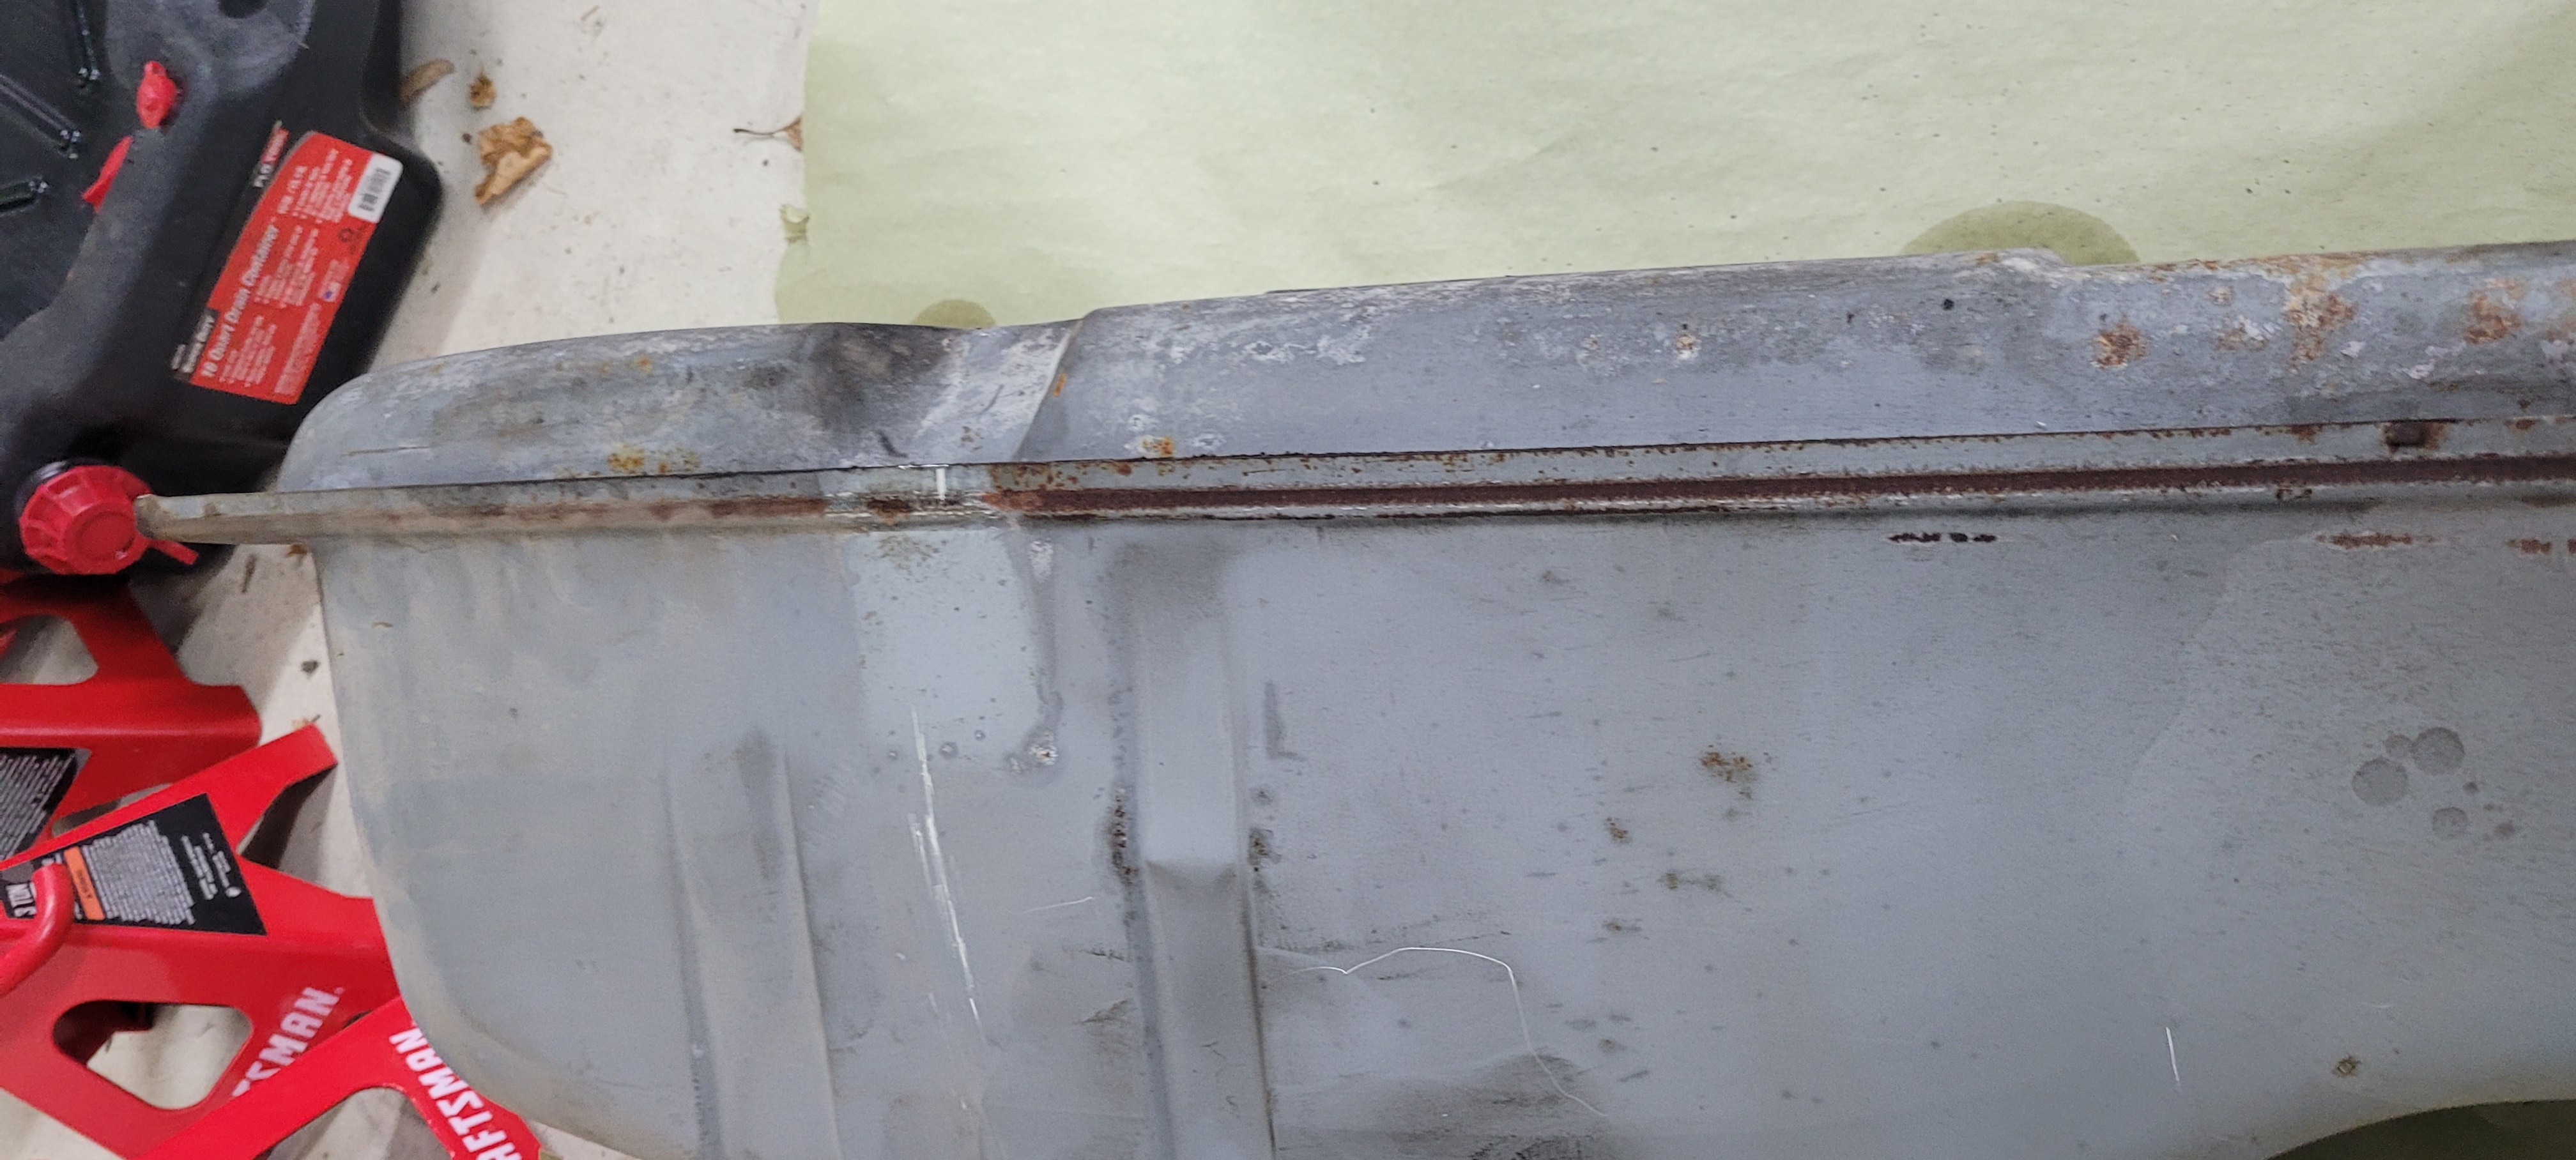
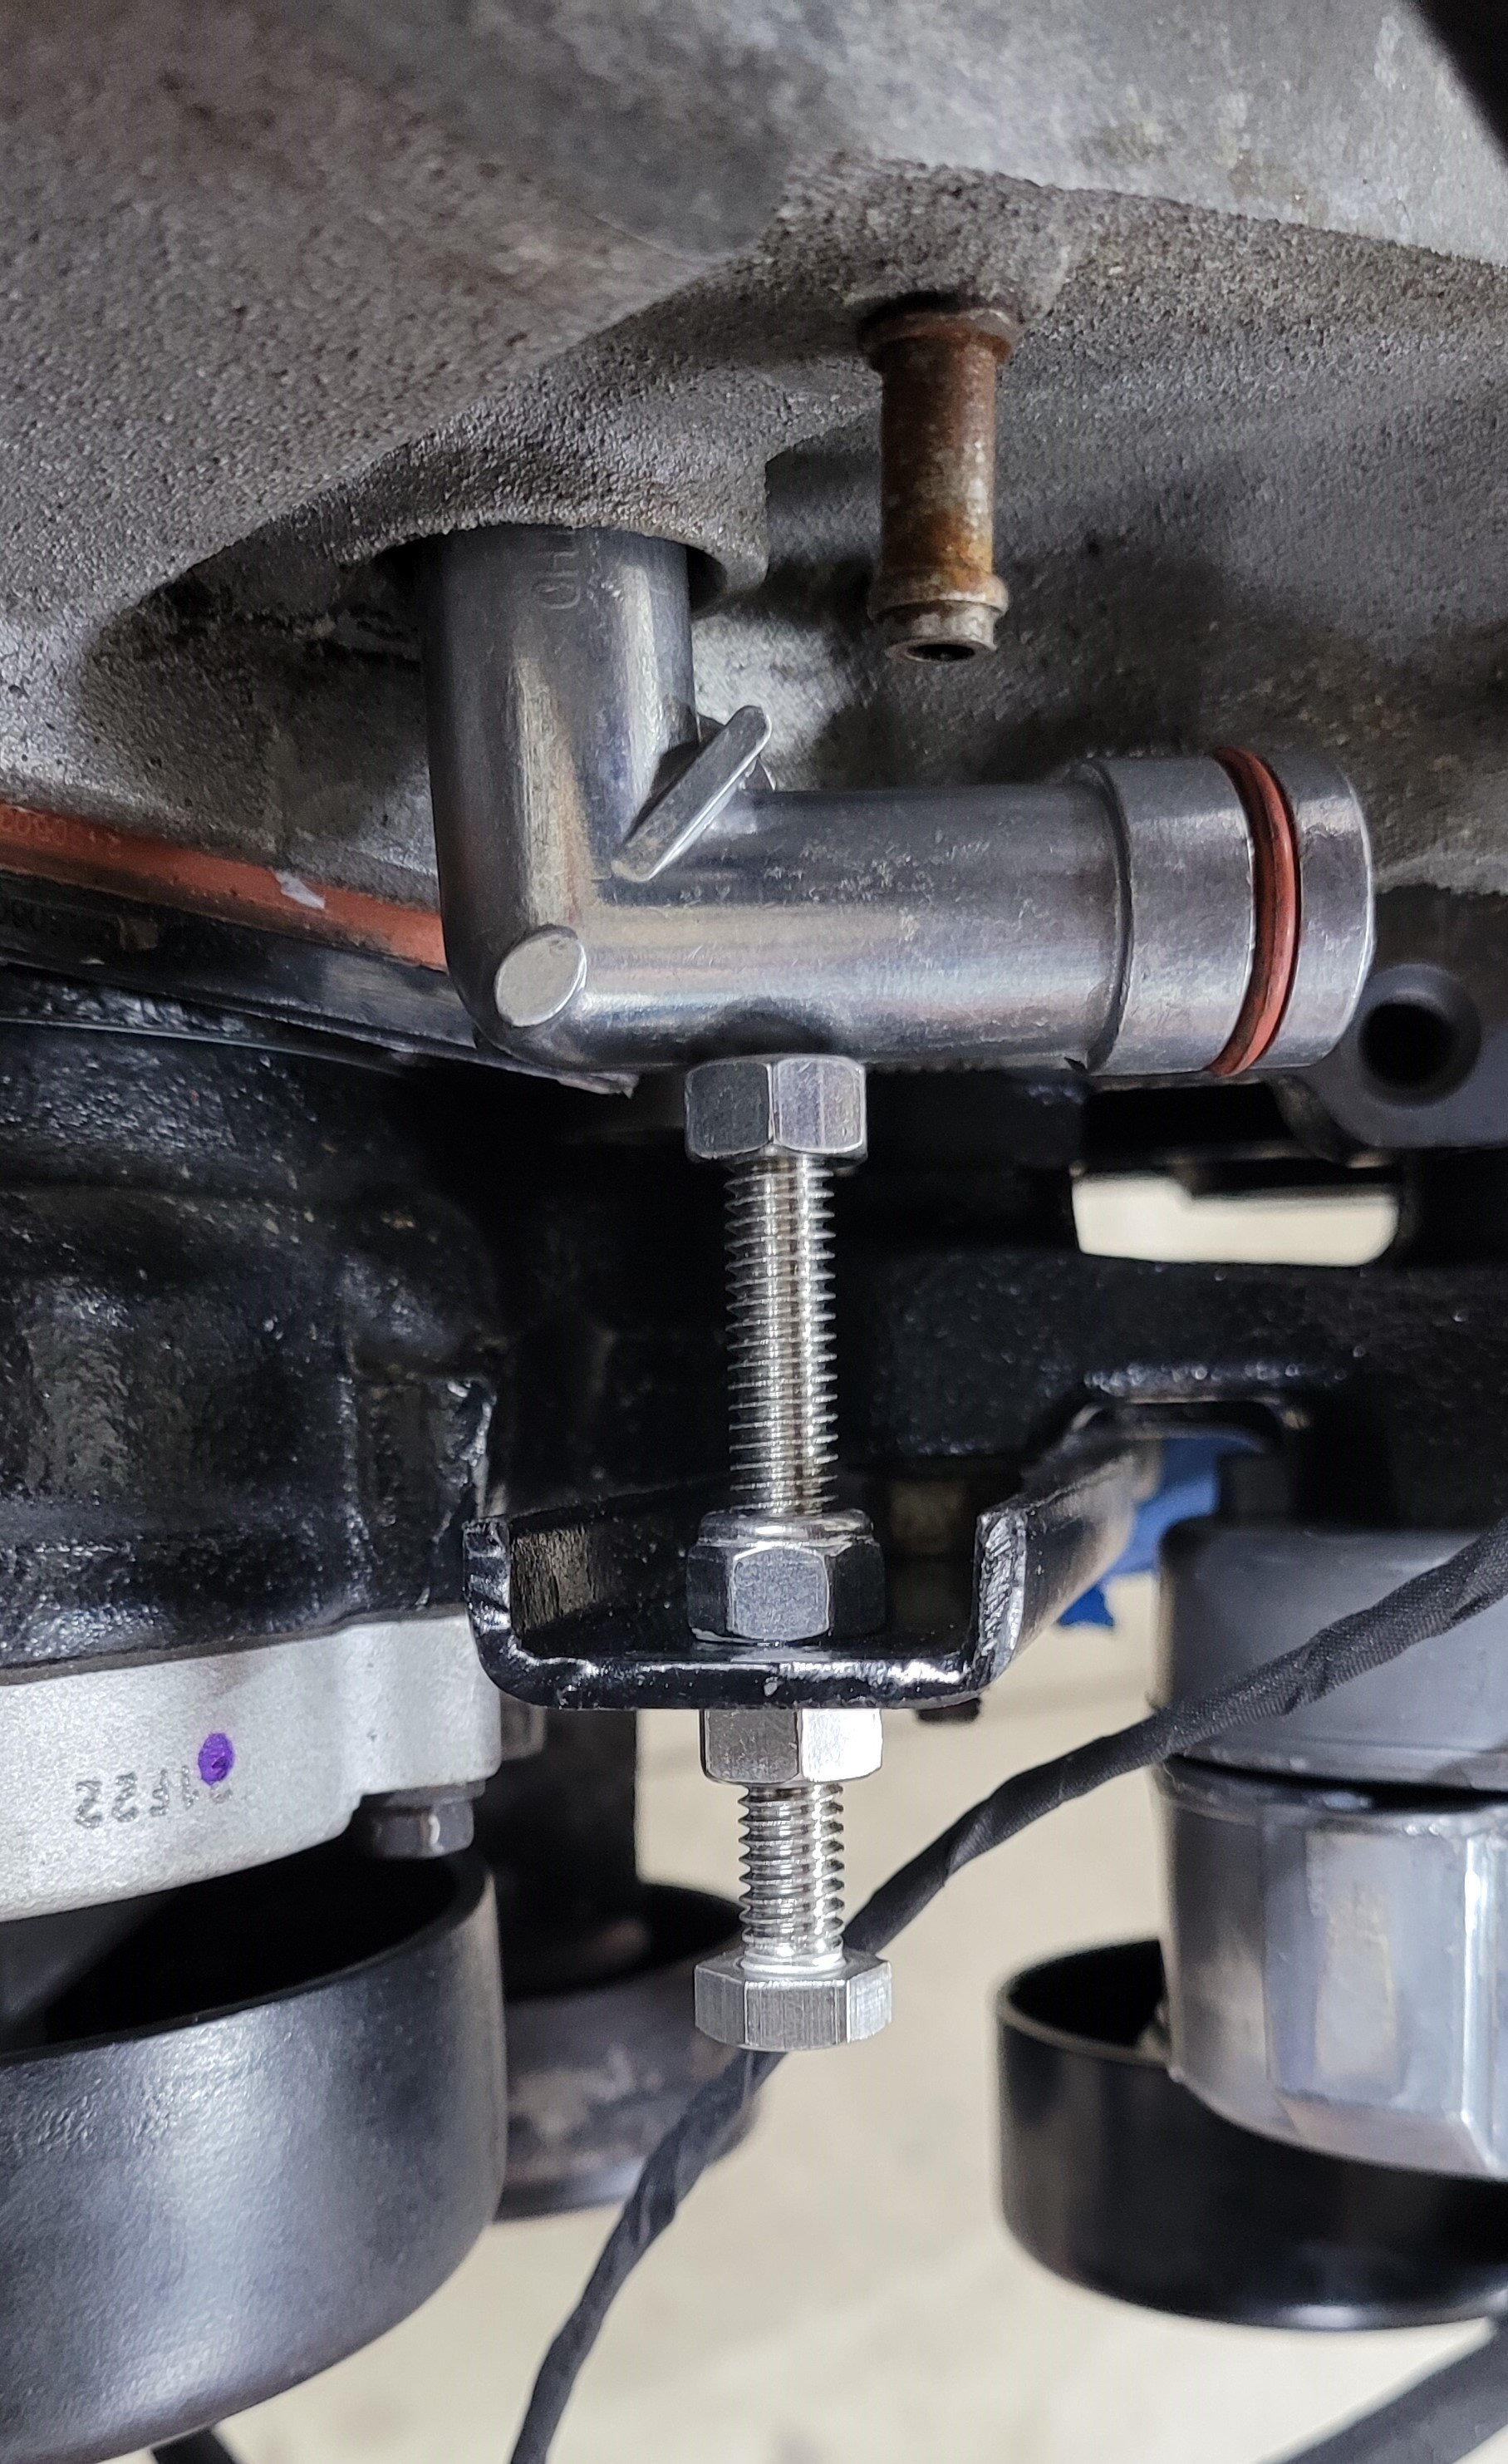
The last thing I worked on for the engine this weekend was the LIM coolant elbow for the heater core. I decided to follow a design similar to LostNotForgotton's design. I used some C channel, drilled 2 holes in it, and painted it black. I mounted it to the stud underneath the right side pulley and used a bolt with a series of jam and locking nuts to provide a small preload to prevent the elbow from pushing out of the seat under the coolant pressure. Fingers crossed this doesn't leak because I'm really not wanting to tap the hole and put a barbed fitting in it.

|
|
|
|
zkhennings
|
APR 25, 03:21 PM
|
|
Might be cleaner to just make a bent metal bracket that directly presses on that fitting to retain it instead of using the bolt and nuts, both for vibration and for the ability for that bolt to deflect side to side if force is applied to it. I'd say it is probably going to be just fine, but a bent metal bracket will certainly work without issue and would be simple to make.
Looking good
|
|
|
|
shemdogg
|
APR 25, 10:49 PM
|
|
That motors looking great man! I was hella worried about those popping out on mine, I tapped and installed ss barbed fittings. Looks like im running a natural gas line but I dont trust the elbow to stay in w just orings. Not w my luck lol
shem
|
|
|
|
MichiganReefer
|
APR 25, 11:06 PM
|
|
|
Thank you gentlemen! I am a little worried about it, but the pressures aren't going to be too much so I'm trying to stay optimistic. I have a buddy that has a CNC I can take the LIM to IF this doesn't end up working out.
|
|
|