|
| Let's Prep and Paint a Fiero! (85 GT) (Page 3/4) |

|
Matthew_Fiero
|
AUG 29, 12:12 AM
|
|
That adhesive is tough stuff.
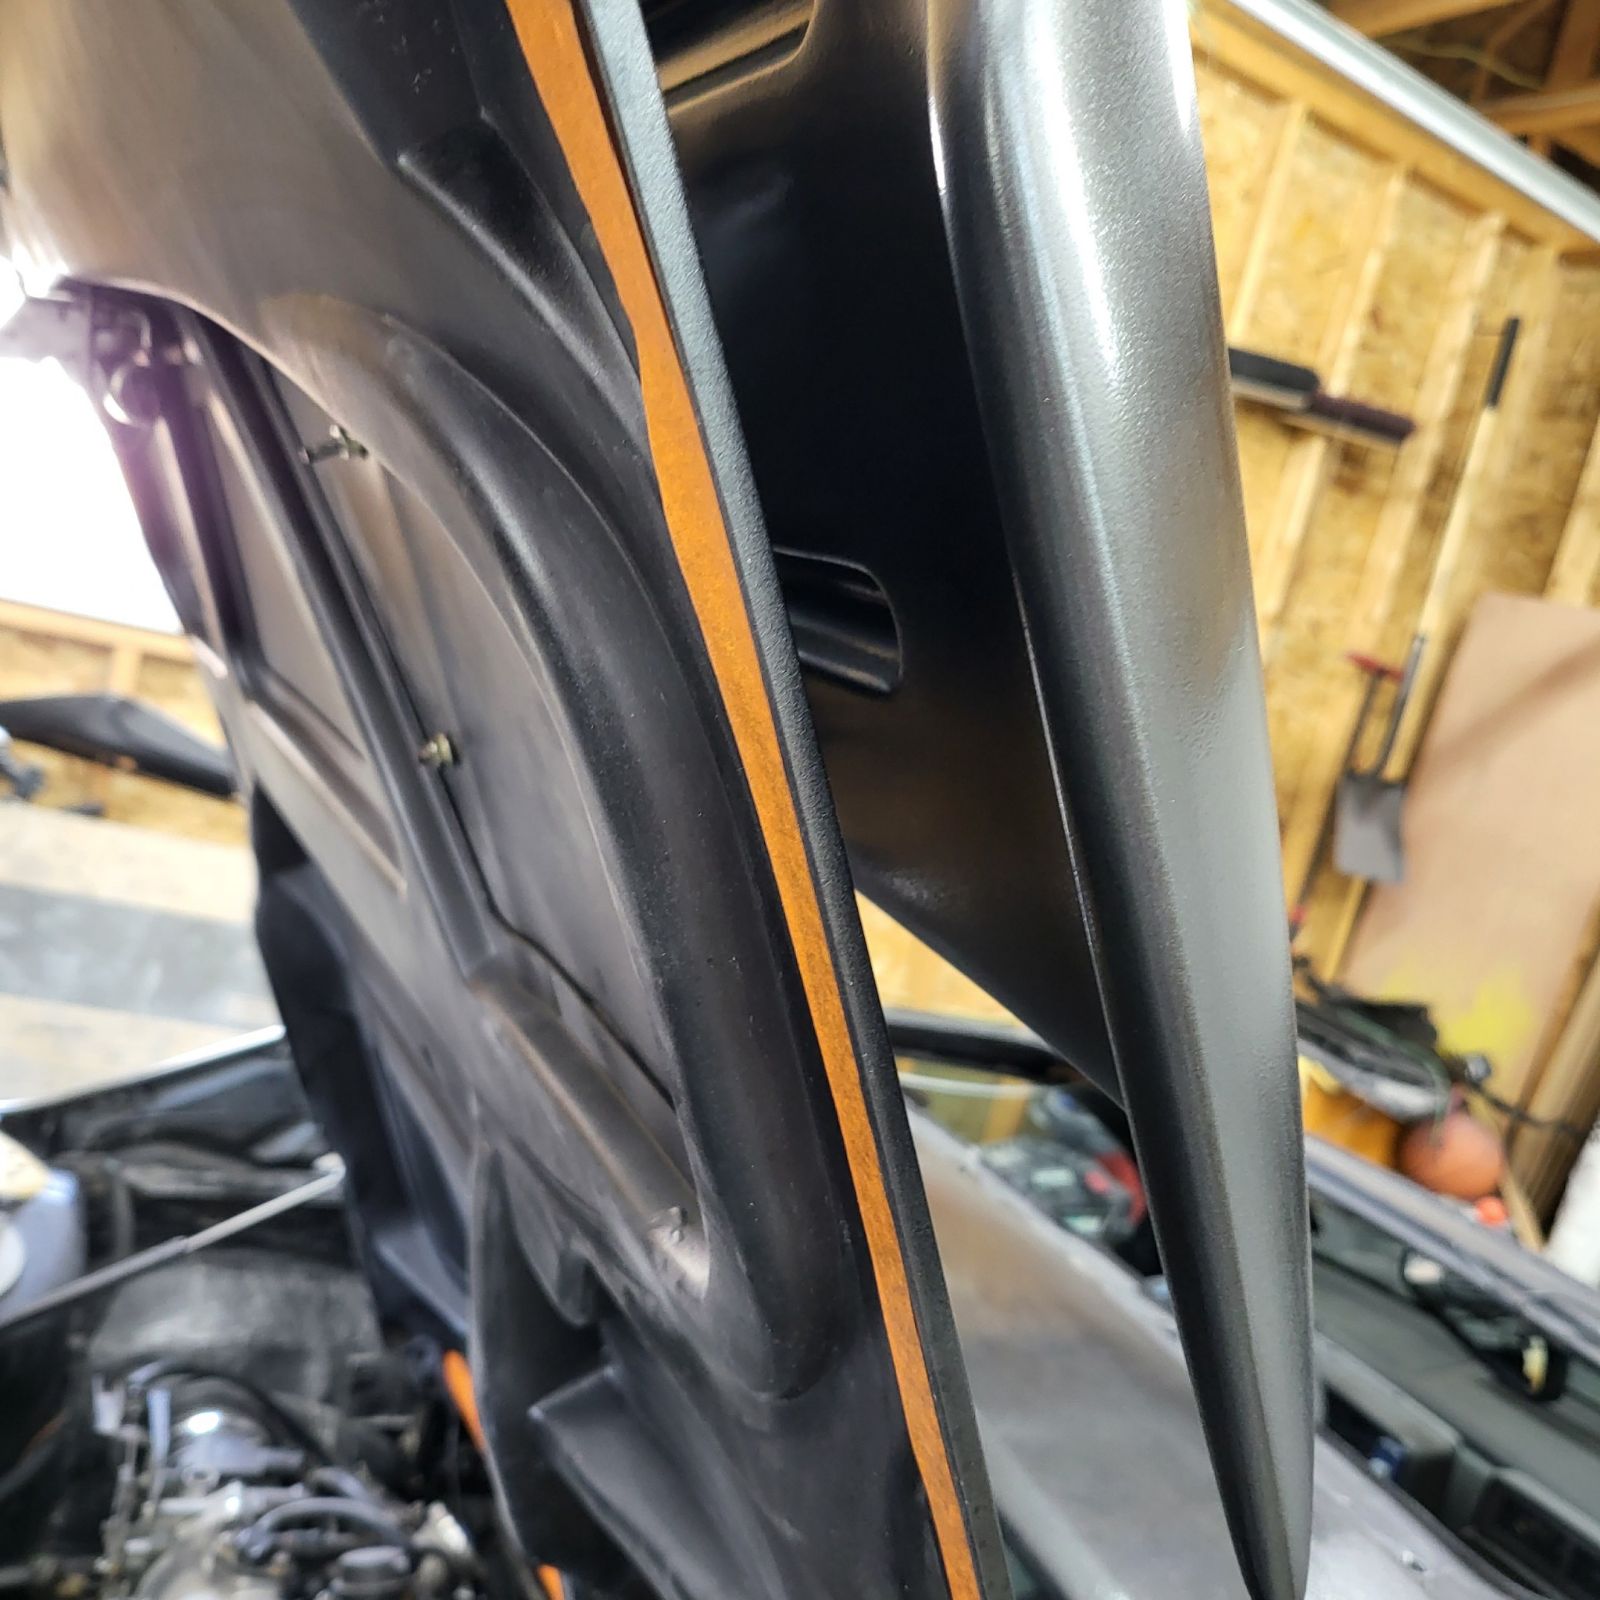
Went out after work to check the bond on The driver door when I realized it shifted down at the front.
It was an absolute struggle to get that molding off. I ground as much of the adhesive which was Rick hard using a 2 inch flapper disk on a die grinder and ended up using an air body saw to cut between the door and molding on the edge so I can try to rip it off. I then took the same flapper to the top edge to remove as much as possible to weaken the bond.
Once I was able to get a flathead in between on the larger end I went to pull up the door itself actually tore. The tear is about 6 inches long just at the top lip of the molding. I felt defeated at this time and went inside to collect myself.
What I ended up doing was taking the air body saw and carefully cut along the edges doing my best to not cut into the door or fender.
At one point the saw blade did start cutting into the door which was not visible at the time of cutting as it was under the molding.
It was a success I got it off!

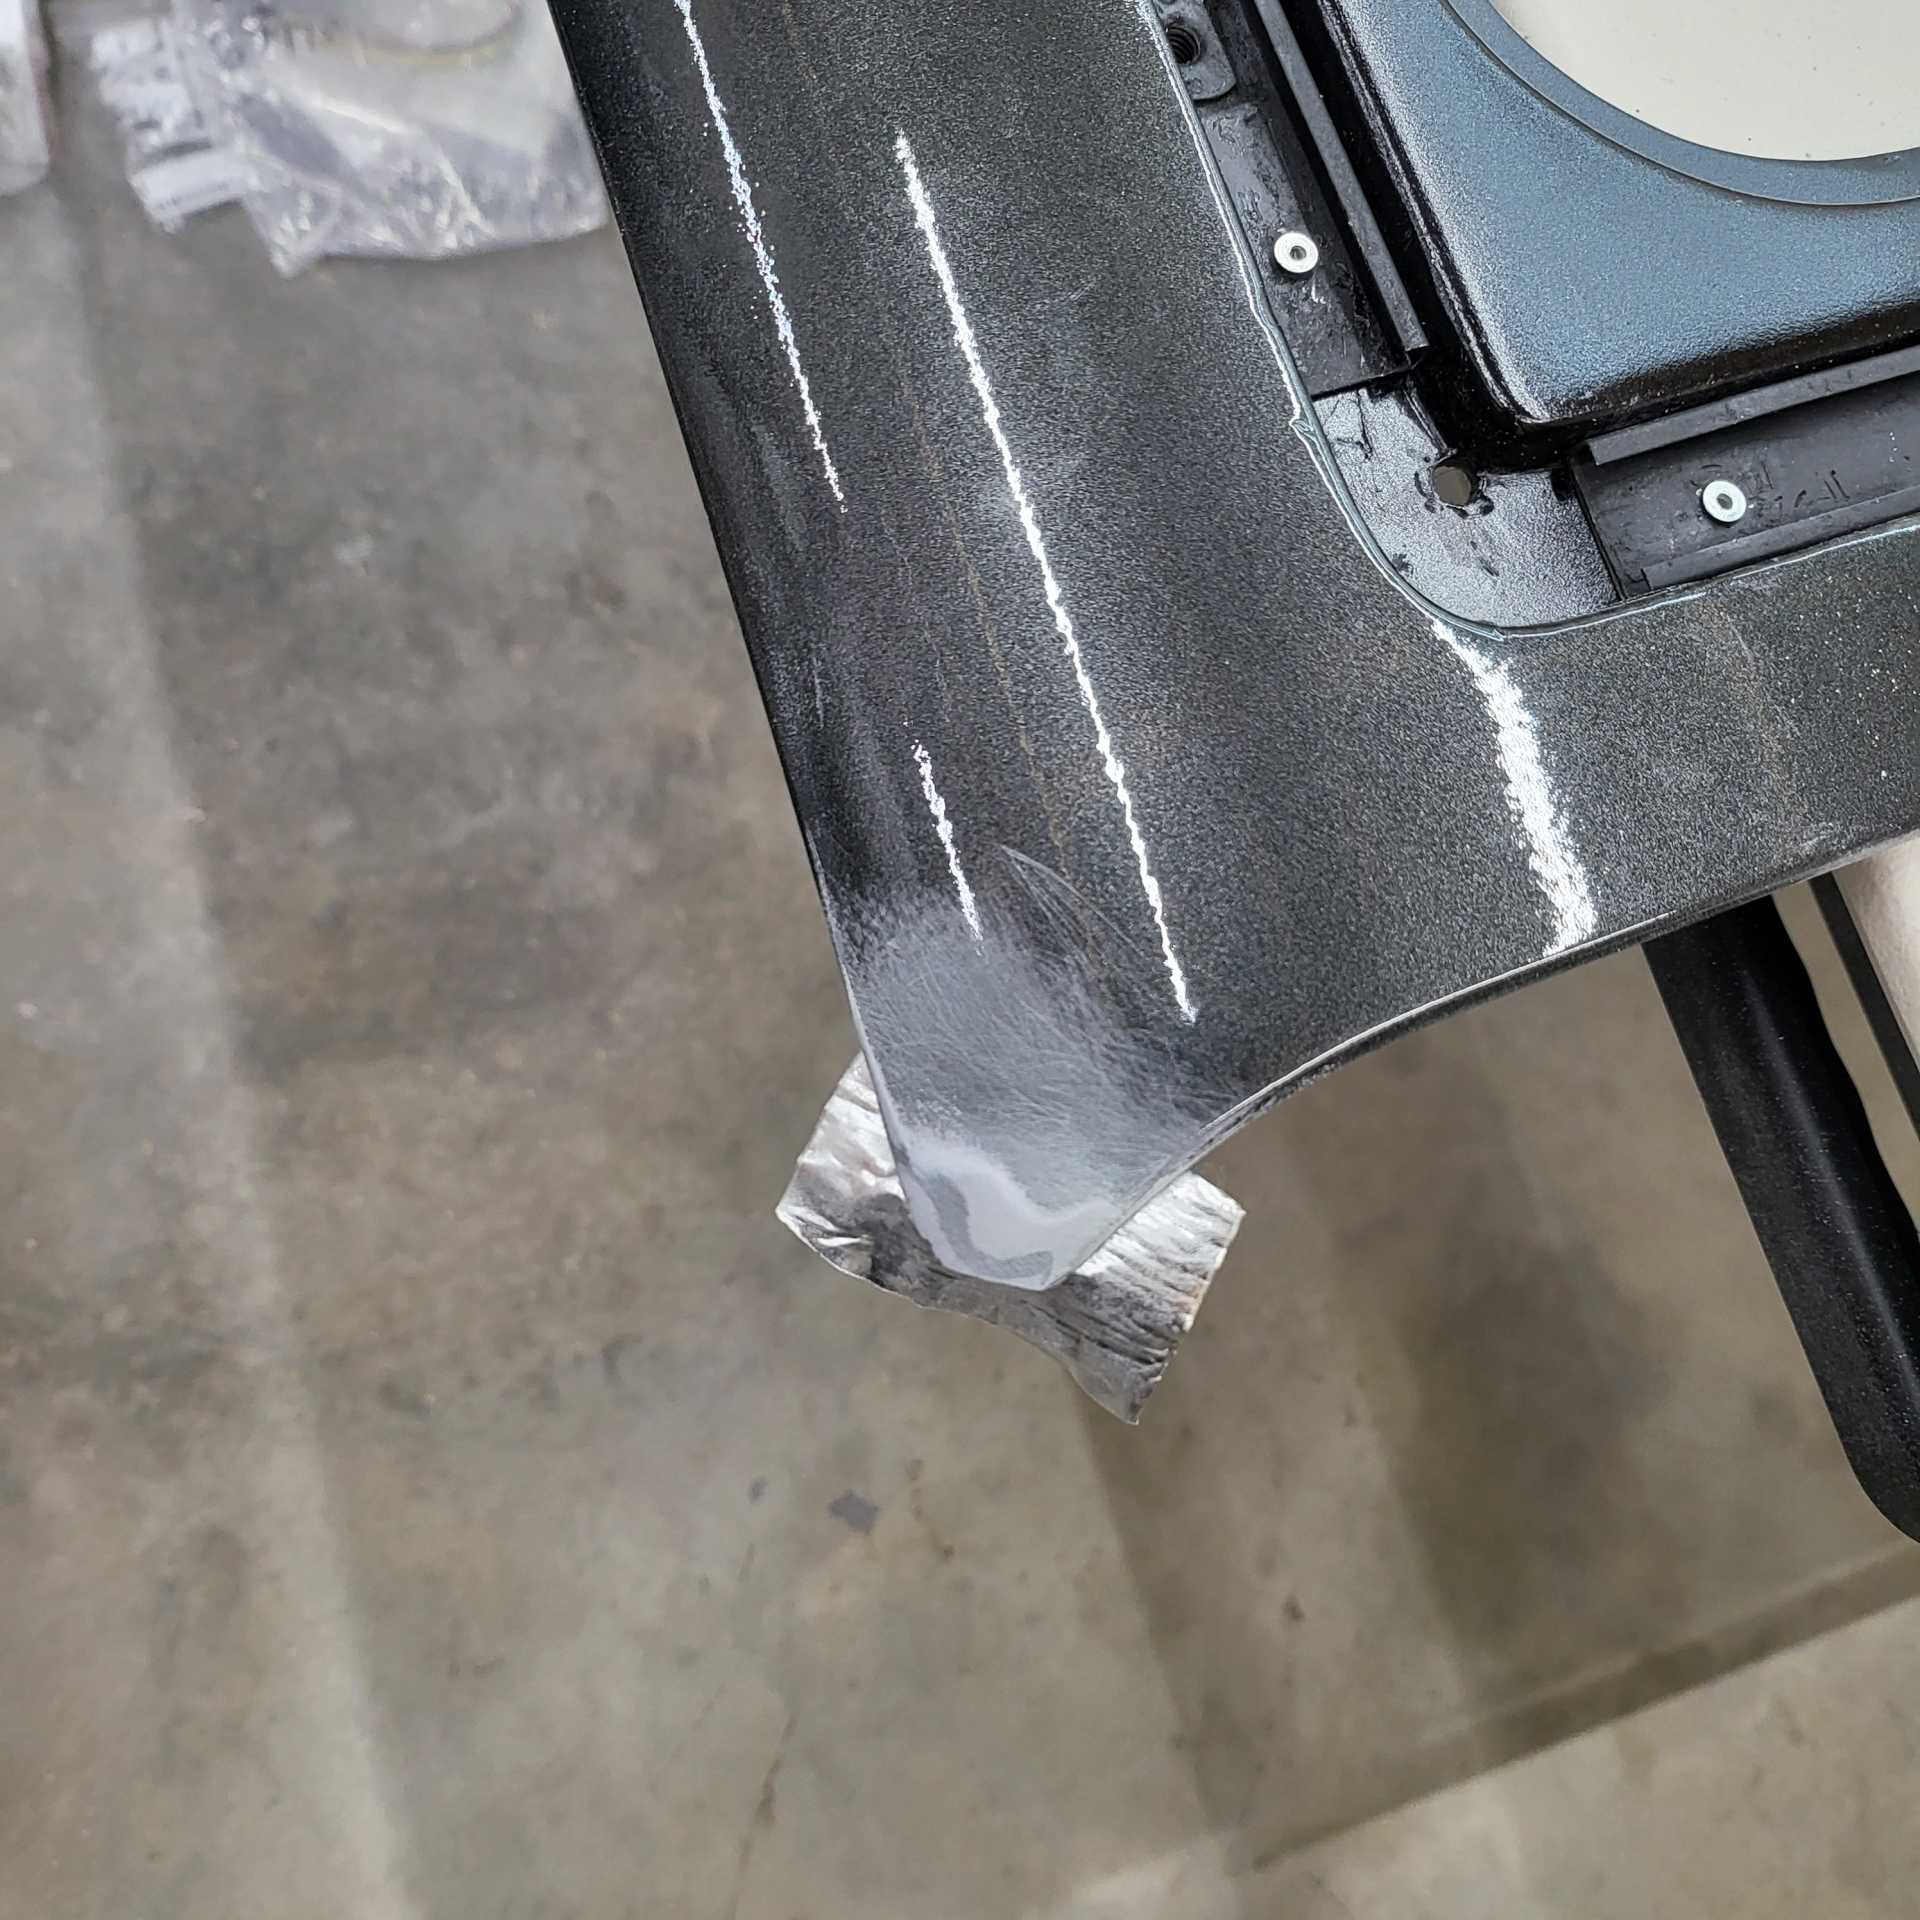
Look how the adhesive failed from prying. The paint layer actually broke bond instead of the adhesive. And every part where it was torn from the molding took a small layer of fiberglass with it. Incredible how well it bonded and I didn't even use that adhesive promoter.
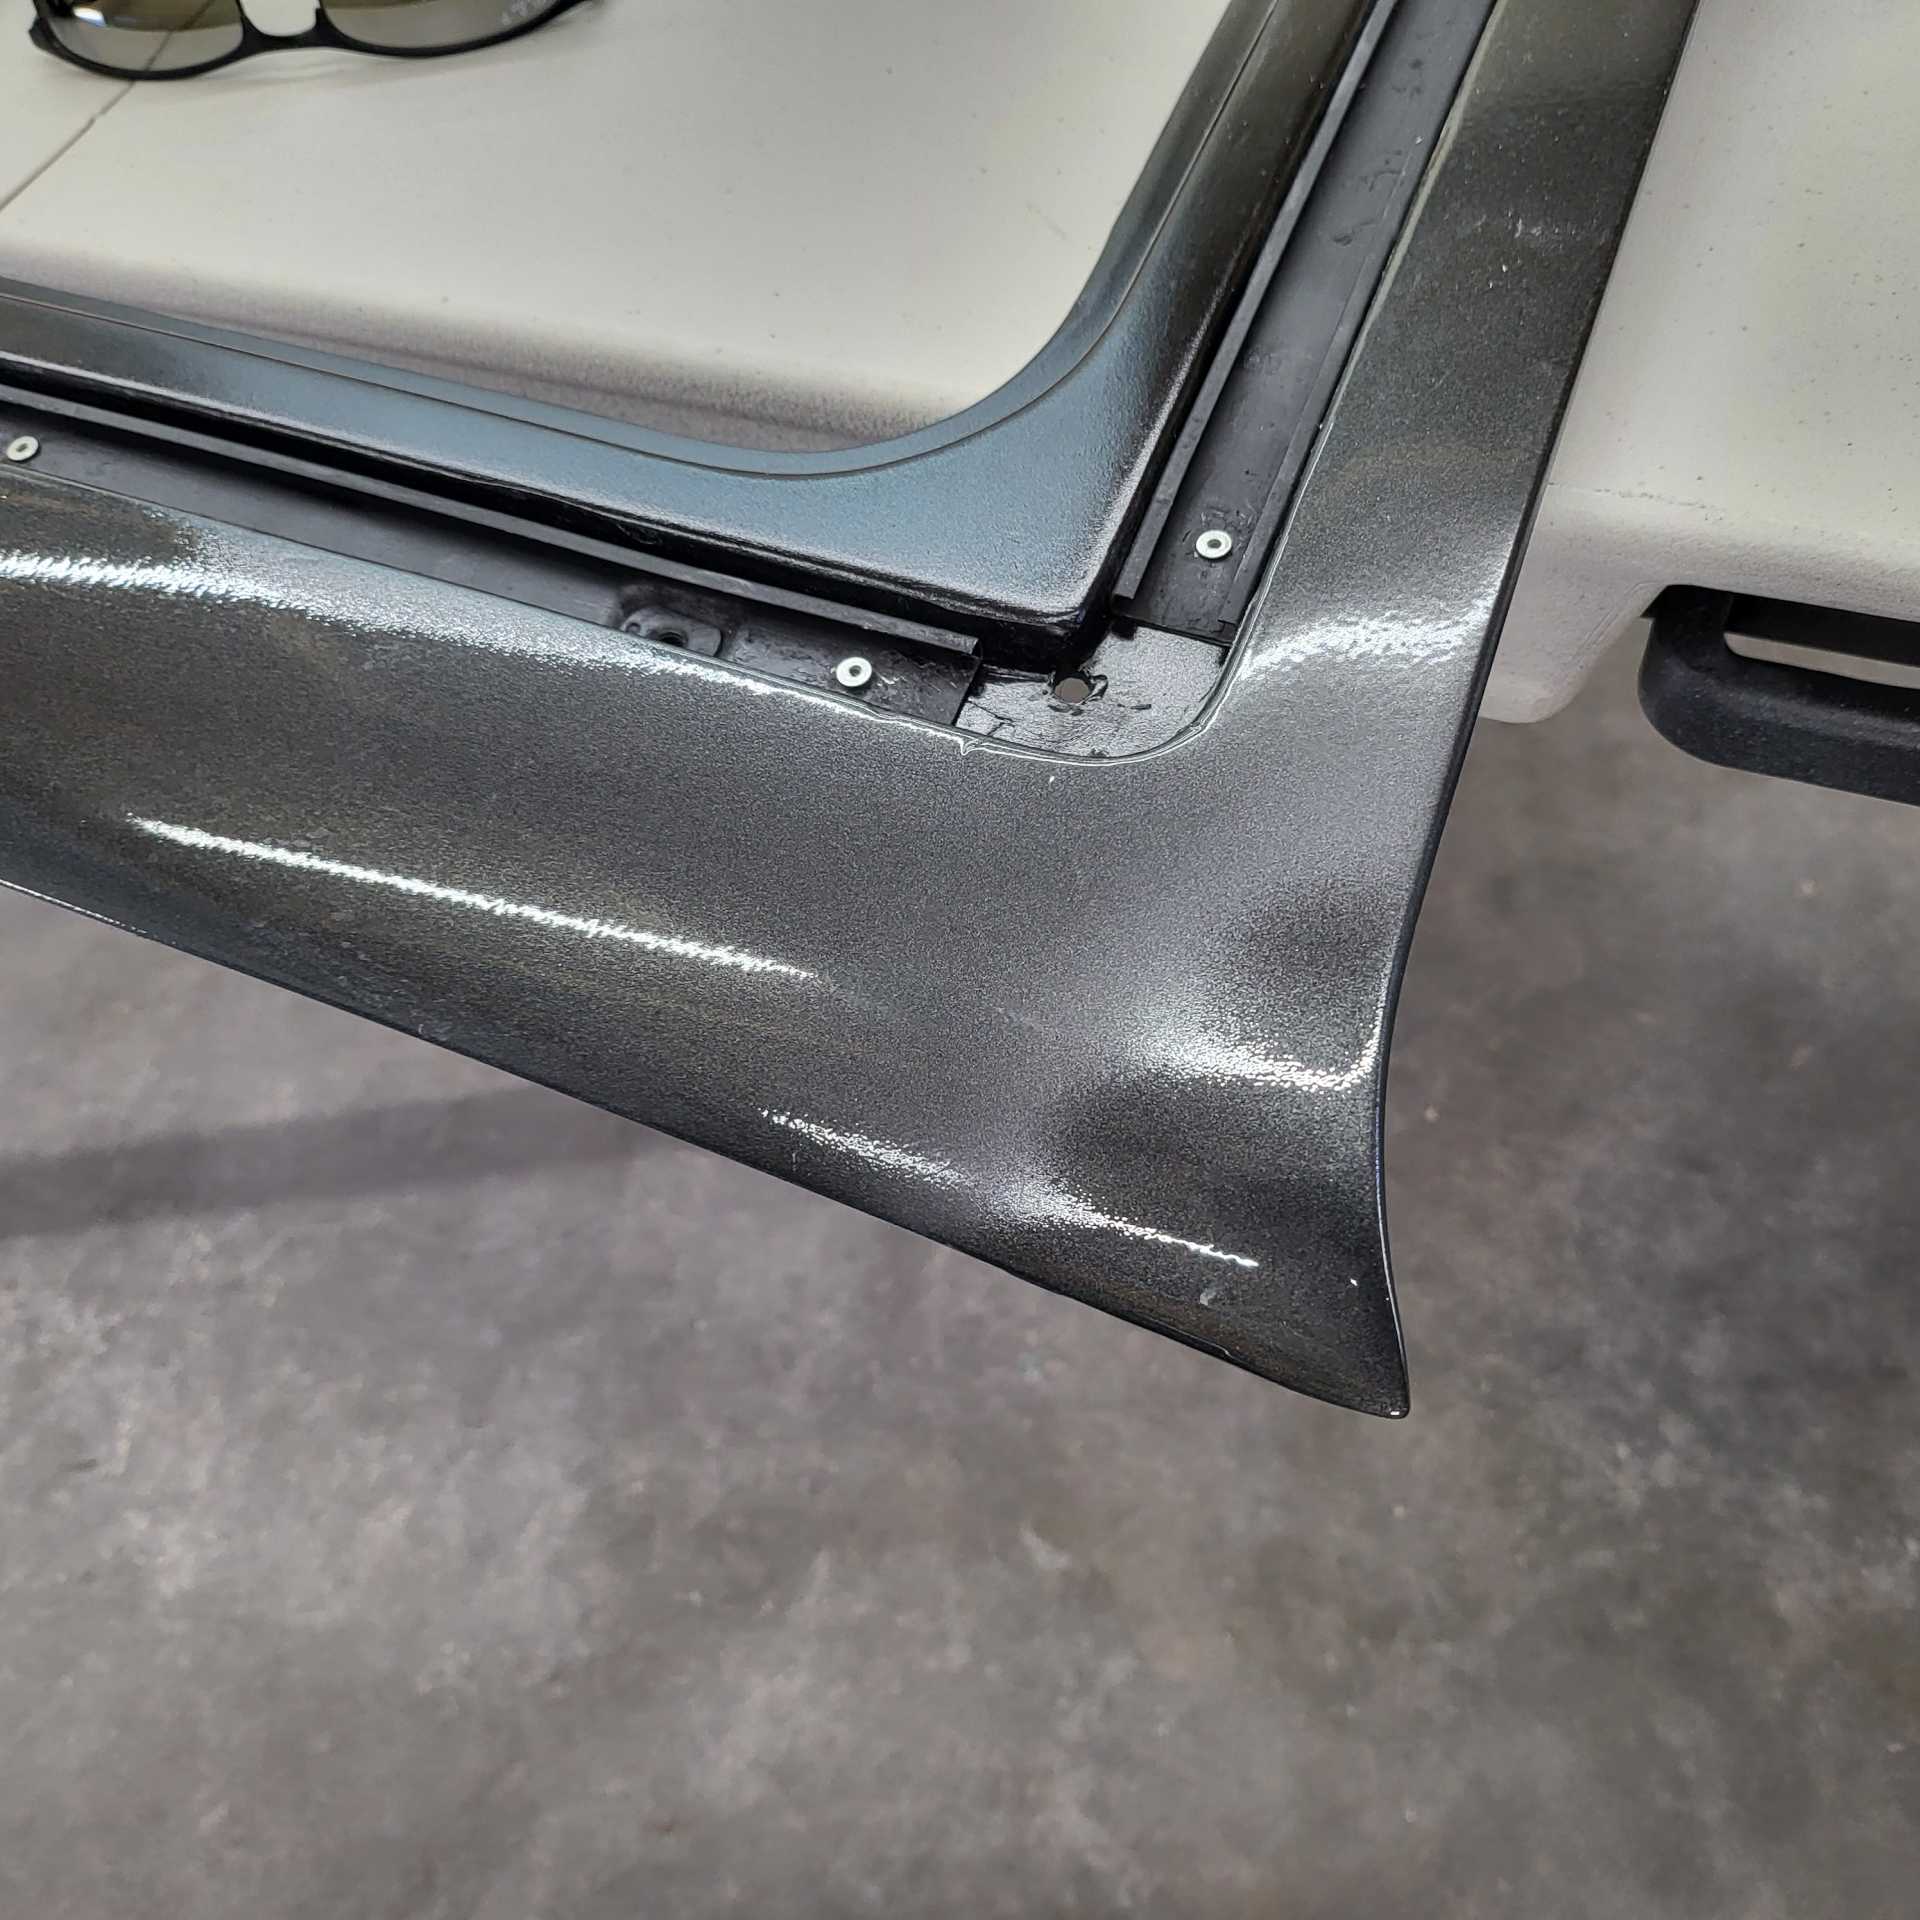
Overall there is minimal damage and nothing that a repair and rebond won't cover. I'm relieved because finding another molding out of a set would be difficult.
I've cleaned the tear and v grooved the back. Put some aluminum tape across the outer surface and applied the adhesive. I should have put a small piece of fiberglass in the adhesive though I'll check tomorrow I think this stuff is strong enough to hold and flexible enough for the door.
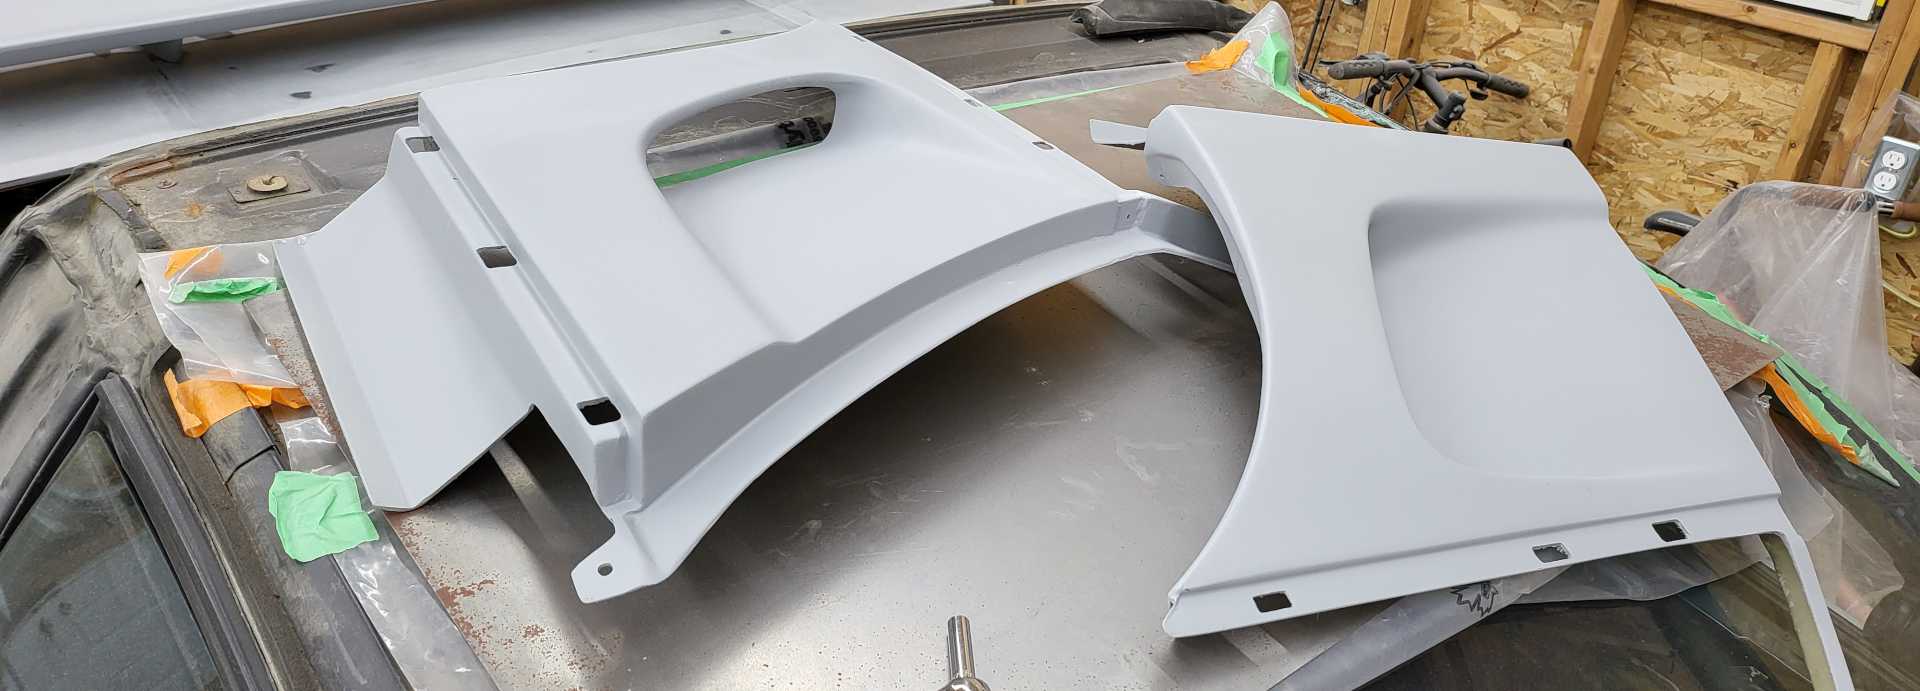
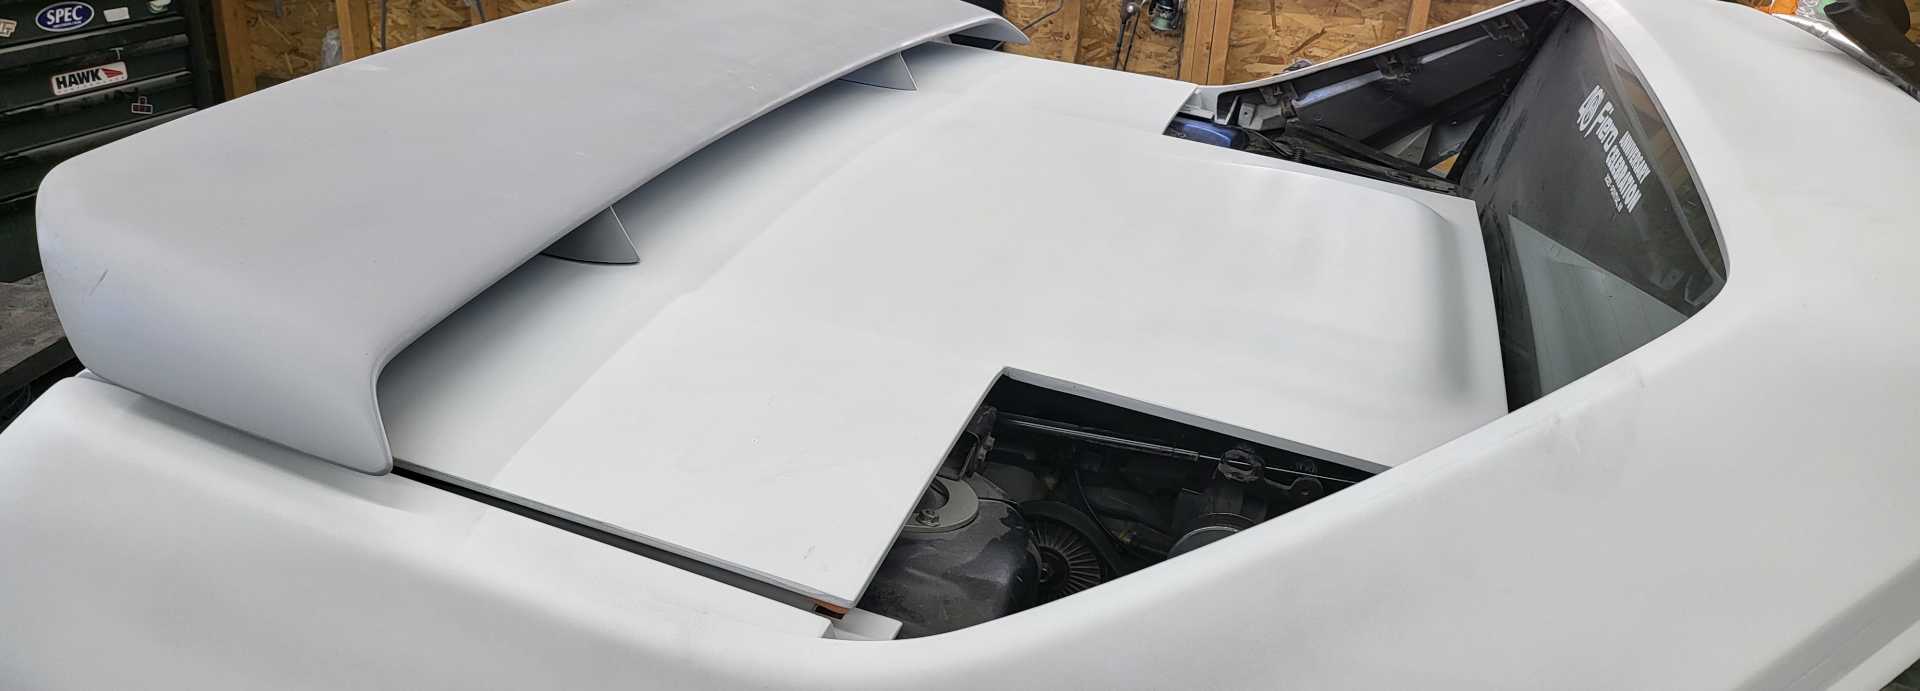
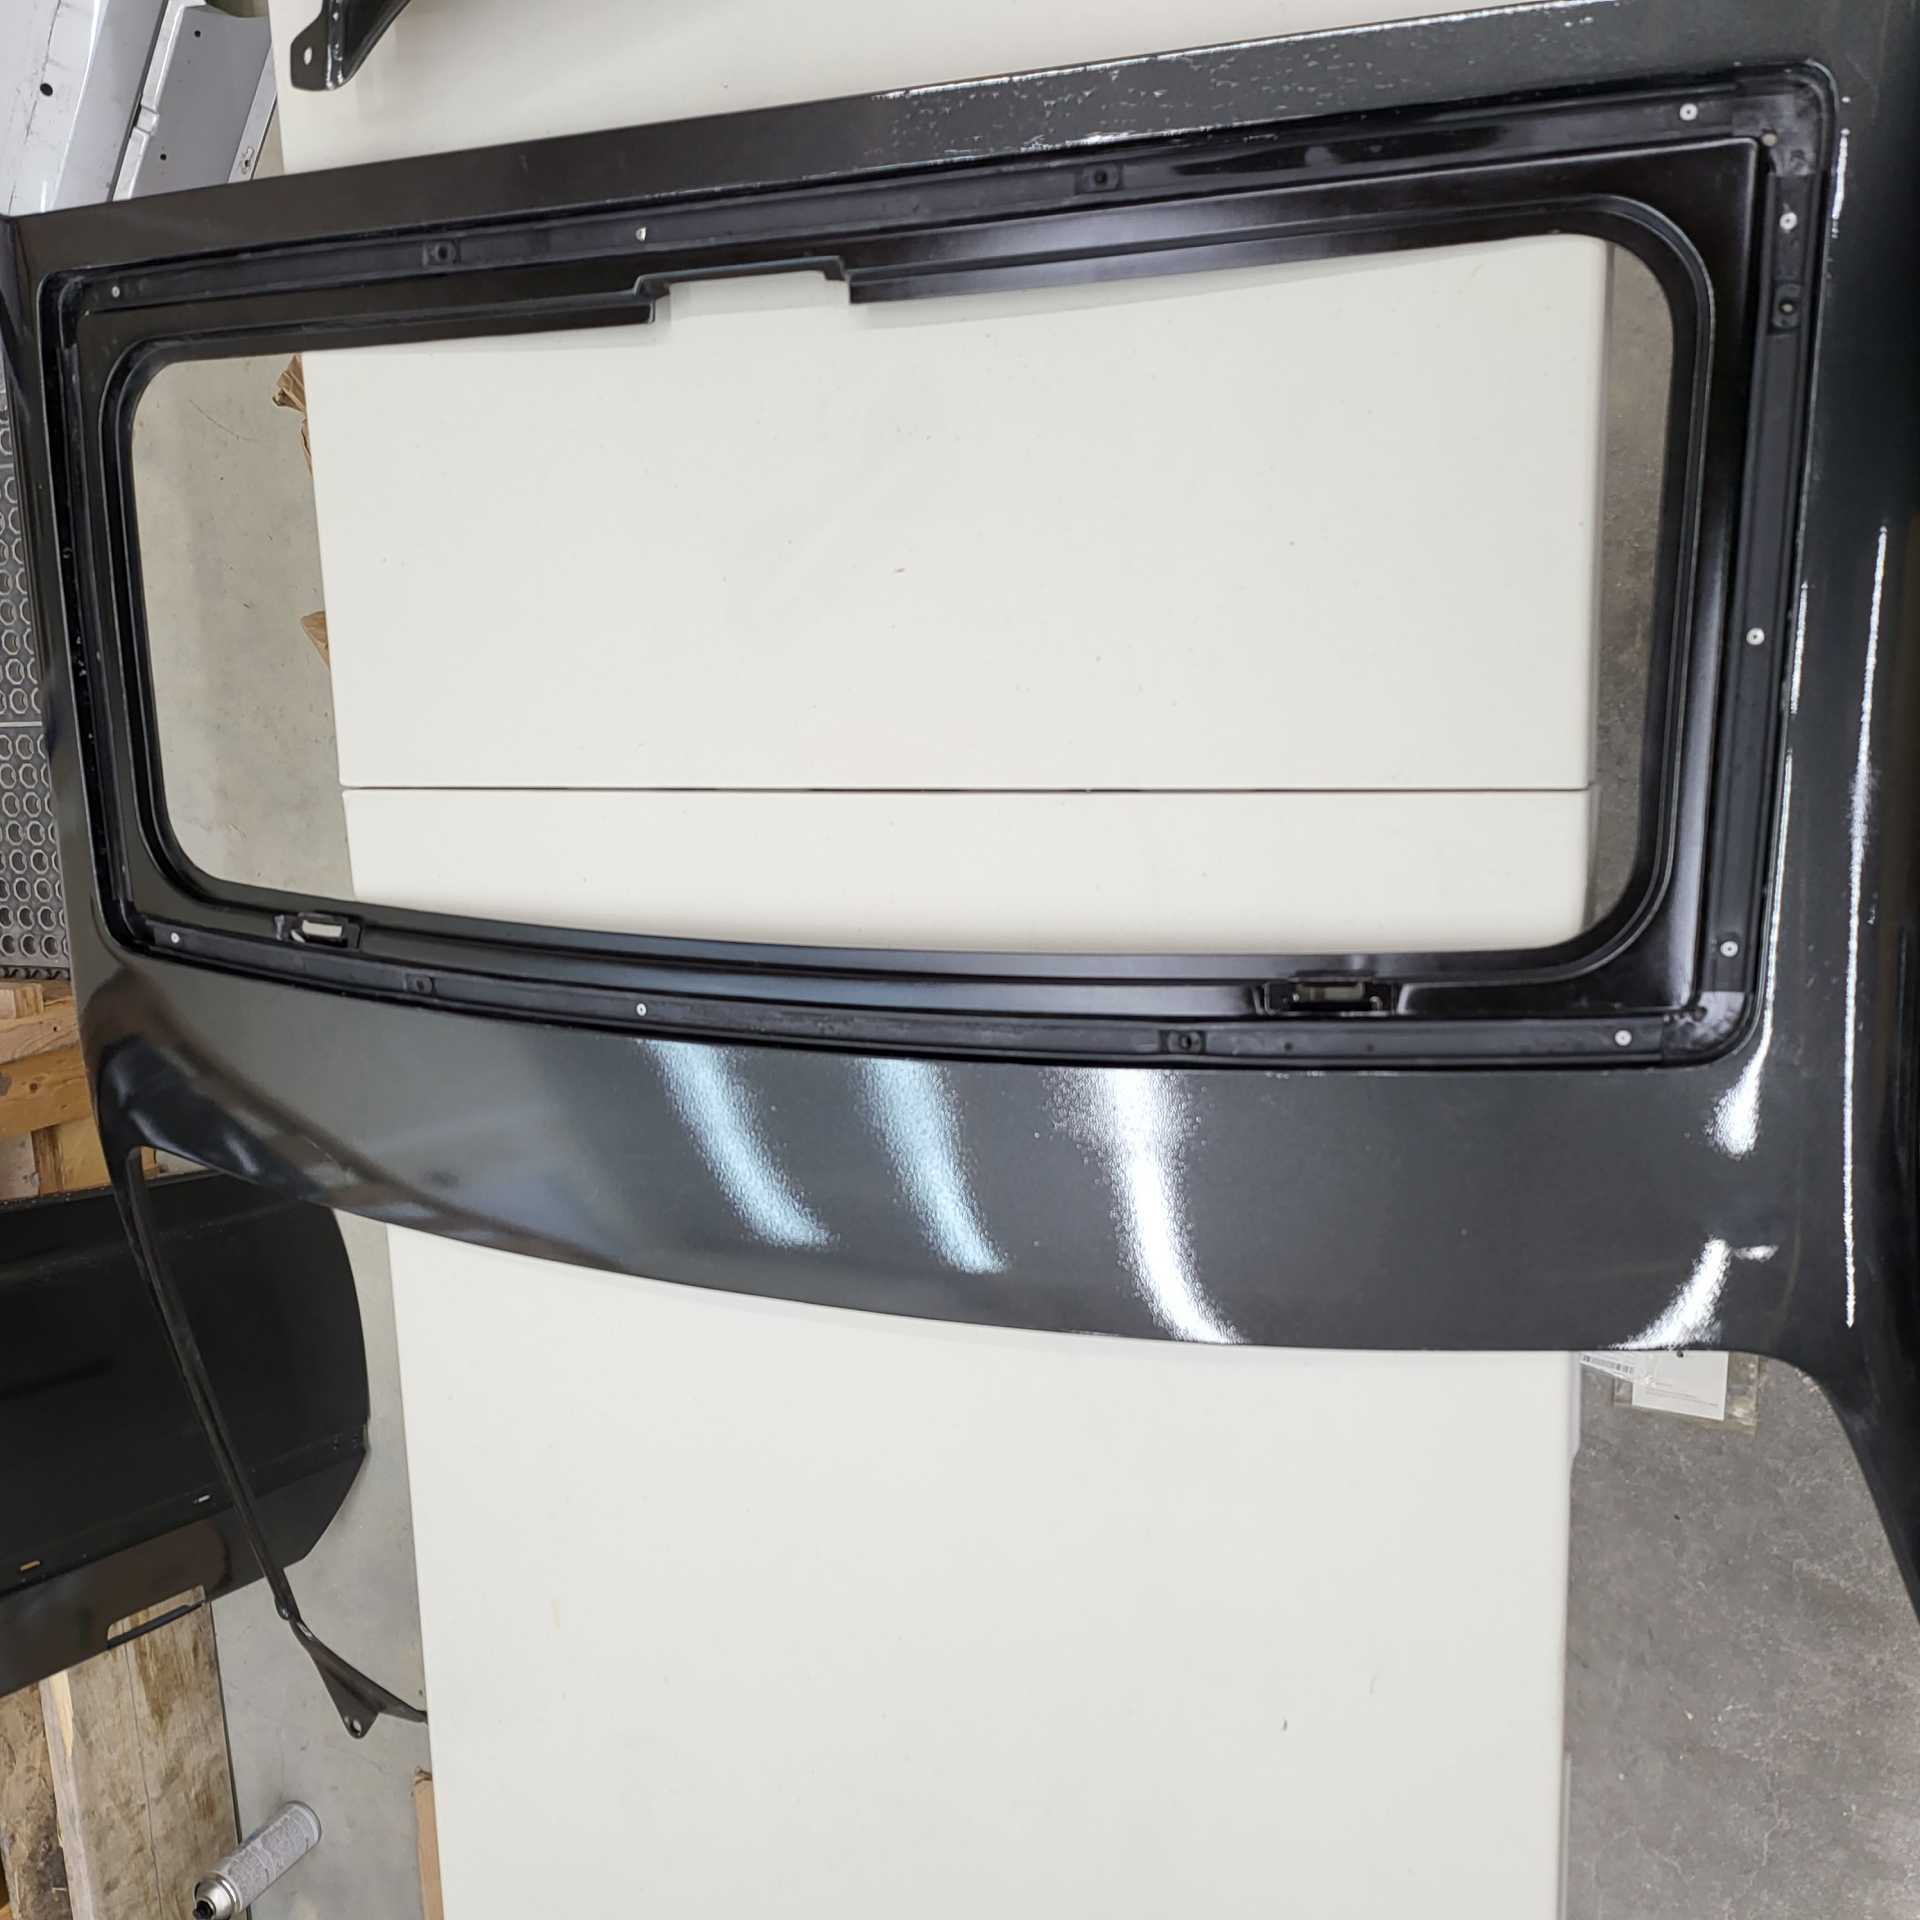
I removed the sail panels tonight and will be prepping the notchback clip for paint. It's in good shape and there shouldn't be any more surprises now.
|
|
|
|
Spadesluck
|
AUG 30, 07:13 AM
|
|
|
Panel bond will play well with the front bumper for filling it in? No problems painting it you think?
|
|
|
|
Matthew_Fiero
|
AUG 30, 02:20 PM
|
|
|
|
|
Spadesluck
|
AUG 30, 11:02 PM
|
|
|
Very nice. May give something like that a look. I was working on a bumper and had not found anything I liked yet to fill in tiny blemishes. Thanks for sharing.
|
|
|
|
Matthew_Fiero
|
SEP 12, 01:34 PM
|
|
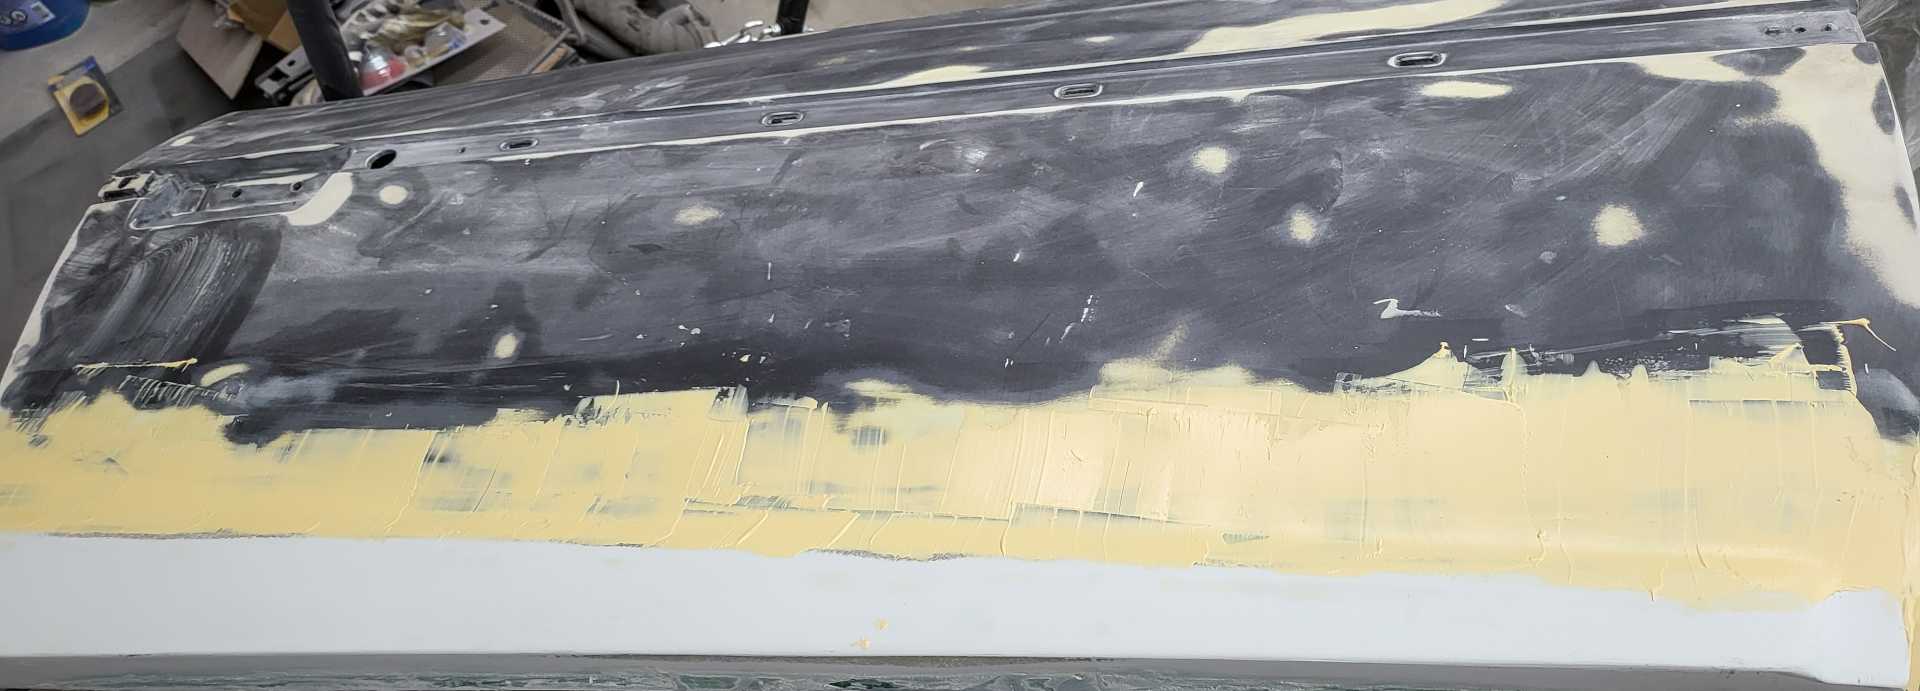
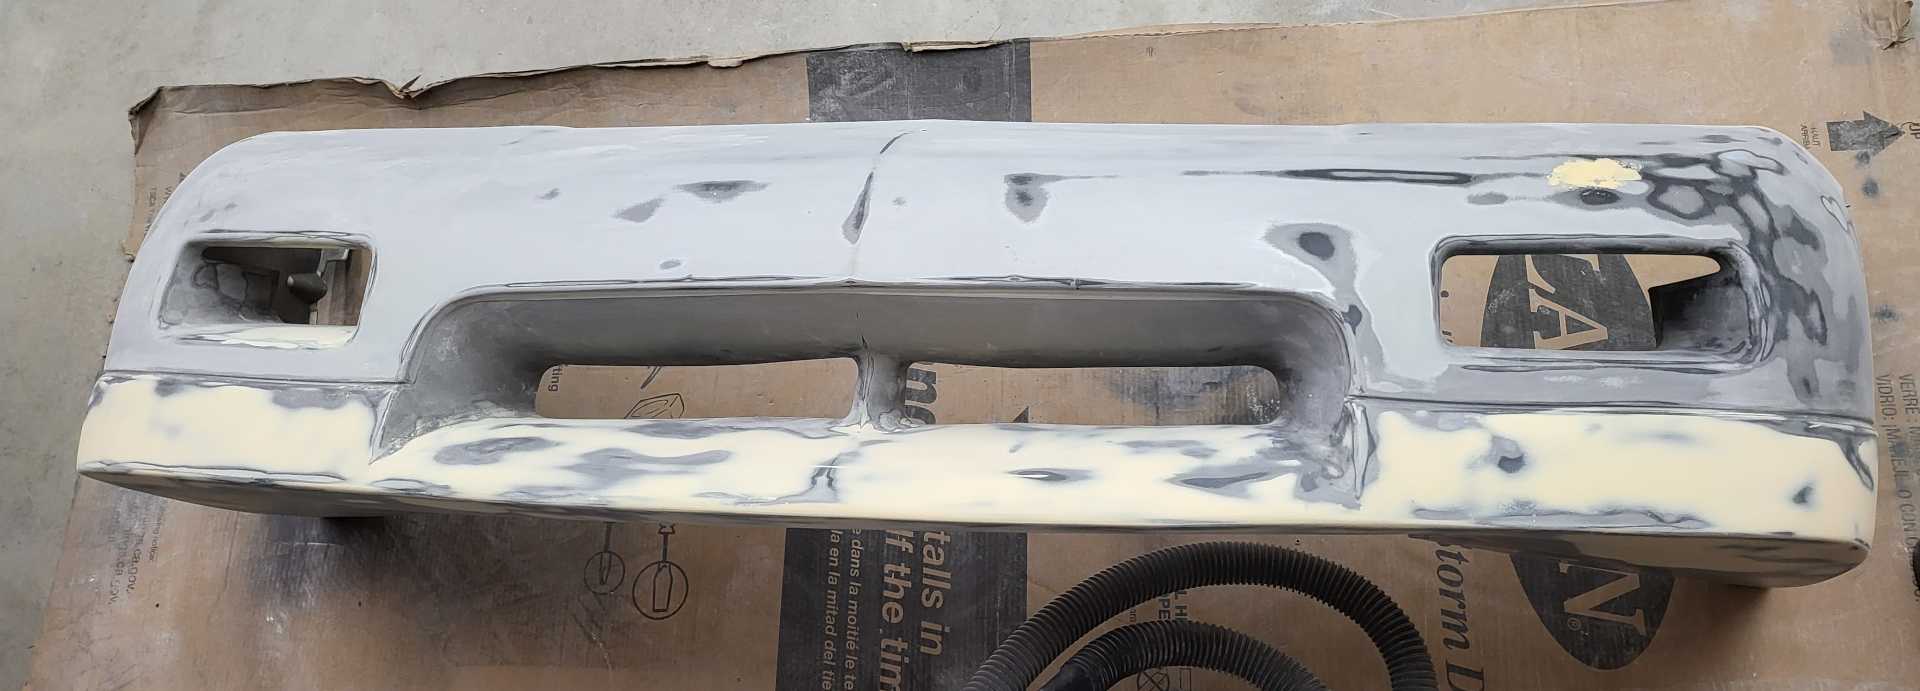
So I ended up putting way too much glaze on the front fascia and it took forever to sand. It looks great now.
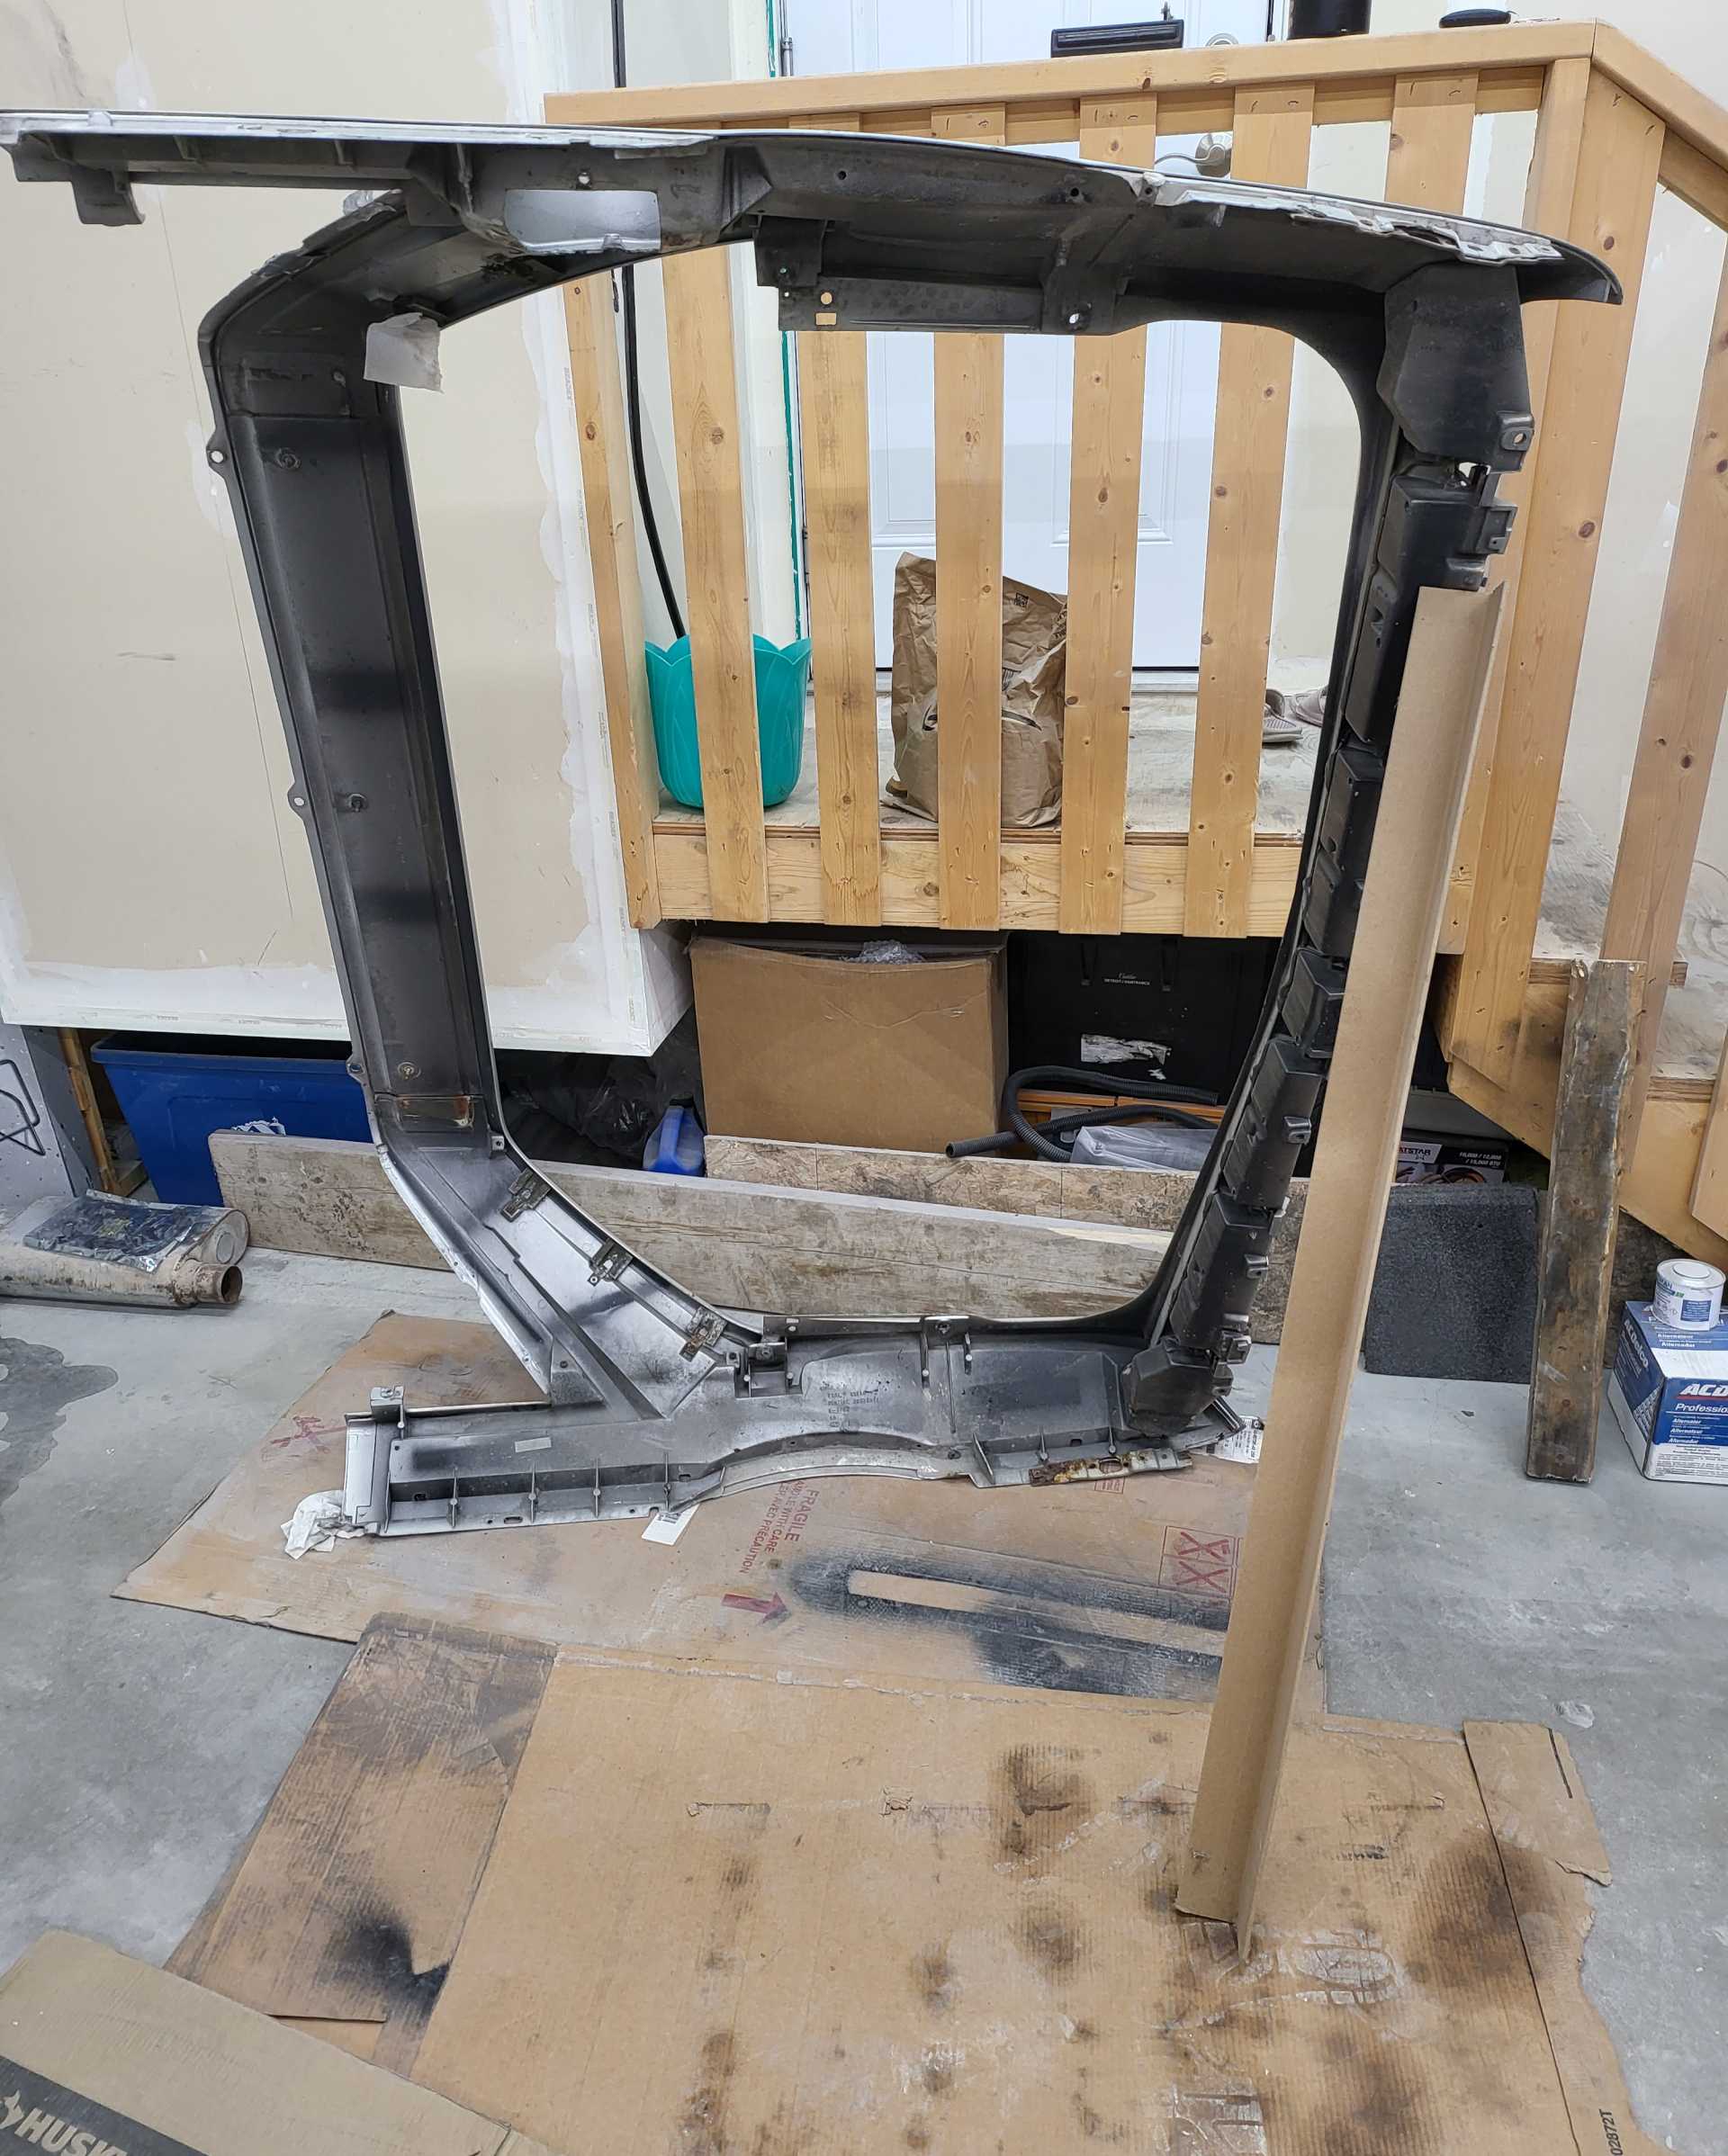
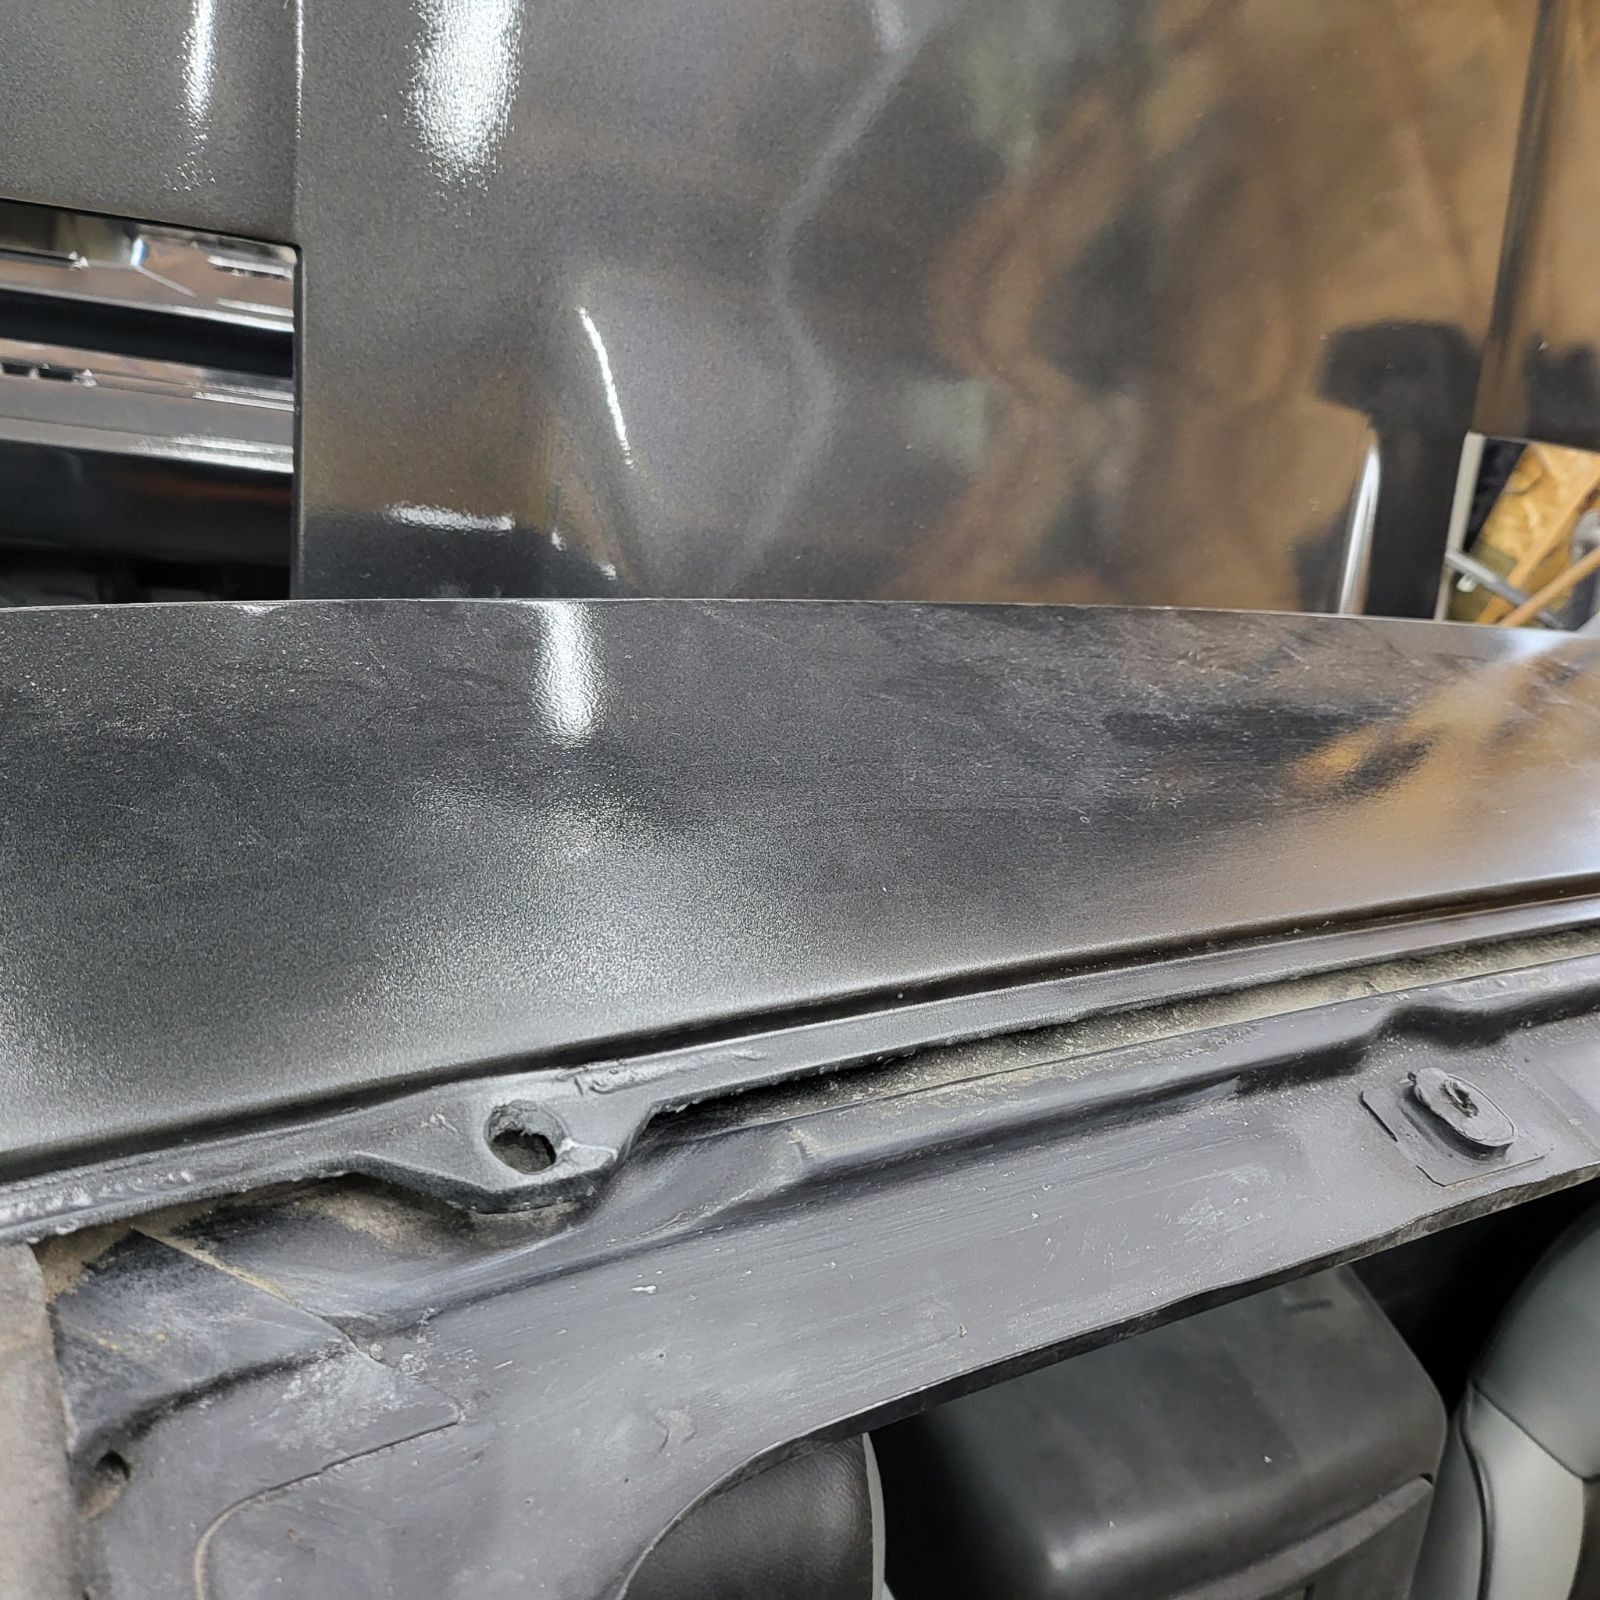
Took off the rear clip and filled the broken out holes where the sail panels clip in. I had to prop it up on it's side precariously so the resin would be level. These holes will later be drilled with a 1/4" drill.
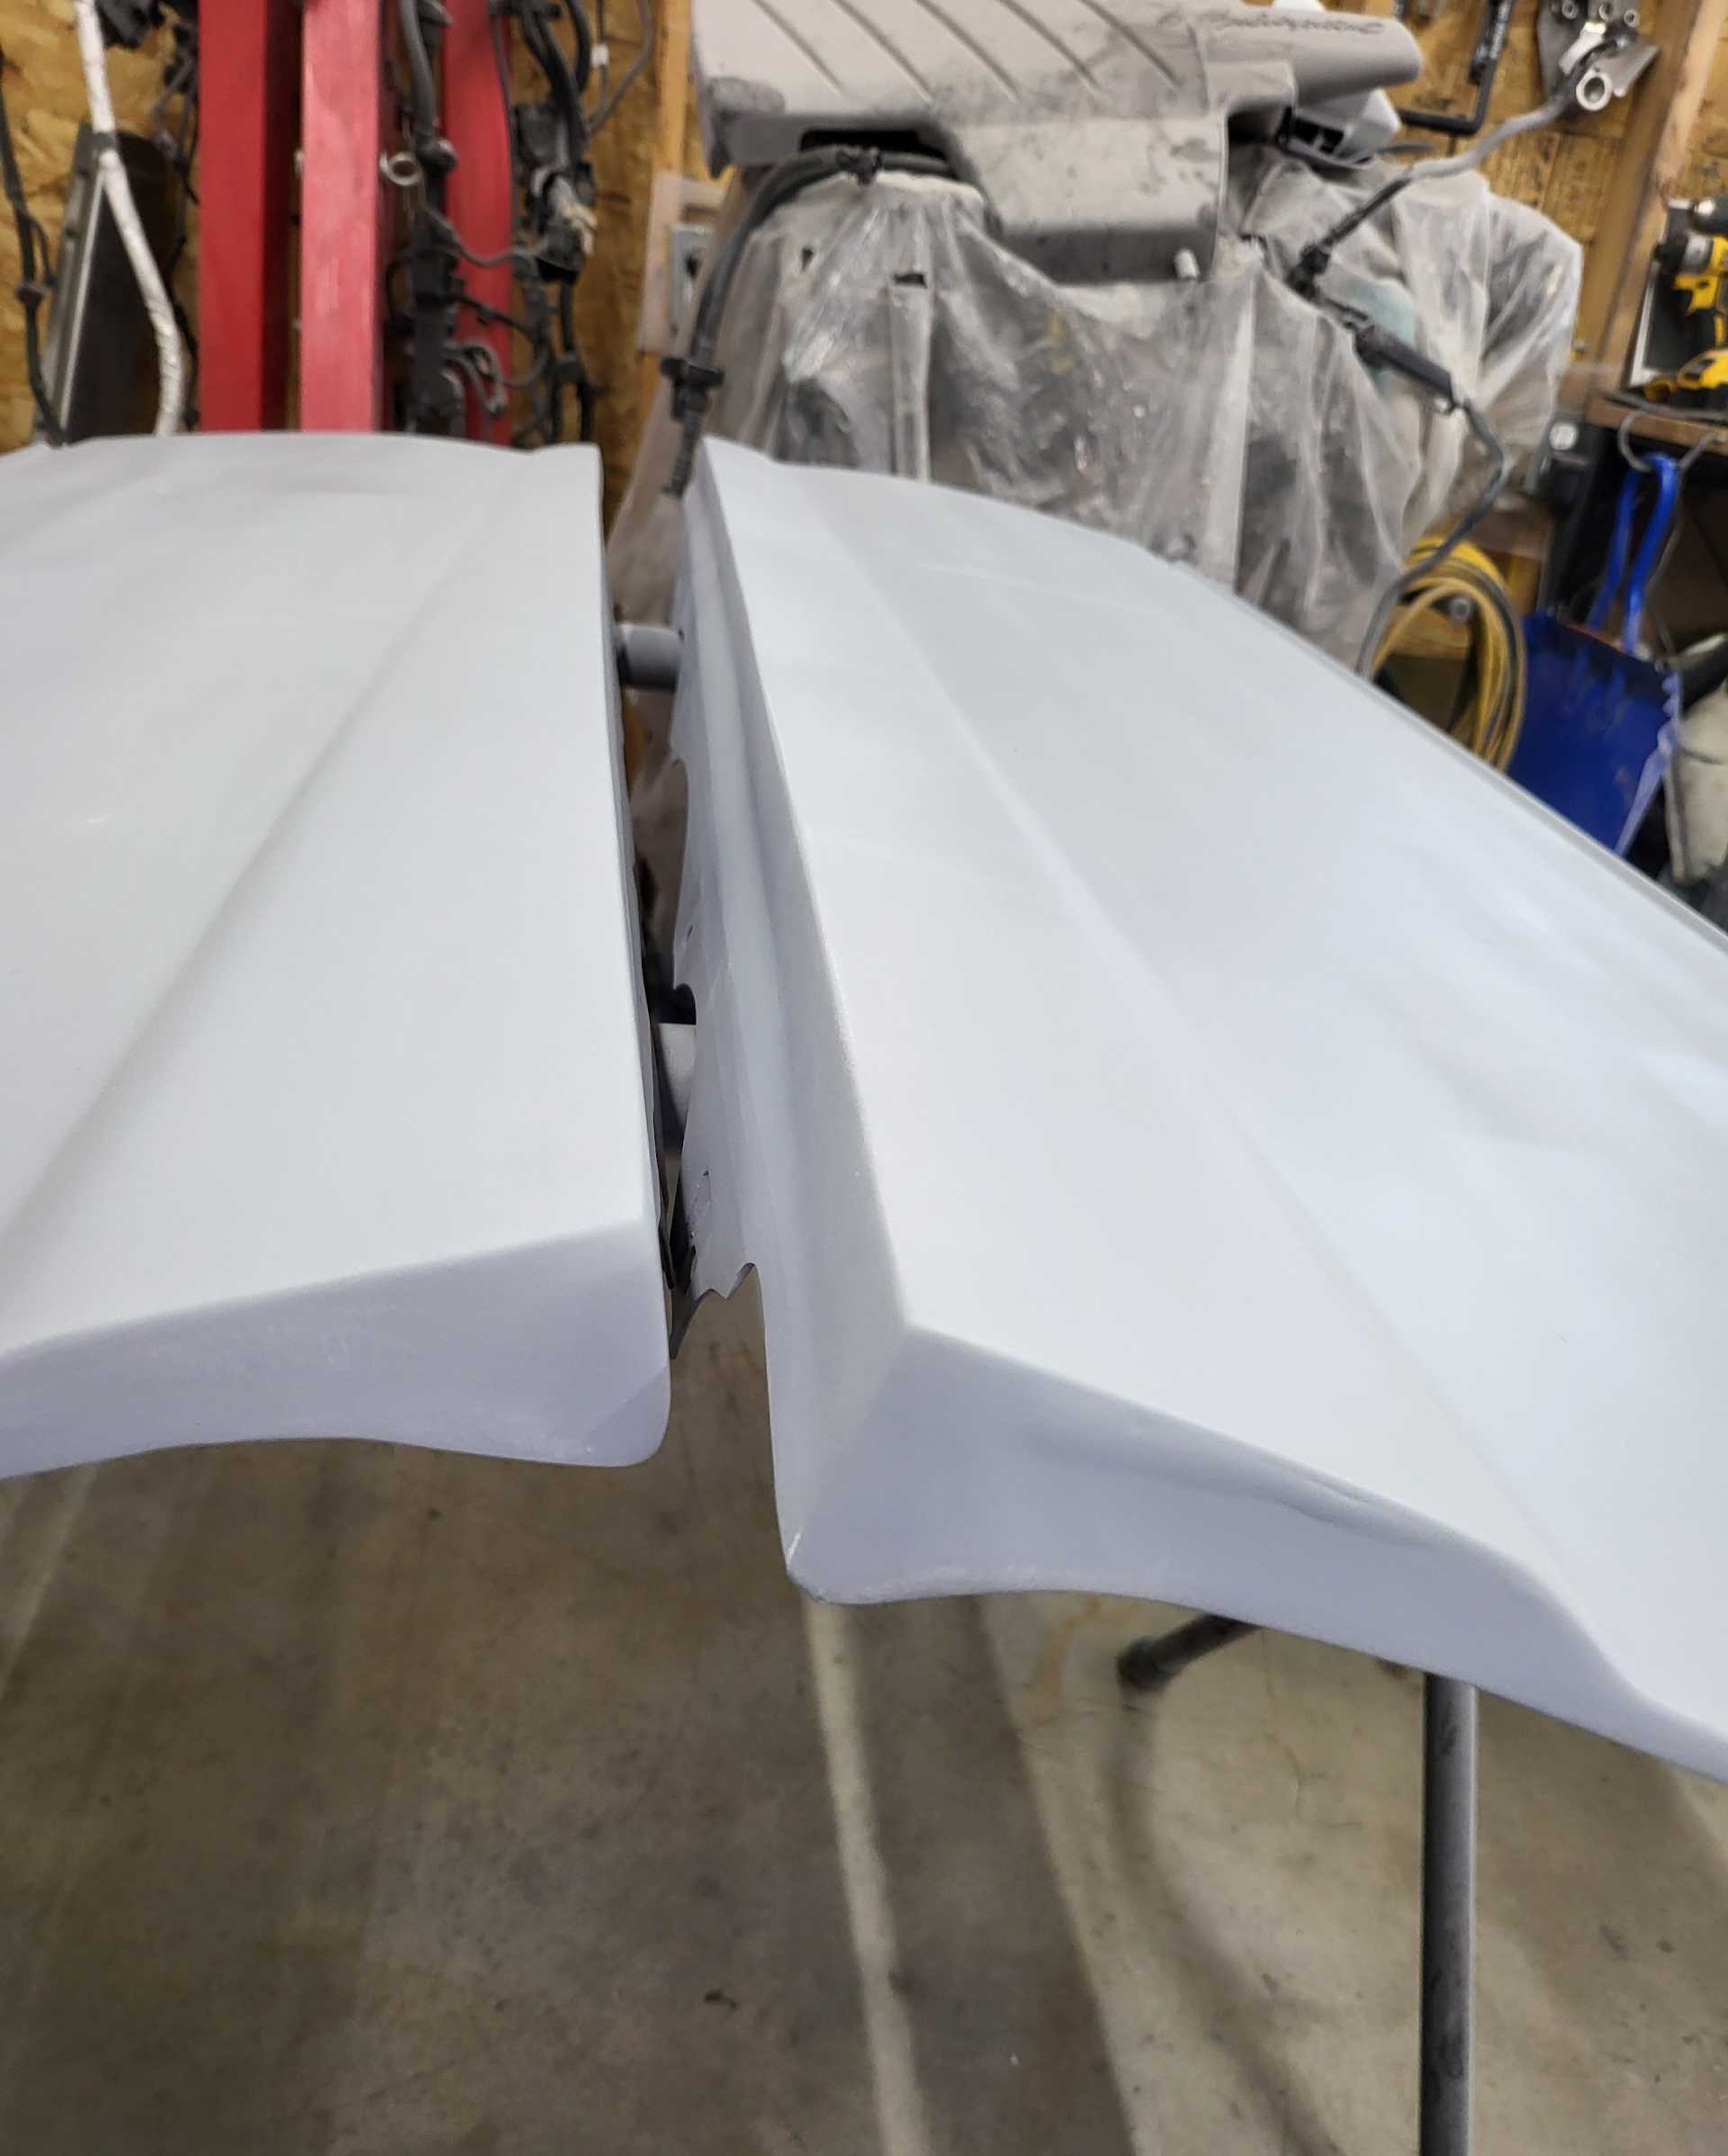
I then started sanding and filling in the transition between the doors/fenders and molding using the glaze. I used 180 and 220 grit on long sanding blocks for the flat transition and a round block to help keep the radius of the transition consistent. I used a then 12" machinists rule as a profile guide to check for any gaps or high spots. I Then used guide coat and sanded until level.
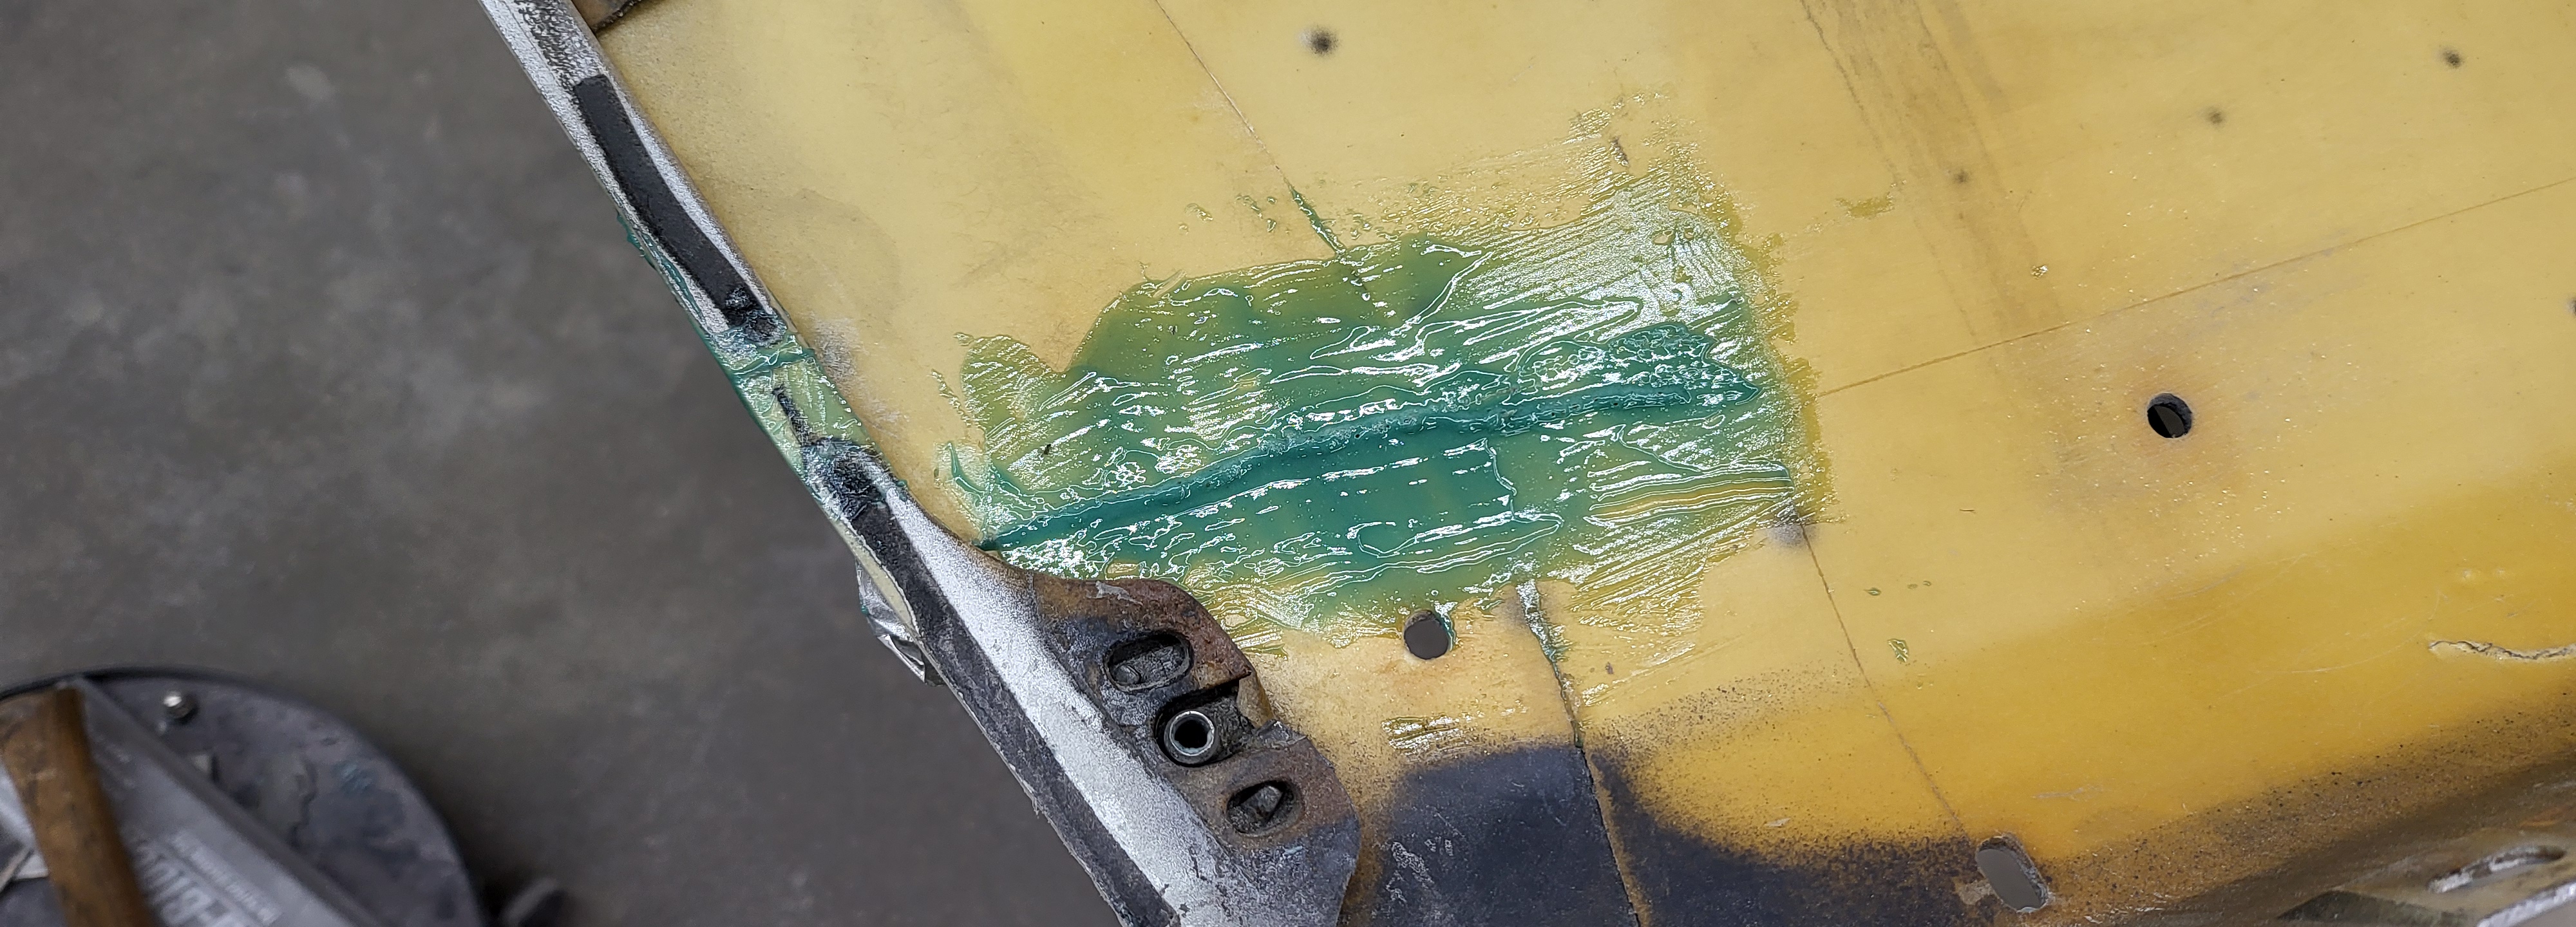
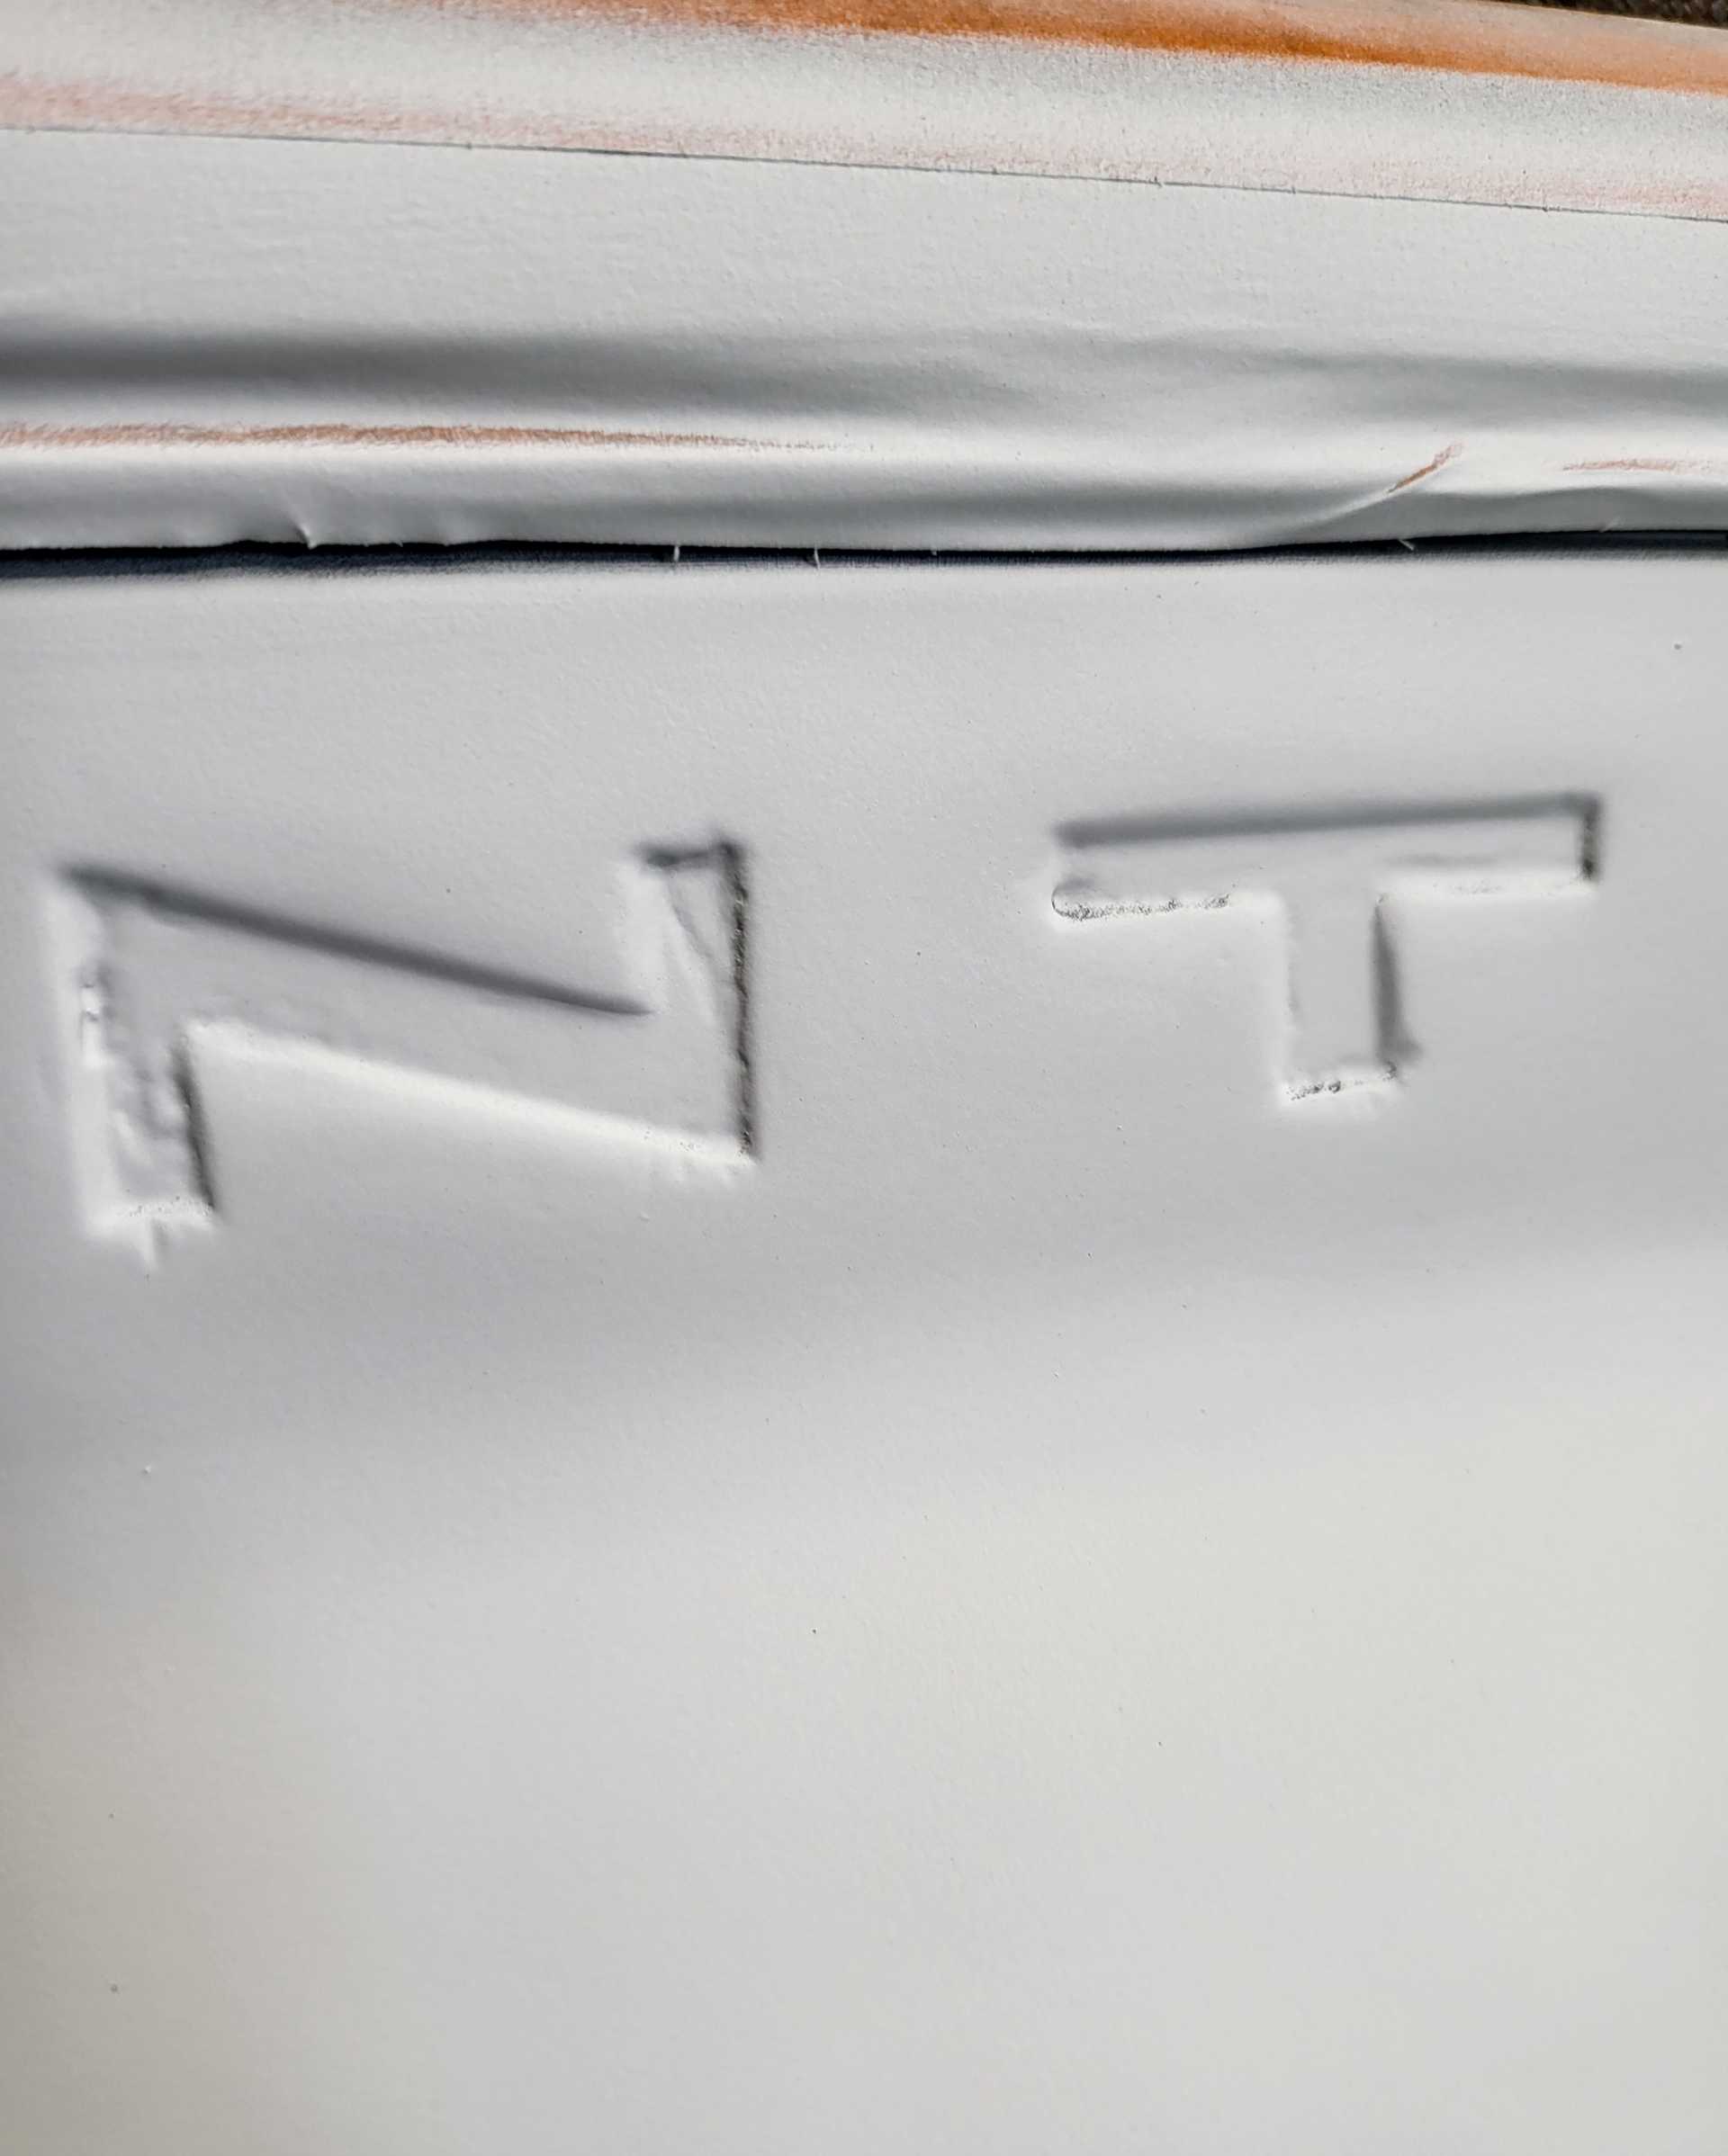
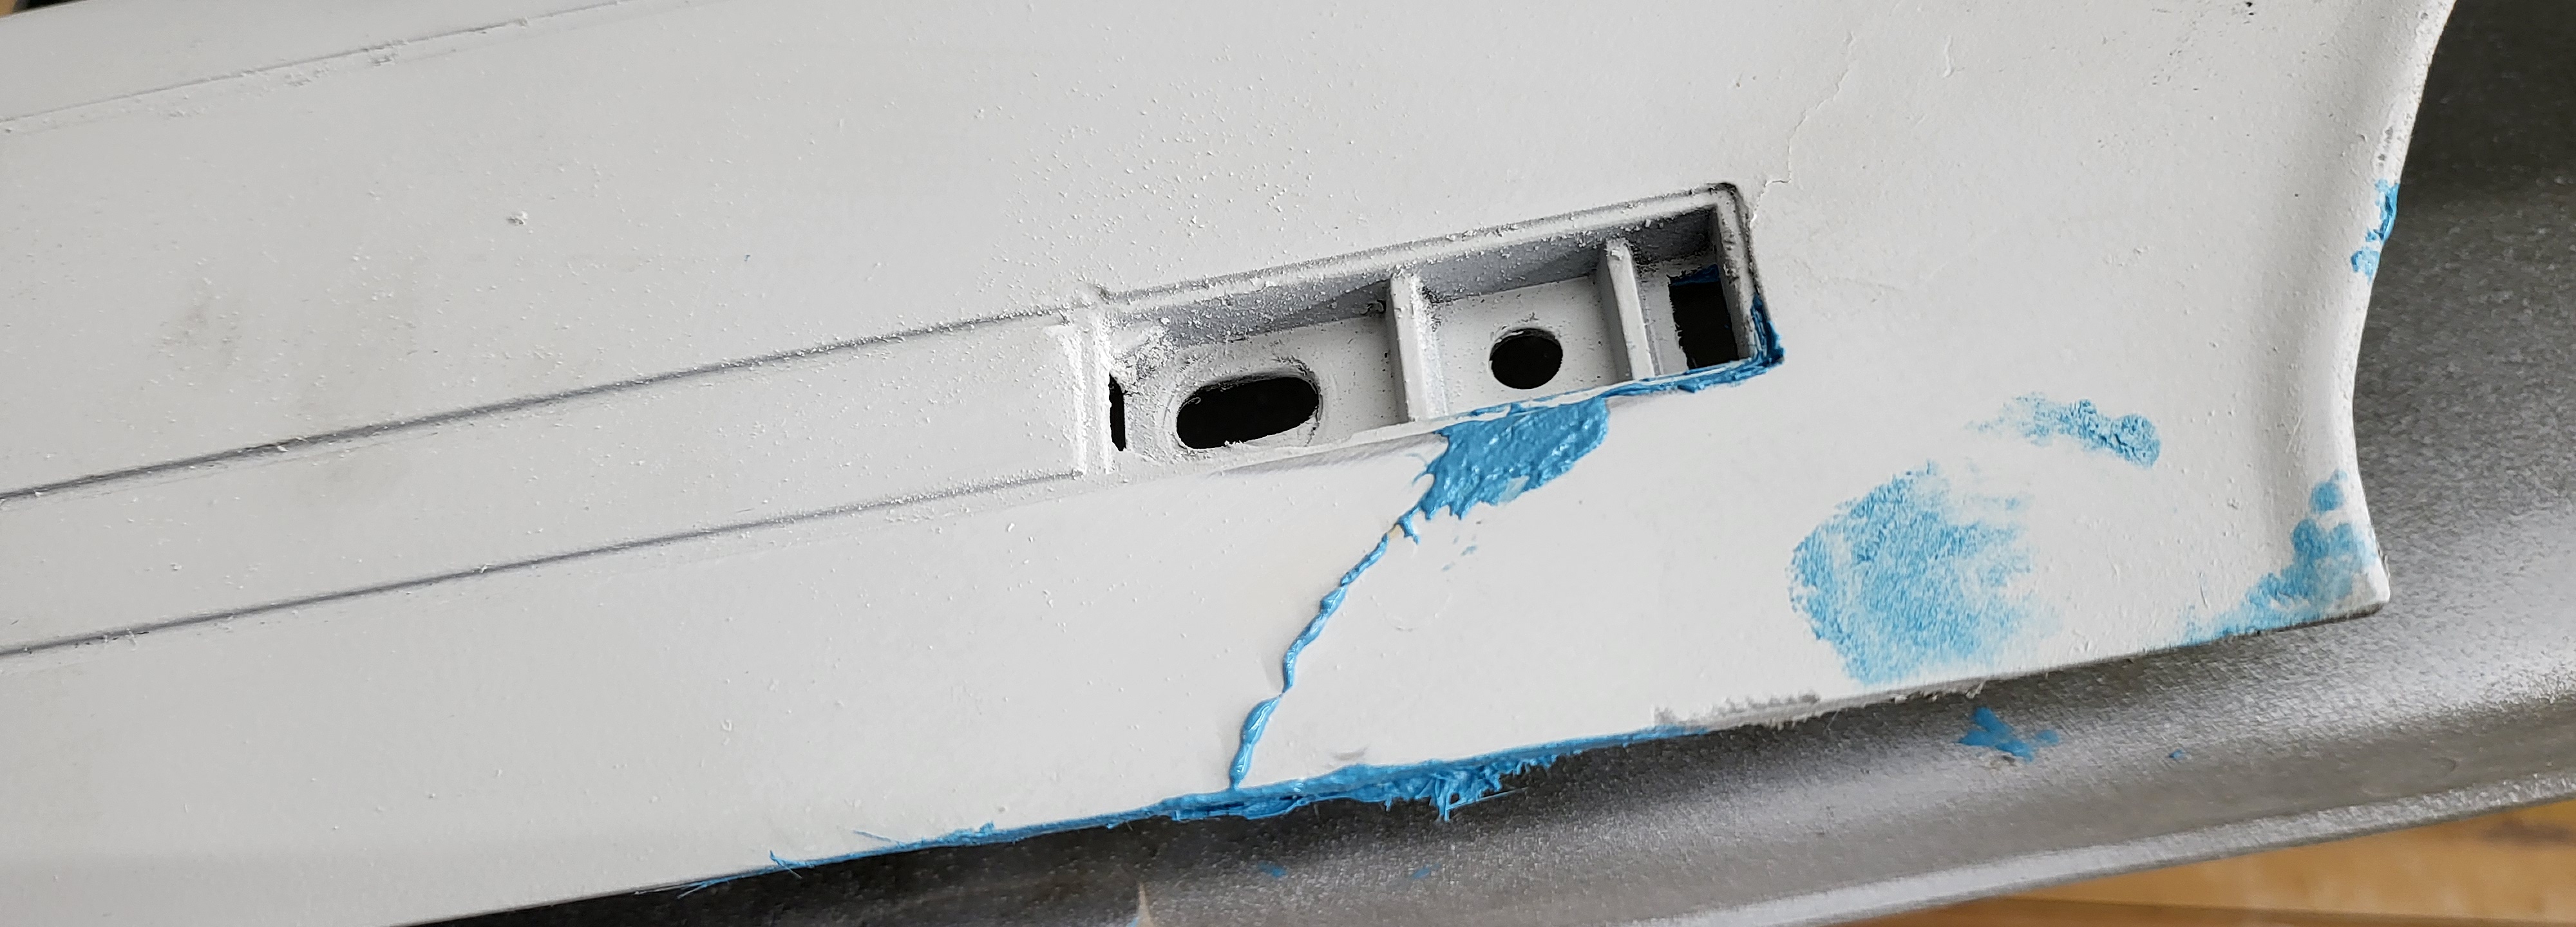
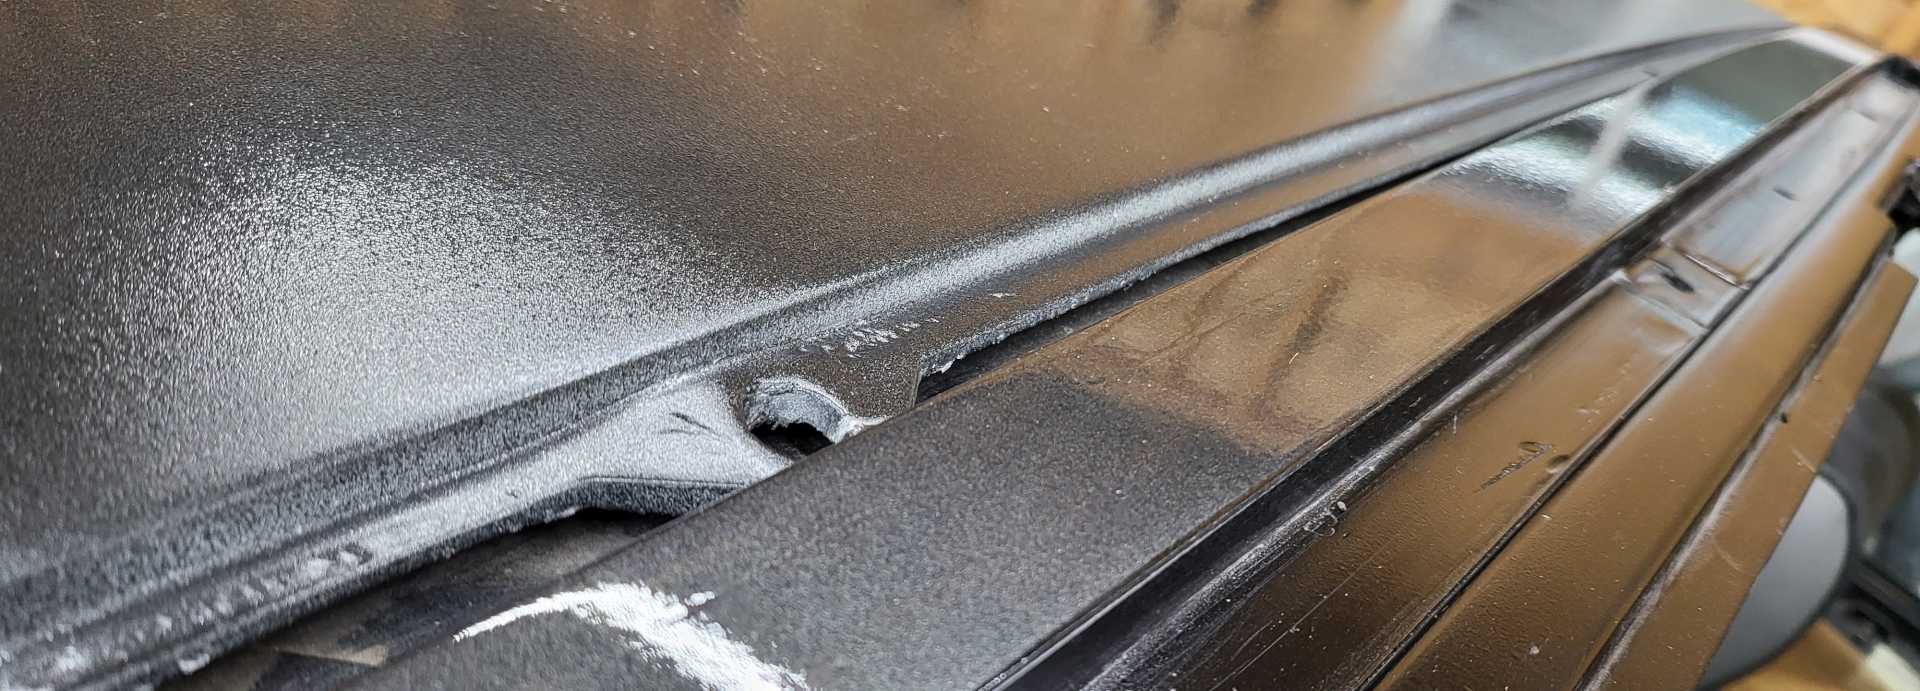
Remember the bubbling of the panel bonder adhesive I spoke of? This is what it looks like:
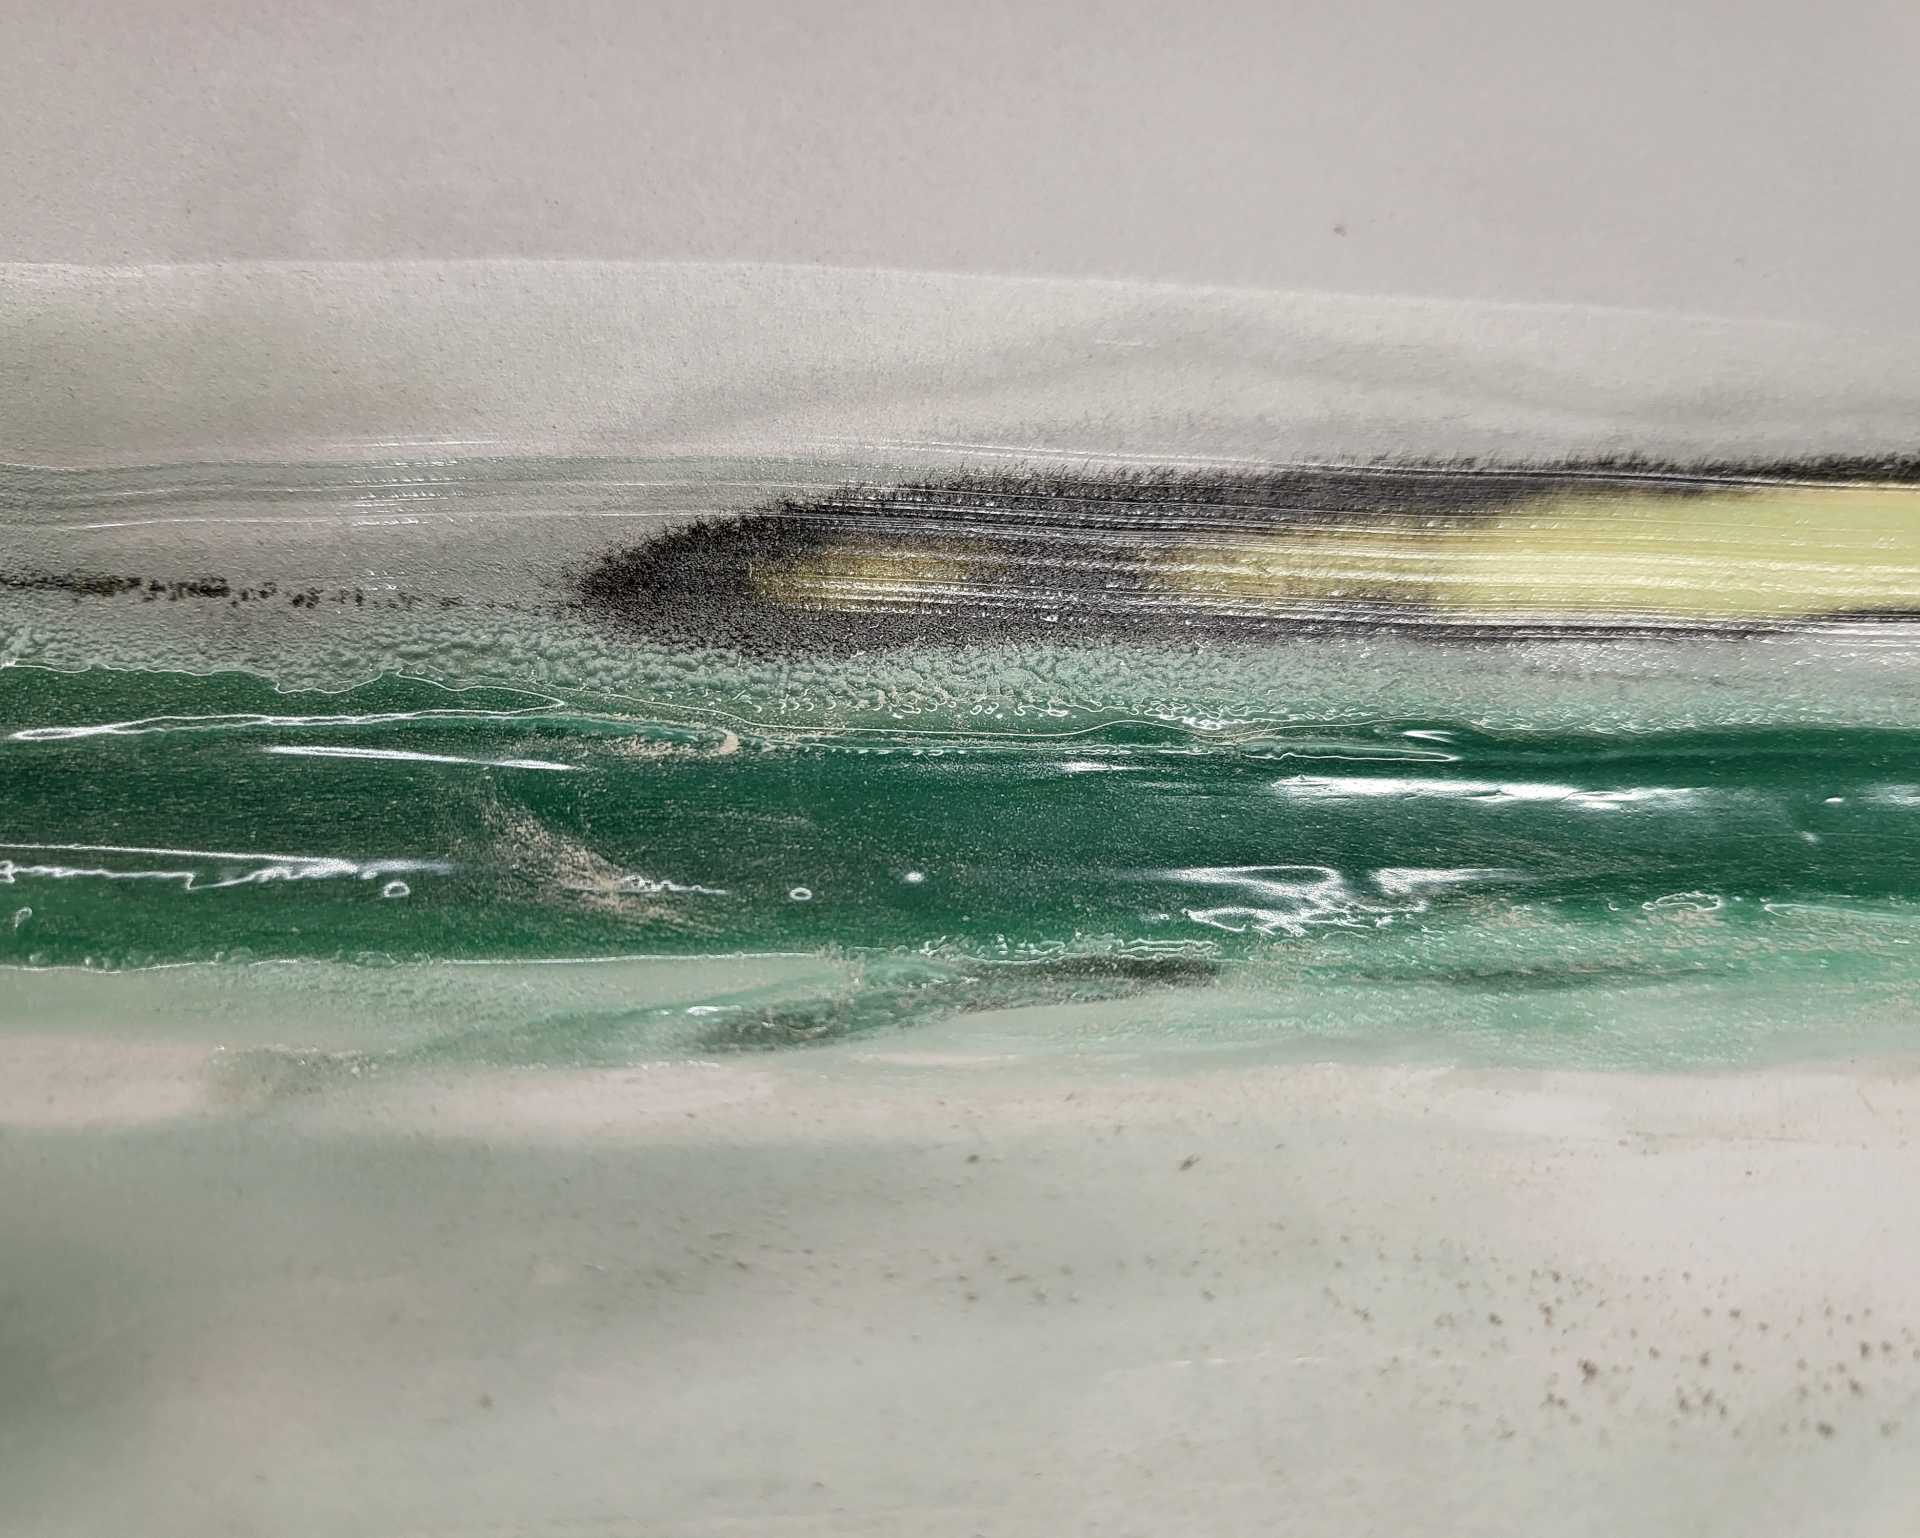
When you're doing bodywork and your sanding and you're constantly breaking off little soft bubbles it starts to get annoying. I never should have used the adhesive as a body filler. I spent days carefully grinding off almost all the exposed adhesive and replacing it with the glaze. I was tired of getting it almost perfect then seeing the bubbles sticking out. They are soft and rubbery and caused by folding of the panel bonder adhesive instead of using the mixing tip. When the adhesive is mixed by hand it becomes soft and bubbly when directly applied it's rock solid and very hard yet flexible.
So instead of using THREE bottles of adhesive I could have gotten away with one. My mistake. Moving on.
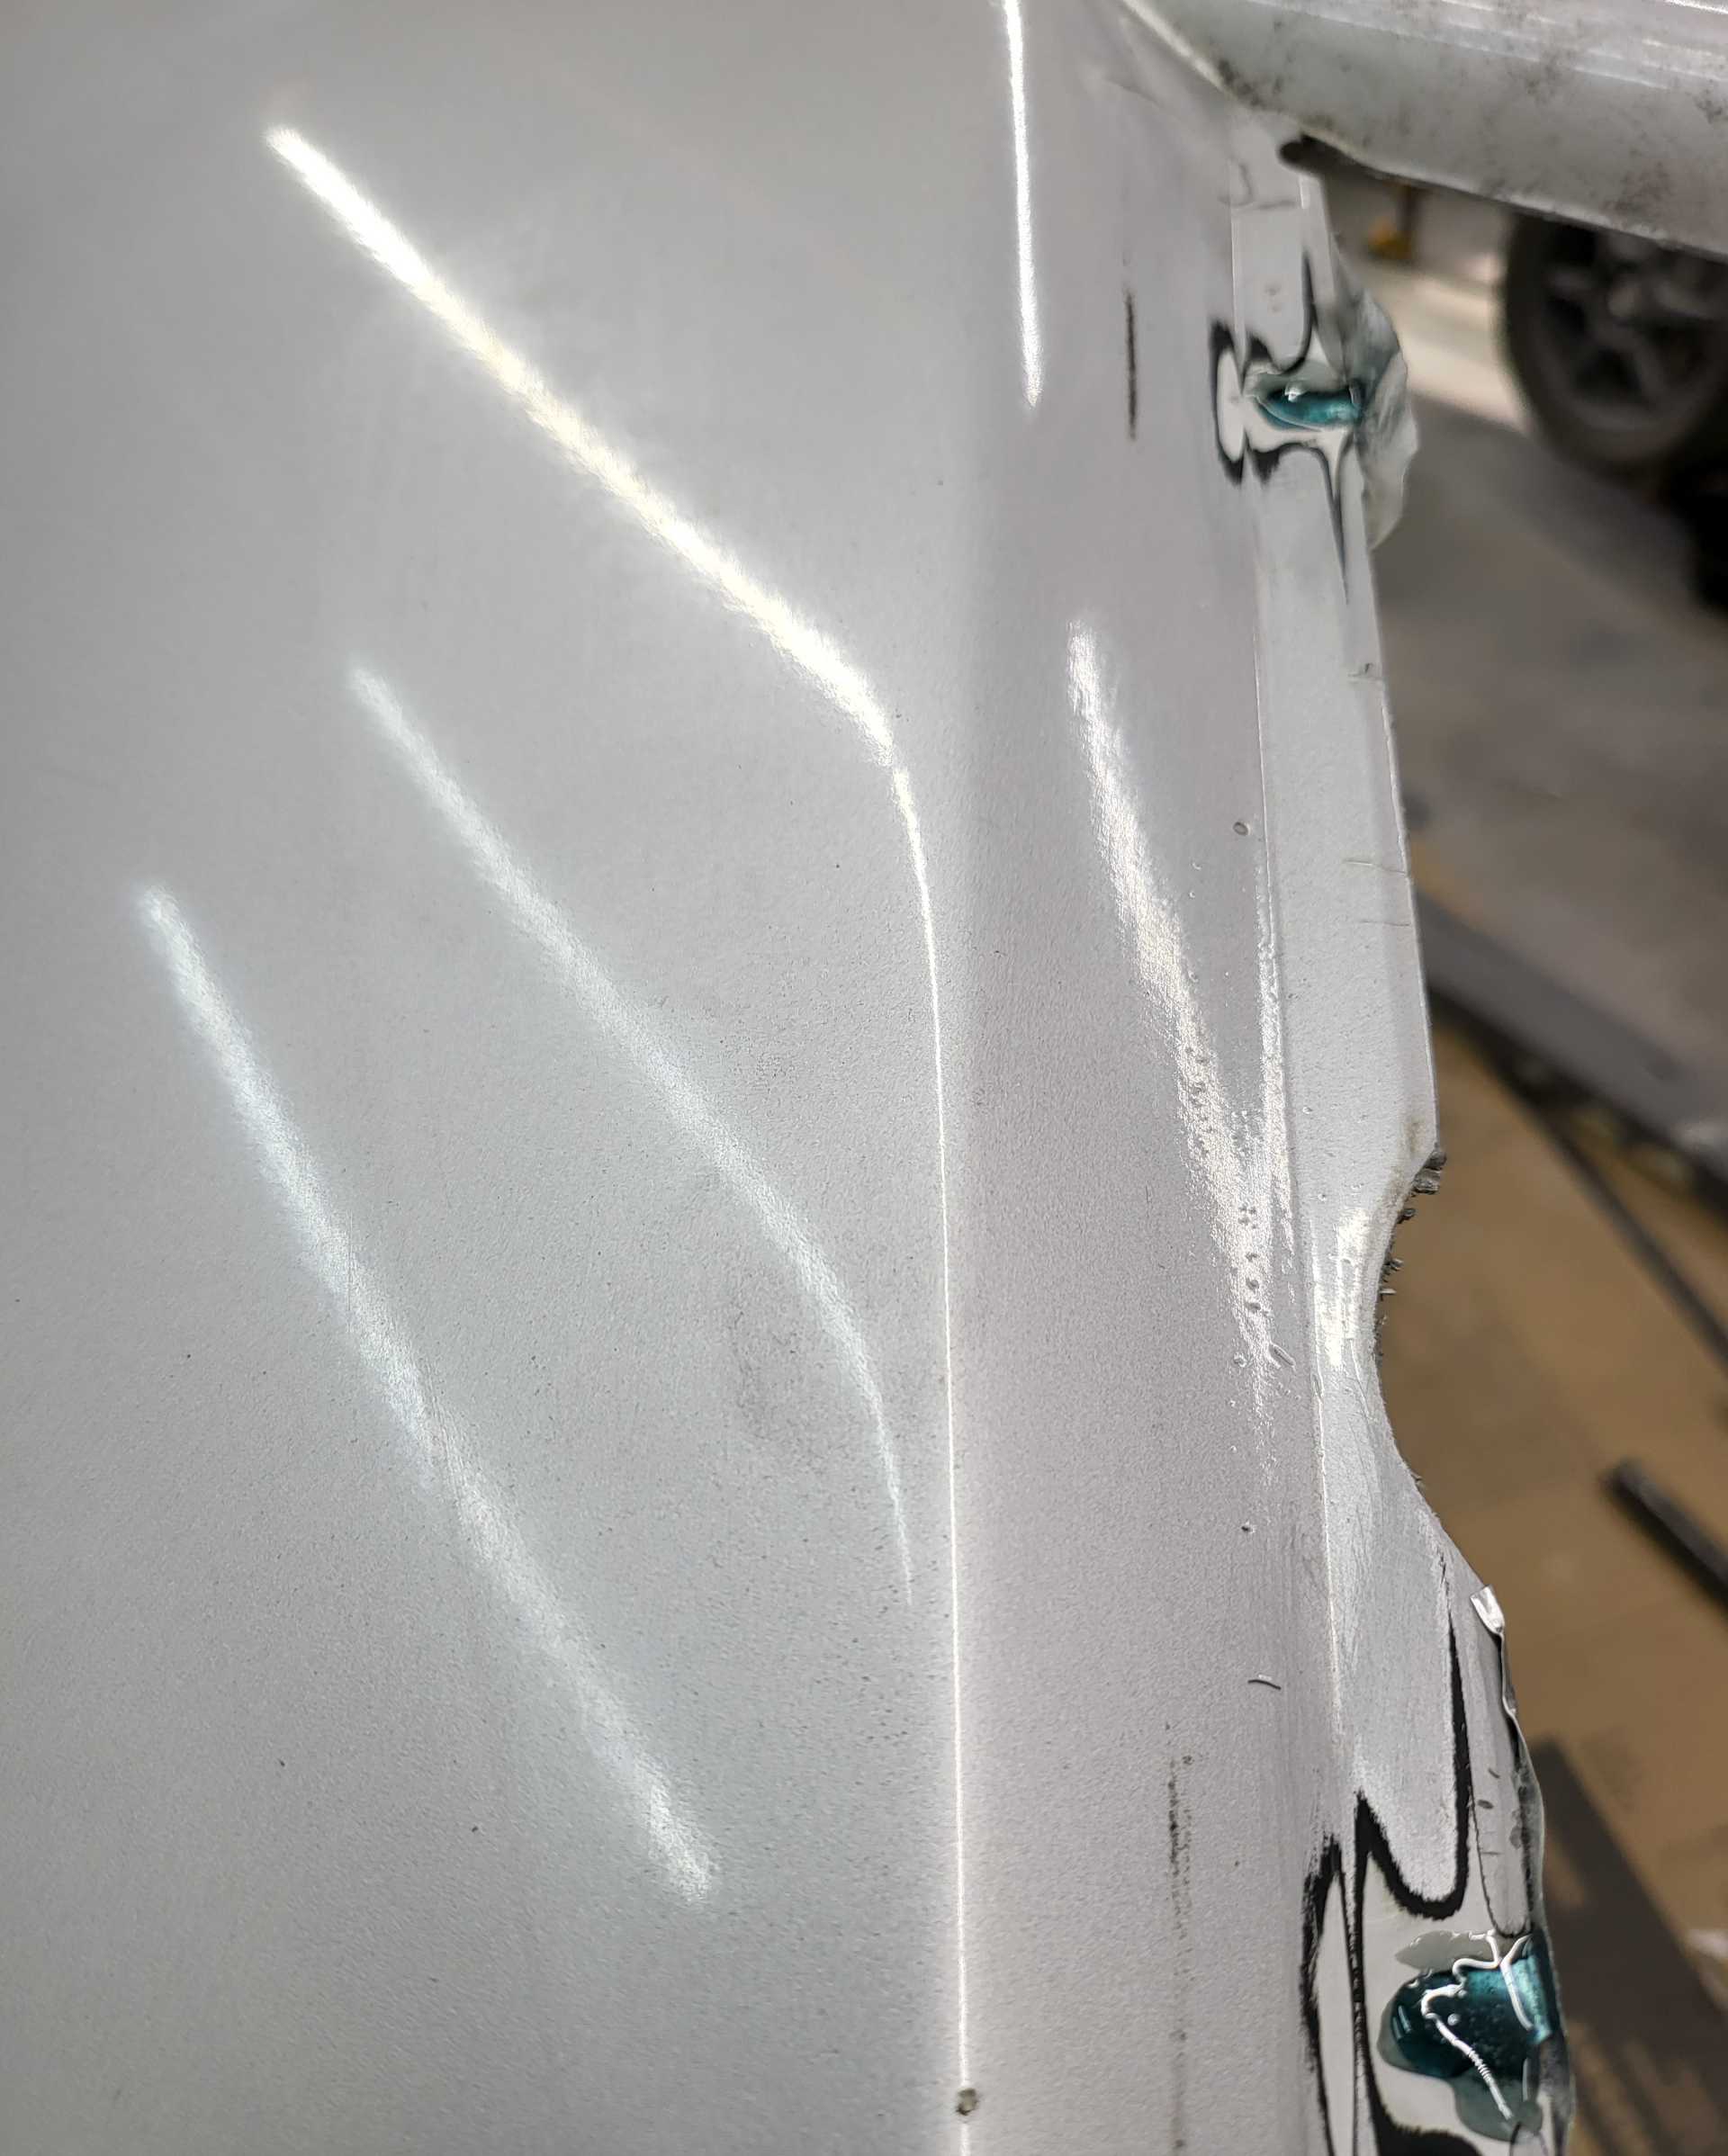
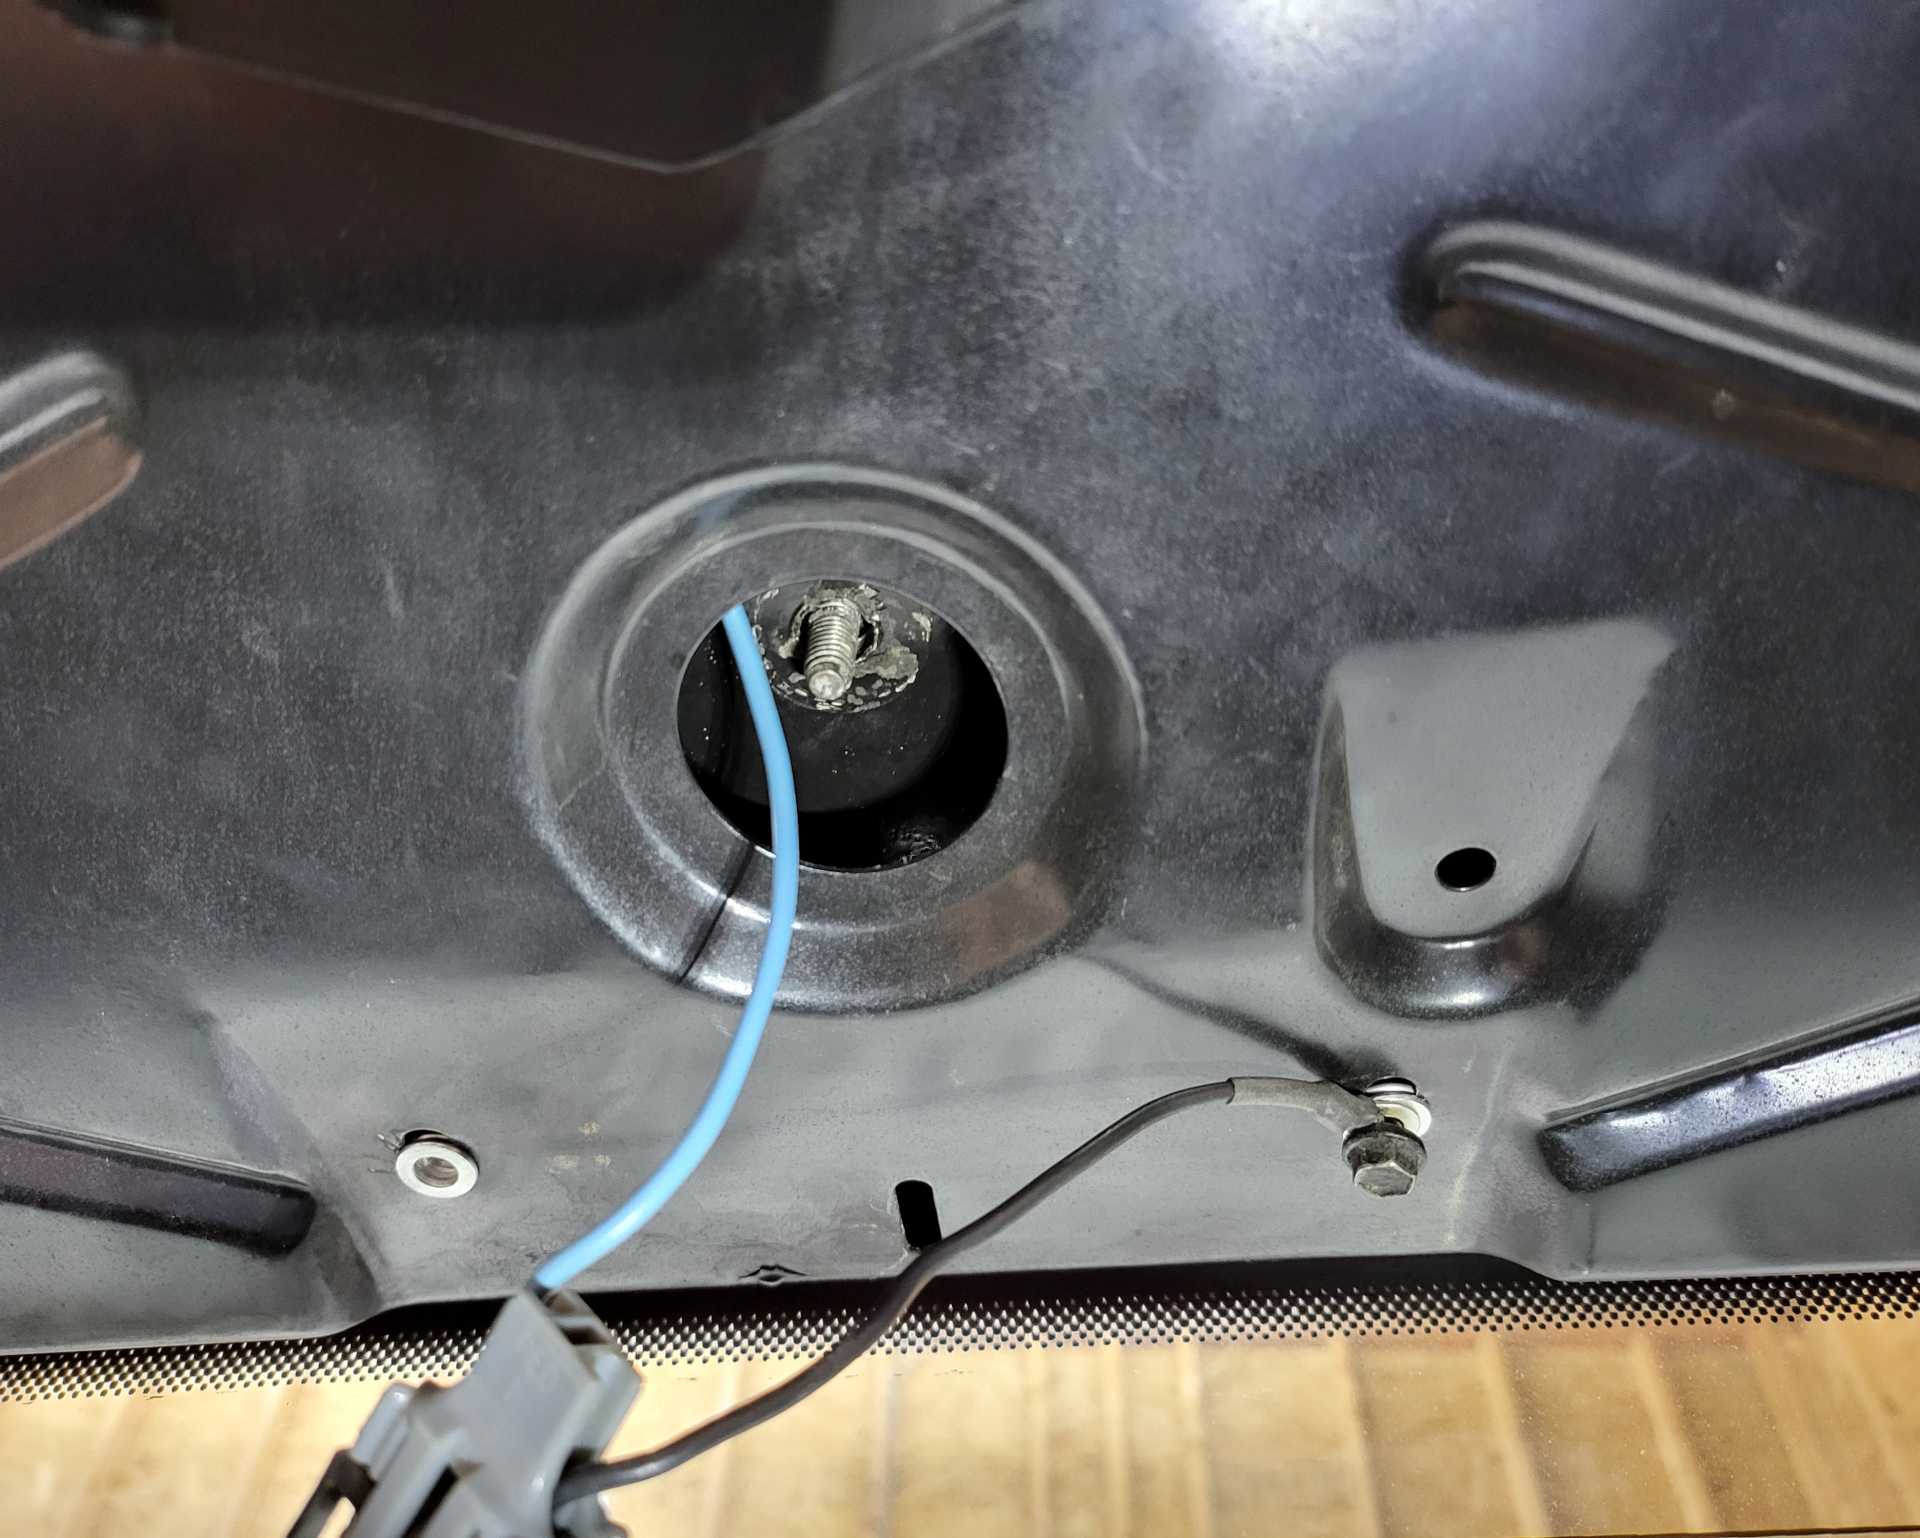
One of the studs that you thread a nut onto in the roof of the car was rotating on me during removal. When it was removed I noticed the bolts are held in with circular retainers and the most passenger side studs retainer was rusted away and sitting on the car.
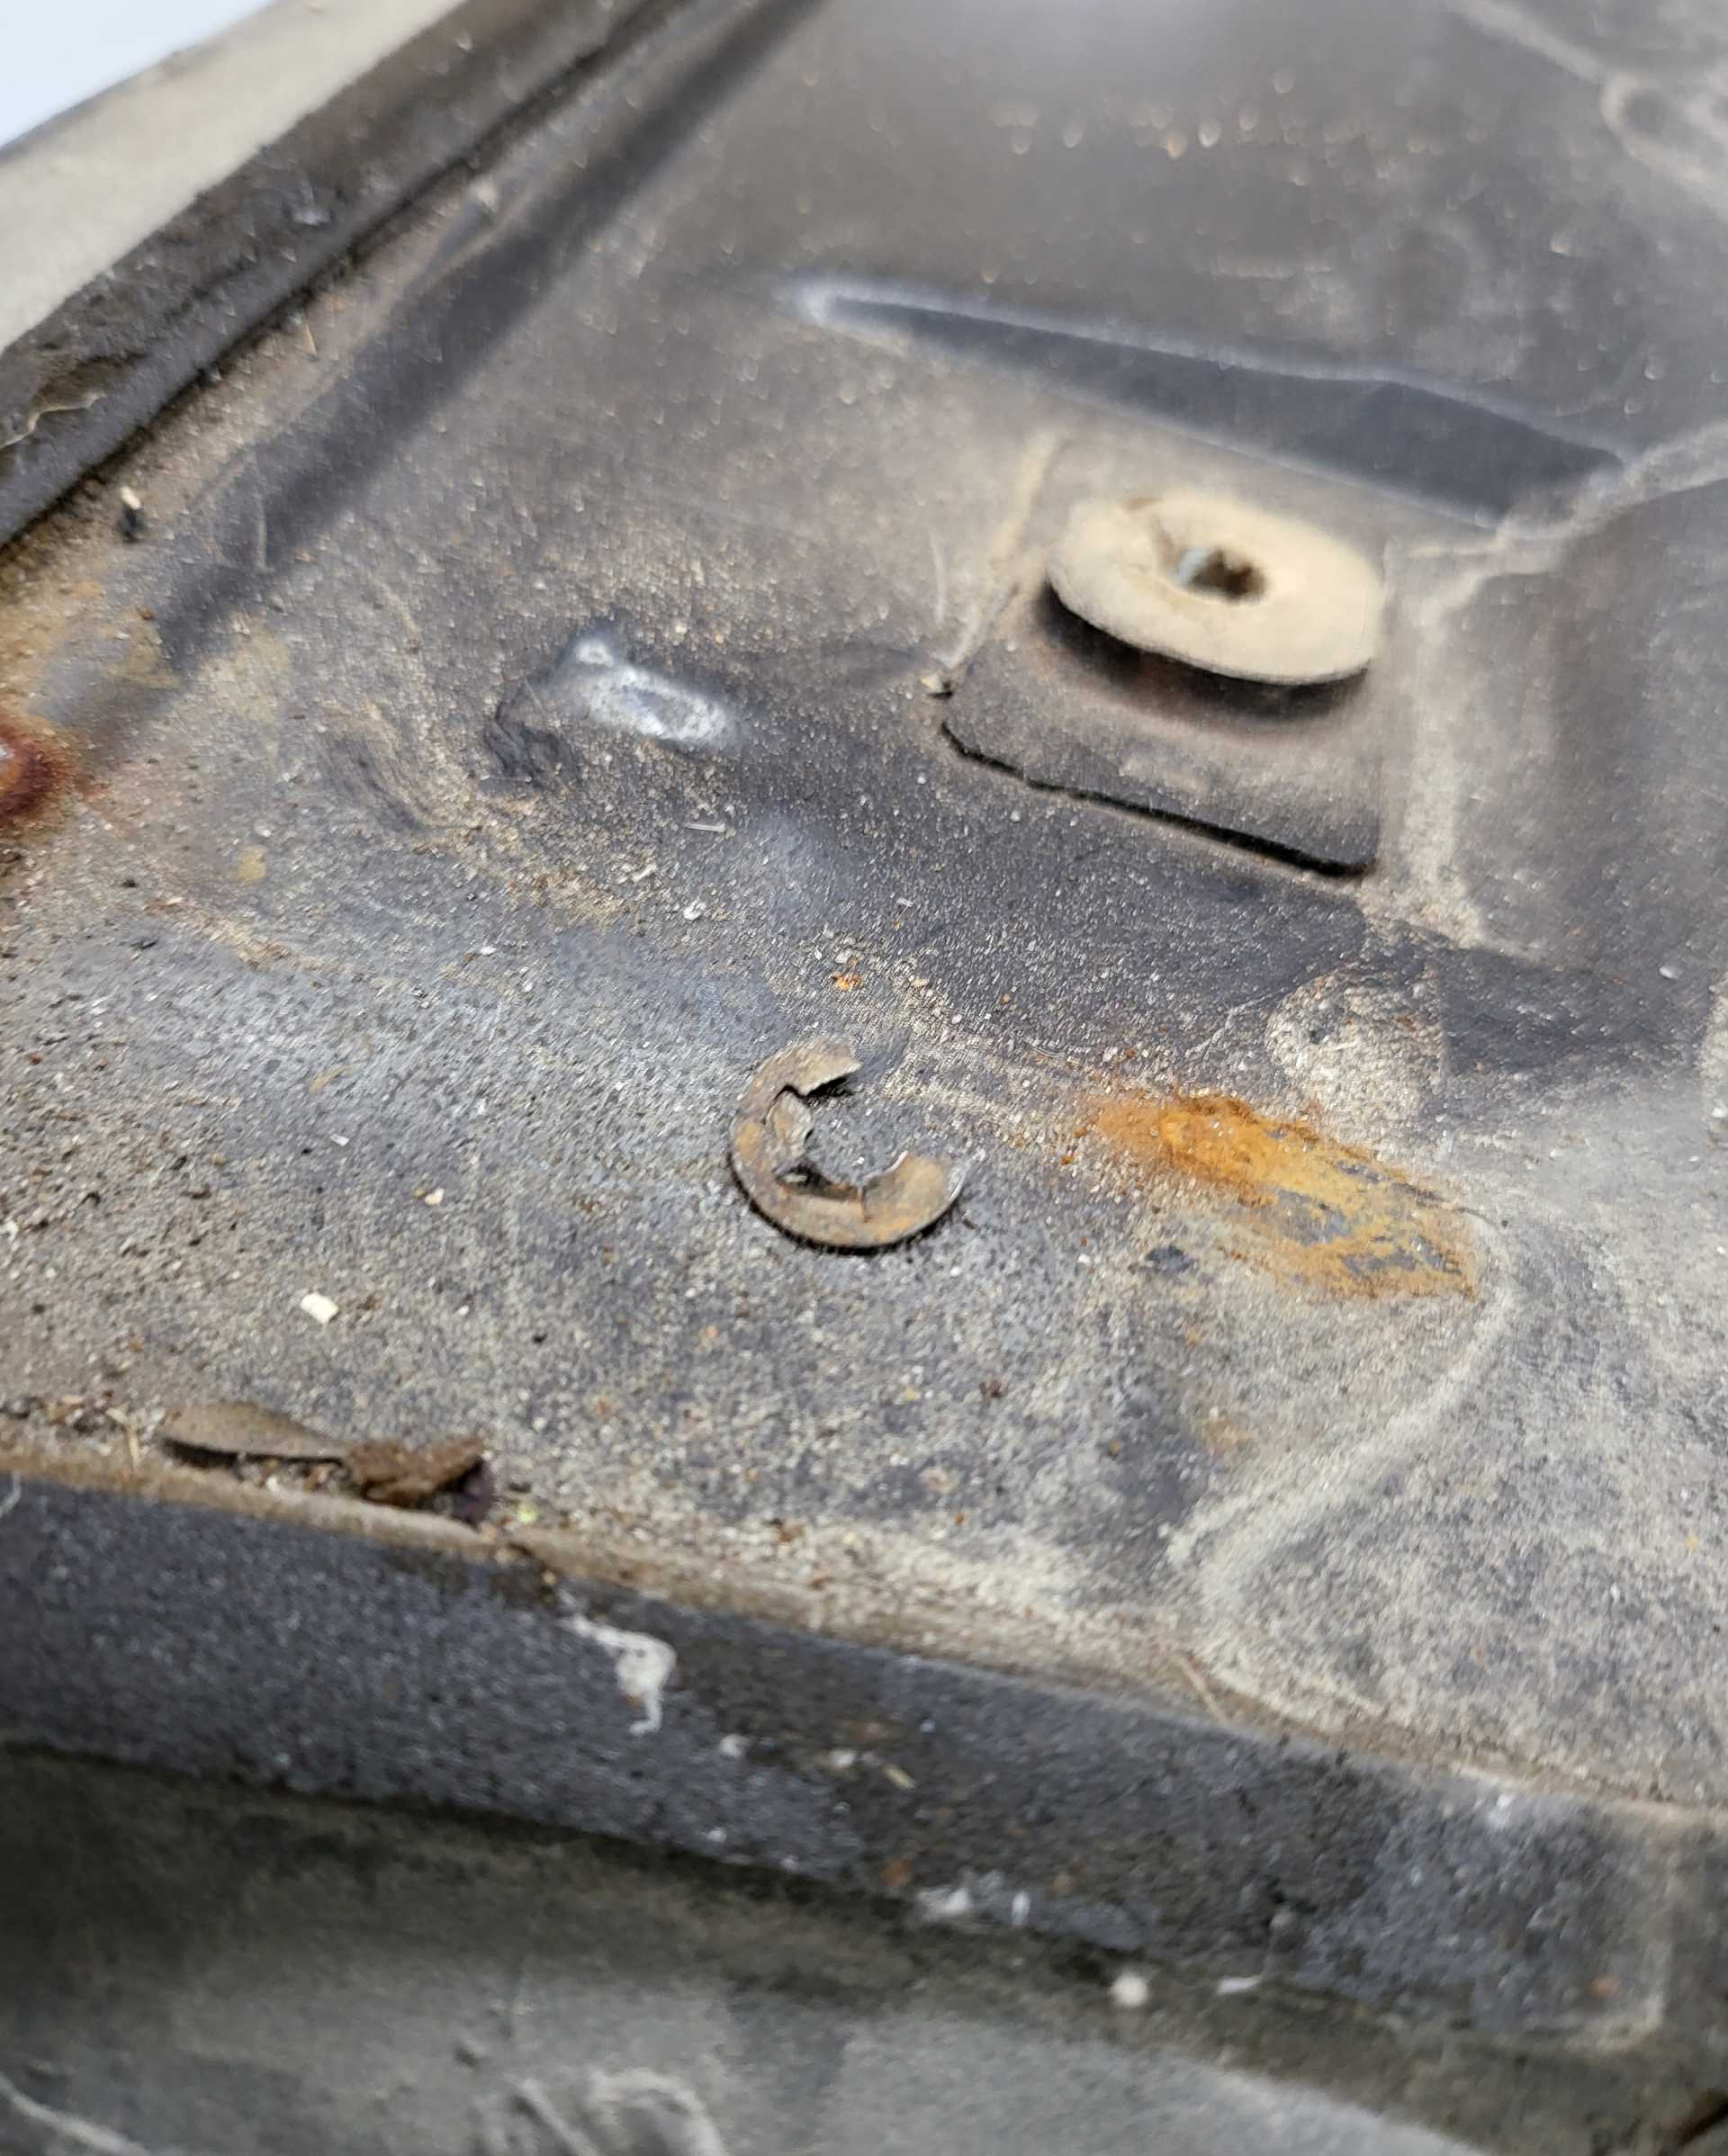
I managed to use the circular clips from the old door/fender molding which was slightly too large and ended up gluing it against the surface to help hold the stud down. As long as the stud is forced downward and not allowed to slide up it will stay retained.
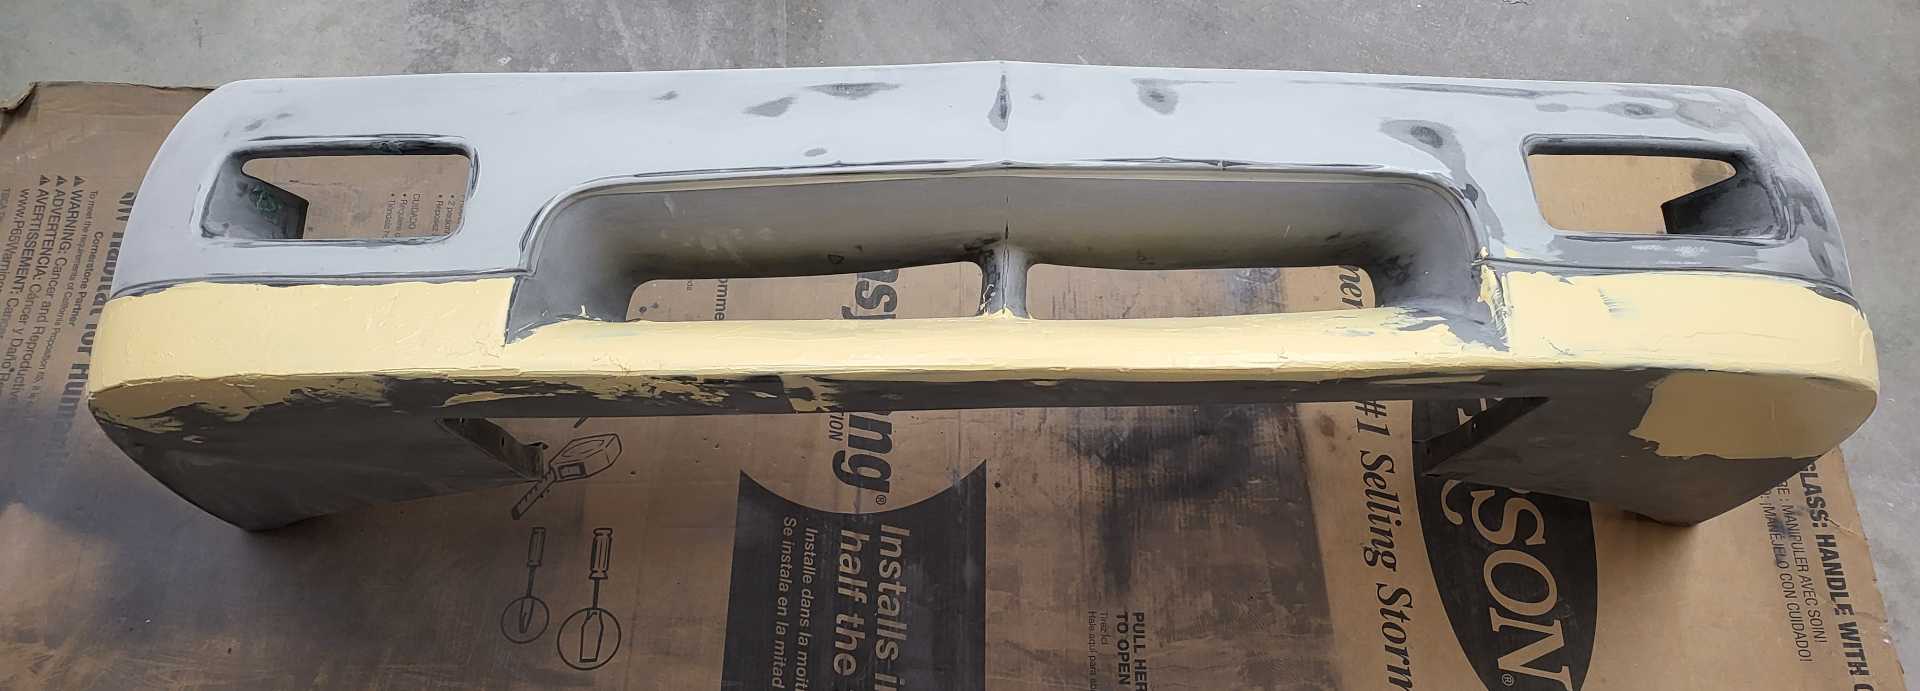
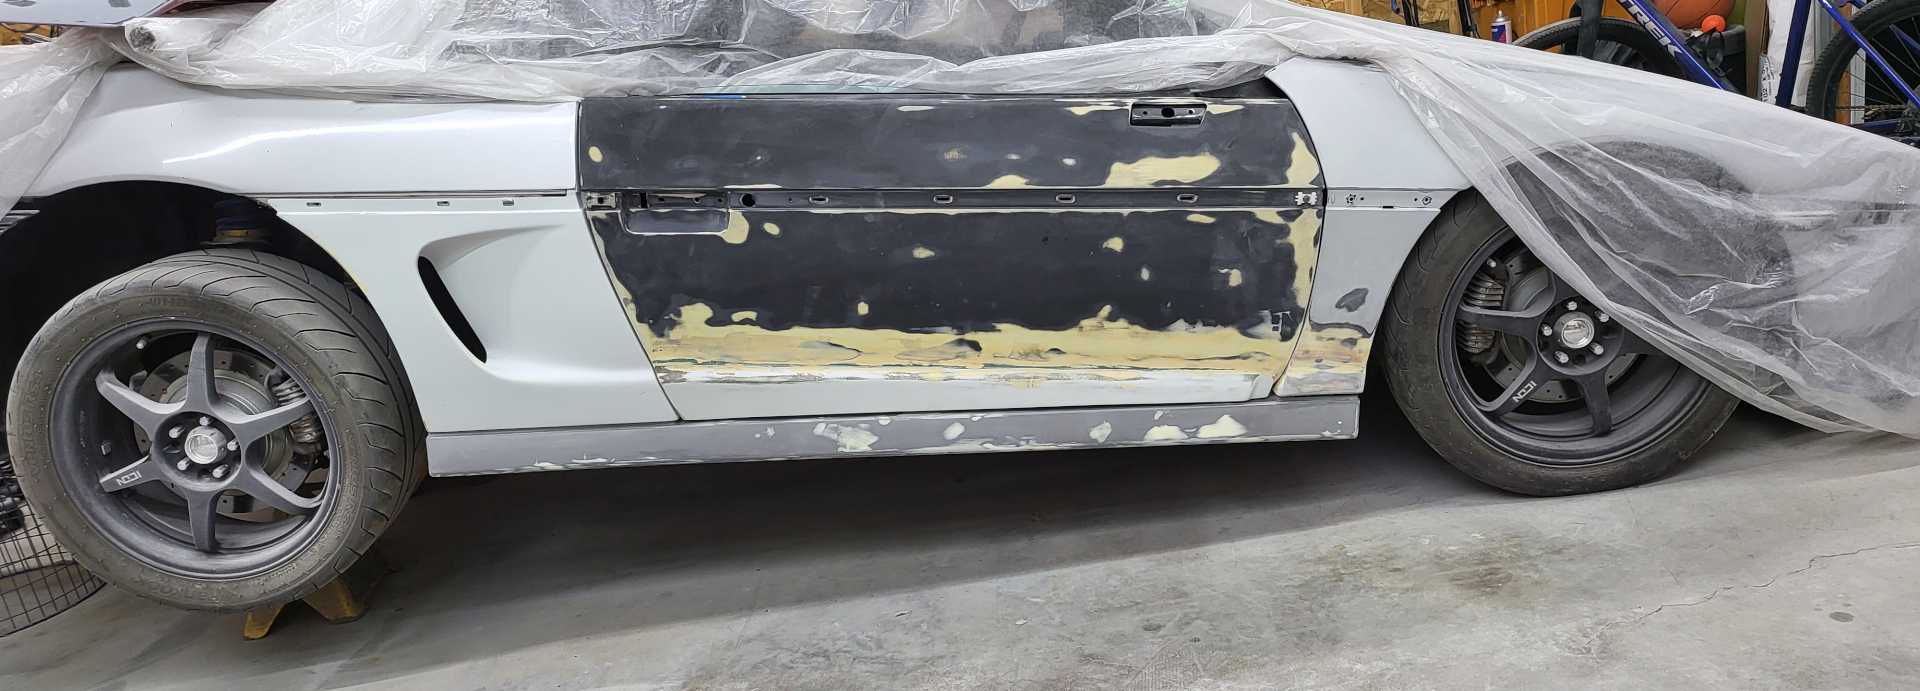
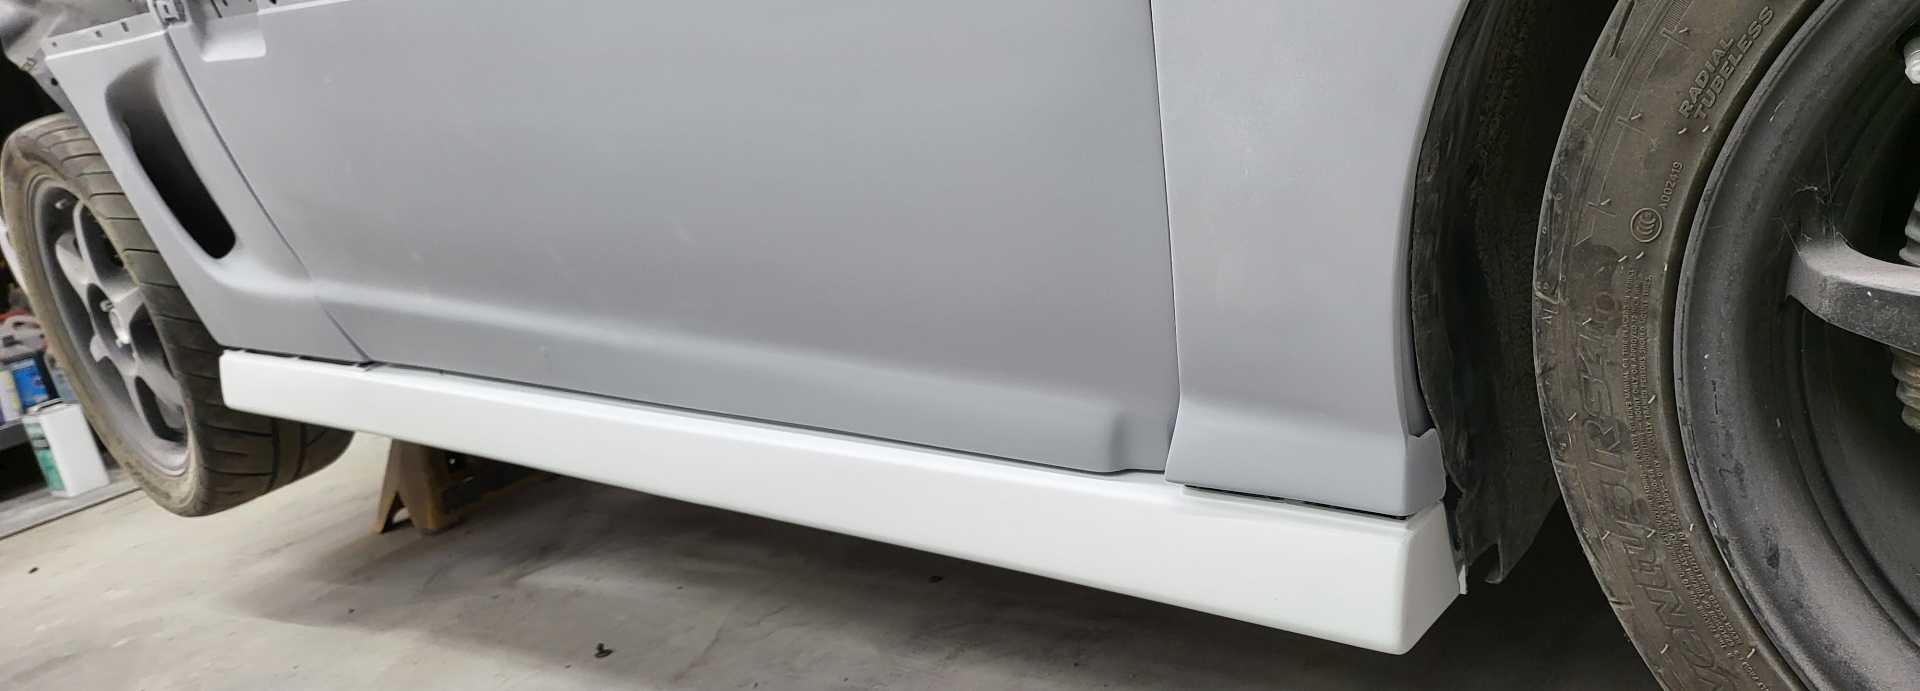
Both lower rockers were riddled with chips and dings from 4 decades of road debris. I used a similar method as the front fascia with the glaze and instead used only enough to fill all the little defects so I didn't have to spend so much time sanding.
After I double checked the bodywork I found multiple areas I needed to touch up. I drilled the holes incorrectly for the spoiler so I adjusted the rear drivers side hole rearward 1/8" and the spoiler fits nice now. I also found multiple areas of the front bumper that needed attending to and a few areas on the doors. I also fixed all the areas that needed attention on the fiberglass scoops.
I then started priming. The store ran out of dark grey primer so the car is a mix of light and dark. Looks interesting. I will definitely need to seal now.

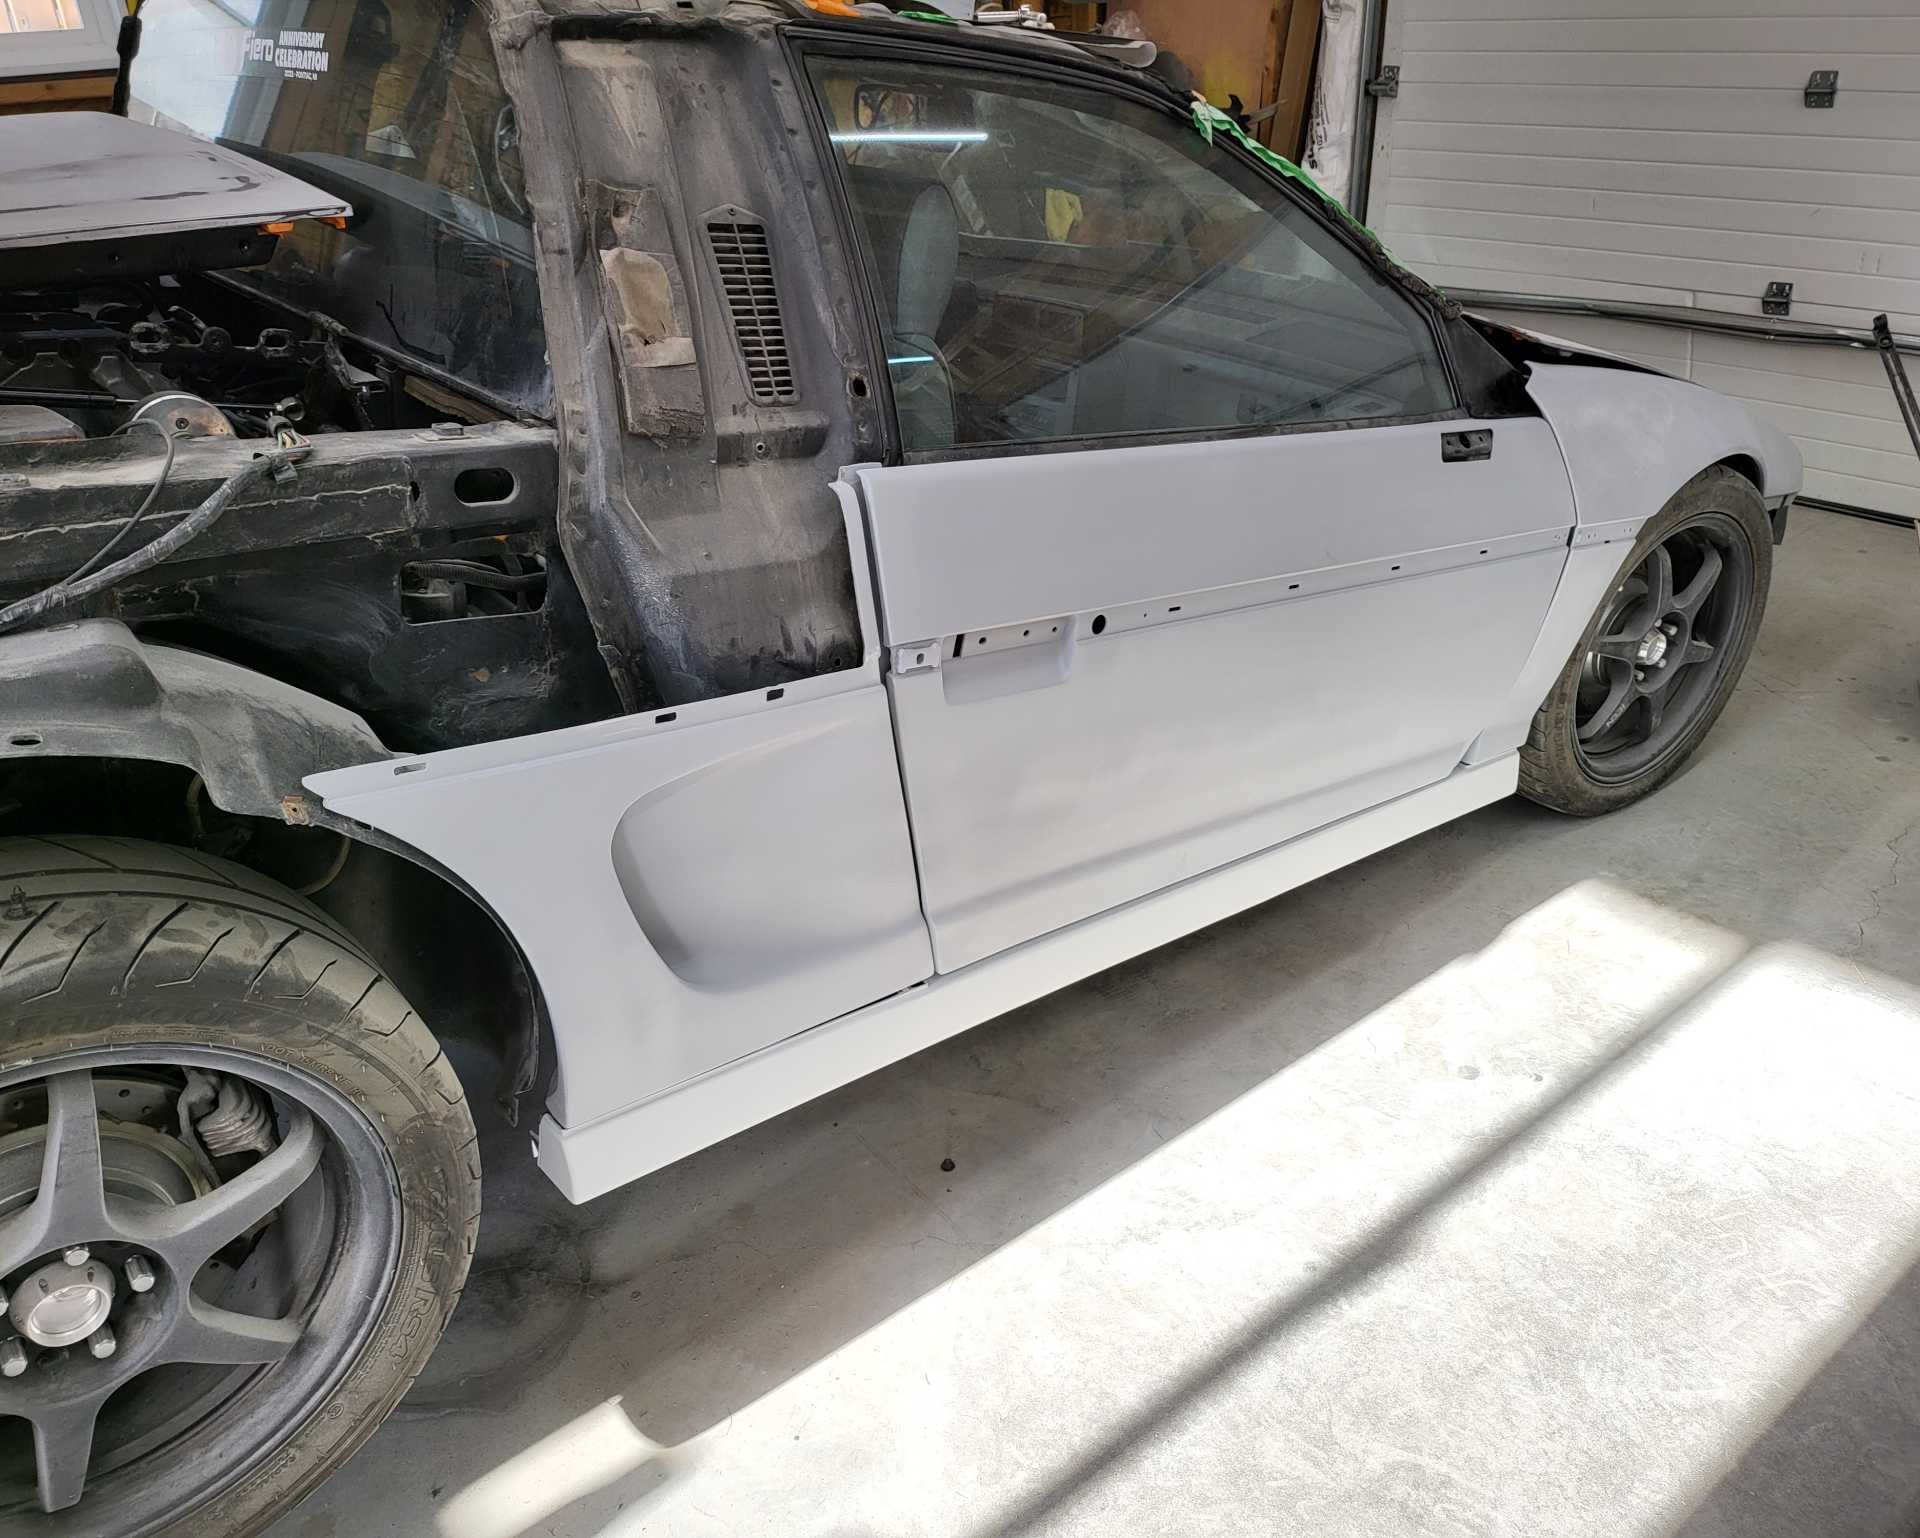
After priming the doors I noticed the driver side was not exactly smooth and I could see waves in the bodywork I did. I blocked it down and filled a few areas and both doors are smooth and look great in my opinion.
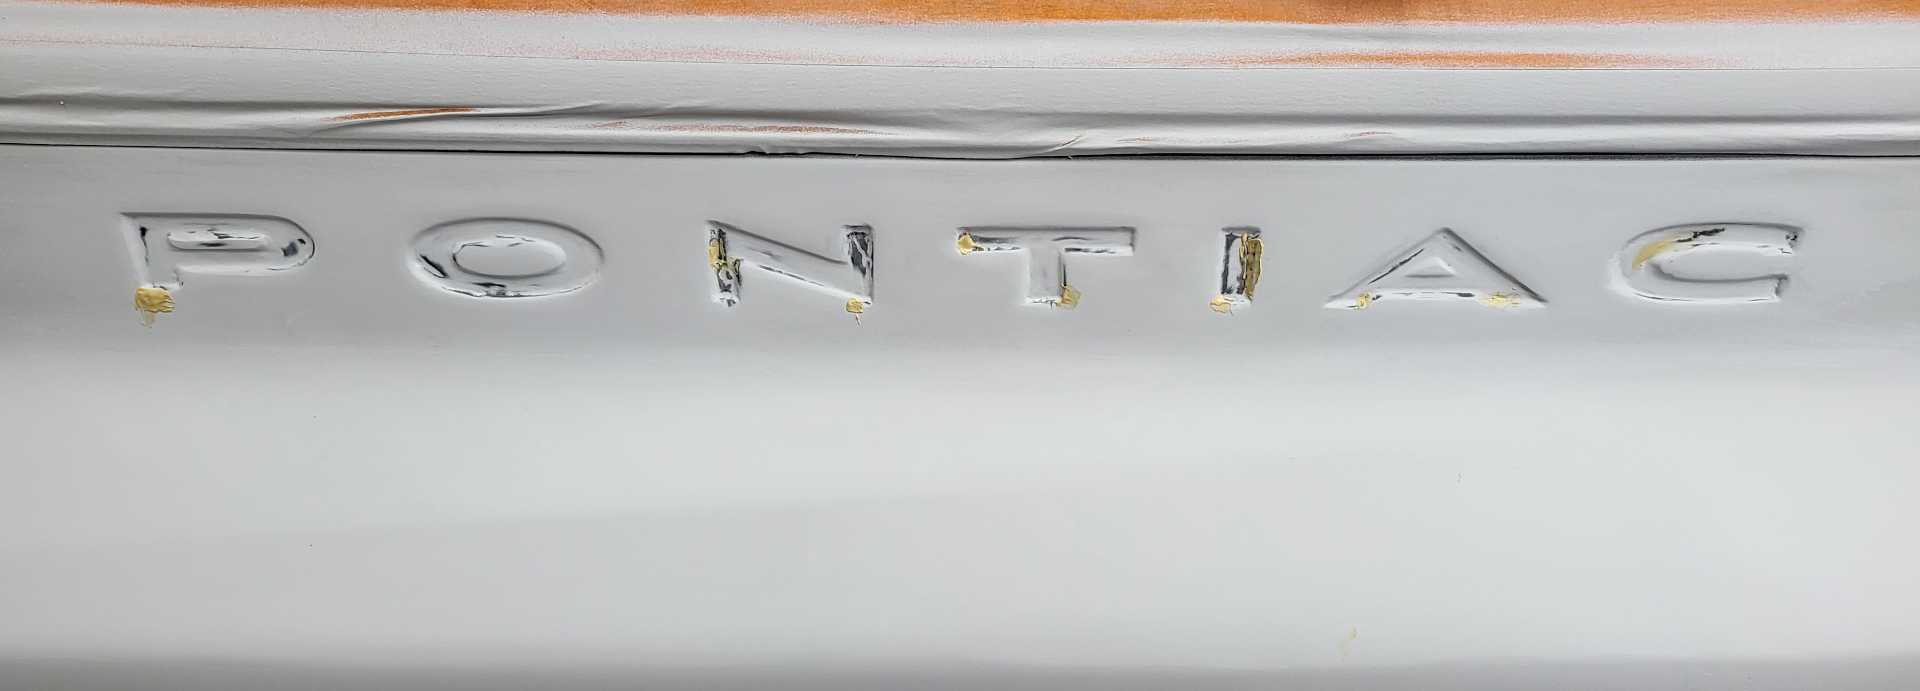
When removing the 3 layers of paint in the "PONTIAC" on the rear fascia I burned into the plastic a bit and didn't realize how obvious it was until I primered. So I carefully touched it up with the glaze.
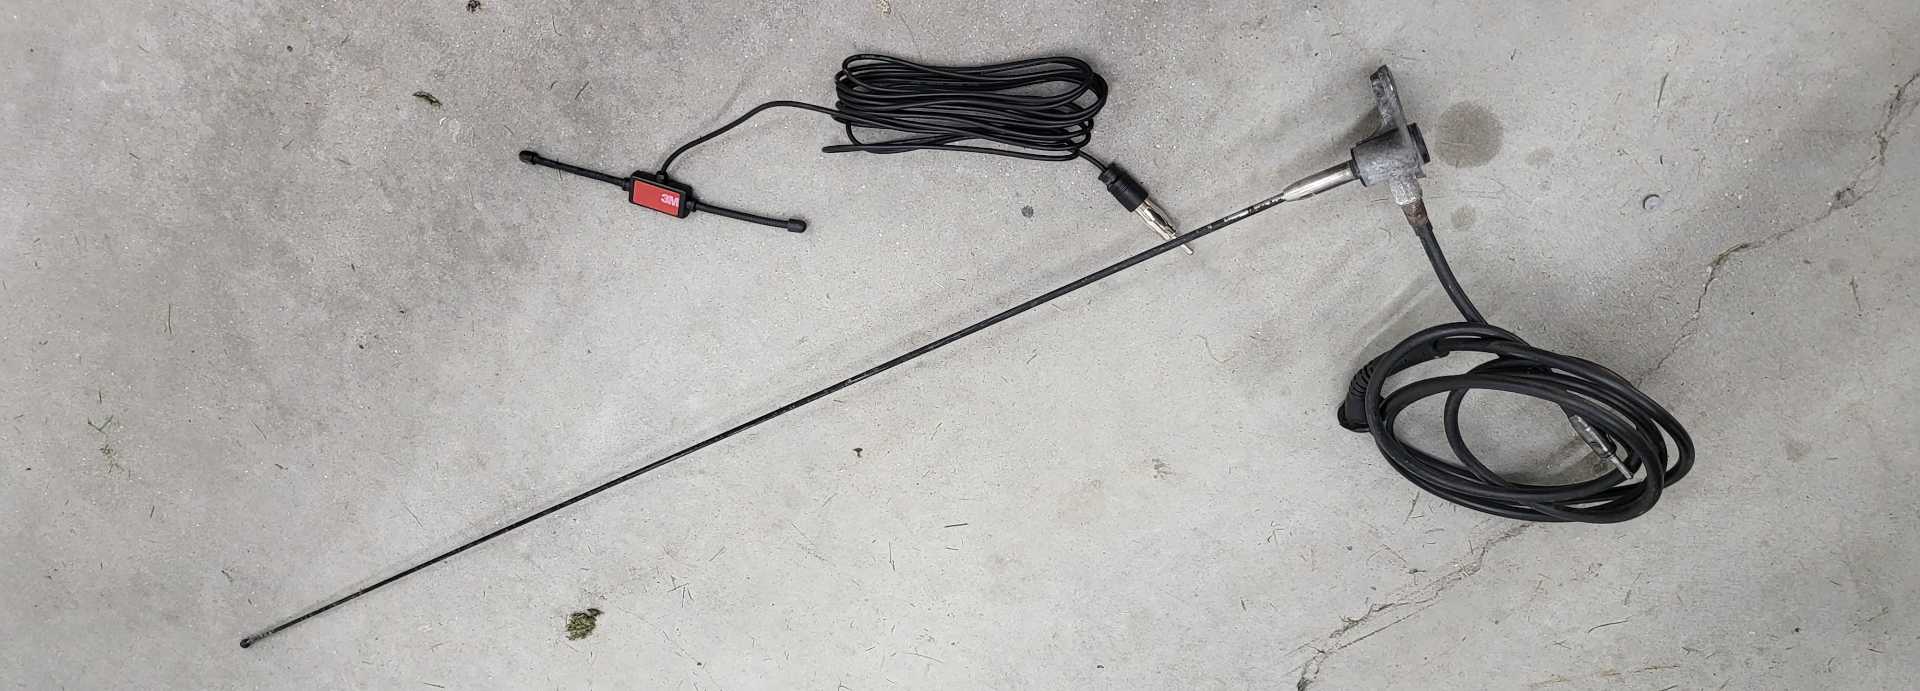
It wasn't mentioned that I filled the antenna hole a few weeks back using the panel bonder and a small piece of fiberglass on the back and smoothed it out with glaze on the outside.
I removed the old antenna as it was hanging off the car and installed a hidden antenna. I ran the cabled into the car. I couldn't remove the accordion rubber bulkhead seal so I just added a grommet and electrical taped up the diameter of the cable to seal. I then ran the cable up the passenger side a-pillar and attached it just under the sunroof seal. (I will try to remember to take a pic of where I installed it)
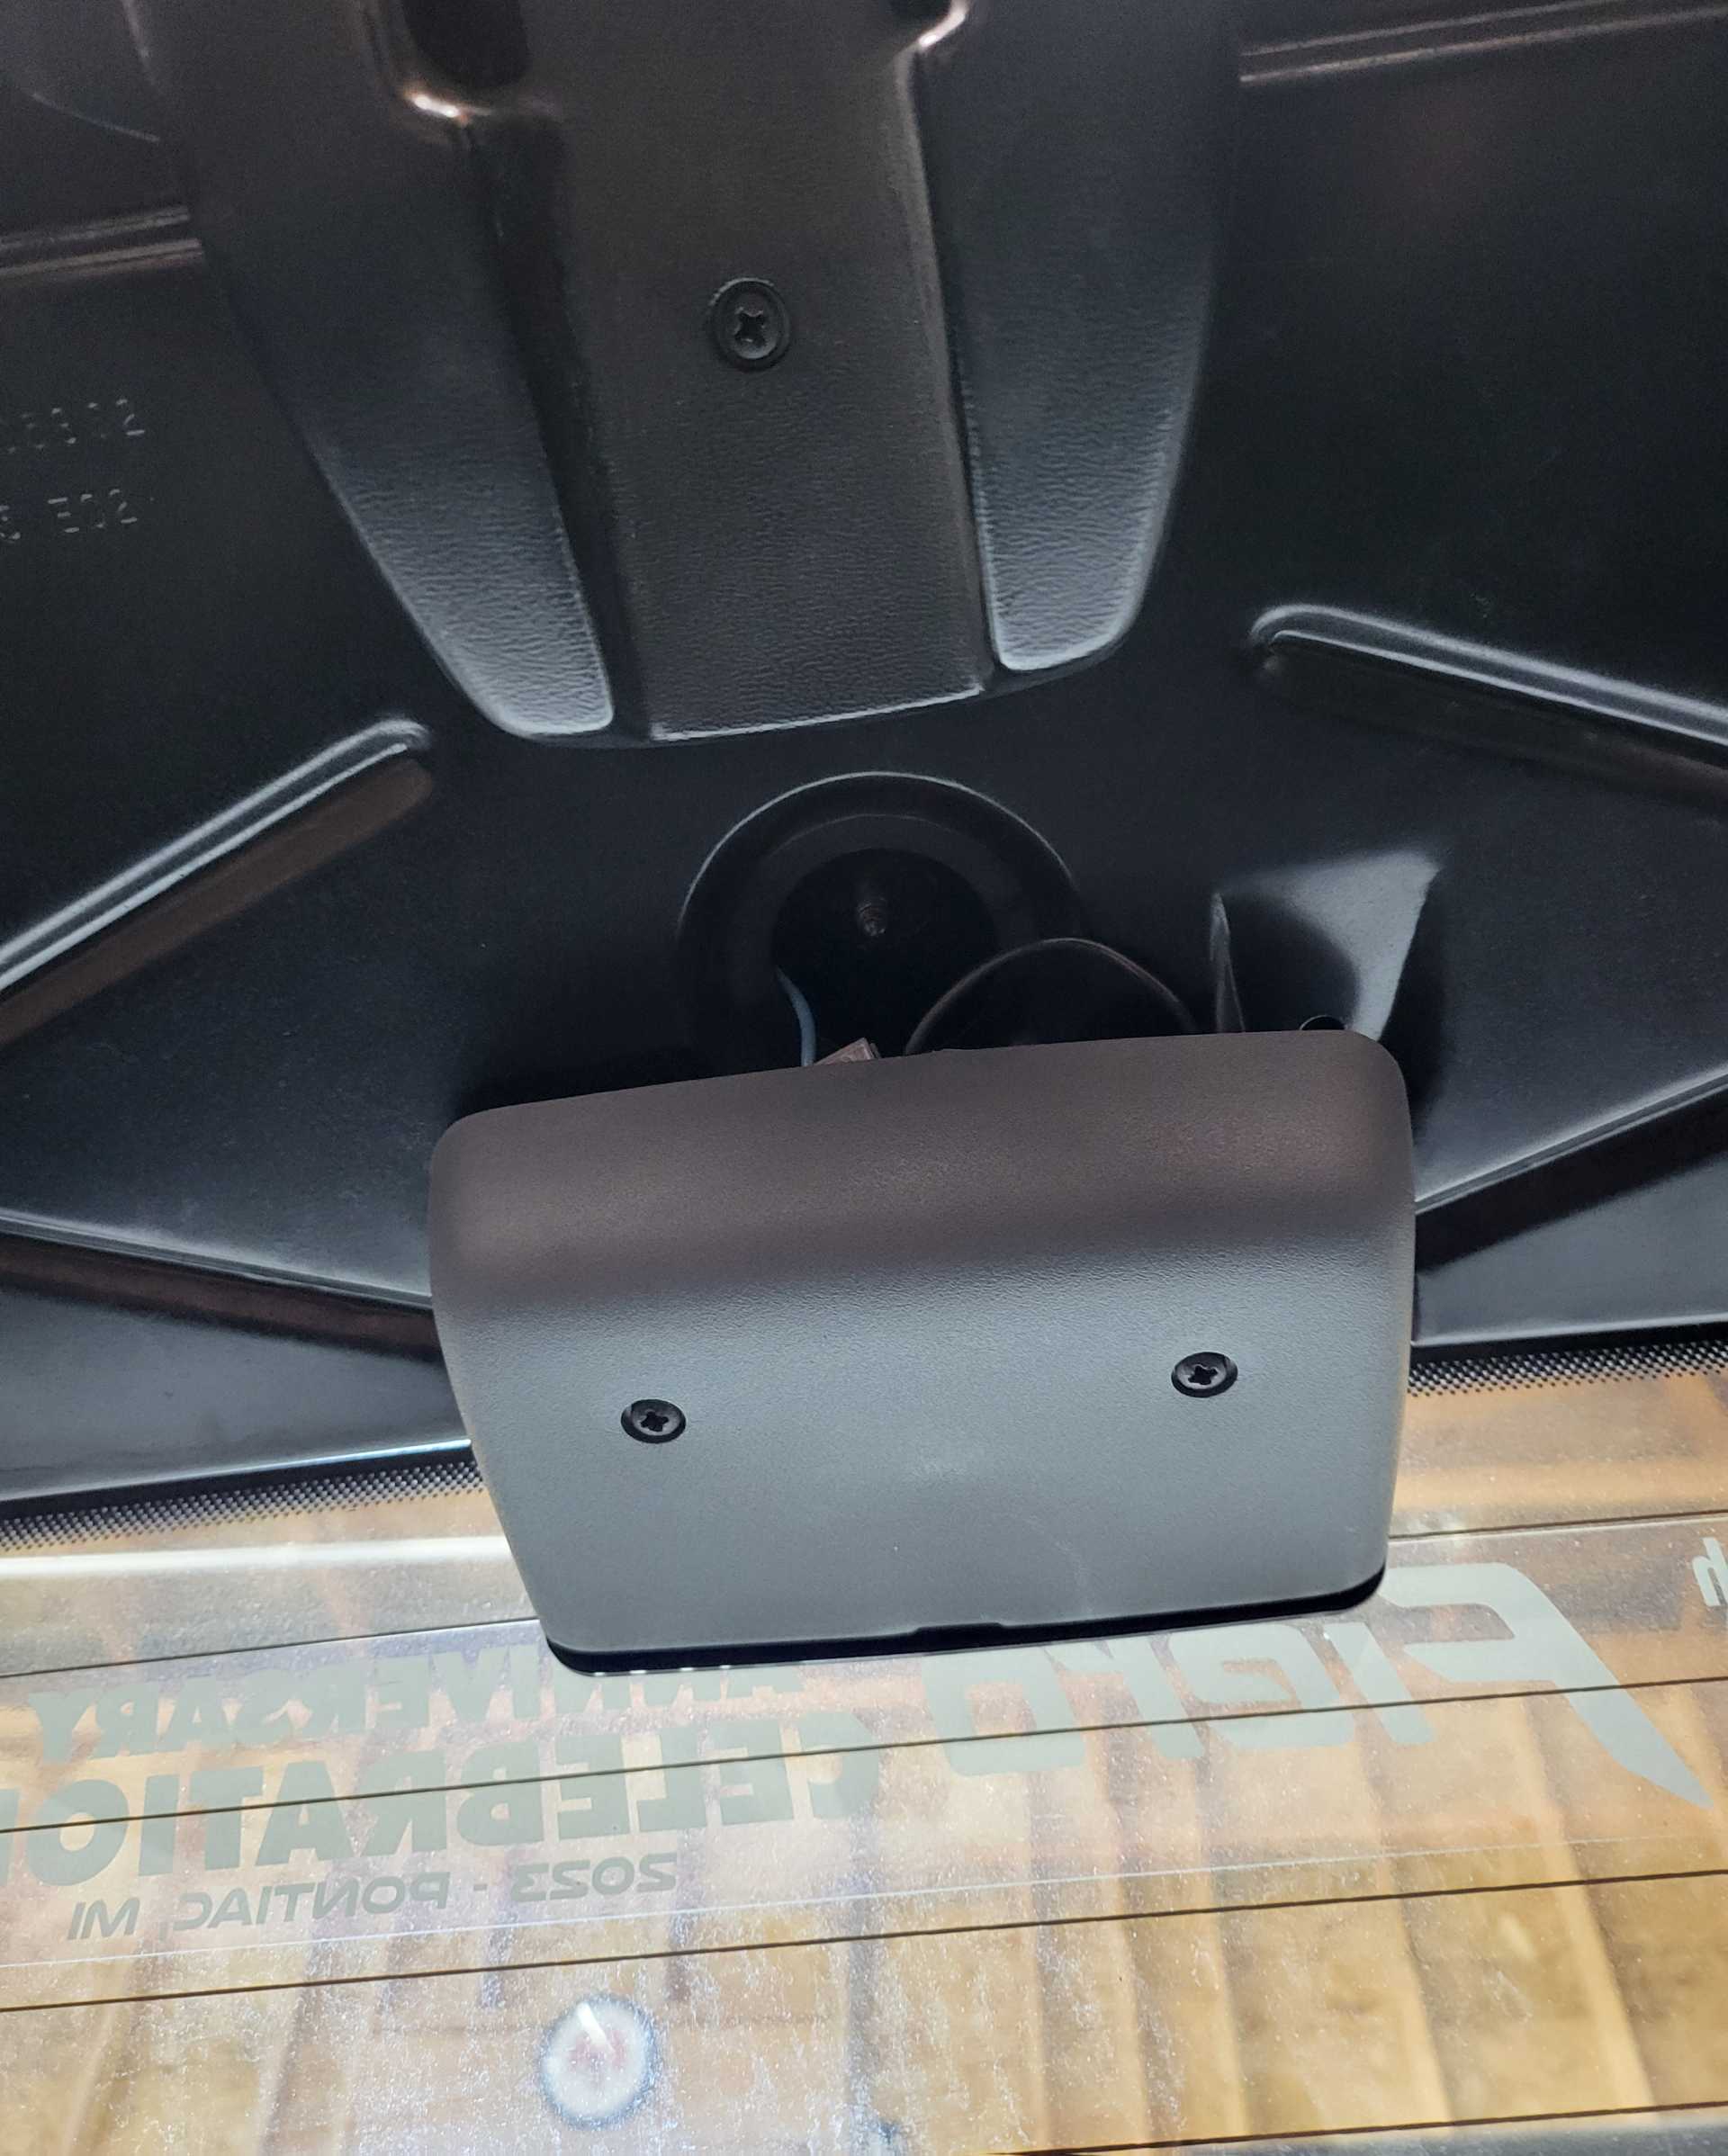
I then installed a 3rd brake light. When I added air conditioning to the car it was from a later model Fiero that had the 3rd brake light. I kept that extra wire hidden away and connected it to the new connector. There were slots in the roof for the light housing to mount to however there was no nut or threads. I installed some threaded inserts and the stock bolts threaded in fine. I just need to find a bulb. I don't particularly like the ground there however it seems to be doing the job and it's hidden away.
Like it belongs there!
The first repair in a crack I found in the drivers side rocker was no good. After priming it was clear it was still cracked. I remember hours of fusing the plastic into the rocker to fill and seal the crack permanently. With a small pick of my finger I was able to tear off what I melted onto the rocker in a second with ease like it was never even bonded. Throughout this project I tried on at least 6 different areas to do the plastic welding all had the exact same failure with the melted plastic just peeling off like nothing. I tried different cleaning and surface preparation, I tried higher temperatures, different materials. There must be something I am overlooking that is not causing the material to bond to itself.
Anyway I used the plastic surgery and and a piece of fiberglass to fix it up. All good now. I would have preferred if the repair was inclusive only of it's own materials.
All ready for paint now. Paint day tomorrow.
|
|
|
|
Spadesluck
|
SEP 13, 04:58 PM
|
|
|
You are going to seal the primer? That what I am reading?
|
|
|
|
Matthew_Fiero
|
SEP 13, 05:22 PM
|
|
|
Yes that's correct. I'll be sealing before base coat to get everything the same colour.
|
|
|
|
Spadesluck
|
SEP 16, 10:29 AM
|
|
|
Do you use the same primer on the bumper as you would the hood? I am curious just because of the flex of the bumper.
|
|

|
Matthew_Fiero
|
SEP 16, 12:27 PM
|
|
| quote | Originally posted by Spadesluck:
Do you use the same primer on the bumper as you would the hood? I am curious just because of the flex of the bumper. |
|
From my research flex additives are no longer required as modern paints allow for more flex. Older lacquer based paints were more brittle and required the flex agent.
If the paint cracks it will be a good lesson.------------------
1985 Fiero GT
Manual Transmission & A/C Conversion
3800 Series II - Ported and Polished, 3.5" pulley
C4 Brakes
|
|

|
Matthew_Fiero
|
SEP 25, 11:47 AM
|
|
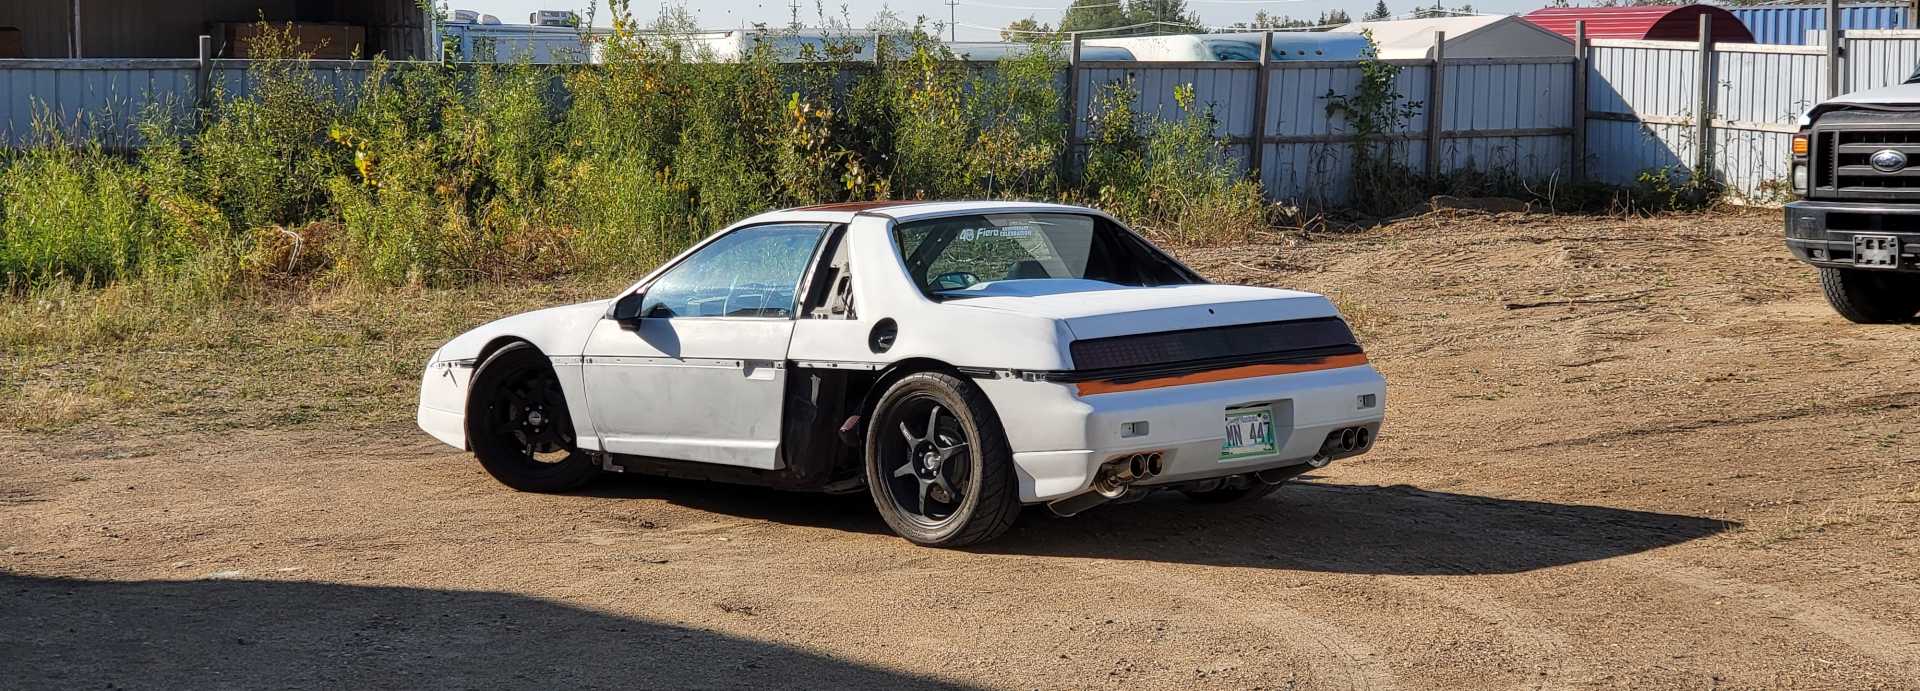
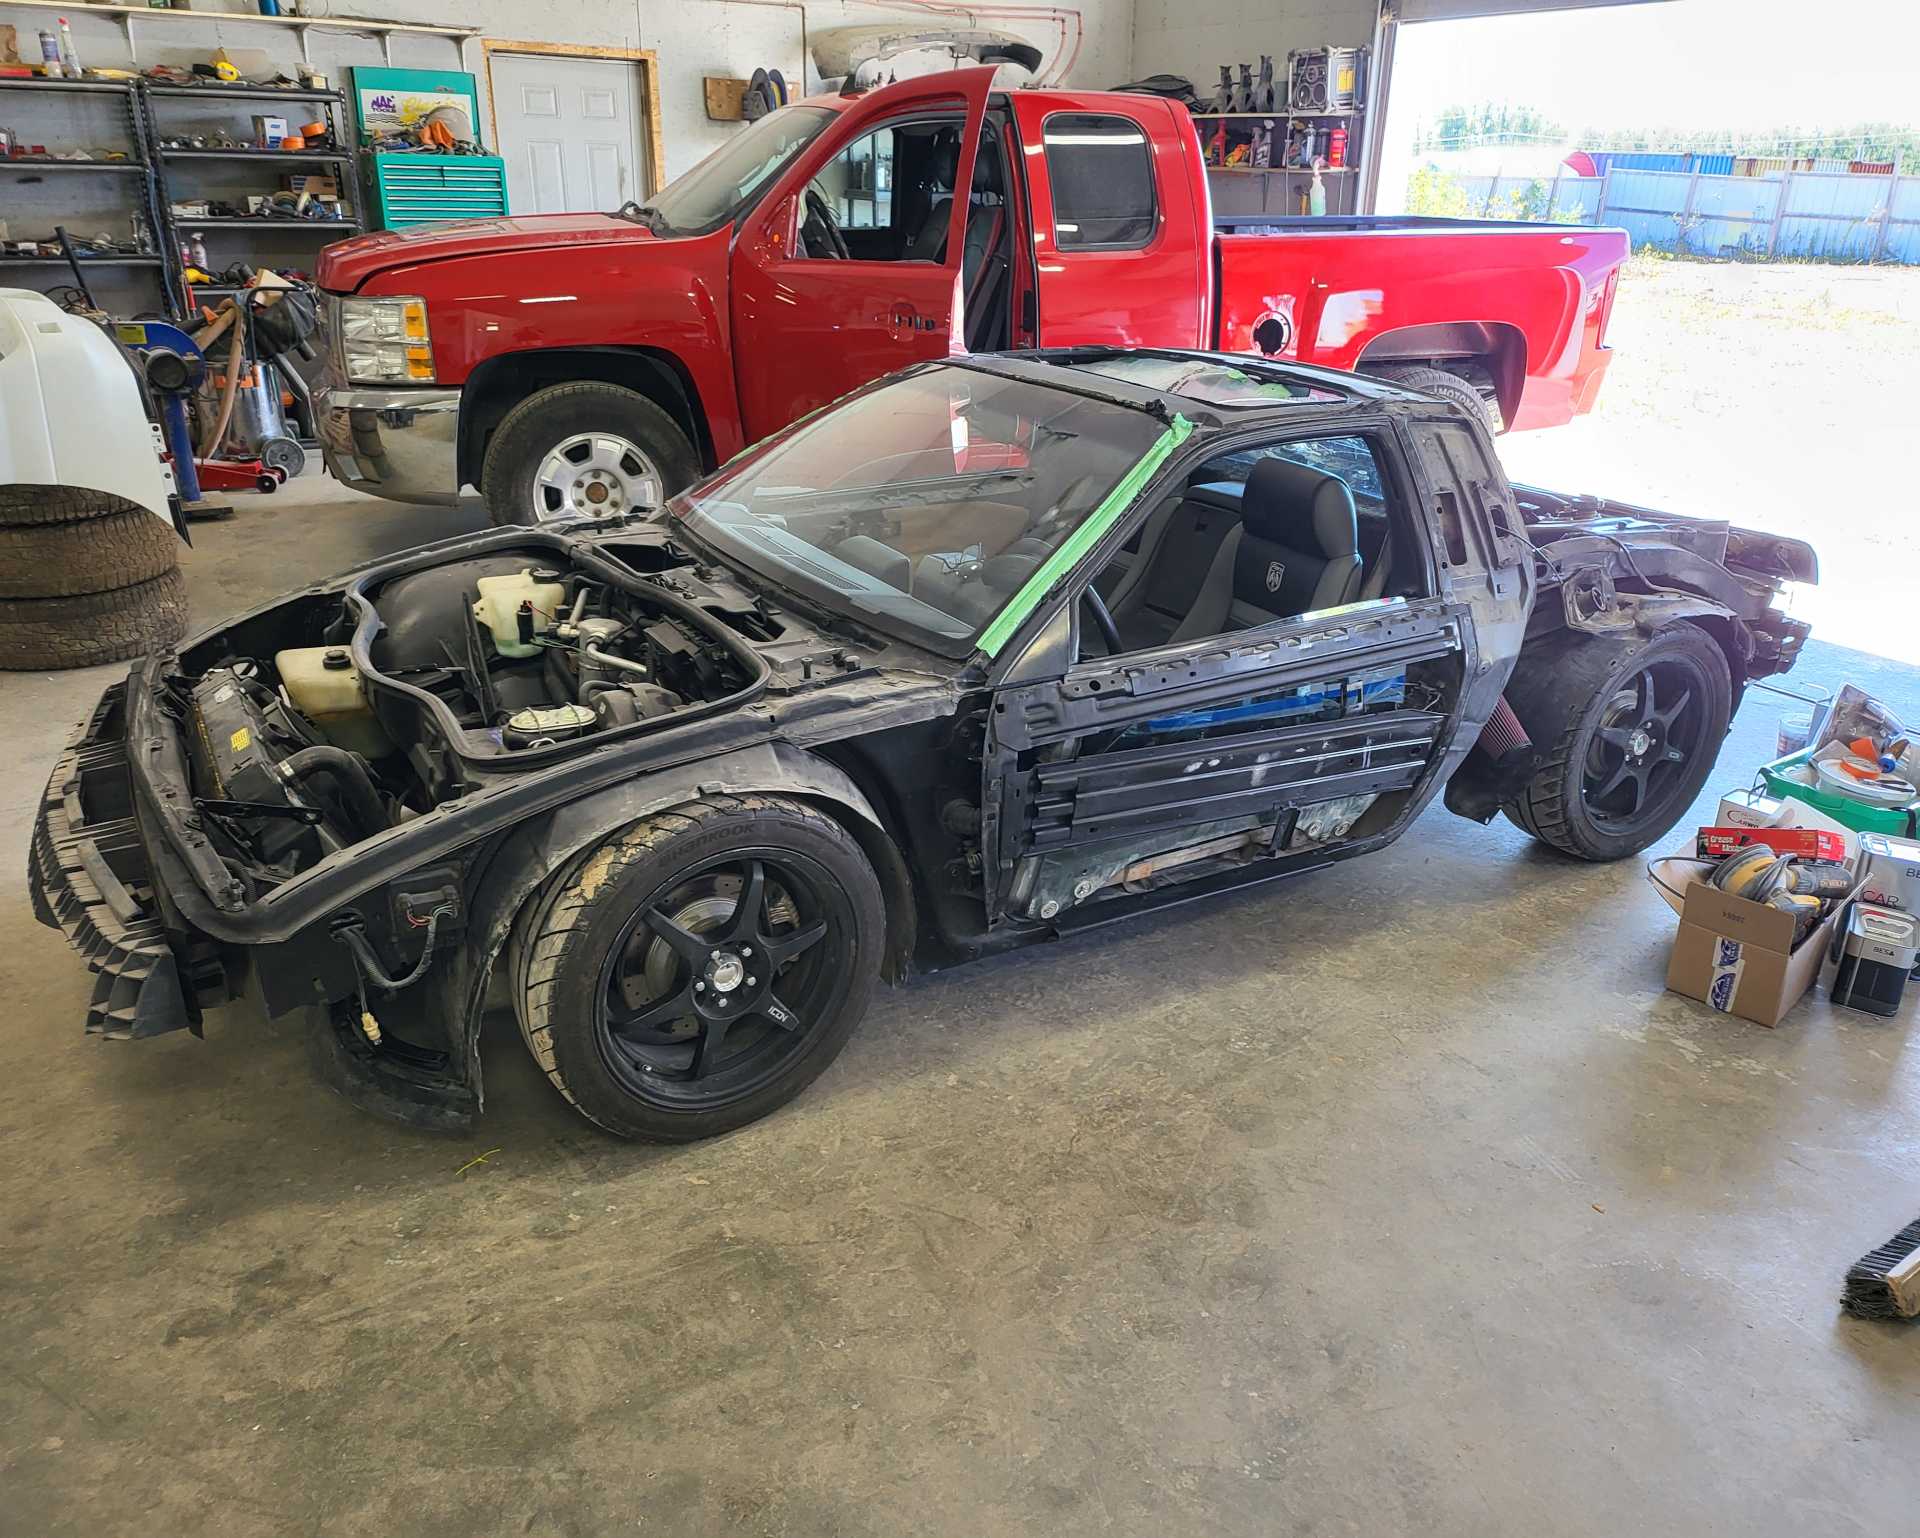
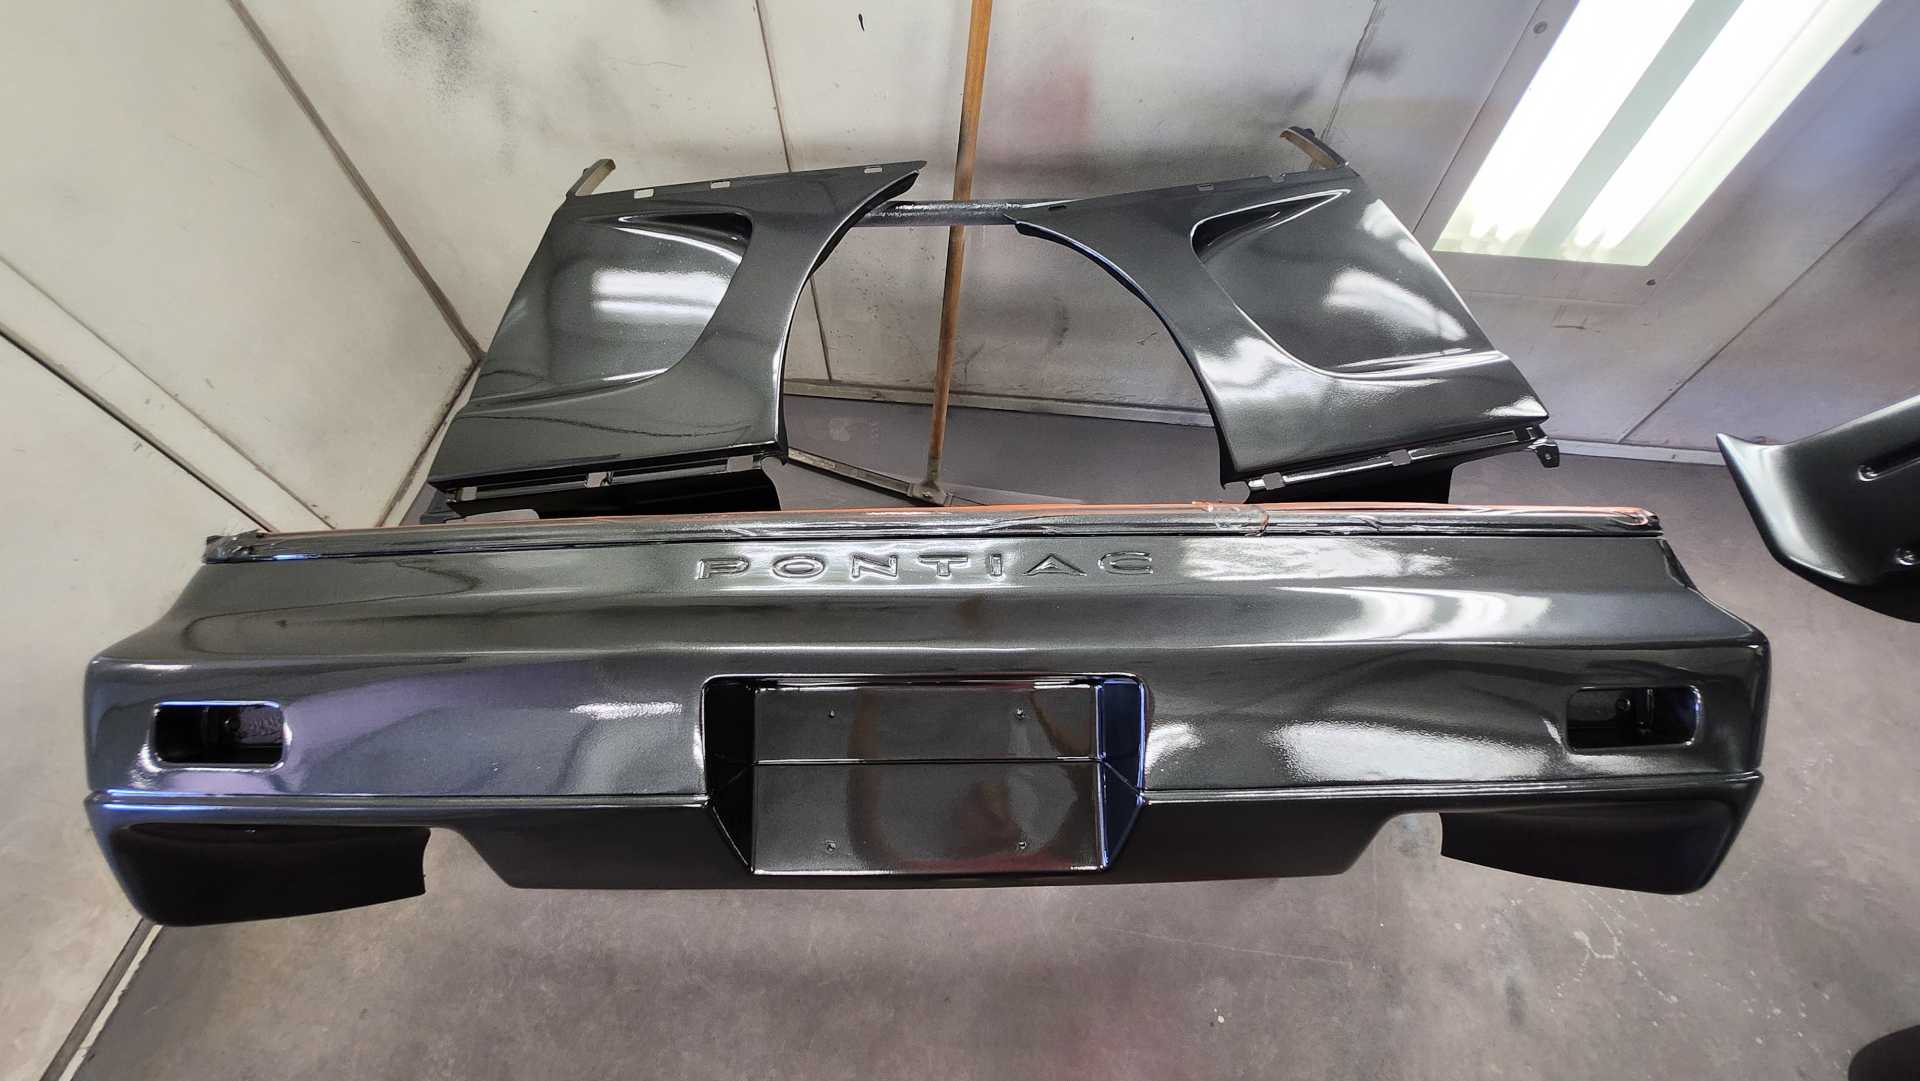
Saturday morning I made sure everything was bolted on enough to make the journey to the paint shop.
Made it safe!
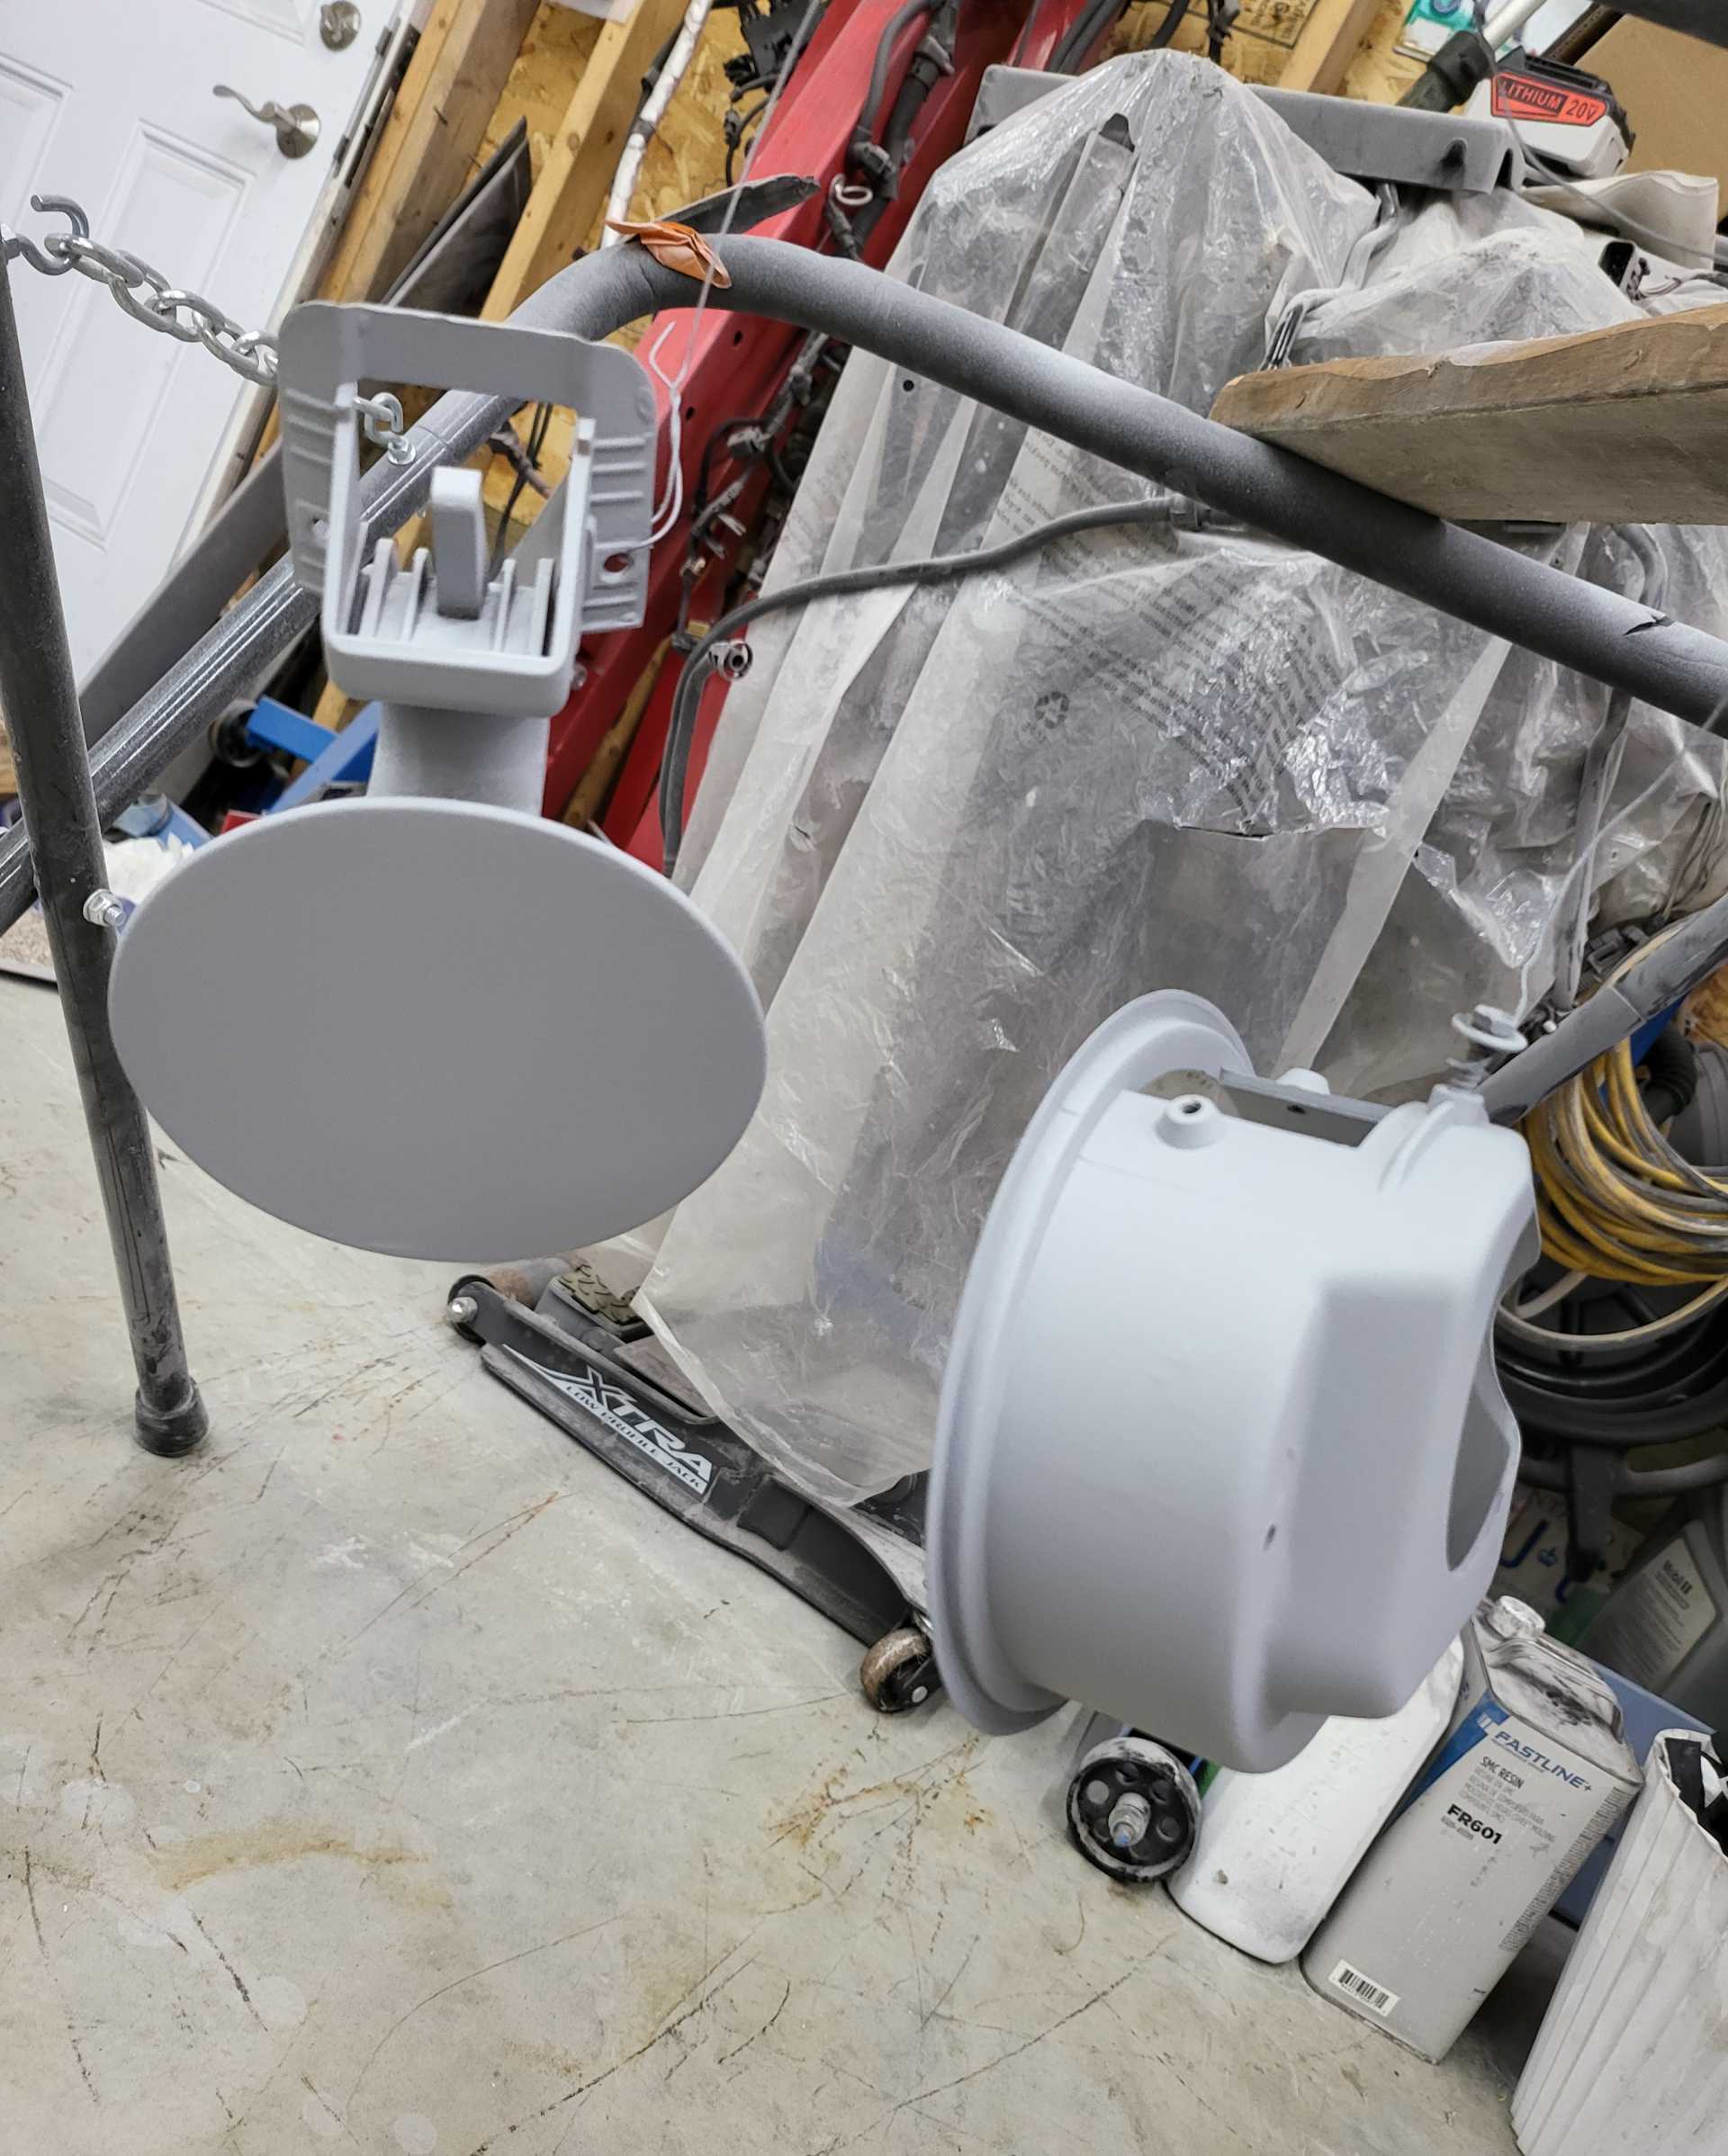
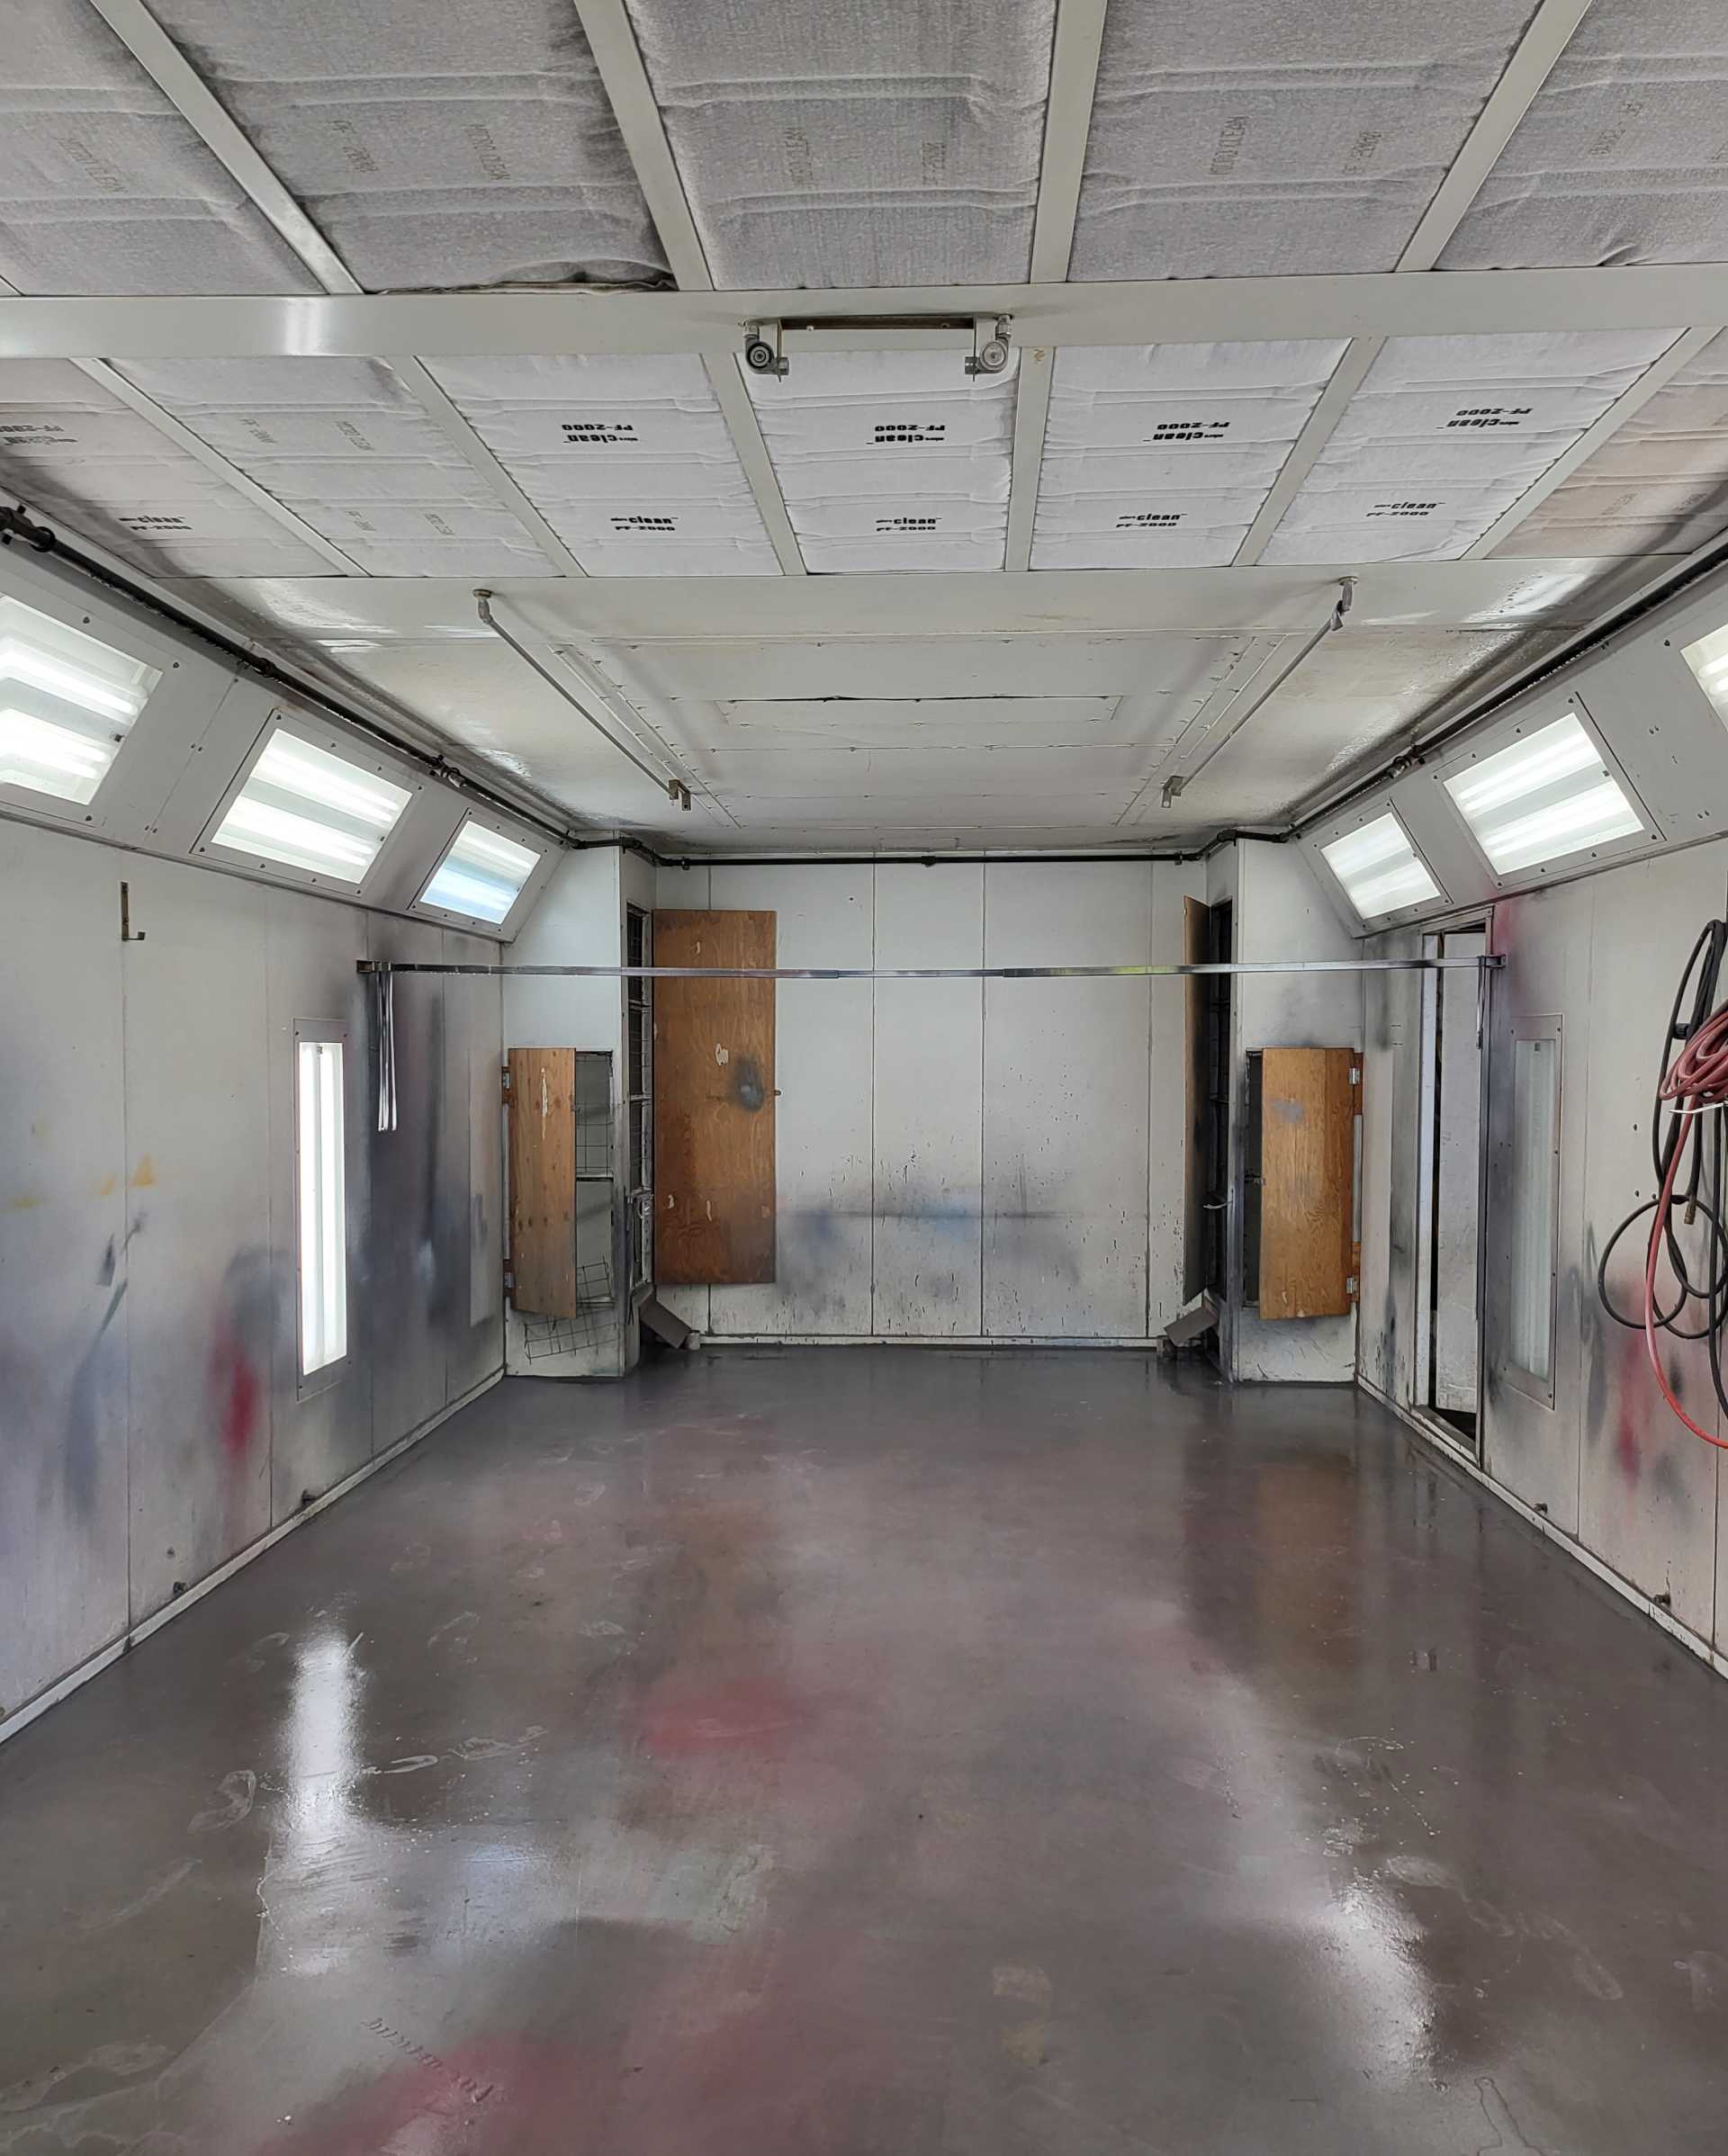
I started by sweeping and spraying down the spray booth multiple times as well as changing out all the filters.
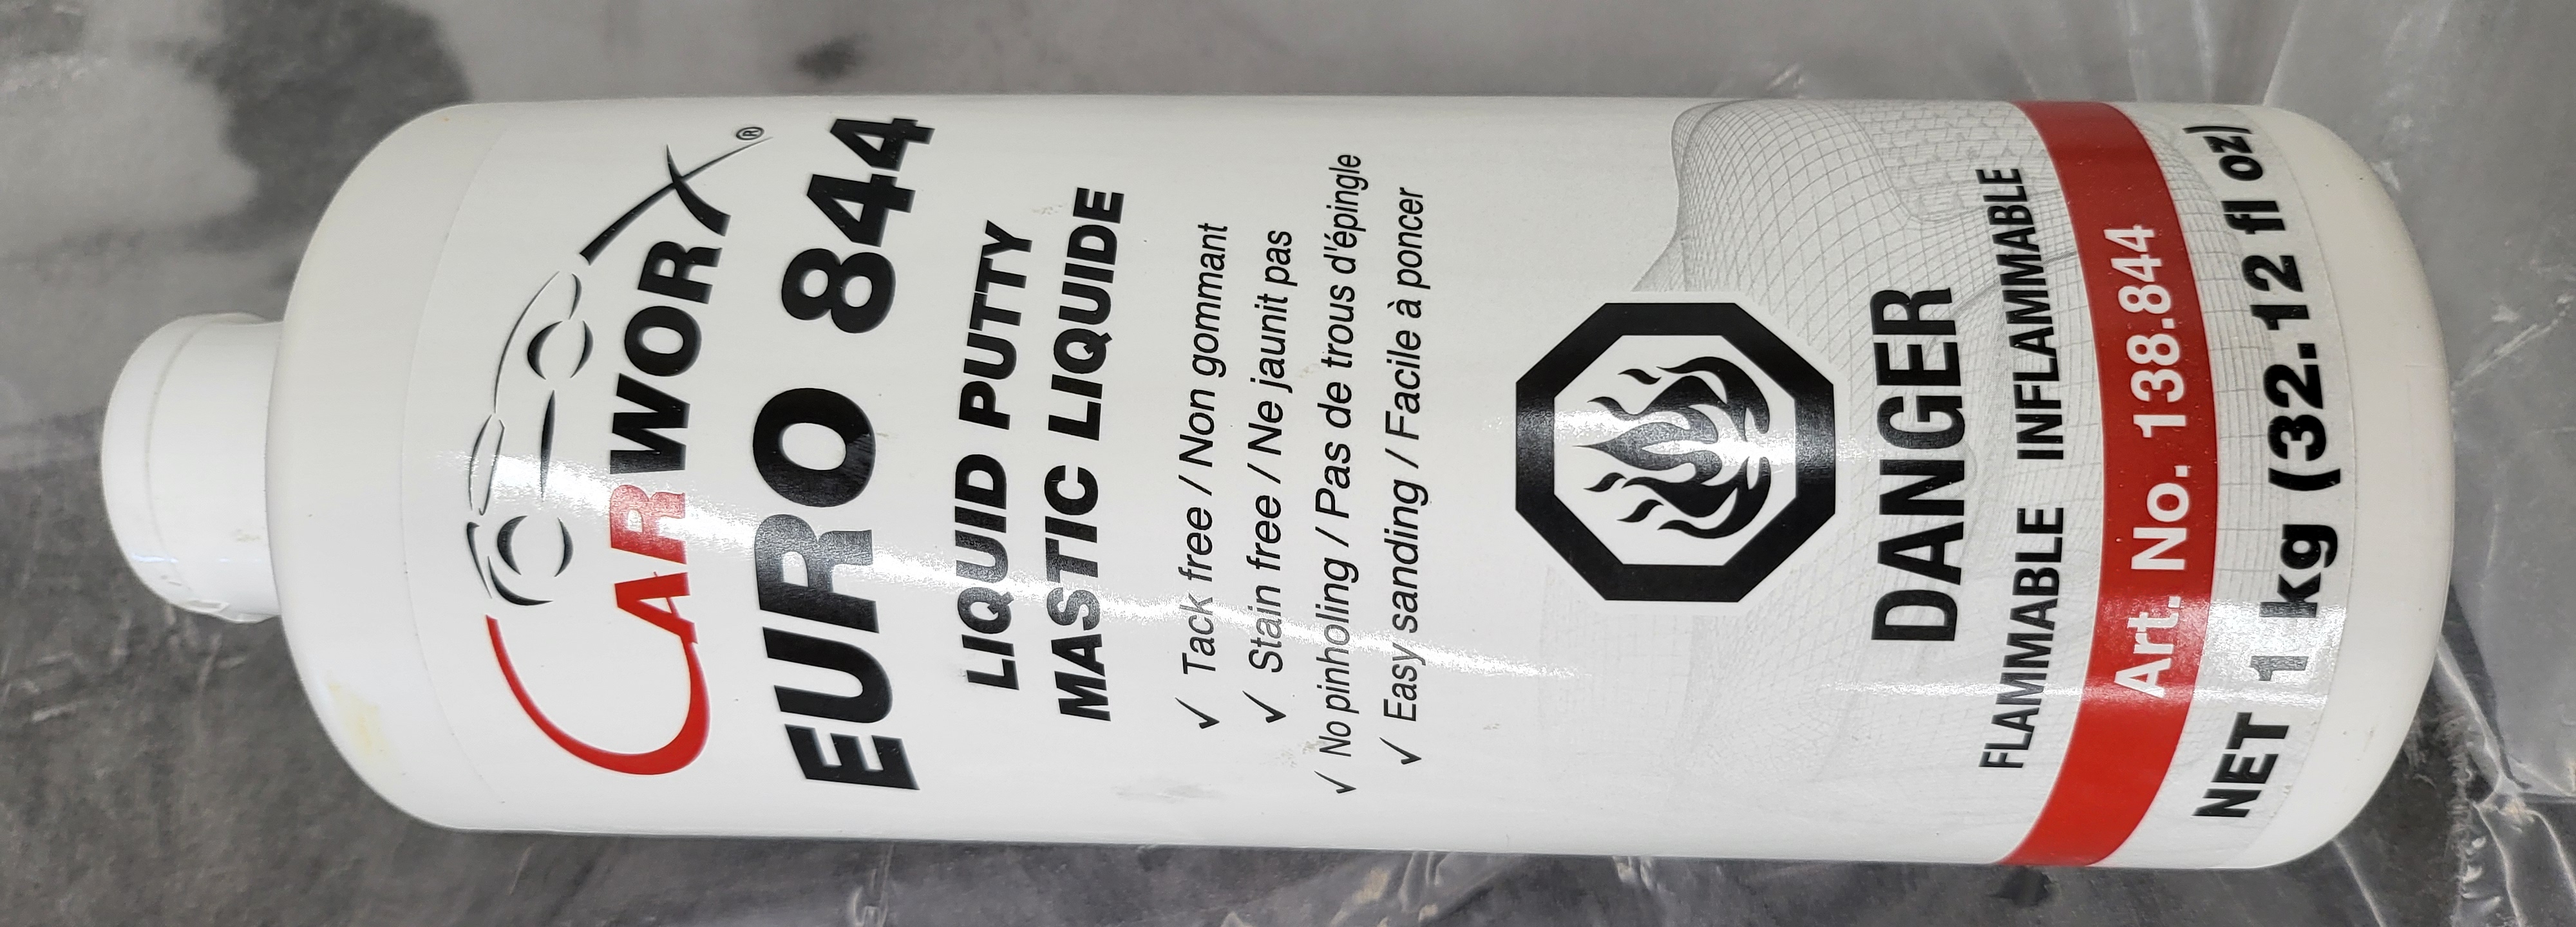
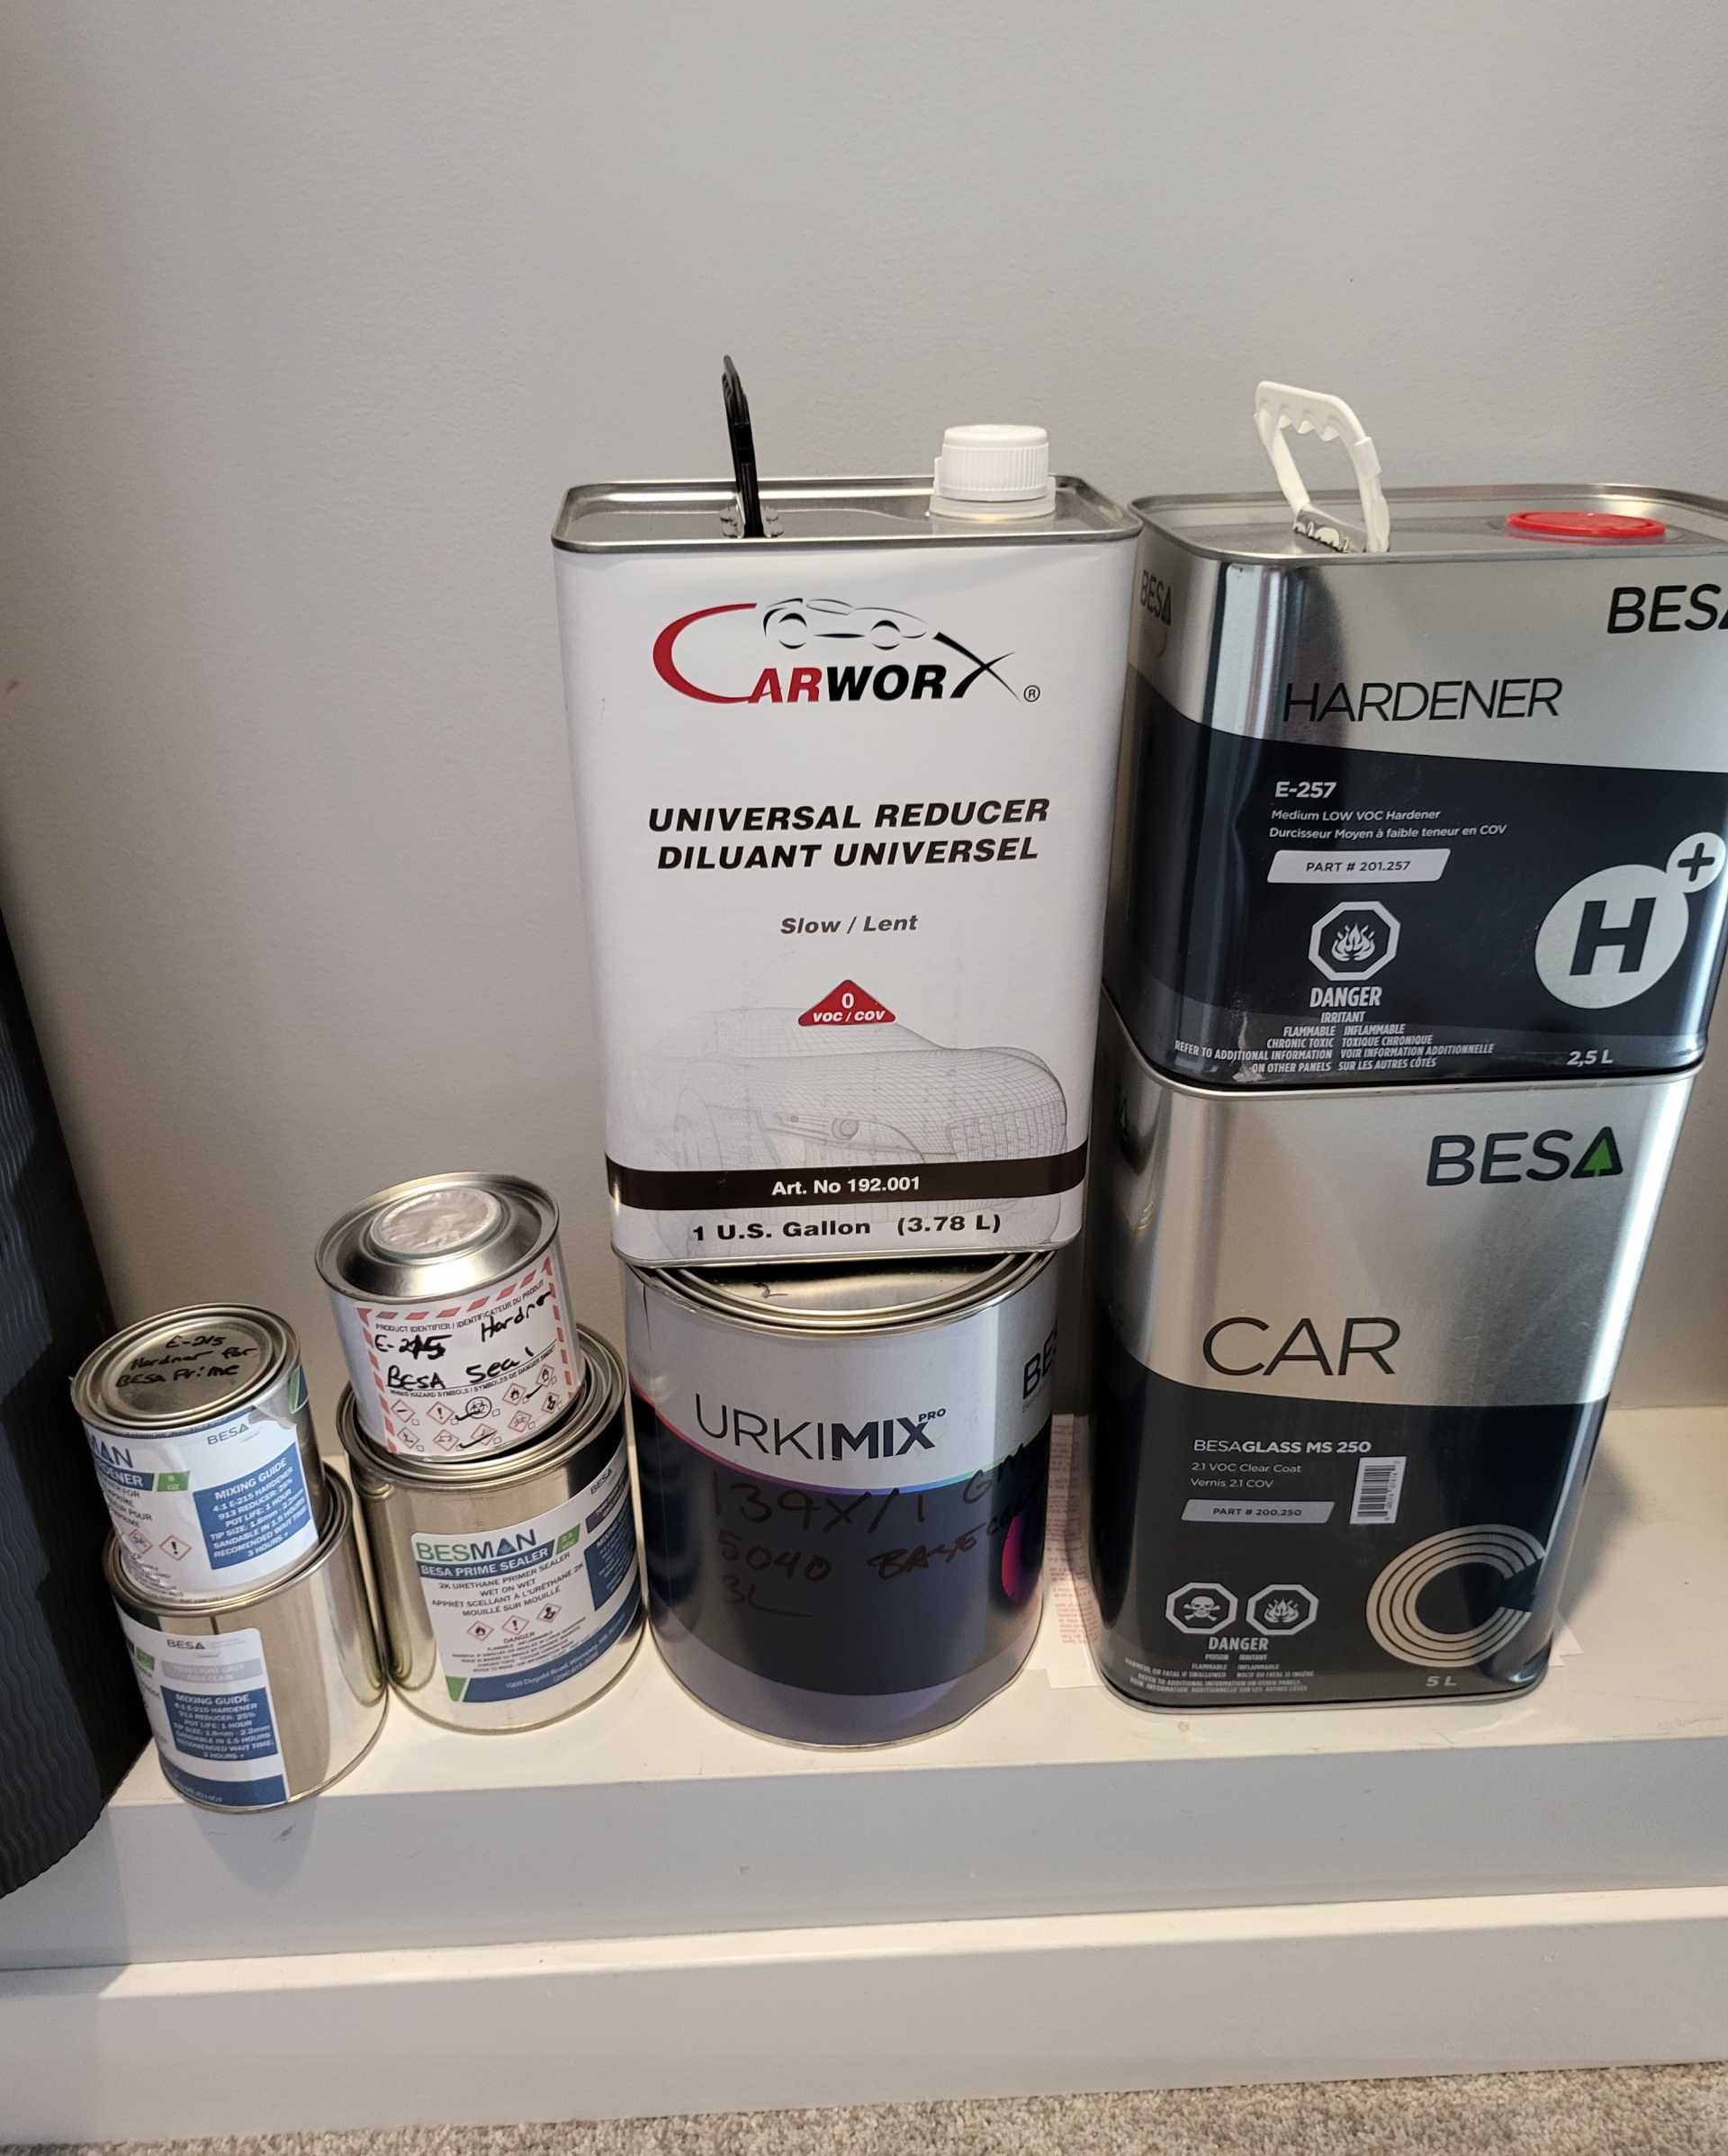
These are the chemicals I'll be using. First a sealer to make the car uniform in colour. Then 2-3 layers of basecoat (3L) and 3 layers of clear (5L).
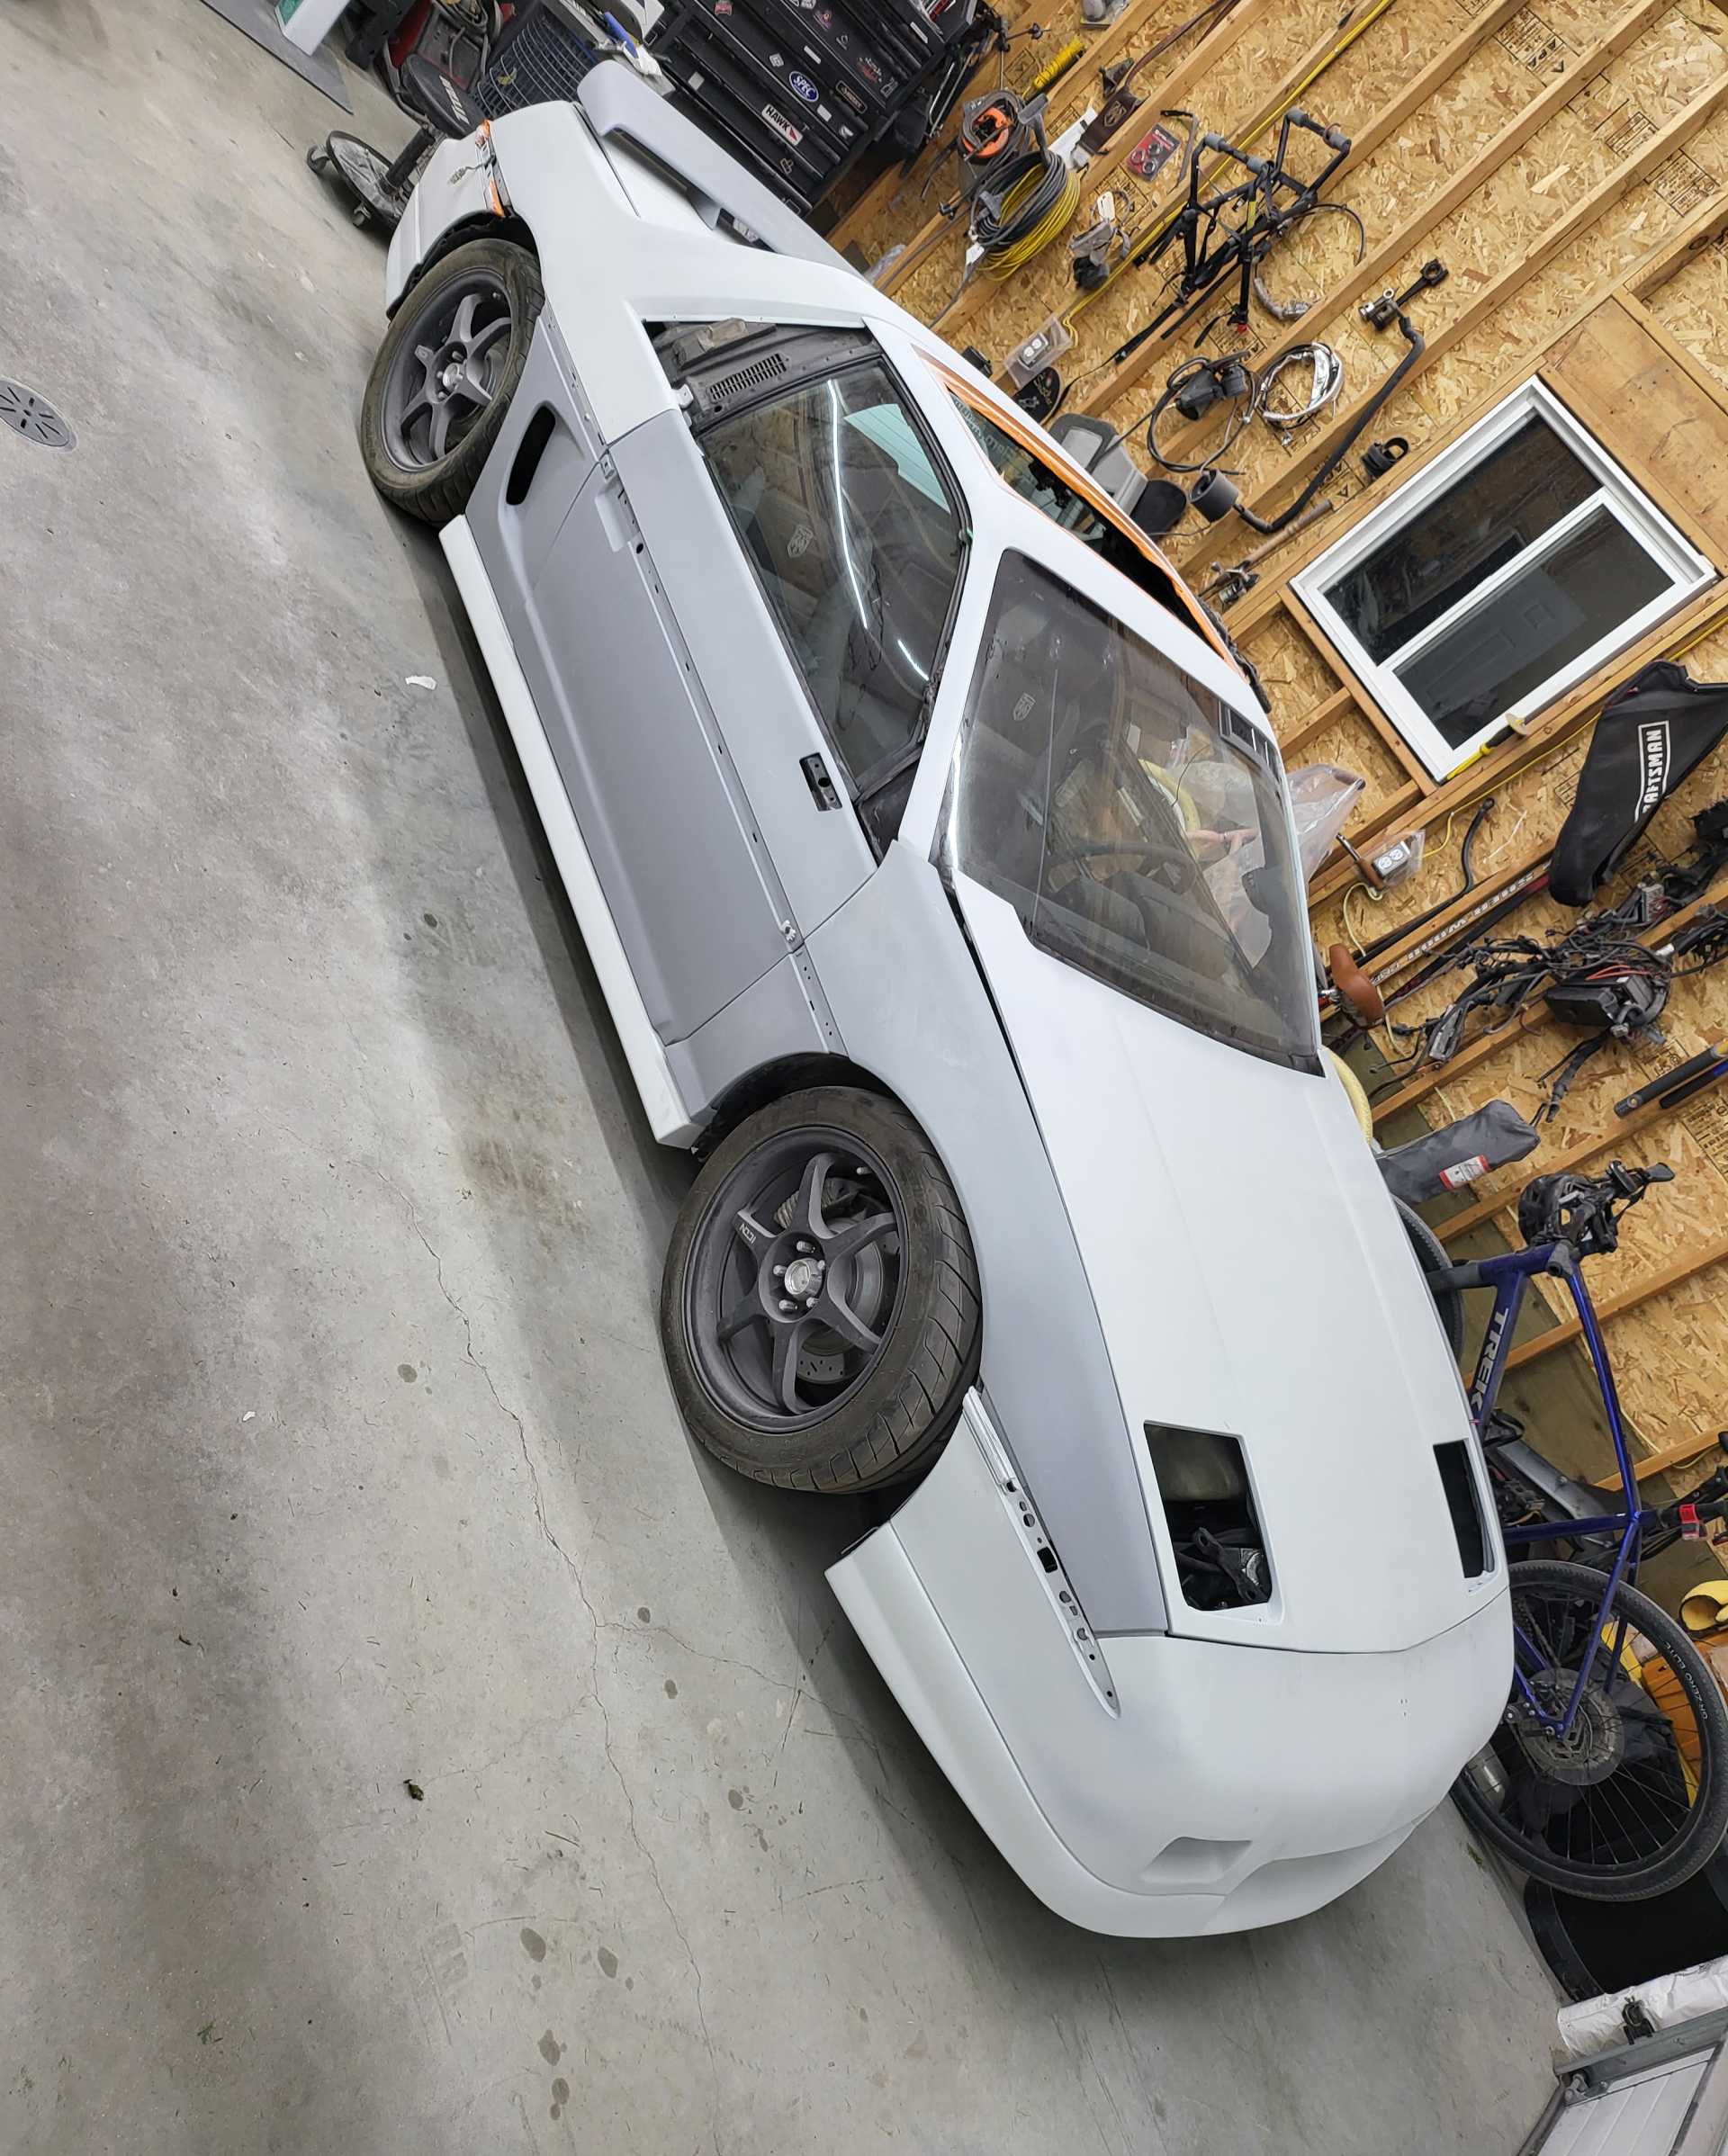
I took the car apart and did my best to arrange all the panels in the booth. It will be nearly impossible to not get overspray onto adjacent parts and my goal is to have enough room to not touch anything or have the hose hit.
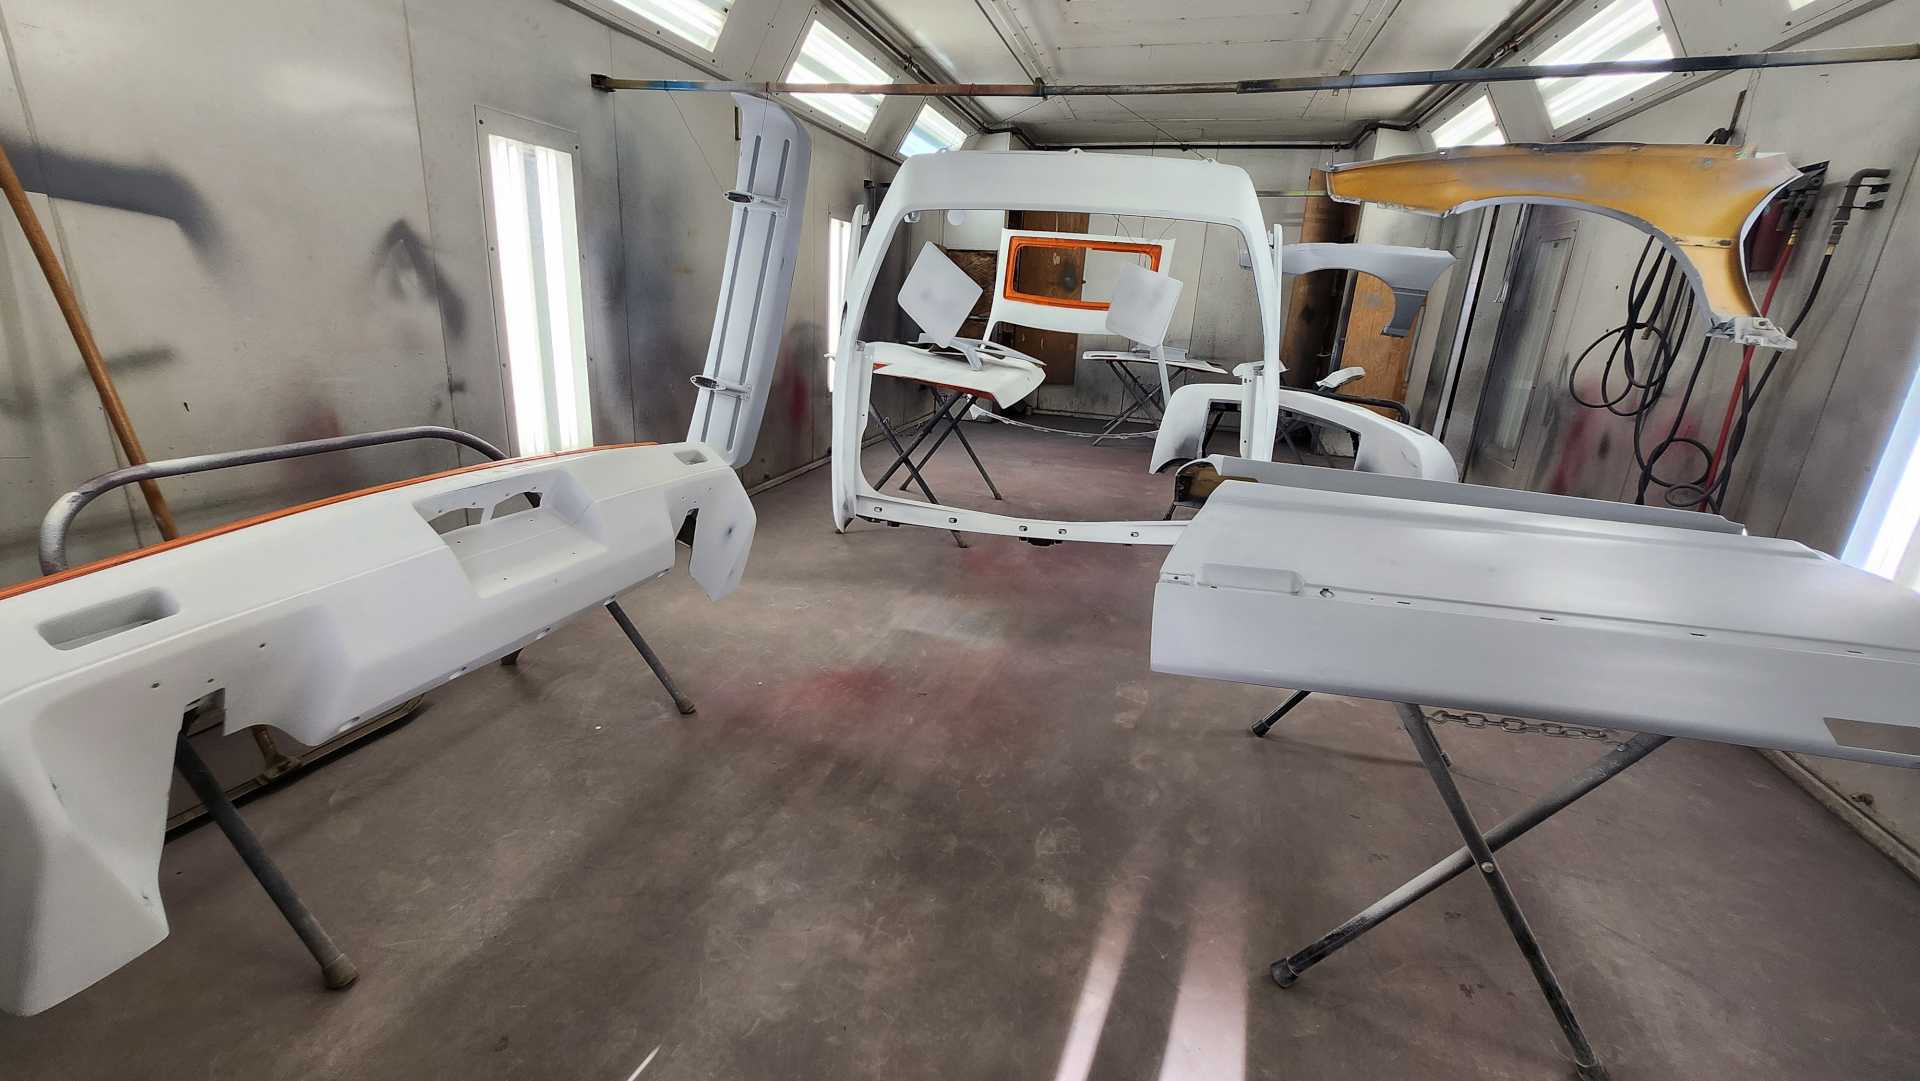
Obligatory nude (I've never had this car fully naked before)
Let the painting begin!
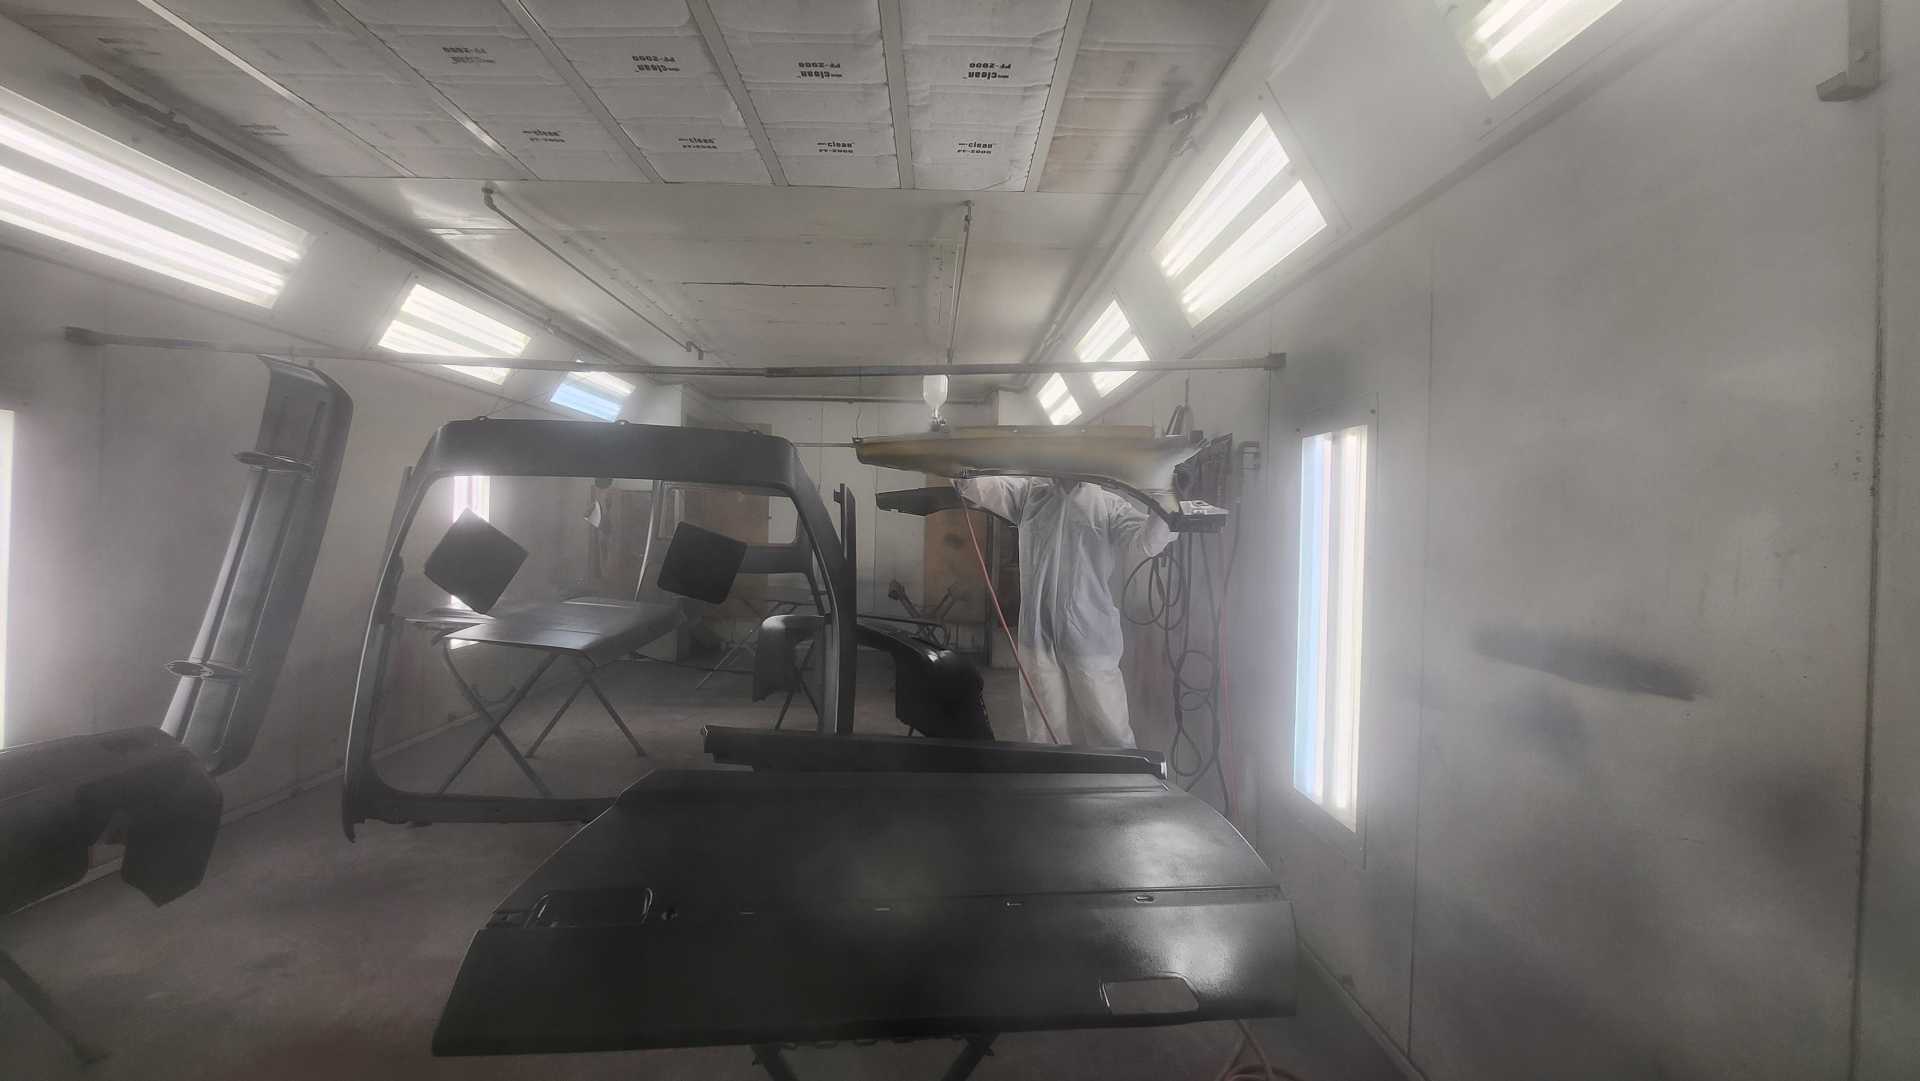
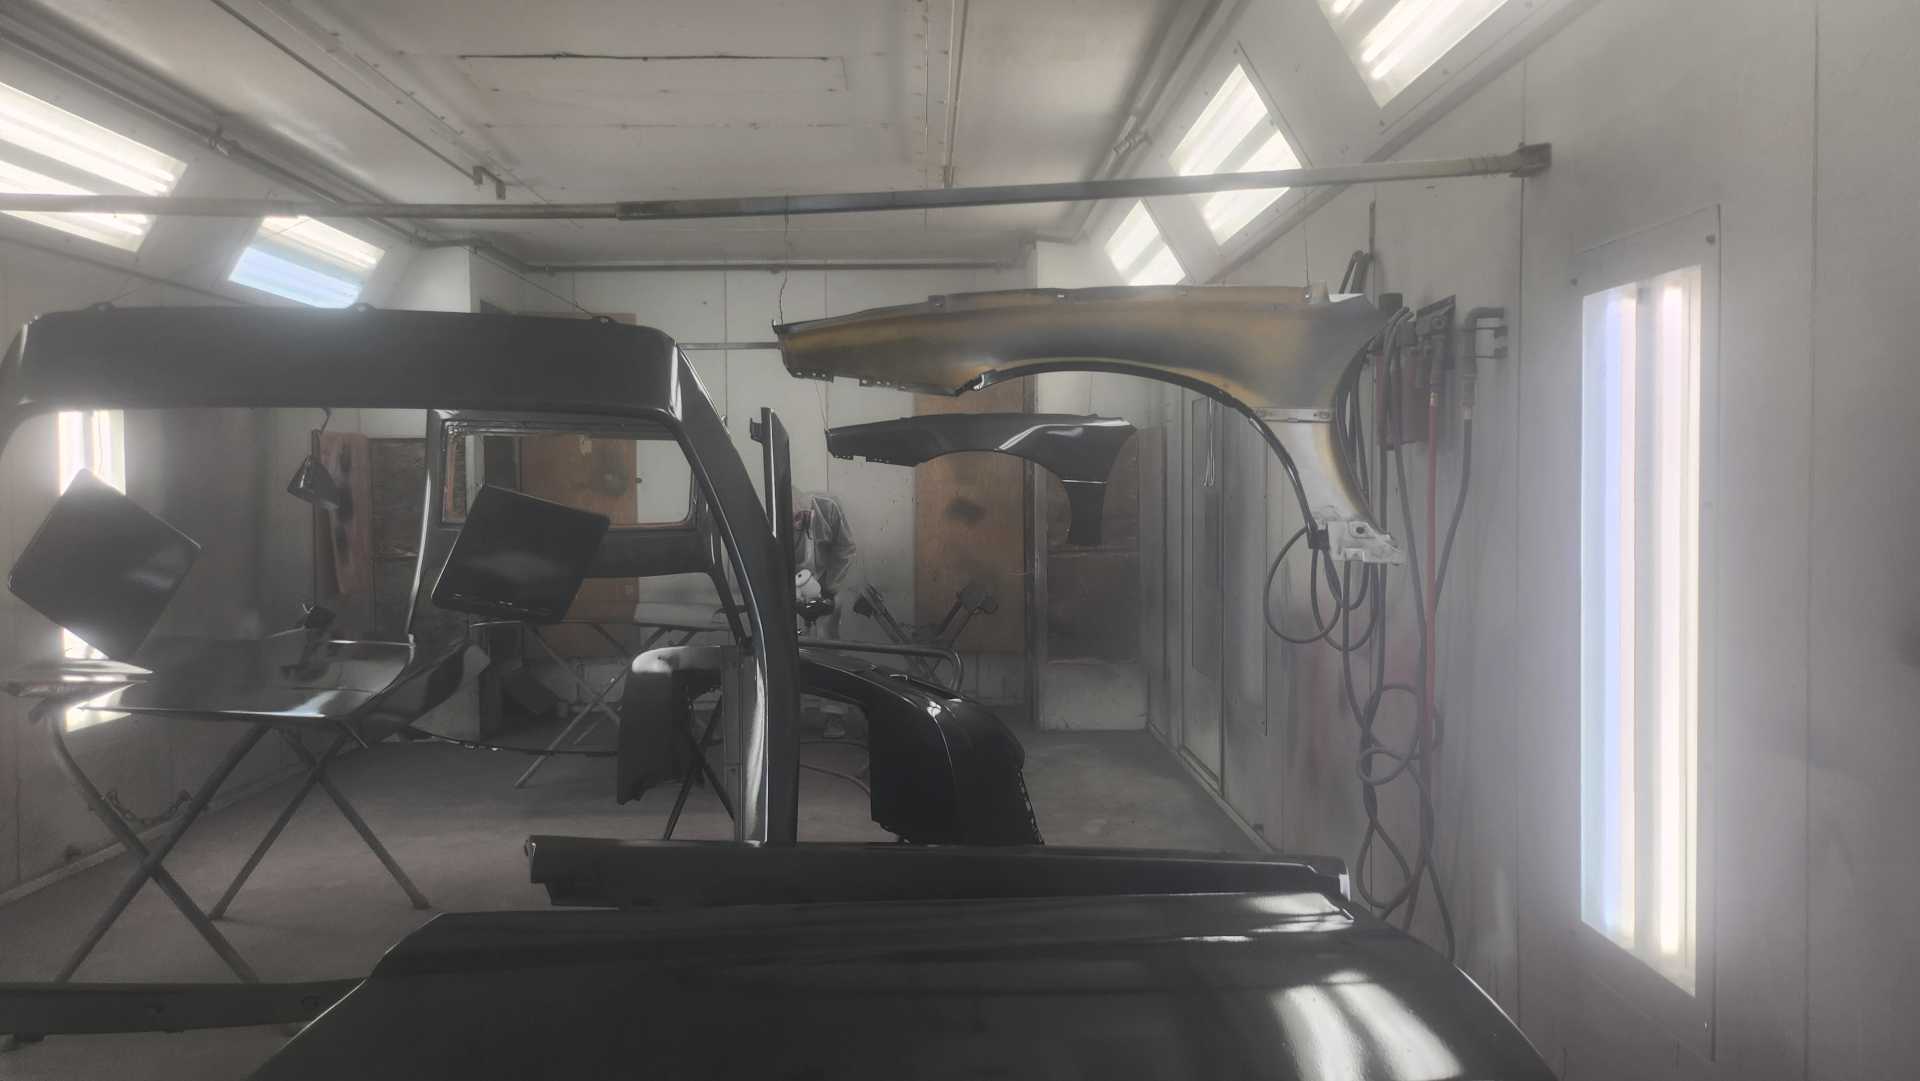
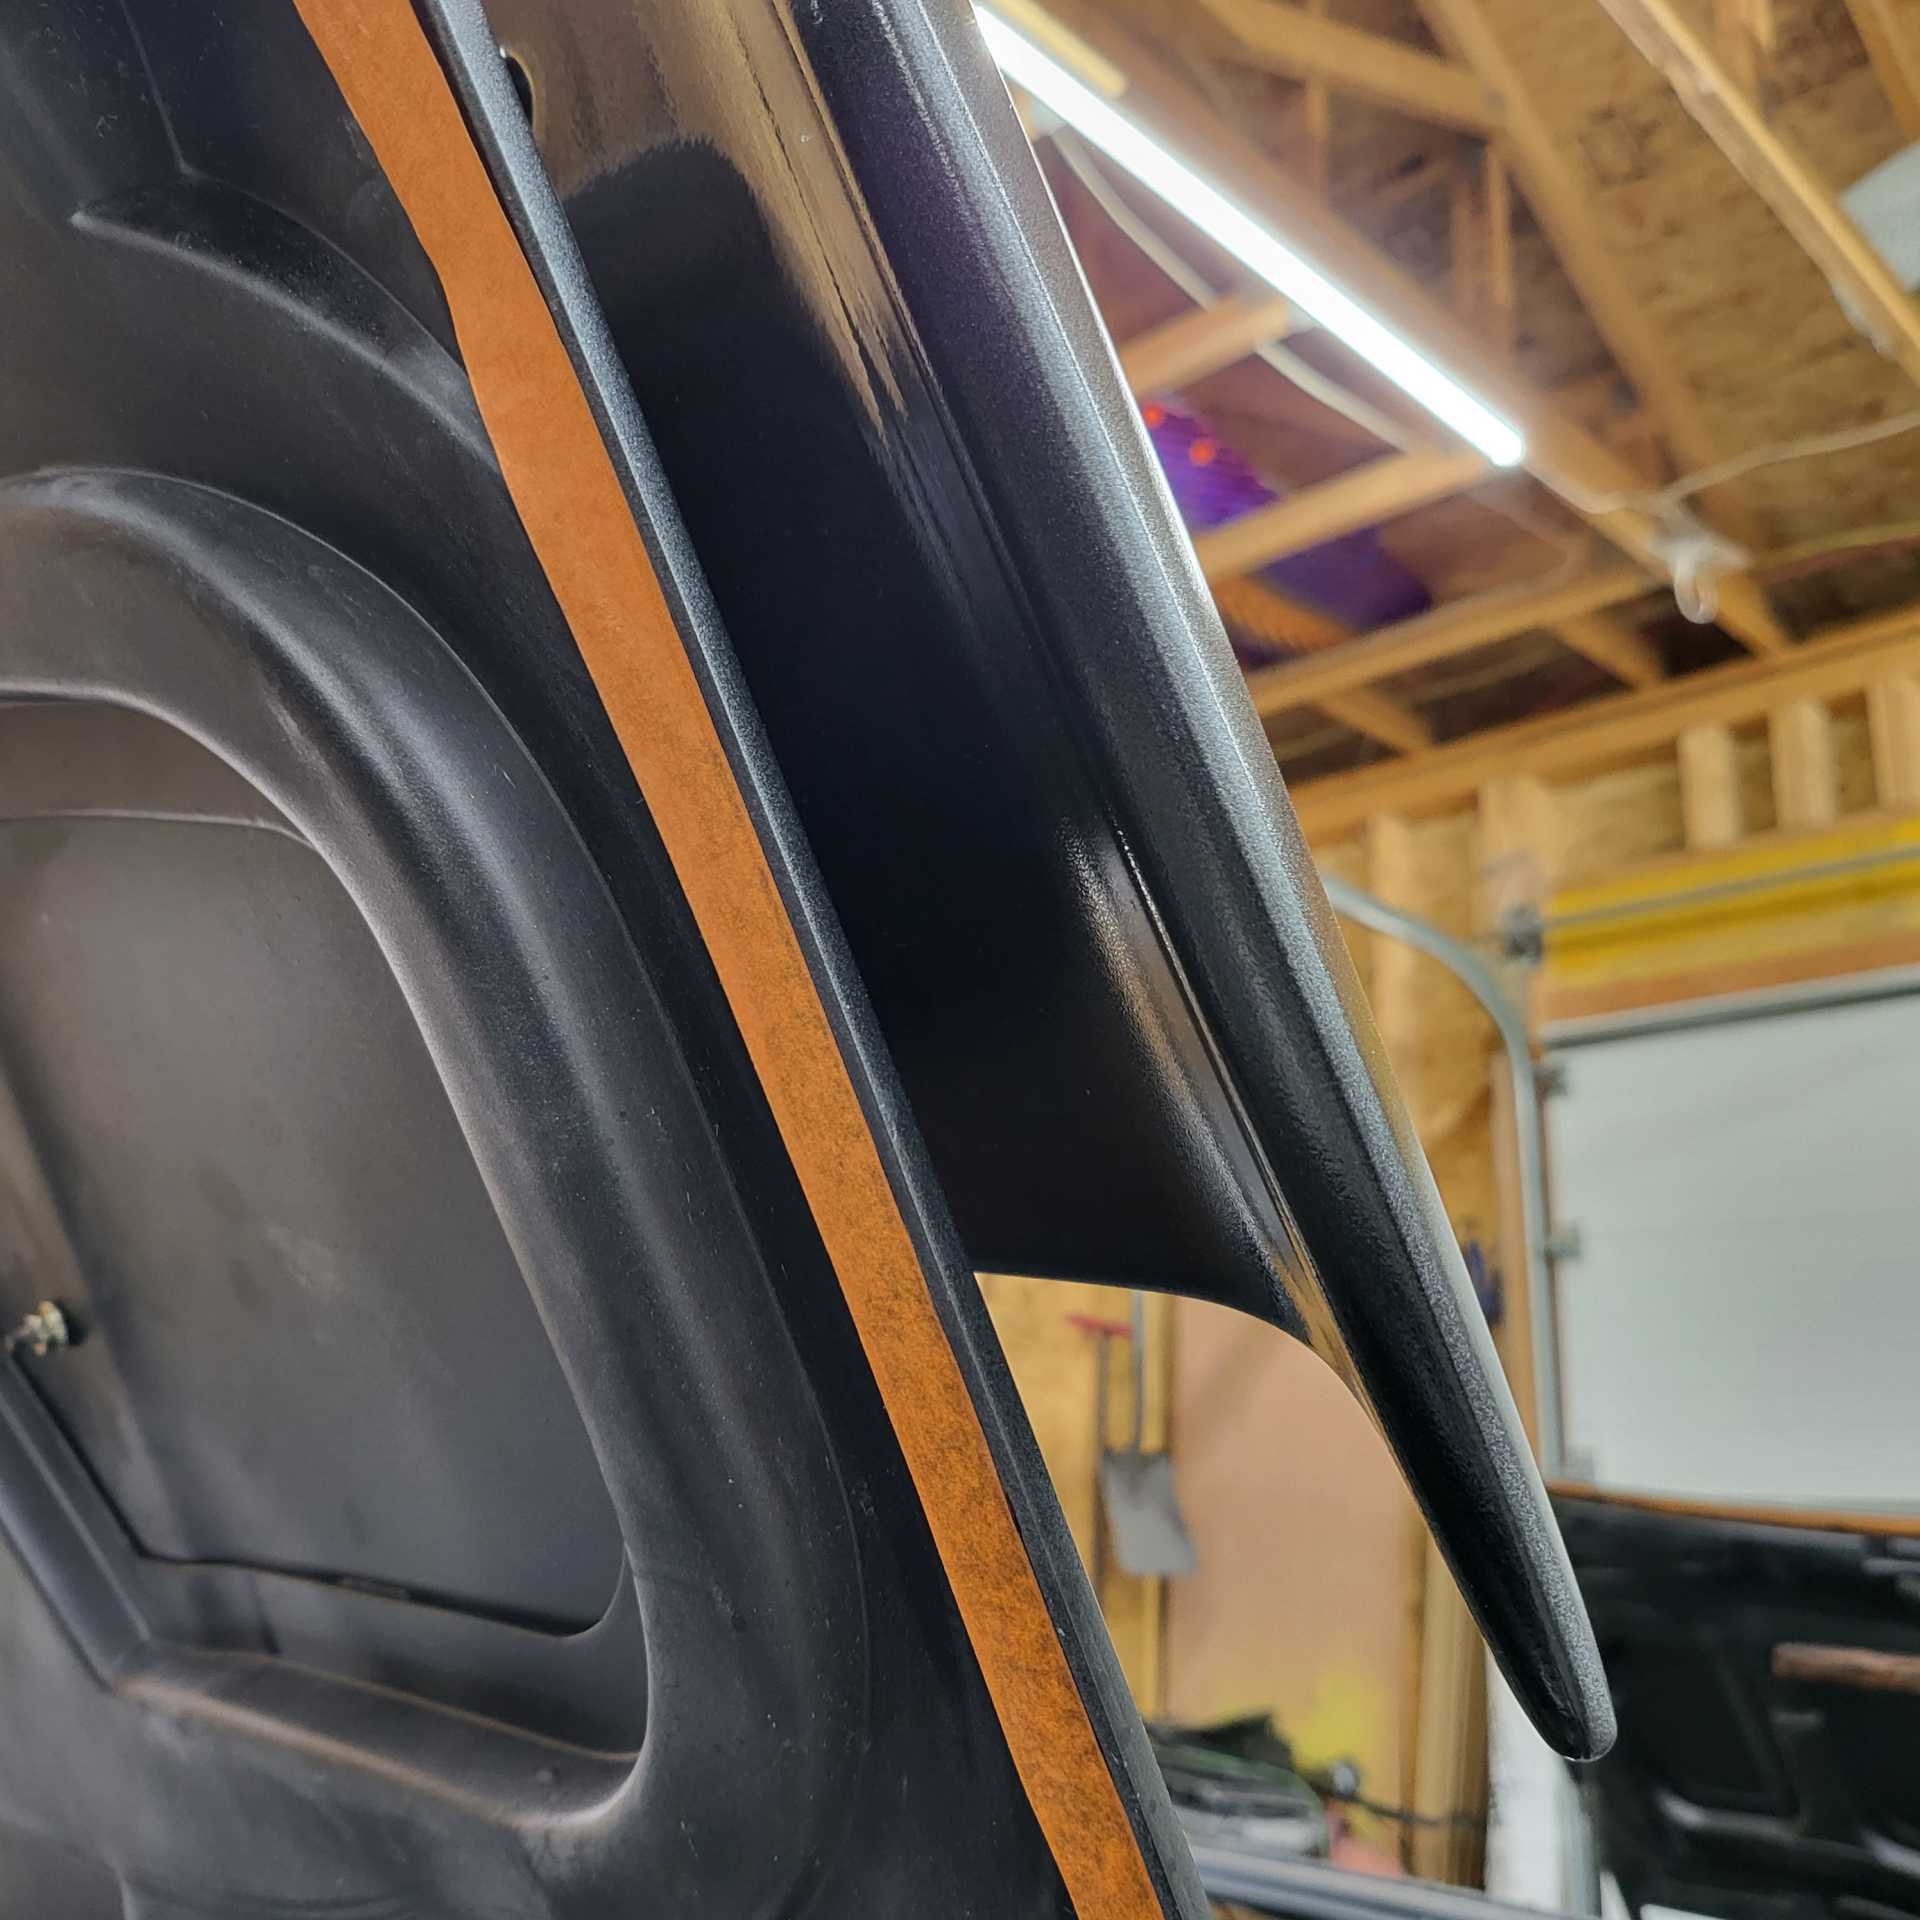
All in all the paint job turned out well for a first time painter. I missed some edges, showing an example on the notchback clip near the roof interface and the bottom of the spoiler edges, however I was able to touch up all my missed areas with an airbrush.
I set the roof down on a piece of cardboard so I could rivet the sunroof rails and accidentally broke off a corner of the roof. The corner went through the cardboard and hit the concrete. I should have used a table.
It cleaned up nicely in a few hours.
Sunroof rails installed:
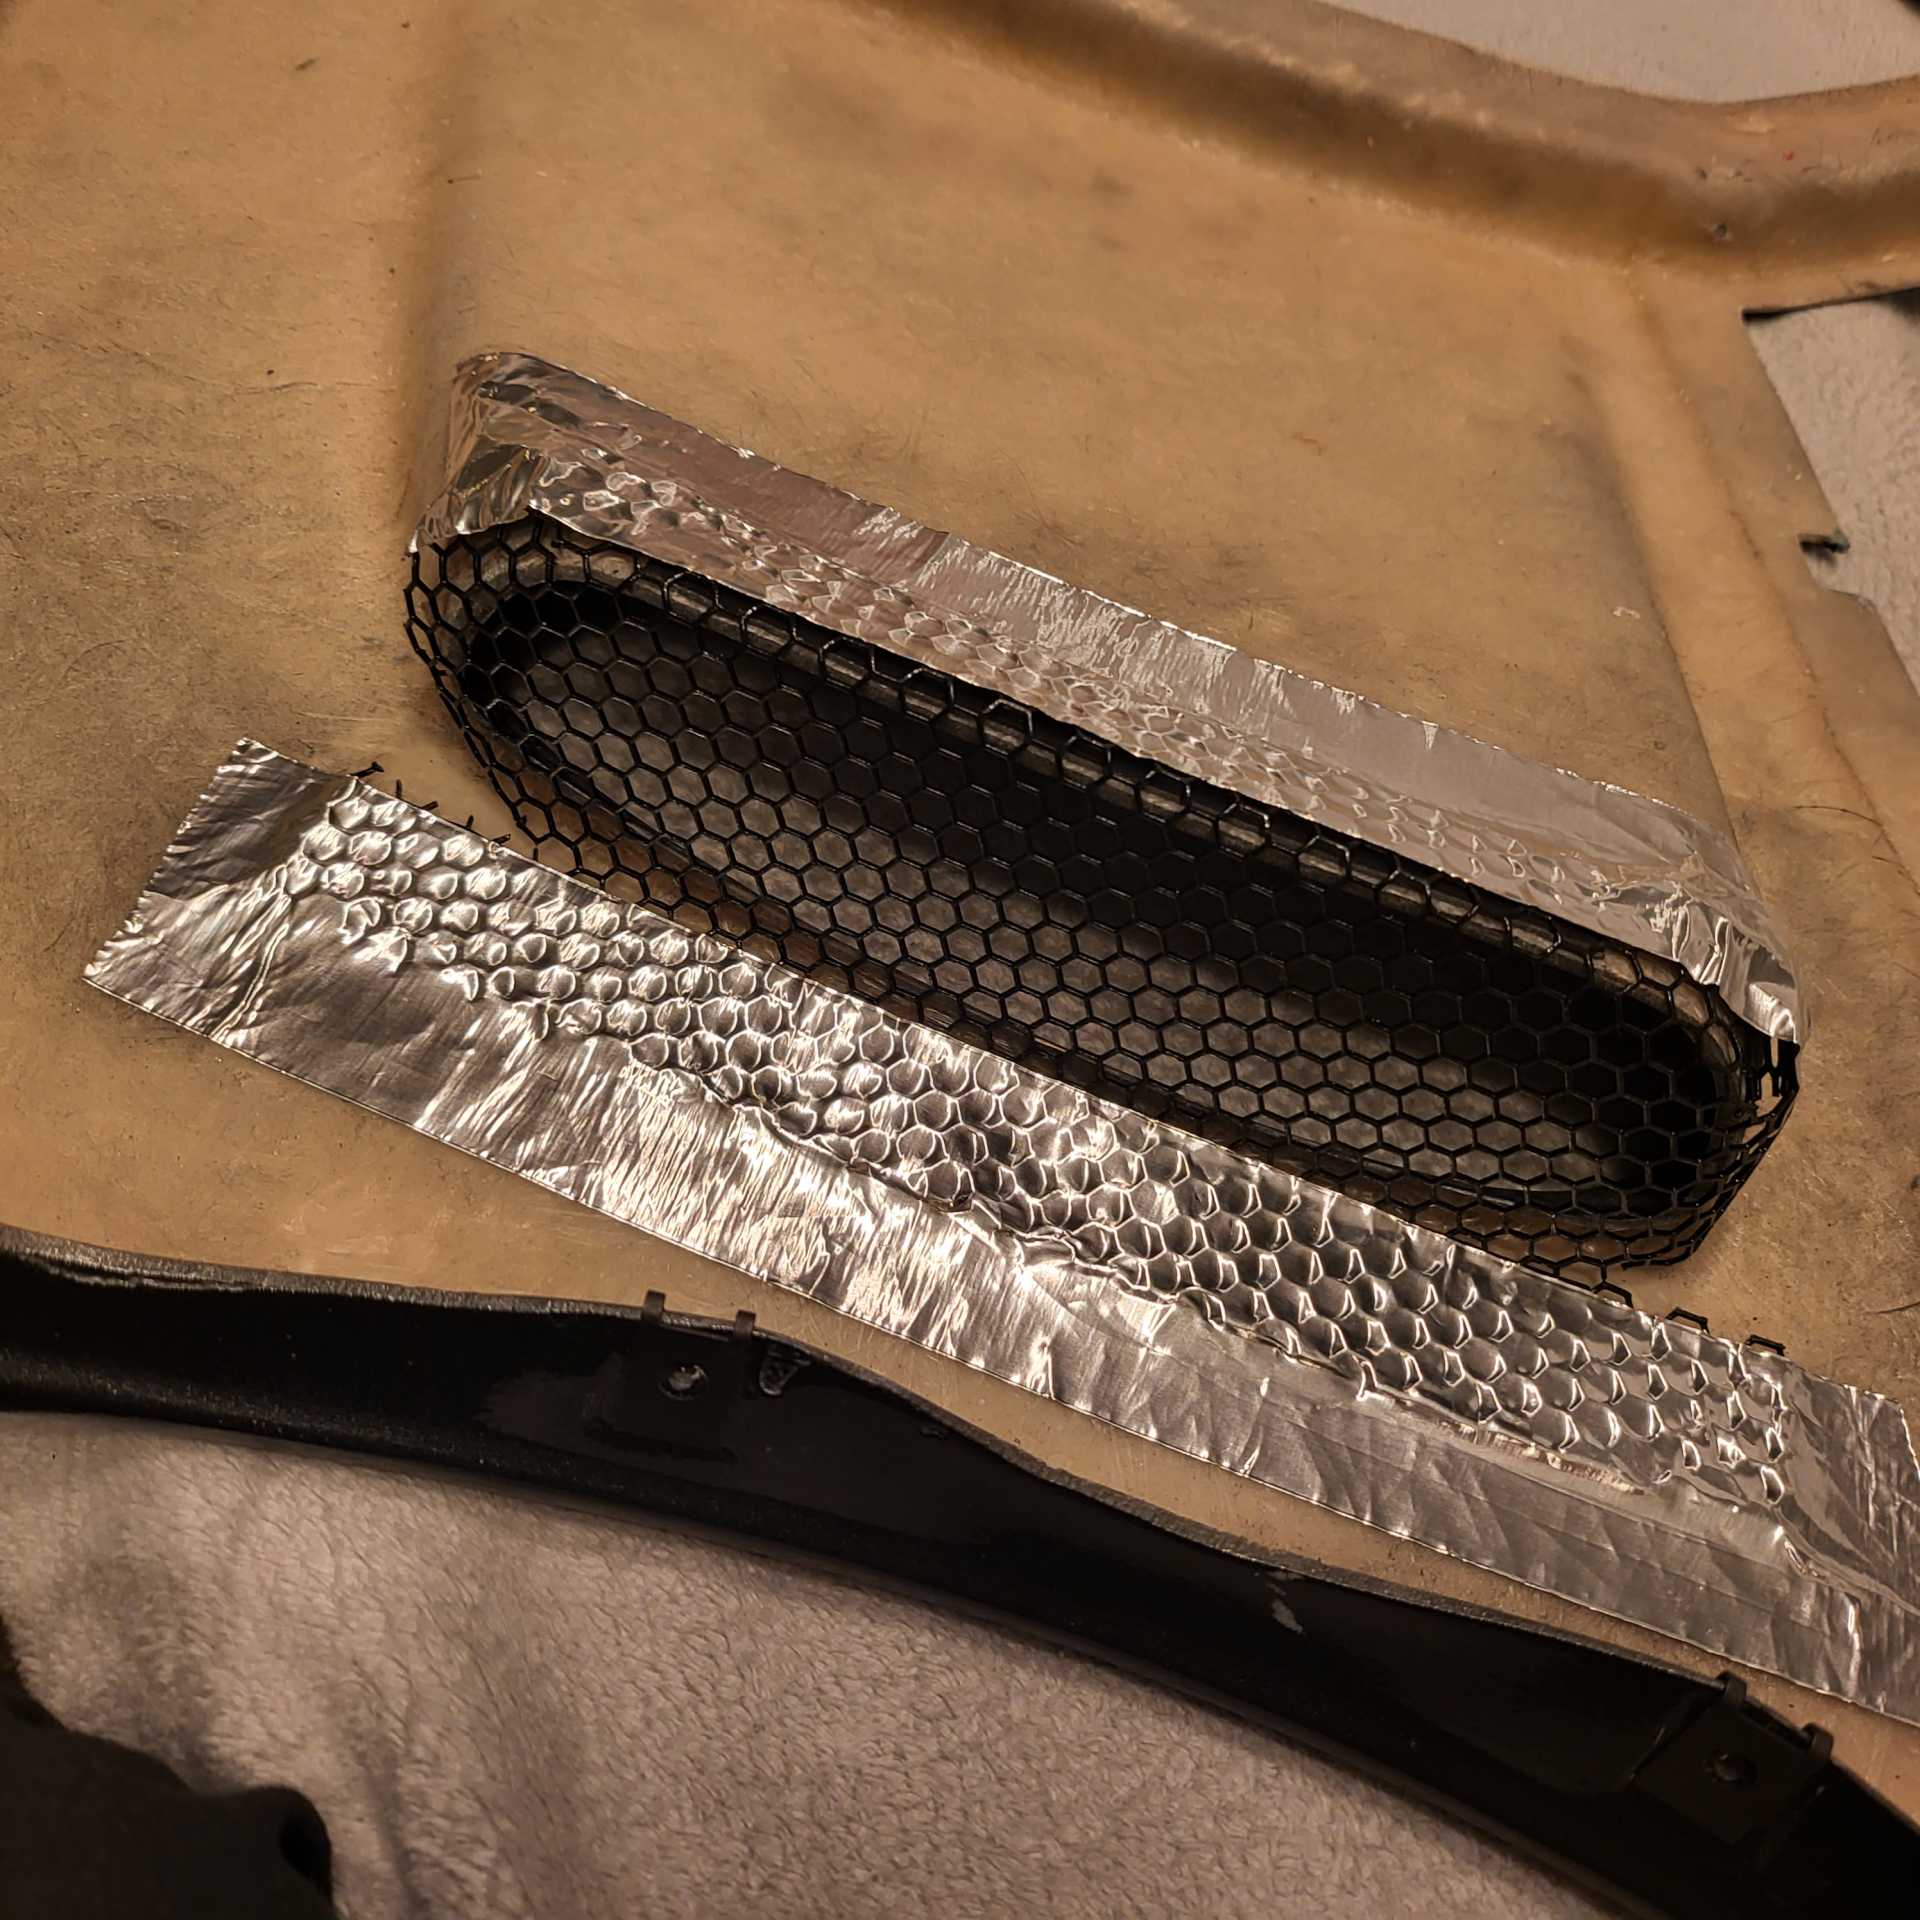
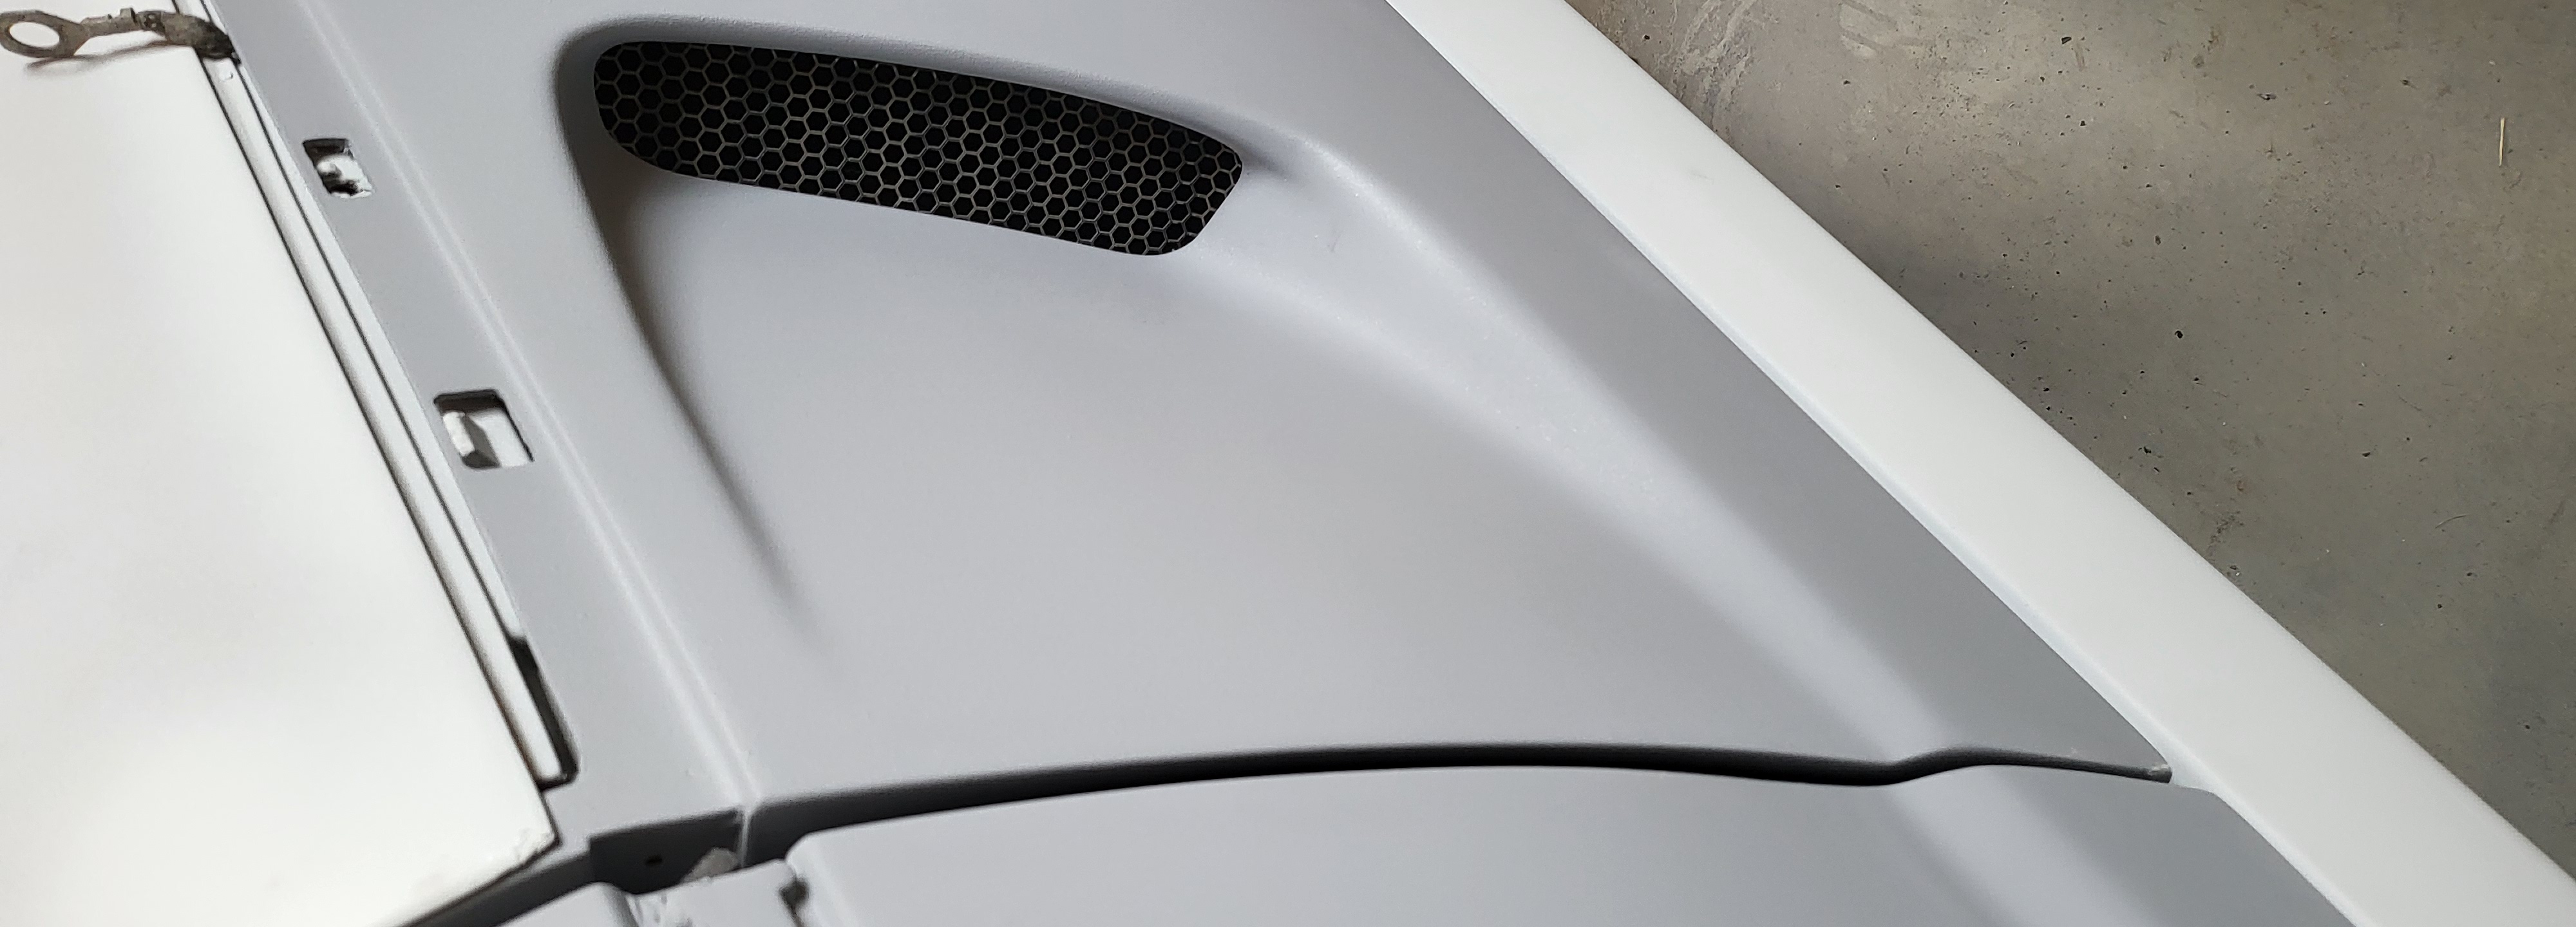
I cut out some honeycomb from some old notchback grills and made grills for the side scoops. I used 3M automotive double sided tape and aluminum tape. This holds extremely well. I initially resined in some hooks and then using some stainless wire hook and loop them on but it was started to get complicated and didn't hold as well as I expected.
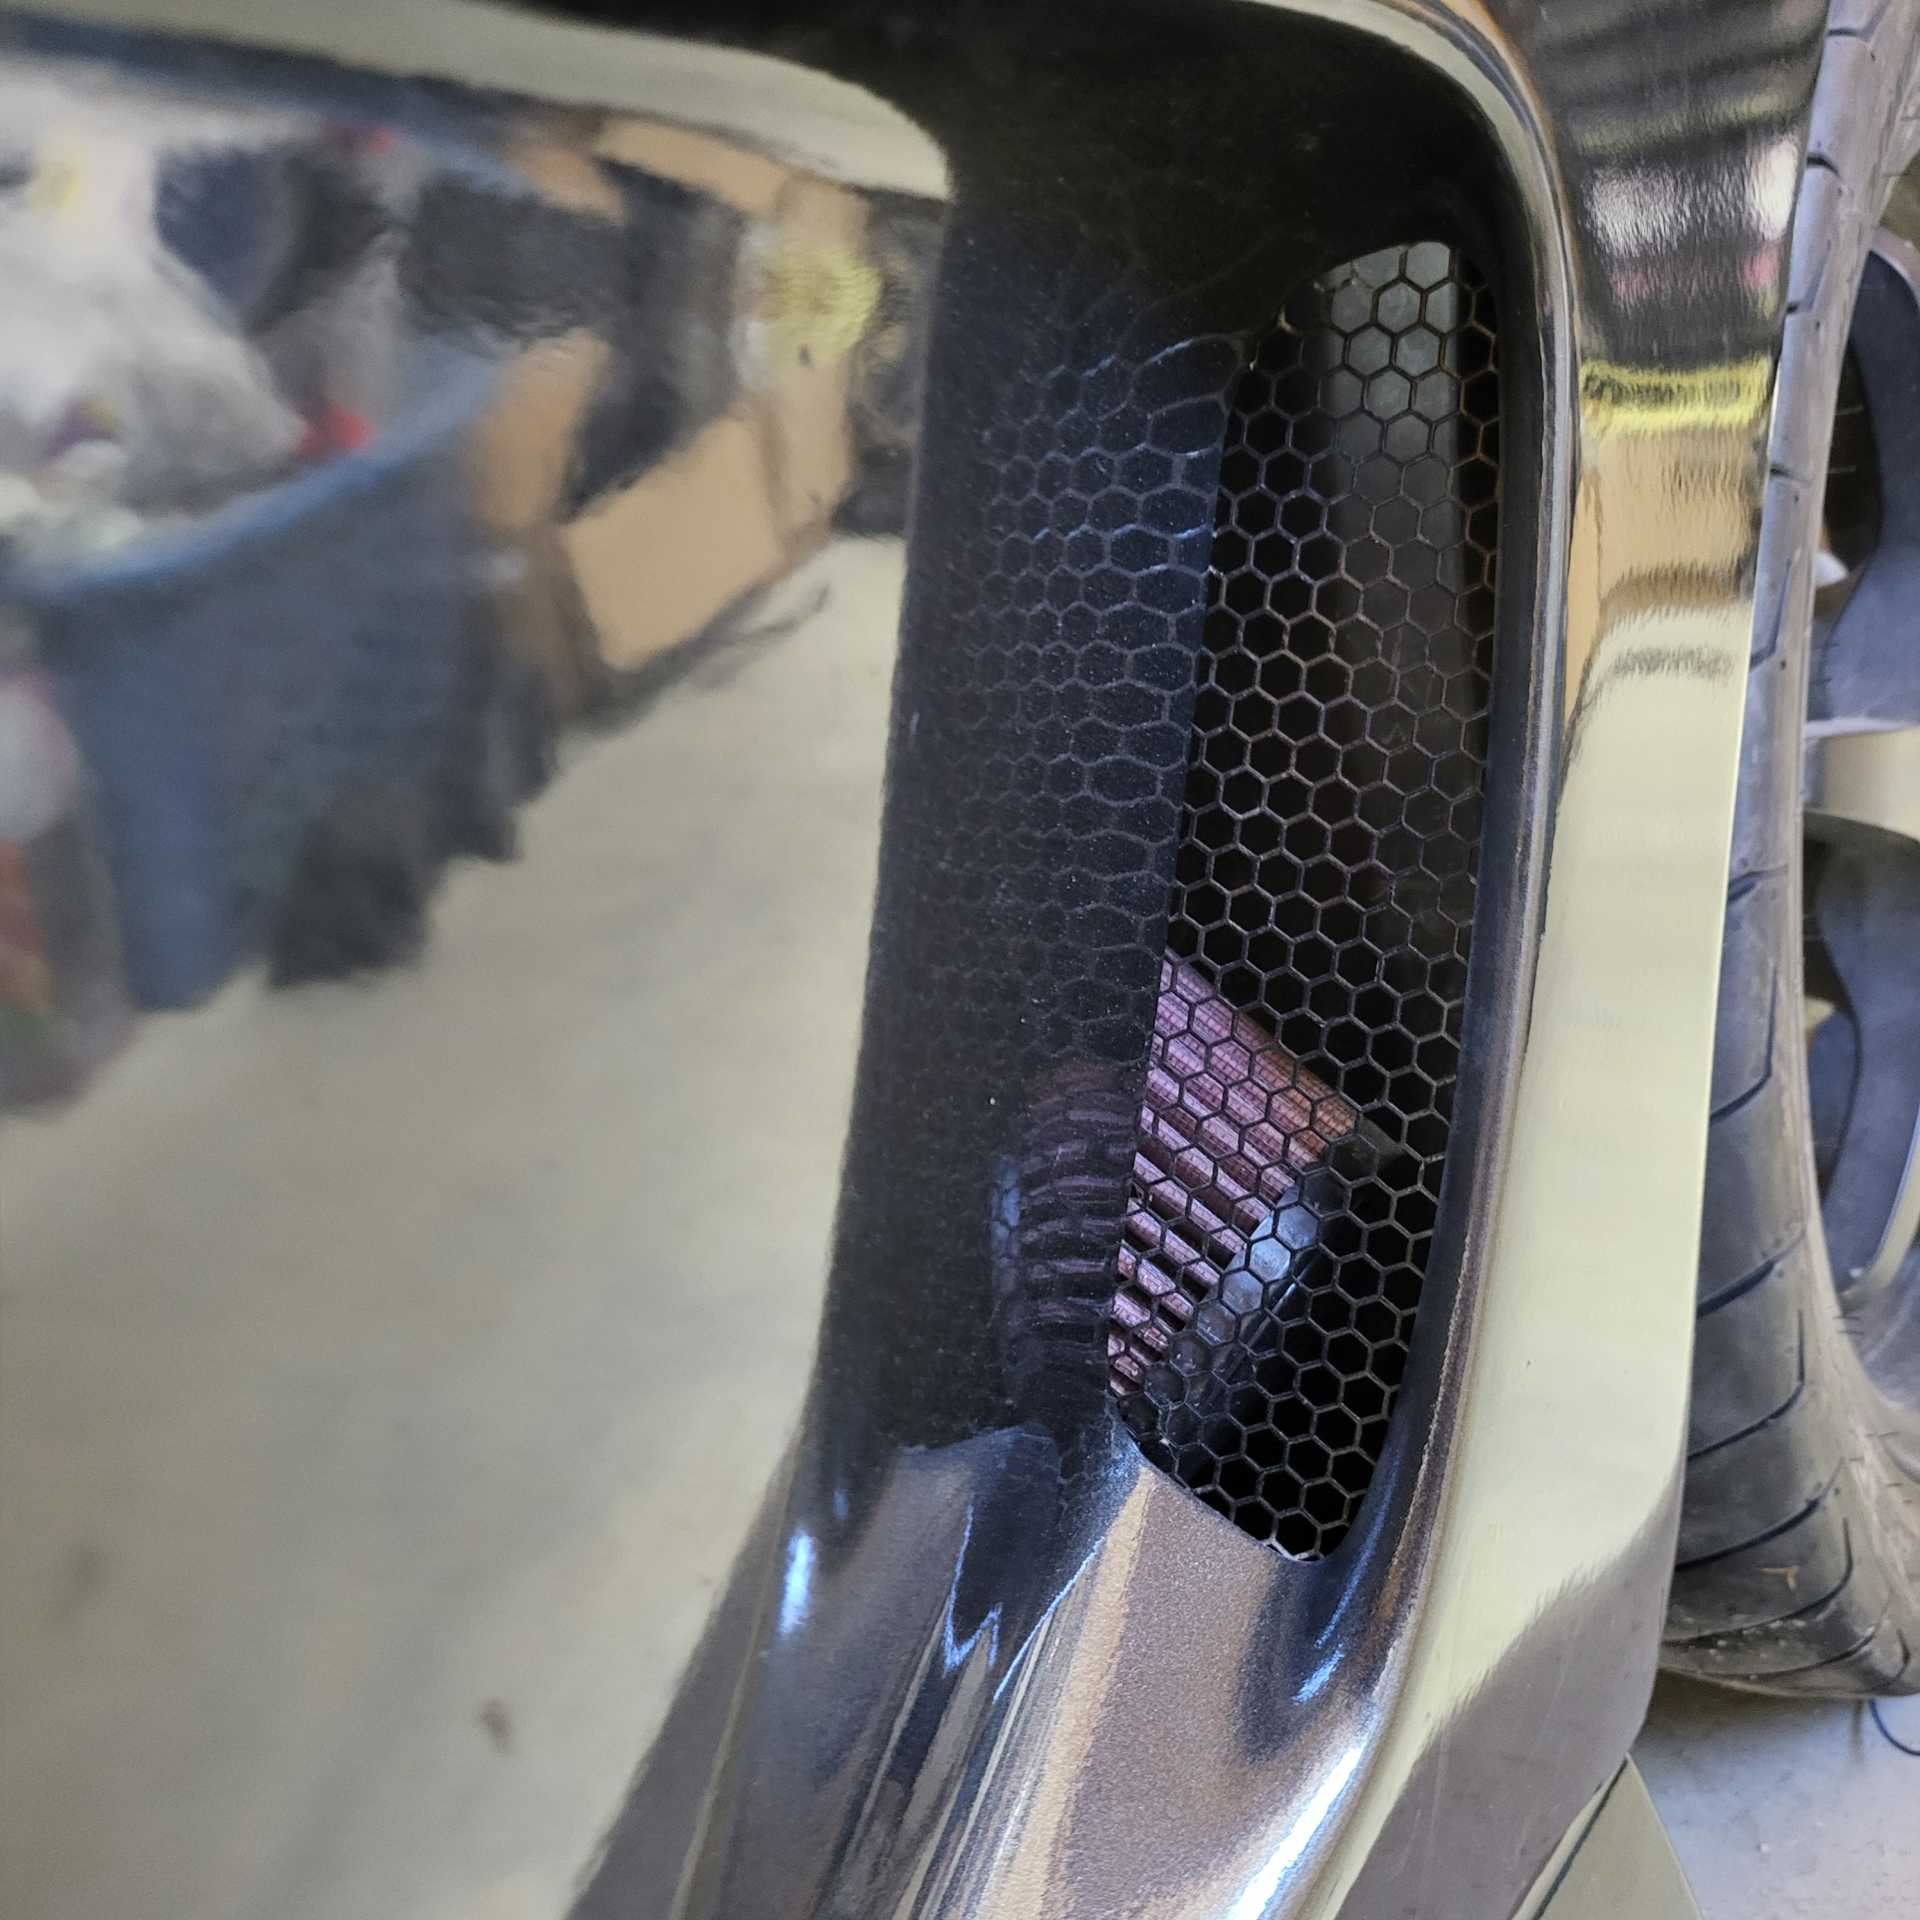
Looks good might have to play around with the air intake design one day. Any ideas? Thinking of brake rotor ducting.
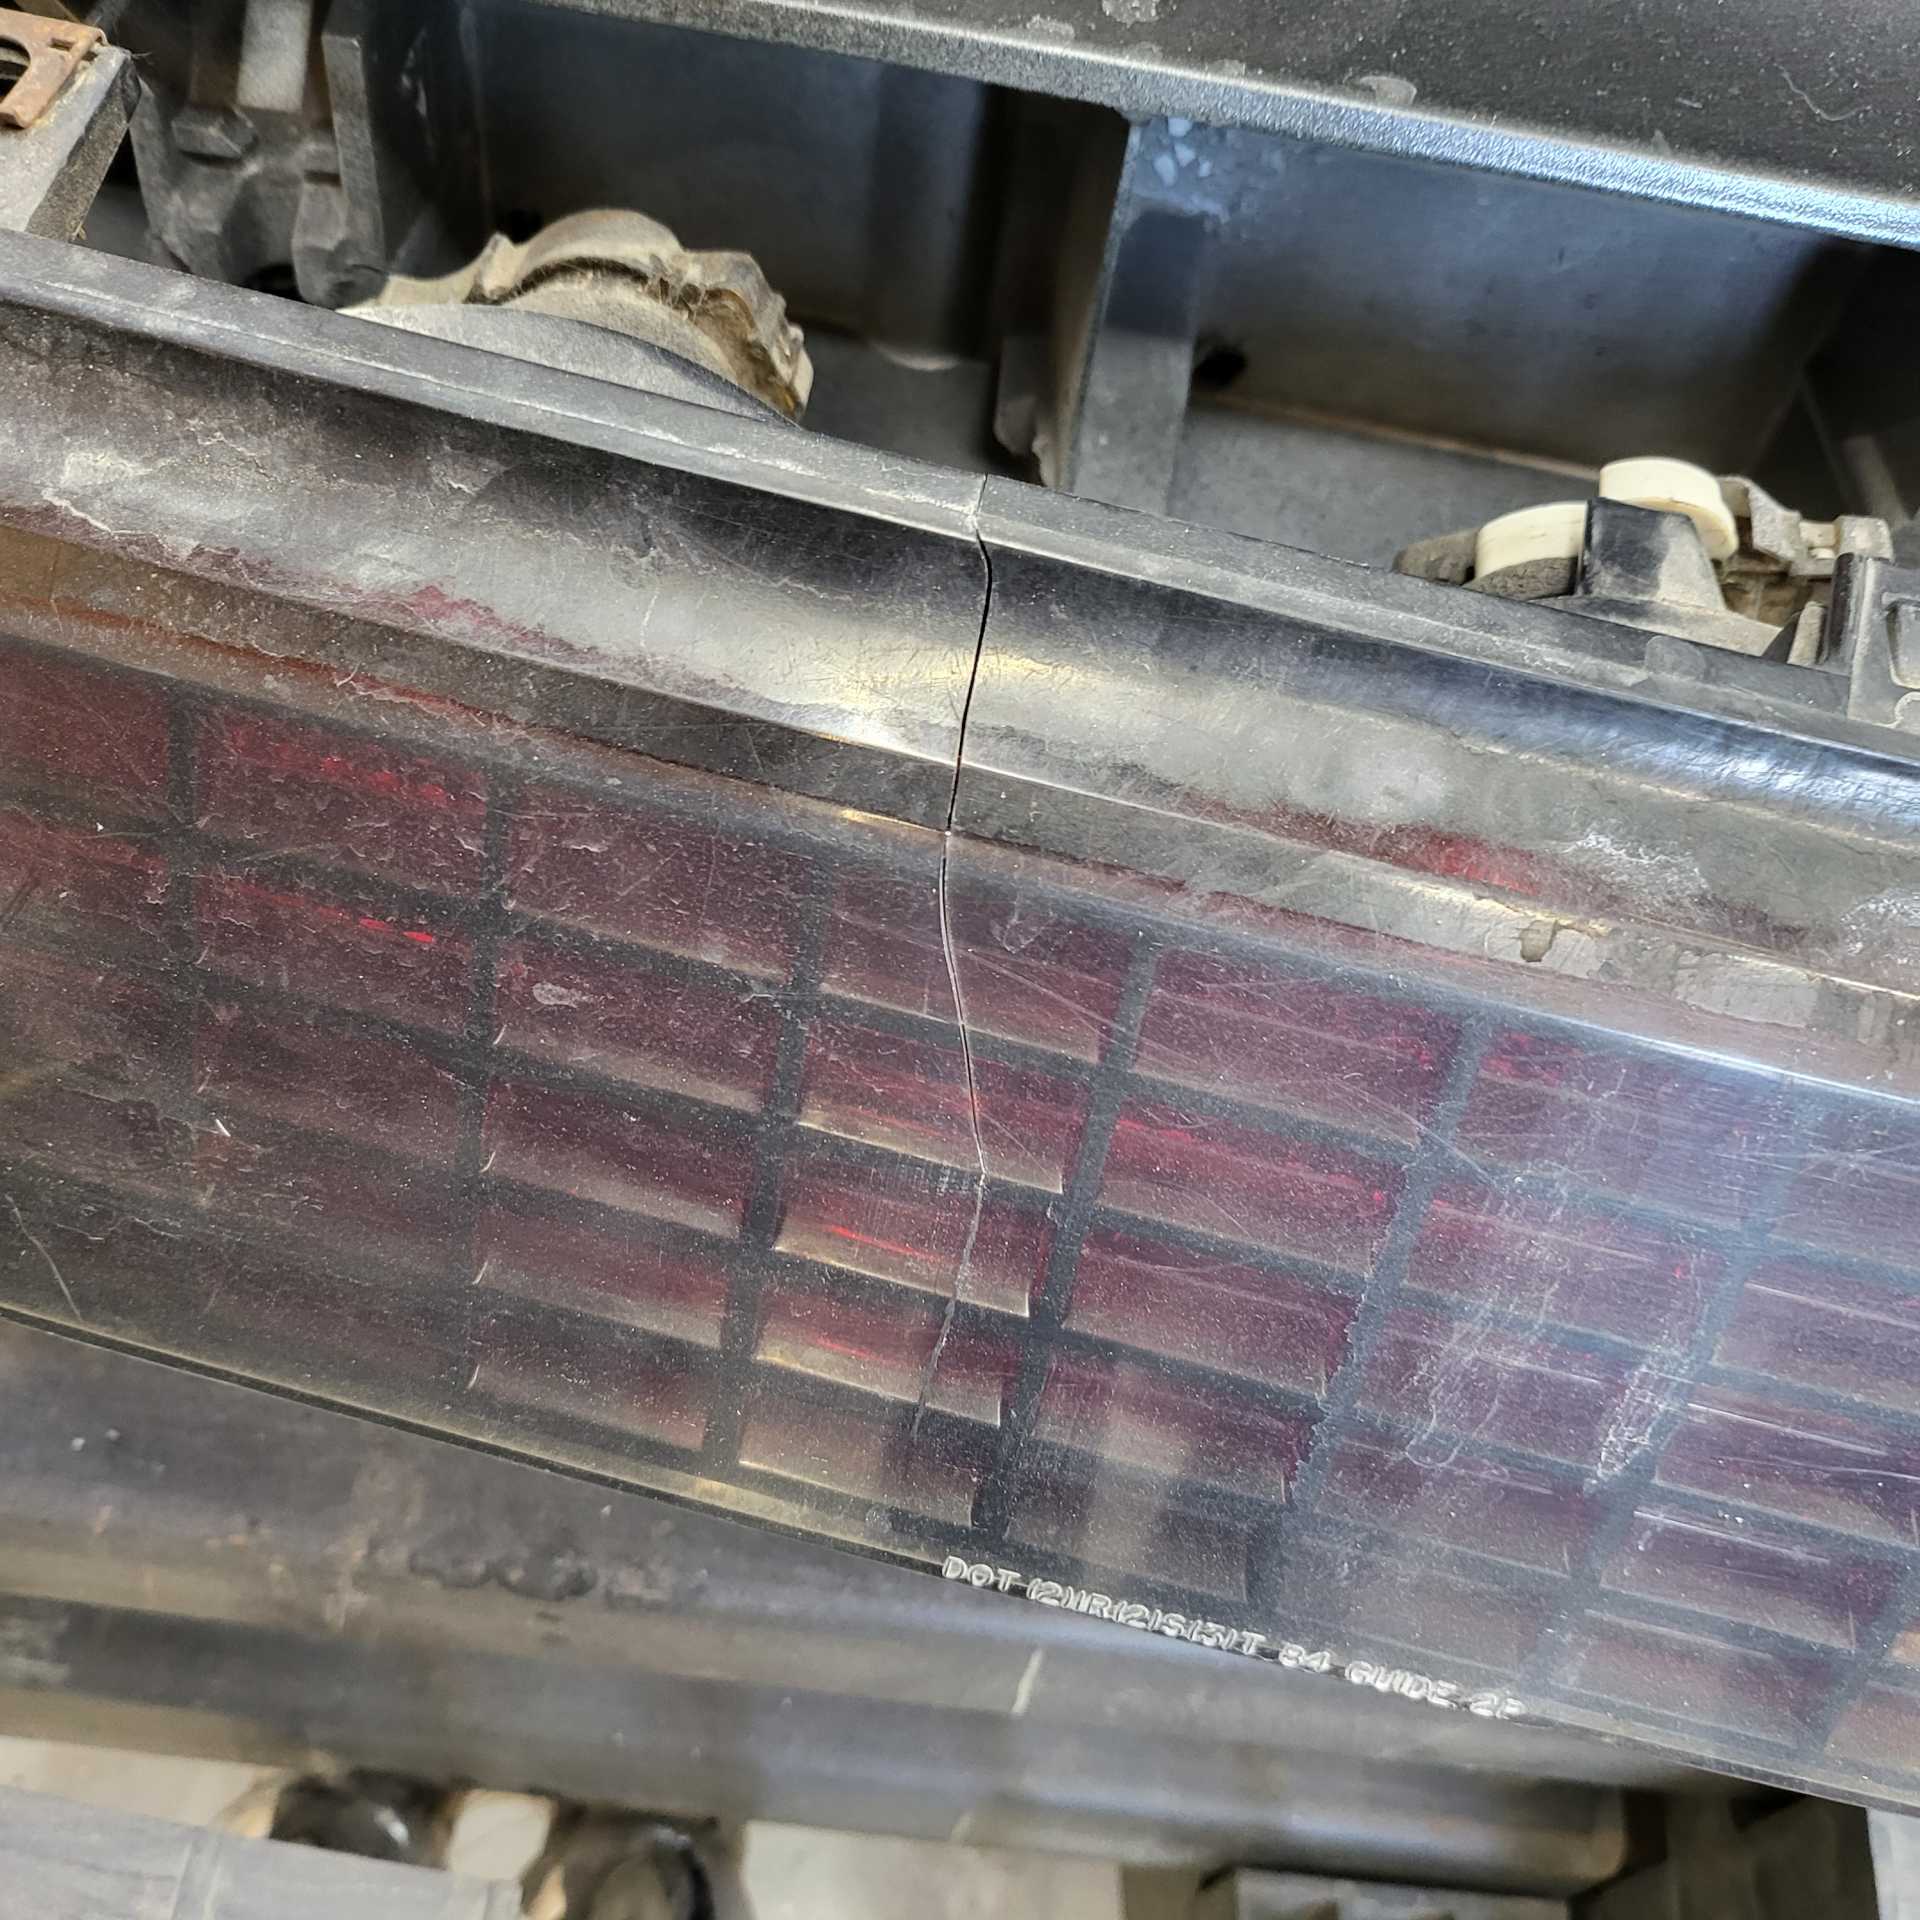
In the process of adjusting the rear bumper I cracked my driver side tail light lens. We aren't supposed to be taking shortcuts on these old cars! Anyone have a spare??
Rebuilt the door hinges. Did the pins a few months ago and just did the rollers.
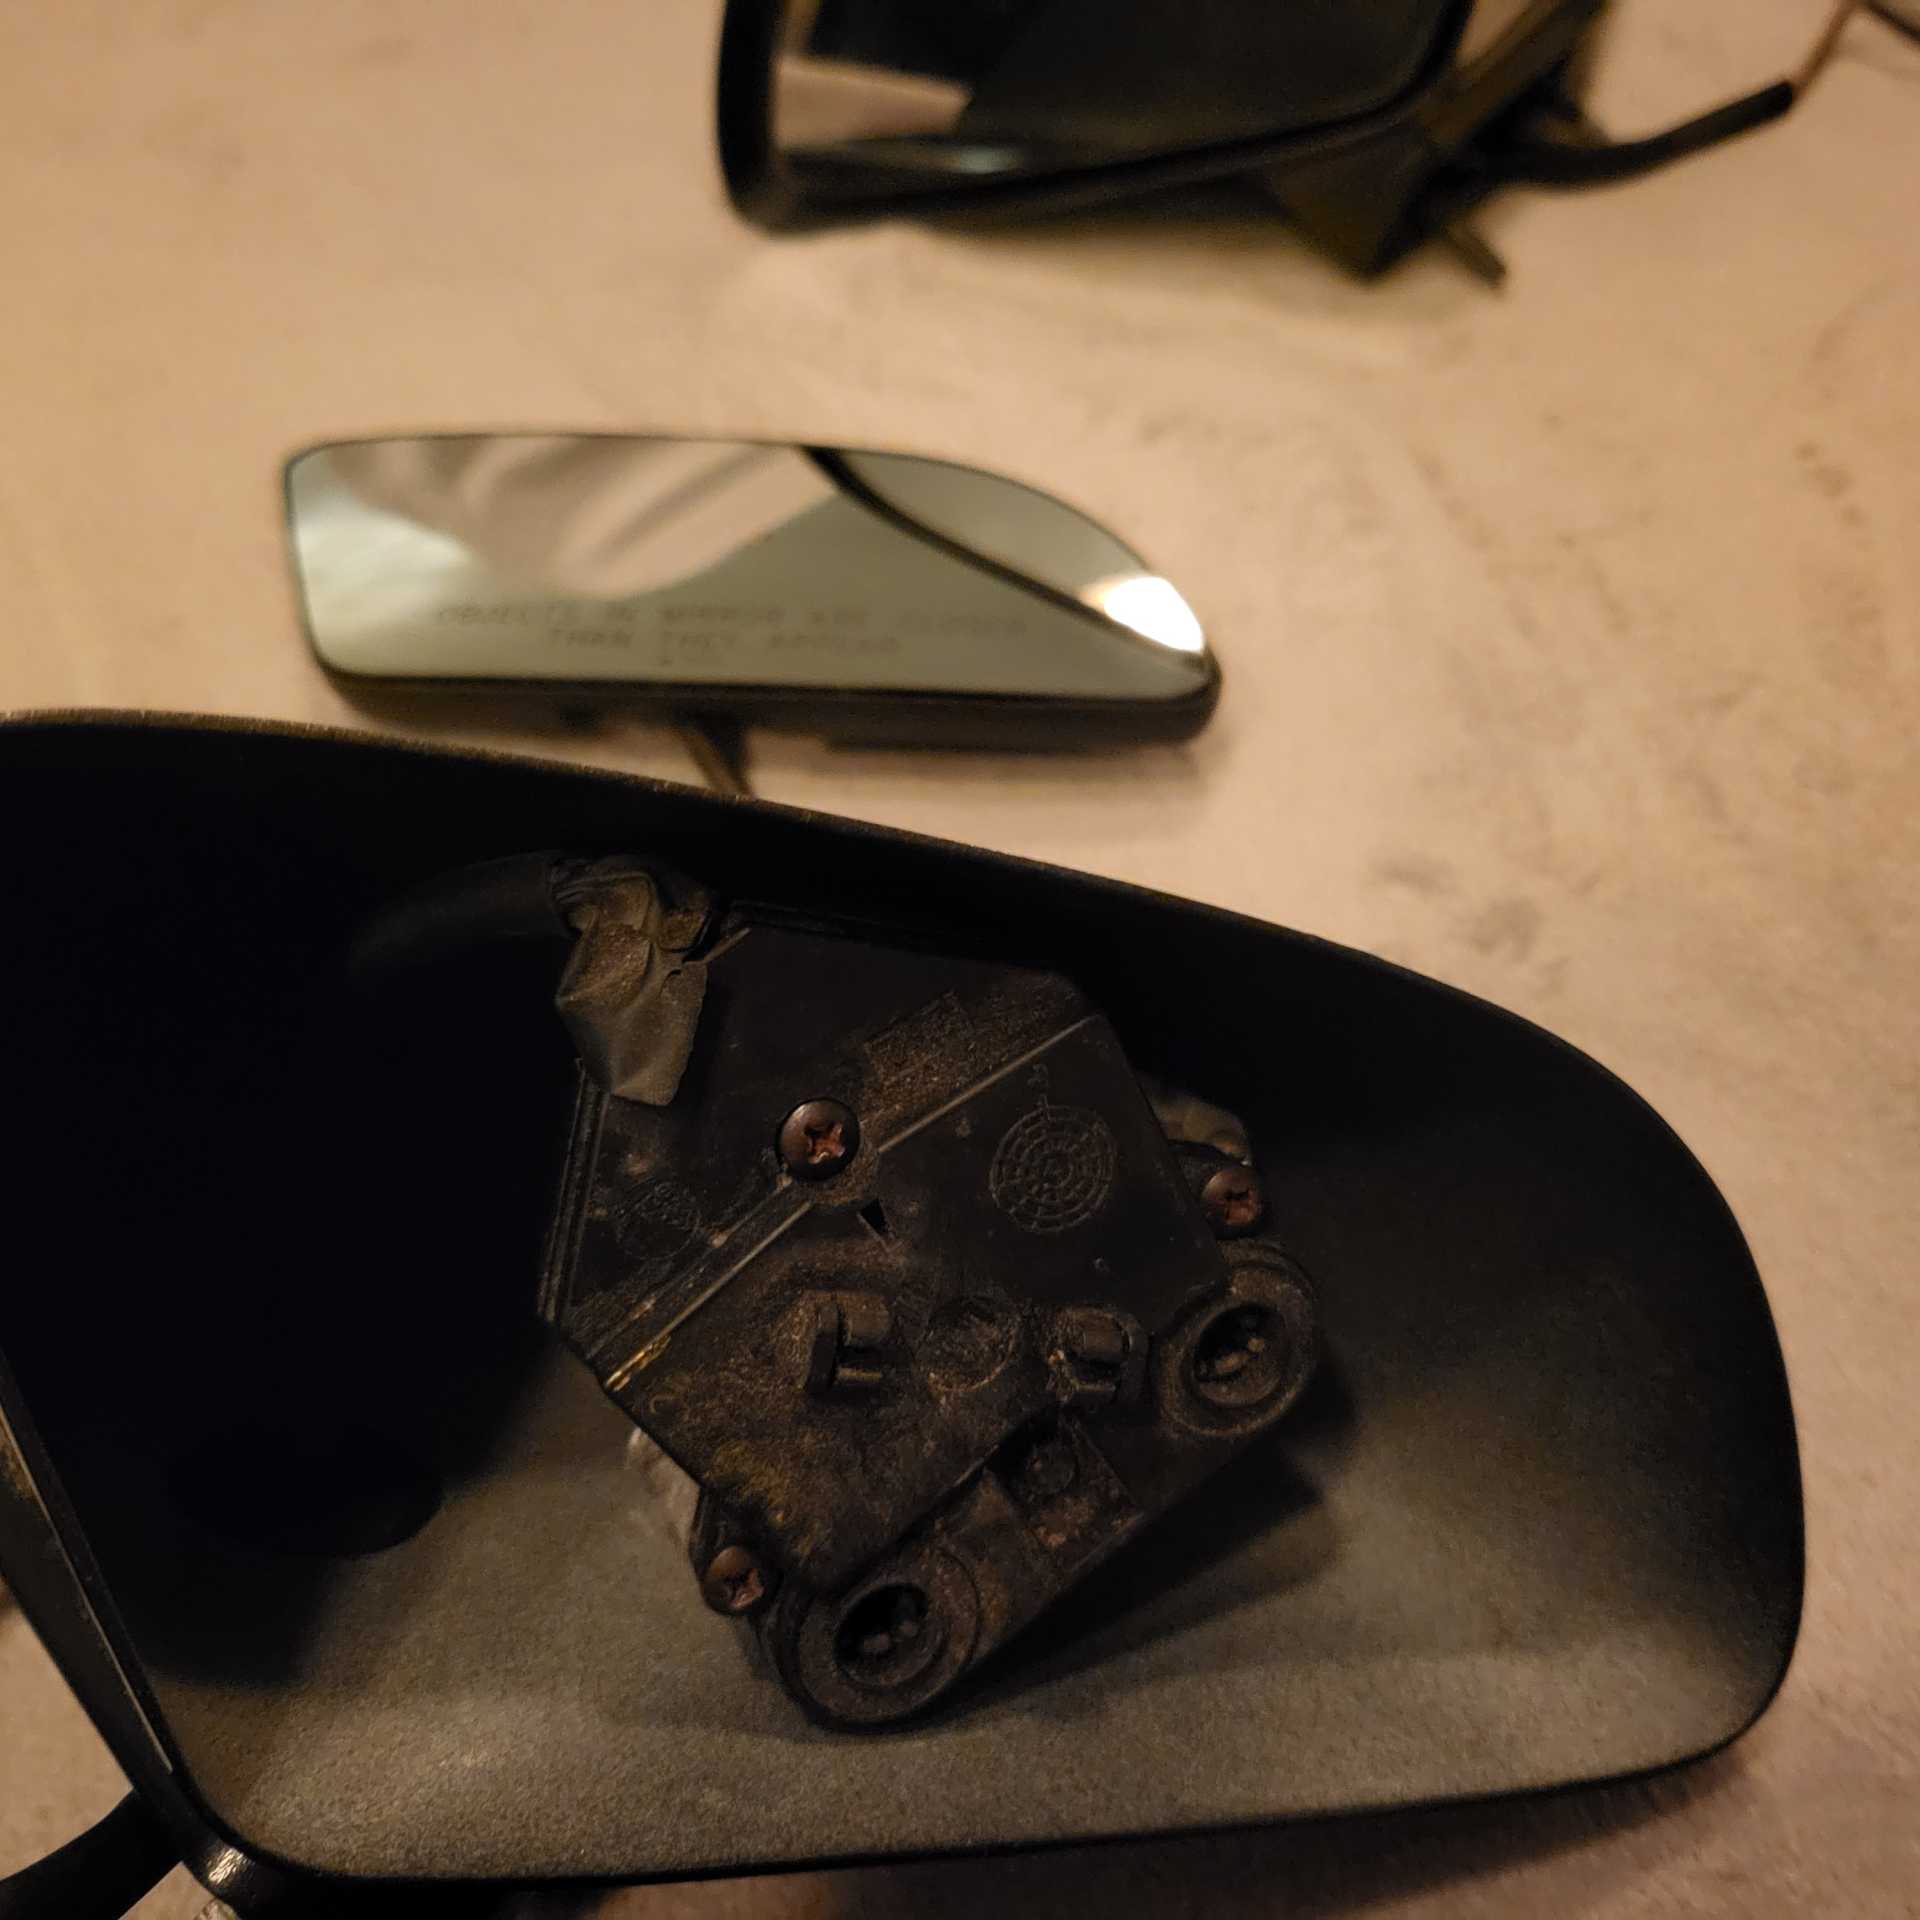
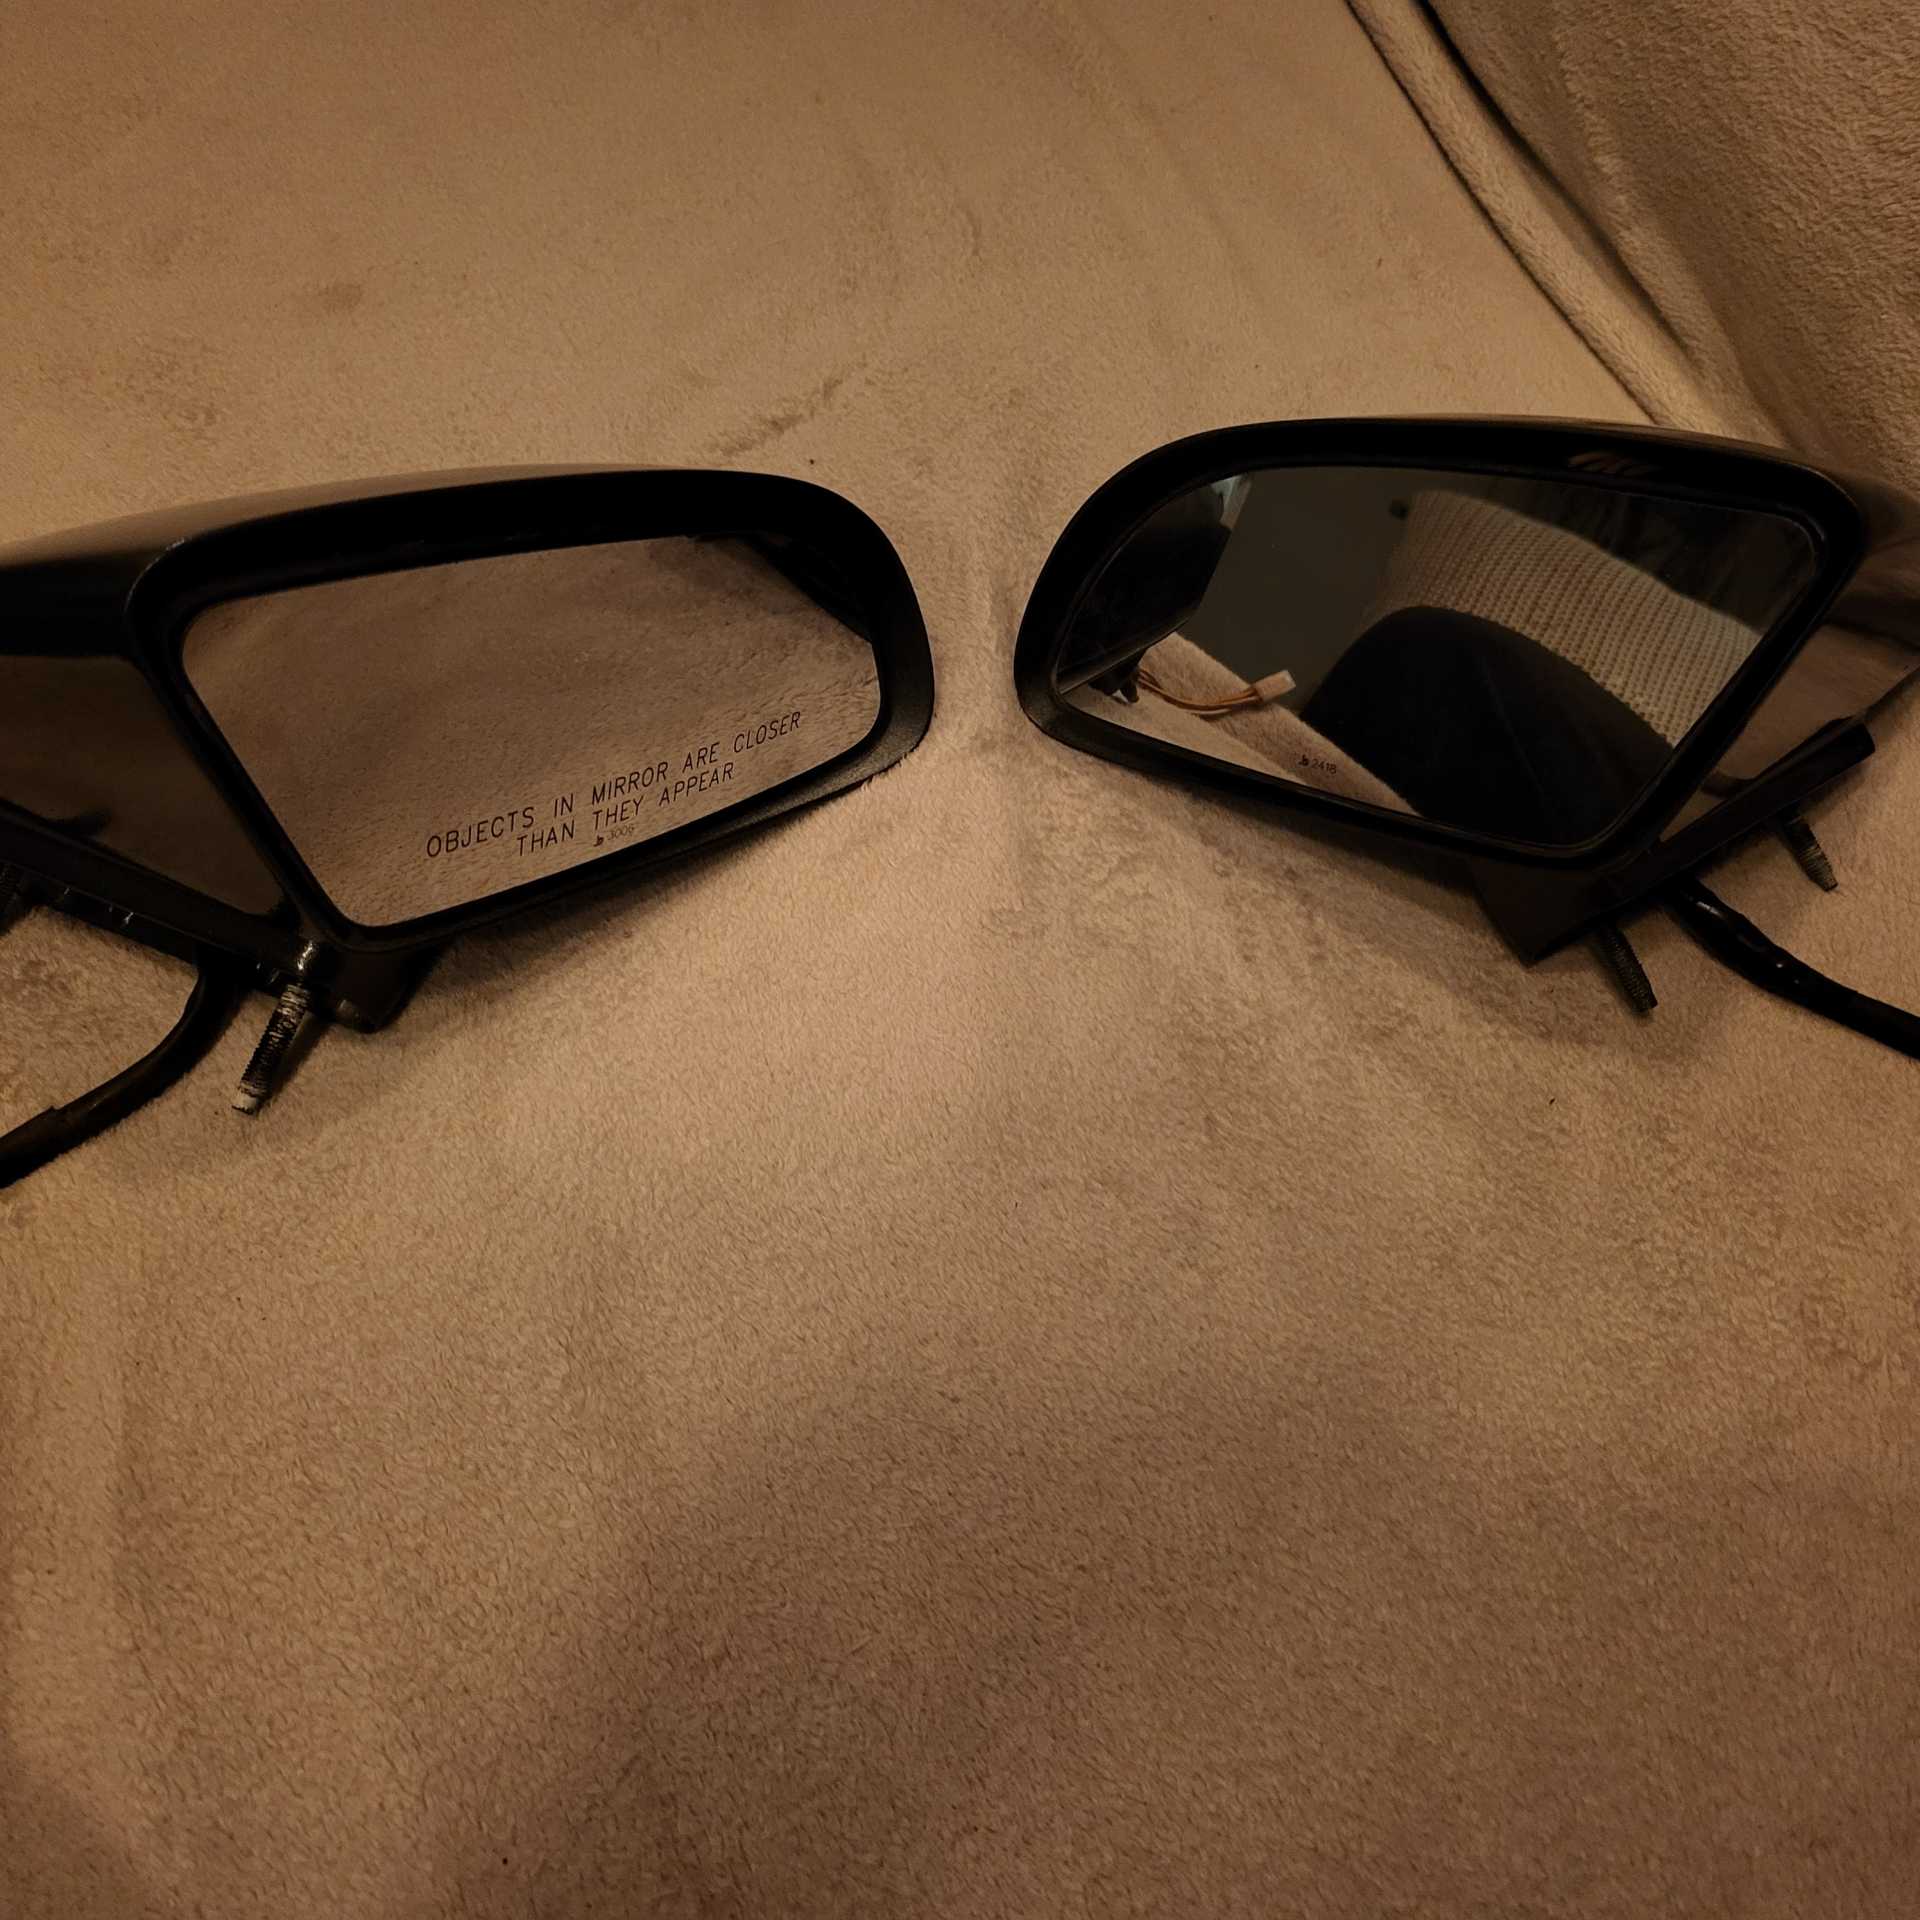
Installed the power mirrors and new glass in the side mirrors. This will be the first time this Fiero has power mirrors. Goodbye manual joystick!
Found a NOS set of marker lights that I'm excited to install.

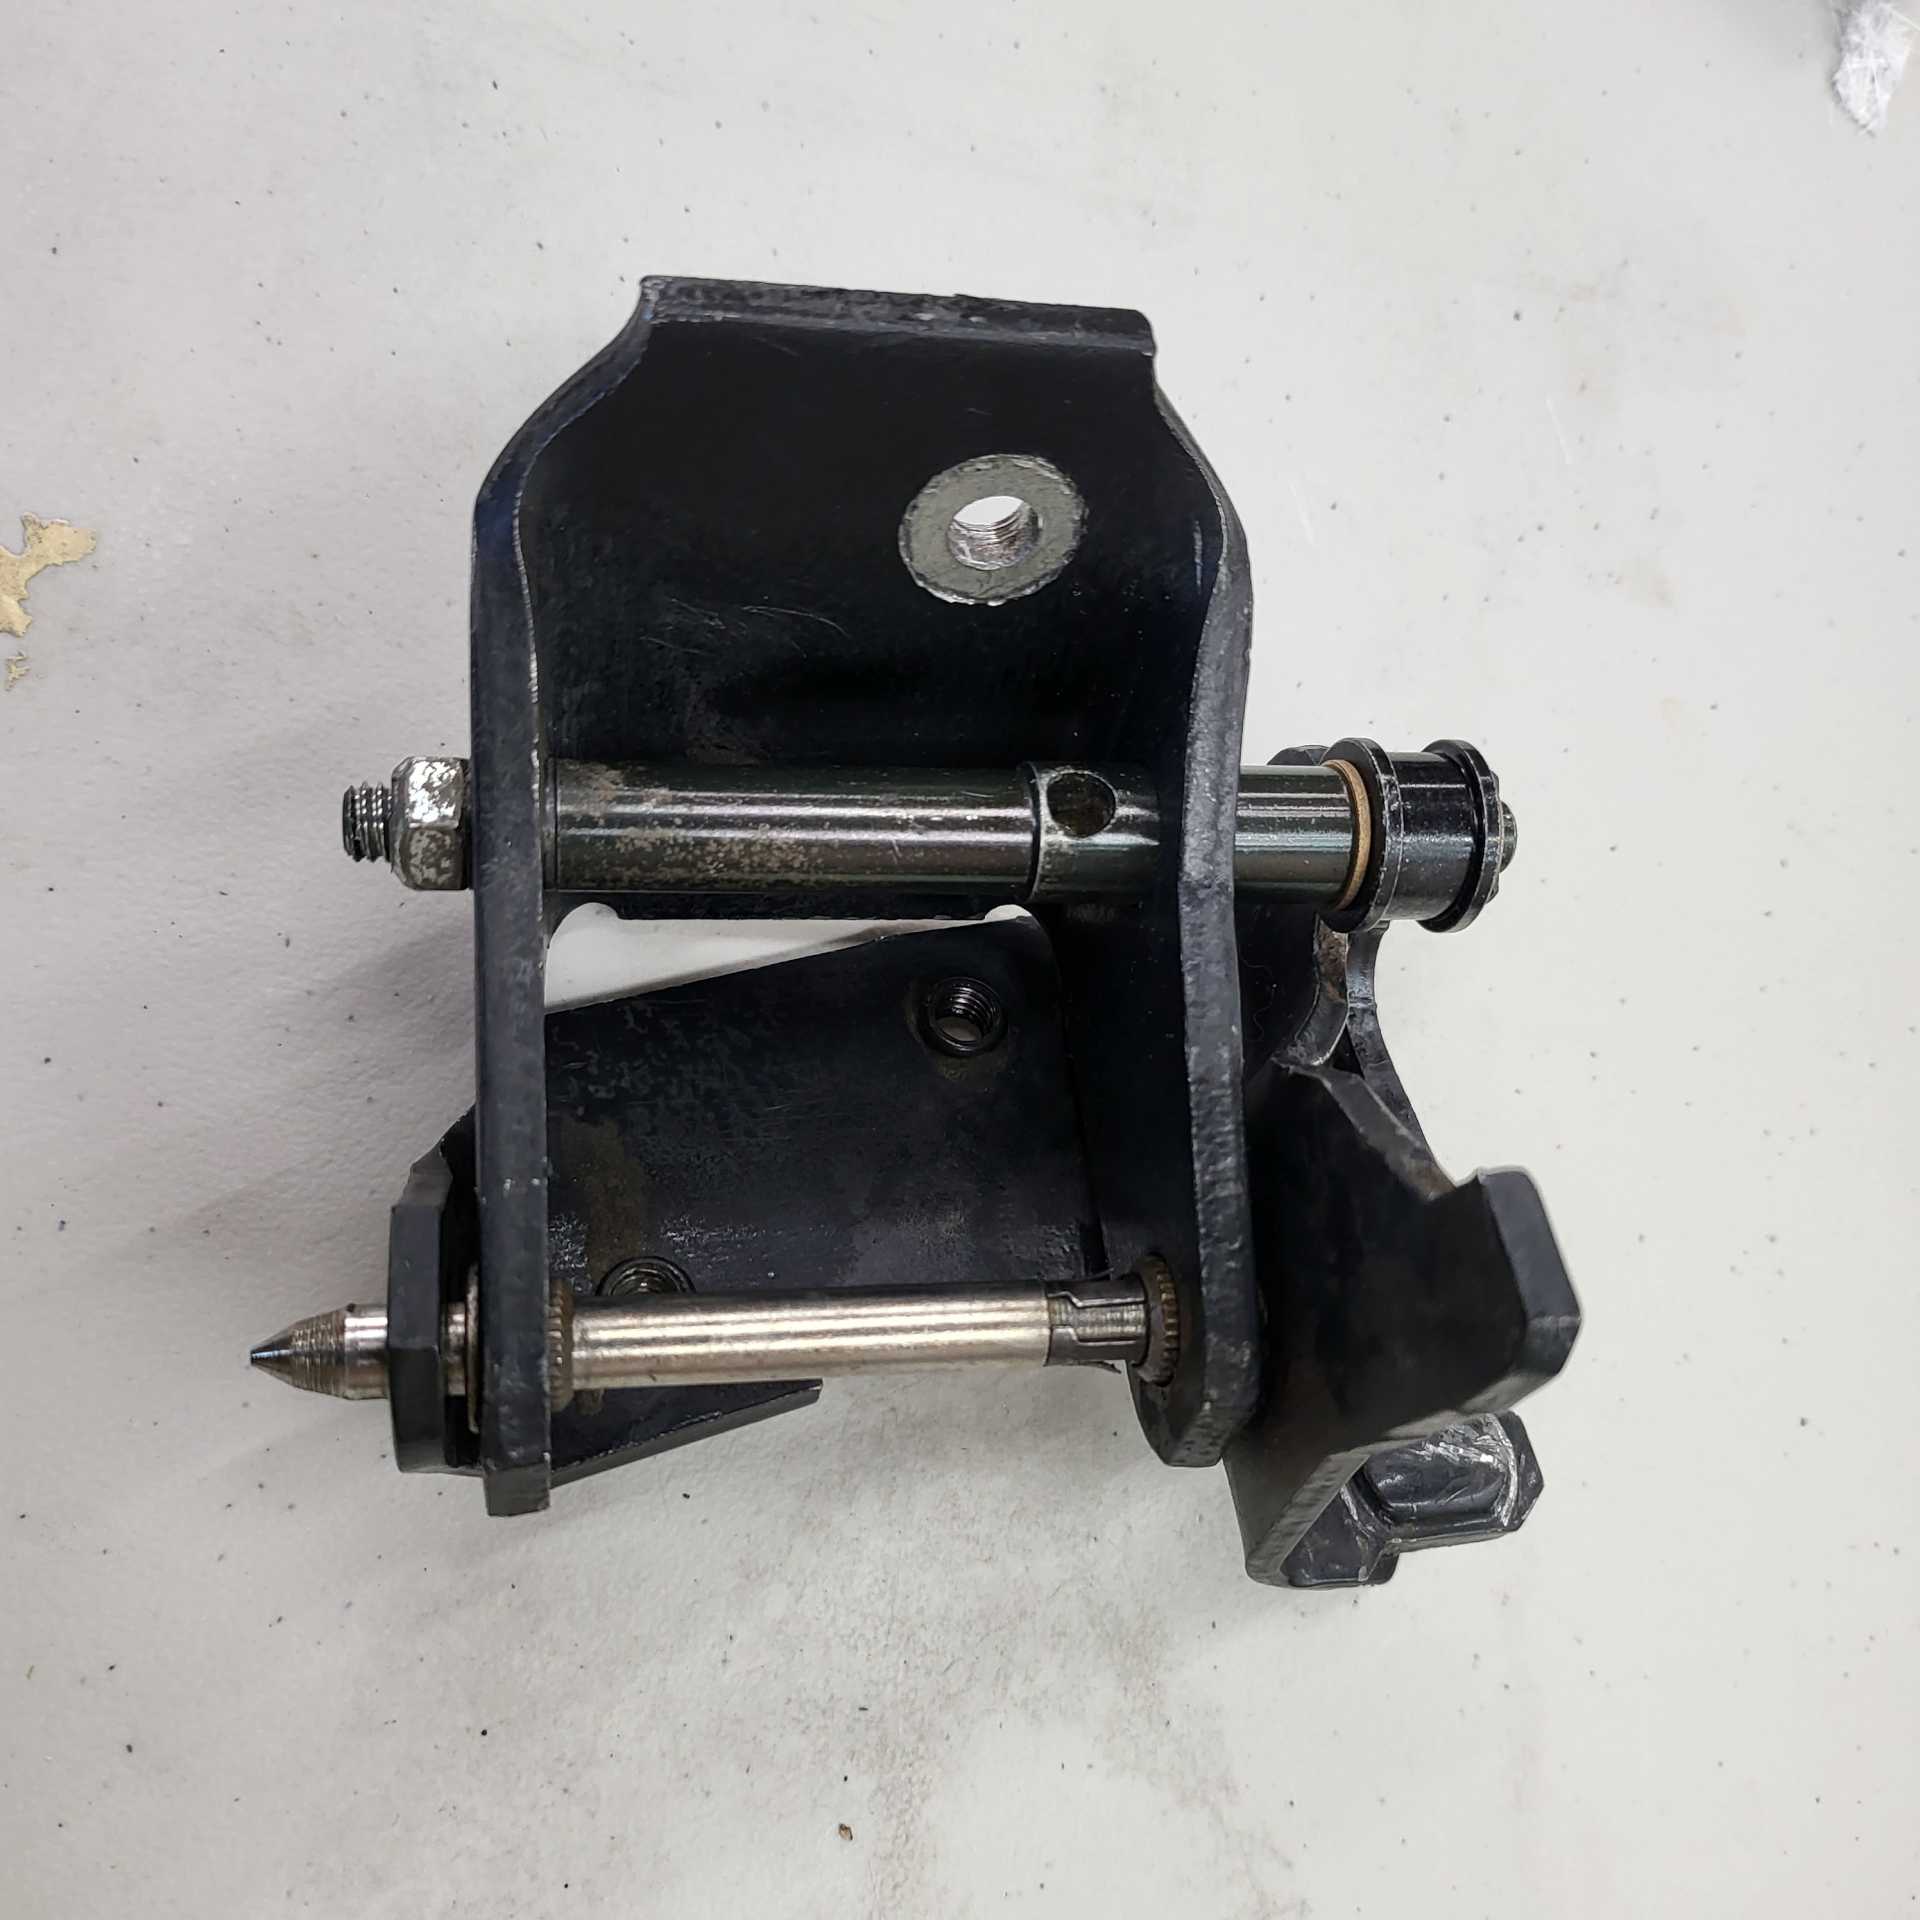
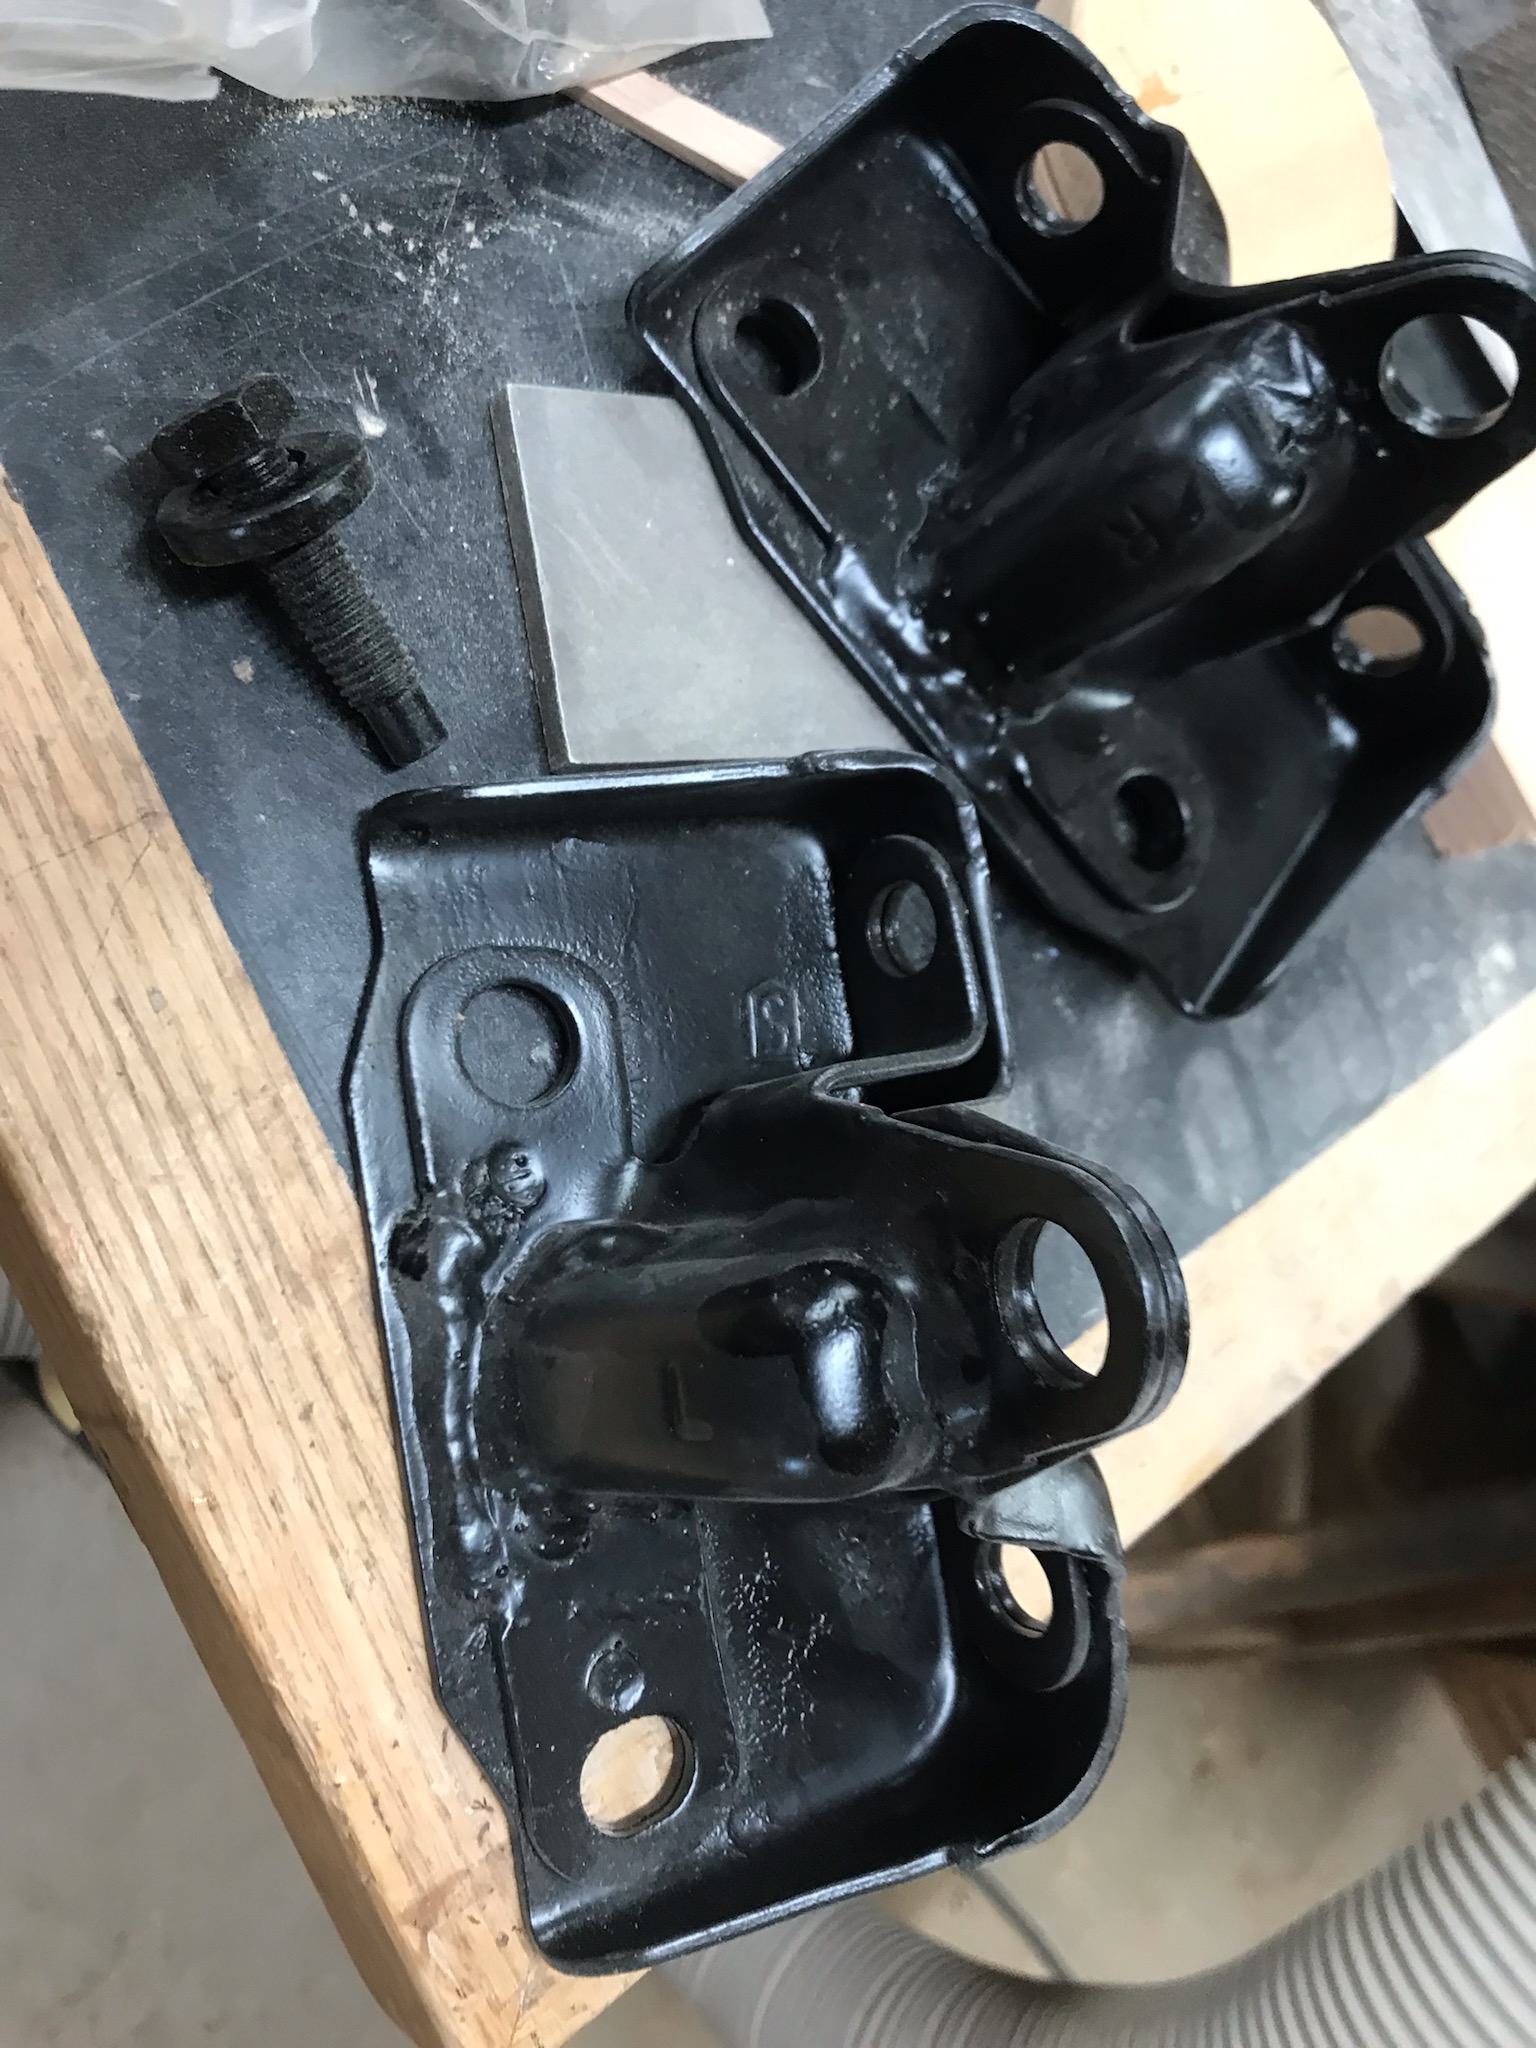
As well as front cross member brackets. Mine are almost non-existant and are held together with black Tremclad rust paint. I will likely install these next year.
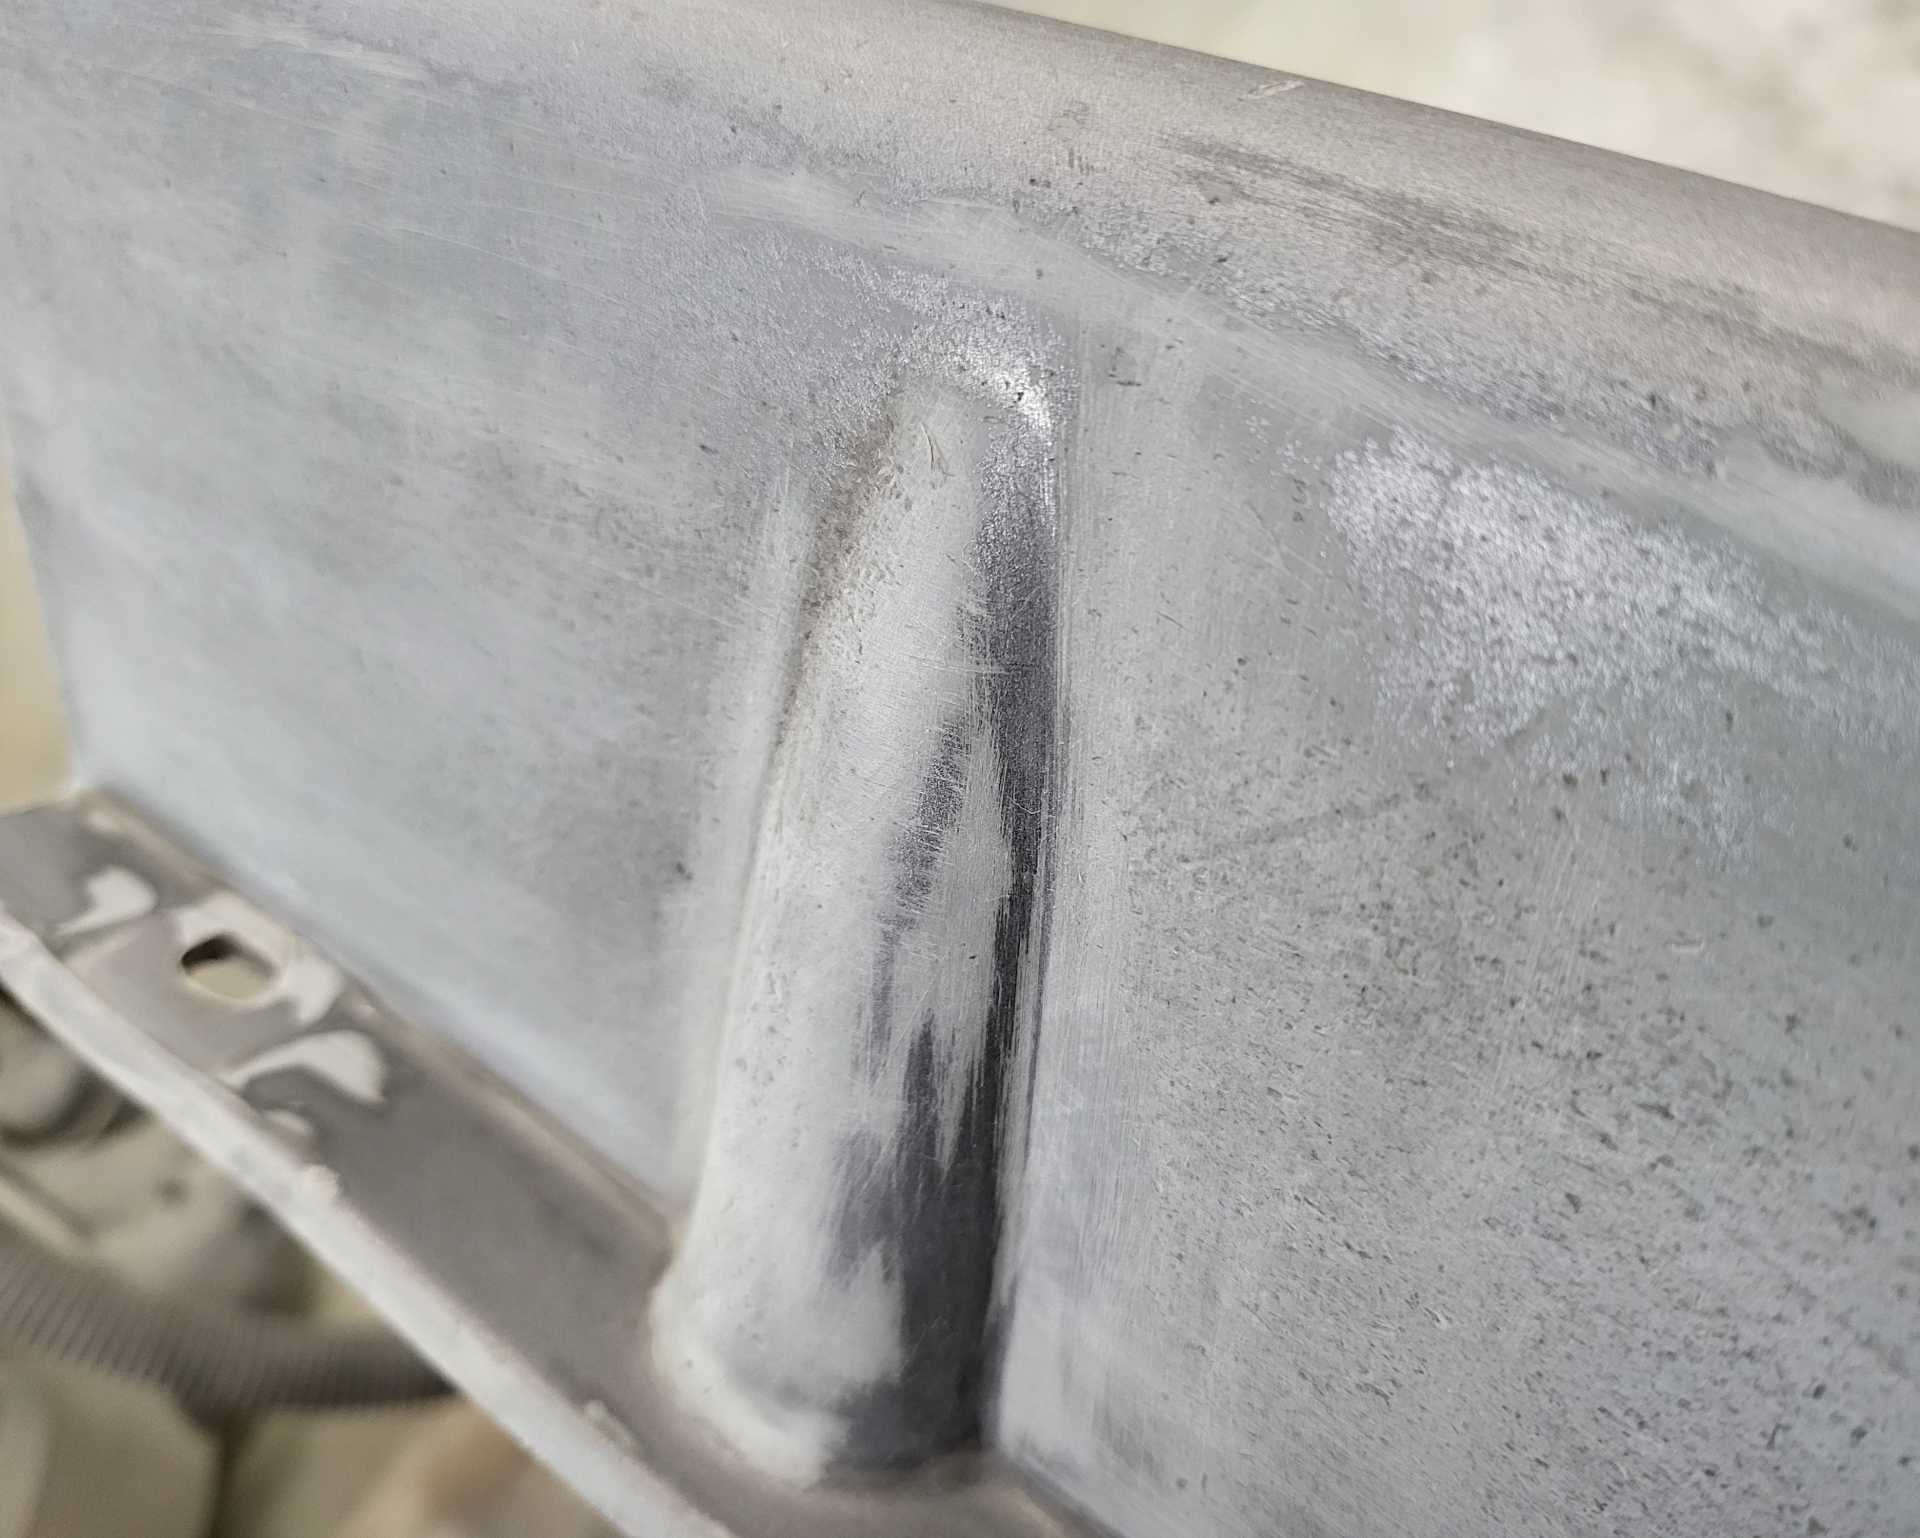
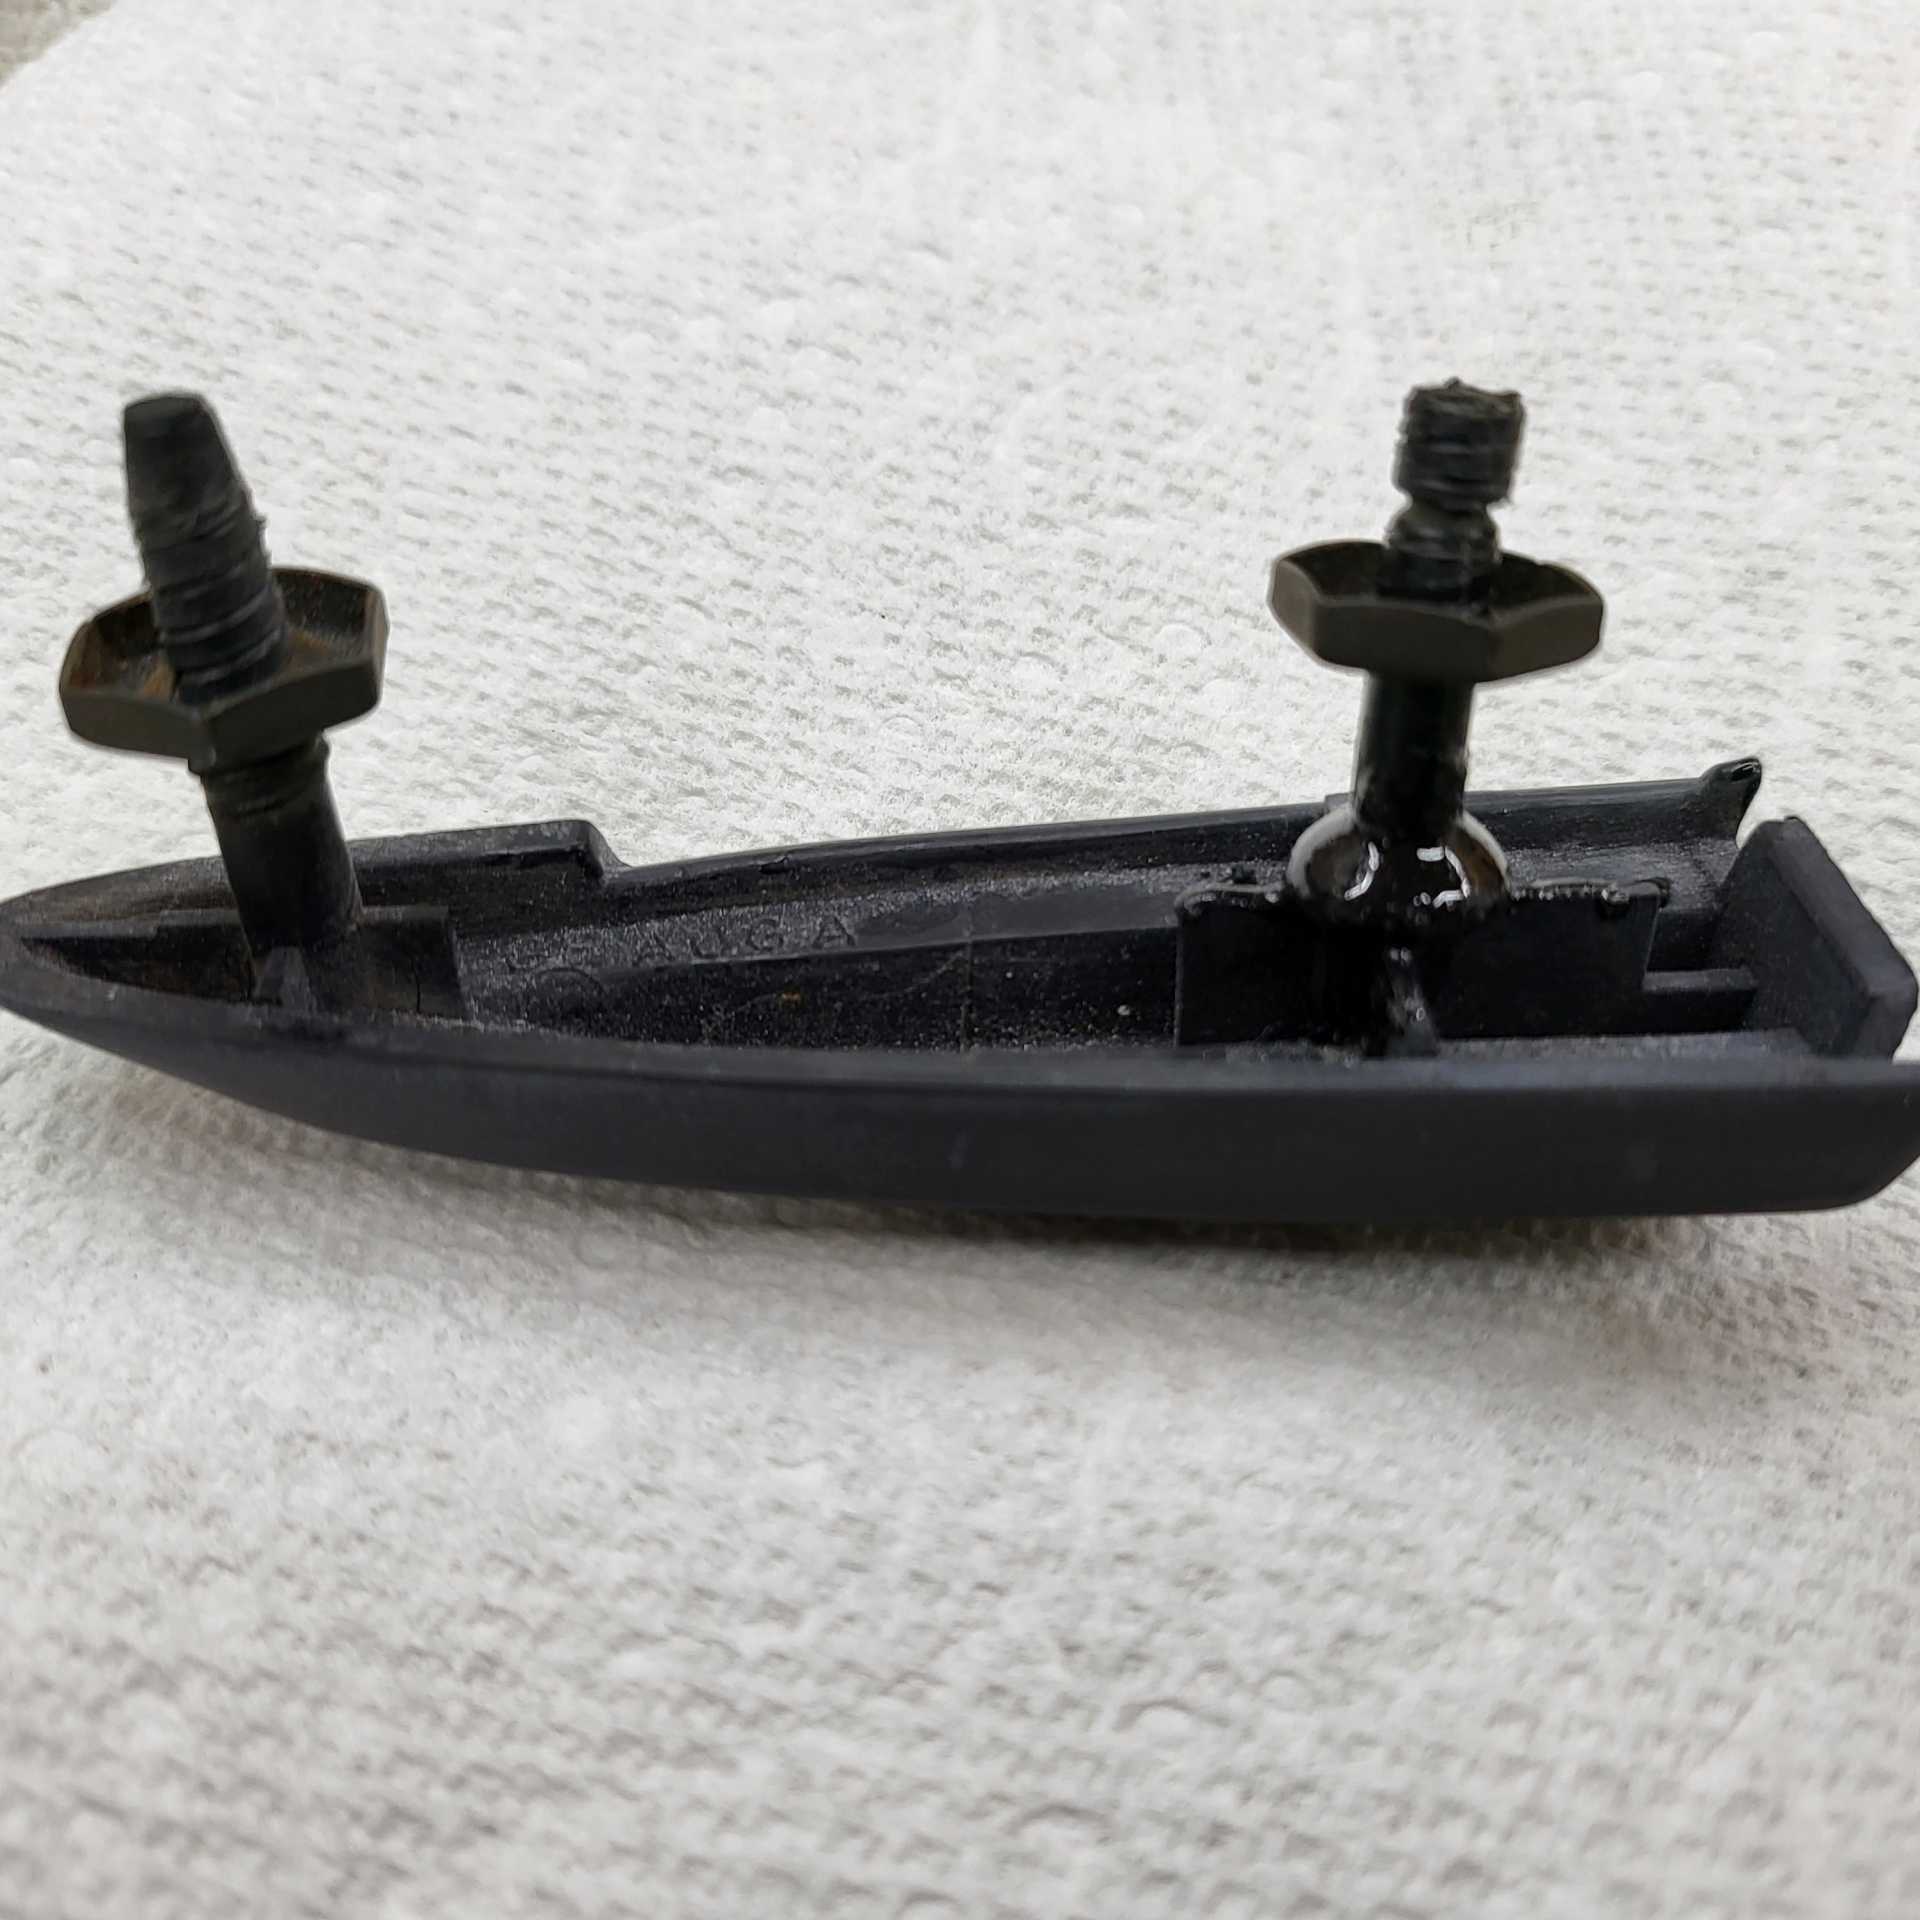
One of my ribbed molding on the front fascia has a missing stem to mount it so I JB welded a stem from one of the body clips and fit on a nut and it seems to work okay. I have a bit too much material sticking out past the mounting surface and causes it not to sit so flush. I will continue my search for a replacement molding I've been looking for 5+ years.
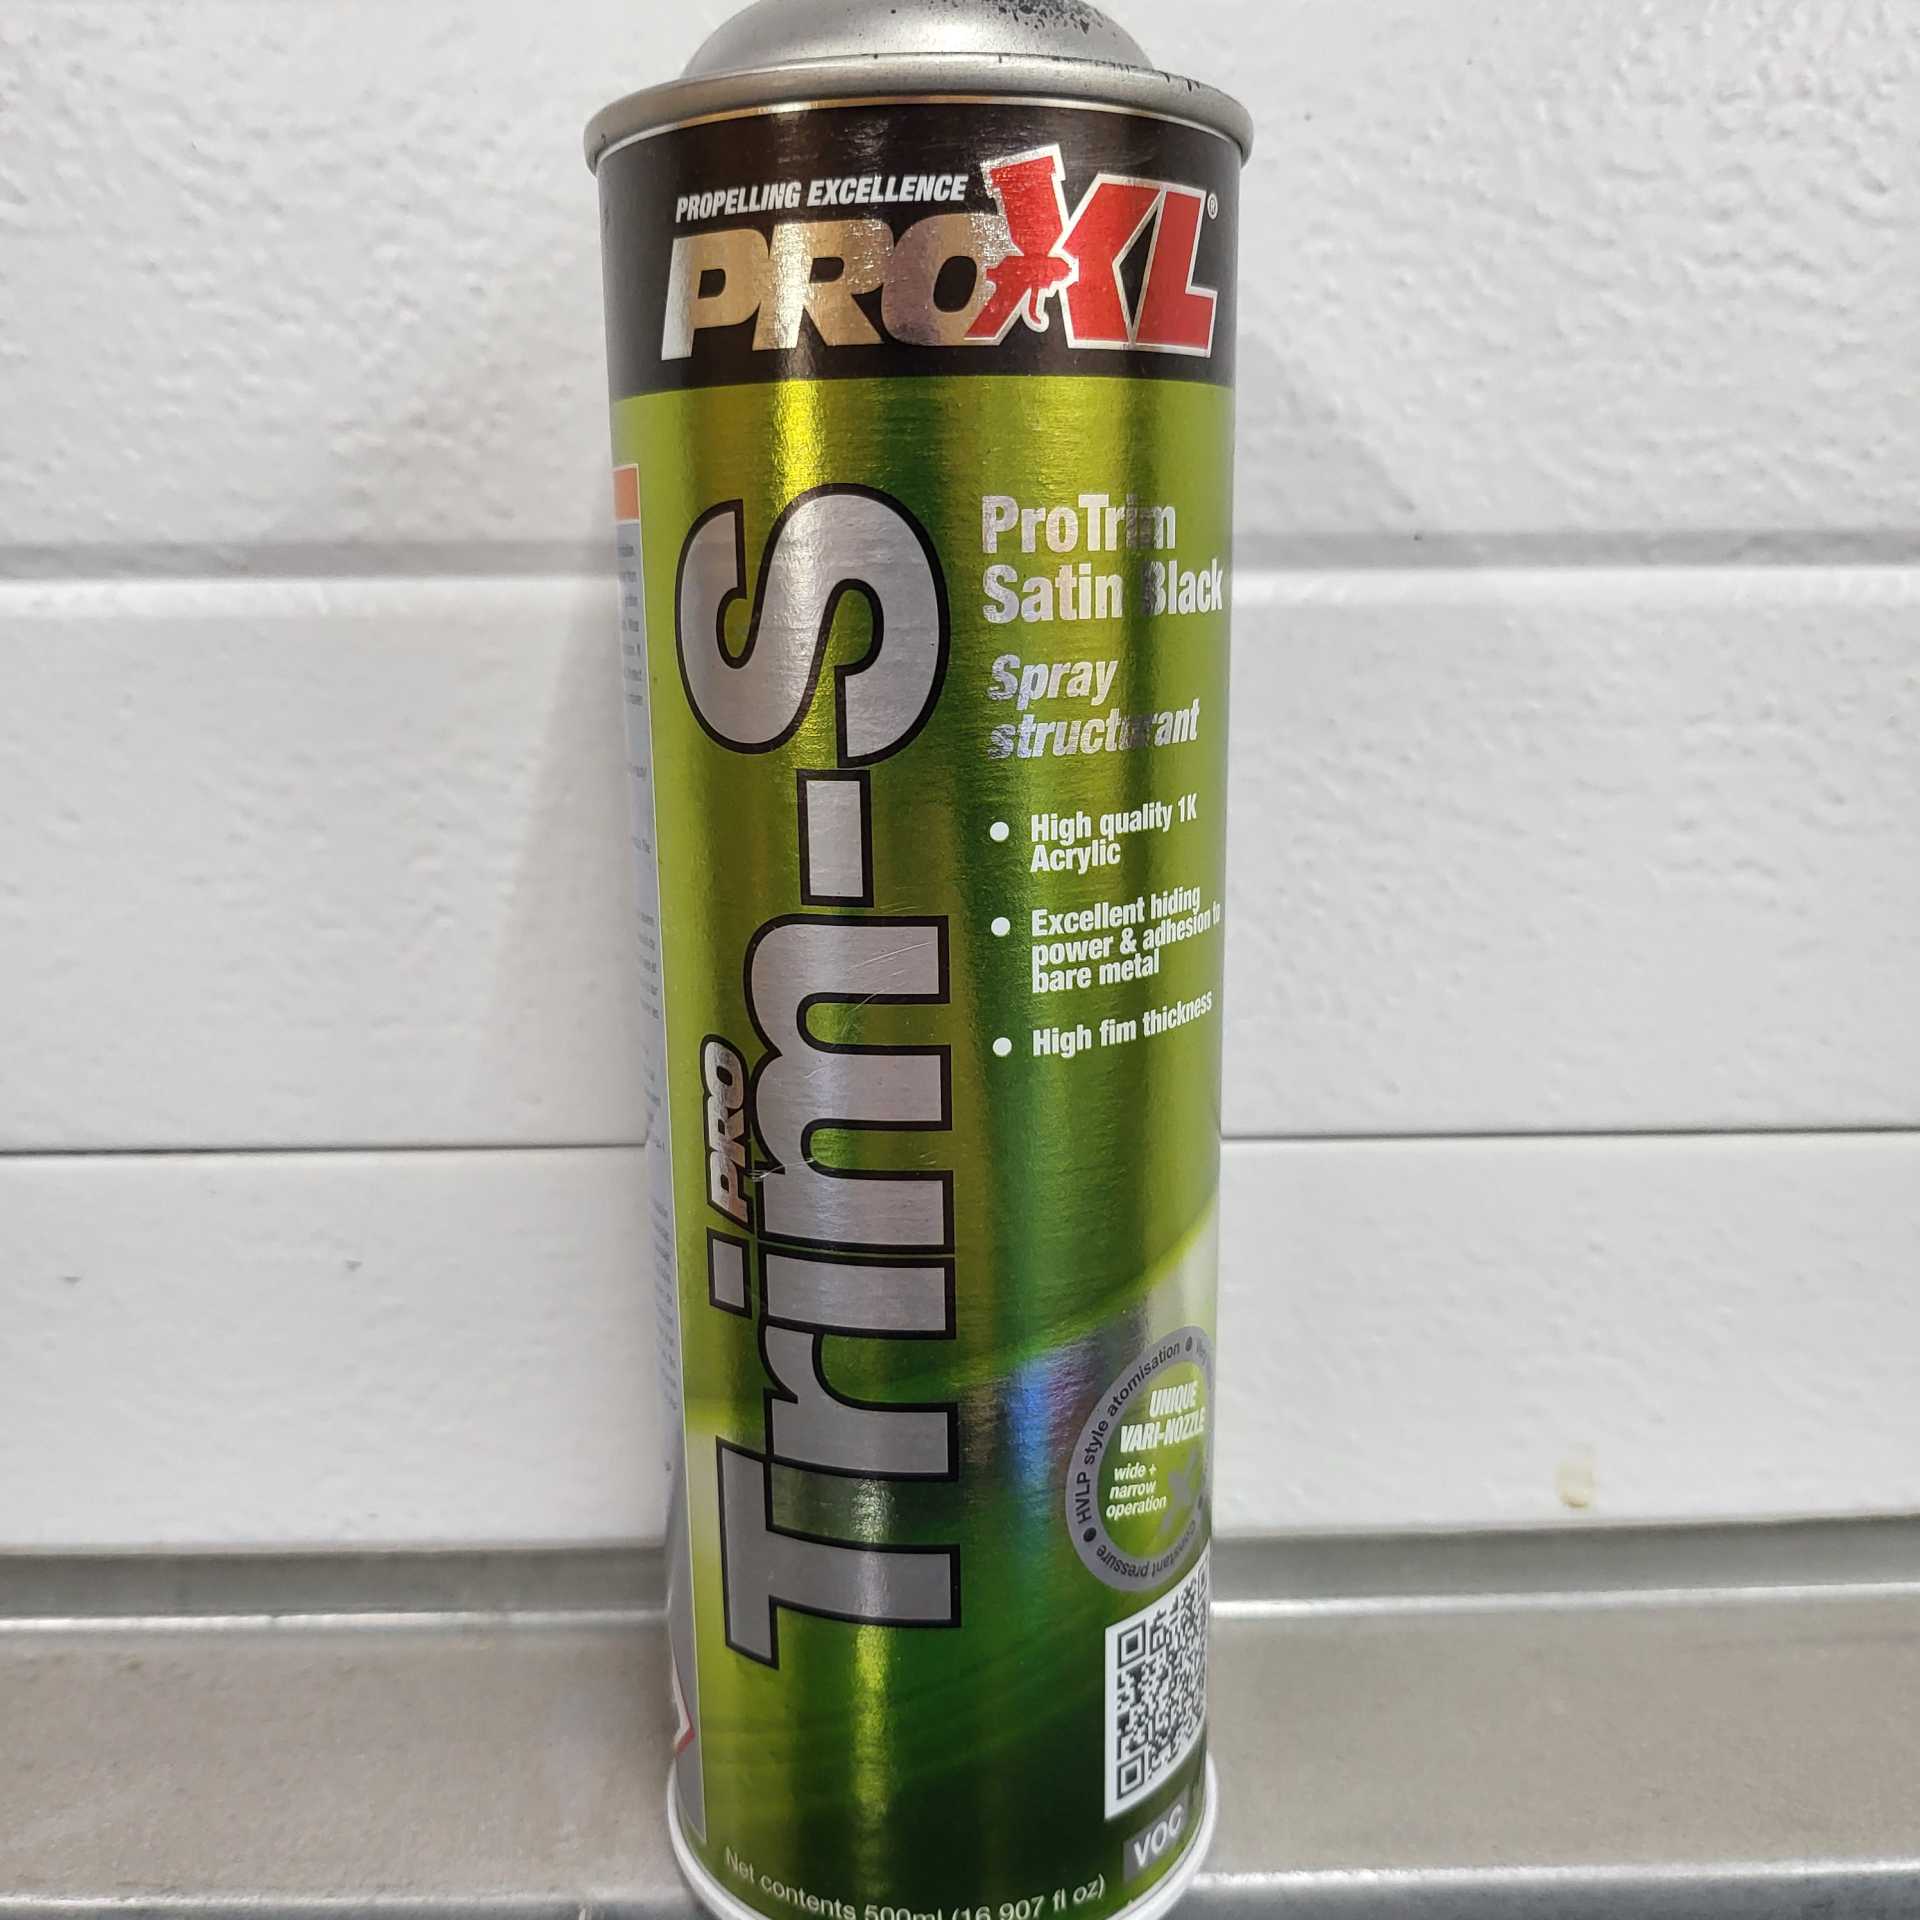
Ready to refurbish my sail panels. I started by removing all the original insert which was cracked. Then hours spent cleaning up all the old glue residue. I repainted with Pro XL Trim Paint:
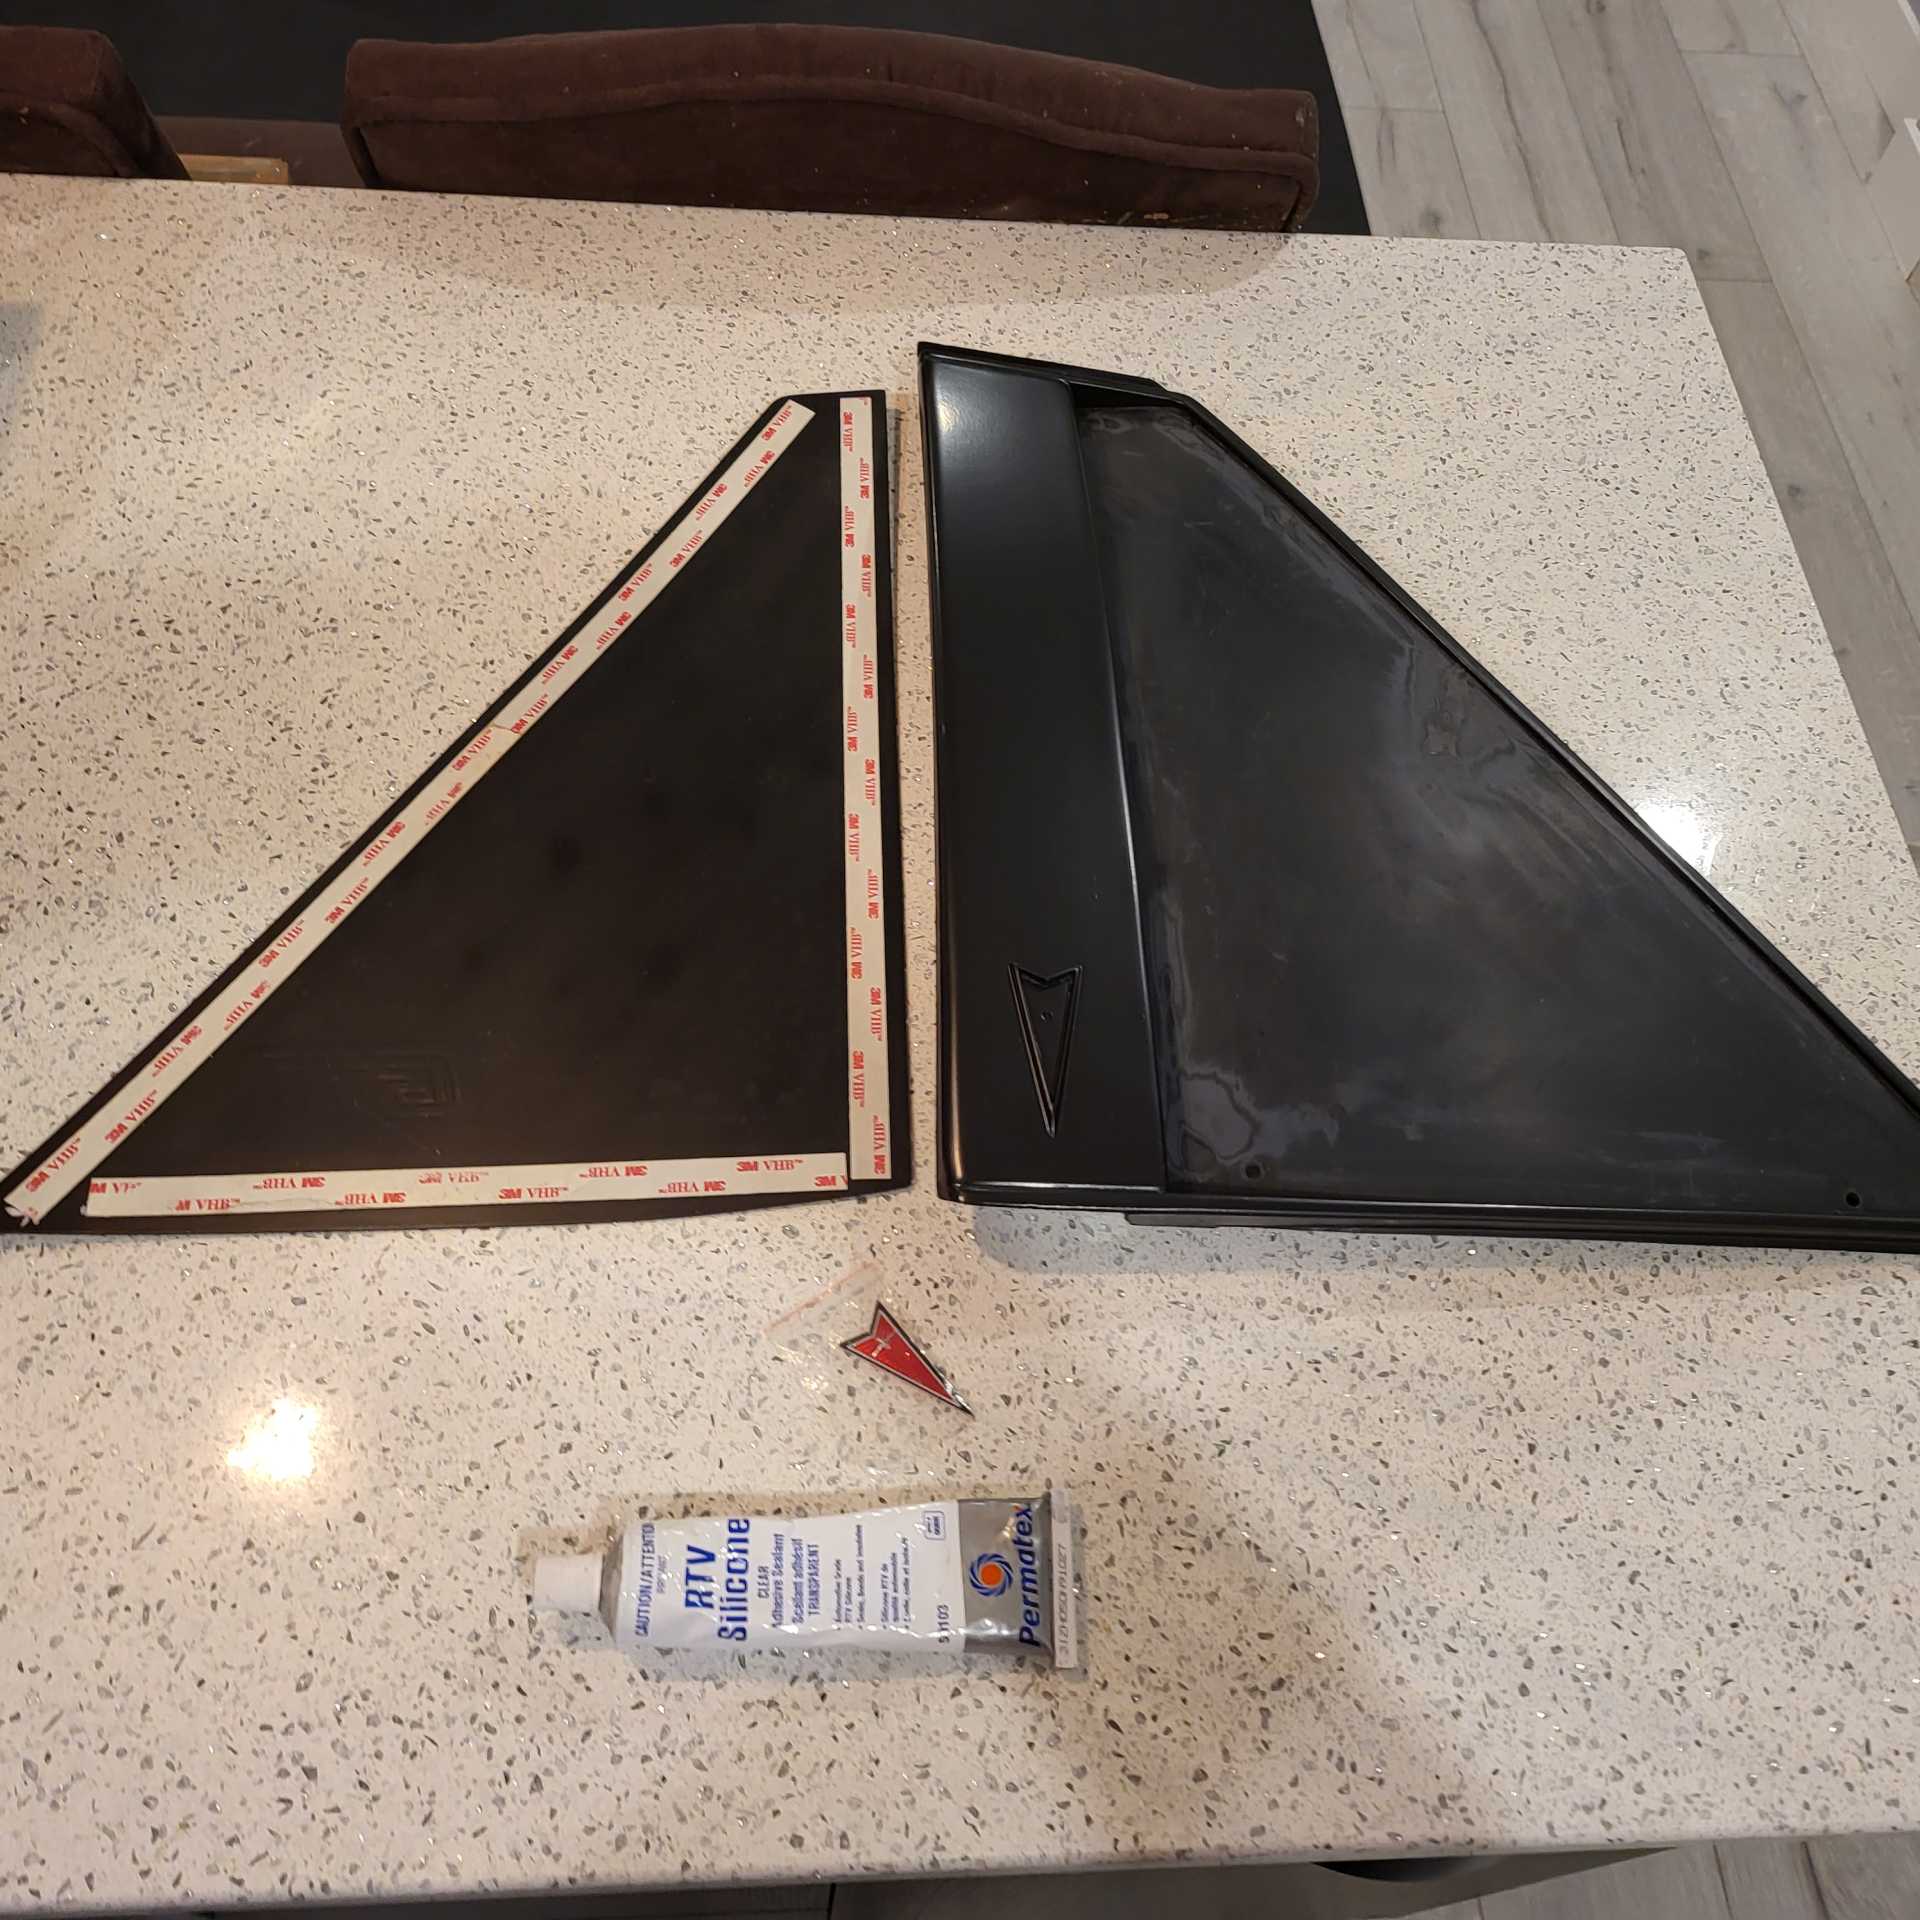
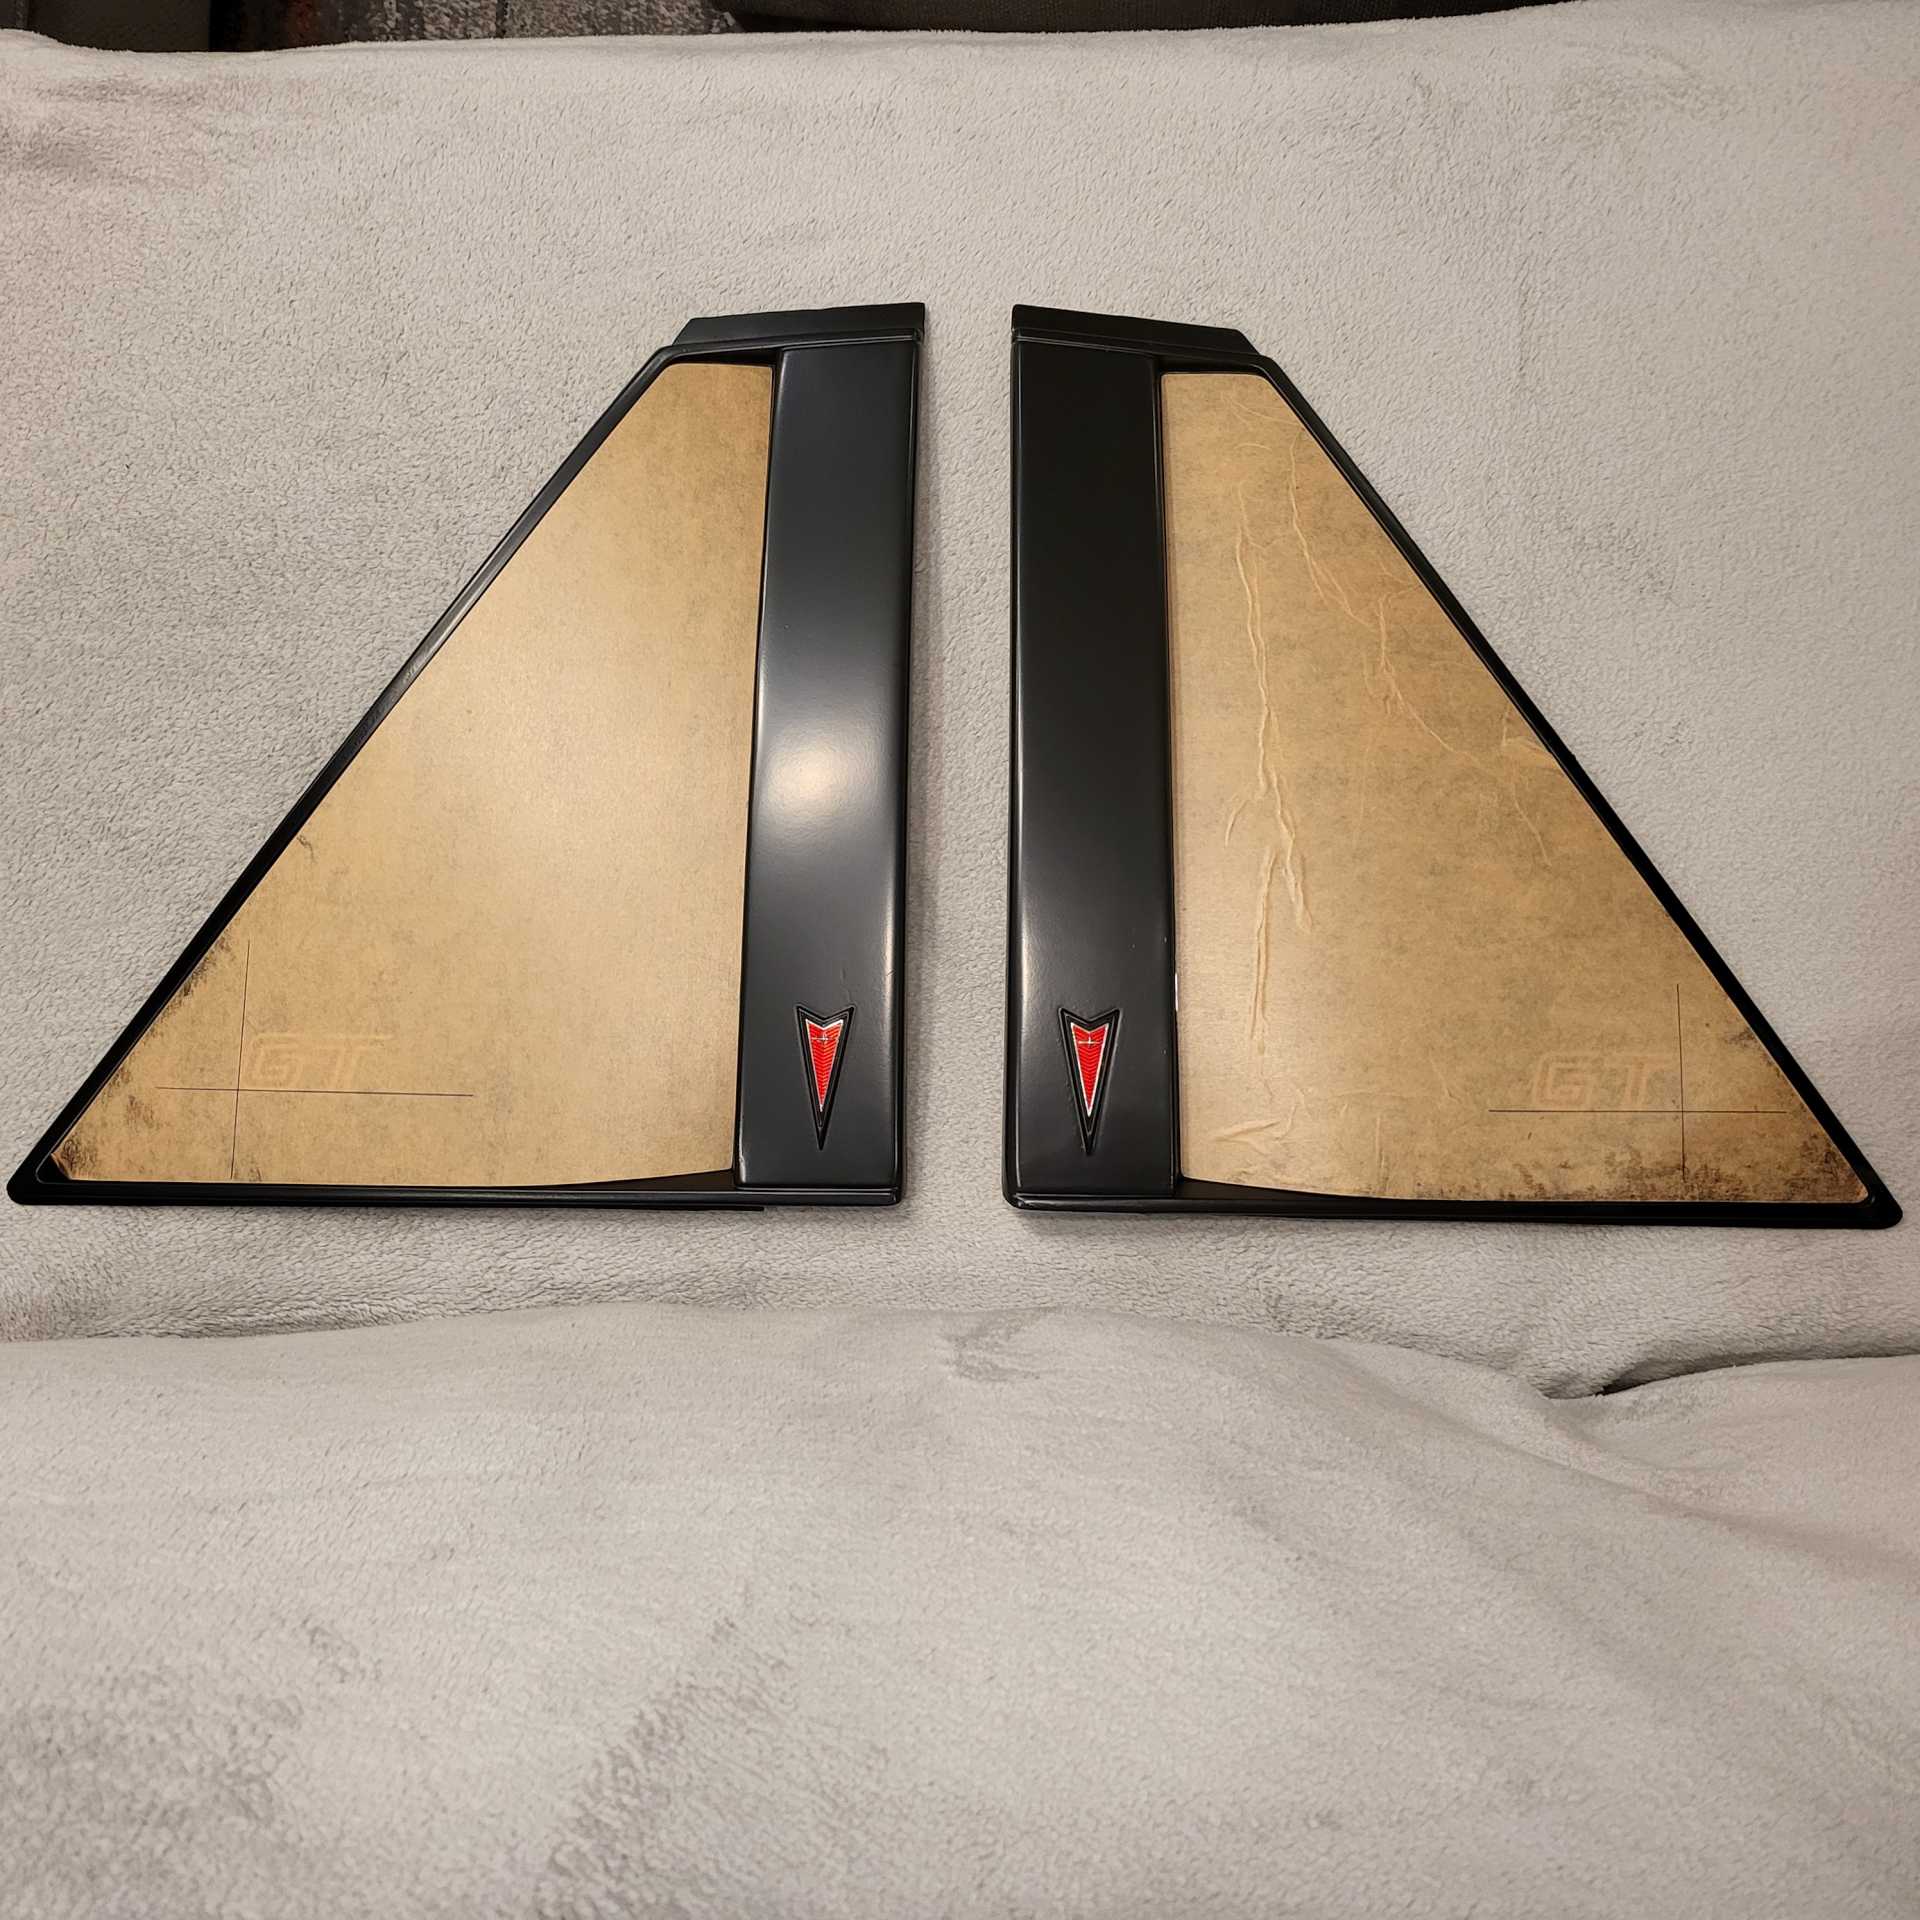
Stuck on the new sail panel insert and Pontiac arrowhead. I will not peel until the car is fully put together (and hopefully find a taillight!)
Finishing up all the trim now. I'll also give the notchback grills a quick spray of Epoxy.

Next is installing the headlights, trim and sunroof. Almost done!
Anyone have a spare tailight they can sell?? 
|
|
|