|
| Help with a LS4/F23 swap (Page 4/5) |

|
Rotmilky
|
DEC 17, 08:52 AM
|
|
Finally got around to mixing and matching parts of the Fiero axle with parts of the Sunfire axle. The Fiero axle will not fit into the Sunfire tripot housing. The axle stubs that the beaing sits on is just slightly larger than the Sunfire housing....as you can sorta see below (Fiero housing on left):
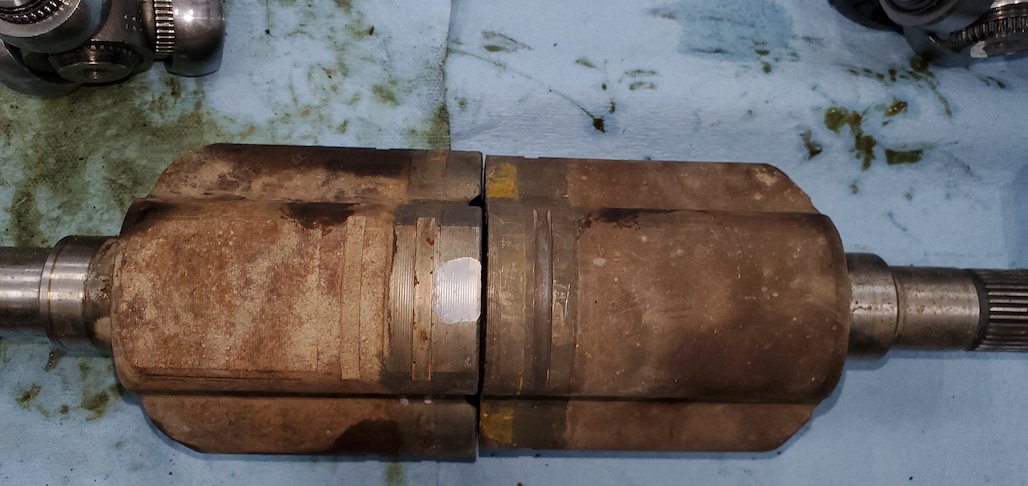
The top of the axle is held on by splines and the diameter of the axles are the same. You can just see the splines of the Fiero axle in the upper left of the photo. So I could pull the top off of one axle and put it on the other. I do think in that case I could use the tripot of the sunfire on the Fiero axle and clear the motor boss.
Apparently, that boss is only used for initial machining of the motor :
| quote | Originally posted by Will:
That's a locating hole for when GM starts to machine the raw casting. It's not necessary for anything we do with the engine. |
|
So I might just grind it off and just use the original Fiero axle. That seems the easiest solution at the moment.[This message has been edited by Rotmilky (edited 12-17-2020).]
|
|
|
|
Will
|
DEC 17, 10:24 AM
|
|
| quote | Originally posted by Rotmilky:
No, that's the surface that attaches to the crankshaft.
You are correct about needing to spot face the friction side. The bolt holes are going to intersect the as-cast surface. I was going to remove the cast surface on the lathe, but I think I like your thought of spot facing better. |
|
Are you going to do the machine work yourself? I'm not sure what cutters you have access to, but the inside corners of the spot faces should have a radius of at least 0.050".
|
|
|
|
Will
|
DEC 17, 10:28 AM
|
|
| quote | Originally posted by Rotmilky:
Finally got around to mixing and matching parts of the Fiero axle with parts of the Sunfire axle. The Fiero axle will not fit into the Sunfire tripot housing. The axle stubs that the beaing sits on is just slightly larger than the Sunfire housing....as you can sorta see below (Fiero housing on left):
The top of the axle is held on by splines and the diameter of the axles are the same. You can just see the splines of the Fiero axle in the upper left of the photo. So I could pull the top off of one axle and put it on the other. I do think in that case I could use the tripot of the sunfire on the Fiero axle and clear the motor boss.
Apparently, that boss is only used for initial machining of the motor :
So I might just grind it off and just use the original Fiero axle. That seems the easiest solution at the moment.
|
|
The tripod and tulip are a "set" in that they are designed as a product family. It would not be expected that you'd be able to use the Fiero tripod in the Sunfire tulip. However, splines are much more common. If you can install the Sunfire tripod onto the Fiero axle bar, that's the easy way to go. There's a snap-ring retainer, but the tripod should be easy to R&R from the axle bar. Get a high quality boot kit, clean the CV joint thoroughly, reassemble with new grease and it'll be good for another 100k miles.[This message has been edited by Will (edited 12-22-2020).]
|
|
|
|
Rotmilky
|
DEC 22, 04:42 PM
|
|
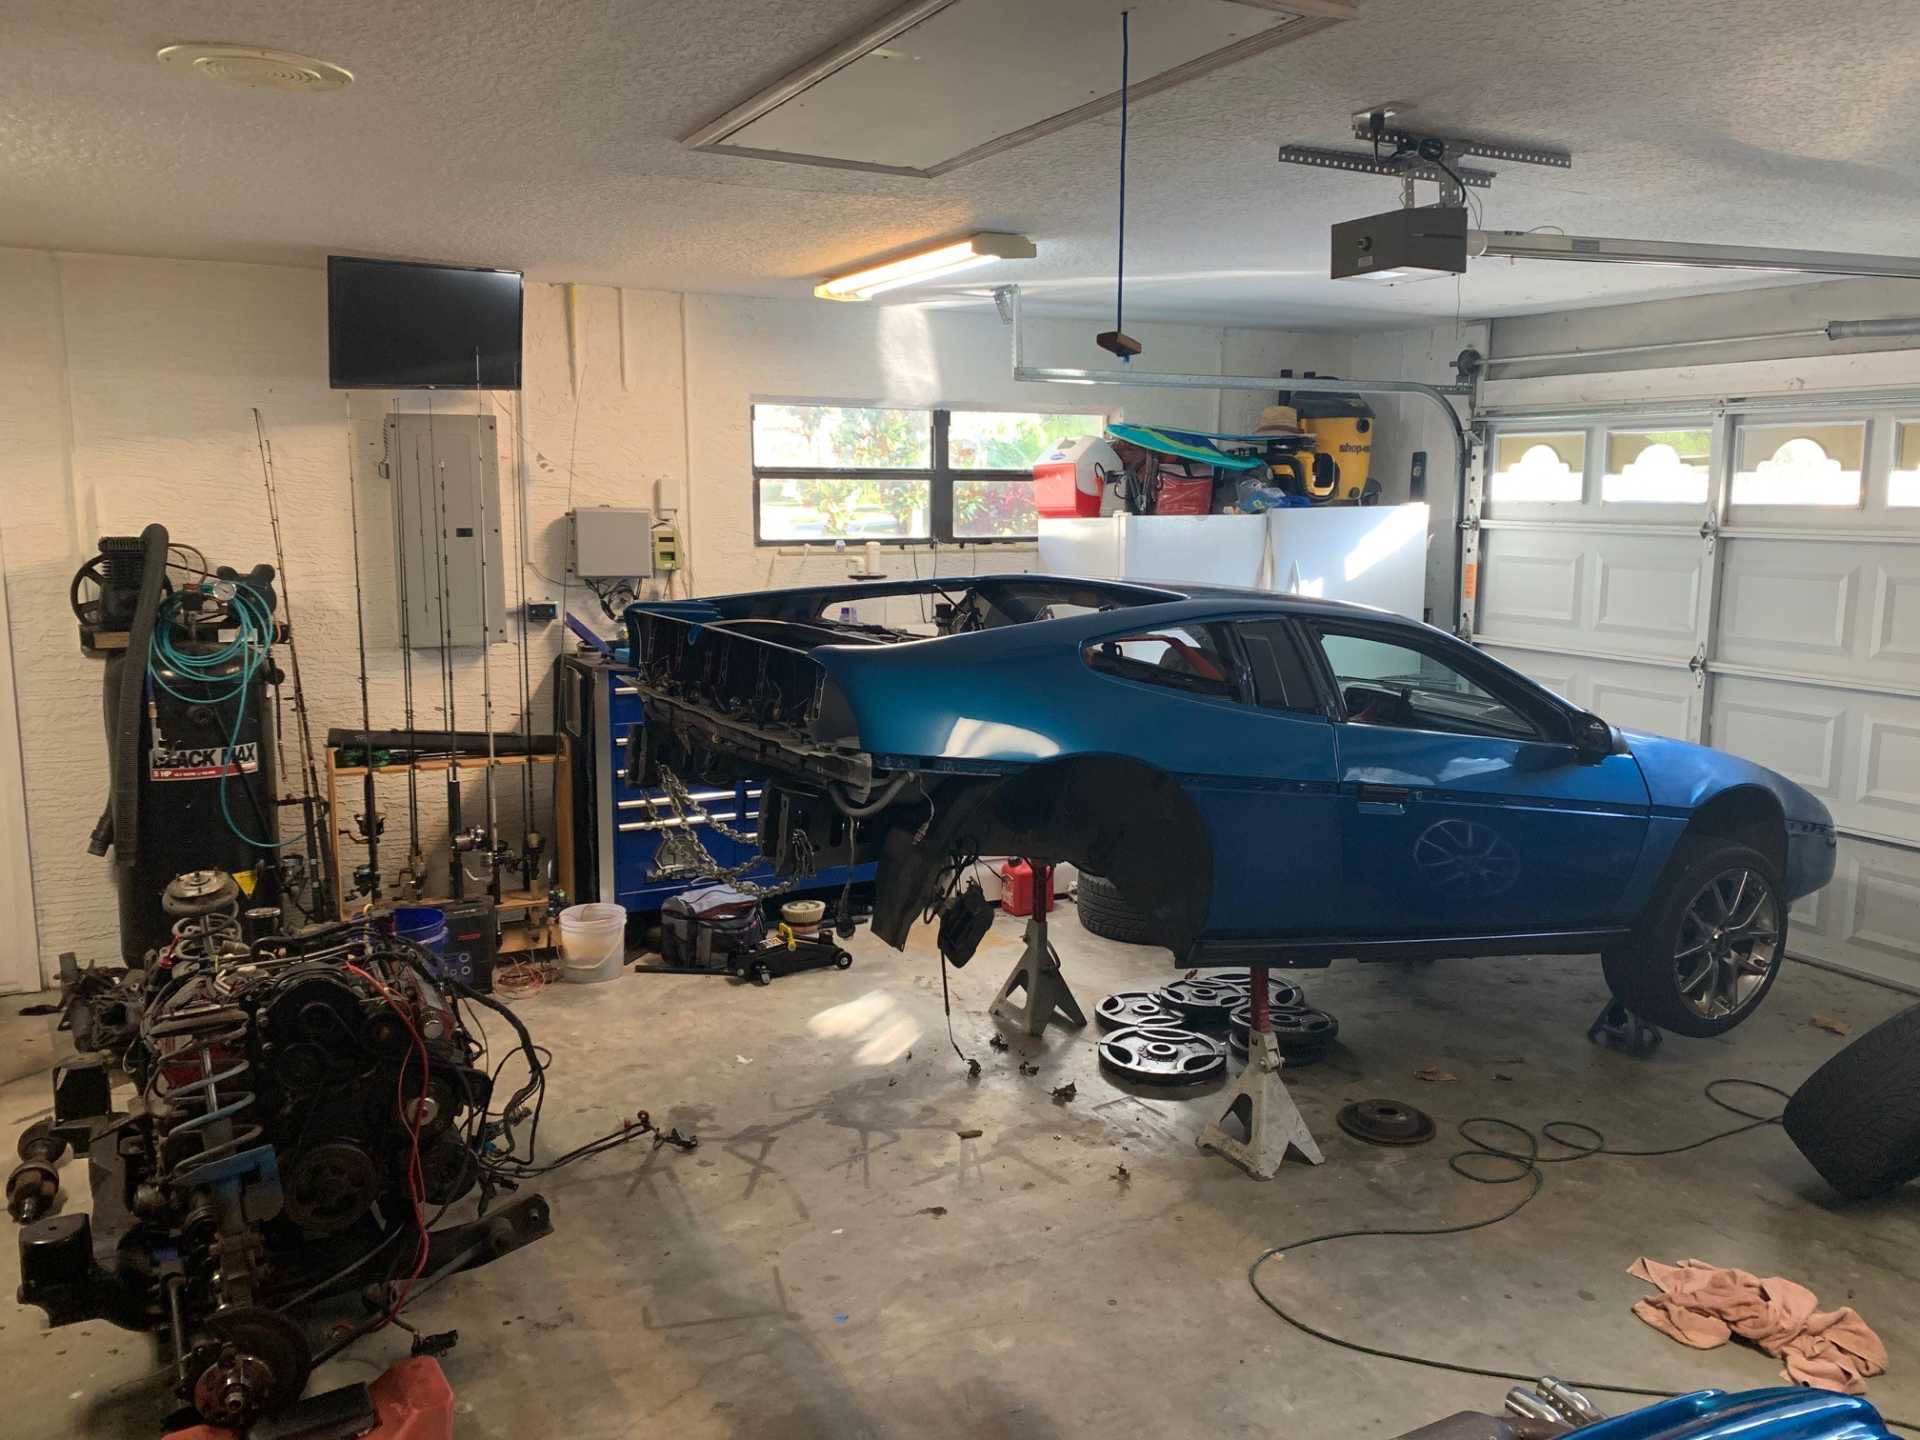
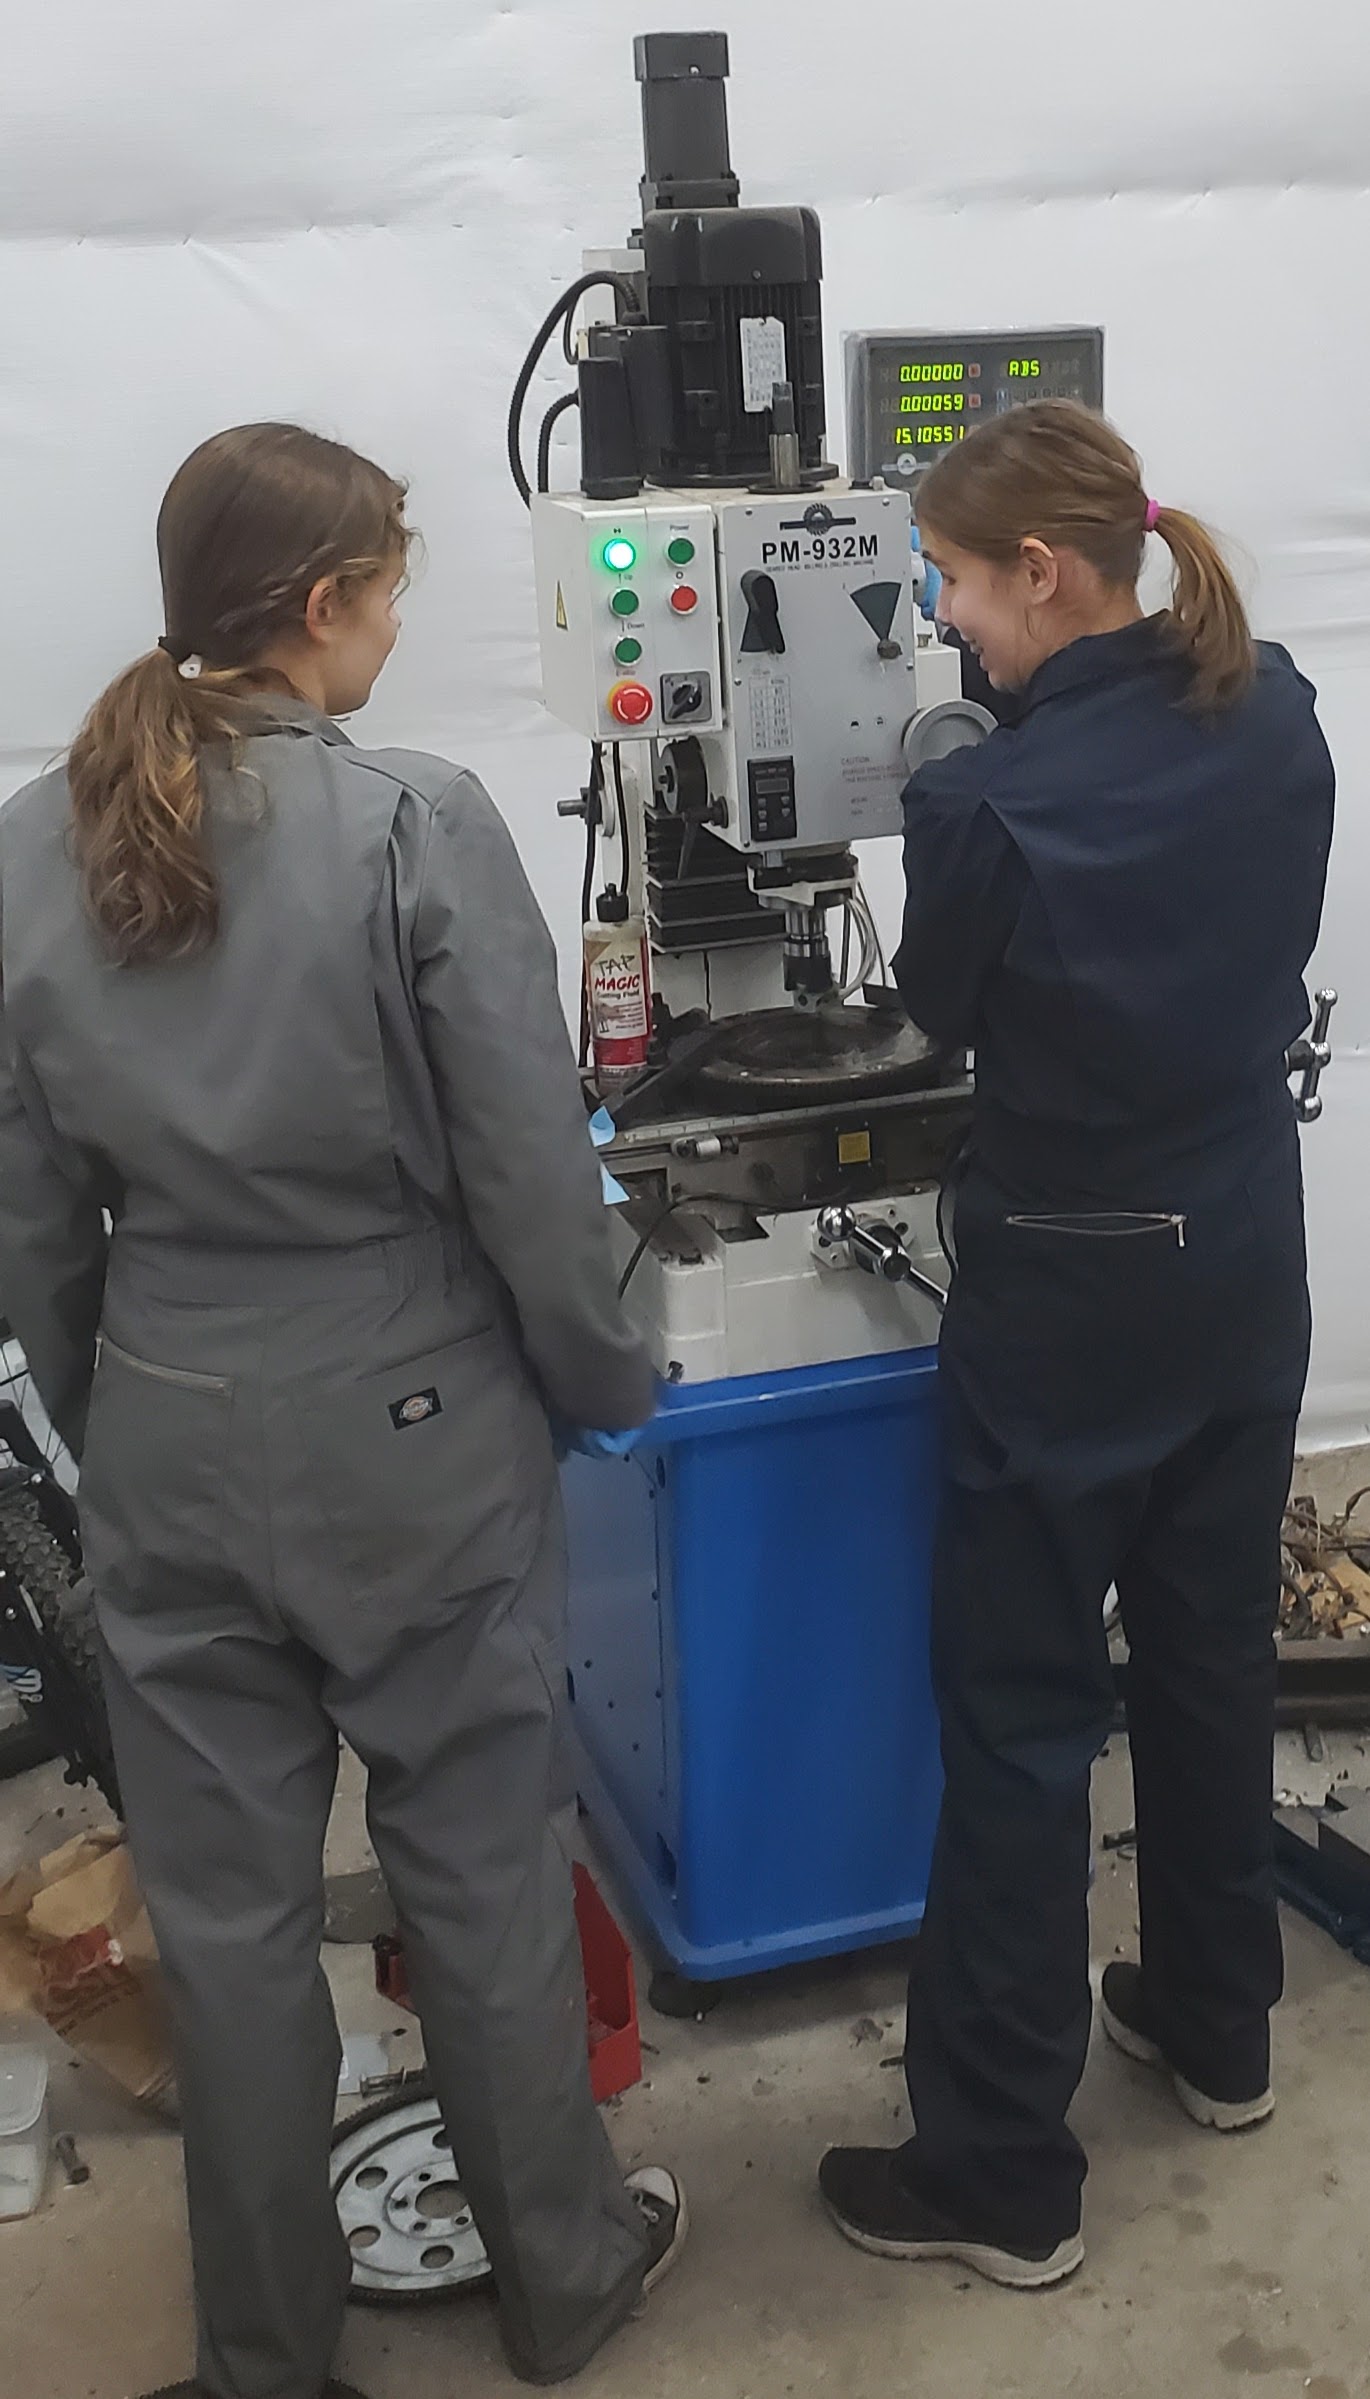
We continue to make slow and steady progress on the swap. We get maybe 1-2 hours a day and a lot of that is spent discussing what and how a specific tool works. As of late, we've discussed welding more and more. Soon enough, we'll need to weld new motor supports onto the cradle and I plan to have the girls do the welding. We've had a few practice runs and all I have to say is they're going to be professional grinders very soon. That said, I'm not sure their welds are much uglier than mine...
We've got a lot of replacement parts ordered and waiting on them to arrive. New CV boots, new piston rings, a DoD delete kit and camshaft, gaskets, etc. Hope to do that over the Christmas break. We will also machine the fly wheel over the holidays. So stuff to keep us busy for awhile. It's always a challenge to make sure that there is something to do on the car 5 days a week.
The girls finally got almost everything off the cradle and we took it to the car wash to clean the gunk off. Actually, I took it to the carwash...they wanted nothing to do with pressure washing 35 years worth is gunk off the cradle.
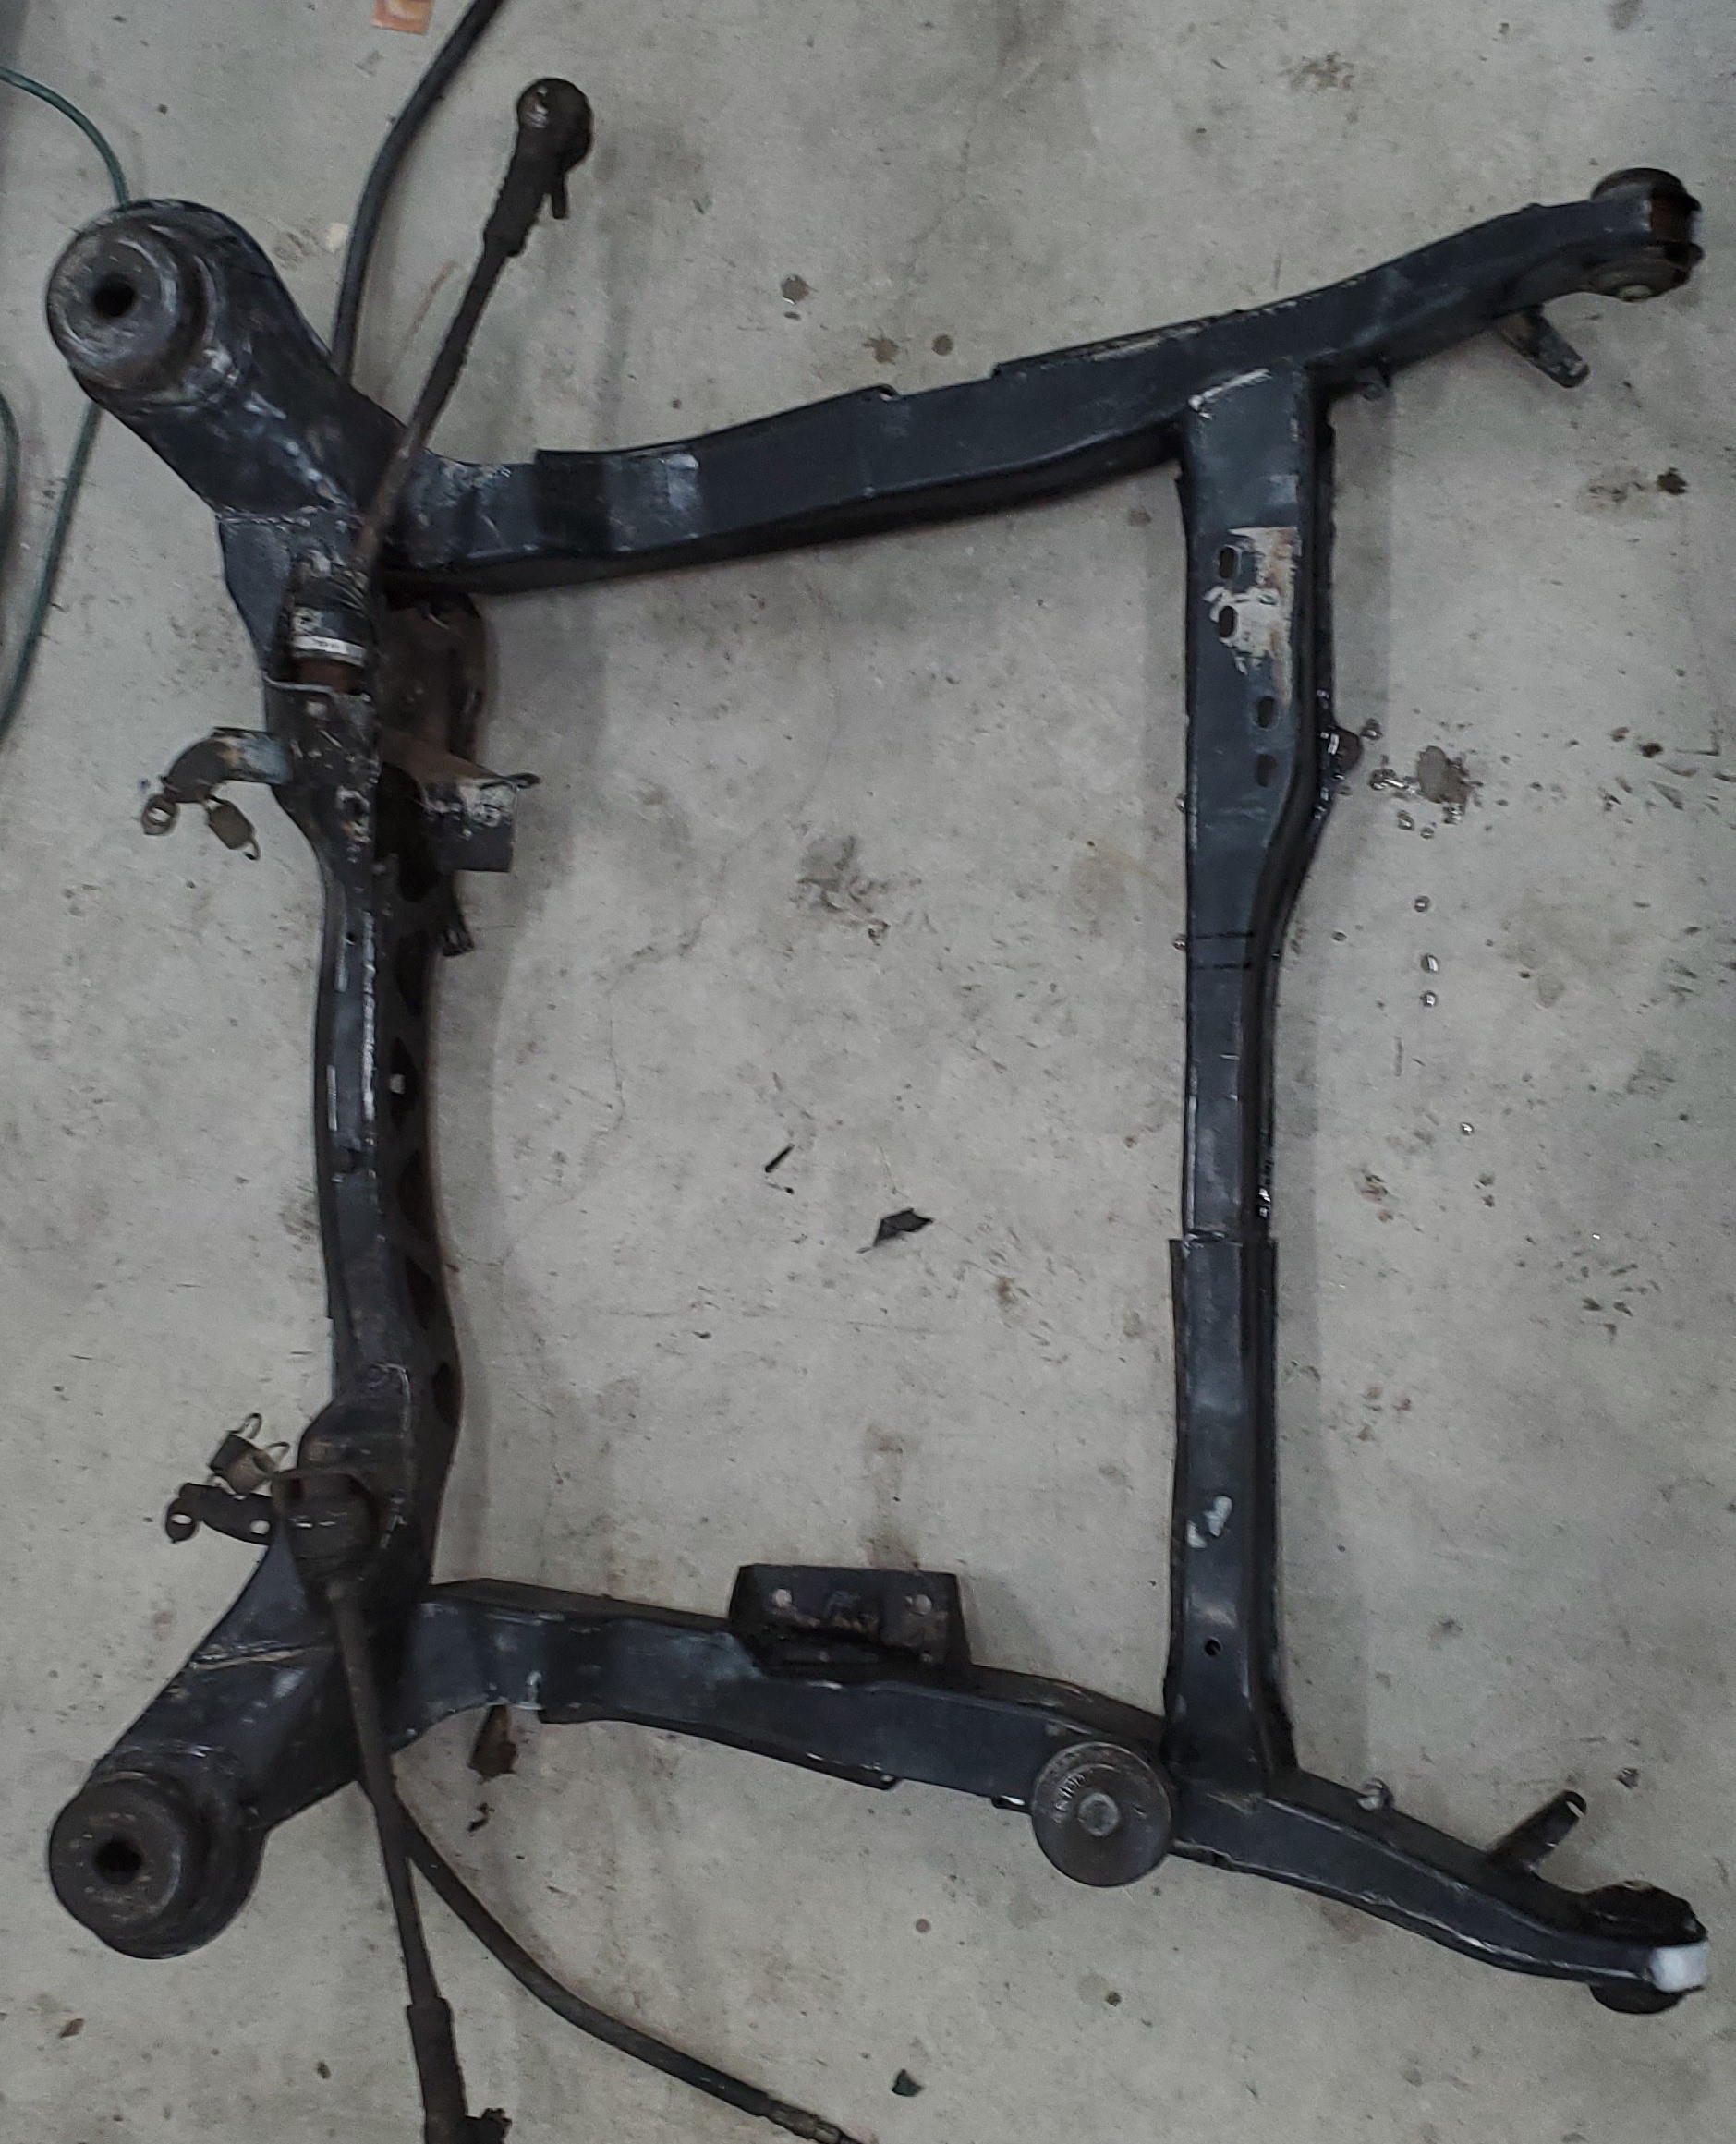
That brings me to this week's question : Is there a good thread on modifying the 84-87 cradle for a LS4 swap? I've seen several that modify the 88 cradle but can't find much detailing the older style. I'm hoping not to completely reinvent the wheel on the mounts, although the F23 is probably going to be something we'll have to do via trial and error anyway.
|
|

|
Patrick
|
JAN 05, 05:39 PM
|
|
I don't know how I've missed this thread, but it looks interesting. Congrats on getting your daughters involved! 
| quote | Originally posted by Rotmilky:

|
|
One note on your images. To avoid having your images turning into clickable icons (as above), limit the file size to nothing above 2000 kbs. The easiest way to do this is not to post humongous images. That one above is 4032x1908 and 2676 kbs.  To illustrate, I've reduced it here to 1024x485 (405 kbs). It's plenty big to see what we need. However, it's not even necessary to re-size an image... as long as its file size is no more than 2000 kbs. The forum software will automatically re-size it to fit whatever size screen it's being viewed on (while retaining the original size image on the server for download). To illustrate, I've reduced it here to 1024x485 (405 kbs). It's plenty big to see what we need. However, it's not even necessary to re-size an image... as long as its file size is no more than 2000 kbs. The forum software will automatically re-size it to fit whatever size screen it's being viewed on (while retaining the original size image on the server for download). 
|
|
|
|
KissMySSFiero
|
JAN 06, 10:18 AM
|
|
|
|
|
KissMySSFiero
|
JAN 06, 10:31 AM
|
|
| quote | Originally posted by Rotmilky:
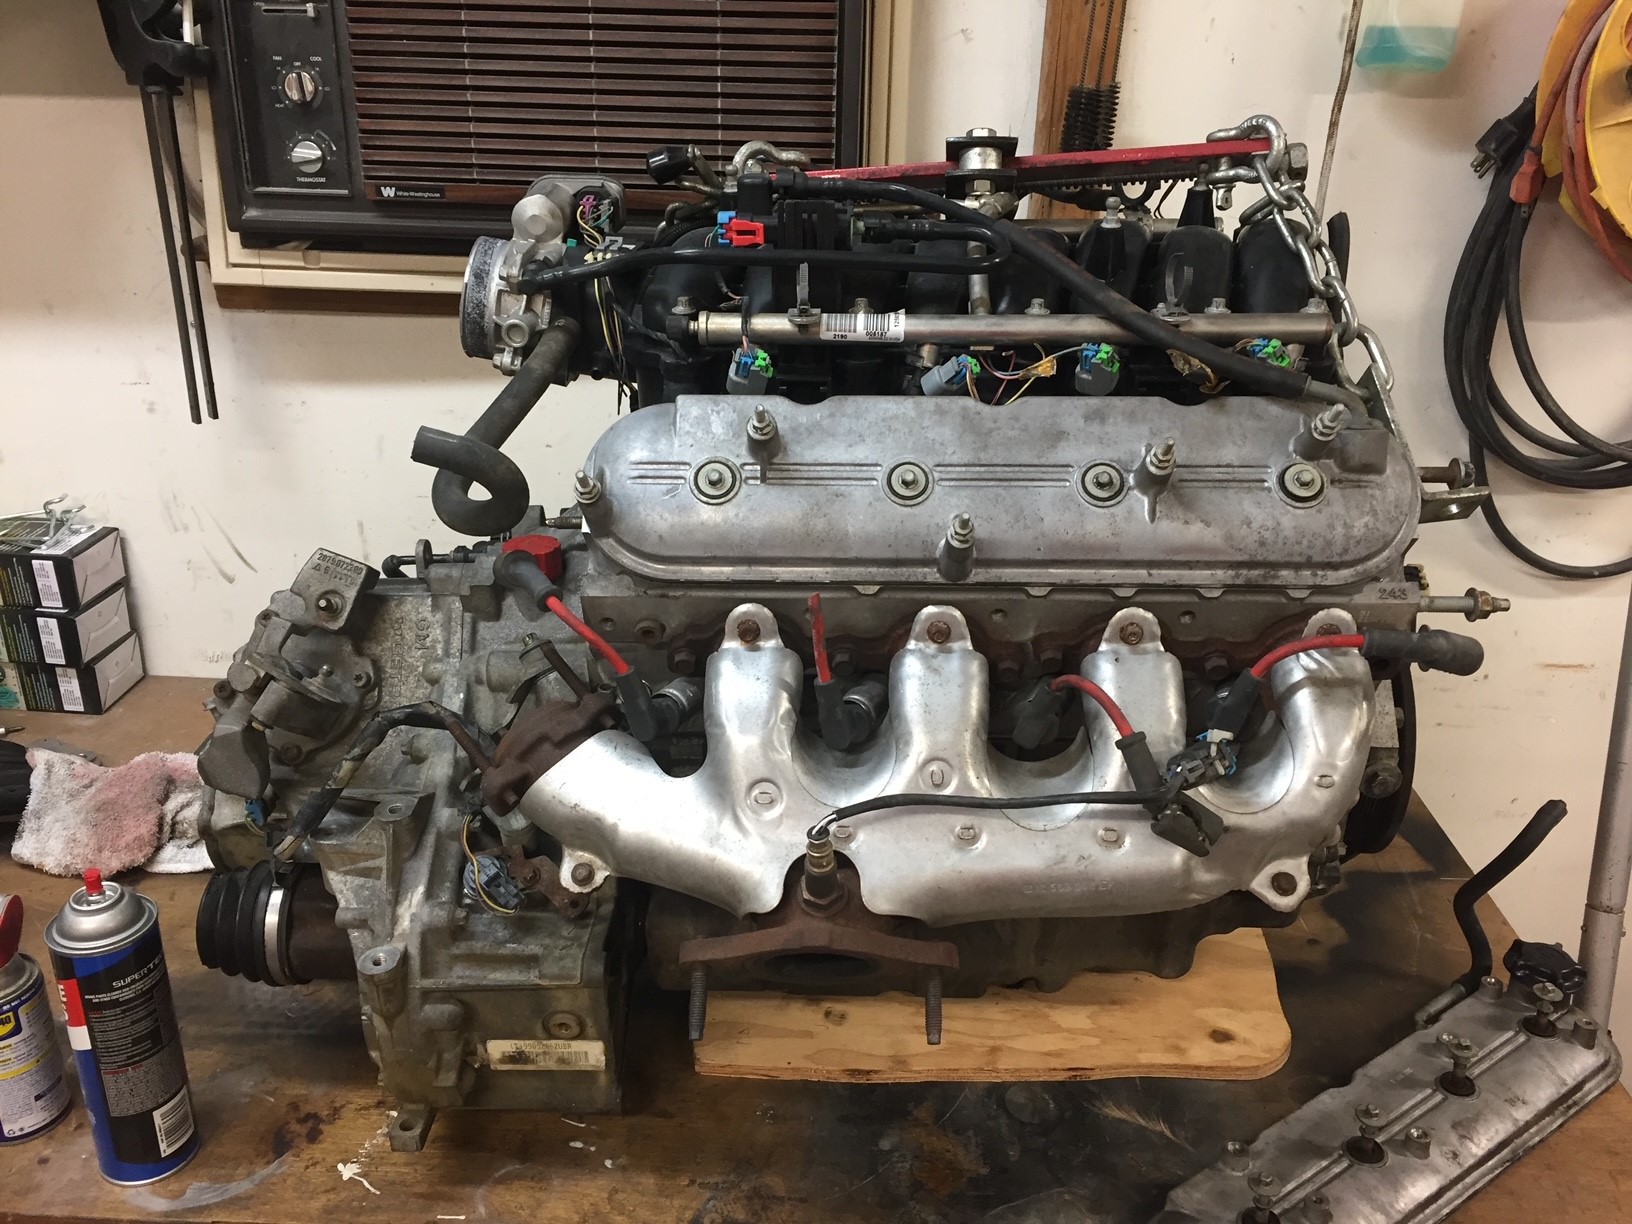
I managed to find a LS4 out of a '06 Impala that was largely complete.......
Maybe put on a LS3 manifold and timing cover. Dunno exactly...I'll figure that out if we make enough progress to warrant it.
|
|
Just an FYI,
And LS4 isn't much different than any other 5.3 engine from the LS family.
It has the 243 casting heads. They are the cathedral port heads. So an LS3 intake will not work. It has rectangular ports. LS1/LS2/LS6 will all work. I'm running the LS6.
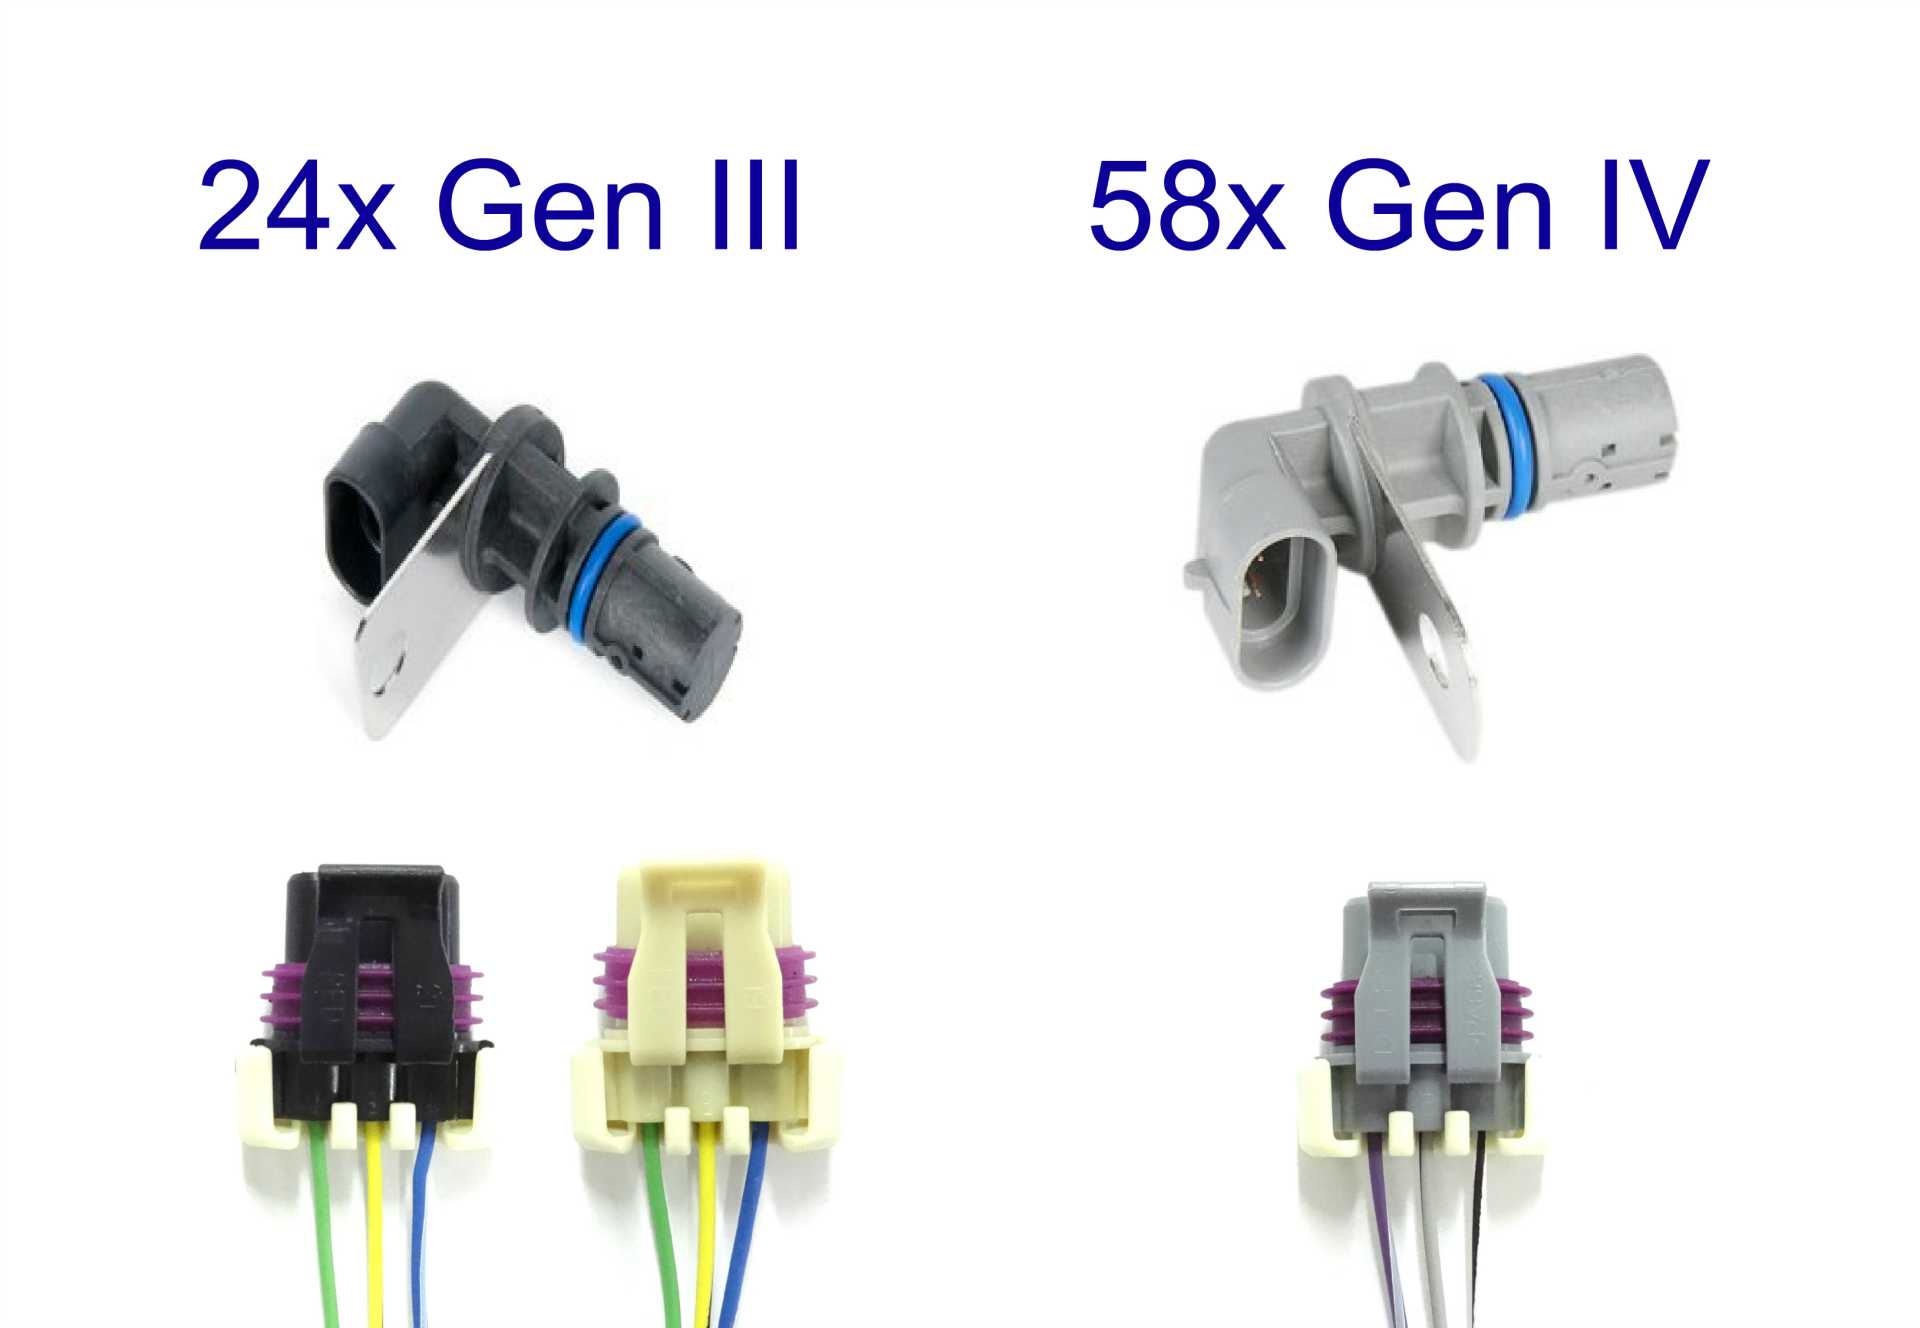
Your engine is an '06. It will be a 24 tooth reluctor wheel. You can verify by checking that it is black(24T) or Gray(58T)
This will matter because it will determine what ECM you need to use. Someone with more knowledge can verify what you'll want.
being that it is mostly like any other 5.3 LS series engine, you'll have countless options for aftermarket parts.
I'm looking forward to seeing your progress.
 ------------------
SSFiero@Aol.com
|
|
|
|
Rotmilky
|
FEB 27, 07:08 PM
|
|
| quote | Originally posted by KissMySSFiero:
So an LS3 intake will not work. It has rectangular ports. LS1/LS2/LS6 will all work.
|
|
Well, it's been quite a few weeks...err two months...since I checked this thread and I wish I had. As soon as you mentioned that, I realized I had screwed up. I managed to pick up a LS7 intake and didn't even register the cathedral ports. CRAP! I did manage to find some square->cathedral converters...but daaaaang they're expensive. More expensive than the junkyard intake manifold I picked up. I may have to cruise the yards again.
Thanks for the comments on your build. It's always nice to see someone else going down the same path as me.
|
|
|
|
Rotmilky
|
FEB 27, 07:37 PM
|
|
We've been making steady progress on the Fiero for the past few months, but I've neglected updating the progess. So, the next few posts will try to bring things up to present date.
I think we were working on the fiero axle and comparing with the Sunfire axle. The sunfire cleared the motor, but the Fiero didn't. So, we disassembled the two axles and swapped the transmission end tulips around. The axle diameters and spline counts were the same, so the swap was easy. Now we have an axle that clears the motor without needing to grind anything off.
No major documentation on that part of the project. It was straightforward -- remove the retaining clips on both axles, remove the tri-bearings and swap. The Fiero roller bearings came apart and went everywhere...but we weren't going to reuse them anyway.
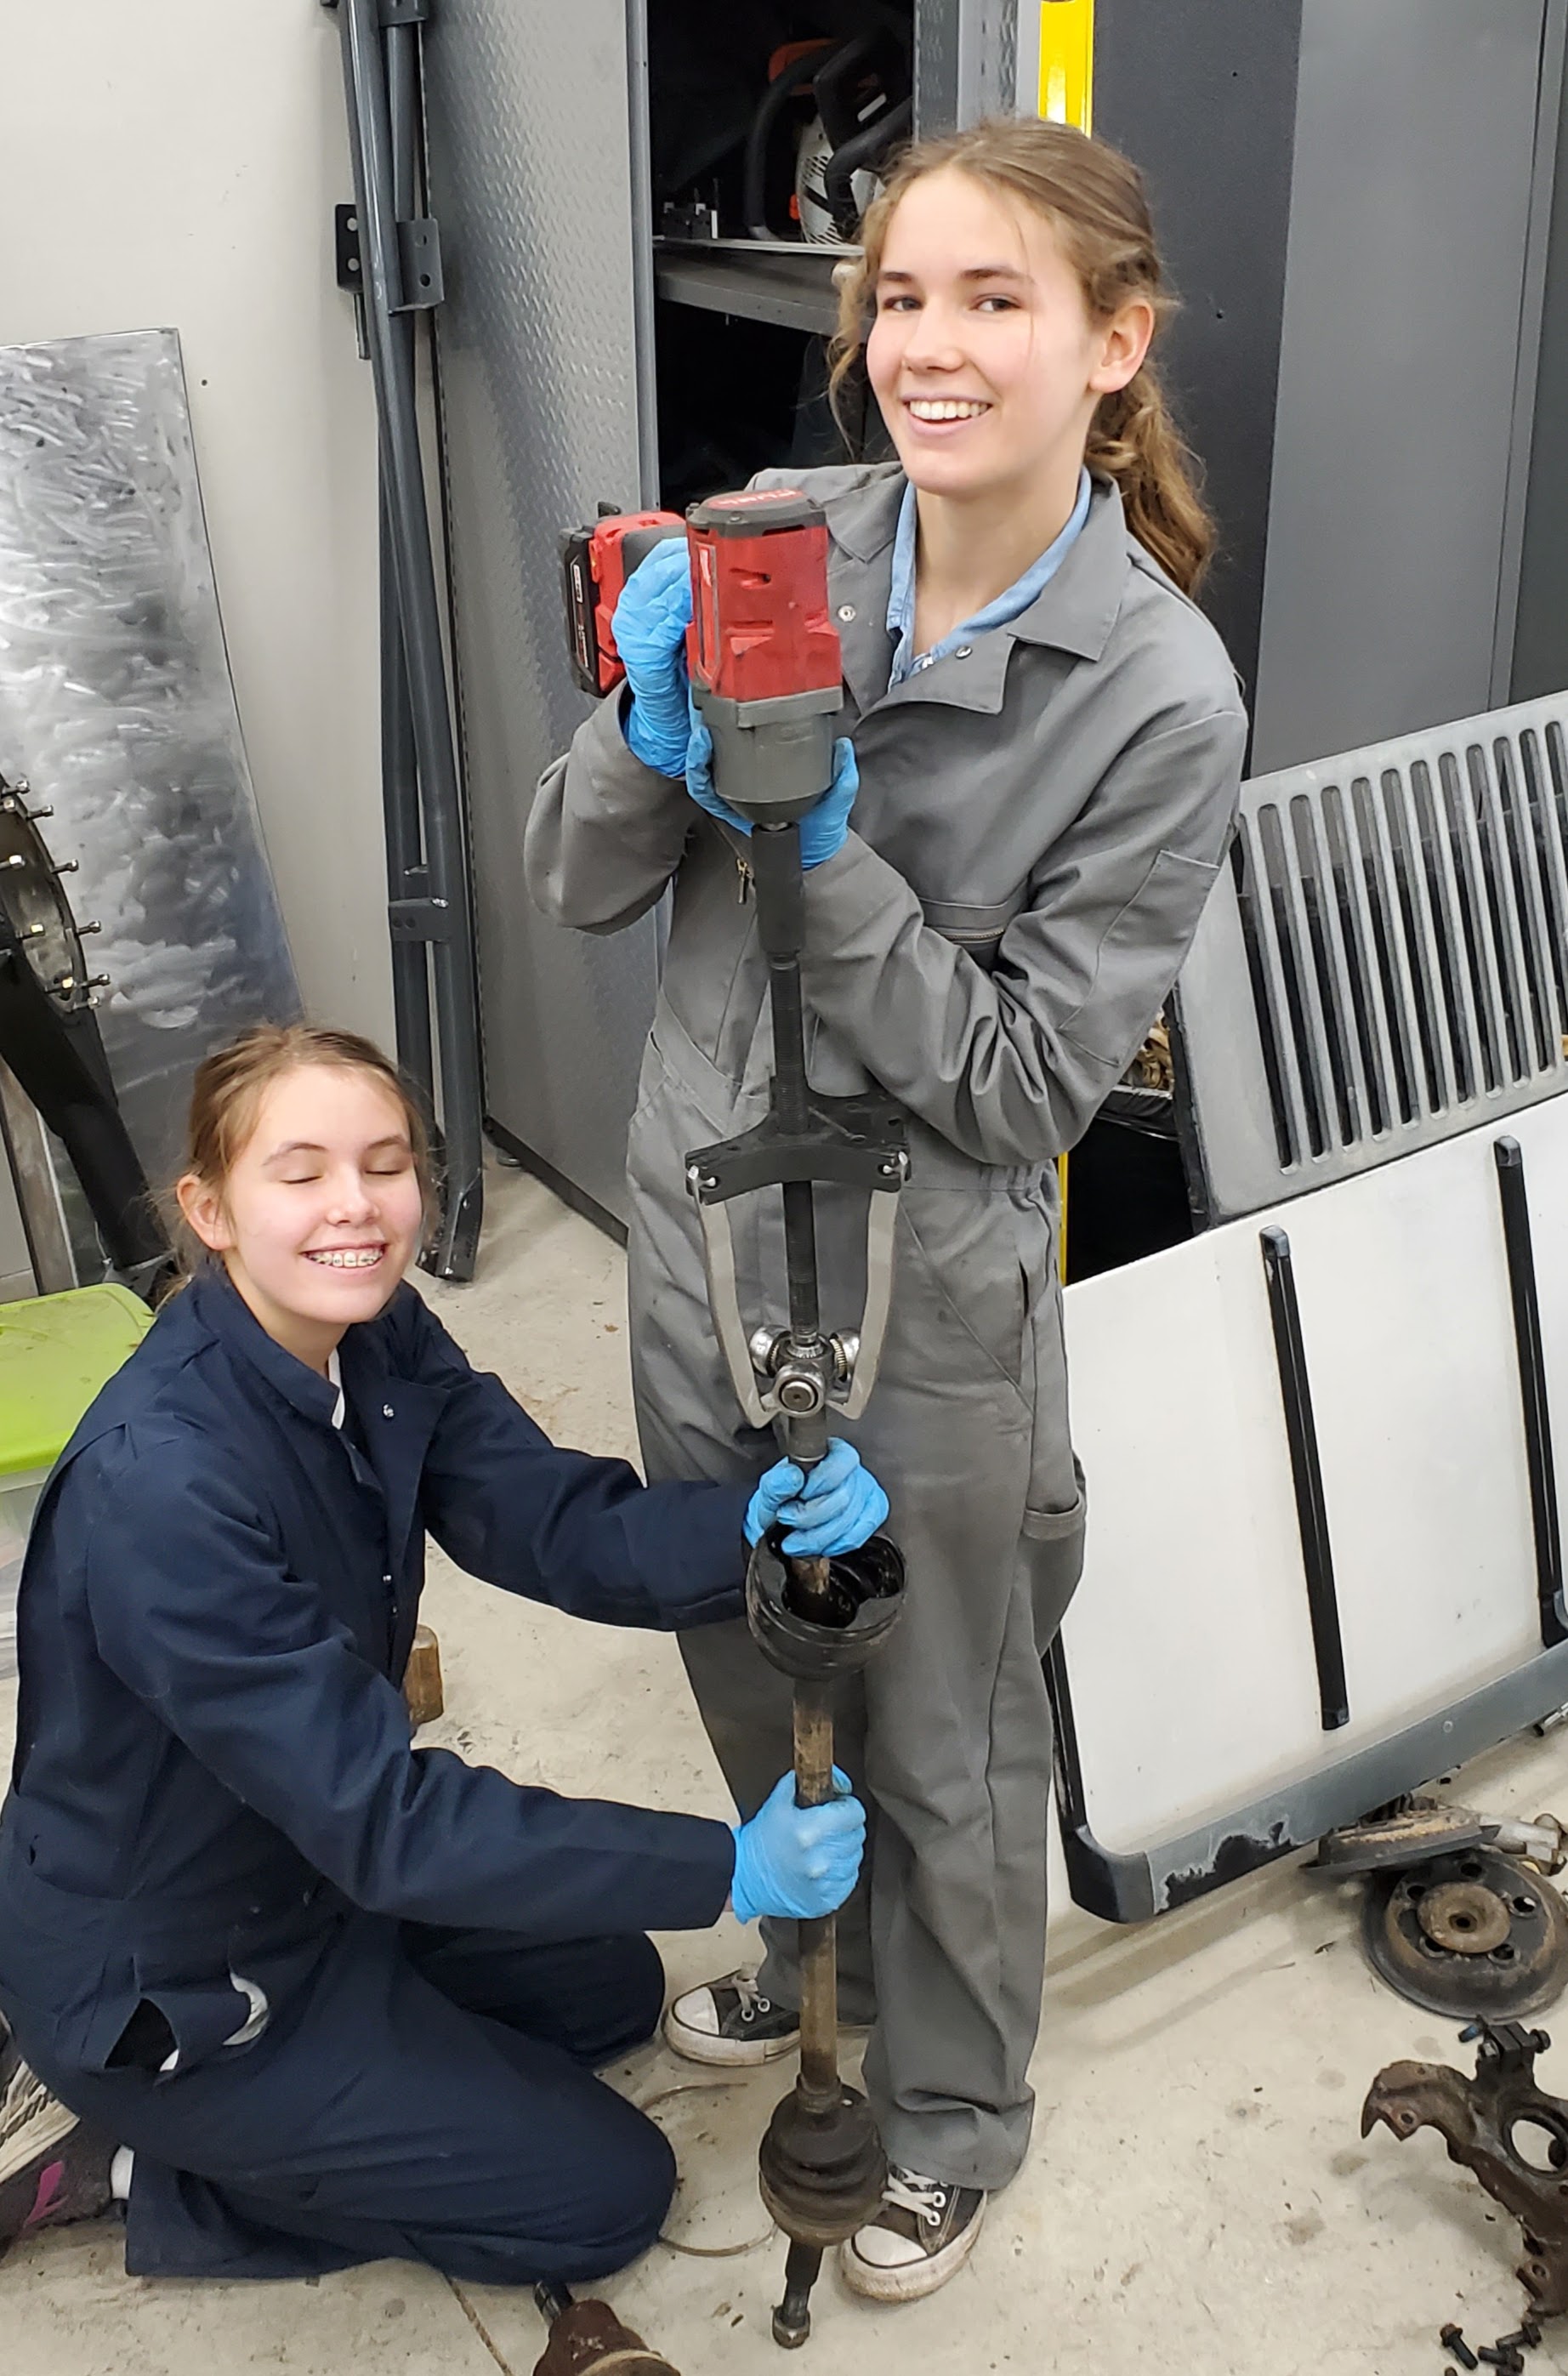
I did take one photo of the kids removing the Fiero bearing. It wasn't on all that tight and could have been driven off with a blow from a rubber mallet. But they couldn't get it, so they decided to use a bearing puller.
Replacement boots for the axles seem to be pretty poor compared to the originals. We stole the Sunfire axle boots, which were still in good shape, for the modified Fiero axles.[This message has been edited by Rotmilky (edited 02-27-2021).]
|
|
|
|
Rotmilky
|
FEB 27, 08:23 PM
|
|
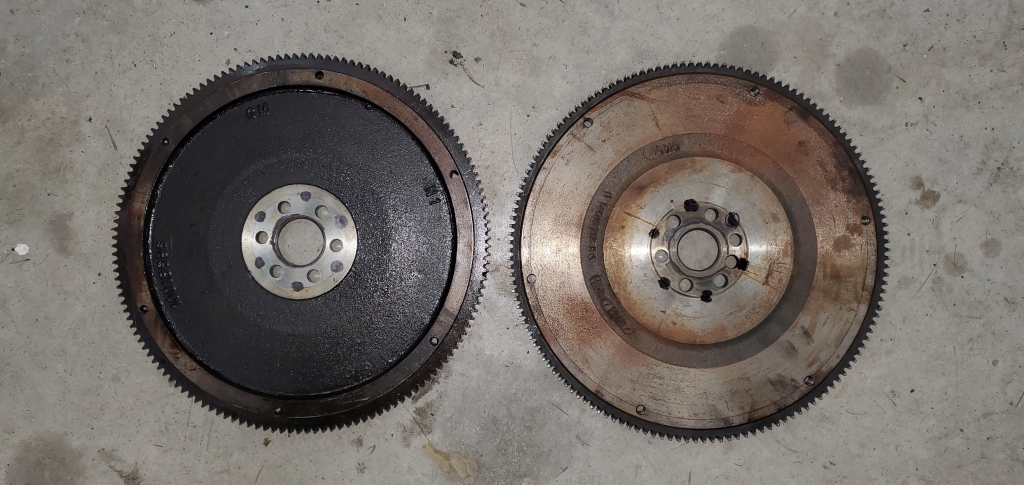
We played around with both the Sunfire flywheel and the original Fiero flywheel for a few days to see if we could modify them to fit the LS4 crankshaft. The center of the flywheels need to be bored out in order to fit on the LS4 crankshaft.
The problem is that the flywheel bolt holes for the original flywheels are going to be intersected by the boring. Shown is the Sunfire flywheel (bottom) with the LS4 flex plate on top. Also note that machined flat spot for the flywheel holes is larger than that for the Sunfire flywheel. The Fiero flywheel has a larger machined section and wouldn't need spot facing.
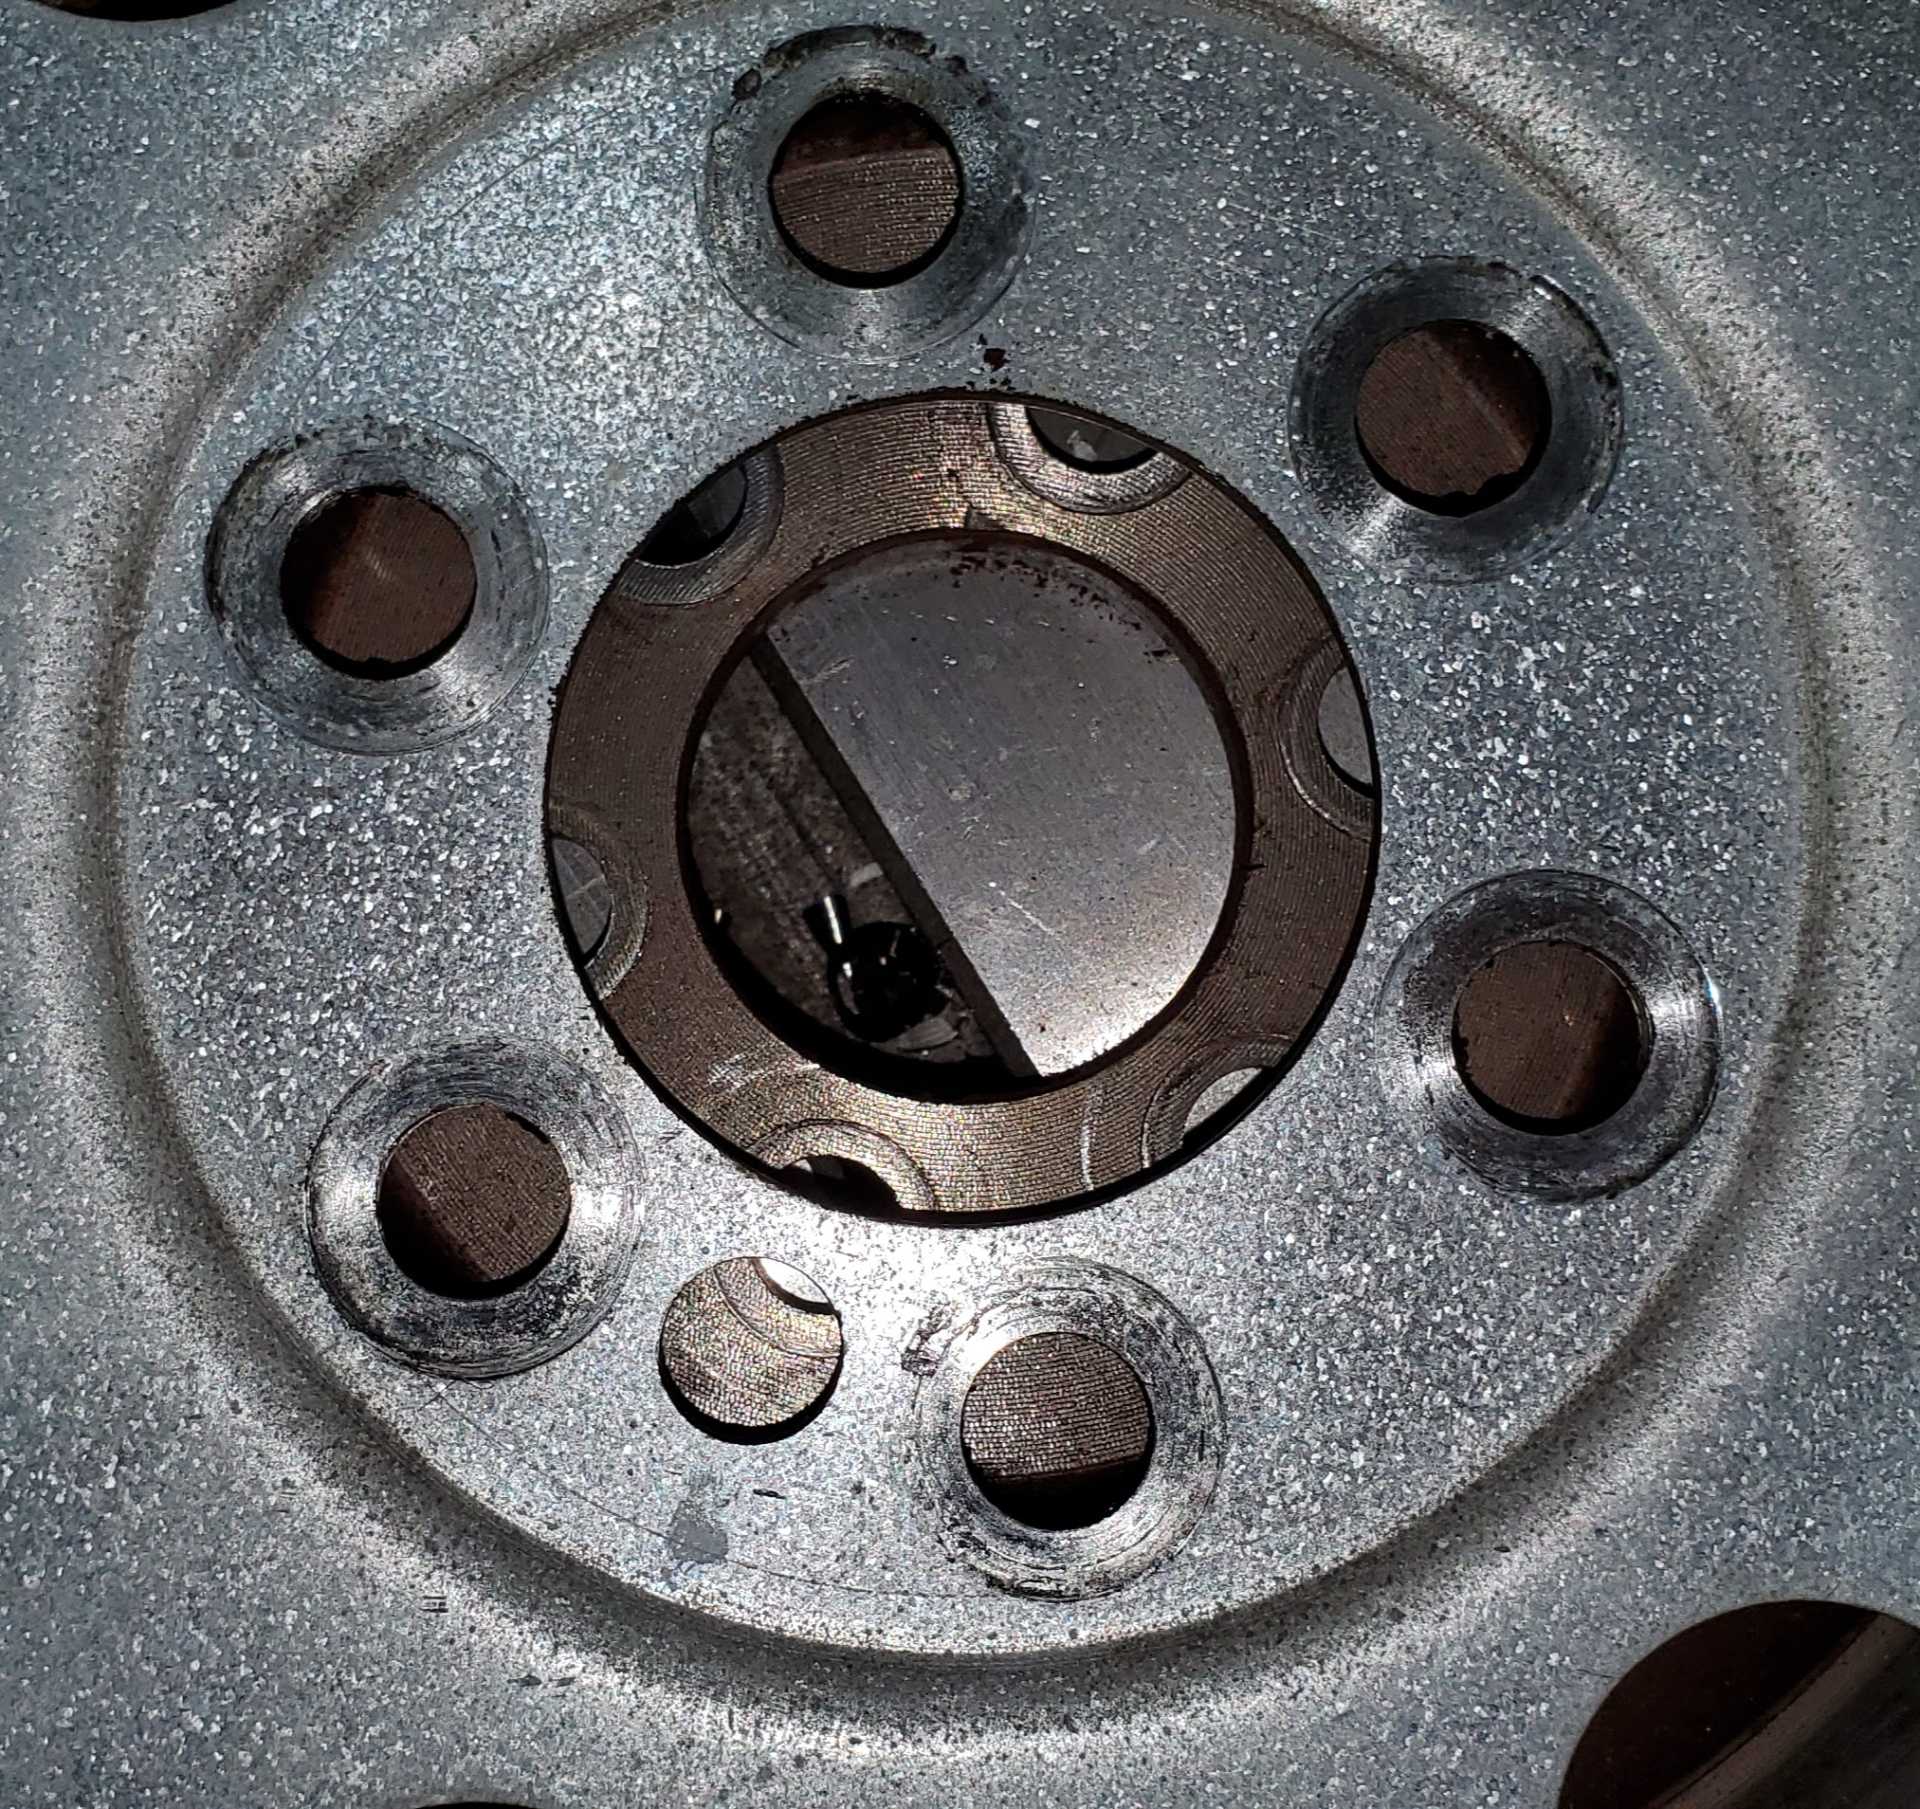
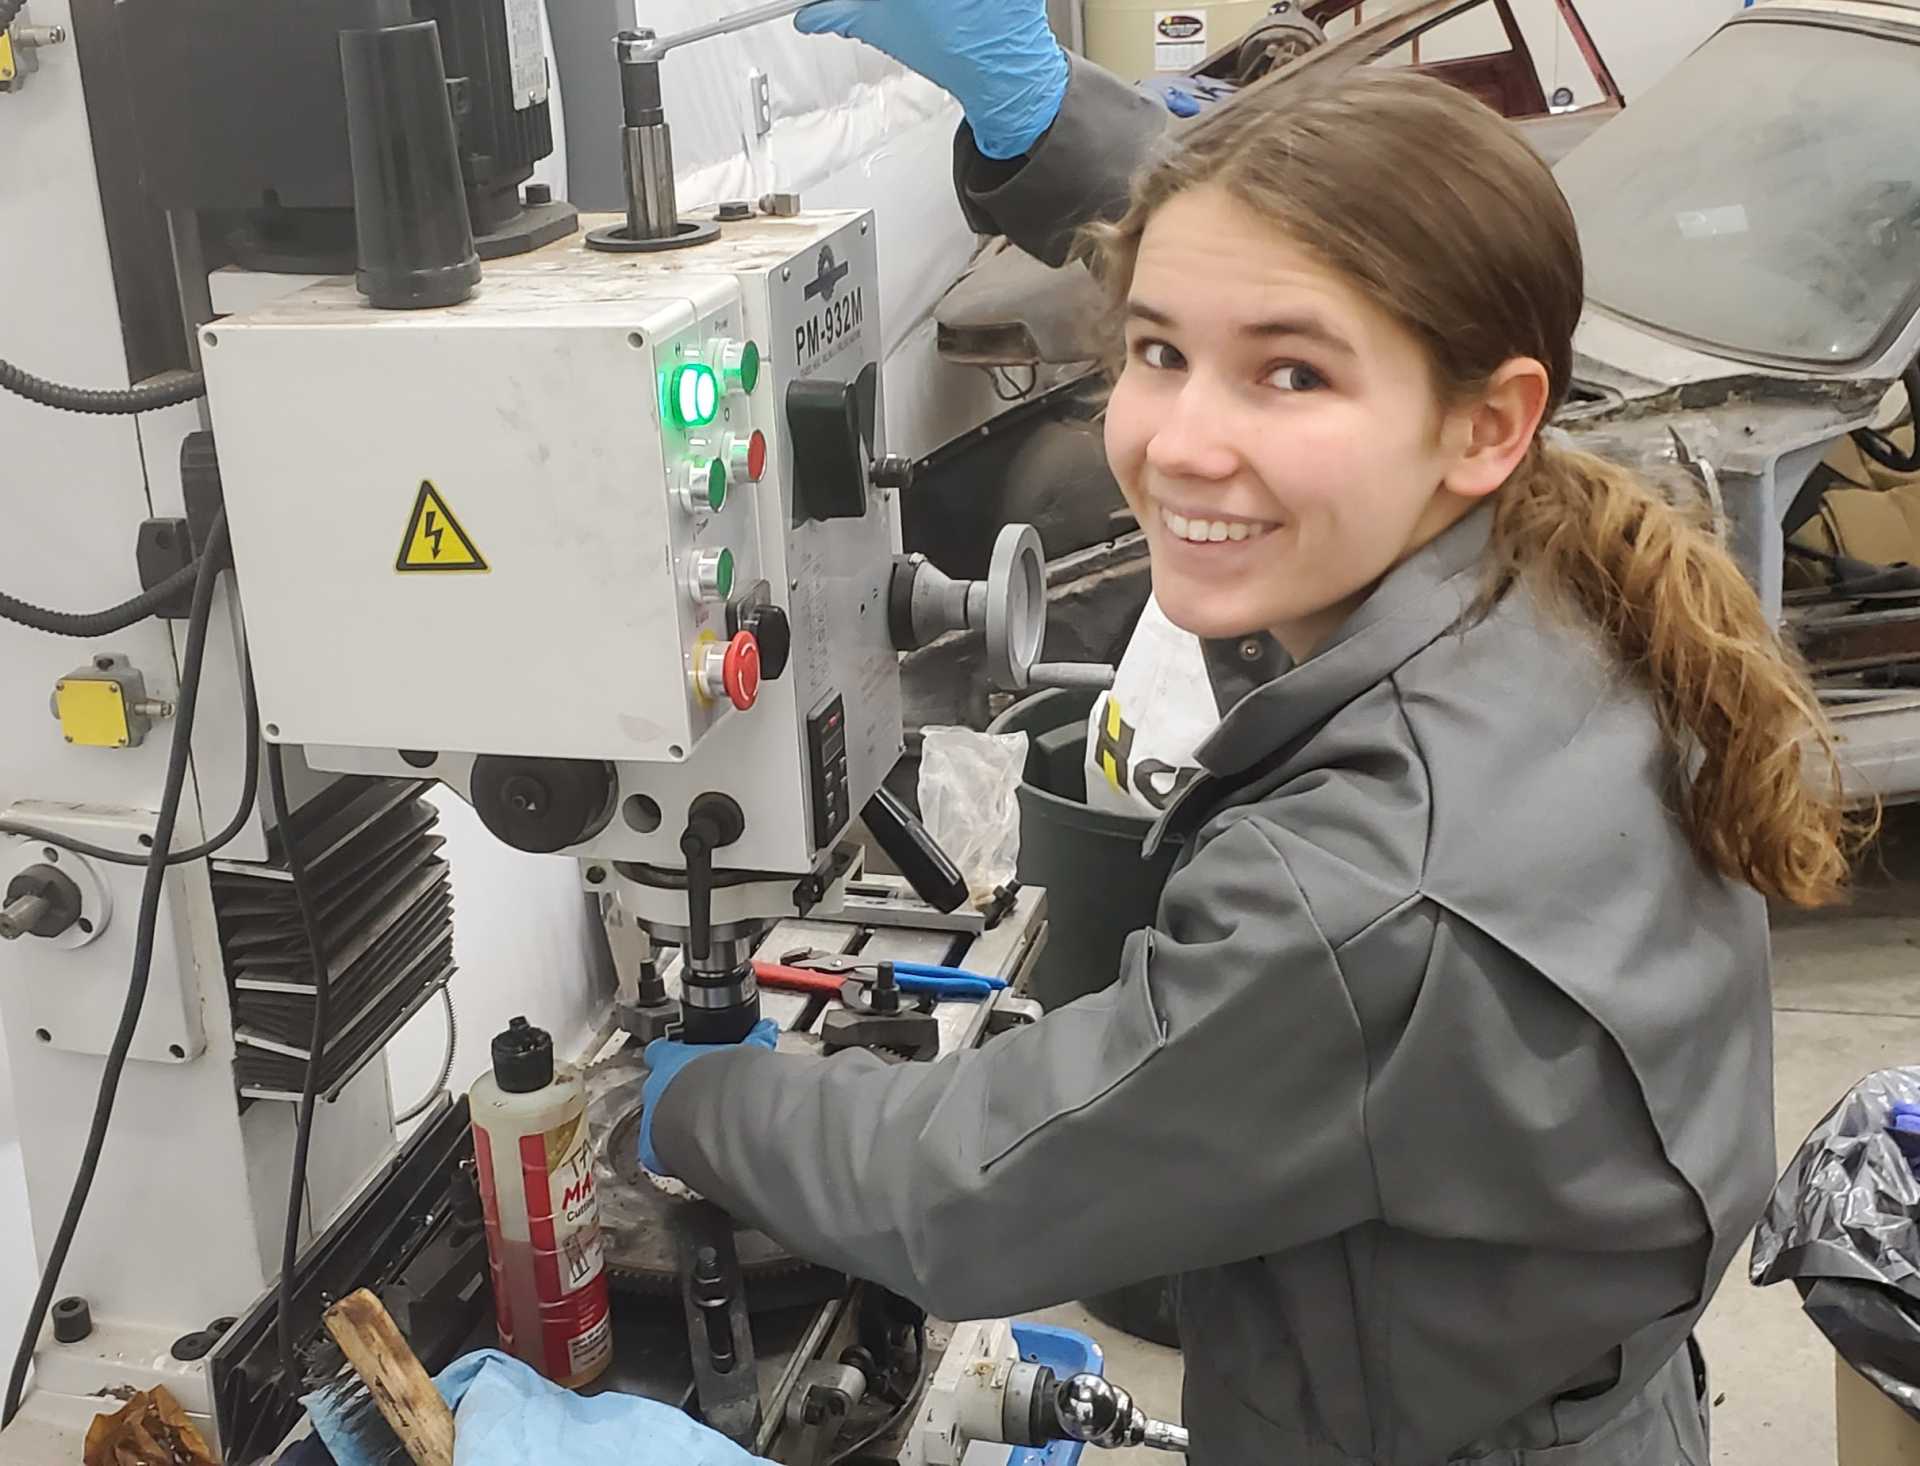
At that point, I decided I wouldn't use one of the existing flywheels and we'd either buy one or modify a LS flywheel to work. Since these were just going to metal recycling and the kids couldn't break anything useful, we should just try to bore it to fit the LS and see what happens. The flywheel was too big for my lathe, so we'd use a boring bar instead. I probably should have turned some plugs for the existing flywheel holes, but I hadn't ever tried to machine across bolt holes before...so we decided to leave them open and see what would happen. That was ultimately a bad idea -- the holes would catch the boring tool and jerk everything a bit -- my Precision Mathews probably isn't beefy enough to attempt that without plugs. But the kids had fun boring out the flywheel, so it was a good use of time.
A few photos of our machining:
|
|
|
|