
 
     |
| 88 Steering Inner Tie Rod and Bushing On Car Replacement Tips (Page 1/1) |

|
Doug85GT
|
NOV 12, 03:00 PM
|
|
I just replaced the passenger side tie rod and bushing on my 88 base model. I read through a number of posts on PFF before I tacked it. Here are a few things that I learned that I did not see in the other posts.
Must Have Tools
22mm Open End Wrench: For loosening the lock nut on the ball joint. A large crescent wrench will work.
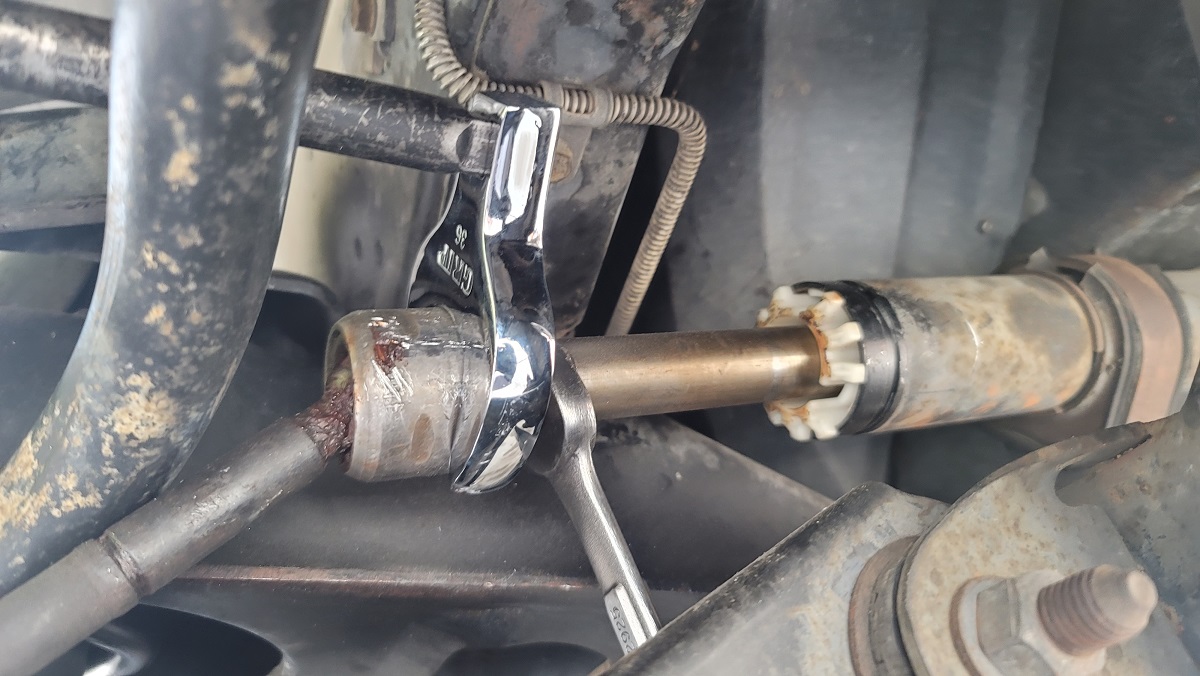
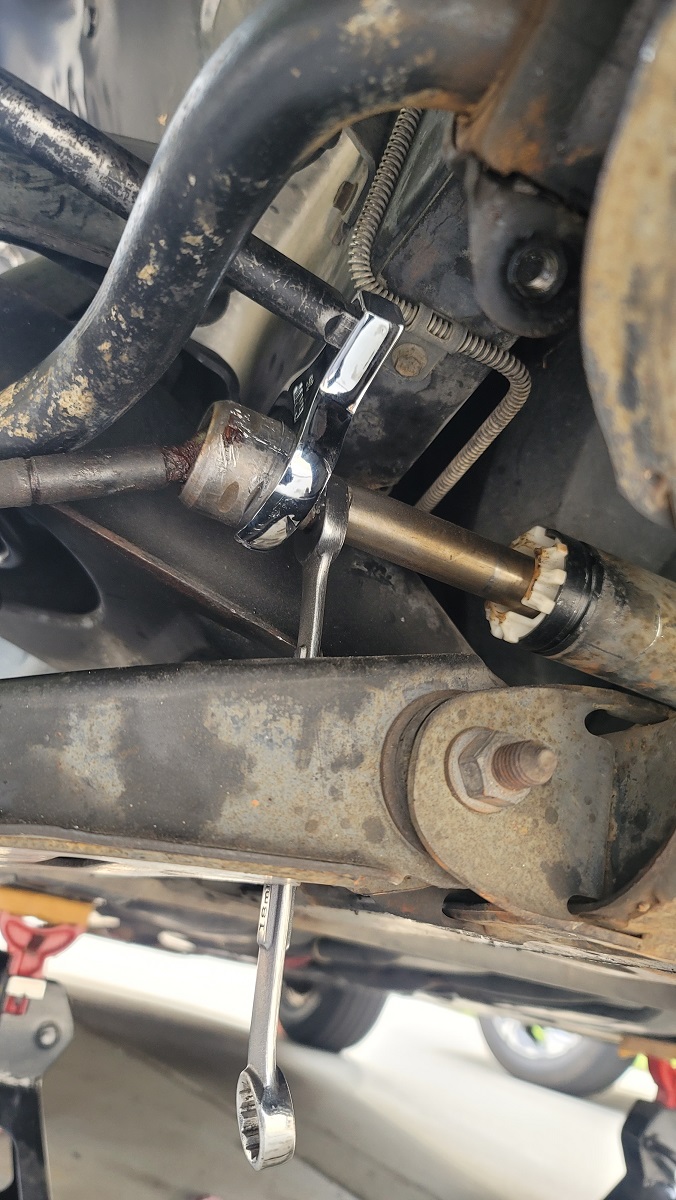
36mm Crows Foot: This is a must have tool for removing and reinstalling the tie rod. At the very least, it is required during installation to torque the tie rod to 70 ft/lbs. It makes removing the tie rod easier. You can buy one for about $14.
18mm Open End Wrench: This is to hold the shaft in place as you are removing or installing the tie rod. Not all wrench sets have an 18mm. It is highly recommended that you use a quality wrench because removing the tie rod could take a lot of force. I would not recommend using an adjustable wrench because of the limited space and the large amount of torque involved.
90 degree Drill: This is for drilling a hole to retain the bushing in the housing.
Recommended Tool
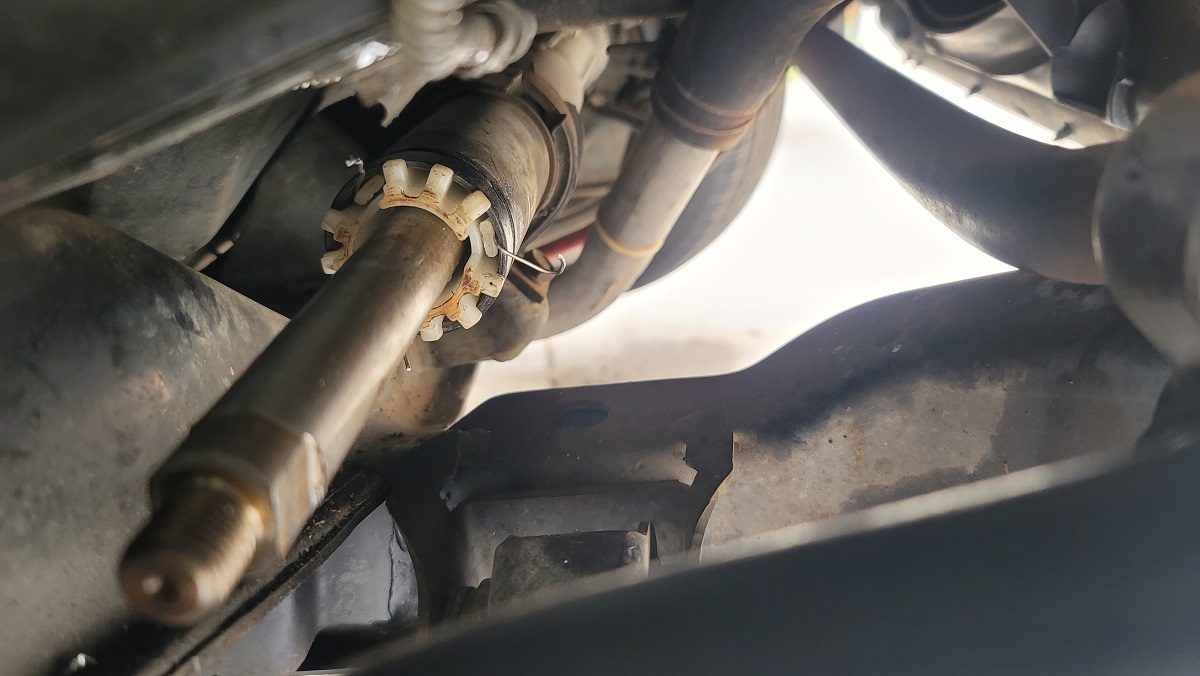
Lockwire Spool: This is used to keep the tabs open on the plastic bushing. You can probably use very small solid core electrical wire or some other form of wire.
Scratch Awl or some other small pointy thing: You will need to bend the three retaining tabs in order to slide the wire under them. I found that a scratch awl did a great job of doing it. You need something sharp that will dig in and grab the plastic.
Red Locktite: You are not going to be able to stake the tie rod very well because of the limited space. I used red Locktite to hold it in place during the install.
10mm, 13mm sockets, 13mm wrench: If you need extra space you can remove the bolts and end links from the sway bar which will allow you to move it out of the way.
Spring Loaded Punch: This is for putting a dimple on the rack so that the drill bit will not wander. Use a spring loaded one due to the limited space.
Cobolt Drill Bit: You can use standard HSS but I prefer Cobalt. Cobalt drill bits go through metal much easier than HSS. Use one of the appropriate size for your retaining screw, bolt or rivet.
30mm Deep Well Impact Socket: This is for "persuading" the new bushing to go on the shaft. My new brass bushing would not easily go on the shaft even after I removed all burs and grease it up. It took a few whacks to get it on the shaft and a bunch of whacks with a 3# sledge hammer to get it into the housing. Use whatever large deep well impact socket that you have which is of similar size to the bushing.
What it looked like when I used the crows foot and 18mm wrench. I did extend the shaft further out to clear the brake line after I took these pictures.
Removal of the plastic bushing.
|
|
|
|