
 
     |
| Restored GT wheels (basic how to) (Page 1/2) |

|
Skybax
|
MAY 22, 08:39 PM
|
|
|

|
Skybax
|
MAY 22, 08:44 PM
|
|
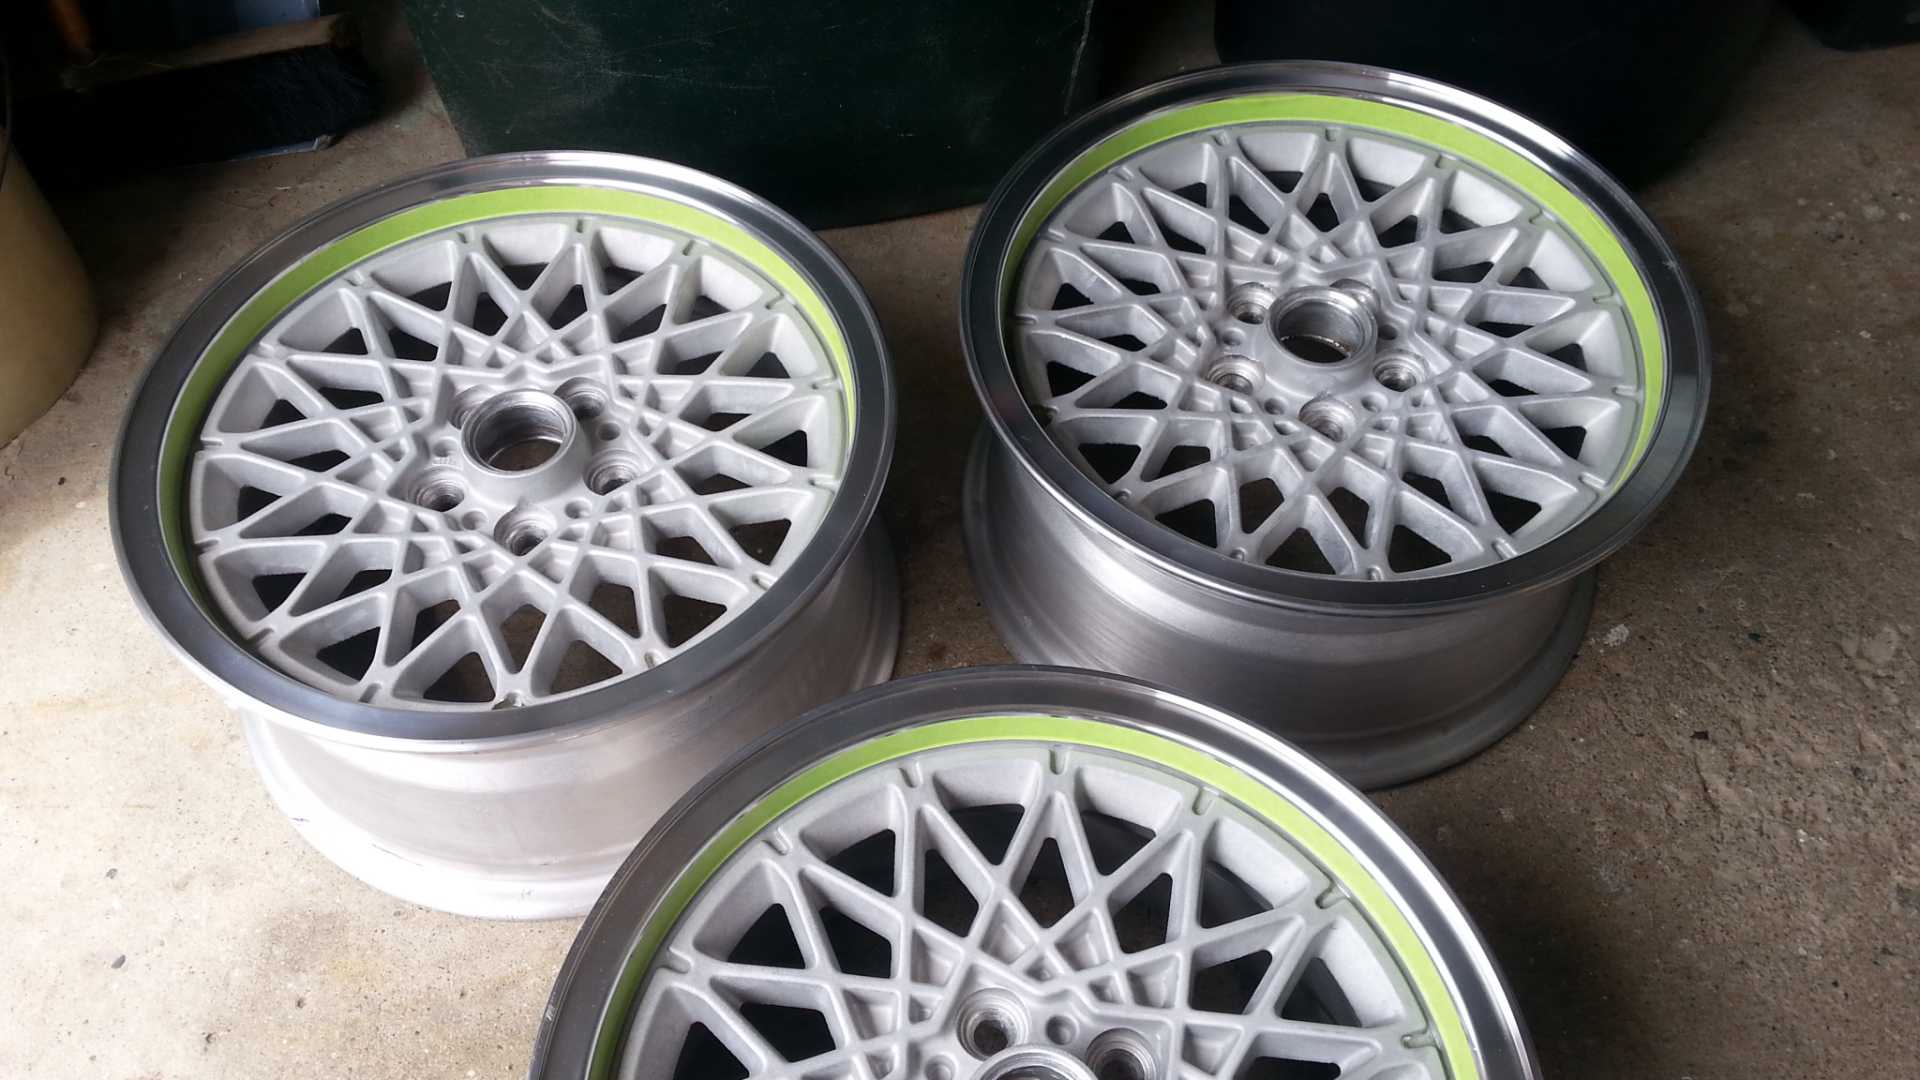
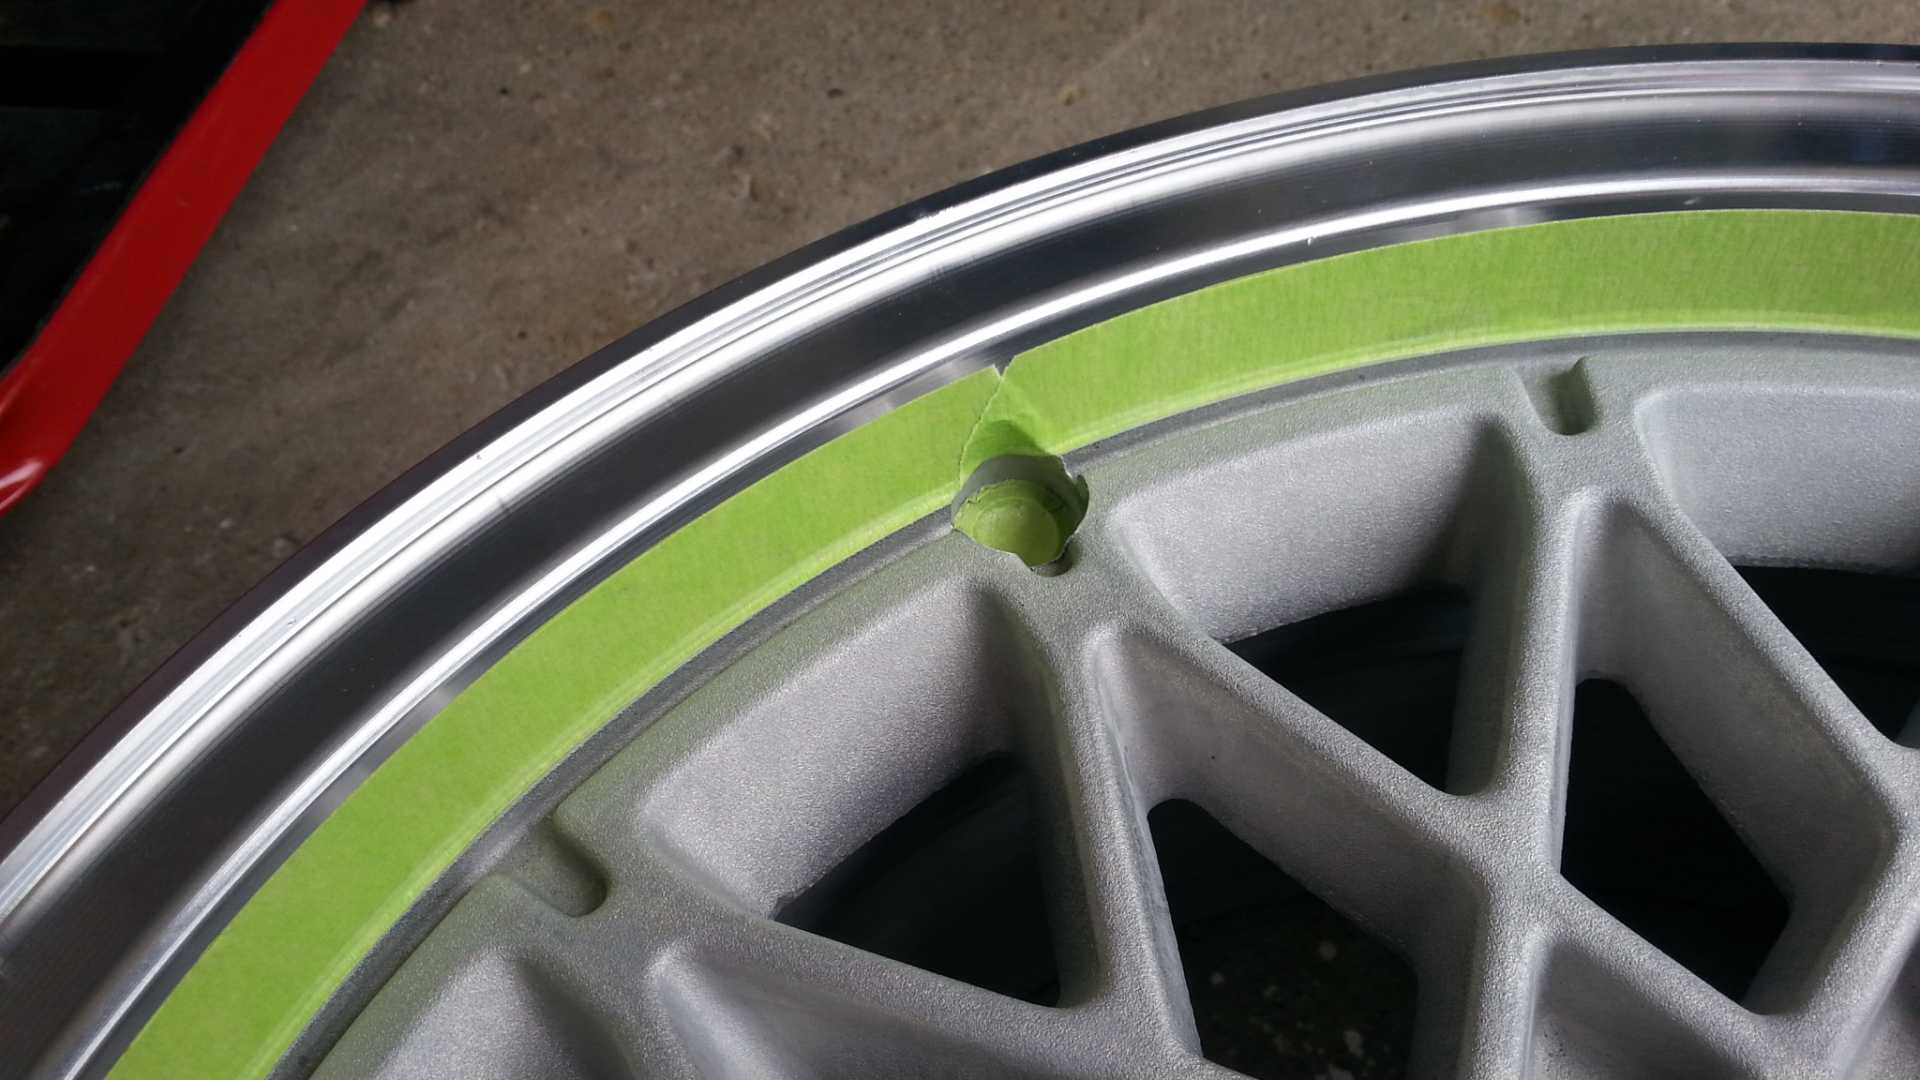
2. Next I hand polished the machined lip with a metal polish (my preference is Simichrome) and it only took about 90 minutes to do all 4 lips. If you have some corrosion where the wheel weights were, just use some sand paper to remove and smooth out using 400/800/1200. Then I used 3M auto grade fine line green tape to mask the edge so I would have a nice paint line, and cut out 4 small circles in the tape for the valve stem holes.
 [This message has been edited by Skybax (edited 05-23-2021).]
|
|

|
Skybax
|
MAY 22, 08:46 PM
|
|
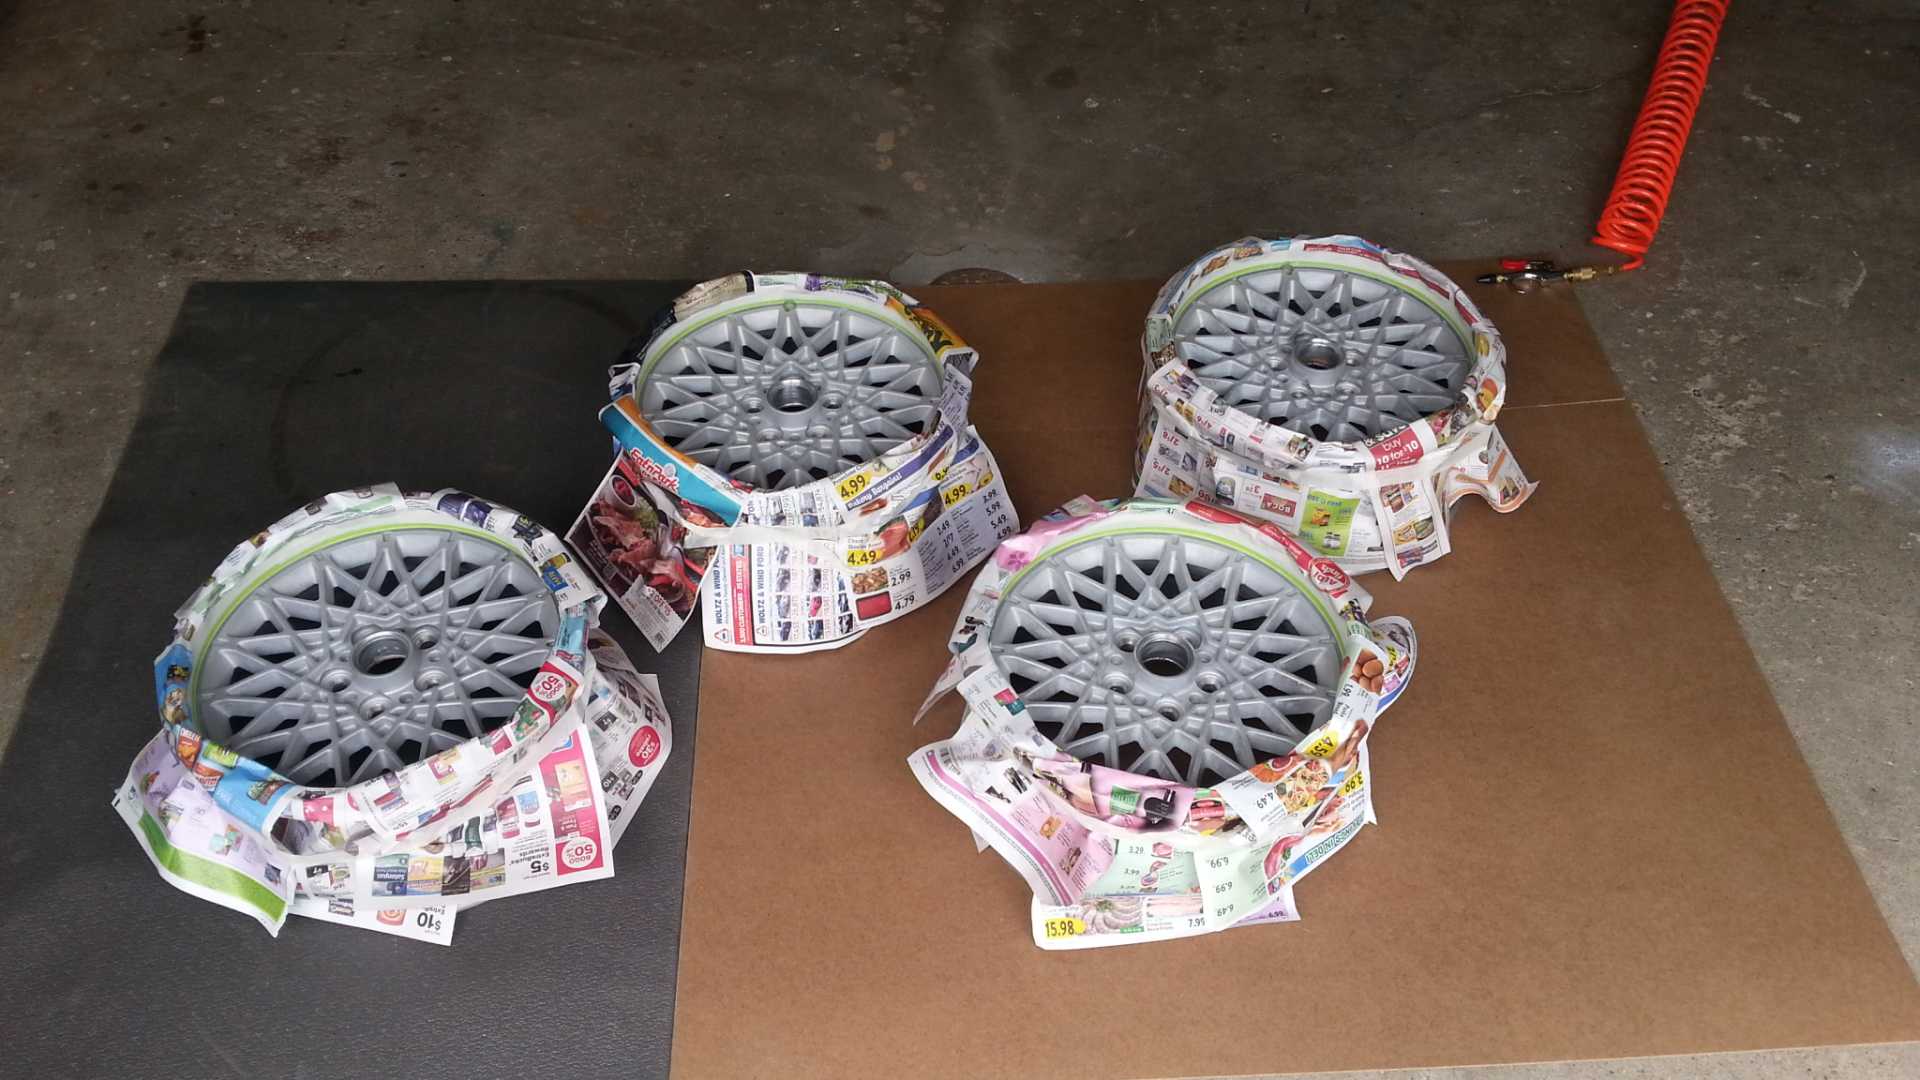
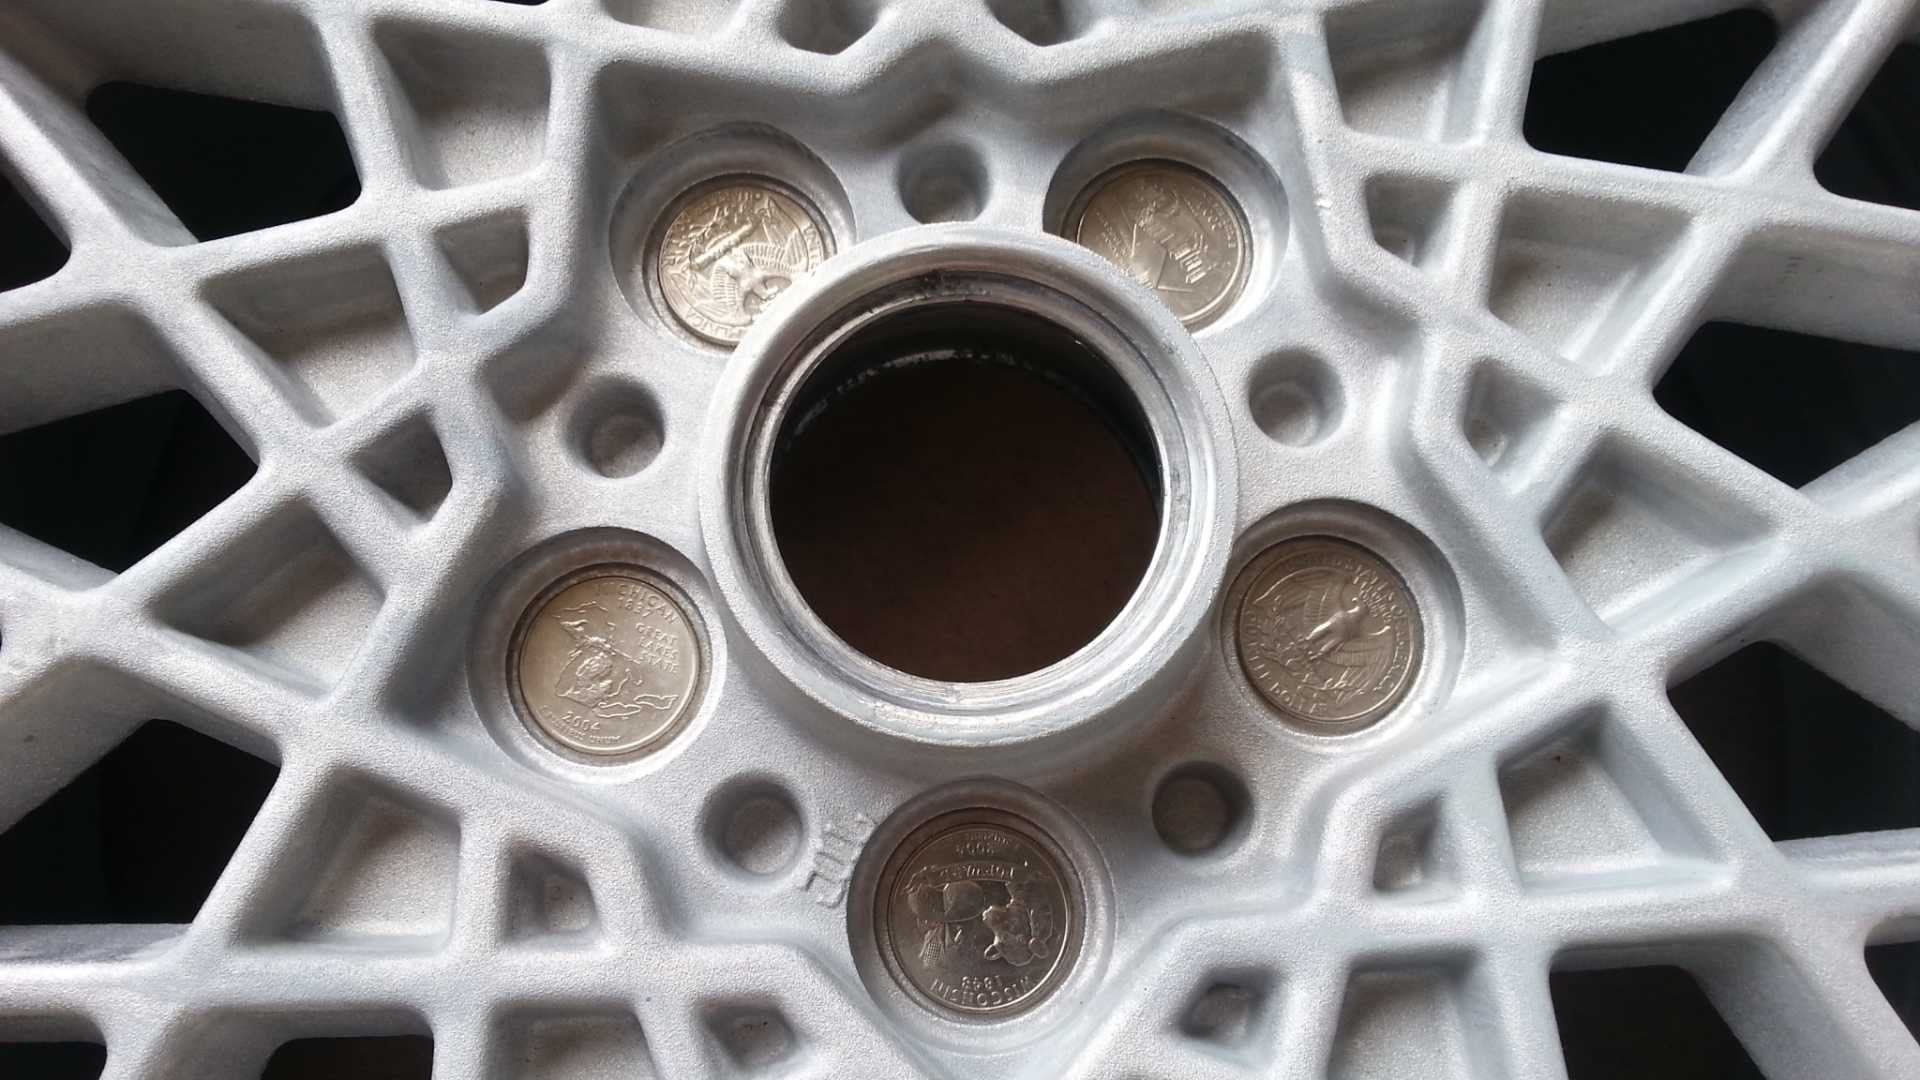
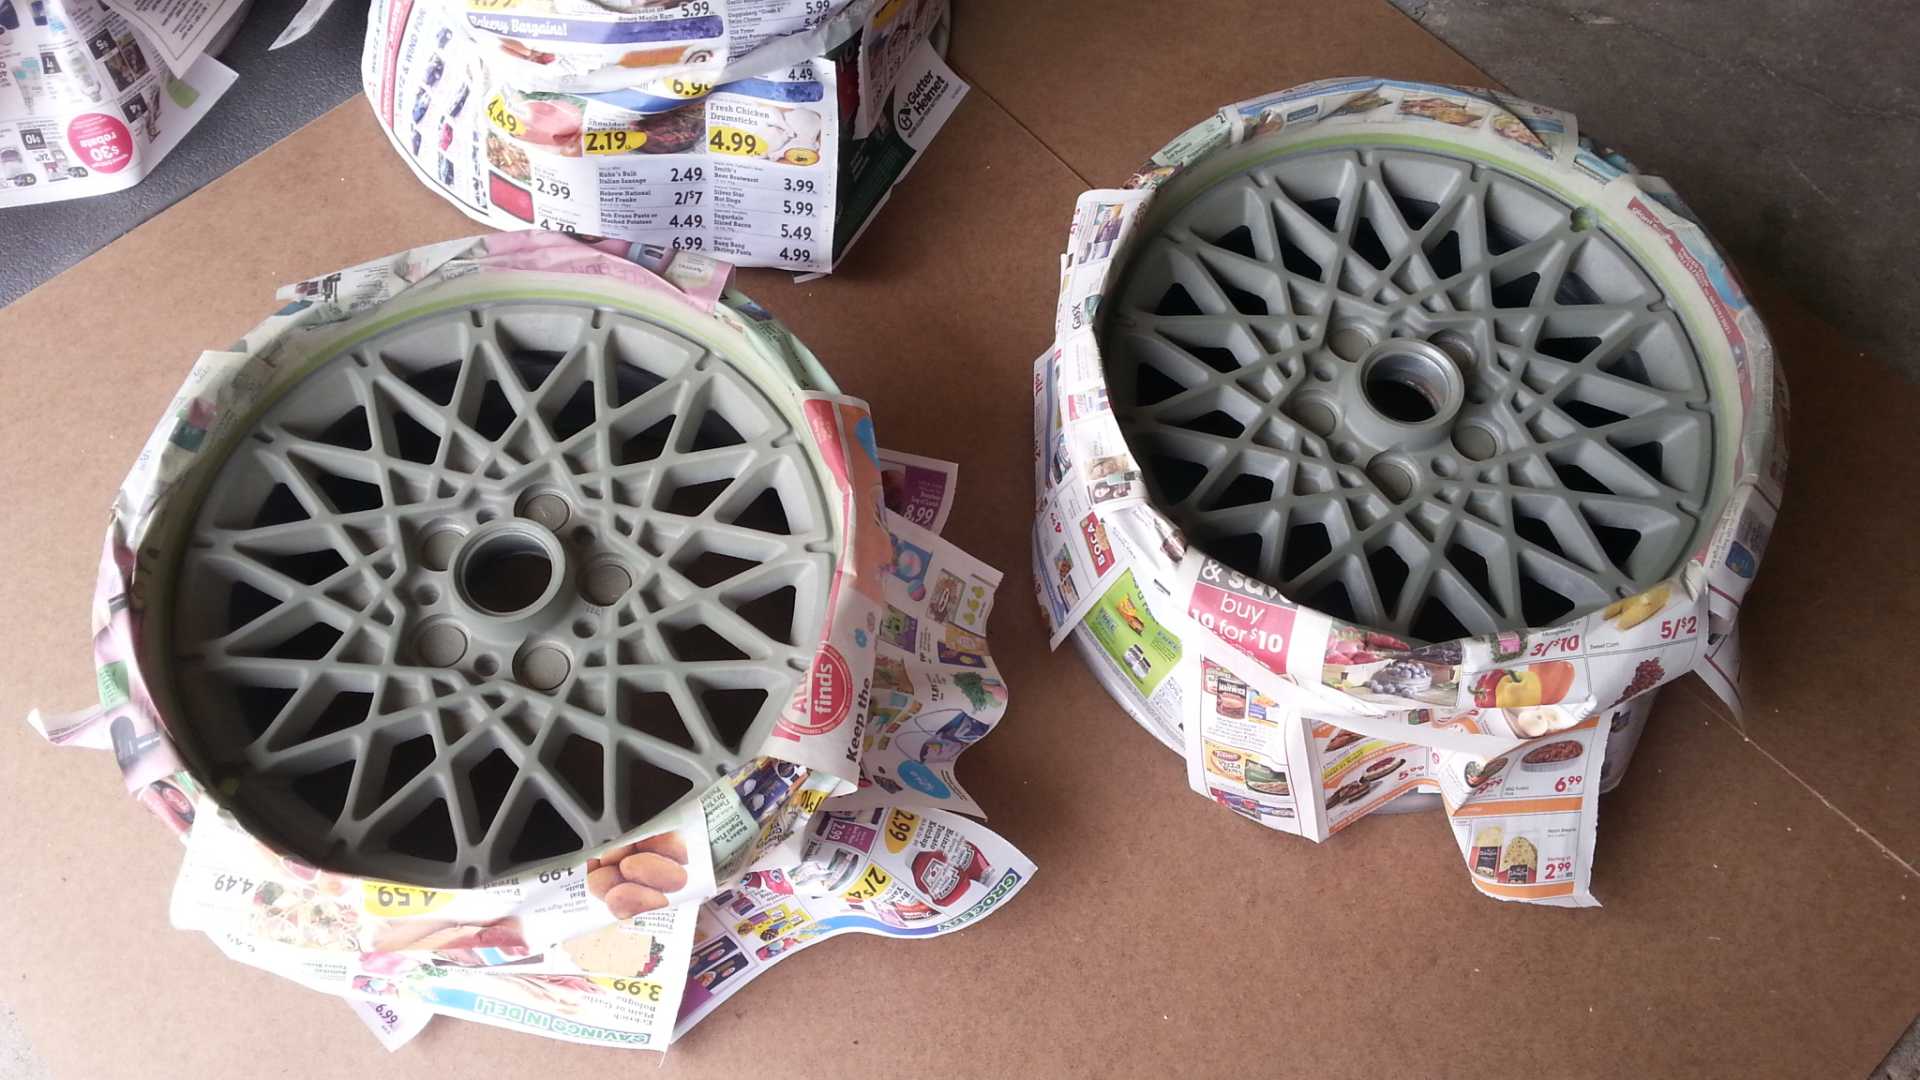
3. On the work bench I place making tape strips on the edge of small advertising mailers like an assembly line (about 8 per wheel) to cover reminder of the wheel. Then I put the wheels on some mats I had laying around for a clean area and to catch overspray underneath, and used quarters for the lug holes. Before painting I recommend using air tool if you have compressor to light blow any dust off the surface of the rims. If you don;t have a compressor you can used that canned air they sell at electronics stores for cleaning out keyboards and computers.
 [This message has been edited by Skybax (edited 05-23-2021).]
|
|

|
Skybax
|
MAY 22, 09:01 PM
|
|
|

|
Skybax
|
MAY 22, 09:09 PM
|
|
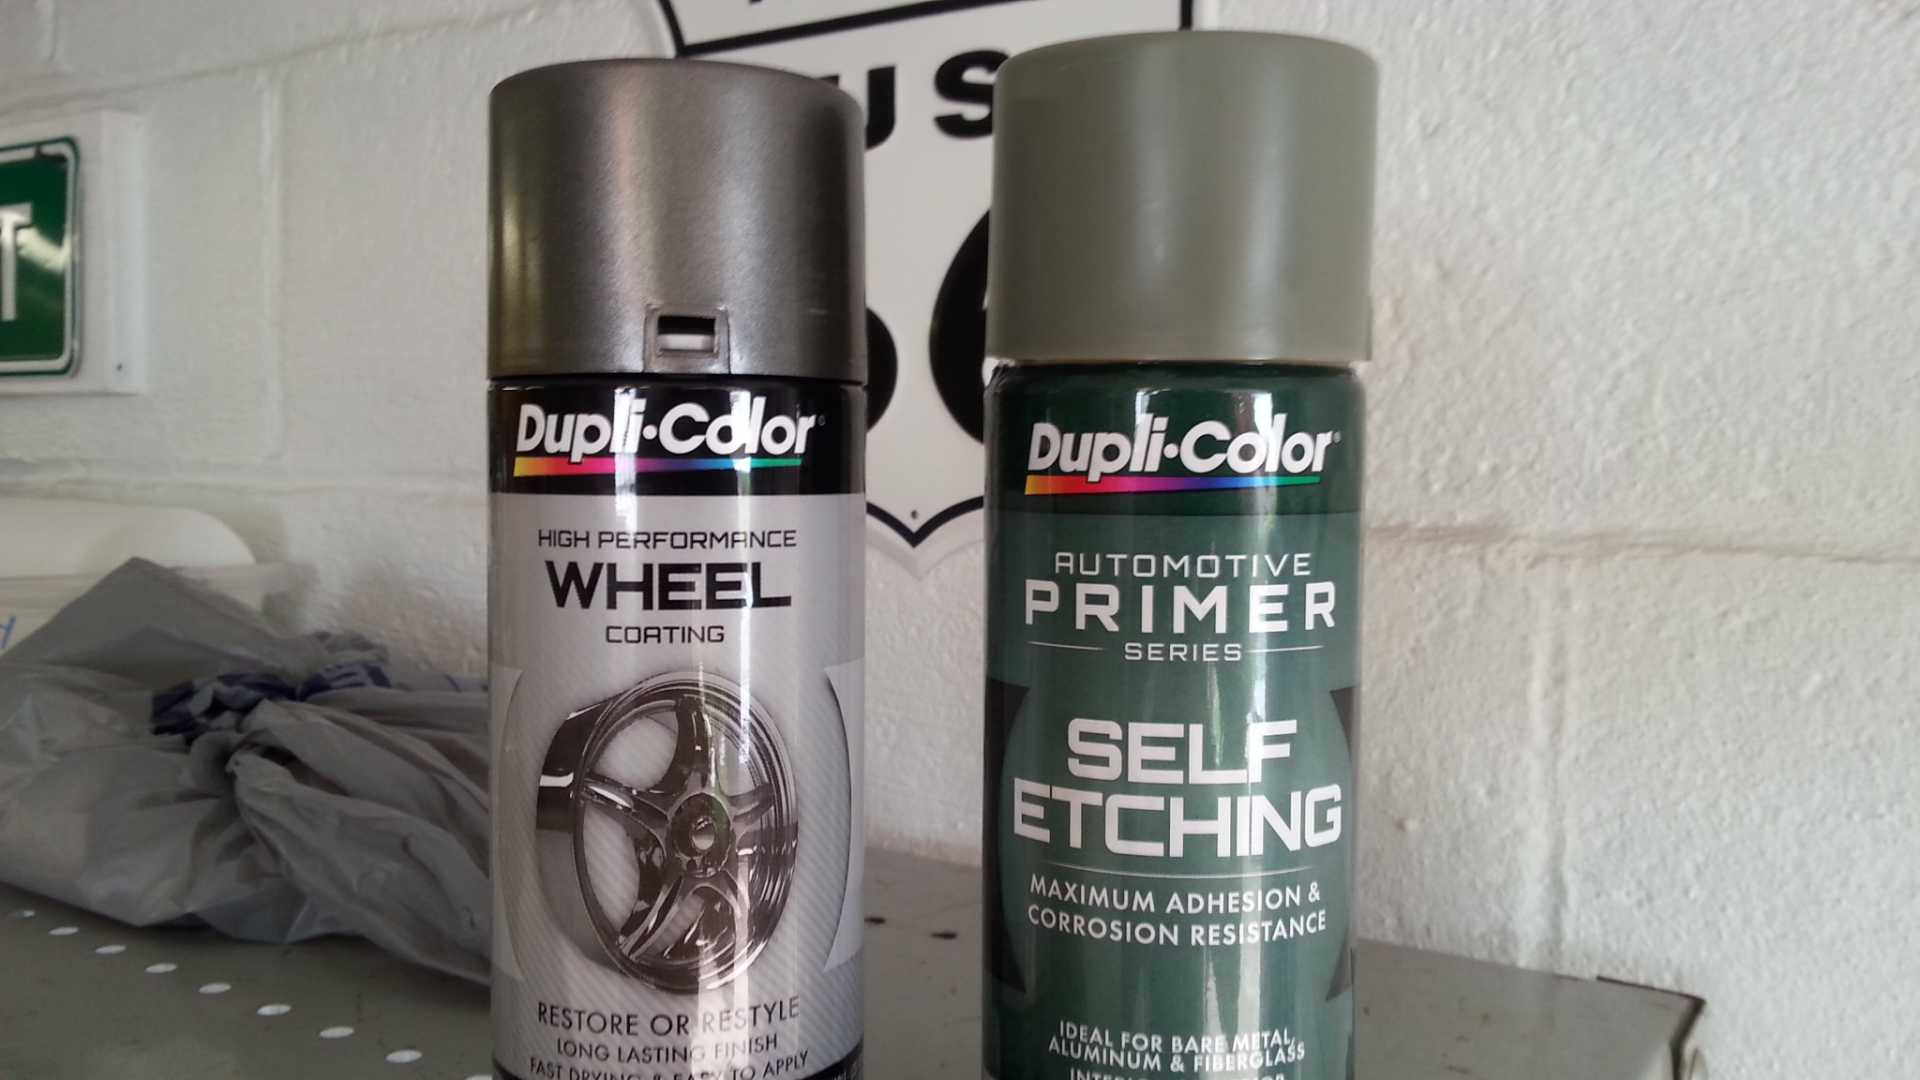
5. When painting bare aluminum you should use a self etching primer, that will bite into the metal and allow the paint to bite into the primer, also prevent chip/flake/peal. One of the best over-the-counter aerosol self etching primers is DupliColor, so that works out well by staying with the same brand when using multiple products, to avoid possible compatibility issues if you use different brands. All you need is a few light coats of primer, just enough to get coverage, I used 3 light coats, each one about 2-4 minutes apart. Since the primer is lacquer you need to let it vent/flash off for a least 30 minutes before applying paint.
|
|

|
Skybax
|
MAY 22, 09:19 PM
|
|
|

|
Skybax
|
MAY 22, 09:28 PM
|
|
Final notes... Even though Duplicolor offers a Clear Coat to use with their Wheel Paint, I chose not to use it for several reasons...
- The wheel paint by itself is a durable enamel and doesn't need or require clear coat (optional for more shine and protection)
- There have been too many people that didn't like the heavy orange peal or crazing it created (using all the same products)
- This is a fair weather weekend car and I keep it clean, so its not a daily driver that sees the elements or abuse
I also left the machined lip bare for similar reasons, additionally...
- The aerosol clear coats tend to yellow over time
- The machined lip would not be as vibrant as it is currently
- The aerosol clear coat won't adhere to the polished lip very well and might peal/flake
Hand polishing the machined lip once a year to keep it shiny is no big deal for me, and you avoid all the negatives above.[This message has been edited by Skybax (edited 05-22-2021).]
|
|

|
Raydar
|
MAY 24, 02:34 PM
|
|
Nice job!
Yeah... the aircraft stripper, and picking away at all the flecks that would not dissolve, was a complete pain in the butt.
Wish I would have known someone who I could have taken them to, instead. But this was way before the internet was really a thing, and the few people I did talk with said that the stuff they used would ruin my wheels. So I did what I did. But just that once. 
I hope the primer helps with the durability of your paint. Mine tended to chip if I bumped them too hard with a lug wrench, or whatever.
If I had this to do over, I probably would have gone for powder coat, instead.
My paint color was the same Argent Gray that GM used on the early 90s steel Sonoma rally wheels.
|
|

|
Skybax
|
MAY 25, 04:51 PM
|
|
Thanks, I know what you mean, I've stripped/sanded other wheels and couldn't imagine doing these Diamond Spoke wheels that way.
The place I went to uses GreeenSov which works well with no ill affects, but there are more aggressive nasty chemicals out there like B17.
Elaboration on reason for the self-etch primer... Paint doesn't stick well to bare metal especially aluminum. You will hear different opinions on painting directly over self-etch but the bottom line is, if you are doing a steel body panel and use self-etch you really should use another primer over that to seal it because the self etch is not moisture barrier, but you have to sand that primer you put on top of the self-etch primer. So when it comes to painting bare aluminum wheels like in this case, especially ones that have difficult to reach places like the webbing on Fiero Diamond Spokes, if I used another primer over the self-etch to seal it I would have to scuff every centimeter, no thanks. By using the self-etch you are getting the adhesion AND you don't have to sand/scuff before painting because the paint will bite into the self-etch, two birds one stone. Since my car doesn't see foul weather the enamel is sealing it and protection enough. One more important piece of info... The quicker the process is done the better, because the aluminum starts to oxidize immediately after being stripped. Also, as I mentioned since the self-etch is not a sealer primer you don't want to wait weeks to paint them, that's why I primed the day after they were stripped and painted right away after the self-etch dried.
Last thought on powder-coat... I know lots of people powder-coat aluminum wheels but I would advise against it. In my line of work where I evaluate motor vehicles, one of the things I see is mechanical failure of aluminum wheels due to aftermarket power-coat or chrome process. The heating of the wheel affects its properties, can develop cracks depending on the wheels, and in worse cases the outer rim separates from the wheel, ugly stuff. I would only powder-coat steel wheels and paint aluminum wheels.
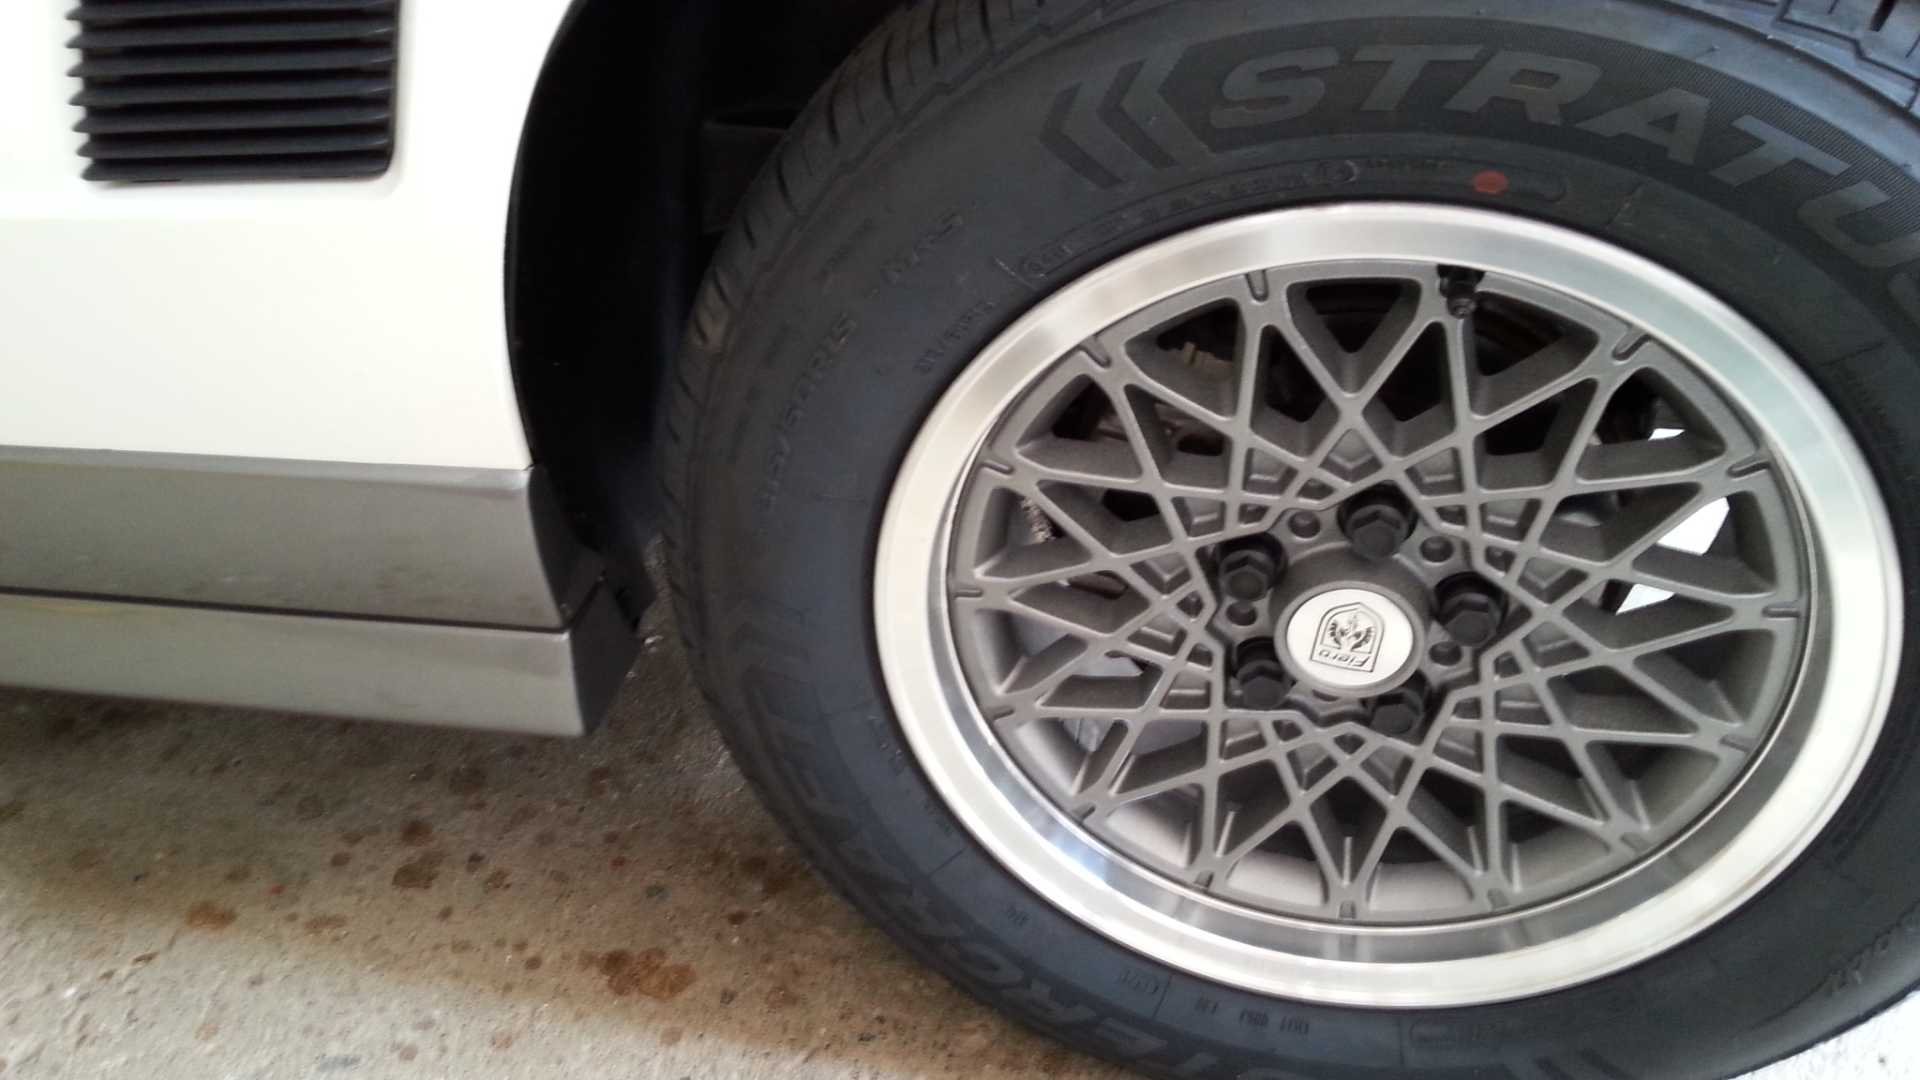
PS: Here is photo of wheel installed, I'm amazed the Dupli-Color Graphite Wheel Paint matches the Fiero GT lower body color better than the factory gray GT wheel color.
 [This message has been edited by Skybax (edited 05-25-2021).]
|
|

|
Patrick
|
MAY 25, 05:15 PM
|
|
| quote | Originally posted by Skybax:
That clear coat was like the plastic on your grandmothers couch for 36 years, preserving the lip and waiting for somebody to enjoy it someday.
|
|
... 
Great information. Nice job!
|
|
    
  |
|


