
 
     |
| Sway bar end links not lining up (Page 1/1) |

|
fierobear
|
FEB 02, 04:43 PM
|
|
I have been working on one of my Formulas, which sat outside for several years. I put the car on the lift, and noticed that the sway bar end links (pretty much all 4 of them) were loose. On closer inspection, some of the hard rubber (or whatever they are made of) had disintegrated and departed the car. Using a spare parts bin, I'm trying to put the end links back together with good used parts until I can do a proper suspension rebuild. I ran into a problem I'd encountered before when doing the suspension restoration on my 88GT - on one side, you could reassemble the sway bar end links no problem, but on the other side I couldn't get all the pieces on the bolt and tighten it up. One side was long enough, but on the other side the bolt seemed to short to put the nut on. Both bolts were the same lengths. This happened on both the front and rear sway bars on the Formula. I'm not sure I remember, but I believe the problem only happened on the rear of the 88GT (but this was 4+ years ago).
So my question is, what has changed or failed here? Is the sway bar torqued so that one end sits higher/lower than the other? Is it the spring, the a-arm (front), struts...?
|
|
|
|
fierobear
|
FEB 02, 05:40 PM
|
|
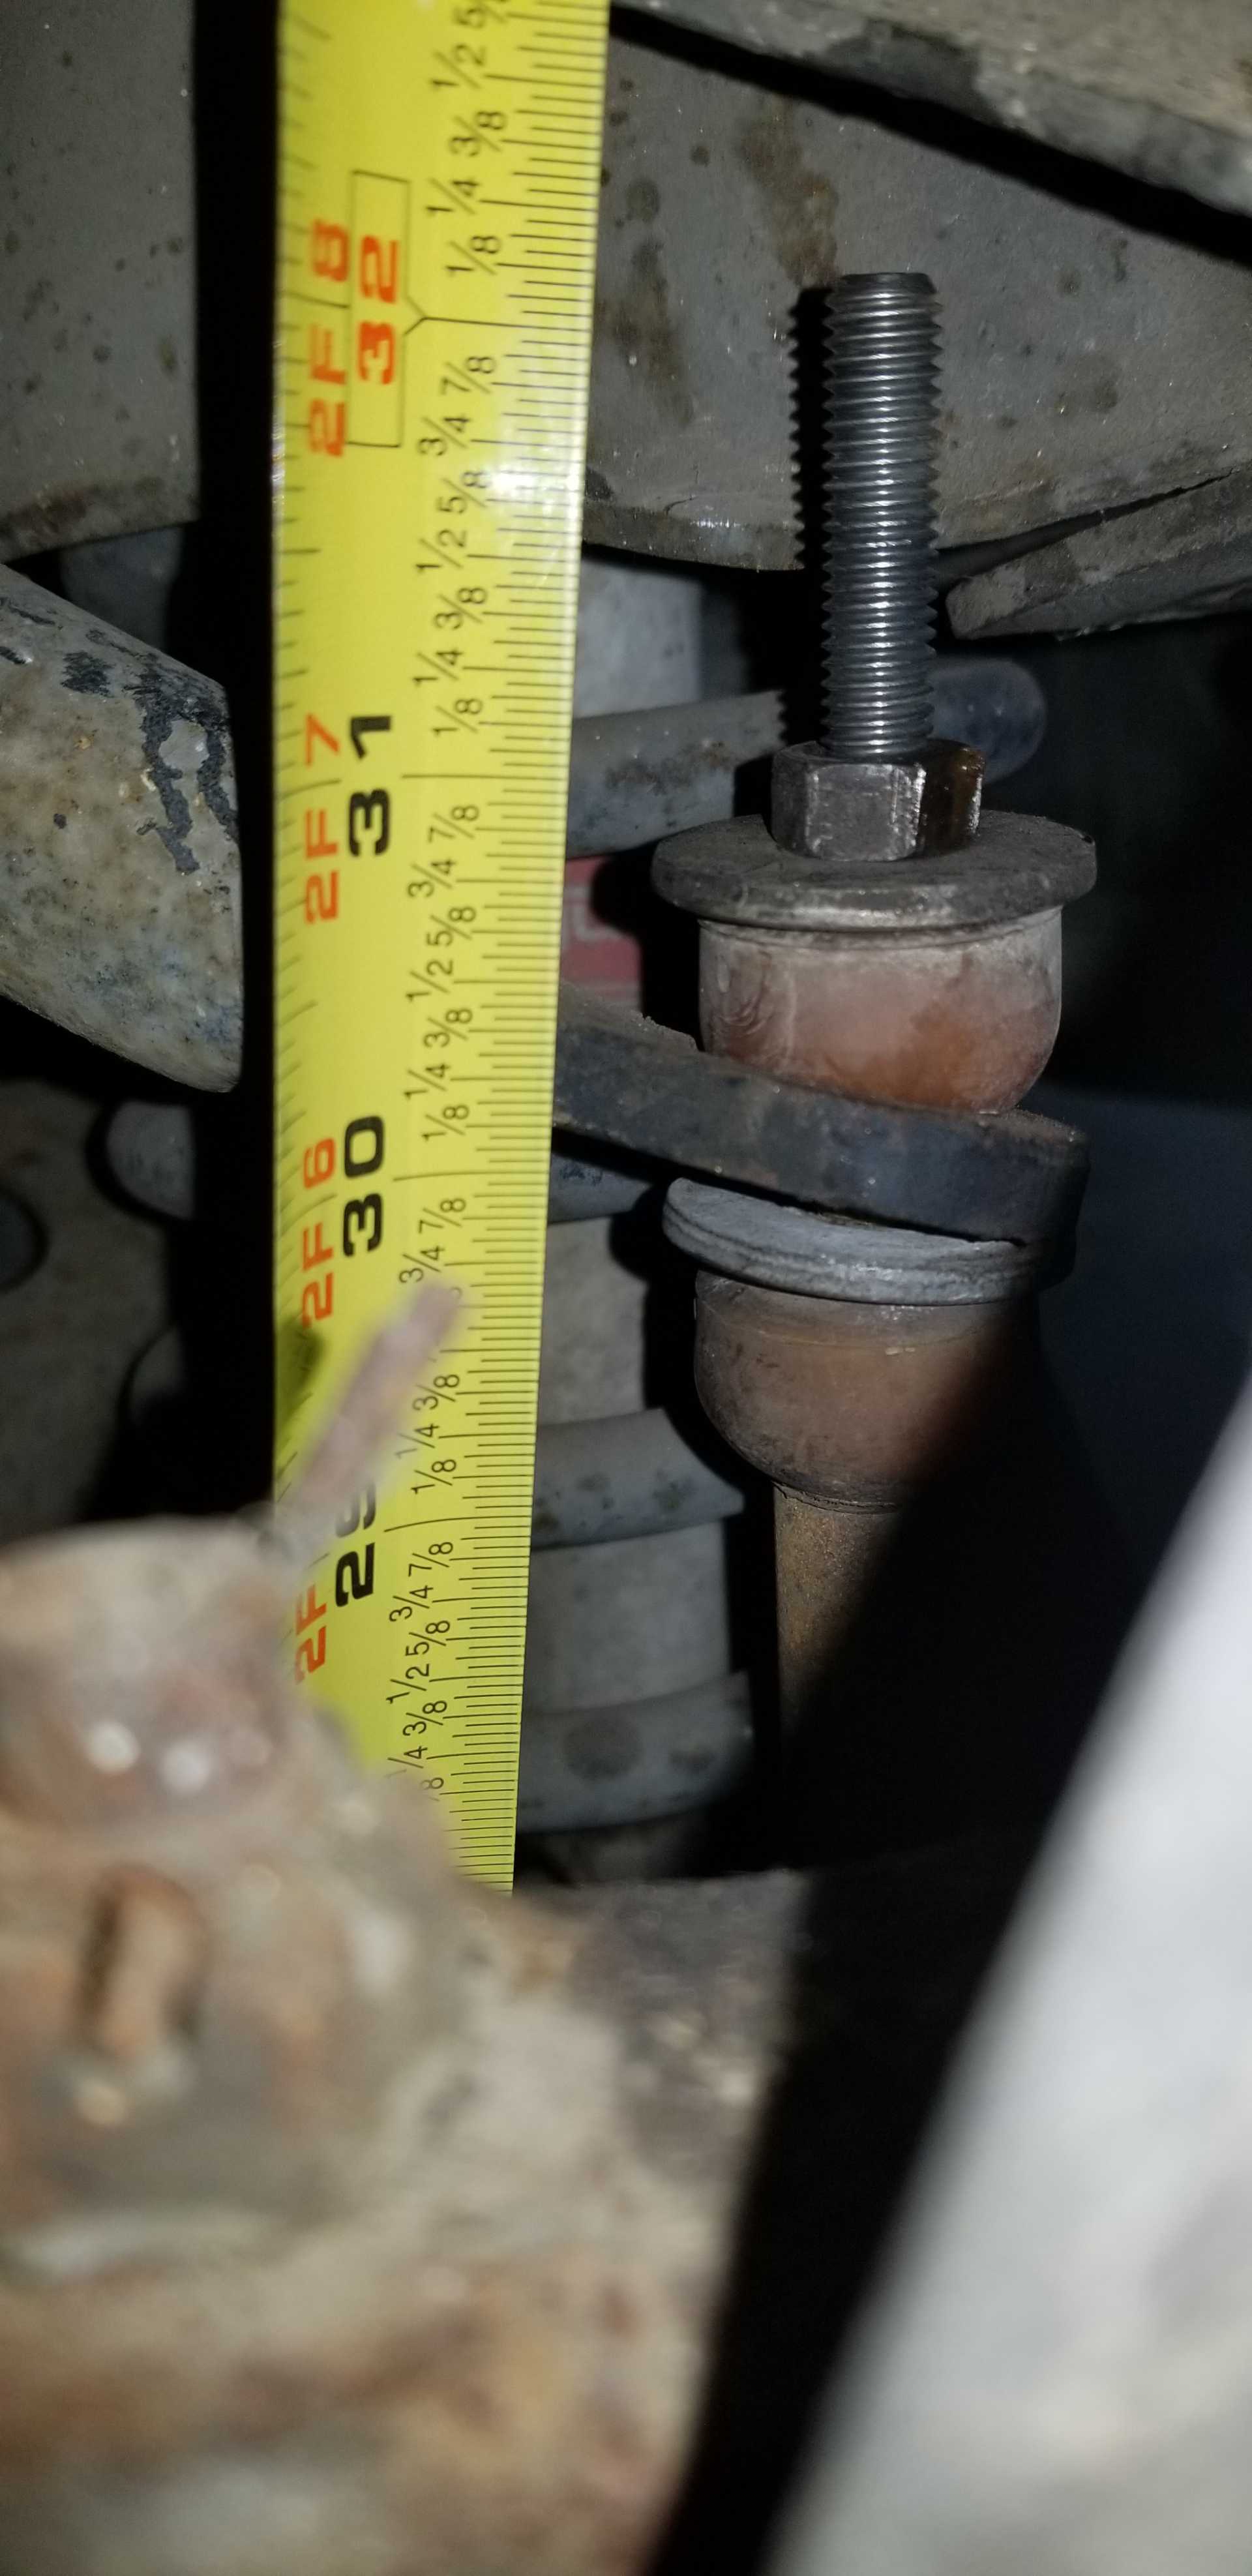
Left front
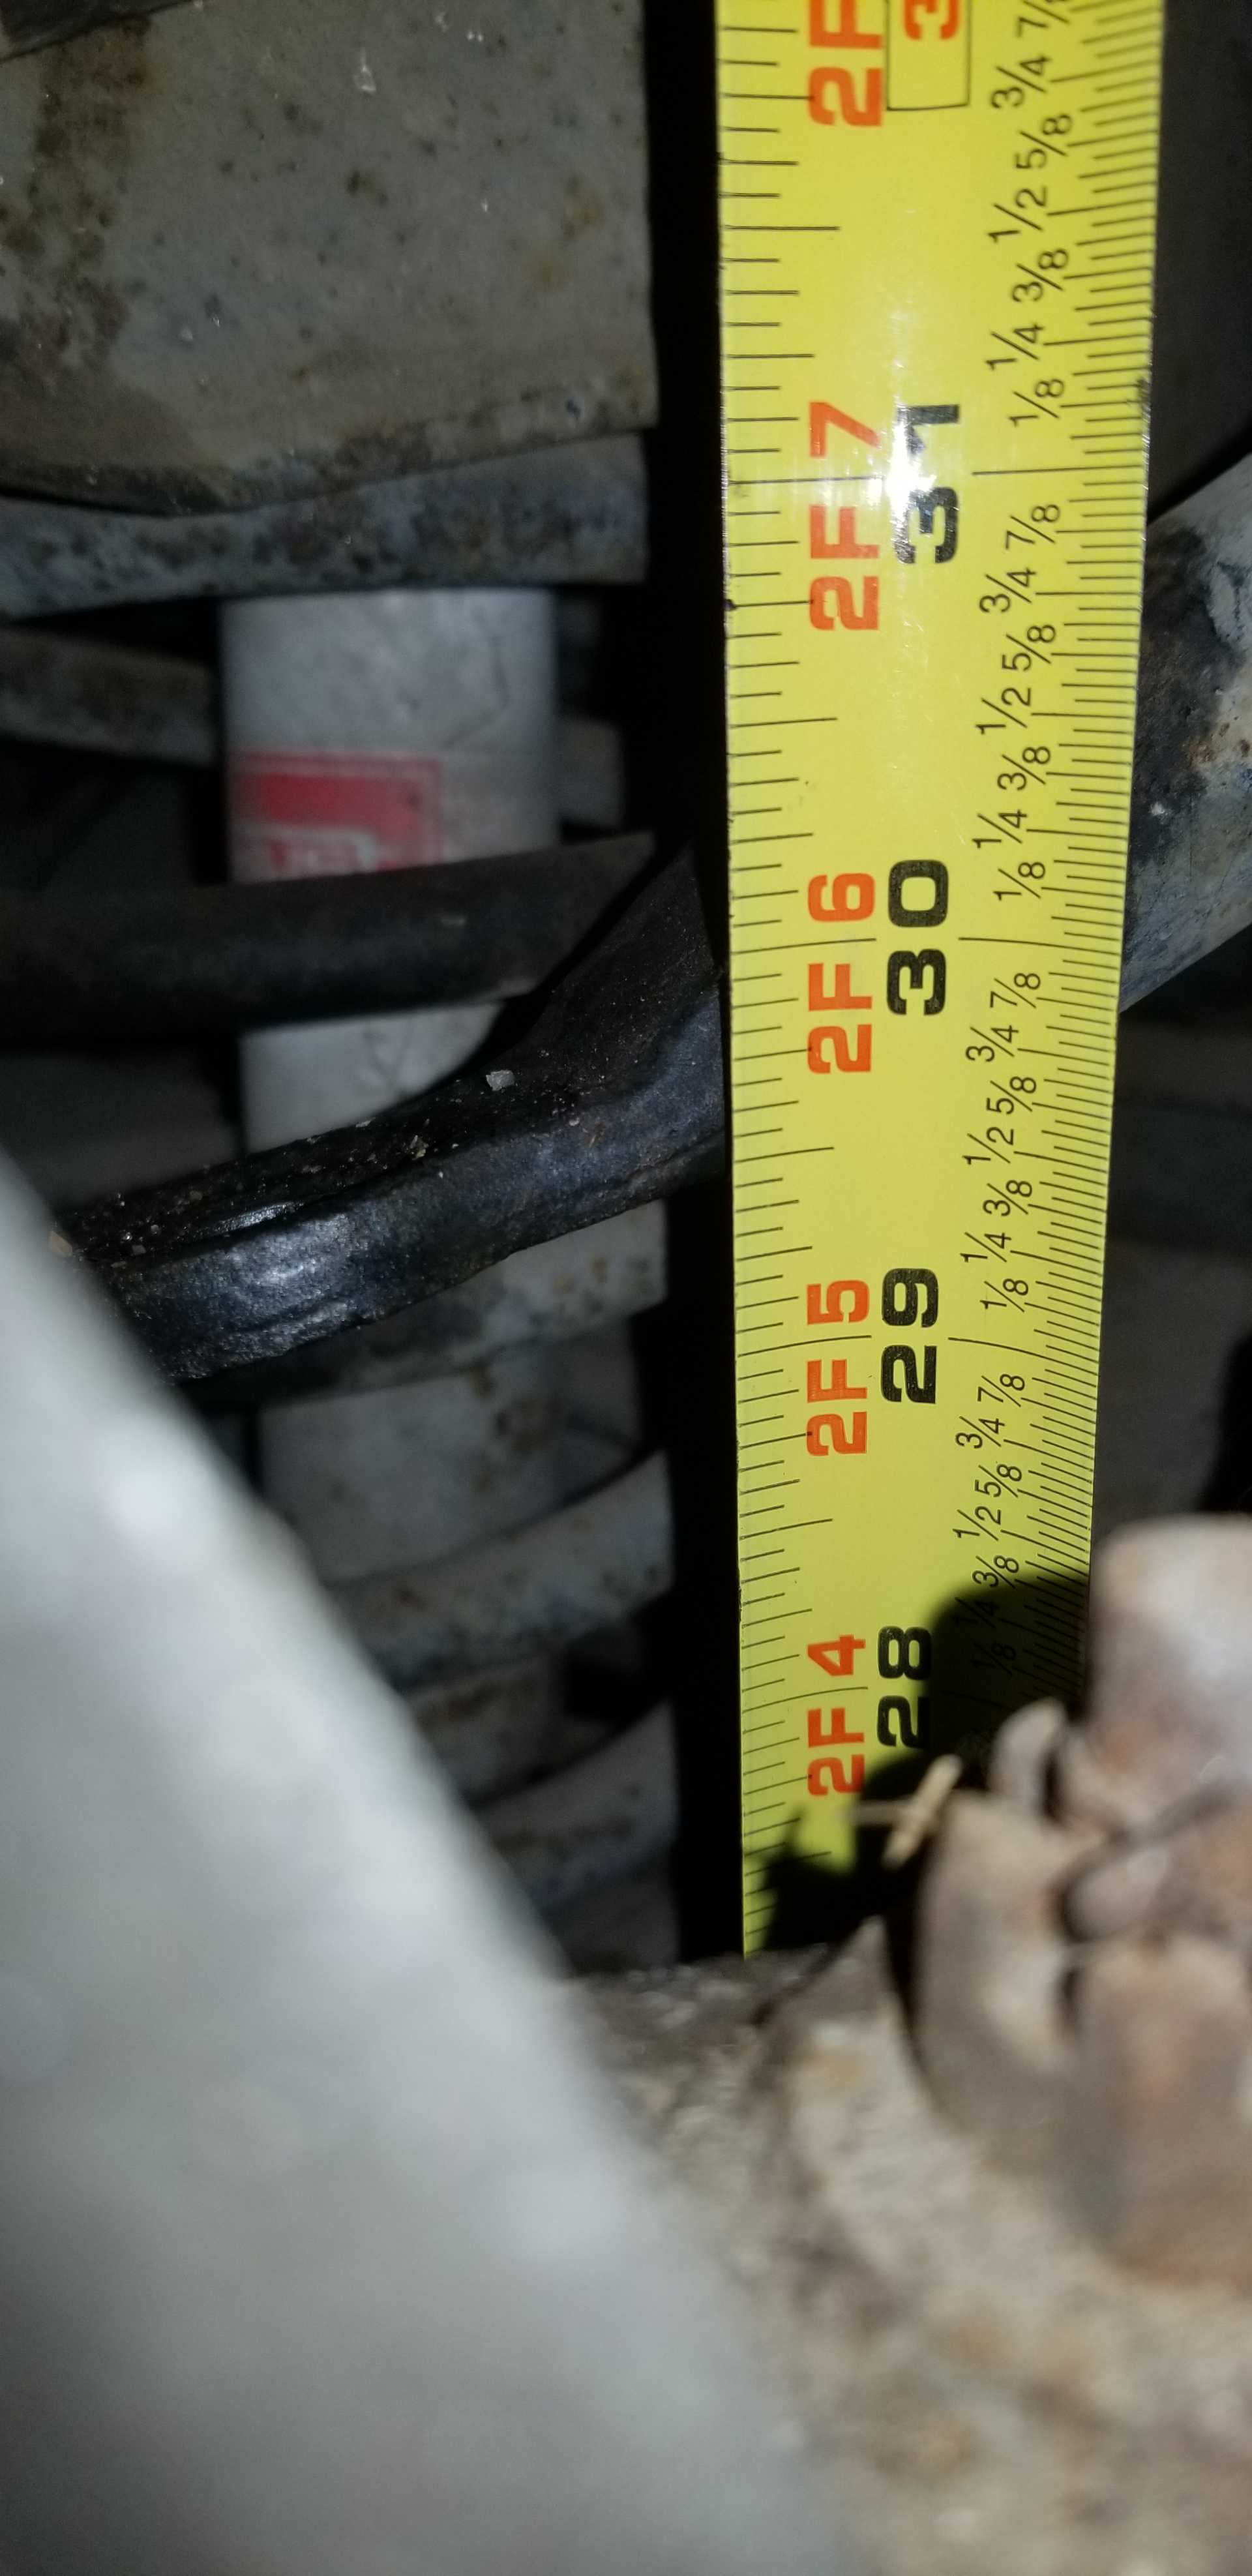
Right front
|
|
|
|
jelly2m8
|
FEB 02, 06:23 PM
|
|
Never tighten one side before the other side is started. If possible install with the LCA's loaded. Start both sides before tightening either.
The sway bar is doing exactly as it's design is intended, one side goes up, the other down and vice - versa.
BTW it looks like your left side is installed incorrectly.[This message has been edited by jelly2m8 (edited 02-02-2024).]
|
|
|
|
cvxjet
|
FEB 02, 07:33 PM
|
|
A) Check to make sure that both wheels/axles are the same height above the ground (I know- obvious) B) You may want to take the stabilizer bar off and make sure it is not warped.
As far as mounting the stabilizer bars, I came up with a slight mod that makes for better turn-in and yet LESS DTO (Drop-throttle oversteer)
Here is a link to my thread; https://www.fiero.nl/forum/Forum2/HTML/140674.html
|
|
|
|
fierobear
|
FEB 02, 08:26 PM
|
|
| quote | Originally posted by jelly2m8:
Never tighten one side before the other side is started. If possible install with the LCA's loaded. Start both sides before tightening either.
The sway bar is doing exactly as it's design is intended, one side goes up, the other down and vice - versa.
BTW it looks like your left side is installed incorrectly.
|
|
I only know of one way the sway bar can be installed, as well as the bolt and stack of bushings. What do you think is wrong?
|
|
|
|
fierobear
|
FEB 02, 08:29 PM
|
|
| quote | Originally posted by cvxjet:
A) Check to make sure that both wheels/axles are the same height above the ground (I know- obvious) B) You may want to take the stabilizer bar off and make sure it is not warped.
As far as mounting the stabilizer bars, I came up with a slight mod that makes for better turn-in and yet LESS DTO (Drop-throttle oversteer)
Here is a link to my thread; https://www.fiero.nl/forum/Forum2/HTML/140674.html |
|
Thanks, I'll check that out.
|
|
|
|
Raydar
|
FEB 02, 10:19 PM
|
|
Seems like I had similar issues. With the back wheels off, lower the car down until it's resting on the bottom of the knuckles, where the trailing links attach (preferably on jacks or blocks of the same height, to keep it off the ground).
Once the suspension is loaded, it should make your job lots easier.
|
|
|
|
1985 Fiero GT
|
FEB 03, 01:16 AM
|
|
| quote | Originally posted by fierobear:
I only know of one way the sway bar can be installed, as well as the bolt and stack of bushings. What do you think is wrong? |
|
Is supposed to be nut-washer-bushing-swaybar-BUSHING-WASHER-spacer-washer-bushing-A-arm-bushing-washer-bolt head.
the way you have it is nut-washer-bushing-swaybar-WASHER-BUSHING-spacer-washer-bushing-A-arm-bushing-washer-bolt head.
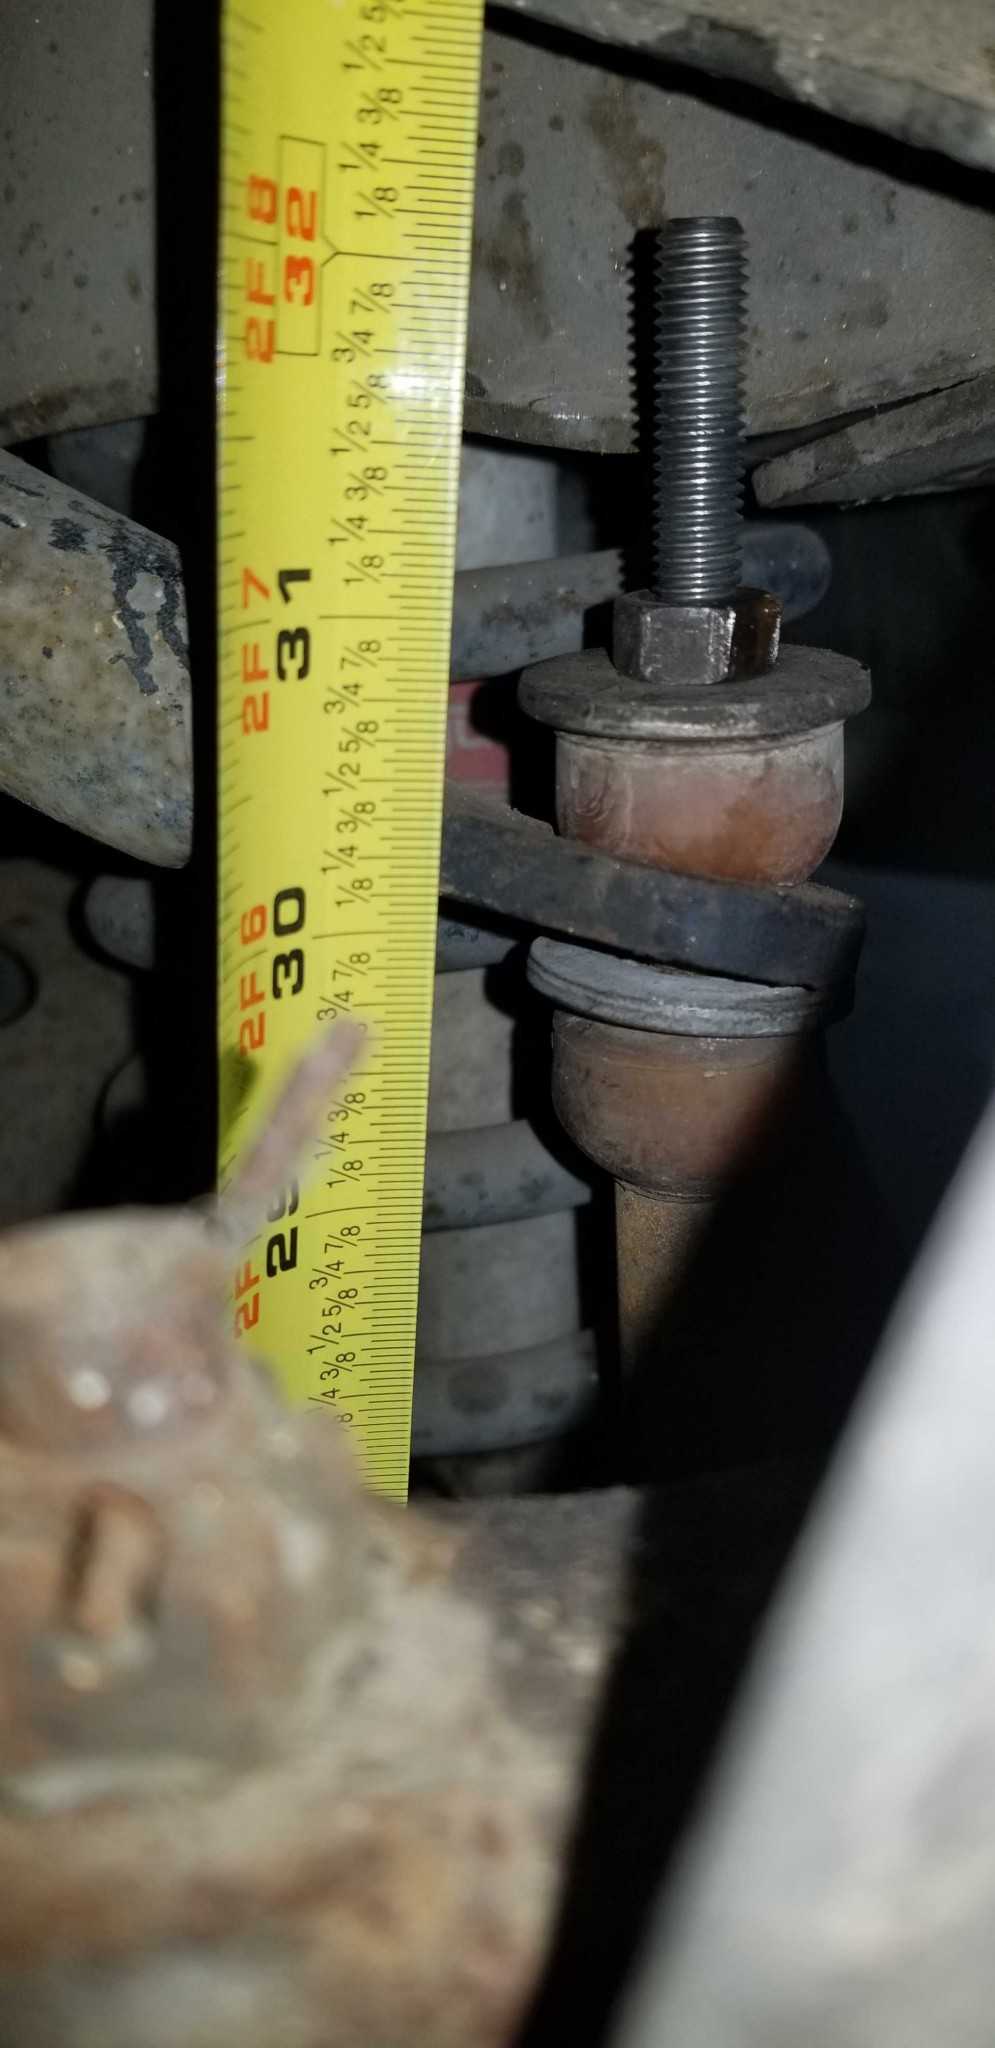
You have the washer jammed up against the swaybar, and the bushing getting impaled by the spacer, the washer is to distribute the load from the small spacer to the big bushing, in the same way as it distributes the load from the small nut to the other bushing, and then those 2 bushings are the only parts that touch the swaybar. Same goes for the control arm.
Like others have said, get both end links lined up and fully in place BEFORE tightening one down, if the suspension is sitting uneven, and it likely is, tighten down the one that is tightest to start with a little bit, the side of the swaybar that measures closest to the control arm, so you can still adjust the other side if something shifts, then tighten them down a bit at a time making sure not to over tighten them and to do it evenly with all bushings getting seated correctly.
|
|

|
Patrick
|
FEB 03, 01:27 AM
|
|
| quote | Originally posted by 1985 Fiero GT:
Is supposed to be nut-washer-bushing-swaybar-BUSHING-WASHER-spacer-washer-bushing-A-arm-bushing-washer-bolt head.
the way you have it is nut-washer-bushing-swaybar-WASHER-BUSHING-spacer-washer-bushing-A-arm-bushing-washer-bolt head.
|
|
Good catch. The rest of us were all asleep at the switch.  lol lol
|
|
|
|
fierobear
|
FEB 03, 12:46 PM
|
|
| quote | Originally posted by Patrick:
Good catch. The rest of us were all asleep at the switch. lol |
|
Yup, I had just done all four corners and missed this one. Good catch.
|
|
|
|