|
| Let's Prep and Paint a Fiero! (85 GT) (Page 1/4) |

|
Matthew_Fiero
|
JUL 15, 11:45 AM
|
|
Hello everyone,
I've owned an 85 GT for almost 20 years and since then I've performed the following work on it:
Conversion of Auto to 4spd Muncie
1998 L67 Swap (port and polished, 3.5" pulley)
C4 Corvette Brakes
Aircon added
Power mirrors added
All poly suspension, lowered
stainless lines all around
Aux Gauges added, boost gauge added
Auto dimming rear view mirror
Mr Mikes Seats
Late style headlights swapped in
Strut tower brace added
decklid shocks added
Recovered shift knob and steering wheel. Dyed interior black. Replaced carpet with black.
Short Shifter
There is probably so much more I am forgetting now. The car sat for almost 10 years as life got in the way and as of a couple years ago it has become my summer daily driver. It made it to the 40th last year (3600km trip) with only a couple issues.
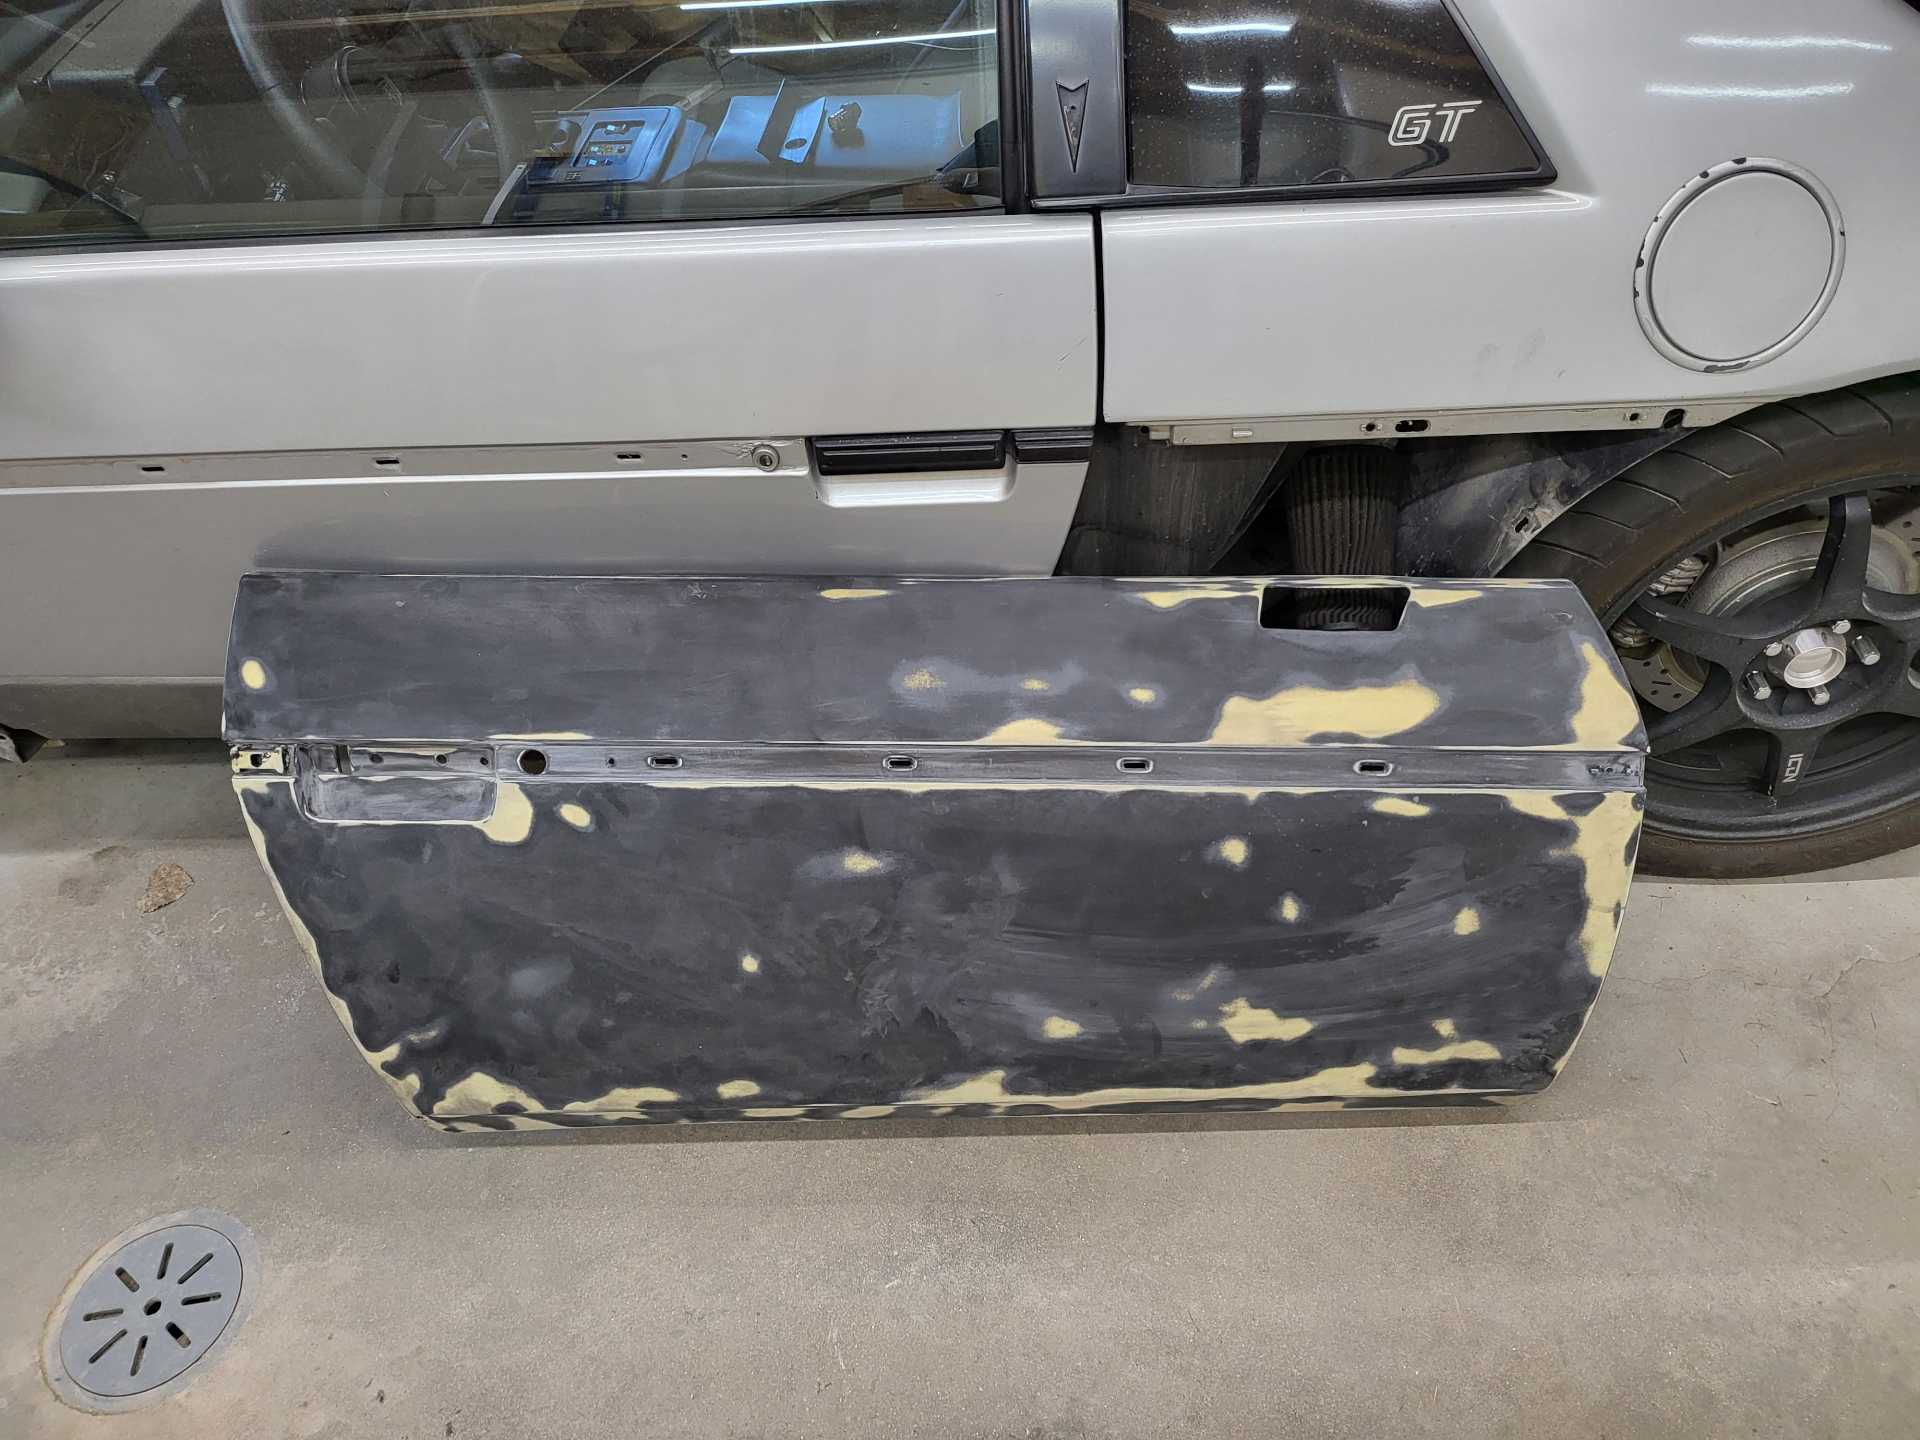
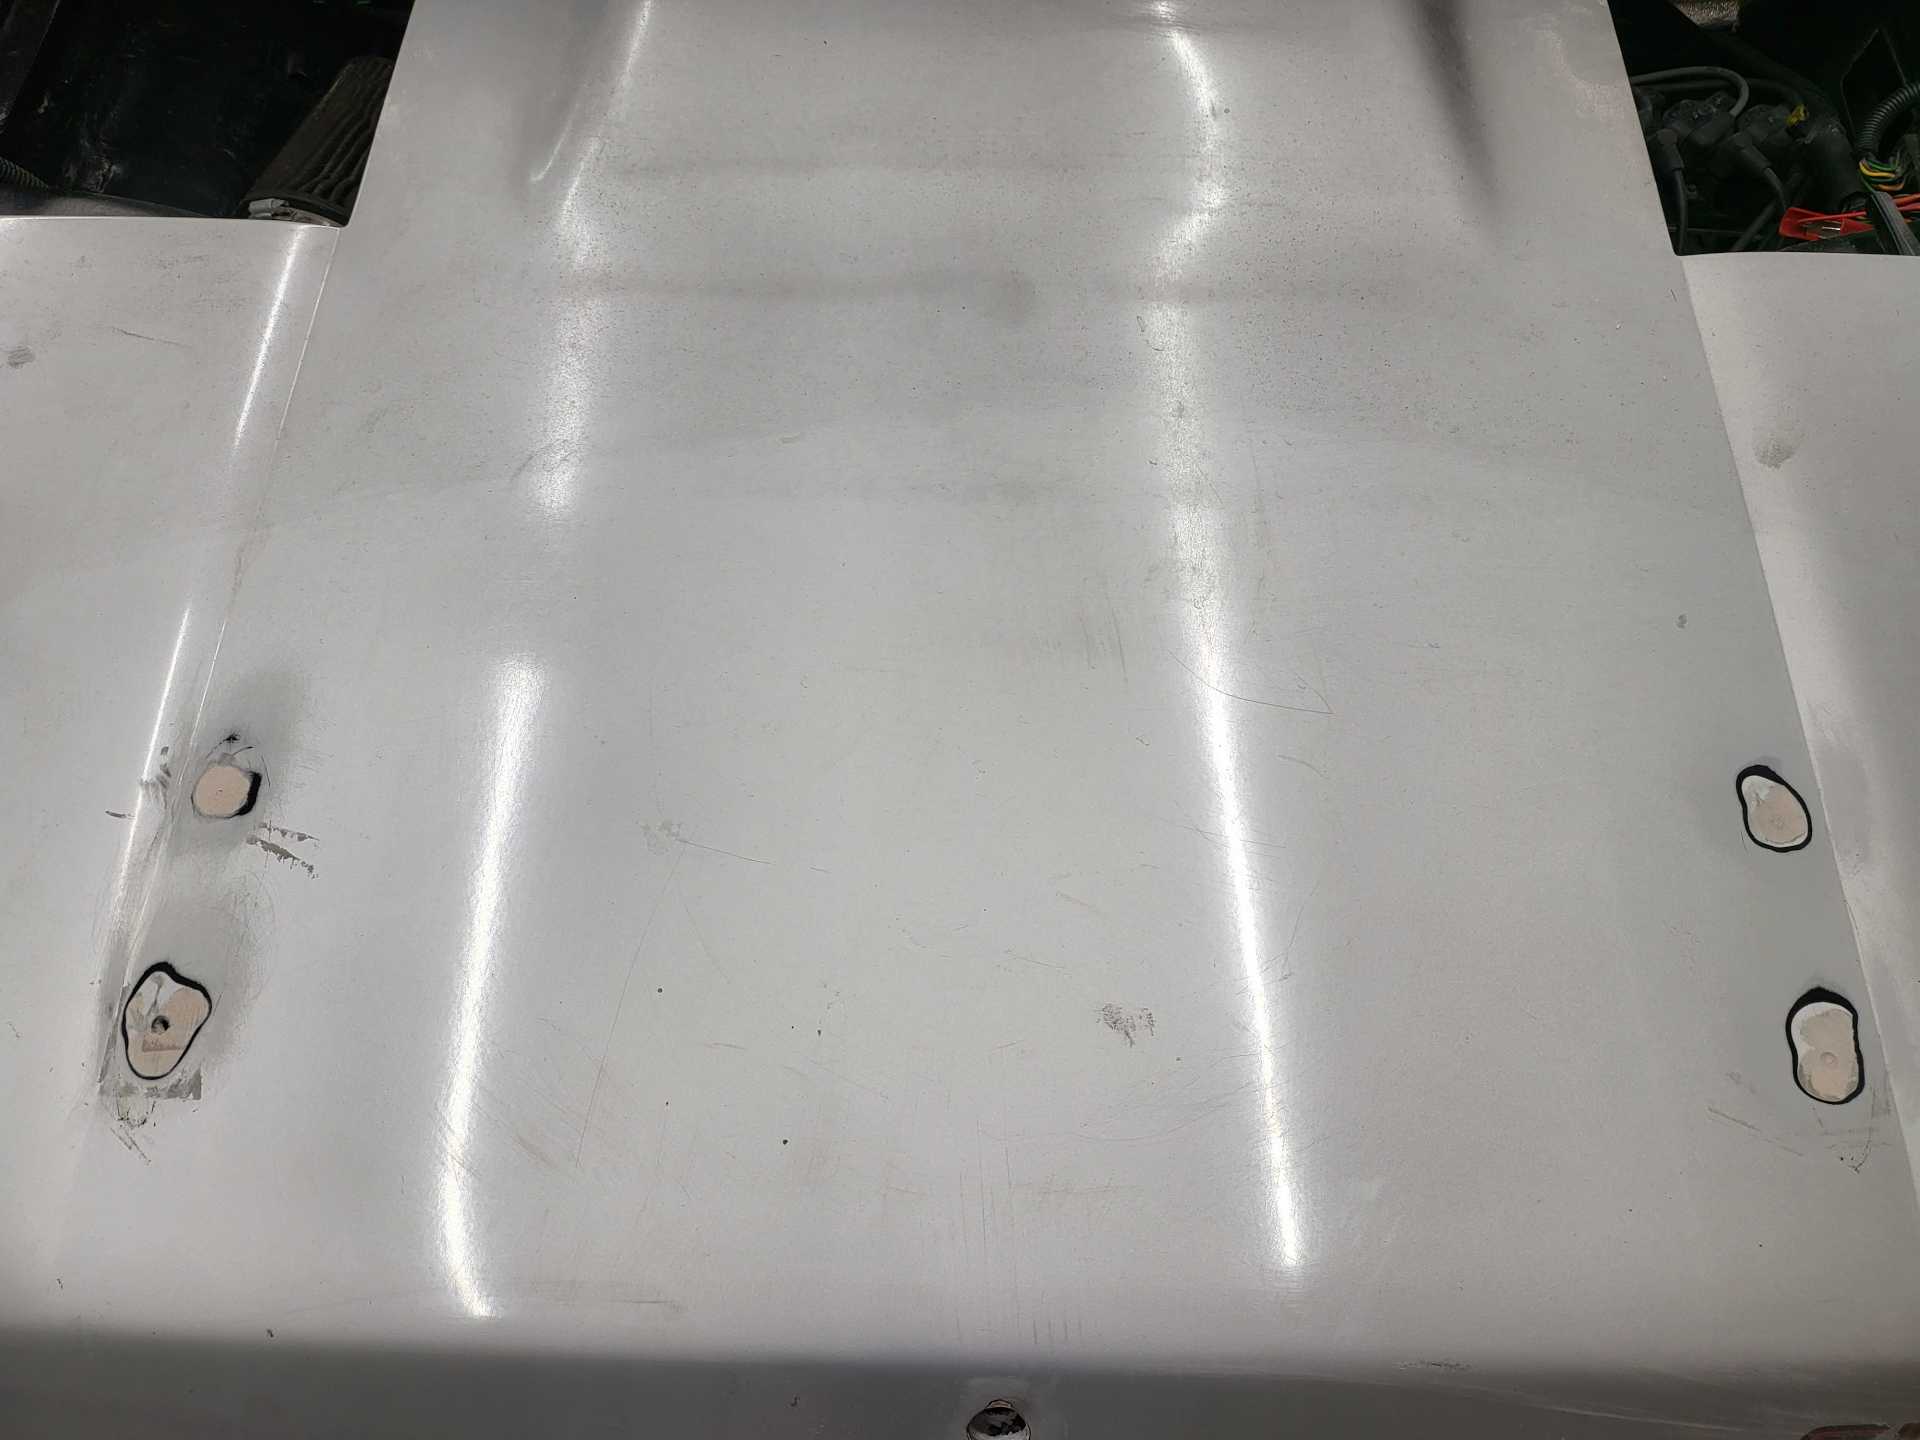
What is happening now is I am preparing all the panels for paint and installing an AusFiero Stage II body kit. First I am repairing all the damage the car has accumulated and ensuring the whole car will be sanded smoothed and primed prior to painting. All panels will be removed except for the roof panel as I am not interested in removing it.
The plan is to paint the car "Watkins Glen Gray" with midnight black lower rockers.
I will try to keep this organized as I go detailing all my steps. I will follow up shortly with the next post with what has been done already.
As the car looks now:
 [This message has been edited by Matthew_Fiero (edited 07-24-2024).]
|
|

|
Matthew_Fiero
|
JUL 15, 12:39 PM
|
|
|
|
|
Matthew_Fiero
|
JUL 15, 12:48 PM
|
|
|
|
|
82-T/A [At Work]
|
JUL 15, 01:58 PM
|
|
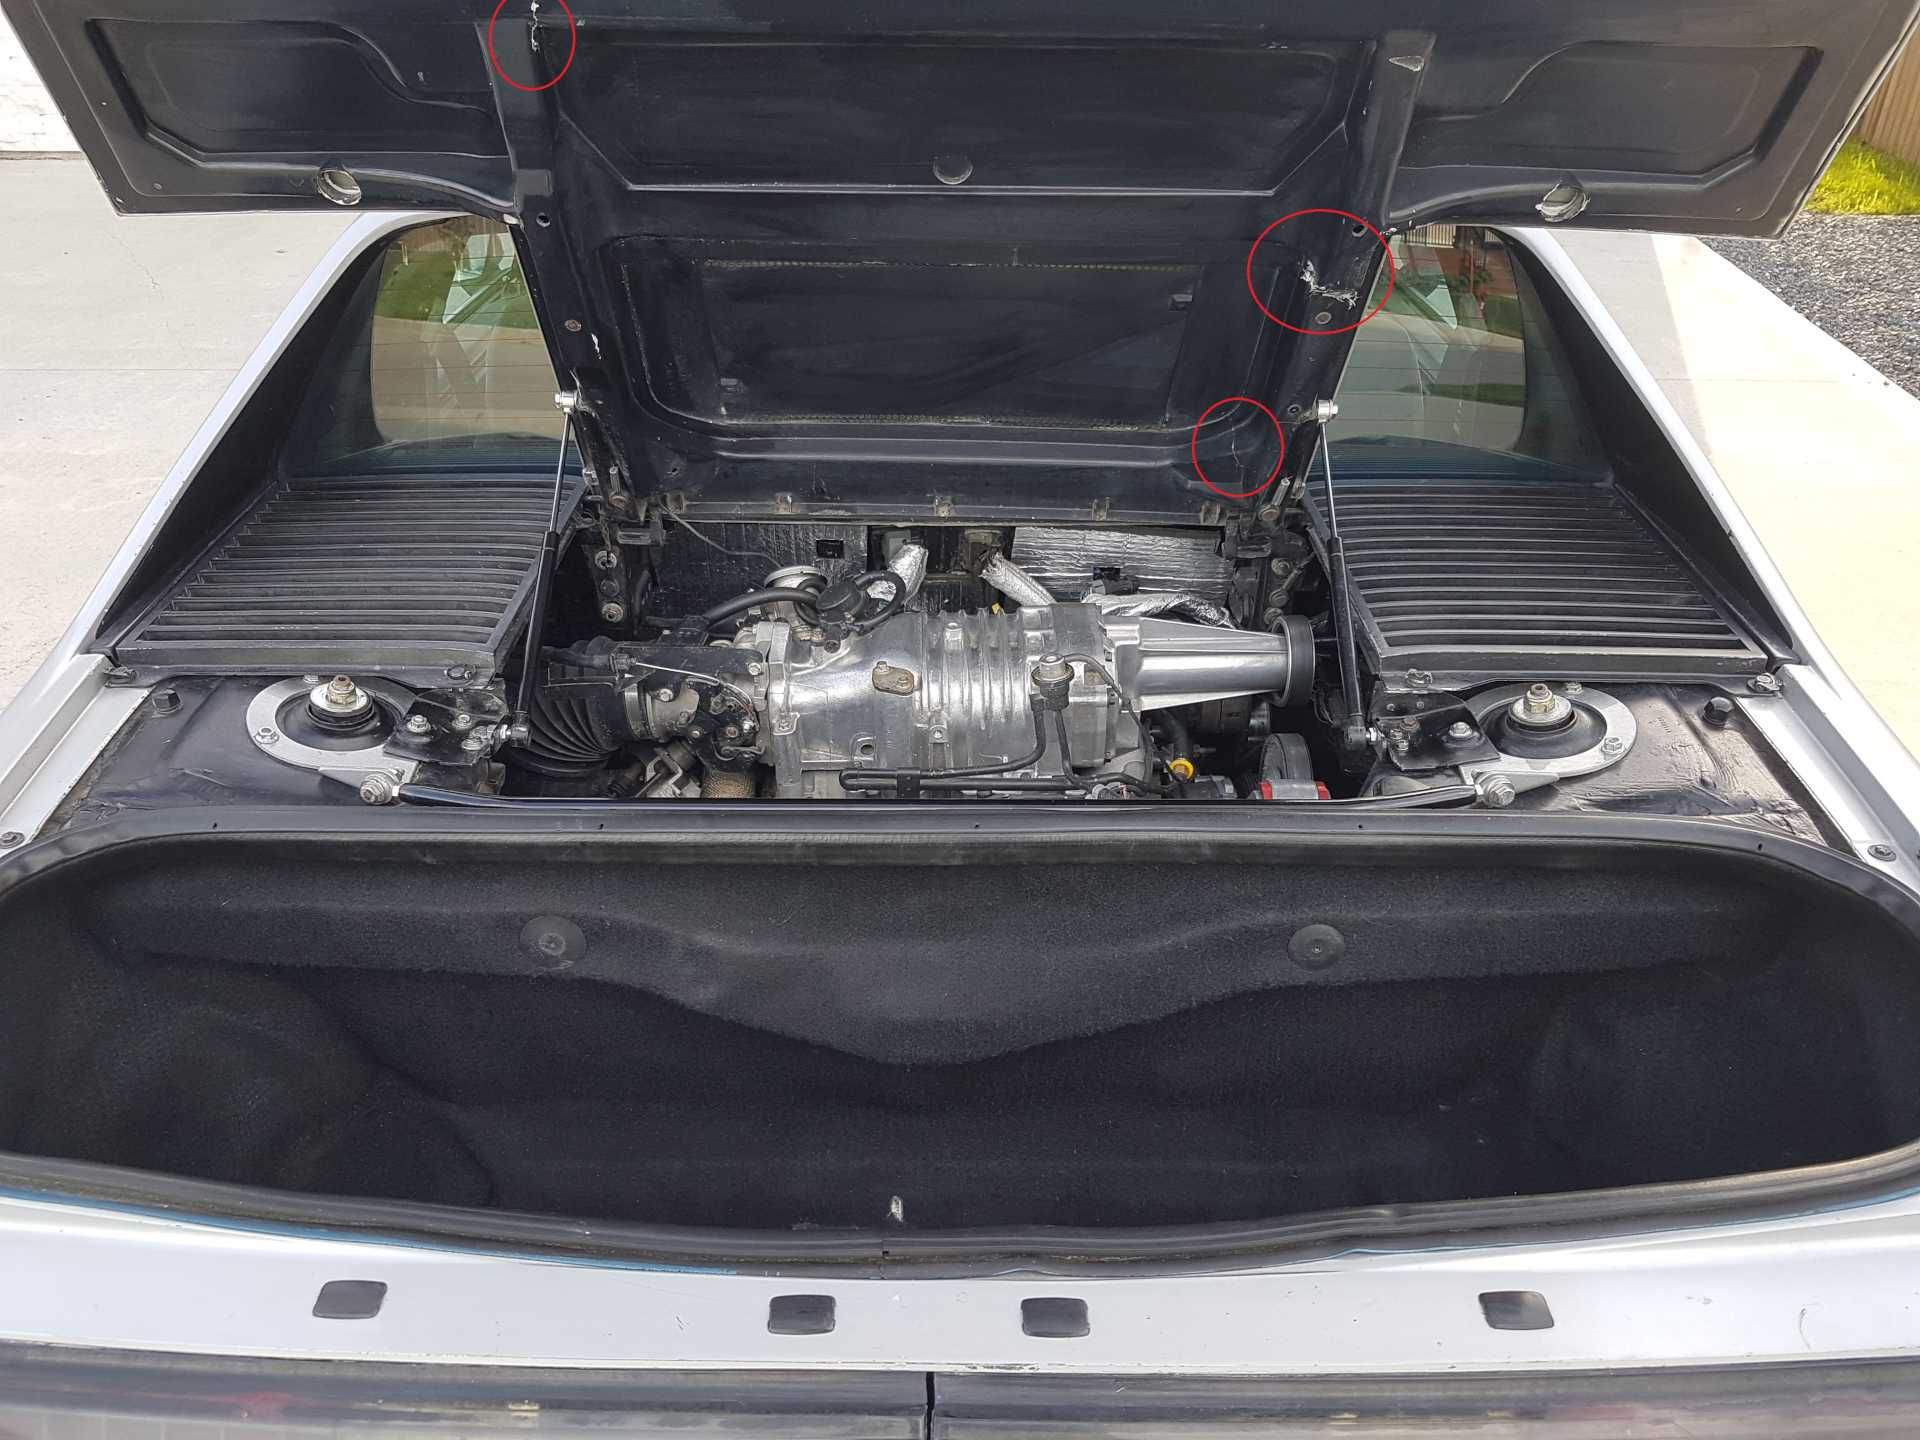
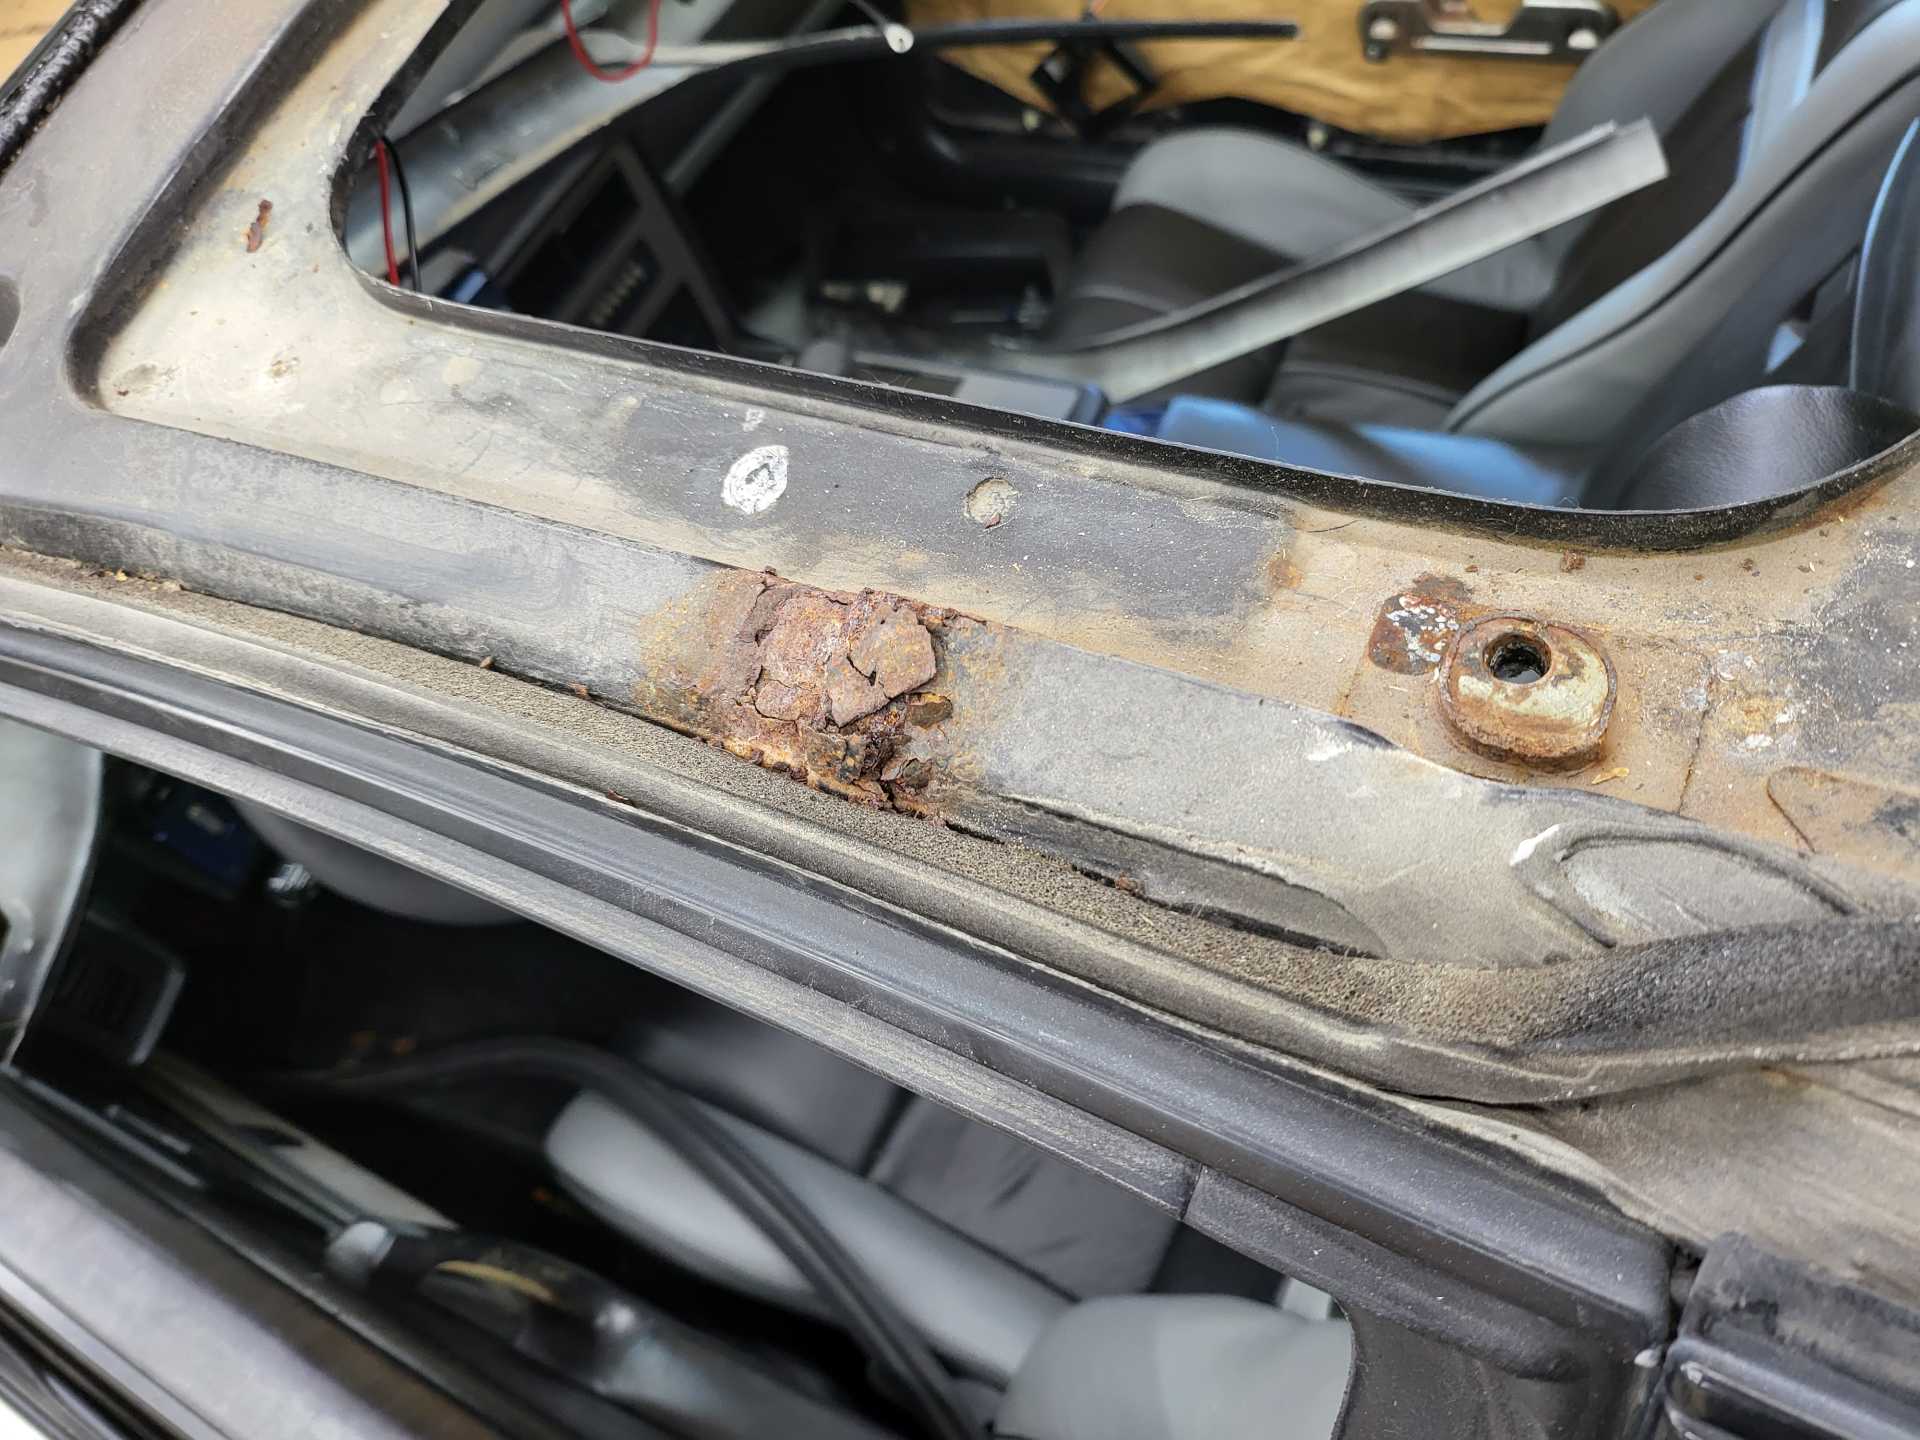
| quote | Originally posted by Matthew_Fiero:
|
|
Oh **** ... that's some old-school 2nd-Gen TransAm rust right there. At least it's not in an area that you can see, but you'll definitely want to fix that since it'll make your car's interior miserable.
The only thing I'd suggest out of all of this is... fiberglass of course is easy to repair... but that rear bumper will never be the same with a repair. It'll eventually flex and contort to the point where you'll see a depression in there.
The rear GT / SE Aero bumpers are common enough that... unless you're concerned about matching VIN stickers... (that might have not even started until 87), then you'd be better off swapping out the rear bumper when you do the paint work.
I have the same issue as you with the fiberglass decklid on my daughter's car. Curious to see how you not only fix it, but shore it up...
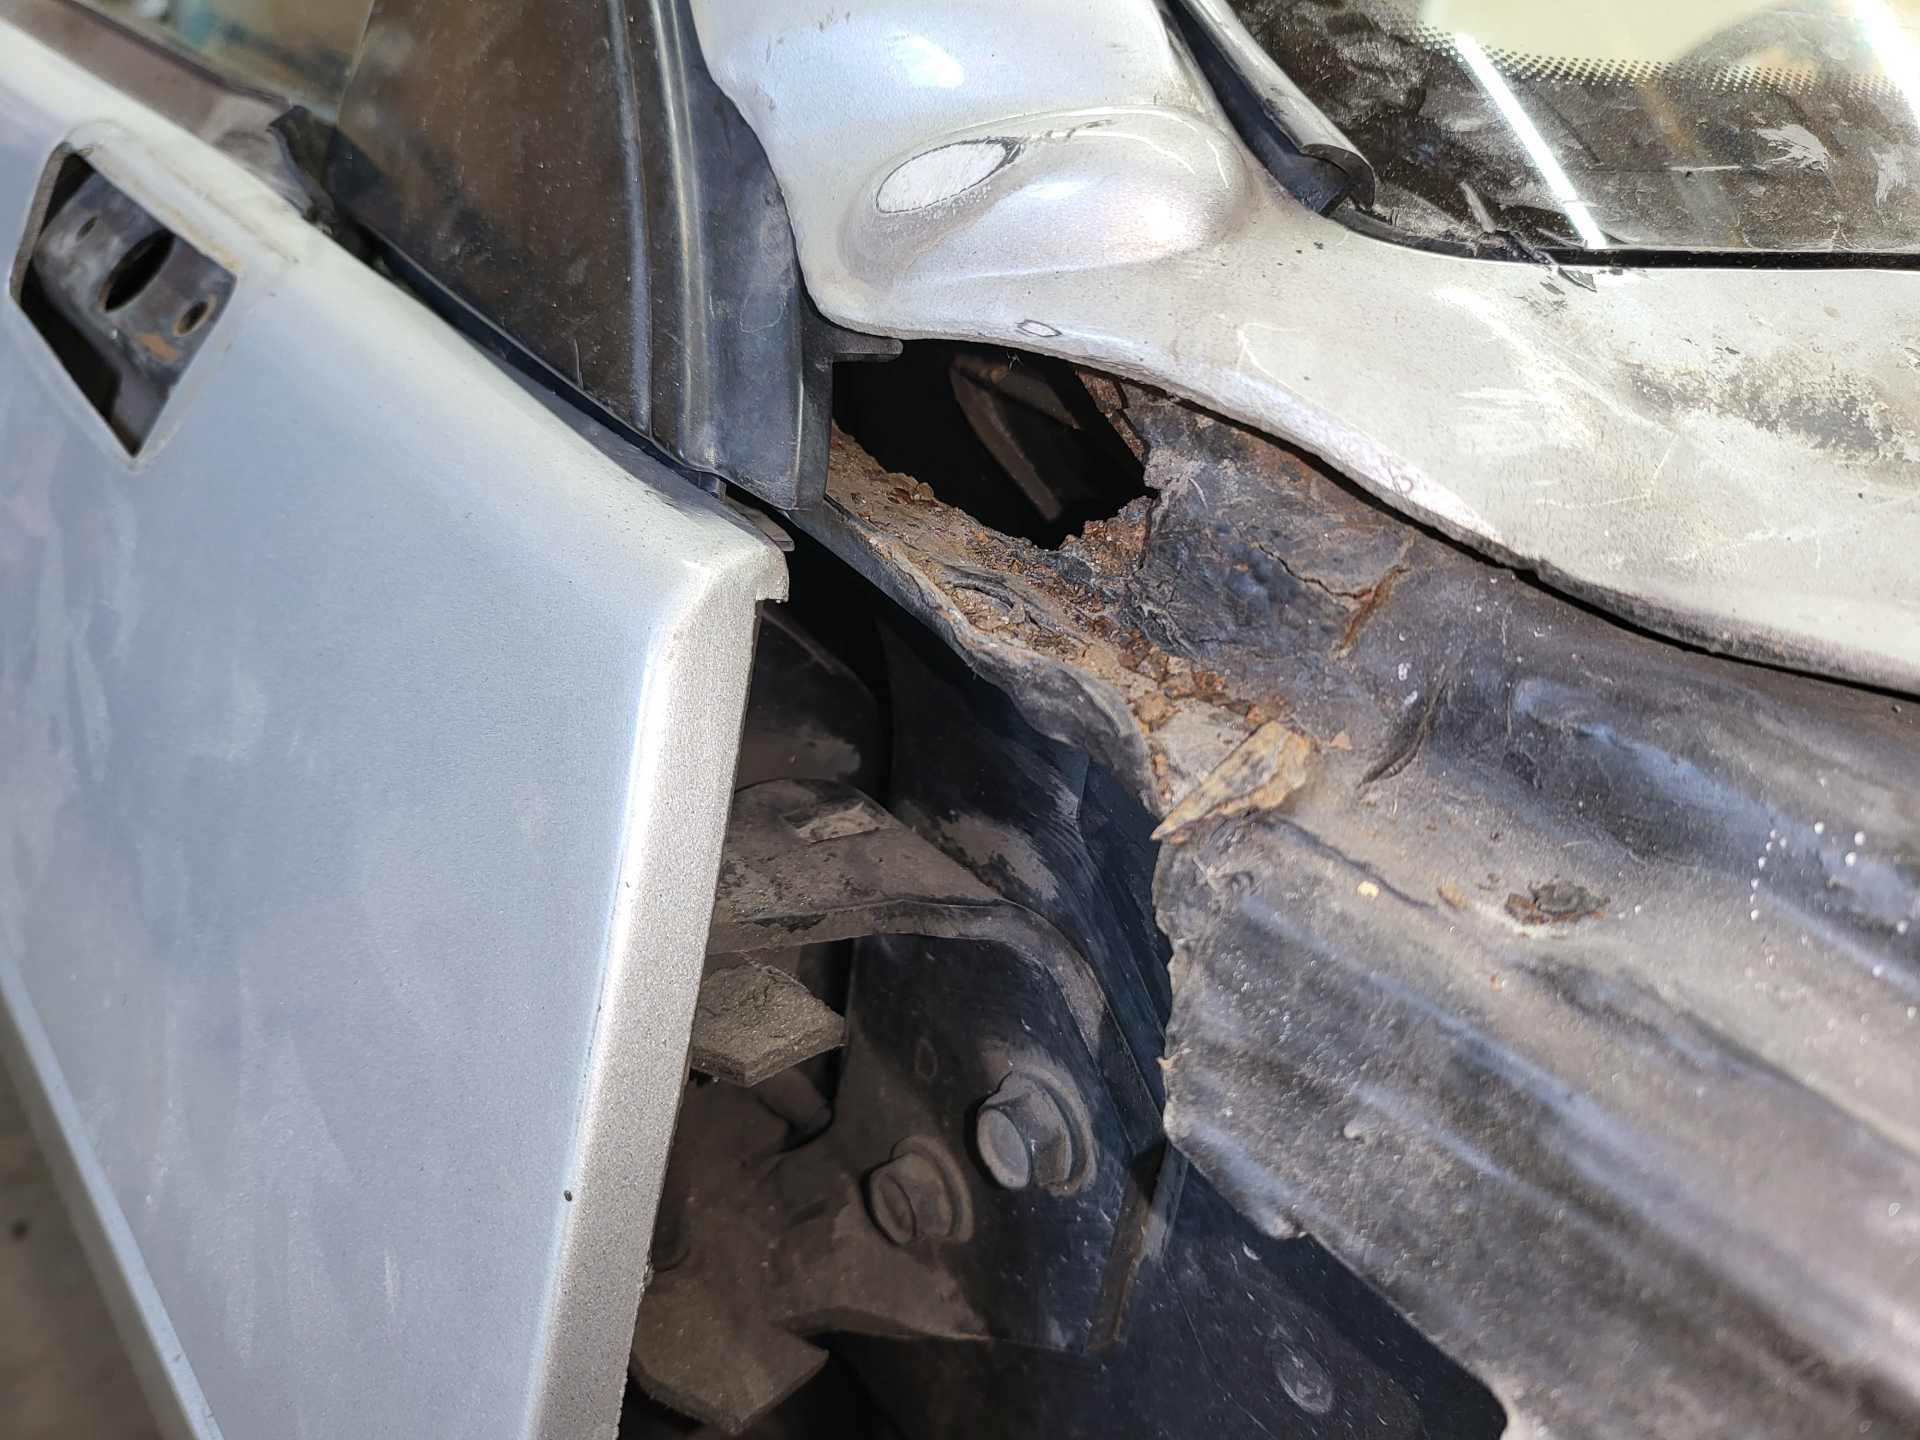
EDIT: Have you looked in the upper-rear frame rails? That's an area that usually gets pretty bad on these cars.[This message has been edited by 82-T/A [At Work] (edited 07-15-2024).]
|
|
|
|
Matthew_Fiero
|
JUL 15, 02:41 PM
|
|
|
|
|
Matthew_Fiero
|
JUL 15, 03:01 PM
|
|
| quote | Originally posted by 82-T/A [At Work]:
Oh **** ... that's some old-school 2nd-Gen TransAm rust right there. At least it's not in an area that you can see, but you'll definitely want to fix that since it'll make your car's interior miserable.
The only thing I'd suggest out of all of this is... fiberglass of course is easy to repair... but that rear bumper will never be the same with a repair. It'll eventually flex and contort to the point where you'll see a depression in there.
The rear GT / SE Aero bumpers are common enough that... unless you're concerned about matching VIN stickers... (that might have not even started until 87), then you'd be better off swapping out the rear bumper when you do the paint work.
I have the same issue as you with the fiberglass decklid on my daughter's car. Curious to see how you not only fix it, but shore it up...
EDIT: Have you looked in the upper-rear frame rails? That's an area that usually gets pretty bad on these cars.
|
|
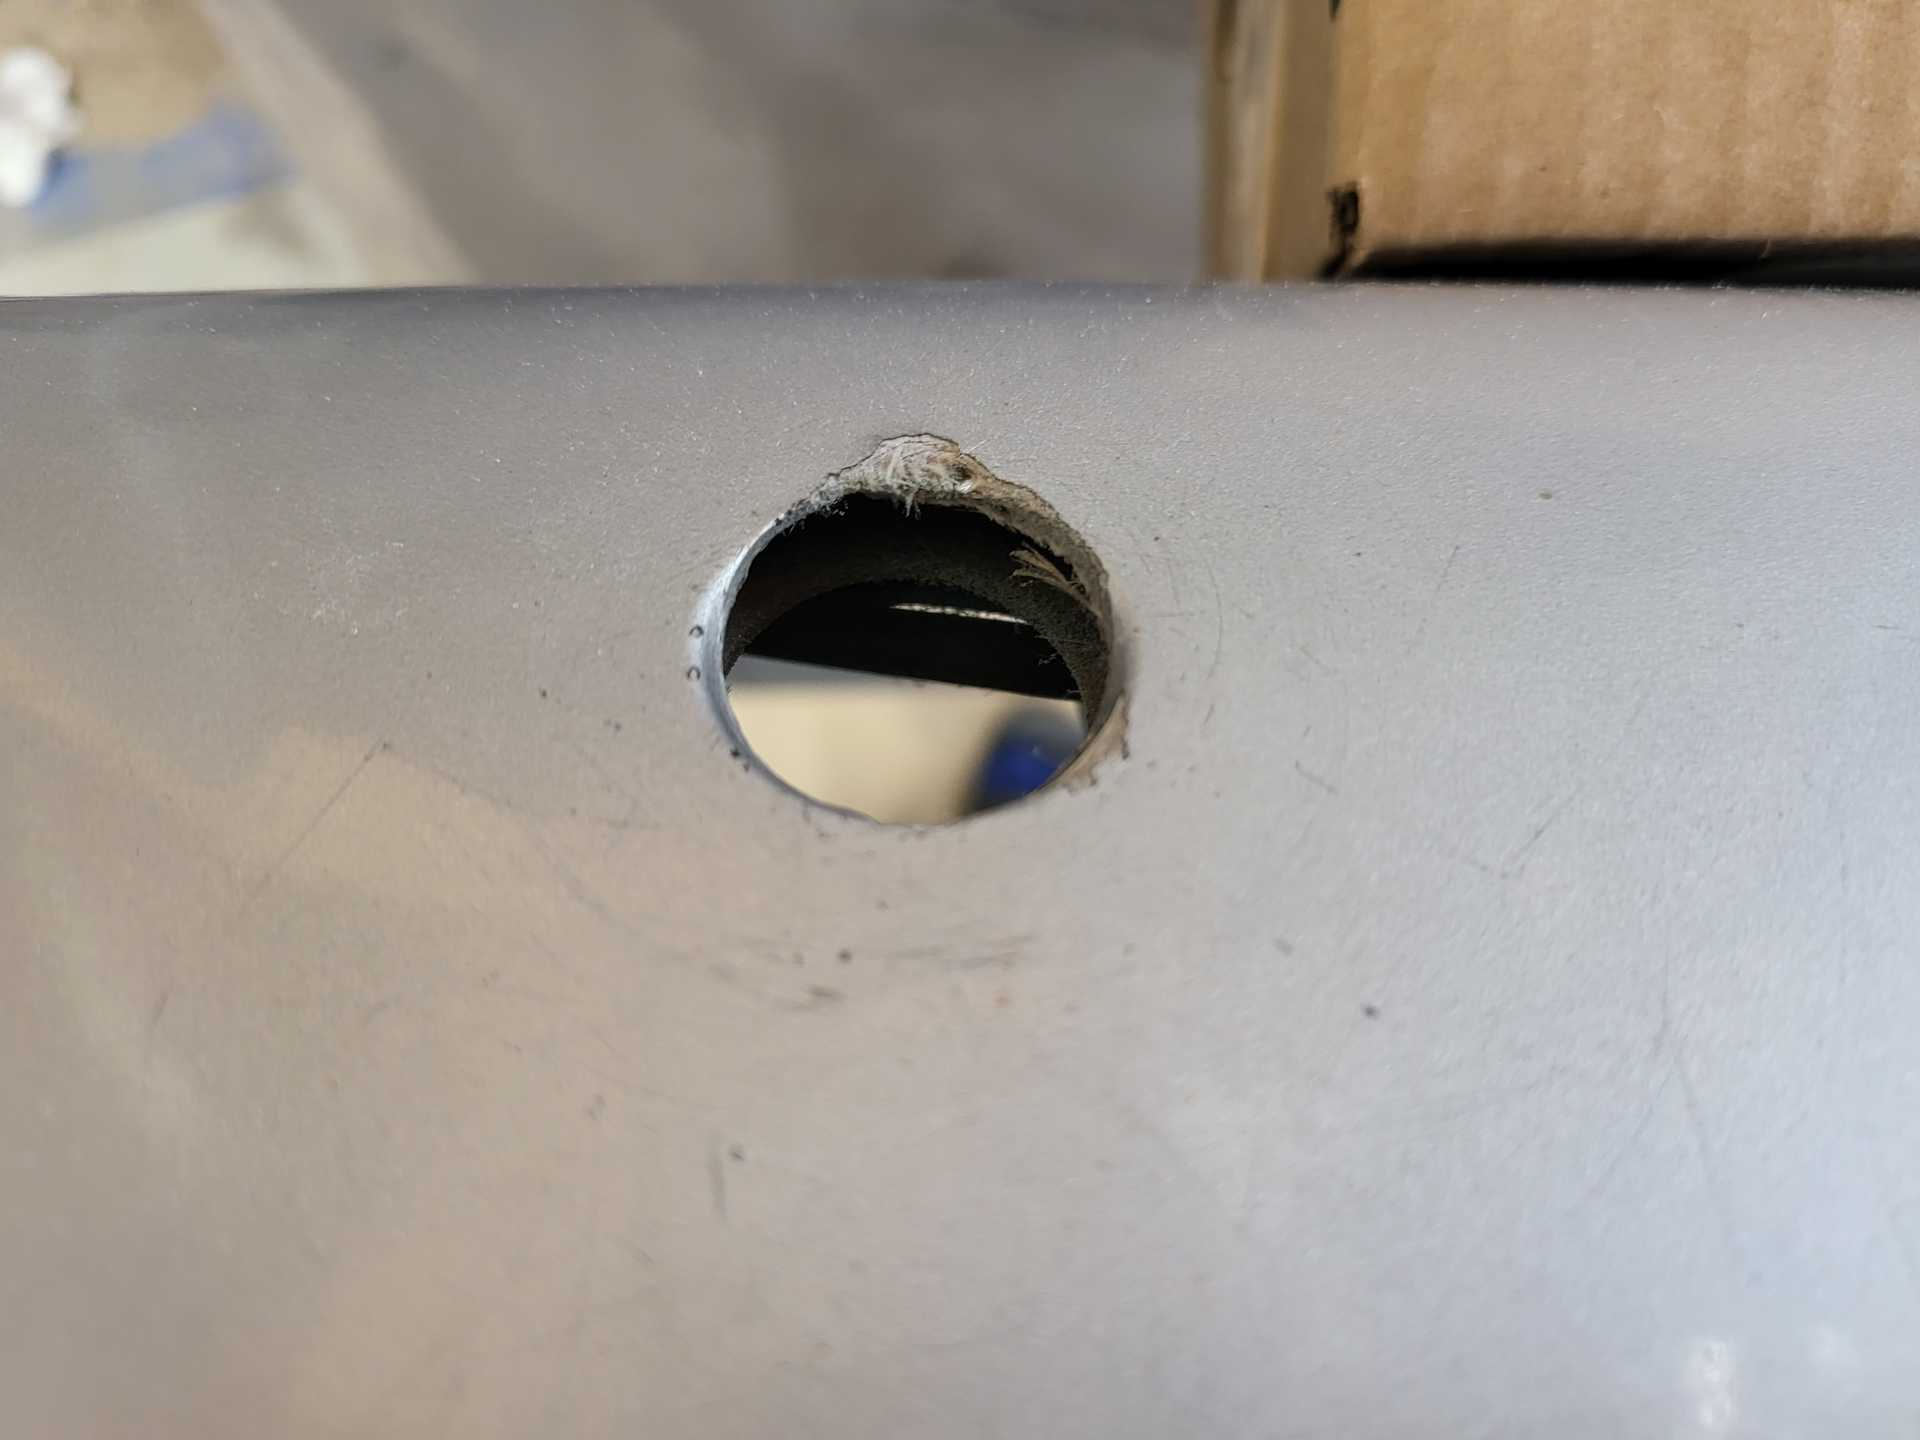
Luckily the frame rails were remade just prior to me owning the car.
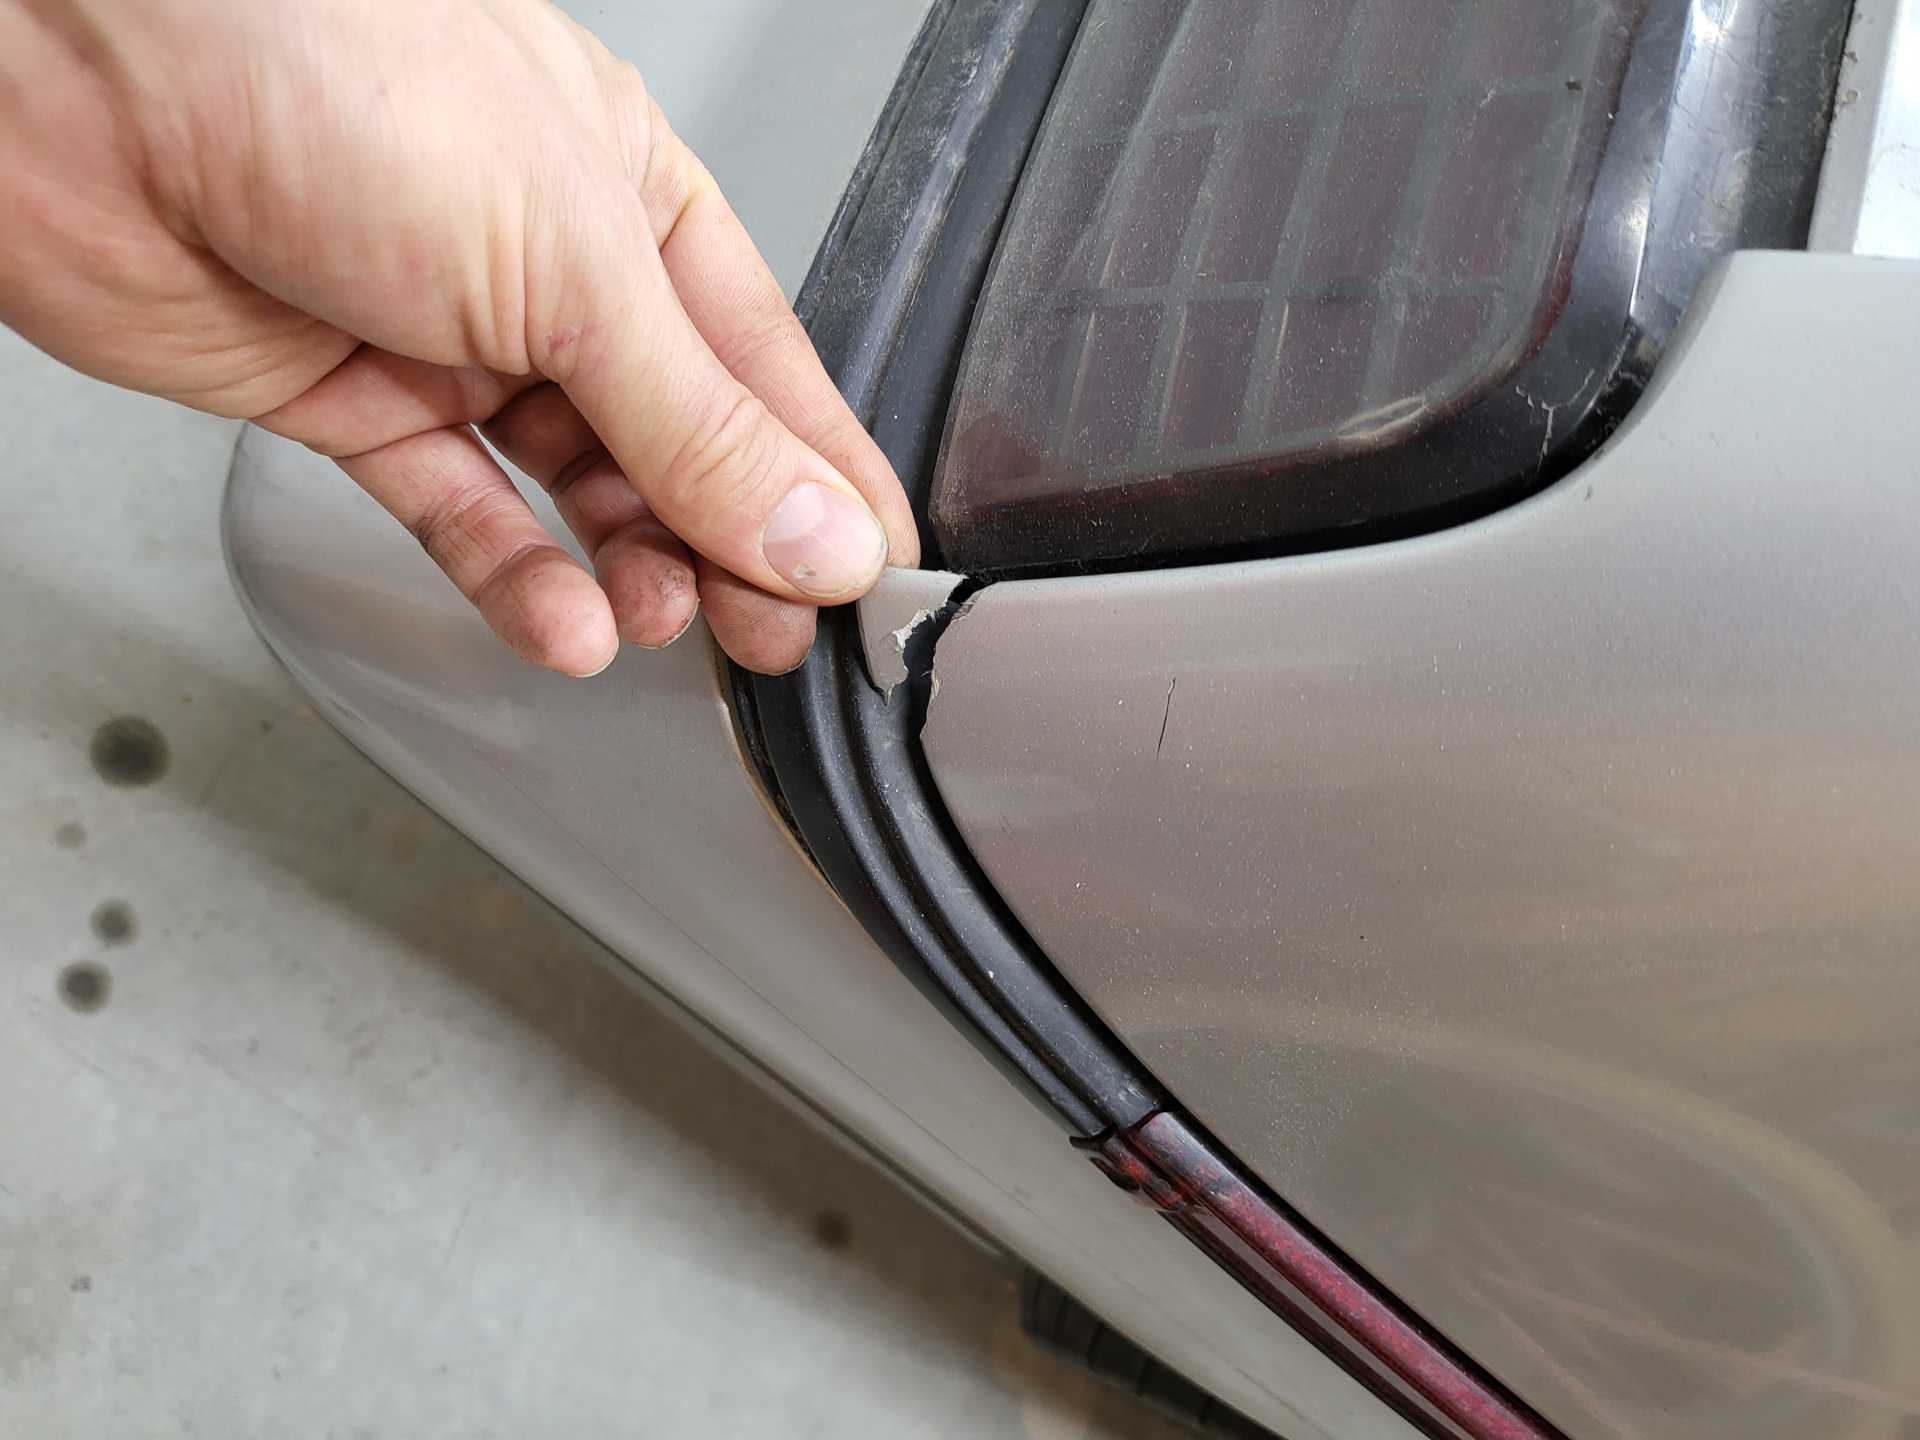
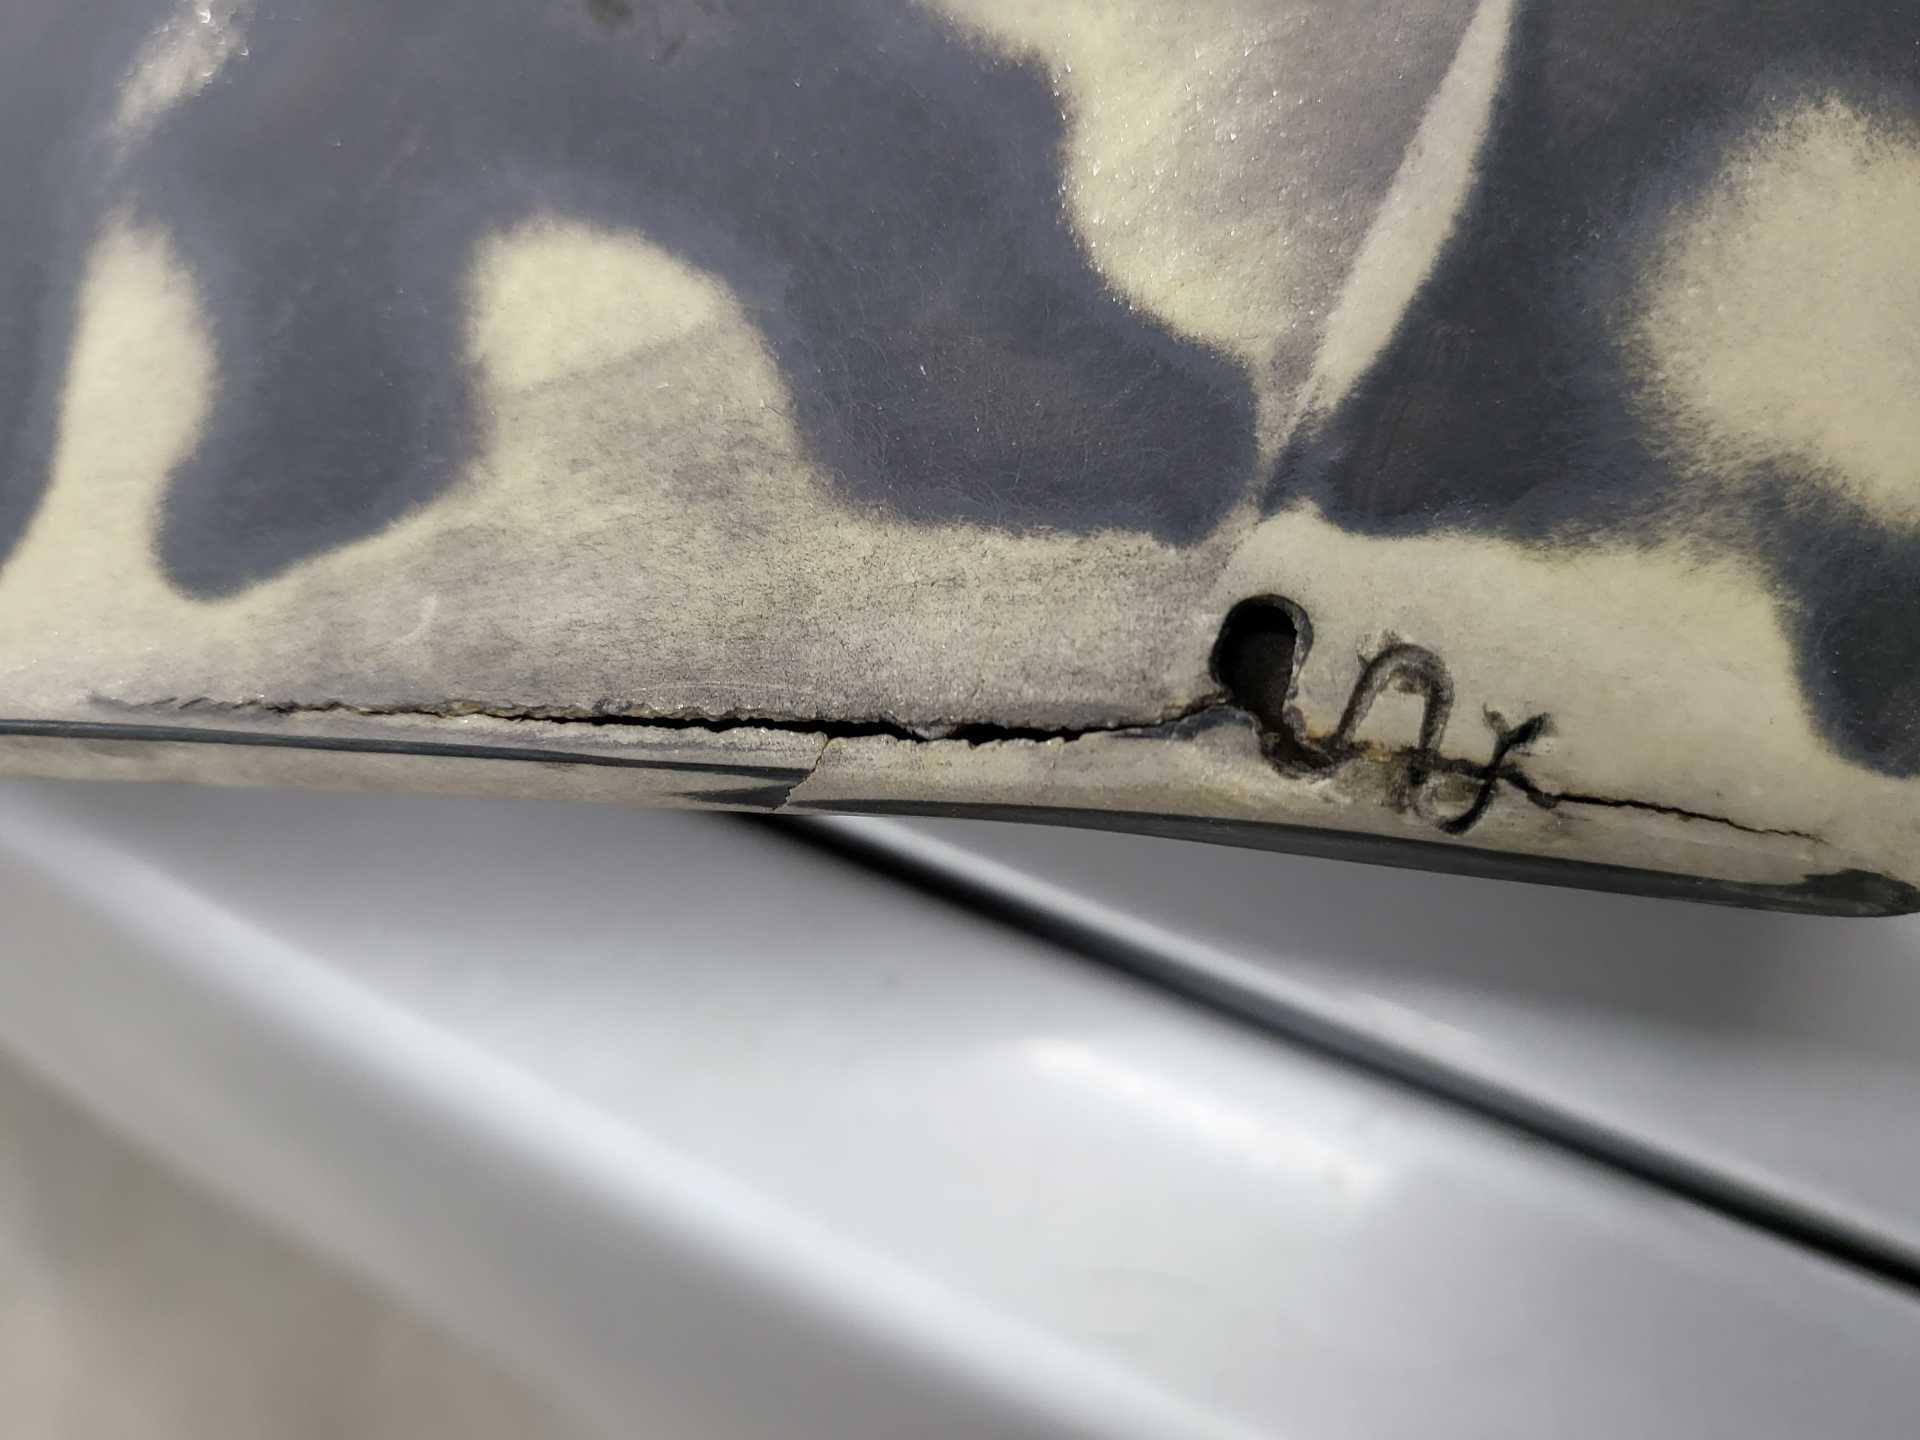
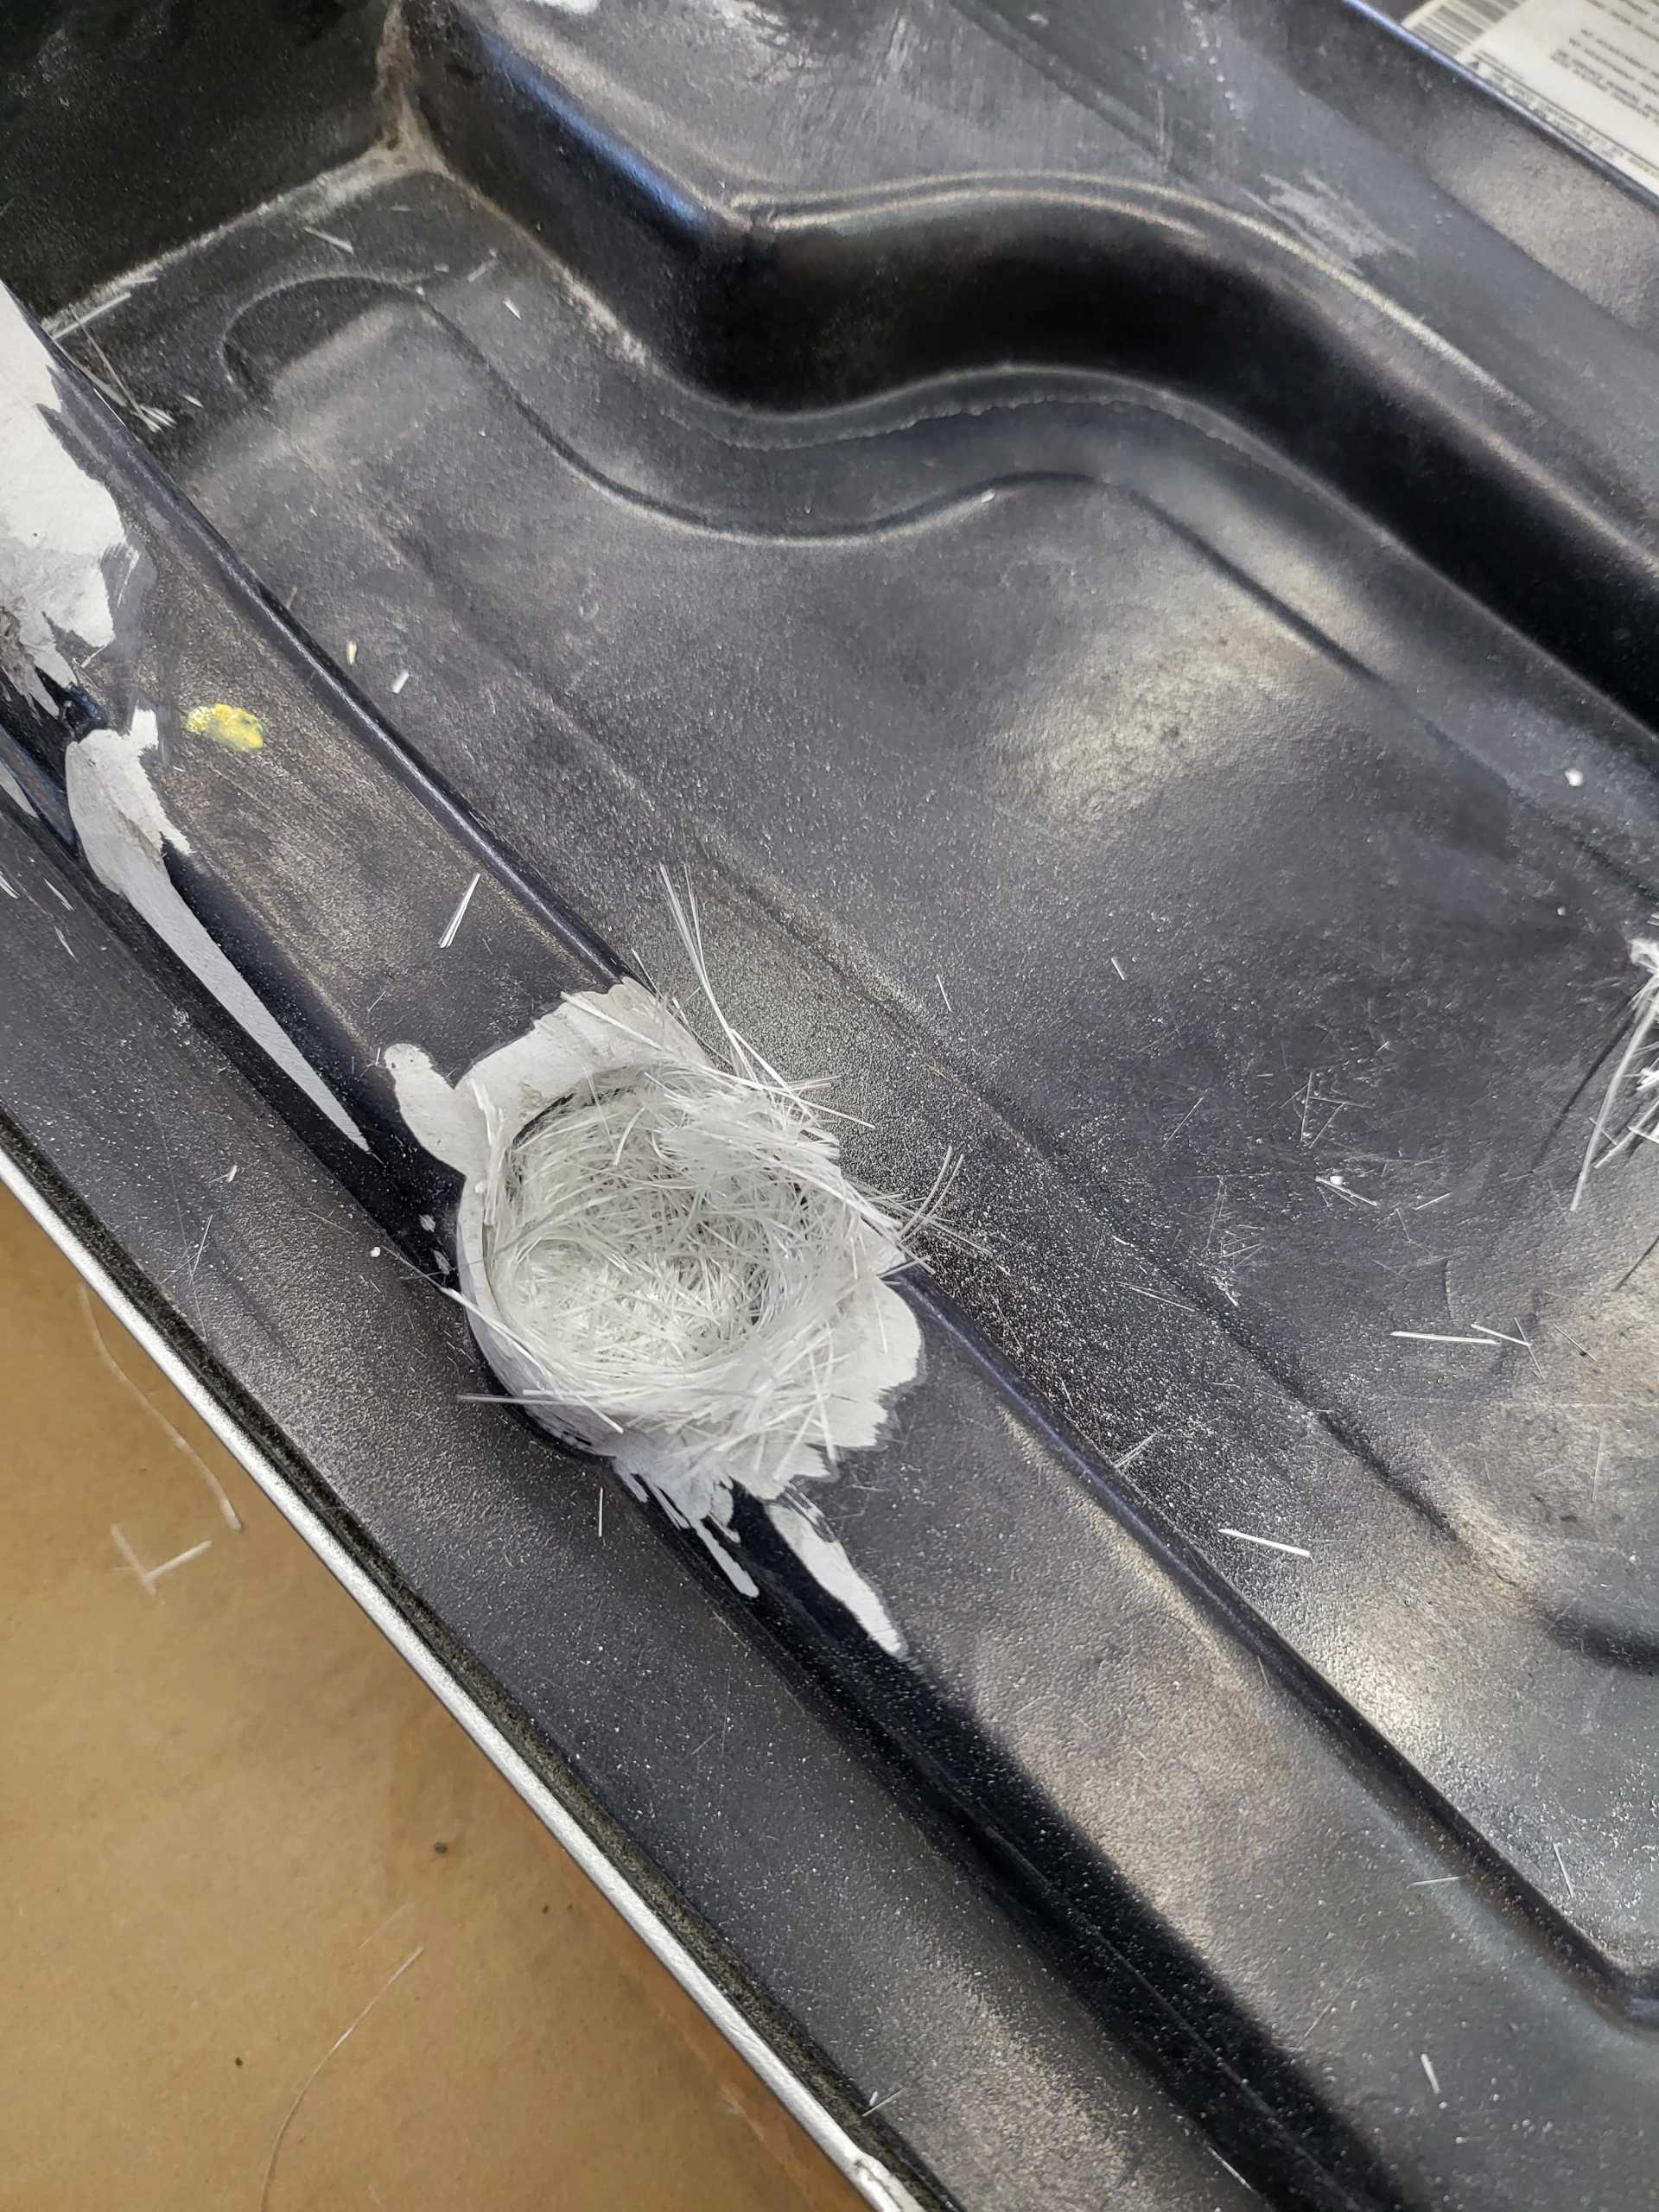
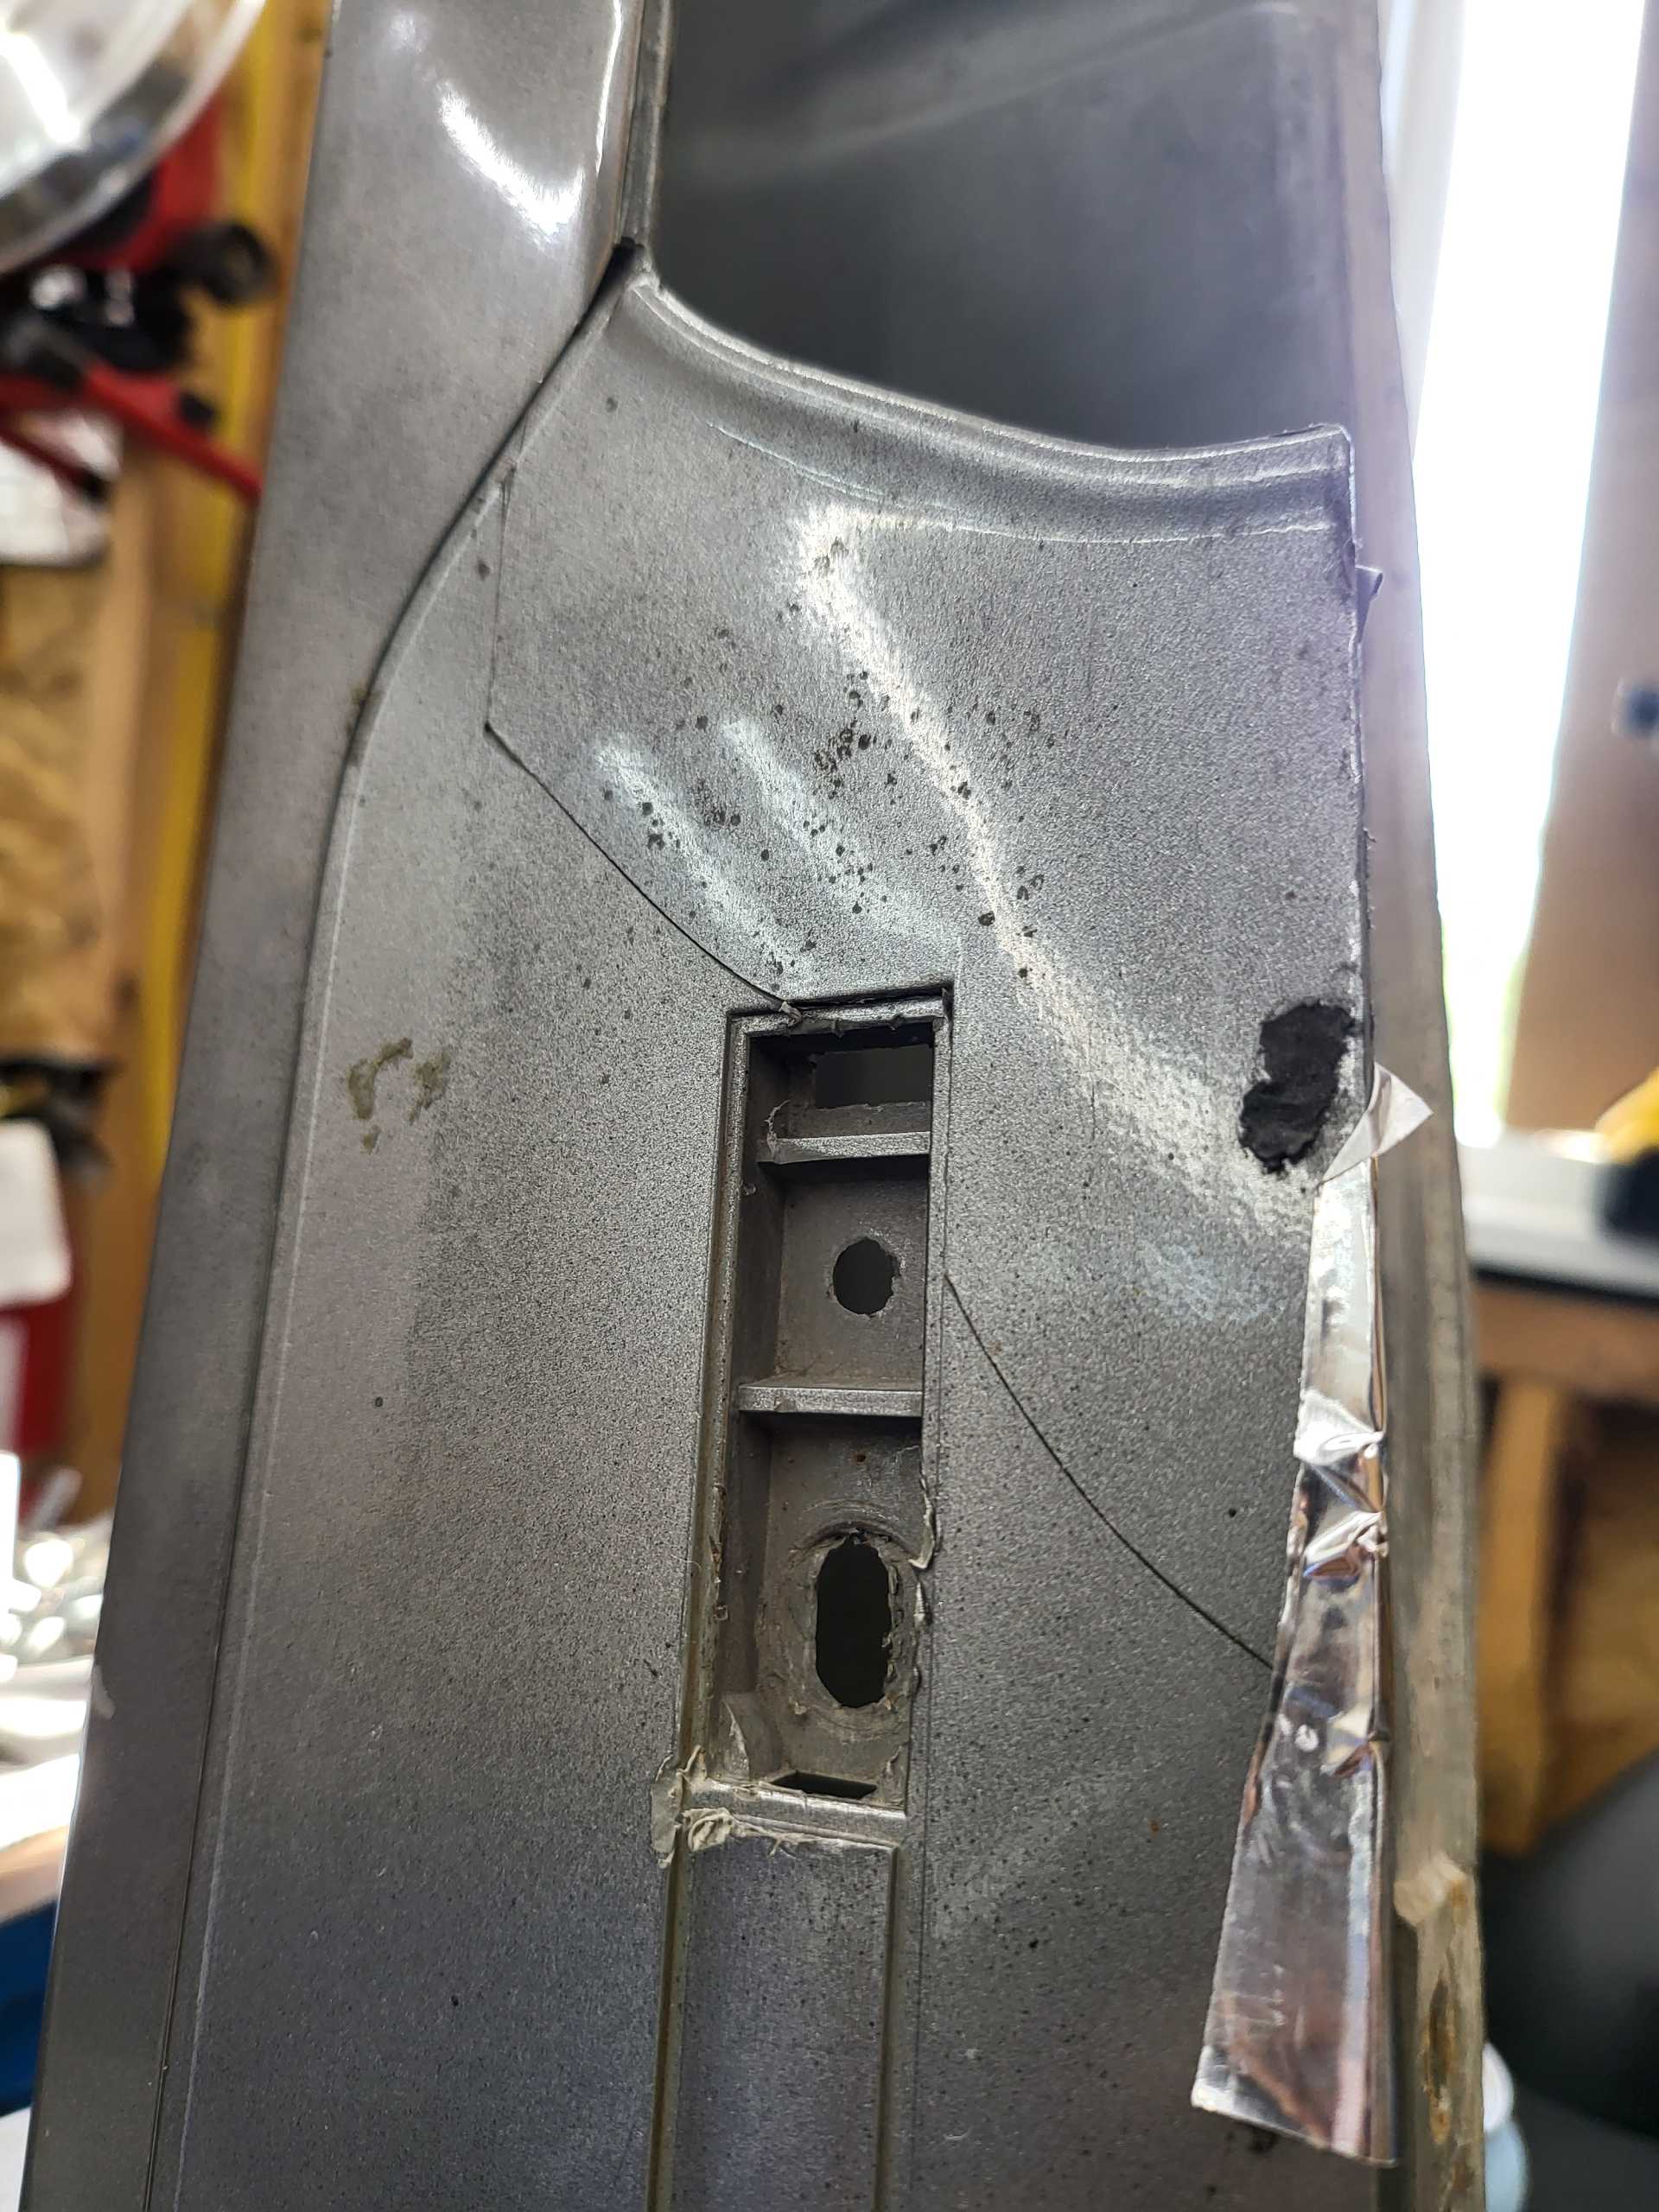
It's extremely difficult to find Fiero parts these days. I've been searching for common parts for years with no results. Example is a lower rocker or rad shroud almost impossible to find.
Speaking of which my driver side is cracked so I attempted with some of those staples to hold the crack together. I will epoxy in the staples and it should hold up. Once it's mounted on the car it shouldn't have to many stresses on it.

|
|
|
|
Matthew_Fiero
|
JUL 15, 03:04 PM
|
|
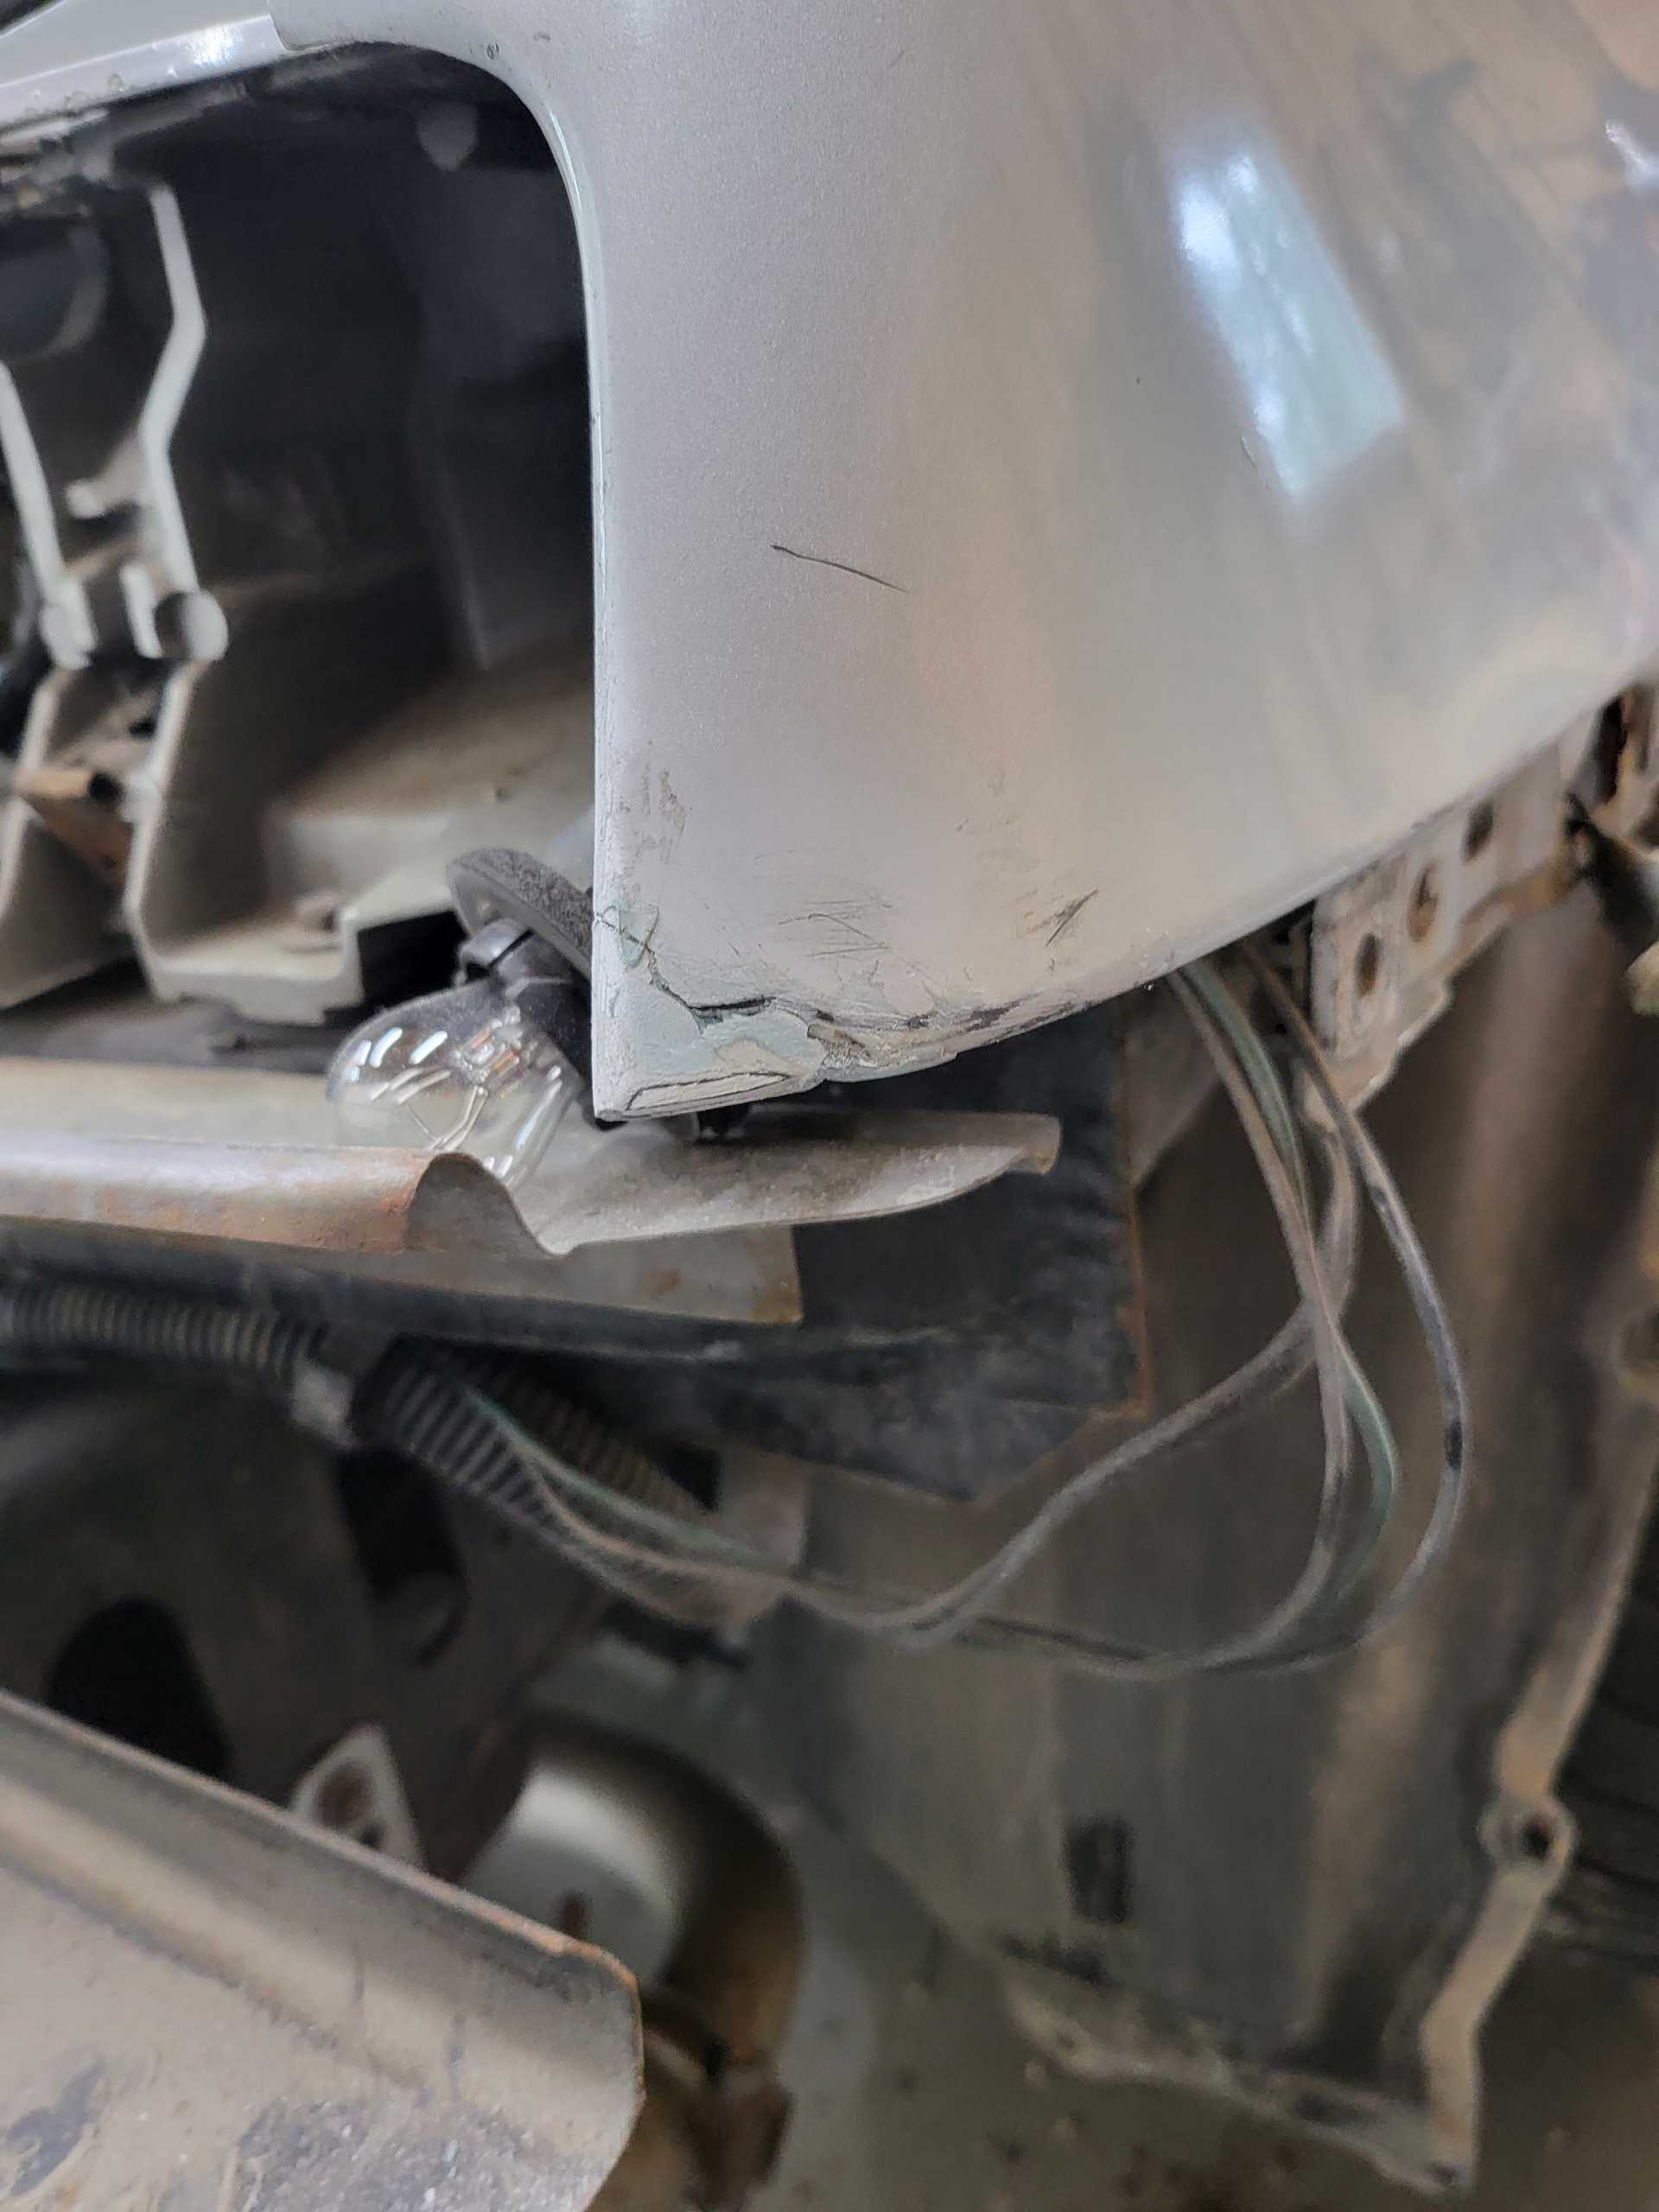
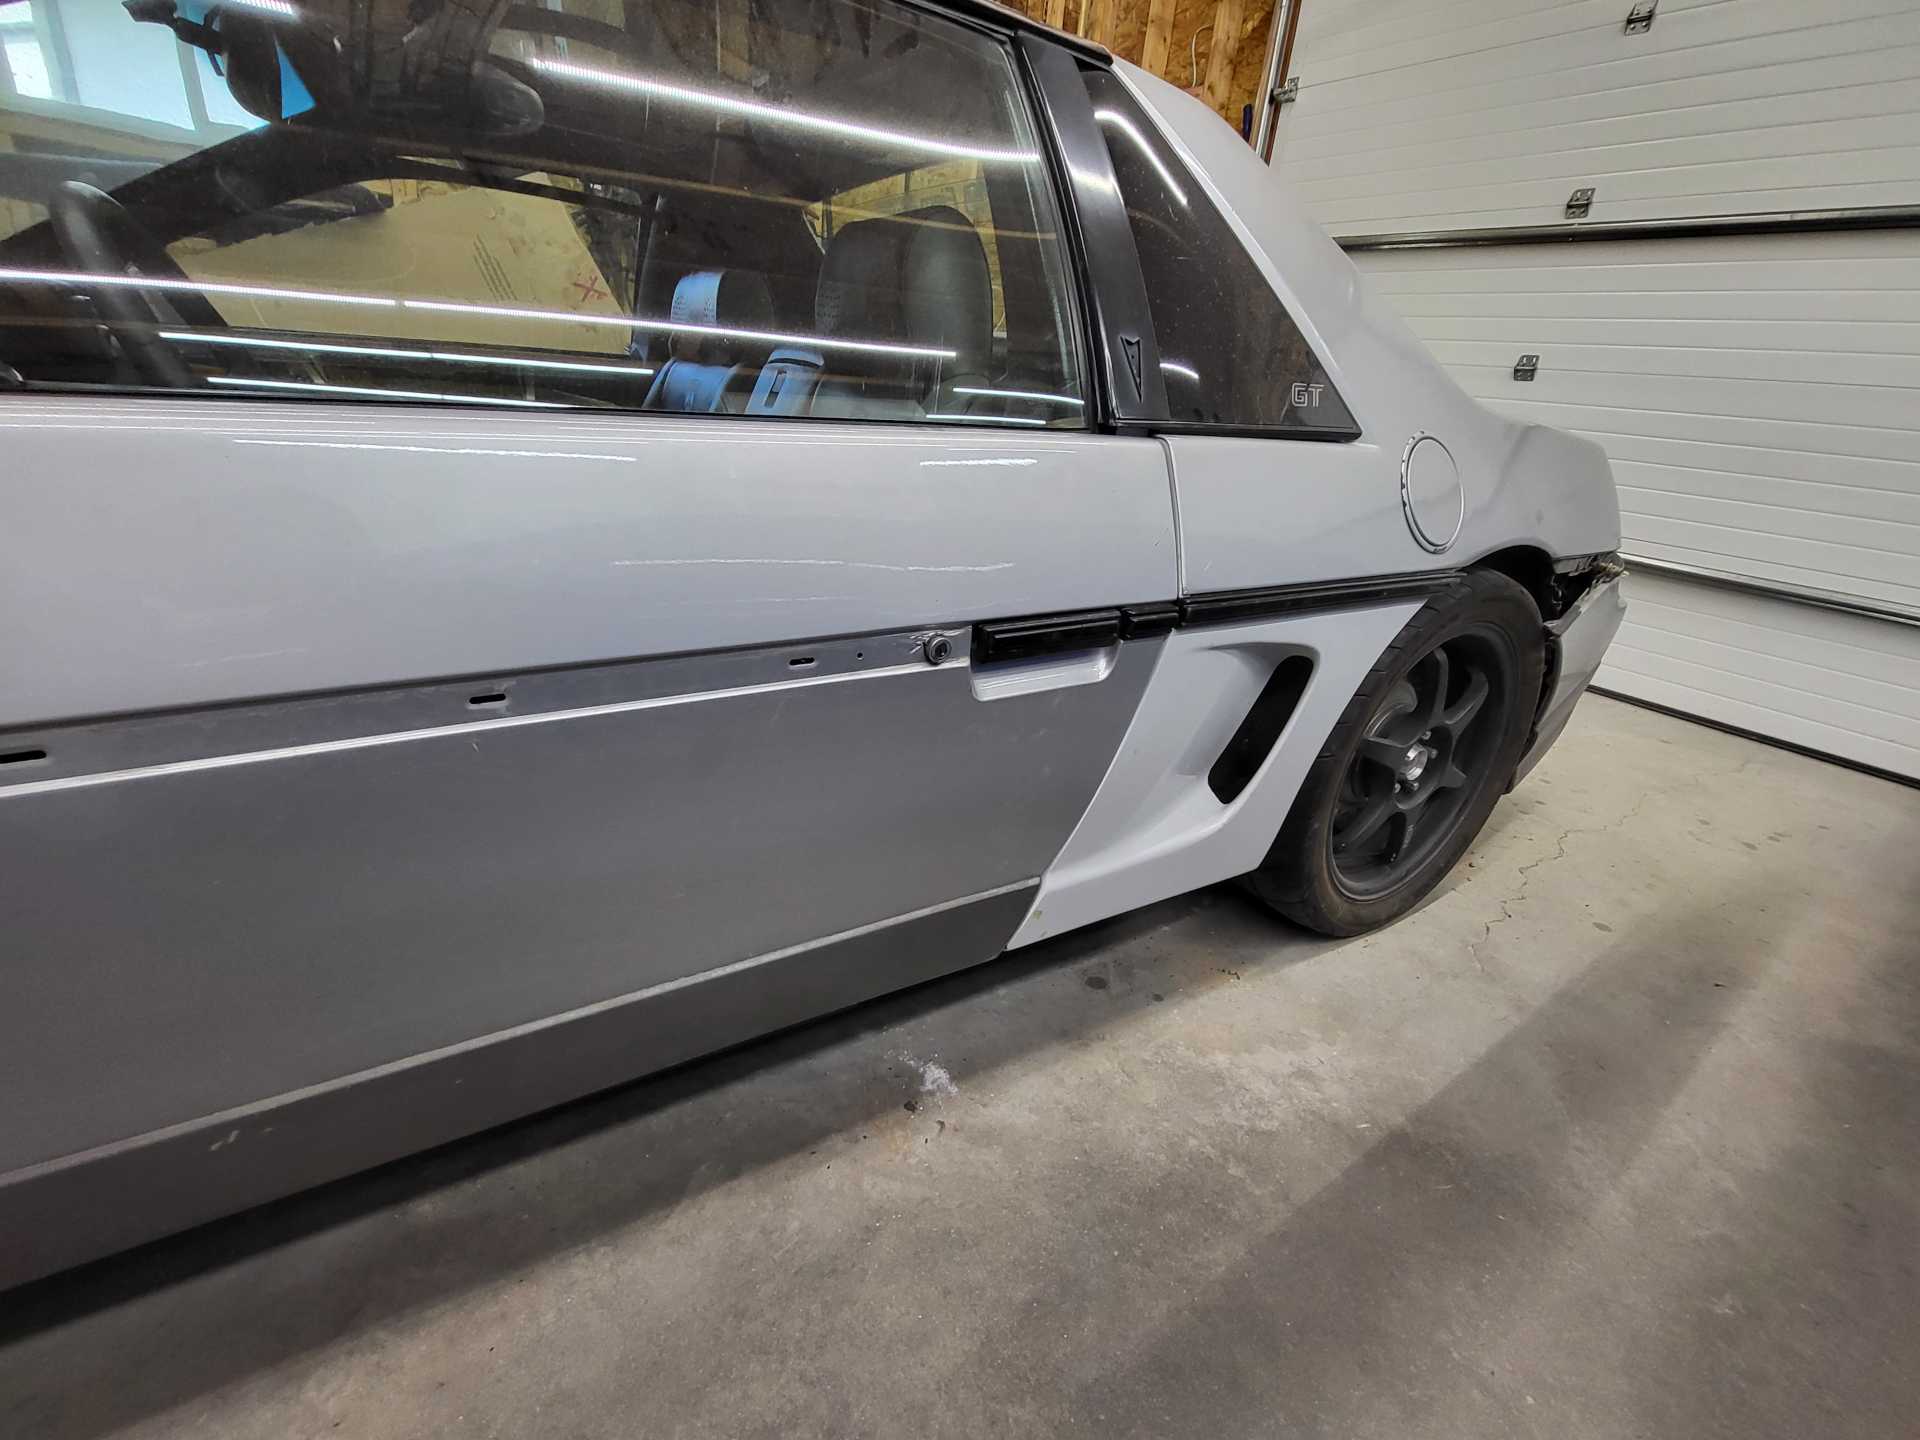
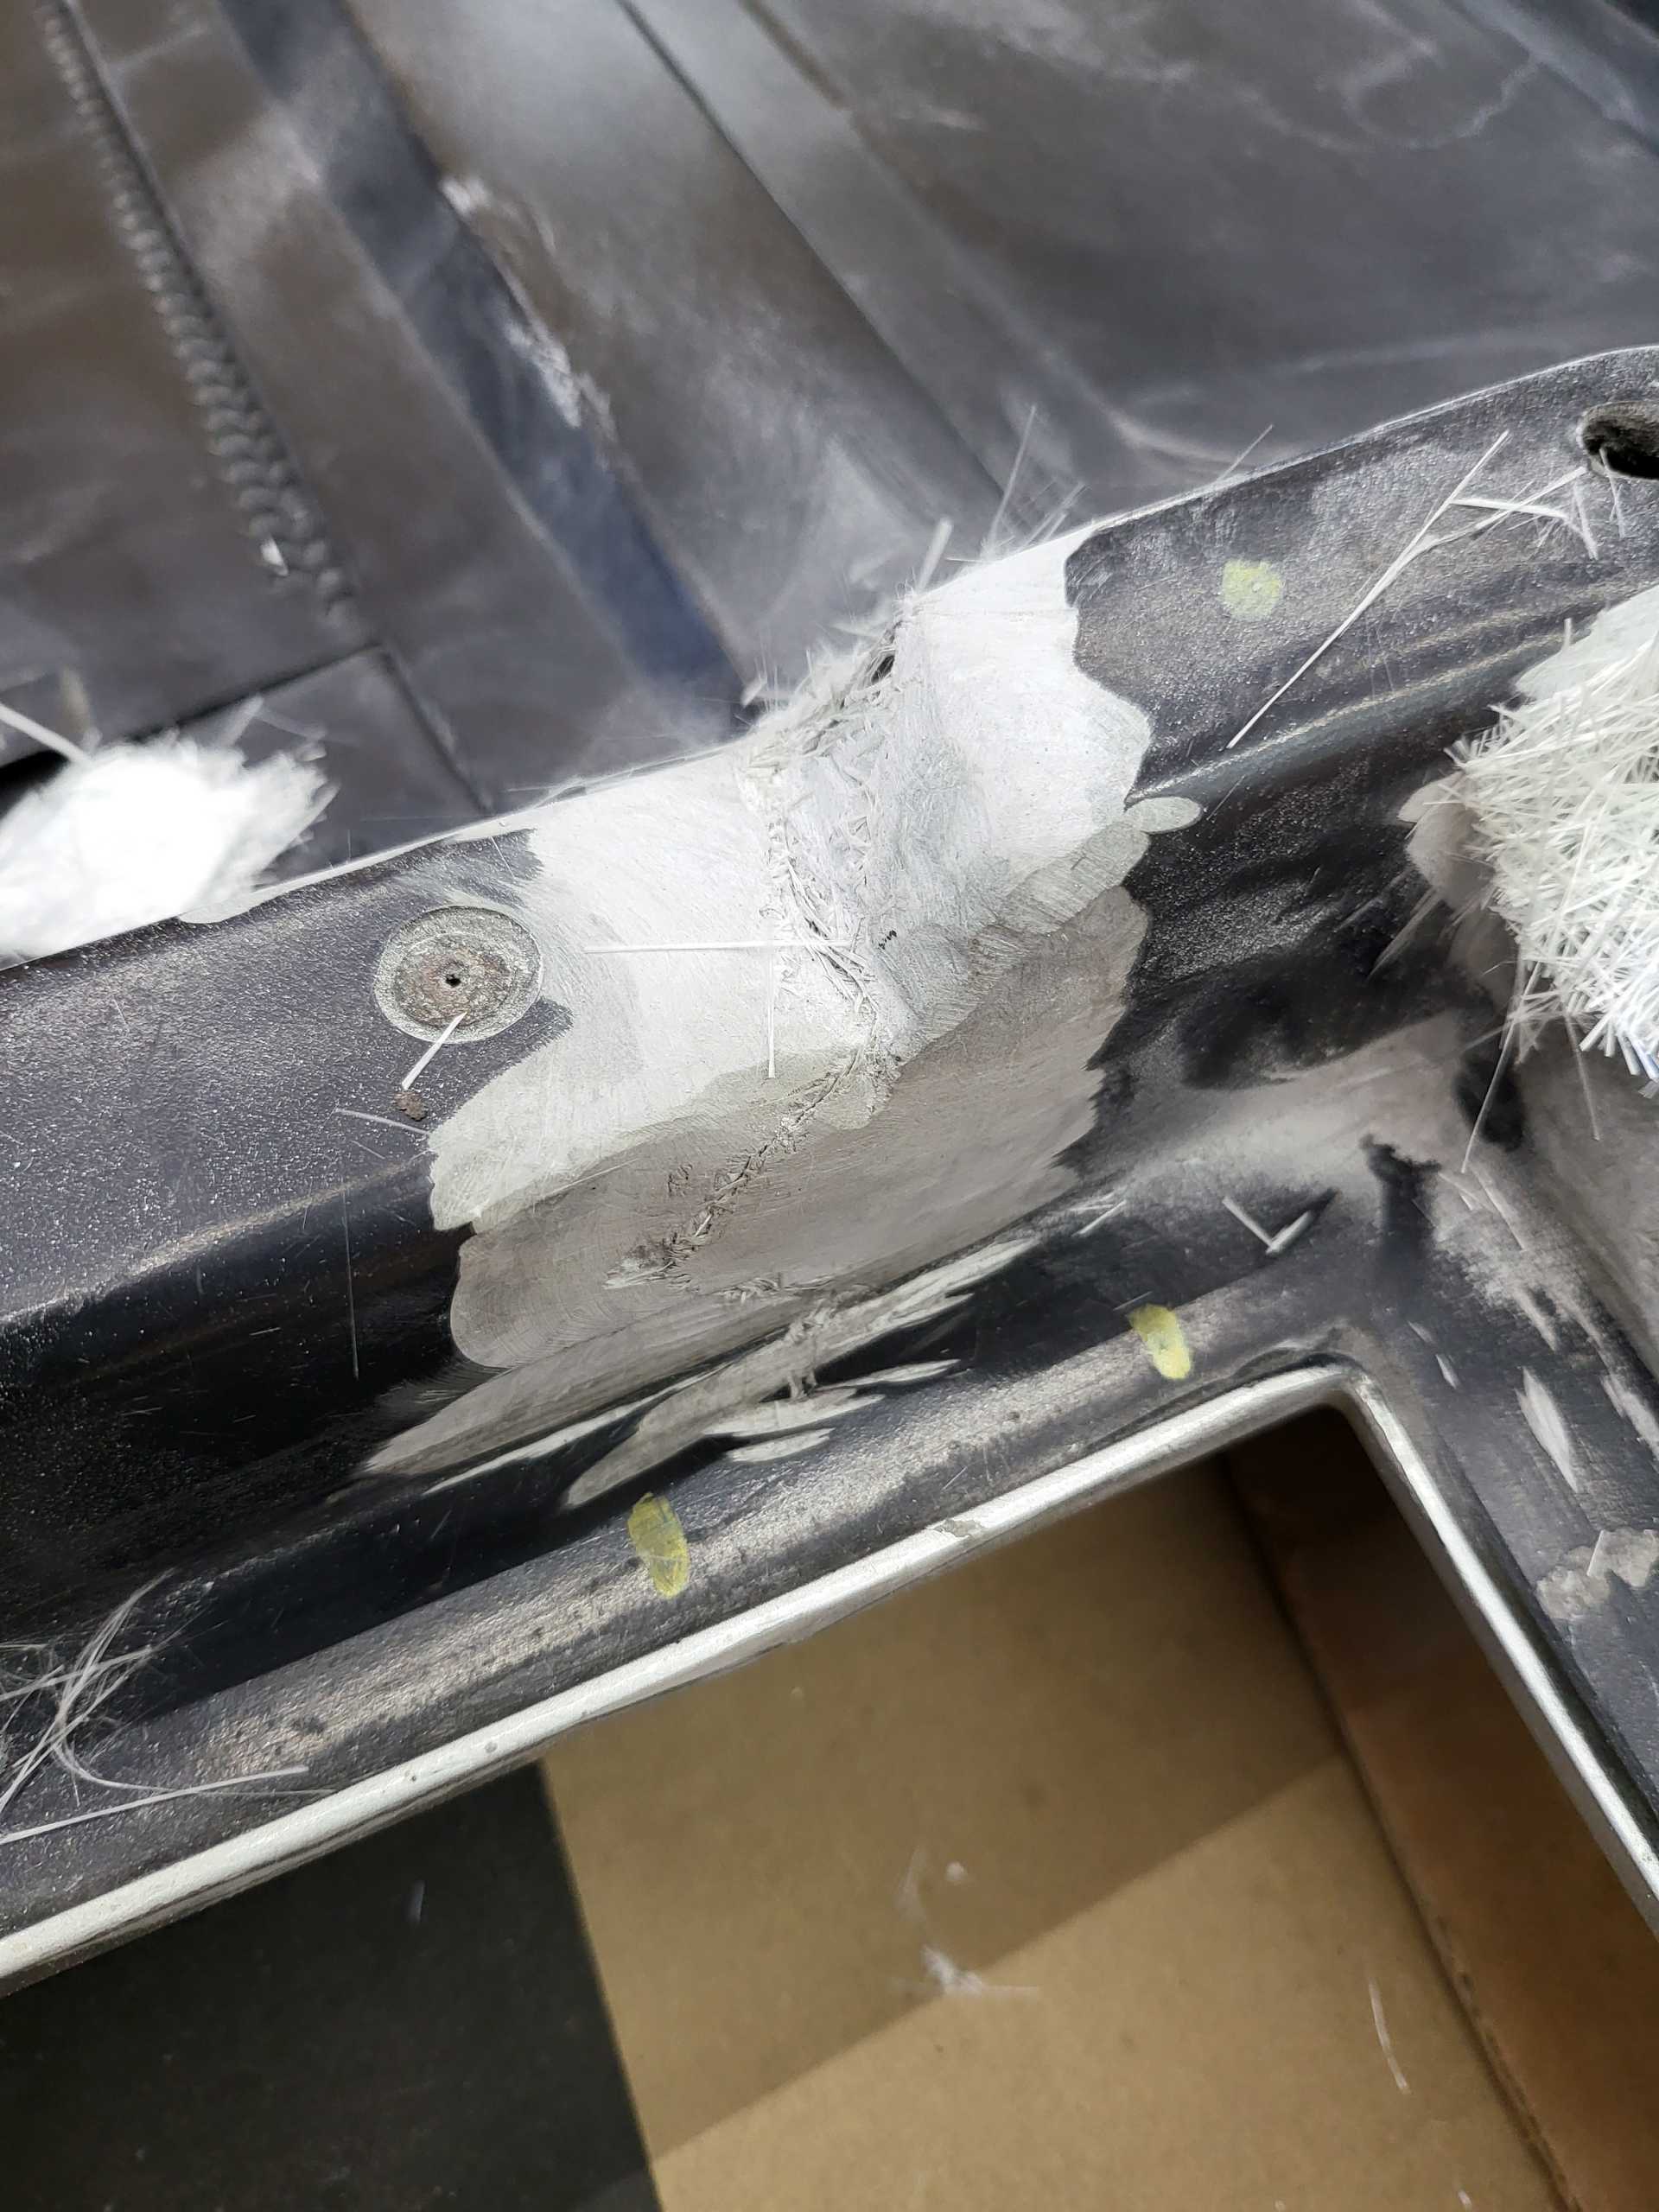
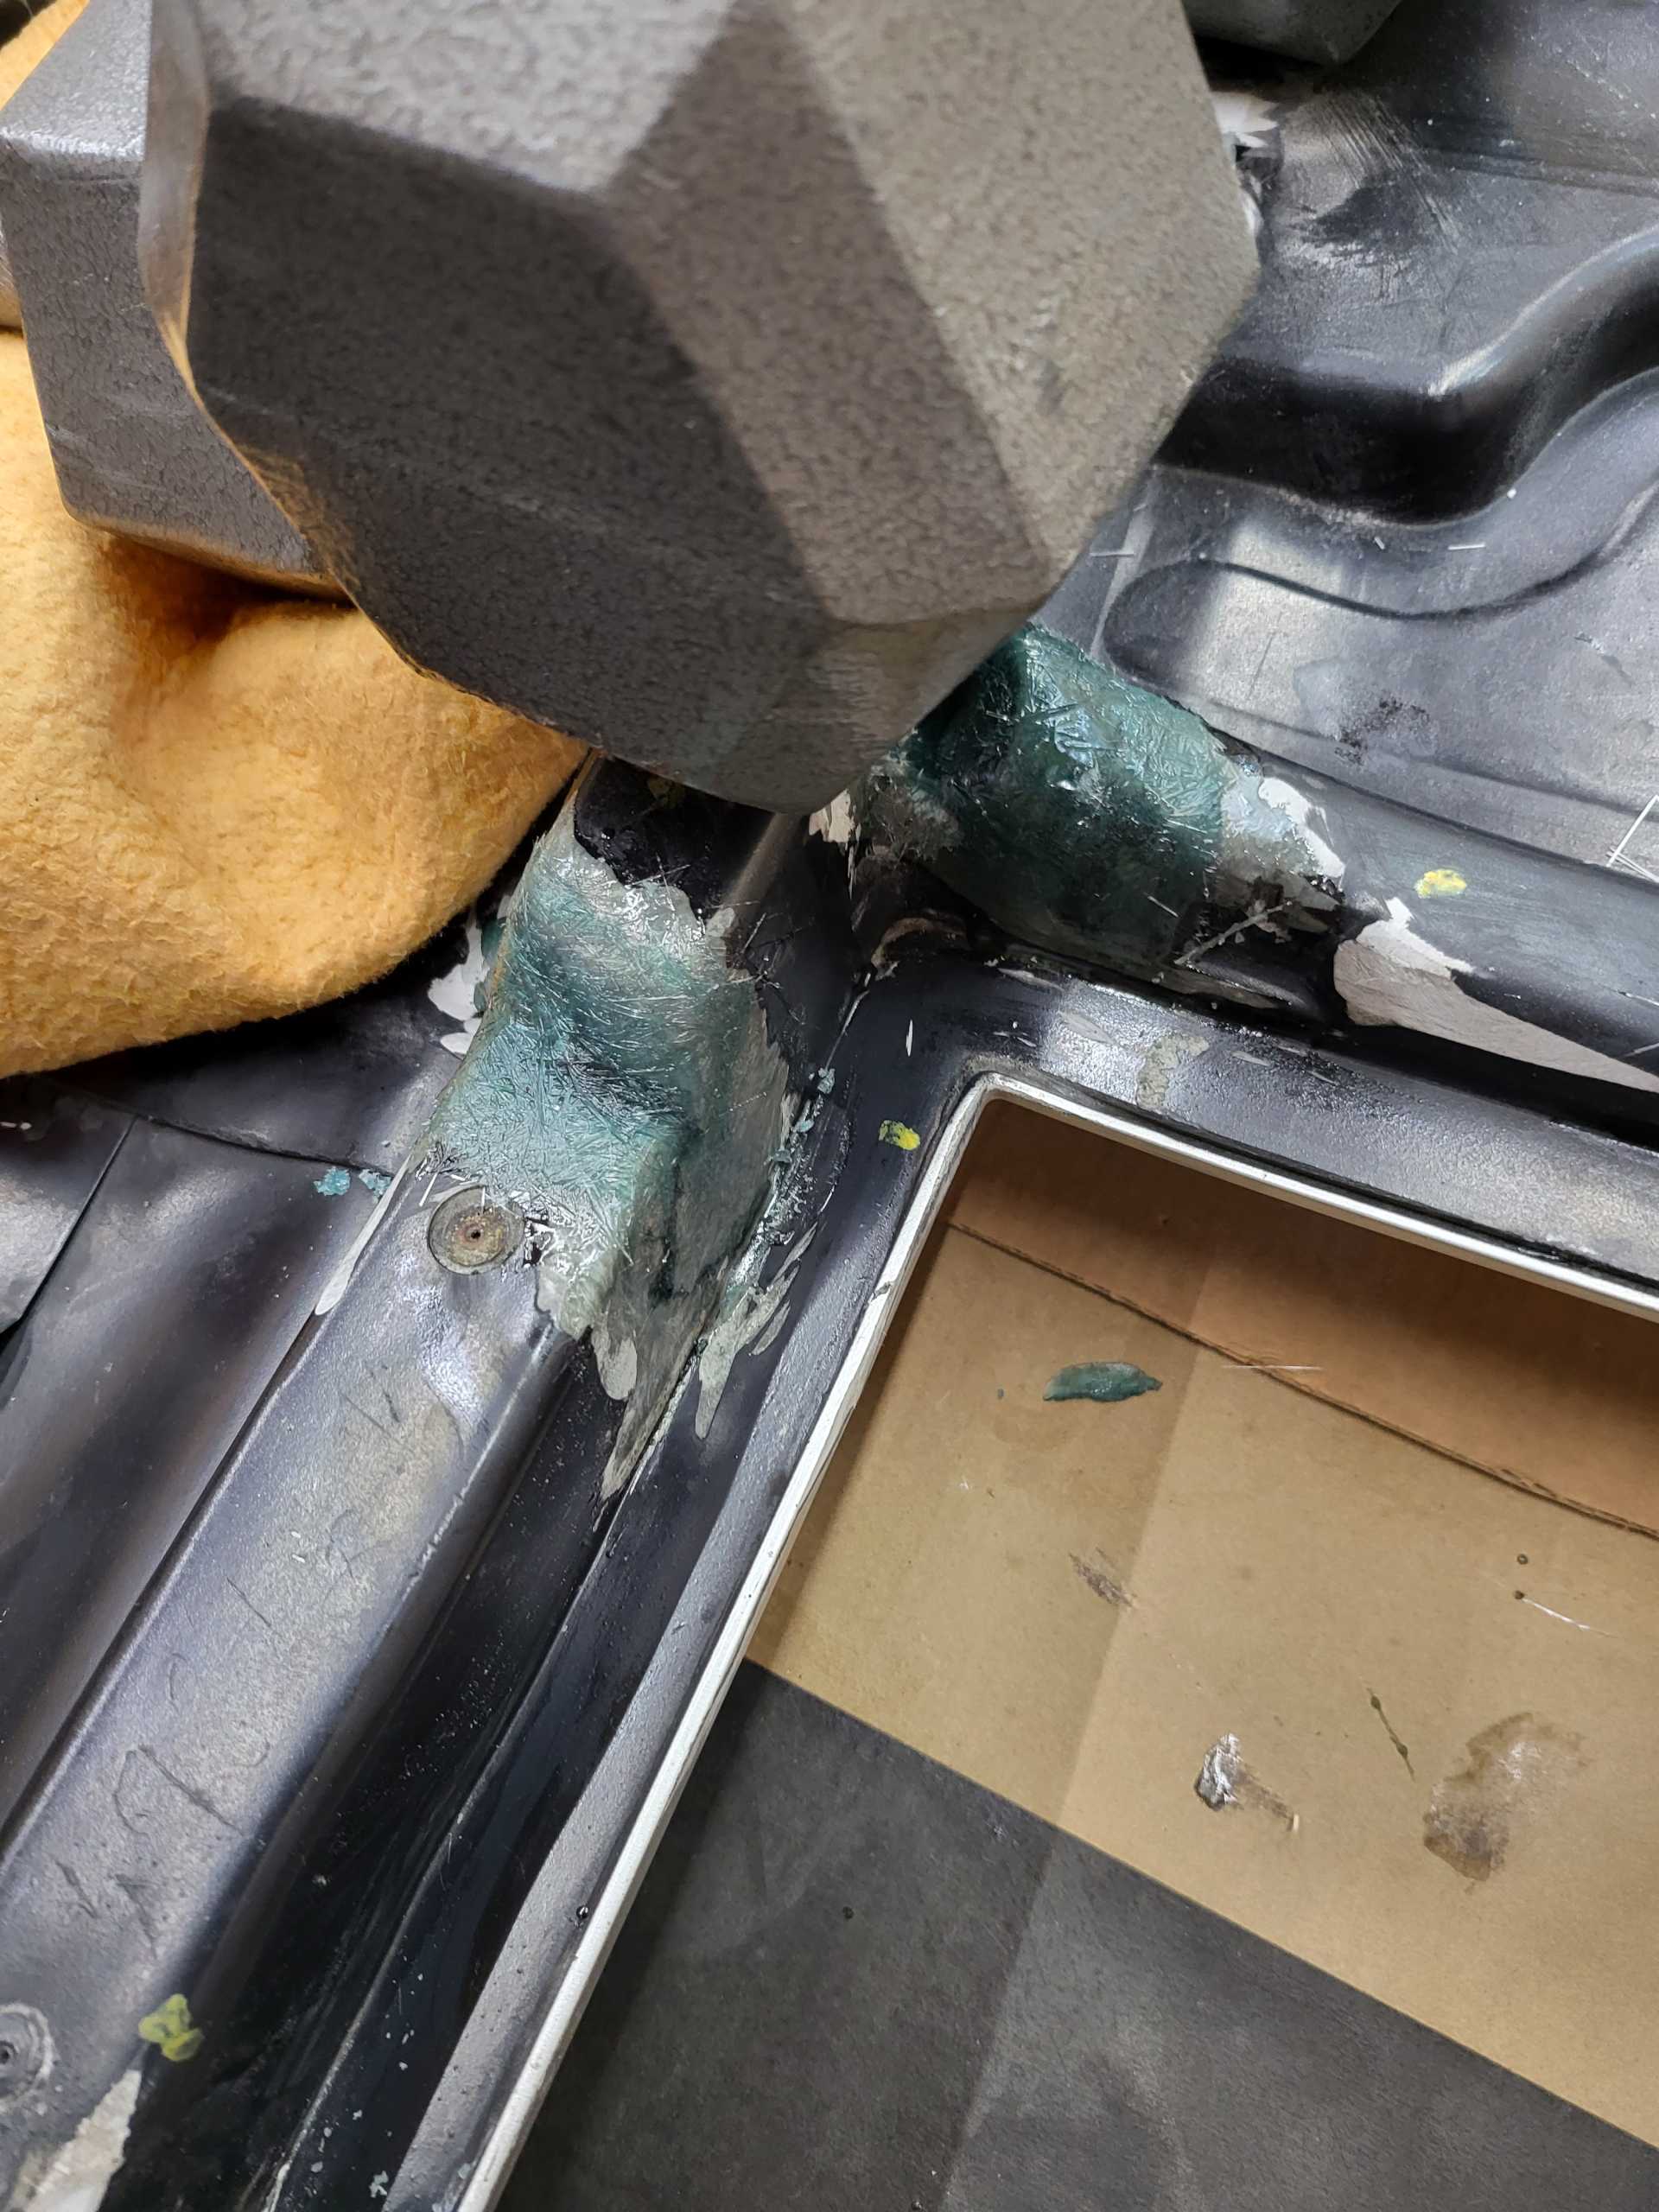
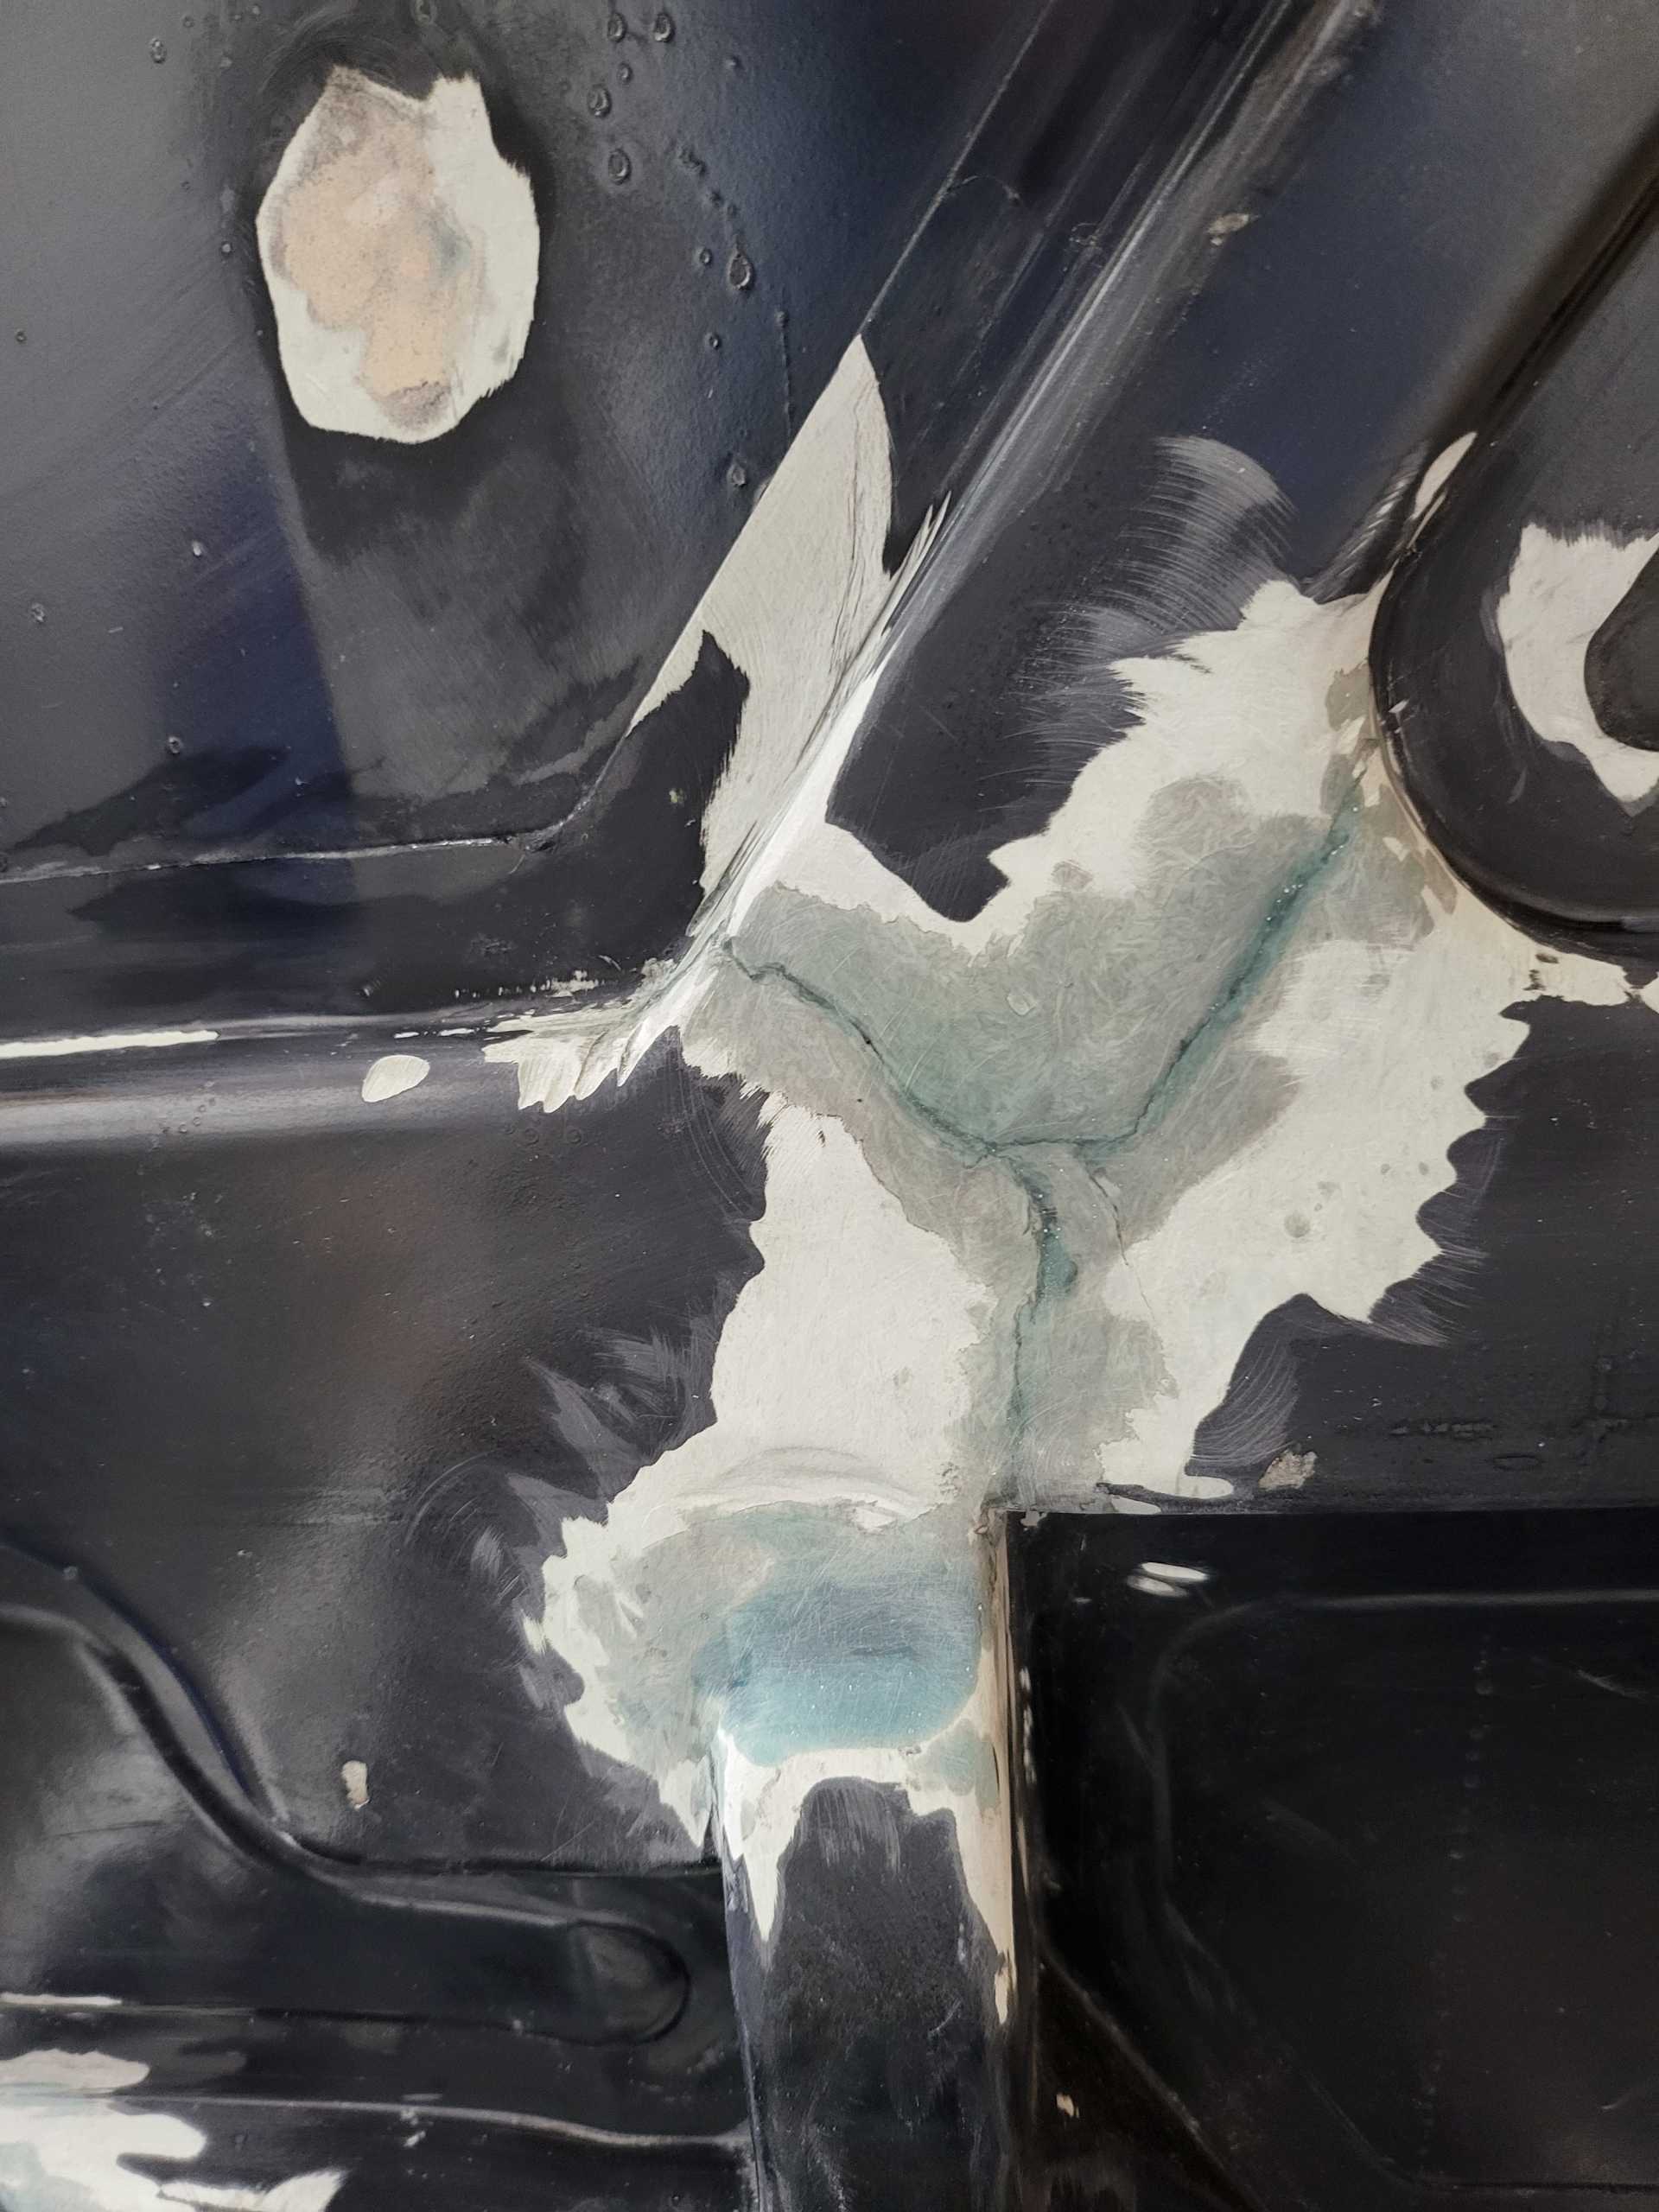
I glued the corner of the notchback clip back in with the same SMC resin. I then applied some filler. Just needs some epoxy primer. The corner is strong and held up to some good whacks of a mallet.
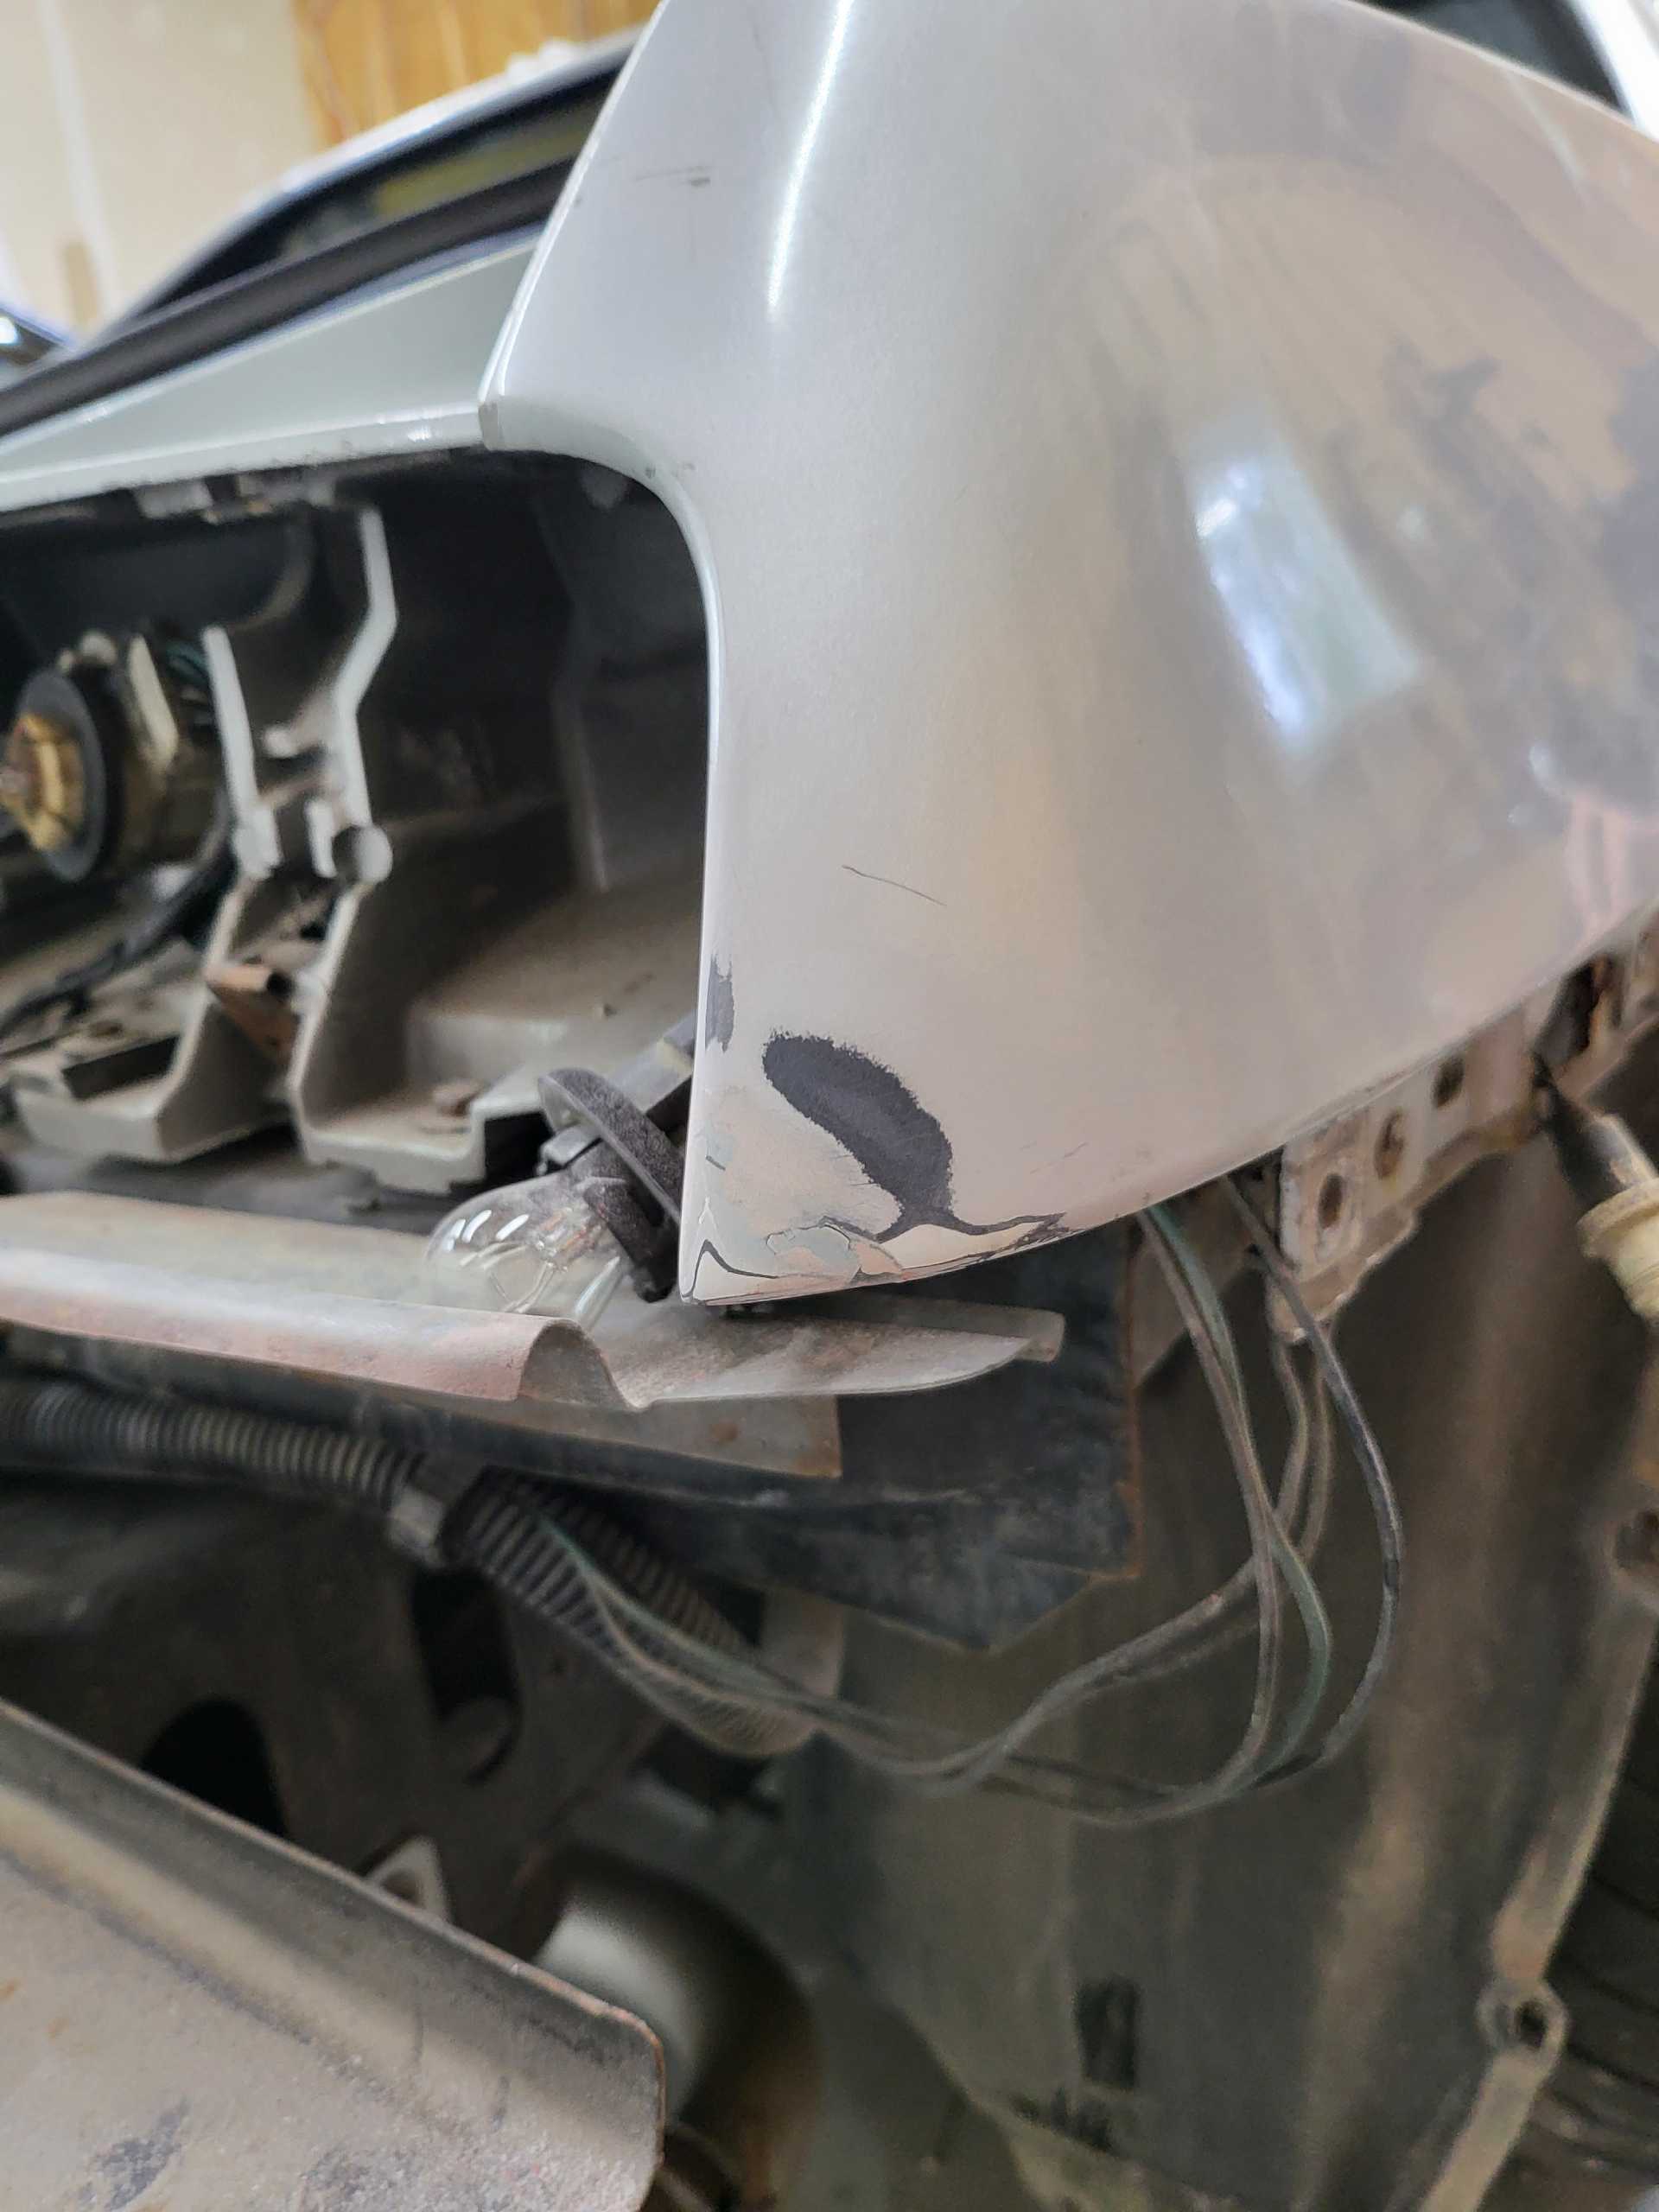
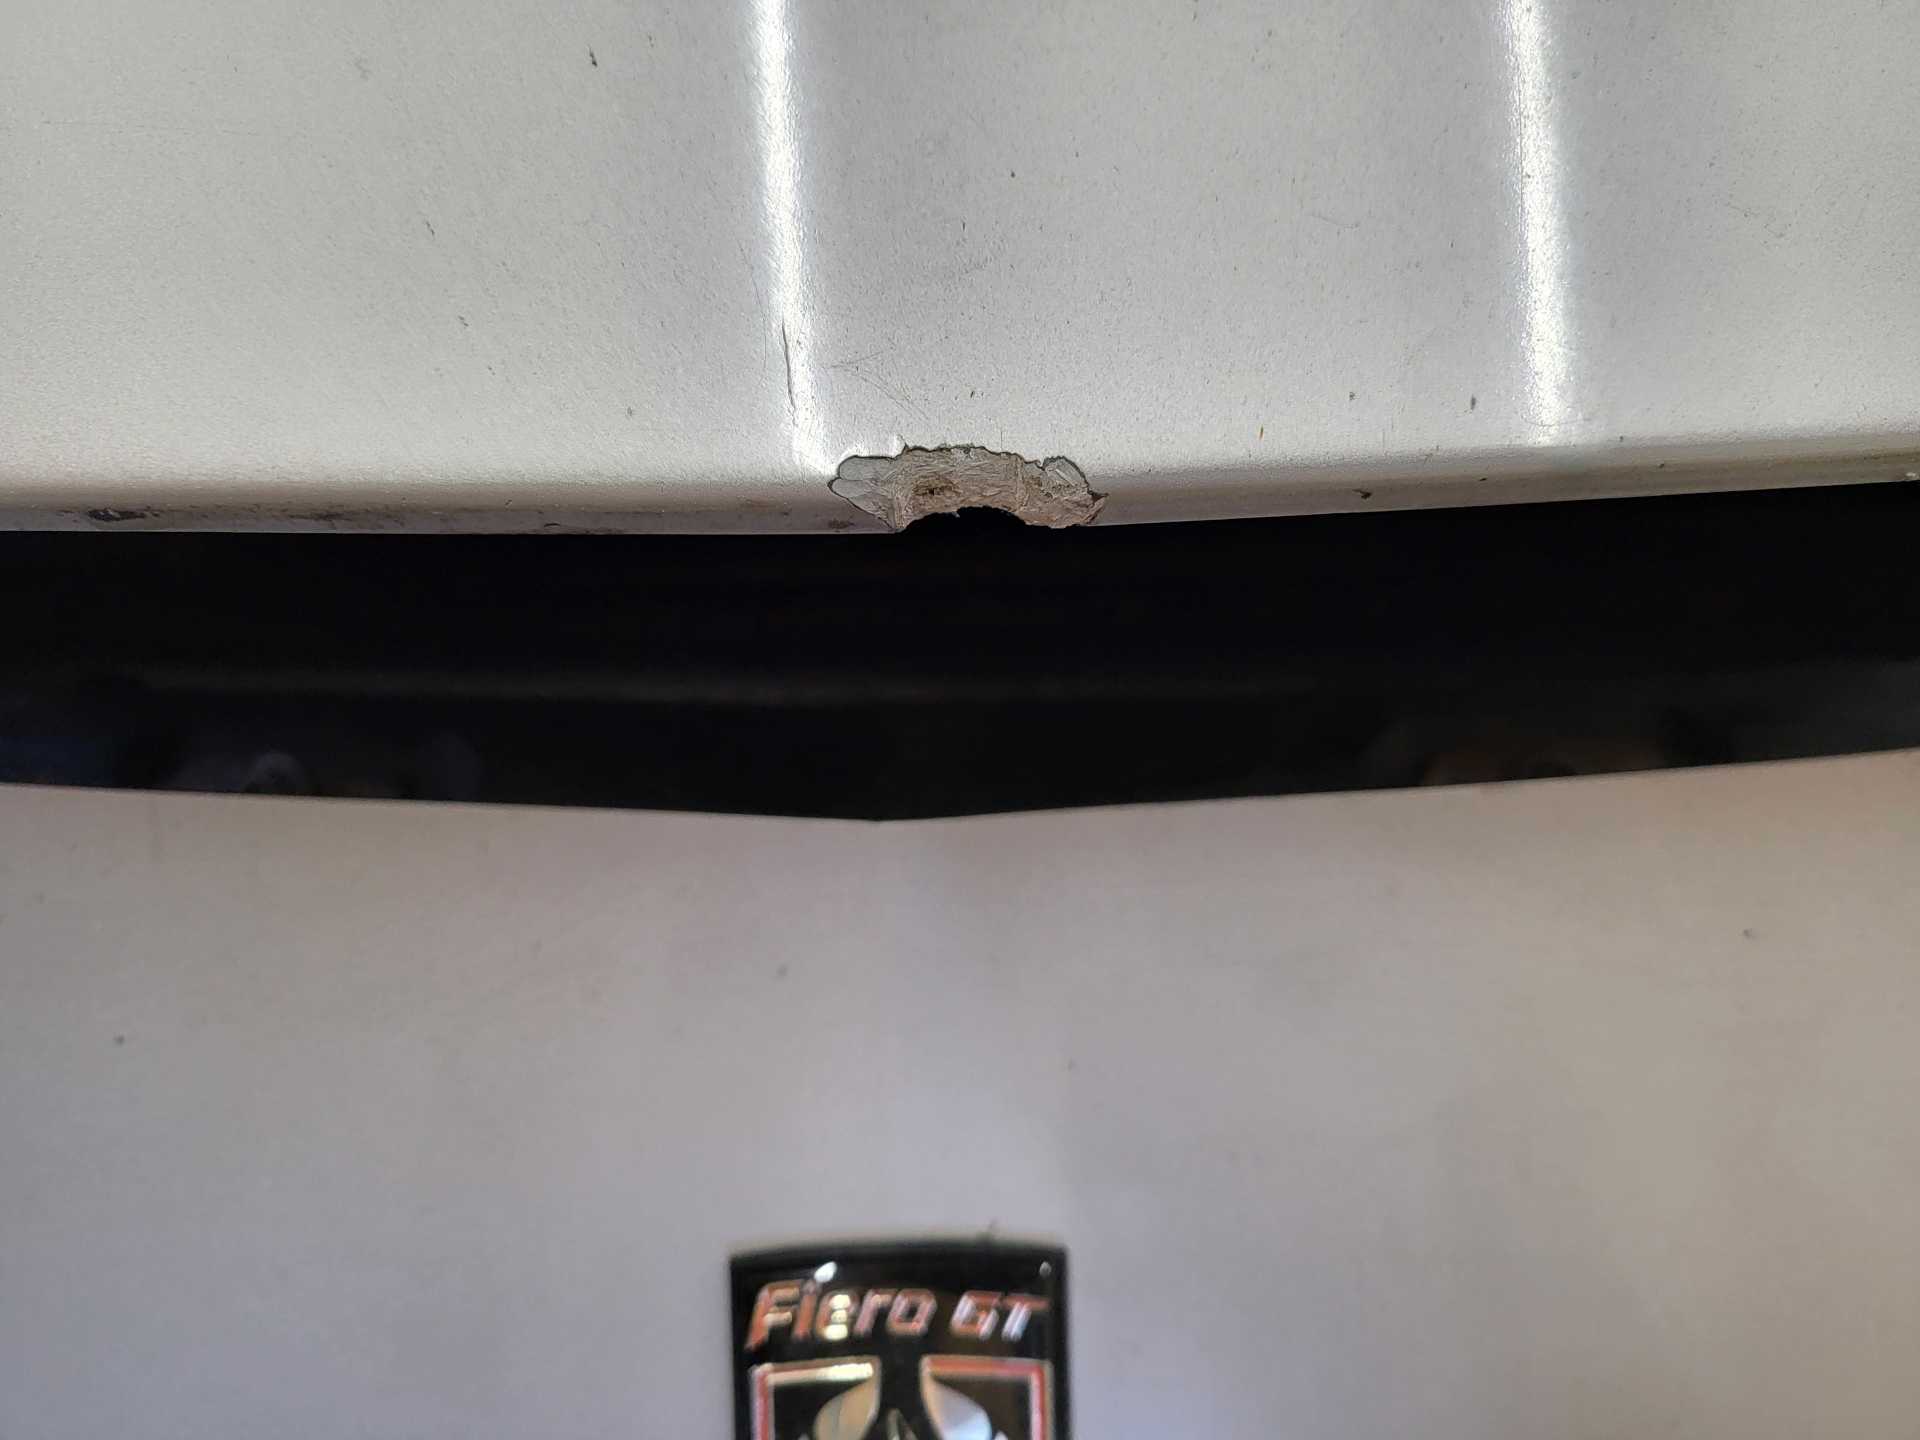
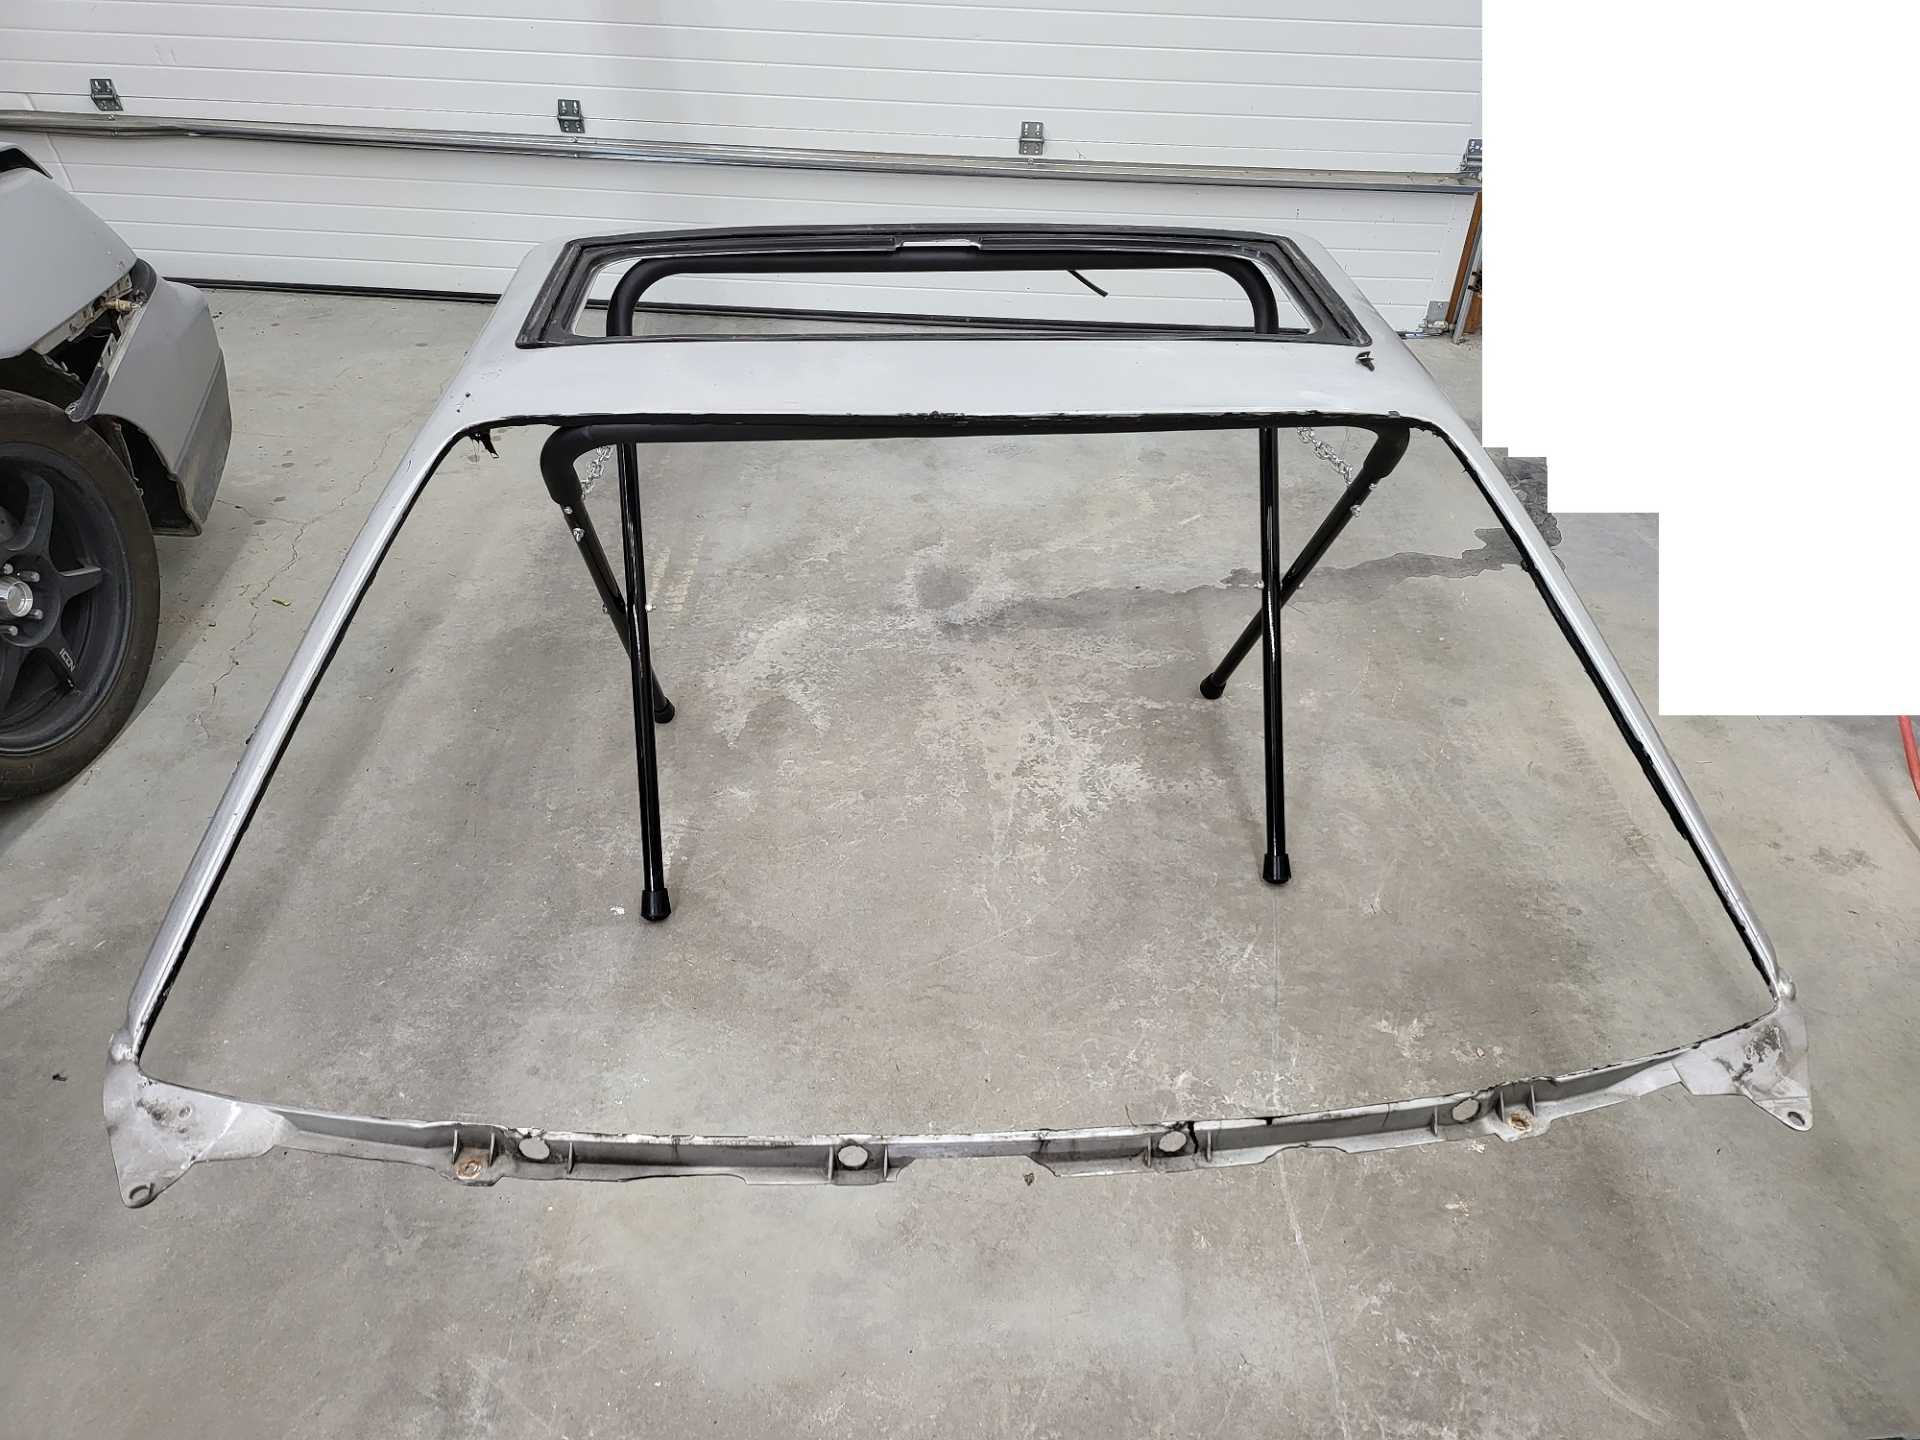
Next up is removing the roof skin and attending to the crack on the back bumper.
For the back bumper cover I used some Plastic Surgery from Sure Seal. The crack tore open with ease. I'm going to try the hot staples like I used on the lower rocker and then fill with the plastic adhesive weld kit. Unless I can find a rear bumper cover in time for the paint job.[This message has been edited by Matthew_Fiero (edited 07-15-2024).]
|
|
|
|
Matthew_Fiero
|
JUL 16, 08:35 AM
|
|
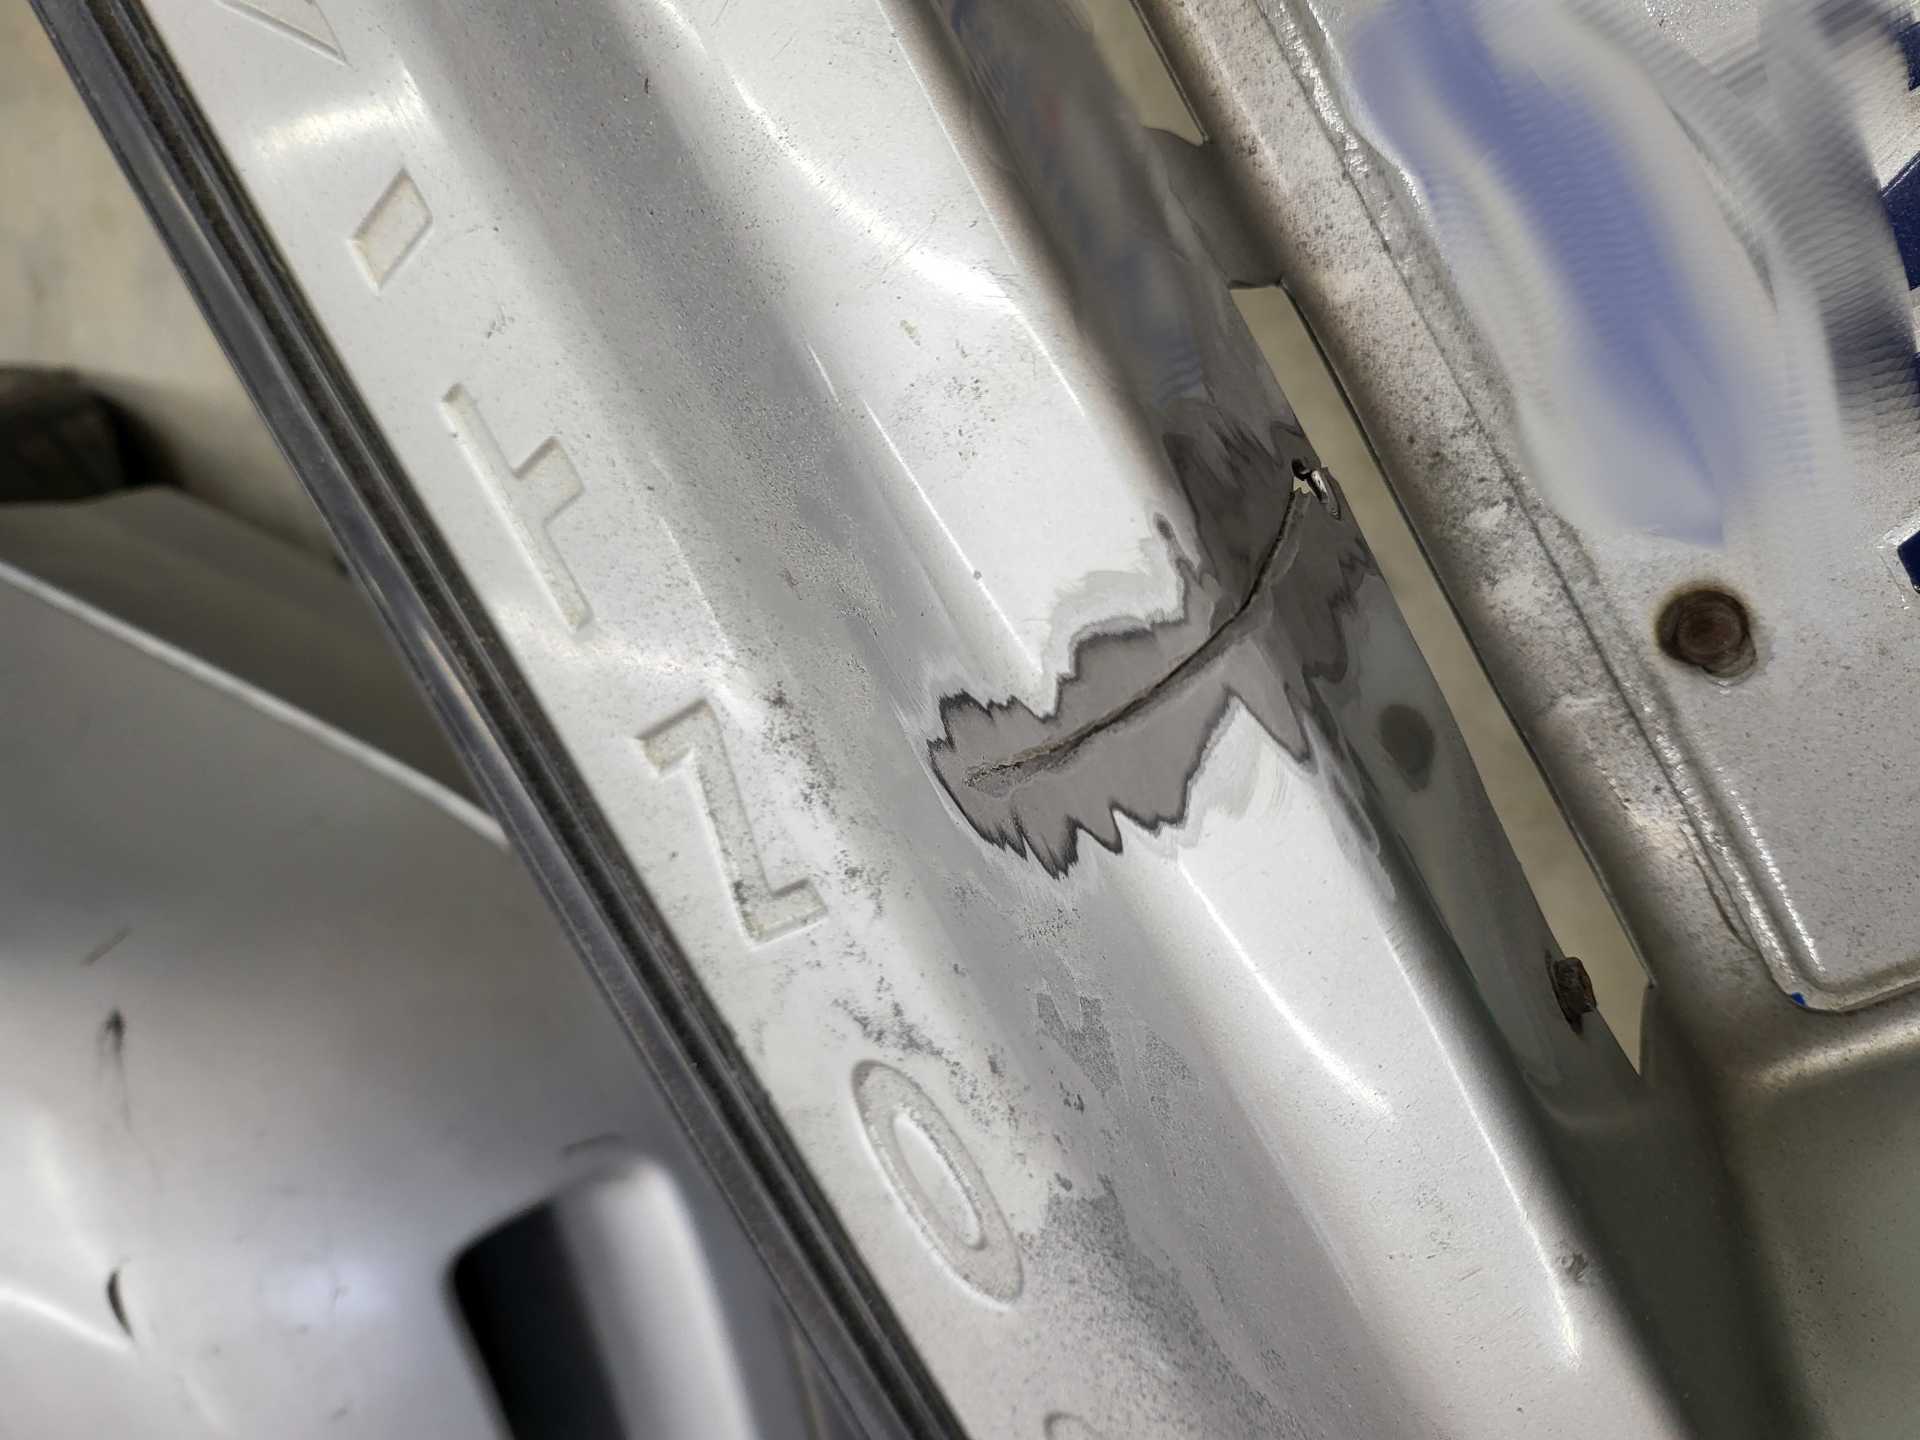
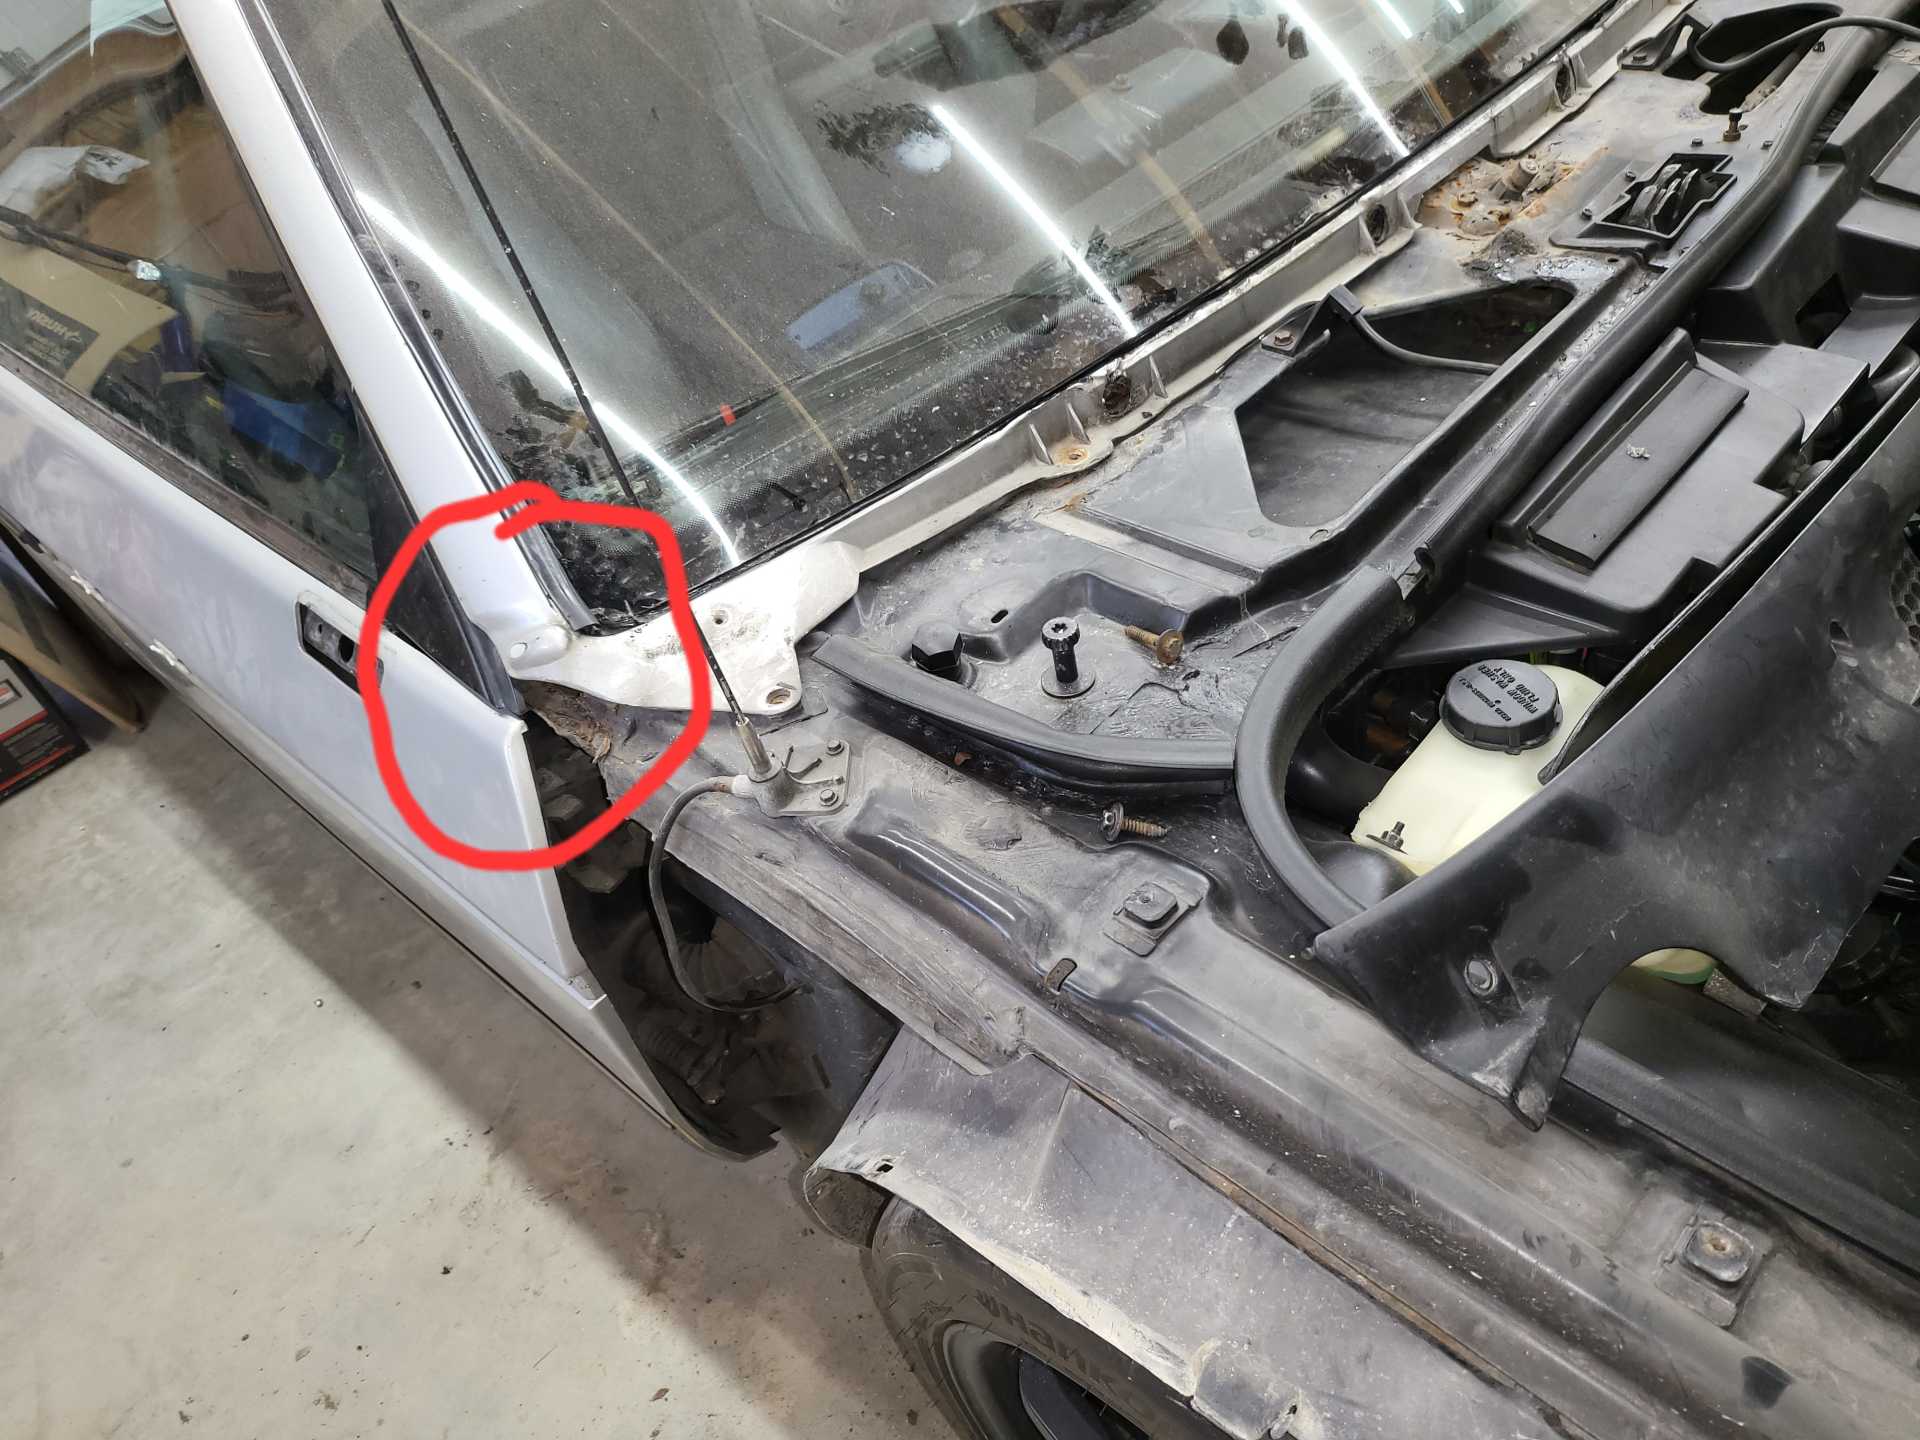
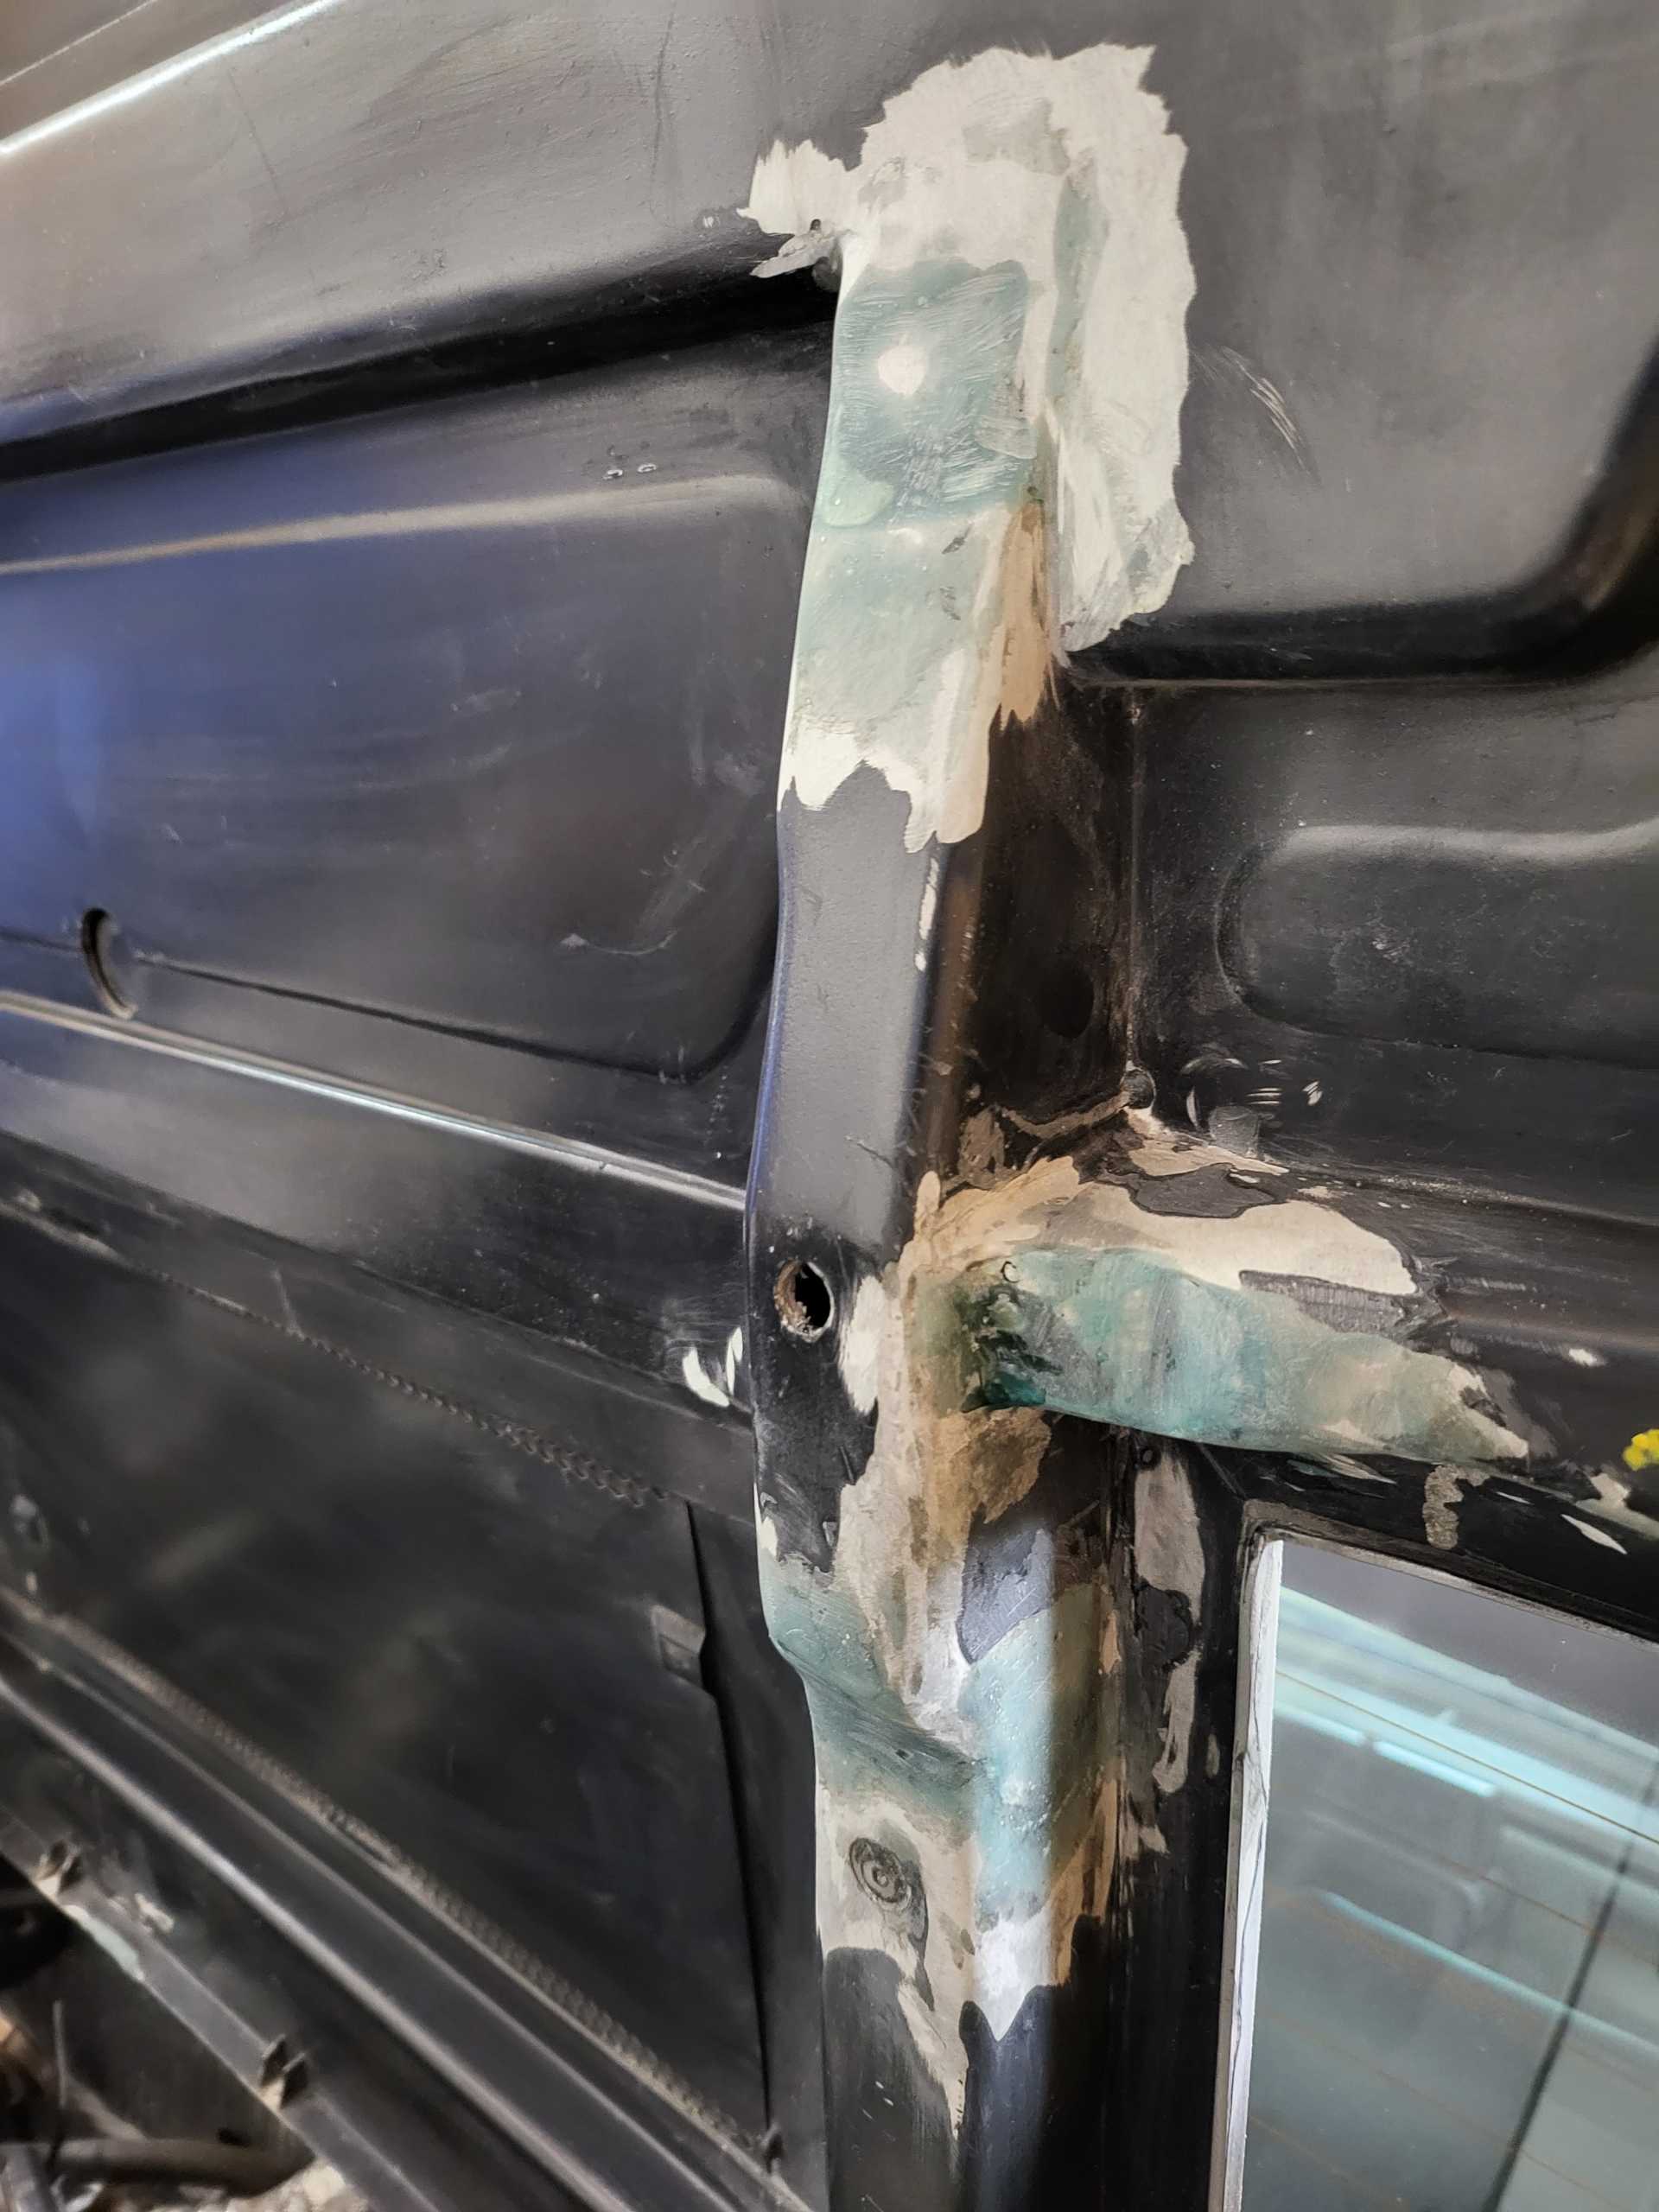
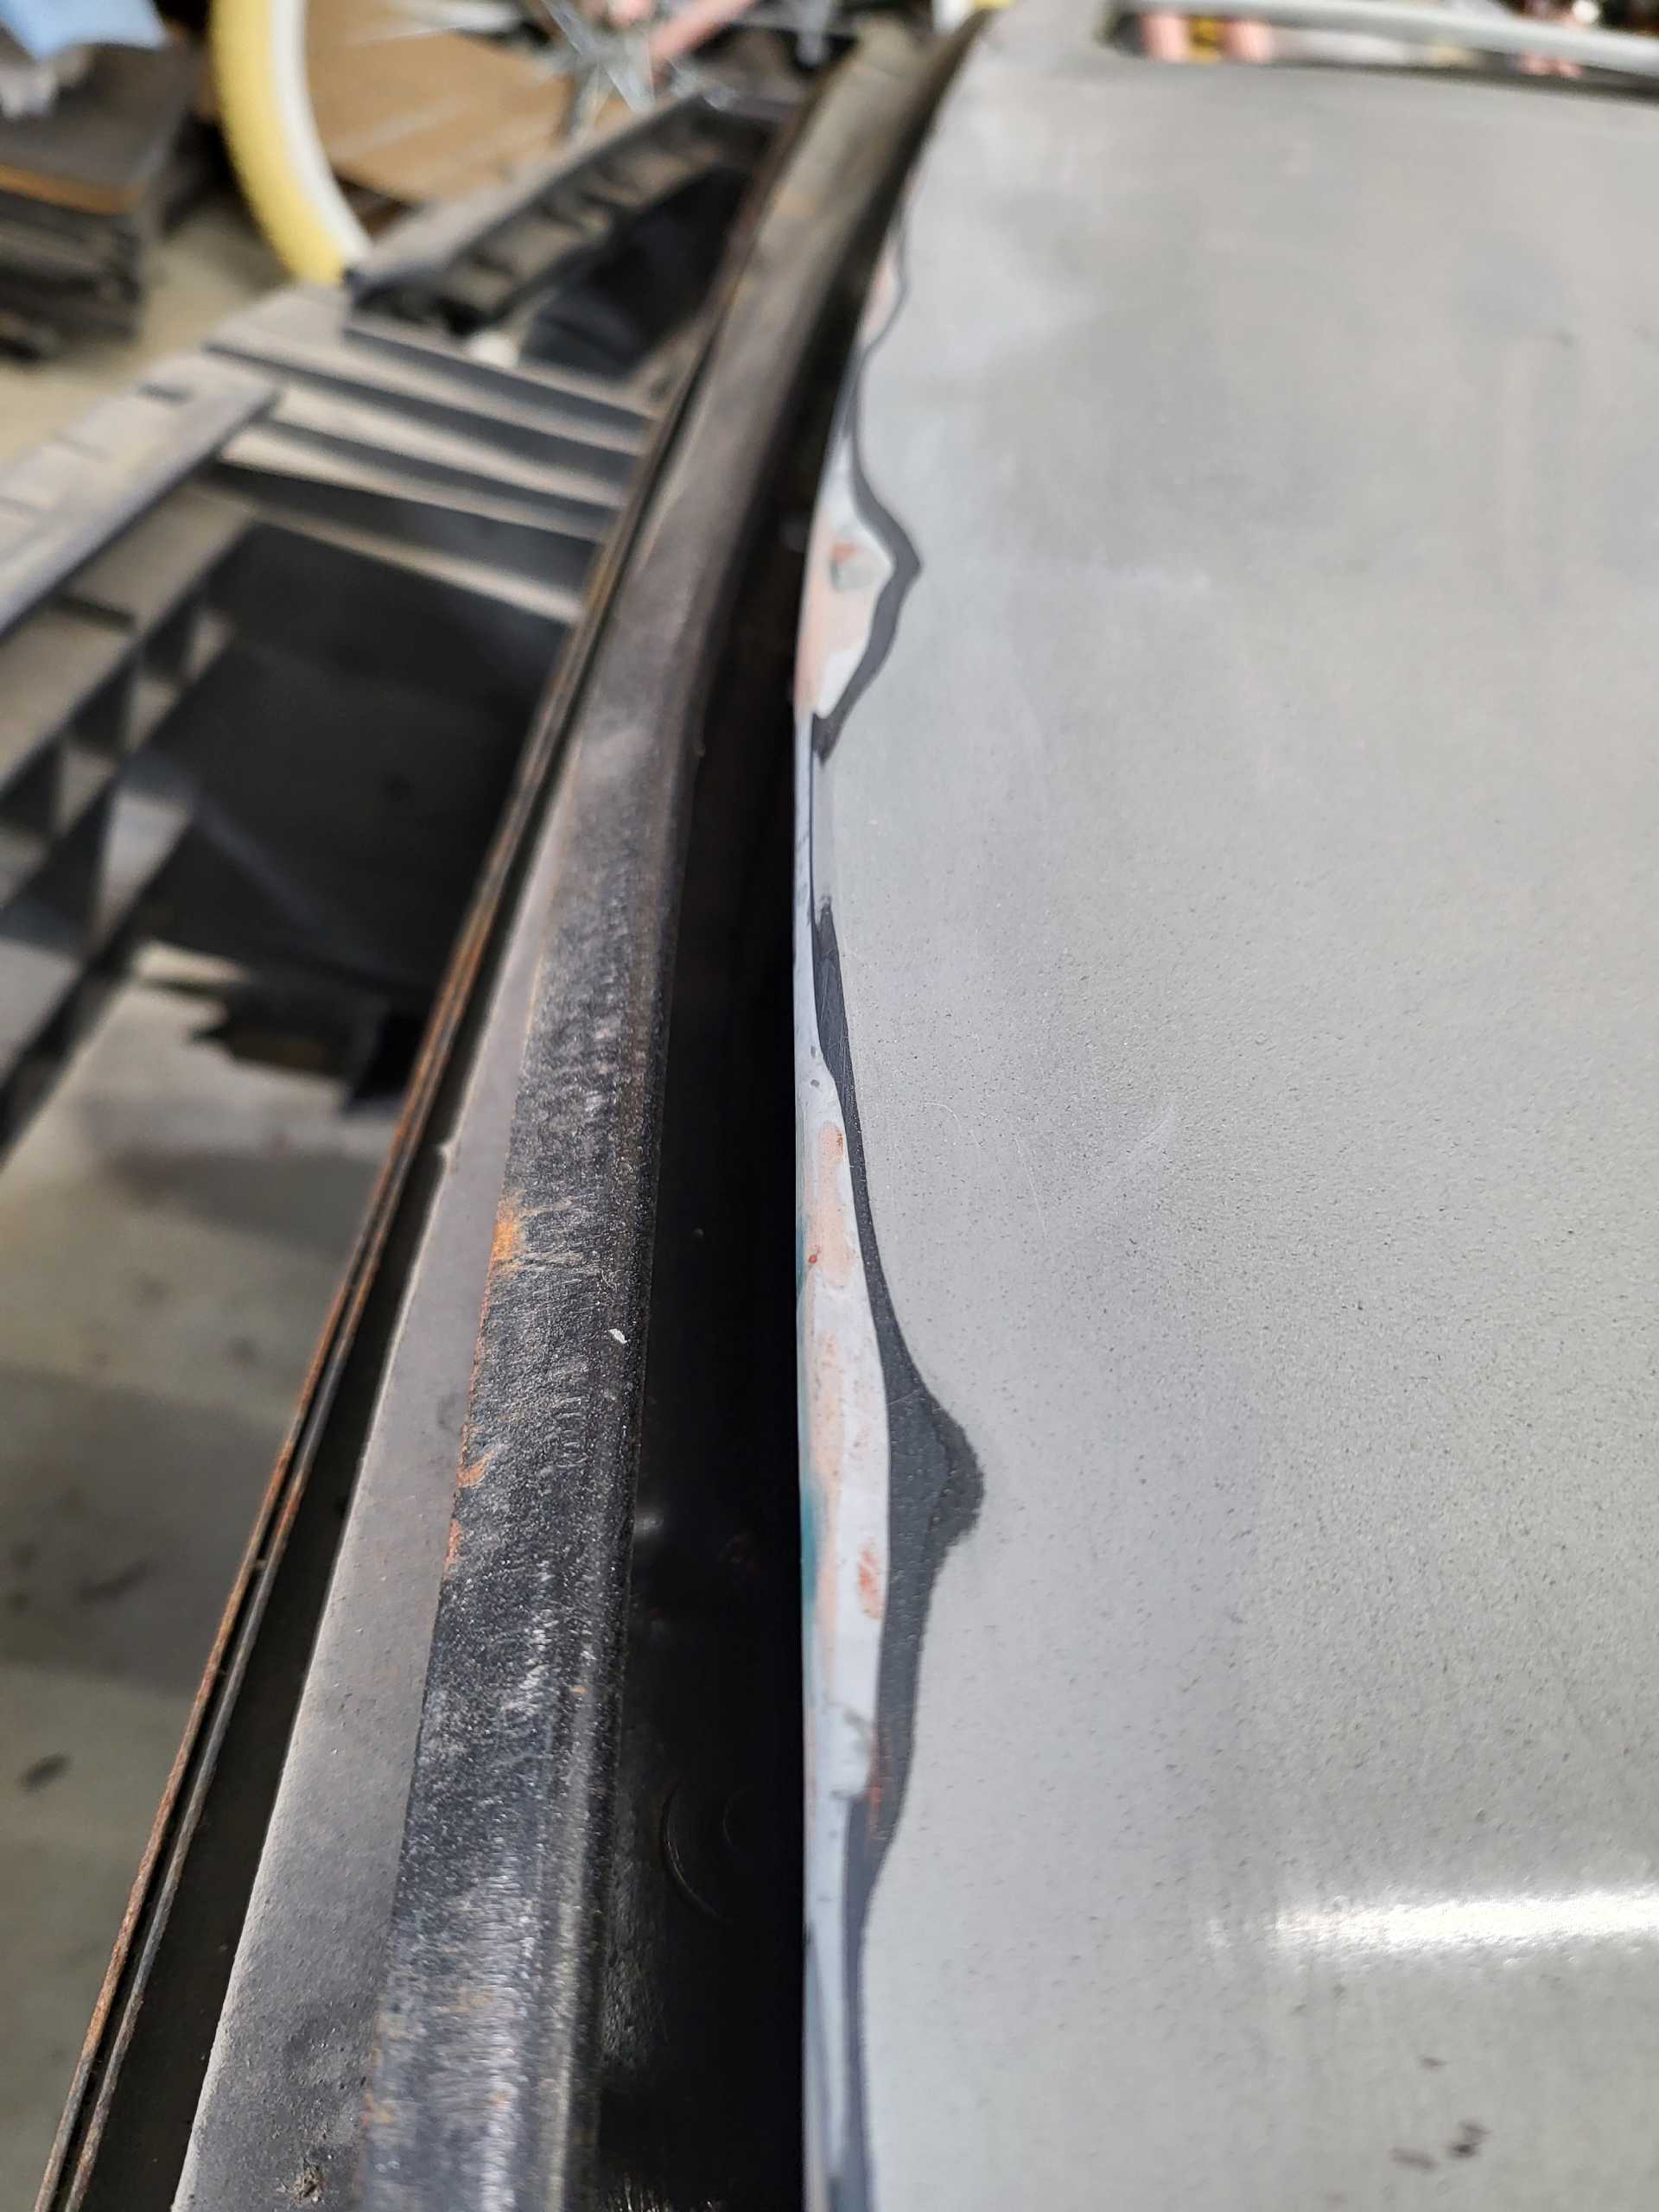
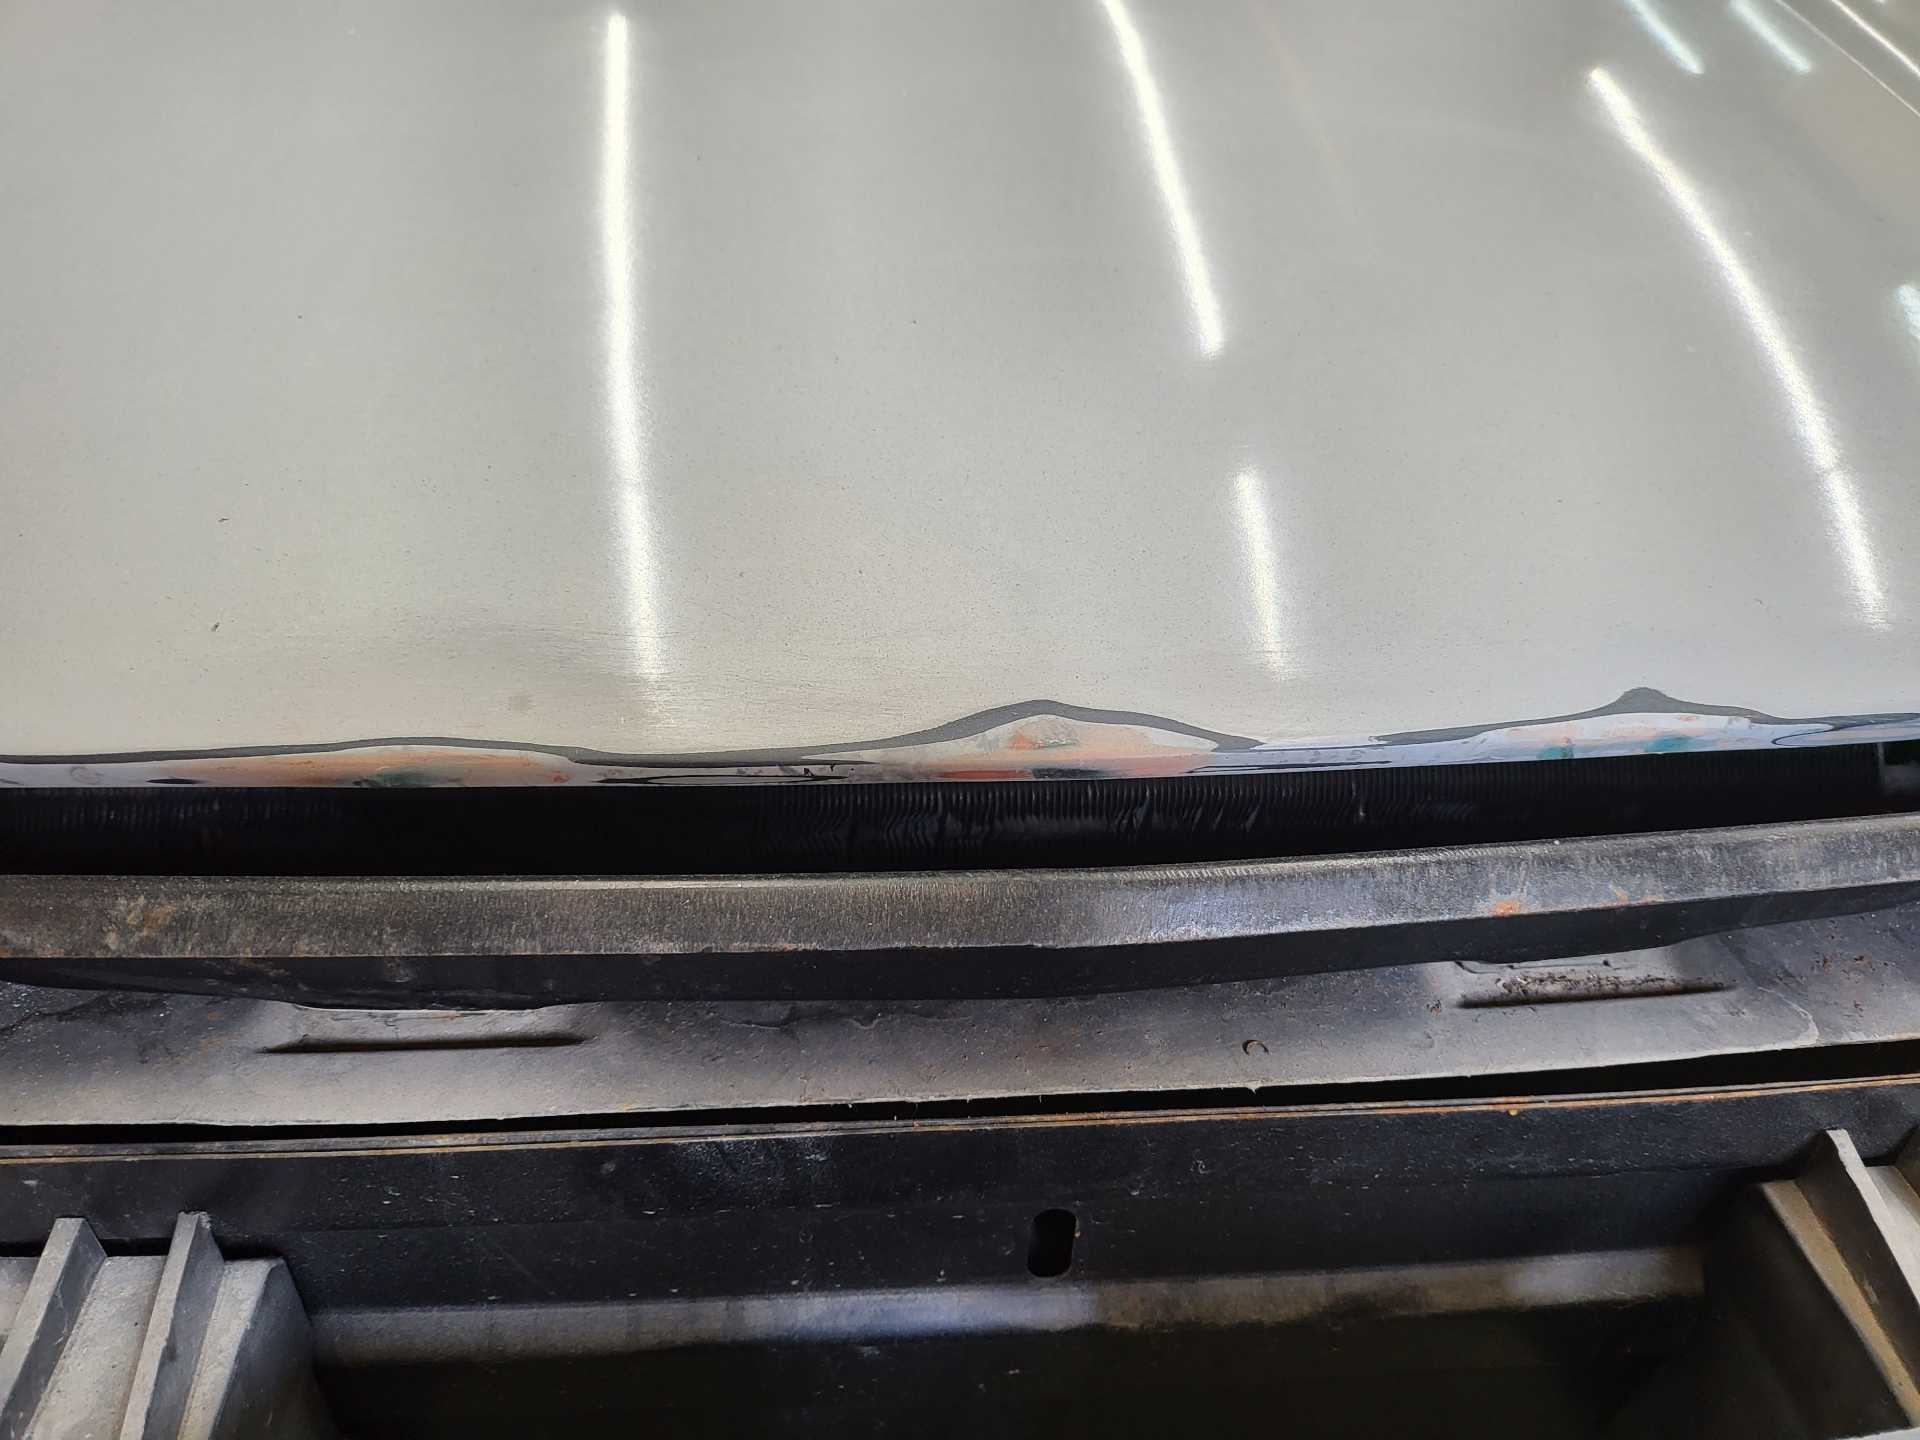
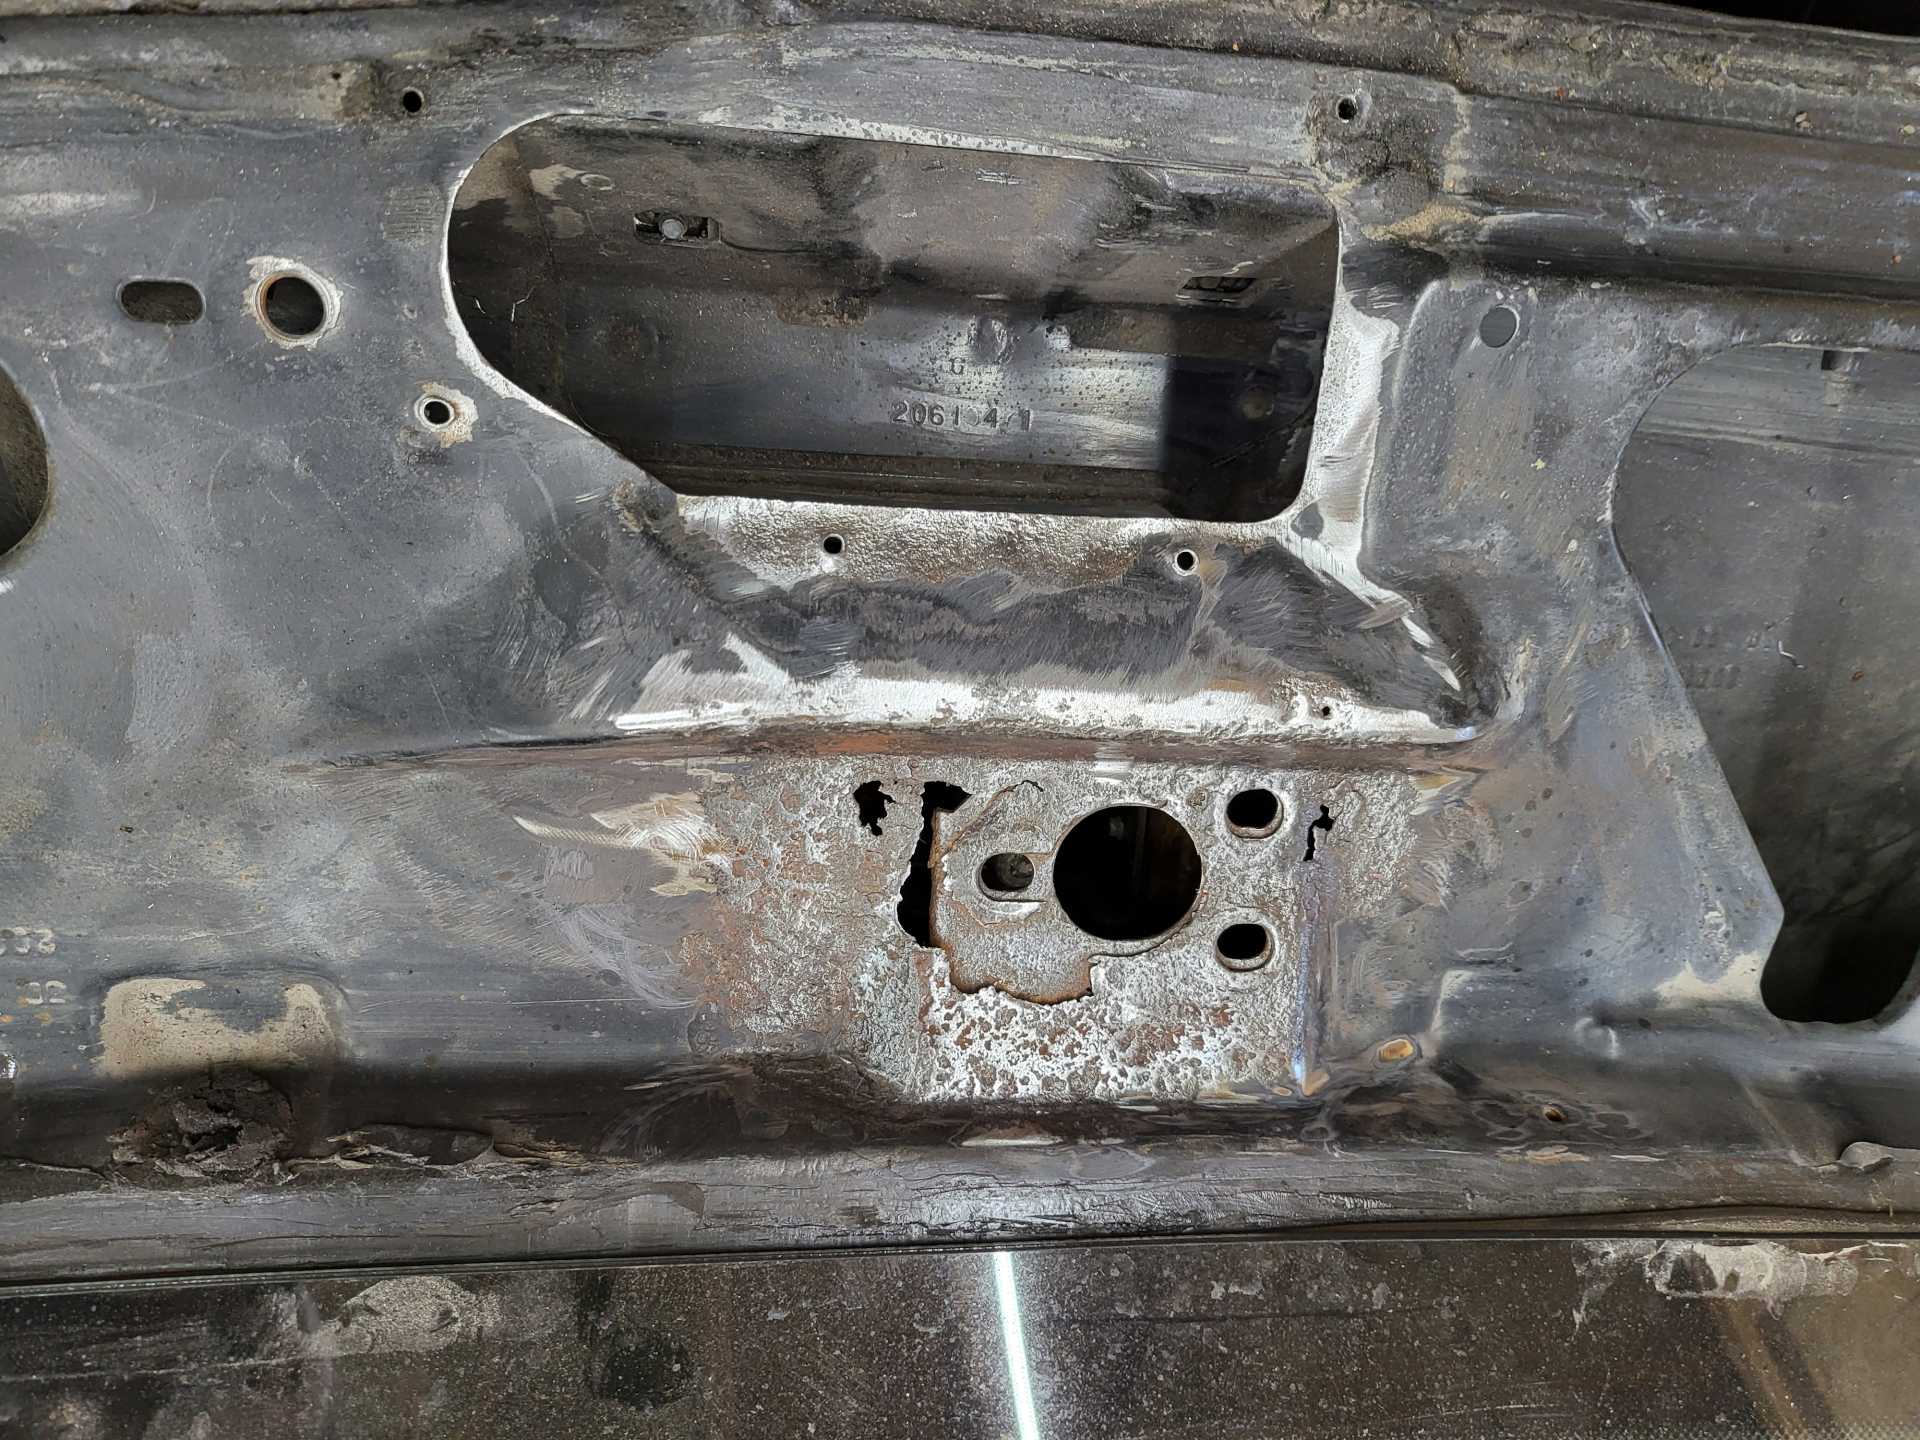
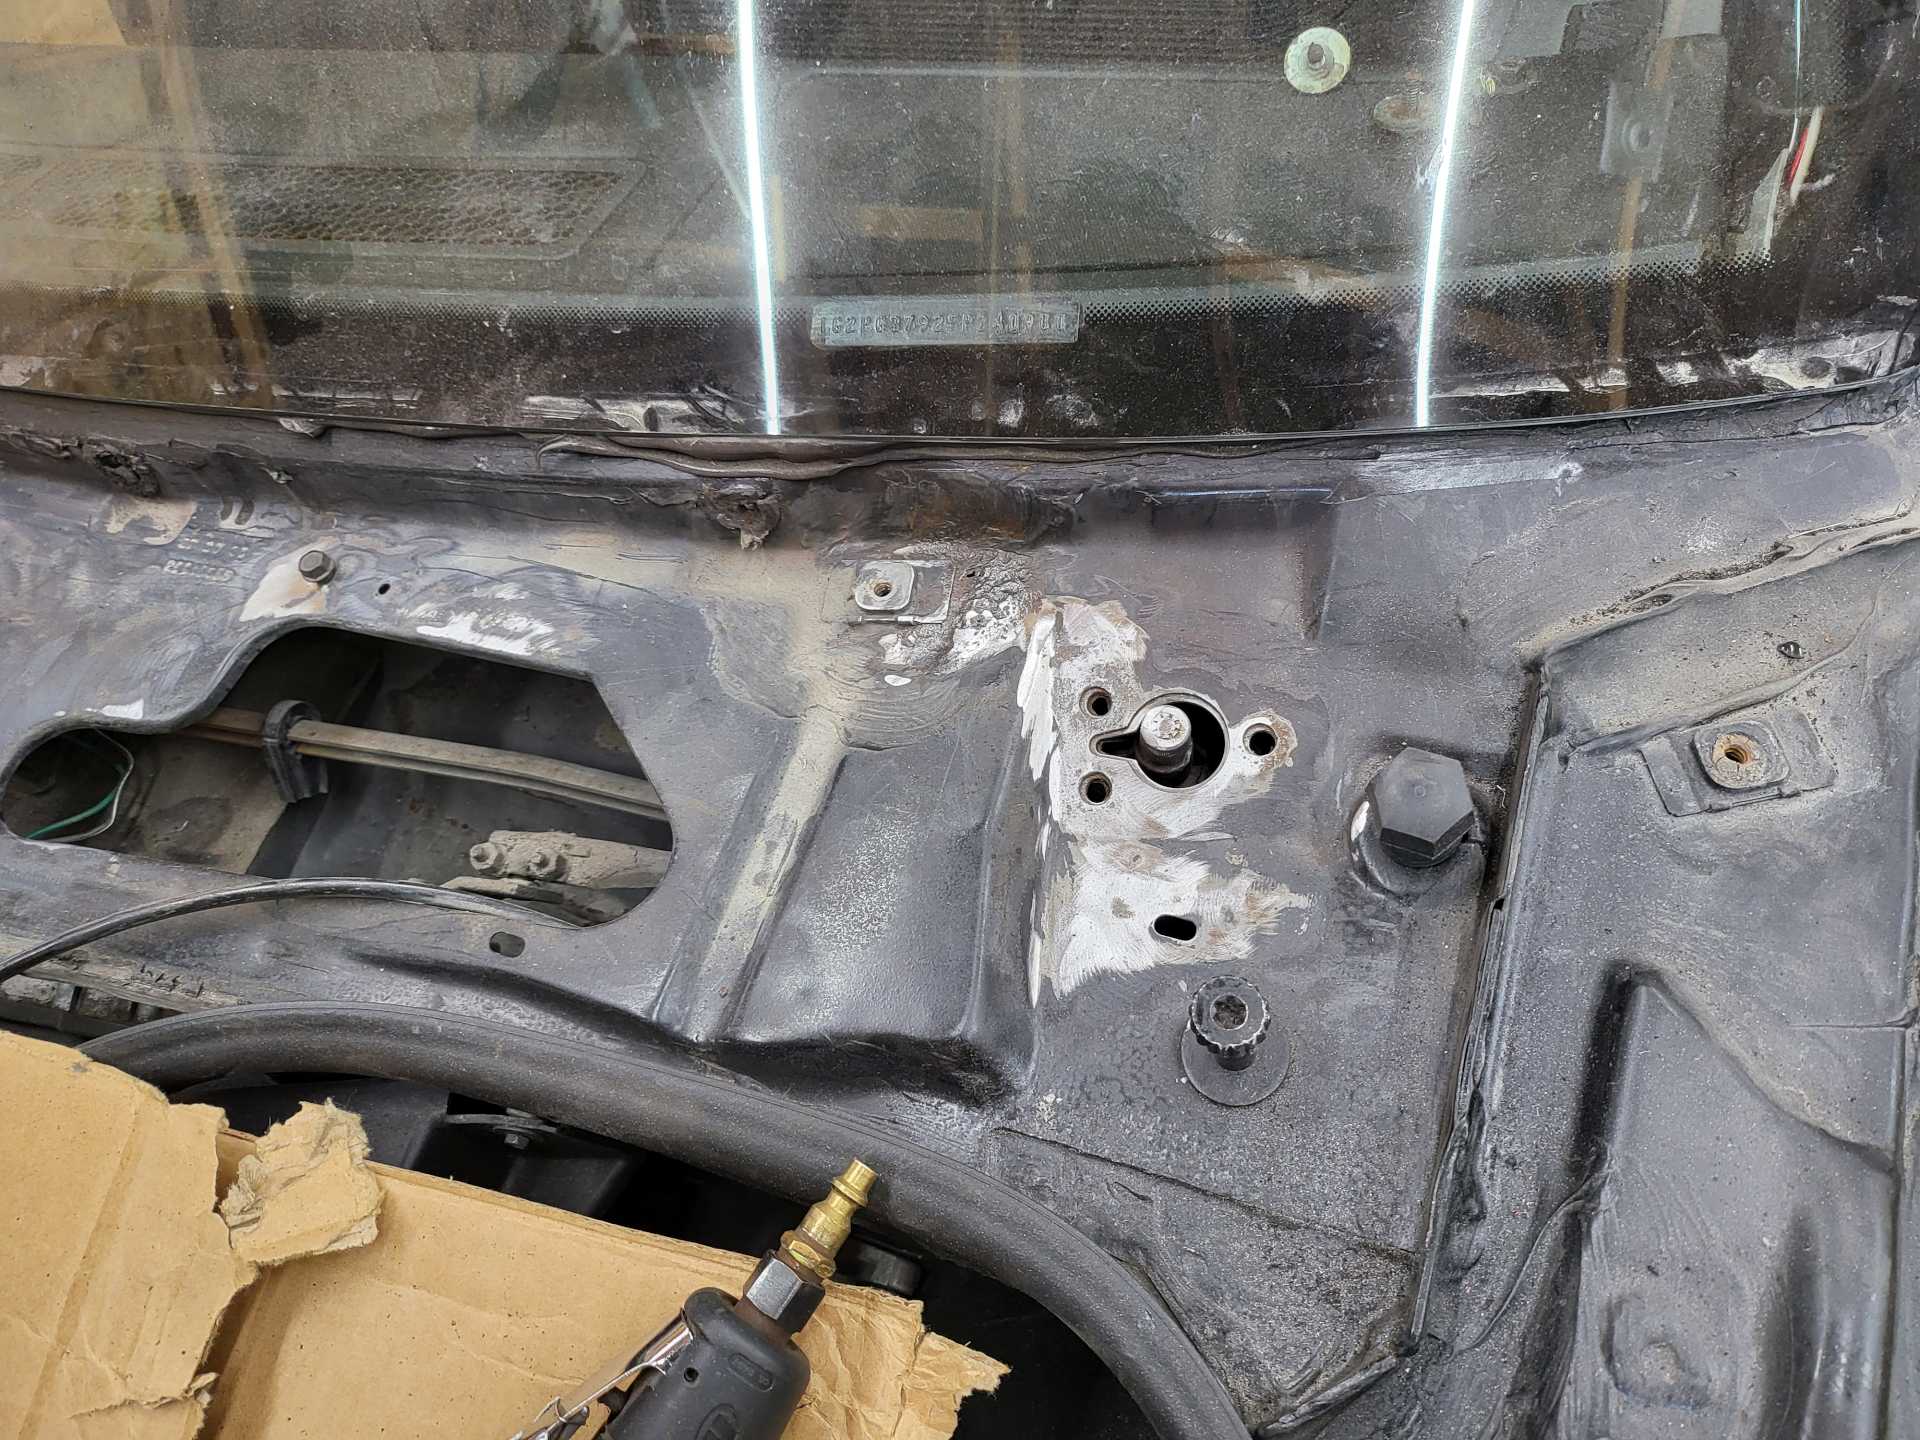
I managed to remove the A pillar and get a better view of the rust situation. Here is what awaited me:
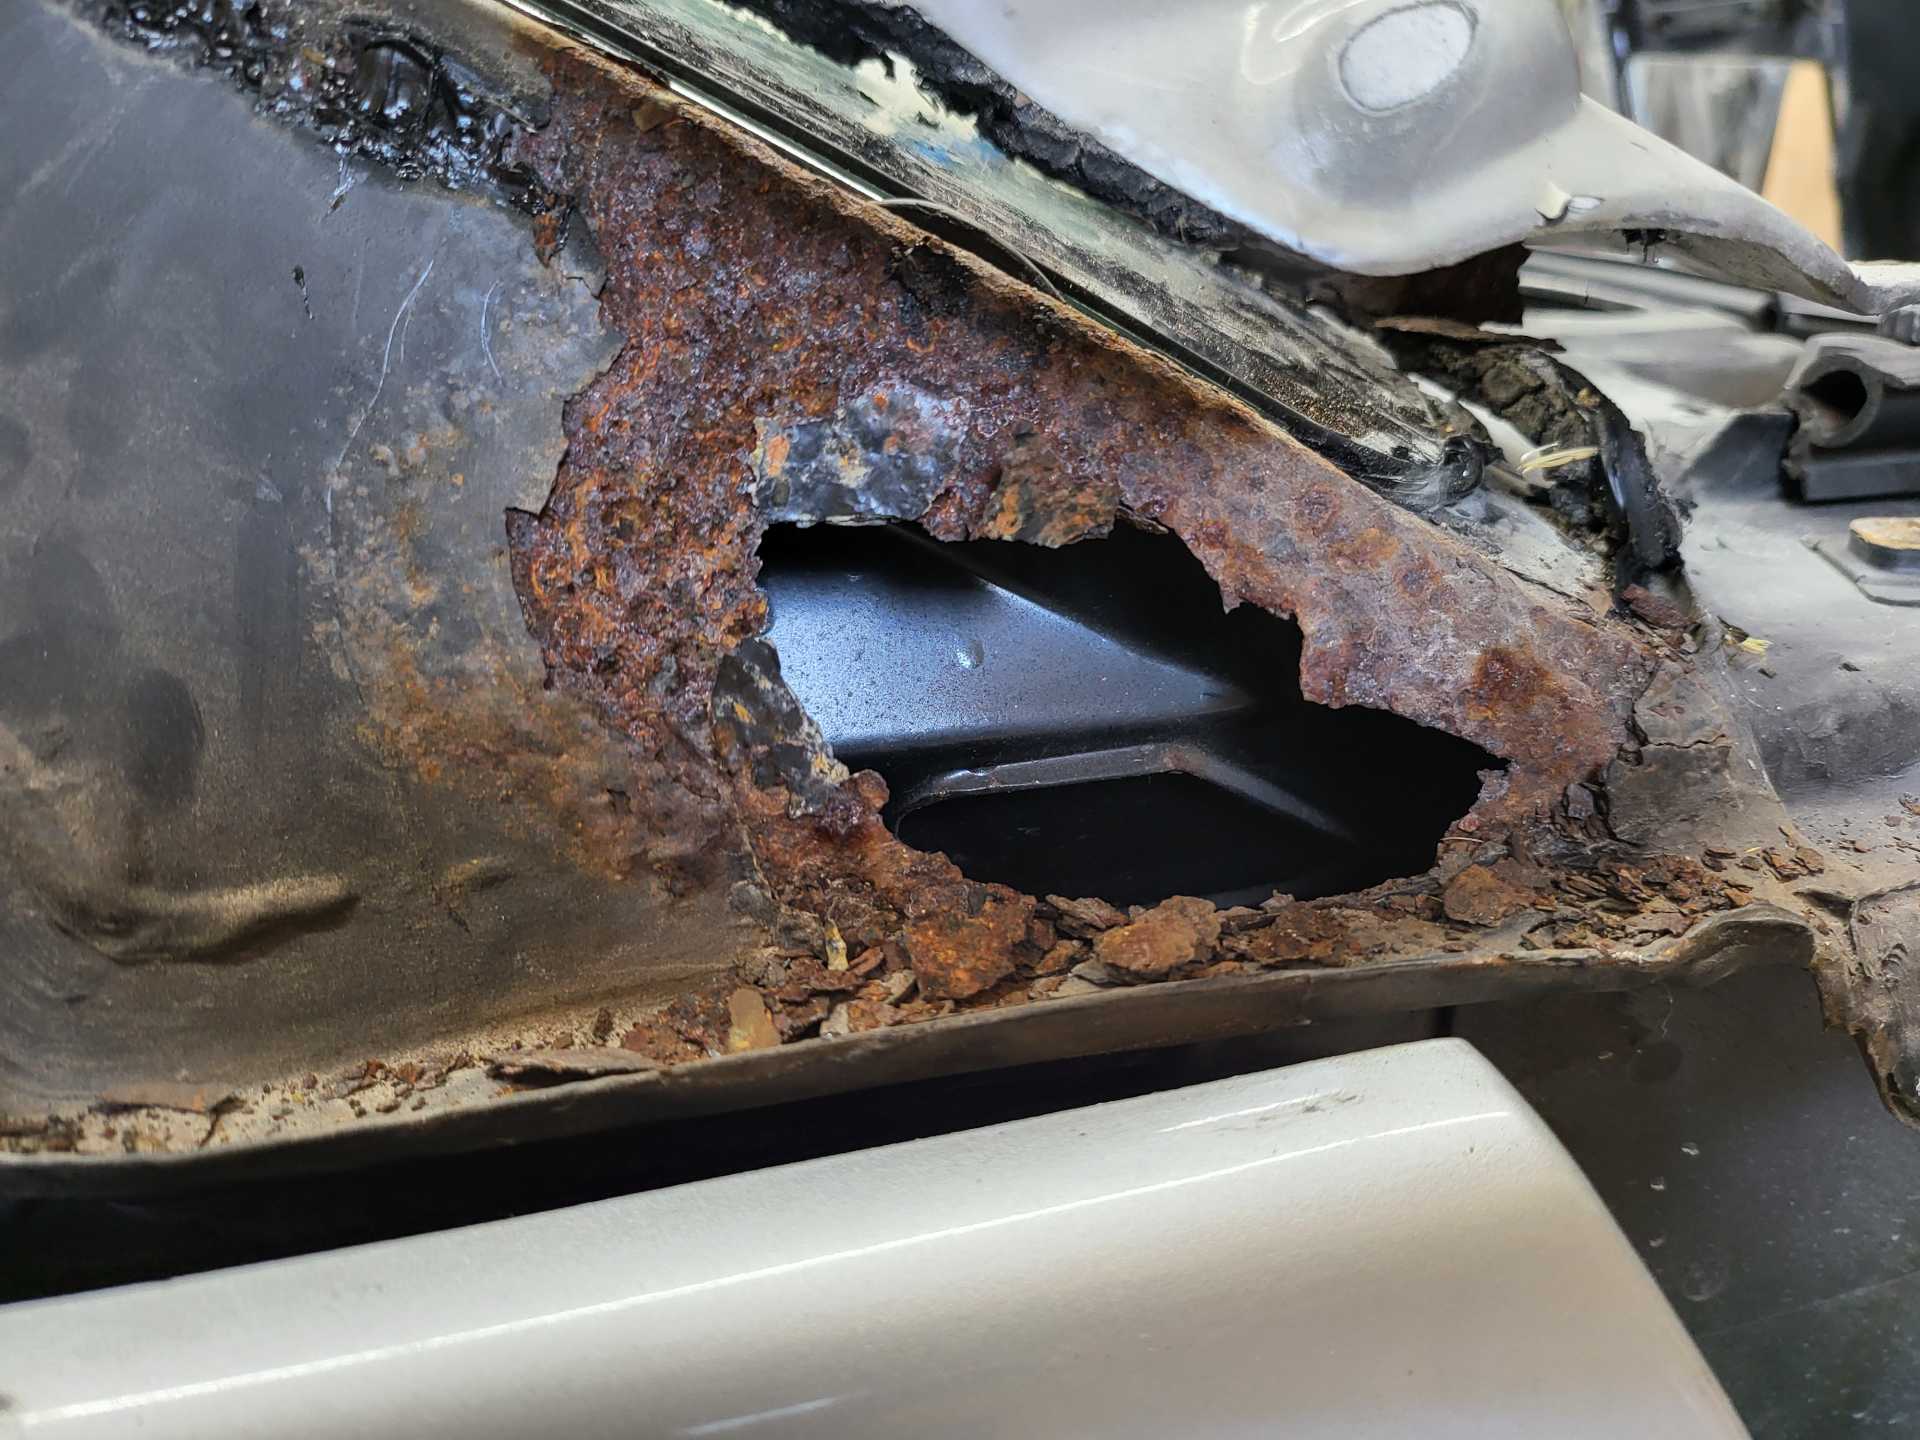
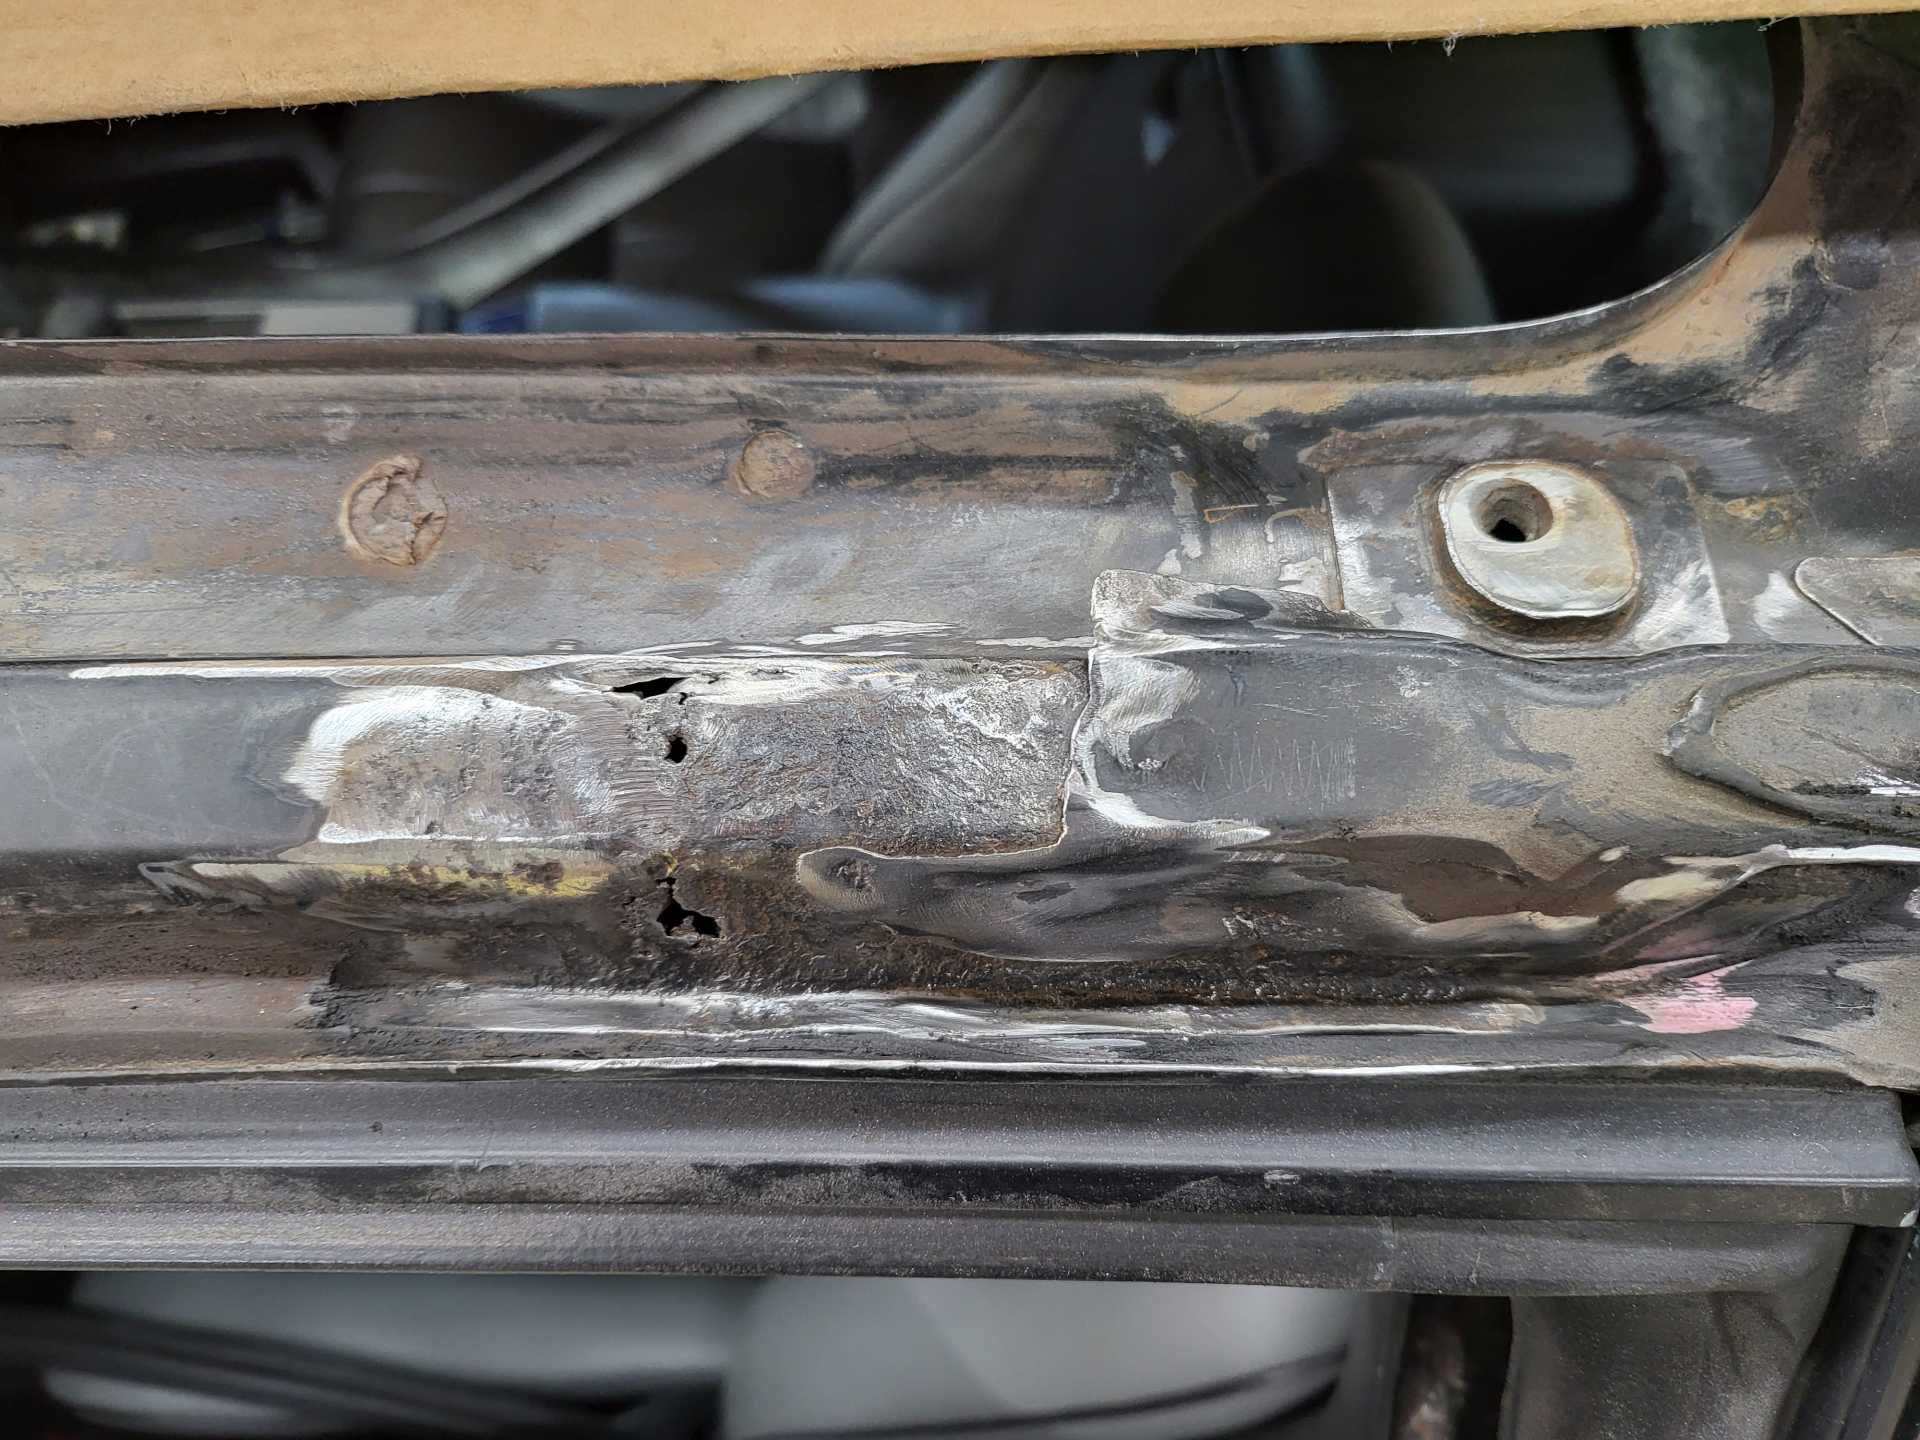
After some cutting and grinding I am left with this:
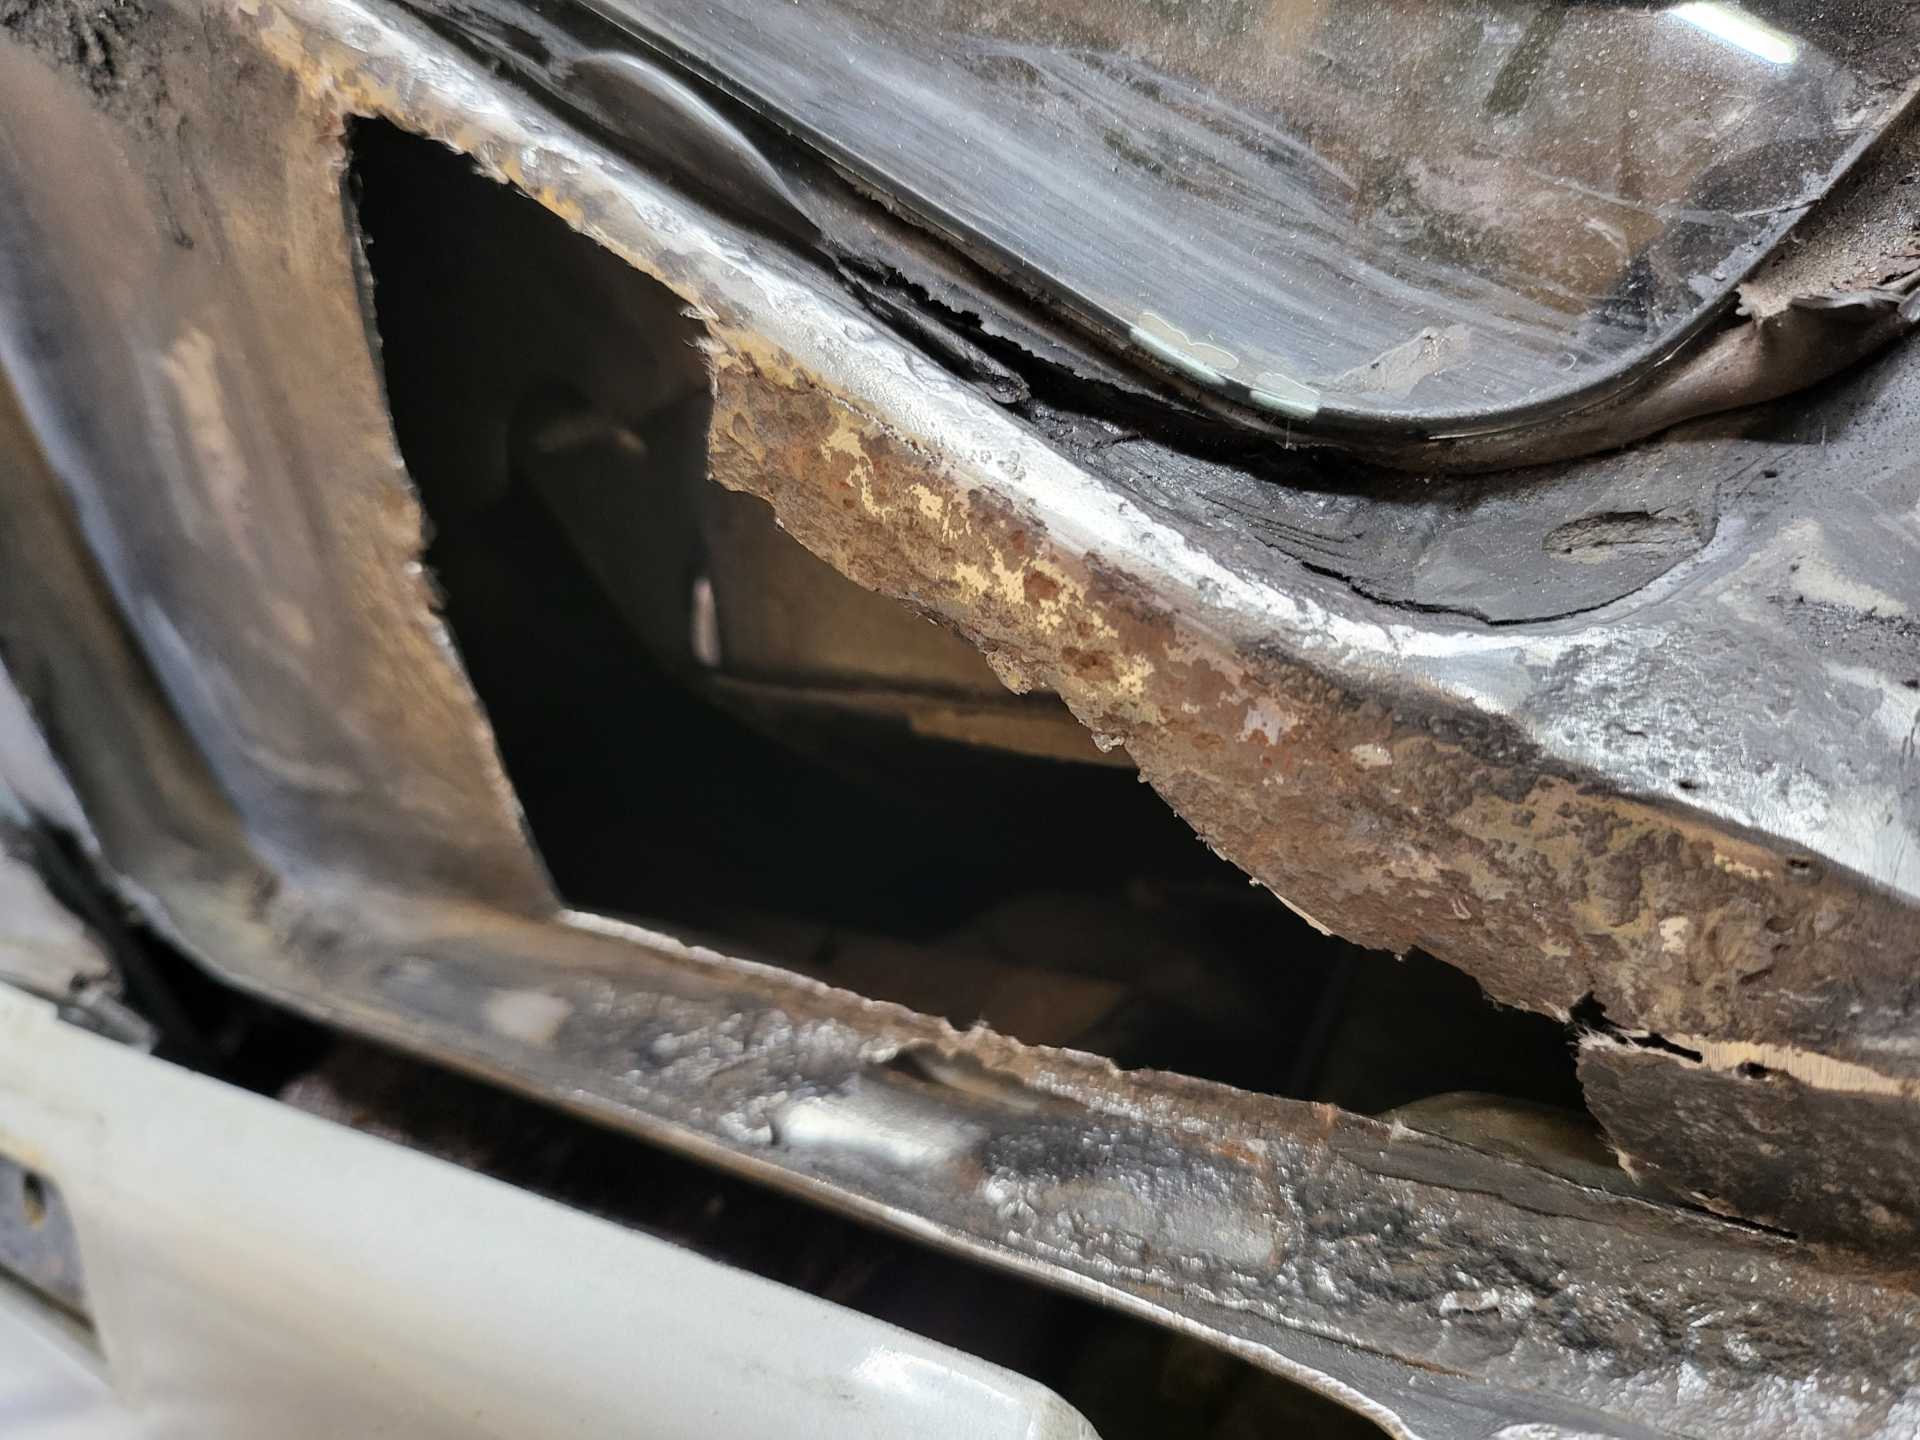
I am so thankful that I will not have to remove the windshield. The rust wasn't through in the lip.
I still have a bit more cutting to do but wanted to keep the profile in tact prior to making patches for welding.
|
|
|
|
longjonsilver
|
JUL 16, 09:18 AM
|
|
|
You're doin a great job there. Thanks for the photos ------------------
Astronomy says we will find a coded signal from outer space. Then we'll KNOW that life exists there, for coded signals aren't by chance.
Biology says there are coded genetic signals in every cell, but we KNOW that no intelligence created life.
I'm the original owner of a white ' 84 2M4 purchased Dec 10, 1983 from Pontiac. Always garaged, no rust, 3800SC, 4-wheel drifts are fun!
|
|
|
|
Matthew_Fiero
|
JUL 17, 02:32 PM
|
|
|
|