
 
     |
| IMSA Racecar resoration:The rebirth of the Seyfert/Buist Fiero (Page 3/10) |

|
Dave Deerson
|
JAN 04, 06:20 PM
|
|
Here's the interior in it's final mock up.Yes I do like to make everything out of cardboard,even the gauges. I spent a long time in the seat making sure things like gauge placement,shifter location,switches,pedals,etc.. were thought out as much as possible(yes,there were a few late nights making engine noises and shifting gears trying to imagine what this beast would be like on the track!)

Now came things such as radiator support,radiator and brake cooling ducting,and start on hanging body panels:
On to hanging the body,which took some effort to get a reasonable fit. Being a racecar body,some of the panels are not equal side to side! For example,the rear quarter flares are 3/4in wider on the right side than the left and the right front fender is longer than the left!! So just squaring up the body to the centerline of the chassis would not work as the wheels would rub on one side and have too much clearance on the other .It is more important to have the chassis and suspension square and even side to side so a compromise is needed.
Then comes the task of getting the panel gaps acceptable,I know it's a racecar,but I just could not let some things go. Many hours of shaving or adding fiberglass to panel edges left me very itchy,but happy with the results.
I'll post those pics tomorrow as I probably put up enough for everyone today!!
Dave
|
|

|
kwagner
|
JAN 04, 06:28 PM
|
|
Wow  This is excellent This is excellent  More more more More more more 
|
|
|
|
ALLTRBO
|
JAN 05, 12:21 PM
|
|
|
Truly awesome. Thanks for sharing so far!
|
|
|
|
Custom2M4
|
JAN 05, 02:02 PM
|
|
|
|
|
Mickey_Moose
|
JAN 05, 02:13 PM
|
|
| quote | Originally posted by Dave Deerson:
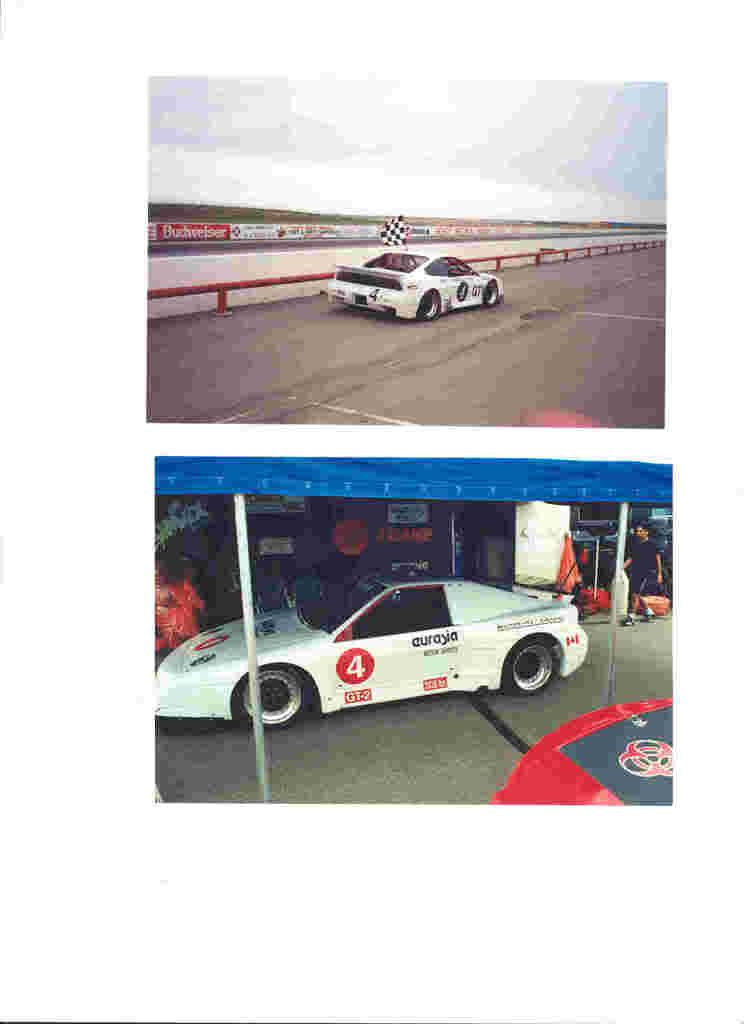
I'm not sure where in Canada Jack took this one,Hey Mickey Moose!Help me out with that info!
|
|
If I had to guess, I would say Calgary - but I would have to ask Jack to be sure. I will have to get back to you.
BTW: nice thread 
|
|
|
|
SuperchargedV6
|
JAN 05, 05:28 PM
|
|
| quote | Originally posted by Dave Deerson:
DGP may have been involved in the initial development of the race bodies and supplied the street versions of the IMSA Fiero,but as far as I know,Huffaker had the moulds and was the firm one would go to to purchase body panels.Then later on, later 1987 to 1988,they widened the front and rear flares as IMSA allowed wider track widths and made their own moulds for them.These are the moulds that my fenders and rear quarter panels(Paul Hosler's as well) came from and they still have the DGP numbers cast into the lower edge.Huffaker later sold the moulds to Jack Ondrak and another gentleman in California.
As far as the Centerline wheels,they only would fit the race car suspension as the race uprights used wheel hub/bearing units from the larger full size cars.The bolt pattern is larger than stock Fiero. |
|
Quick note Dave,, this is the Huffaker car with the Whale tail at DGP's garage right after they finsihed painting it and stickering it. I have plenty of photo's from DGP's records like this. Rick B

|
|
|
|
Dave Deerson
|
JAN 05, 06:01 PM
|
|
Maybe DGP made the bodies,but I think Huffaker was the one that distributed them to much of the racers.The guy here in NJ that built his car from the plans bought his plans and body panels from Huffaker directly. Then later Hufaker may have made his own set of moulds as his rear quarter panels and front fenders were 1 1/2in wider in 1988-on. Also,a "Huffaker" door panel for the driver's side did not have the "return" on the upper flange as "his" cars(the STP/Goodwrench racecars) used a NASCR style doorbar for increased driver protection as opposed to the minimal door bars as on the original drawings(and on my car). All the later genuine Huffaker cars(1988-1990) also used the NASCAR doorbar,as seen on cars such as Jack Ondrack's. I'll try to get a Pic posted up
P.S. My "discaimer": I never claimed to be an "expert" on these IMSA cars. I got my info from Terry Satchell,John Callies(through Paul H),Joe Huffaker JR,Jack O. and others,plus hundreds of photos and my own car Some facts may have been blurred by the passing of many years,so I can't claim all to be totally accurate. So if something sound incorrect,I'm all ears!
I appreciate all feedback and hope you all enjoy these pics as much as I do posting them.
Dave D.
|
|
|
|
doublec4
|
JAN 05, 07:44 PM
|
|
|
This is great work you' ve done here, the build looks excellent. How does the structure compare to Paul Hossler's car? Is it similar geometry or have you guys come up with your own plans?
|
|
|
|
Dave Deerson
|
JAN 05, 08:29 PM
|
|
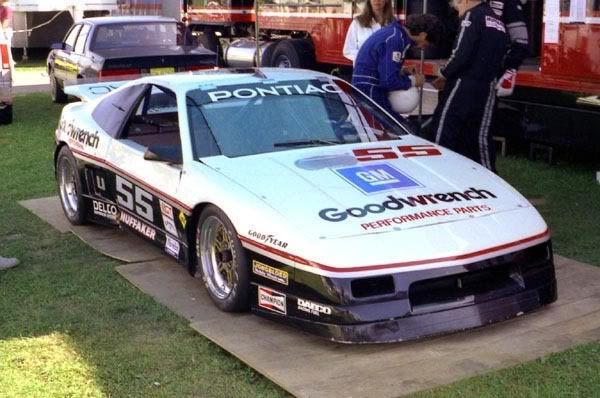
Ok,finally I got all the body panels from all corners of North America and I could start on building the mounting brackets. But before this I had to decide what body I was going to use.There were 3 body types used on the Fiero roadrace cars throughout the years:1.The original knotchback as on the cover to the Performance Plus guide(complete with opening driver's door).This was only used for a very short span 2.Knotckback "pacecar" nose(the nose most commonly seen and used on all of the rest) as used with the Huffaker "STP Son of A Gun" cars through 1986. 3.Fastback narrow body as used with the Huffaker "Goodwrench" cars through 1987. 4.Fastback widebody-from 1988 and up,Huffaker did not have the GM sponsership and the cars were raced by guys like George Robinson who brought their own money to the table. As a result,Huffaker continued development of the cars and changed both the chassis and the body with the cars sporting longitudinal V6s,heavily revised front and rear susepnsion,and front fender and rear quarter flares stretched 1 1/2in per side.Since I knew where the moulds were for the later(and IMHO the more aggressive looking) wide body fastback body,this is the style I went with.
1987 narrow body fastback:
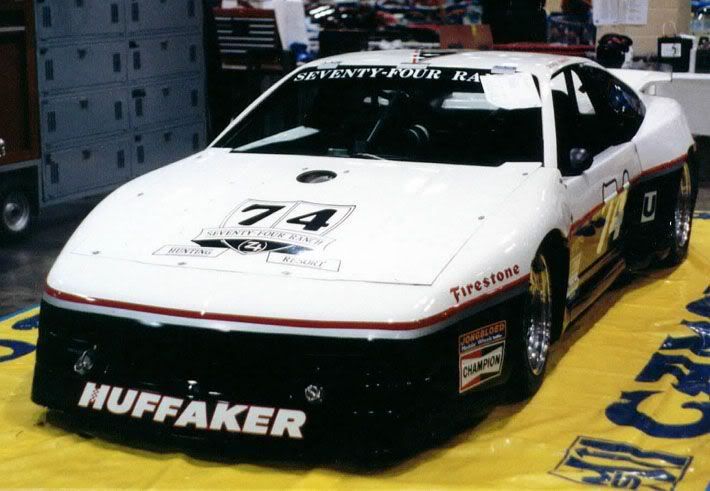
1988 wide body fastback with George Robinson's "74 Ranch" sponsership:
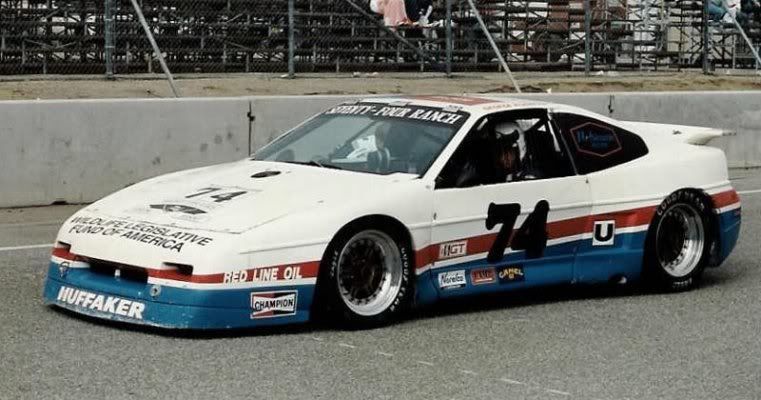
1989 widebody still with Robinson
then Jack Ondrack took some wide body front fenders and made them even wider still for another set of moulds!
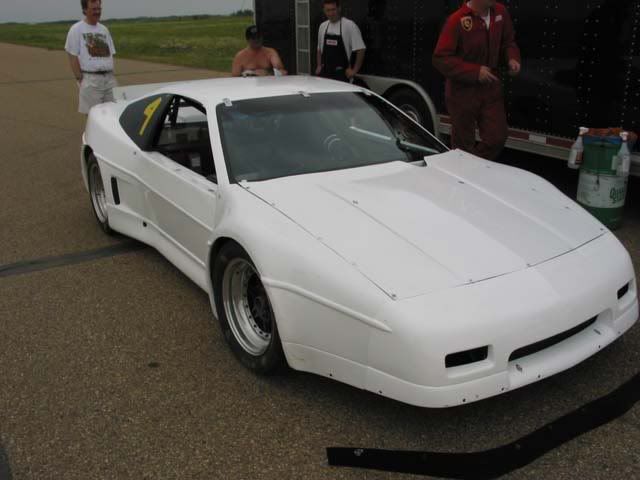
So as I started to hang the panels,the car really came to life! It was almost 2 years from when I started and I was beginning to forget how it looked!
But I think the best day up until then was the day I put it on 4 wheels for the first time and rolled it outside!!
Little details such as taillight mounts and rear diffuser:
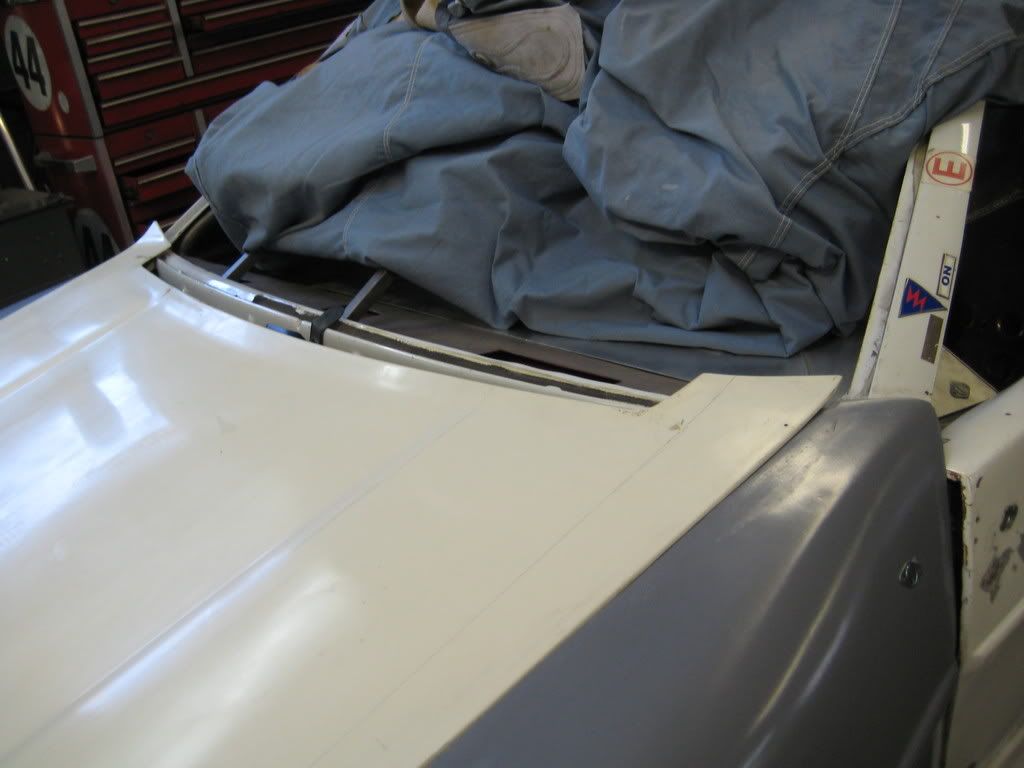
If you notice,the hood in those first pics have a black hood,after that I came across brand new,never mounted Pontiac Motorsports hood and doors which are white gell coat.The hood fit perfectly and had the correct "pontiac" logo in the headlight door and the original style doors just completed the body. BTW the original Motorsports fiberglass is VERY thin cloth,while the rest of the body is thicker chopped mat(which I like better as it will hold up much better to track use) .
Here is the "new" hood and stripping 14 coats of paint from the roof!! You can just make out some red as when Jack bougth the car in 1992 and I did find the original coats of silver just before I got down to the gel coat.
I even tried my hand a pulling some moulds off the fenders.
After much tweaking of body gaps with fiberglass resin,mat and filler and sanding,sanding,and more sanding!!
Here she is finally all in one color in primer!!

Next.............onto final paint(after lots of wet sanding!),wiring,plumbing and assembly! That's when the money really disappeared!
Dave
|
|
|
|
doublec4
|
JAN 05, 09:02 PM
|
|
|
If you were to make diffusers like that, that fit the stock aero rear bumper, there might be a few buyers! I know I would buy one for sure!!
|
|
|
|