 
     |
| The Turbo Super Duty Build. (Page 63/63) |

|
FieroWannaBe
|
JAN 17, 11:08 AM
|
|
| quote | Originally posted by FastIndyFiero:
Spent some of my day off designing a rocker girdle:

|
|
Do you still have the CAD file for this?
I am wondering if the valve spacing works with the '801 head as well. Trying to get my SD4 build some slick upgraded hardware too.
|
|

|
FastIndyFiero
|
JAN 17, 01:07 PM
|
|
| quote | Originally posted by FieroWannaBe:
Do you still have the CAD file for this?
I am wondering if the valve spacing works with the '801 head as well. Trying to get my SD4 build some slick upgraded hardware too. |
|
I'll check, but I should have a model. If you don't hear anything back from me by tomorrow, I've forgotten, send a PM or post again on this thread.
There's a few things I'd probably change on it though, looking back at the design. Relocating the clamp bolts from the inside of the posts to the outside would be number one on my list. I can't recall the difference between 433 and 801 stud locations, that's something I haven't thought about in a long time. The main thing that's harder to quantify is the tolerances on the existing cylinder head, and whether installation of the girdle will cause deformation in the rocker posts. Ideally you want a very stiff girdle (that's the whole point), but the stiffer it is the more ability it has to make the stud deform into the girdle's position. If it's close enough then it's a net win because even if you have a large load from the girdle, there aren't as large of stress reversal ratios and fatigue life will improve.
If I were to design one now with little regard to price, I'd probably make the shaft bores oversized and include O-rings and a system to inject something like DWH 310 to take up the gap on final install. I did something similar on a work project that needed a fitup in the 0.0001's for perfect load transfer. Then as long as the rocker polylock OD is concentric to the shaft threads, you can separate the parts, make rocker adjustments, and get a good clamp-up even with slight variations in stud angle.
https://www.diamant-polymer...shop/dwh/dwh-310-fl/
|
|

|
FieroWannaBe
|
JAN 18, 12:40 PM
|
|
| quote | Originally posted by FastIndyFiero:
There's a few things I'd probably change on it though, looking back at the design. Relocating the clamp bolts from the inside of the posts to the outside would be number one on my list. I can't recall the difference between 433 and 801 stud locations, that's something I haven't thought about in a long time. The main thing that's harder to quantify is the tolerances on the existing cylinder head, and whether installation of the girdle will cause deformation in the rocker posts. Ideally you want a very stiff girdle (that's the whole point), but the stiffer it is the more ability it has to make the stud deform into the girdle's position. If it's close enough then it's a net win because even if you have a large load from the girdle, there aren't as large of stress reversal ratios and fatigue life will improve.
|
|
The clamp bolt hole relocation makes sense as far as clamp load and load distribution.
The epoxy filler, could be work around to deviation, provided one maintains the ability to loosen the clamps and adjust the rockers for lash, otherwise basic maintenance becomes much more complex. The design should be oversized on the adjuster shaft enough to allow for deviations within a "tolerance", and take up of these clearances would be accommodated as much as feasible upon clamping.
And if this gets too expensive and complicated, Jesel (as of 10-28-2022) will make their adjustable shaft rockers at any desired ratio, KPS-02716, for $1400.
Pontiac states relocated valve centers and rocker stud holes on the valves with regard to the 801 head literature. But there were incremental changes from the 433 to the 437 and 801 head, and I havent seen any definitive information what all was changed at what time and how much.
| quote | | 10045437-Aluminum cylinder head This 2.5 special aluminum cylinder head is a race winning design for the four cylinder Pontiac Aluminum "Super Duty" that's proven itself in IMSA road racing and Competition Eliminator series. This rugged, lightweight head gives you Pontiac and NASCAR quality with plenty of extra metal, and proven performance with totally redesigned, super free-flowing ports. Oversize ductile iron seats and phosphorus bronze guides are standard. Intake volume is 178cc. This head accepts standard four-cylinder intake port centerline manifolds. |
|
| quote | 10049801 — Super Duty Four High Port Special Aluminum Cylinder
Head
This version of Pontiac’s Super Duty four-cylinder aluminum cylinder head's
are designed for maximum-effort competition engines. The intake runners
and water jackets are raised .670" to improve flow. In the Special High Port
casting, the two center intake ports are moved .800" closer together to
straighten the path to the valves. Both heads’ rocker cover rails are raised
.300", and the exhaust ports are raised .600". The valve centerlines are
relocated to unshroud the valves, and the rocker stud holes are moved to
match the new valve locations. The valve seats will accept 1.94–2.08" intake
valves and 1.60–1.625" exhausts. The combustion chamber volume is 67cc.
Technical Notes: Valve guides are supplied but not installed. A template is
provided for redrilling headers to fit the revised exhaust flange bolt pattern.
An intake manifold must be fabricated to fit the High Port Special's port
spacing.
and
|
|

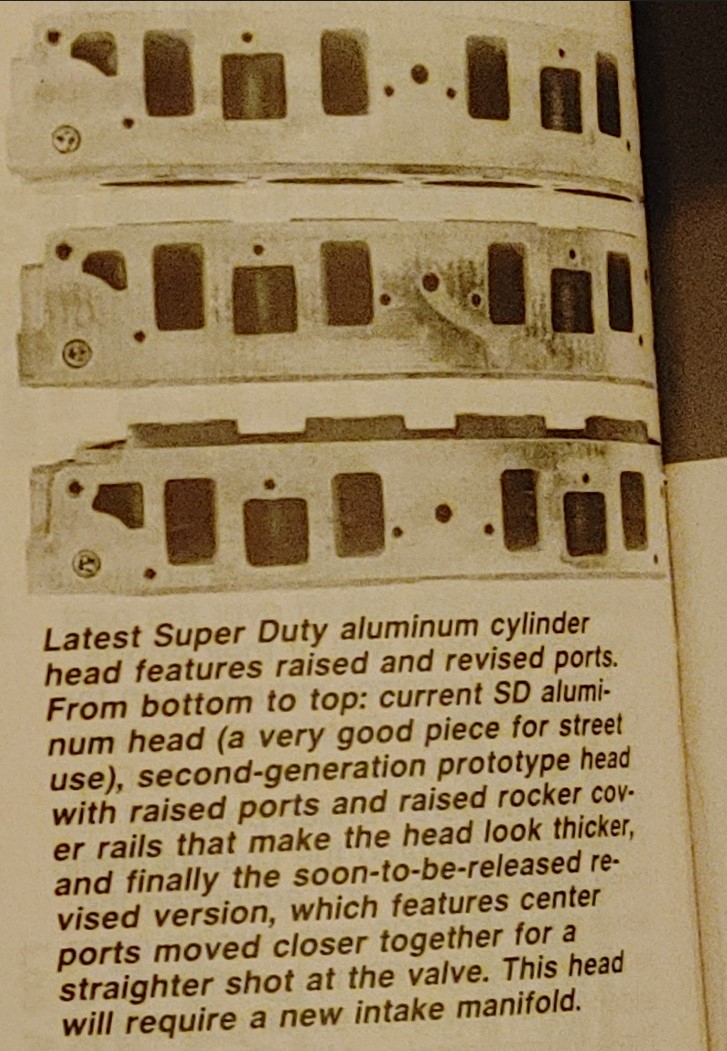
Assuming this magazine photo and blurb feature the known 3 aluminum heads, the bottom "current" head is mentioned in the article as 10038433, I assume the center design is the 10045437, as the port height layout matches other photos I found, and the top is 10049801, since it matches the marketing description and port layout. being as a 437 and 801 head appear to match exhaust ports, but not intake ports, and the 433 and 437 heads match port spacing on the intake It could be entirely feasible that each Super Duty head would (except iron heads) require their own stud girdle due to valve positions differing on each design.
I even emailed Brodix last fall to ask if they had any data from when they made these heads to find out how far the valves moved on the 801 head. They told me they forfeited designs/drawings and molds to Pontiac when it folded, I assume it's all gone forever.
|
|

|
FastIndyFiero
|
JAN 20, 01:52 PM
|
|
| quote | Originally posted by FieroWannaBe:
Assuming this magazine photo and blurb feature the known 3 aluminum heads, the bottom "current" head is mentioned in the article as 10038433, I assume the center design is the 10045437, as the port height layout matches other photos I found, and the top is 10049801, since it matches the marketing description and port layout. being as a 437 and 801 head appear to match exhaust ports, but not intake ports, and the 433 and 437 heads match port spacing on the intake It could be entirely feasible that each Super Duty head would (except iron heads) require their own stud girdle due to valve positions differing on each design.
I even emailed Brodix last fall to ask if they had any data from when they made these heads to find out how far the valves moved on the 801 head. They told me they forfeited designs/drawings and molds to Pontiac when it folded, I assume it's all gone forever. |
|
I do still have the models, I was messing around with them last night. It looks like I had modeled the rocker studs based on the head drawing shown in the Pontiac Performance magazine. I don't believe I ever vetted that back to the 433 head that I actually have. I'm happy to generate a model with your stud locations, if you want. I don't think it would be very costly to find someone with a CMM or just a mill to slap the head on and locate the stud centers. Of course, getting the girdle fabbed could be a different story. If it was me, I'd have the main girdle and the clamp blocks milled, then 3D print drill guides for the clamp holes.[This message has been edited by FastIndyFiero (edited 01-20-2023).]
|
|

|
Tall Garage
|
MAY 03, 03:40 PM
|
|
|
What a ride, sad to see it end like this.
|
|

|
FastIndyFiero
|
MAY 04, 04:46 PM
|
|
| quote | Originally posted by Tall Garage:
What a ride, sad to see it end like this. |
|
Next you're going to be telling me that 19 years is too long to take for a build thread!
|
|

|
Carcenomy
|
MAY 04, 06:20 PM
|
|
| quote | Originally posted by FastIndyFiero:
Next you're going to be telling me that 19 years is too long to take for a build thread! |
|
A full half of my life has been waiting on updates to this build thread 🤣
|
|

|
Will
|
MAY 08, 06:40 PM
|
|
| quote | Originally posted by FastIndyFiero:
Next you're going to be telling me that 19 years is too long to take for a build thread! |
|
| quote | Originally posted by Carcenomy:
A full half of my life has been waiting on updates to this build thread 🤣 |
|
Tell me AAAAAAAAAAAAAAAAAAAAAAAAAALLLLLLLLLLLLLLLLLLLLLLLLLLLLLLLLLLLLLLLLLLLLLLLL about it.
|
|

|
FastIndyFiero
|
SEP 27, 01:35 PM
|
|
Quick 20 year build update! In 4 years my son will be as old as I was when I started this thread. LMAO. It makes justifying the spending on this a little bit harder when there's two college educations coming up, but here's what's going on!
For the last few years I've been working on procuring some infrastructure to help with the project, TIG welder, fixture table, etc.
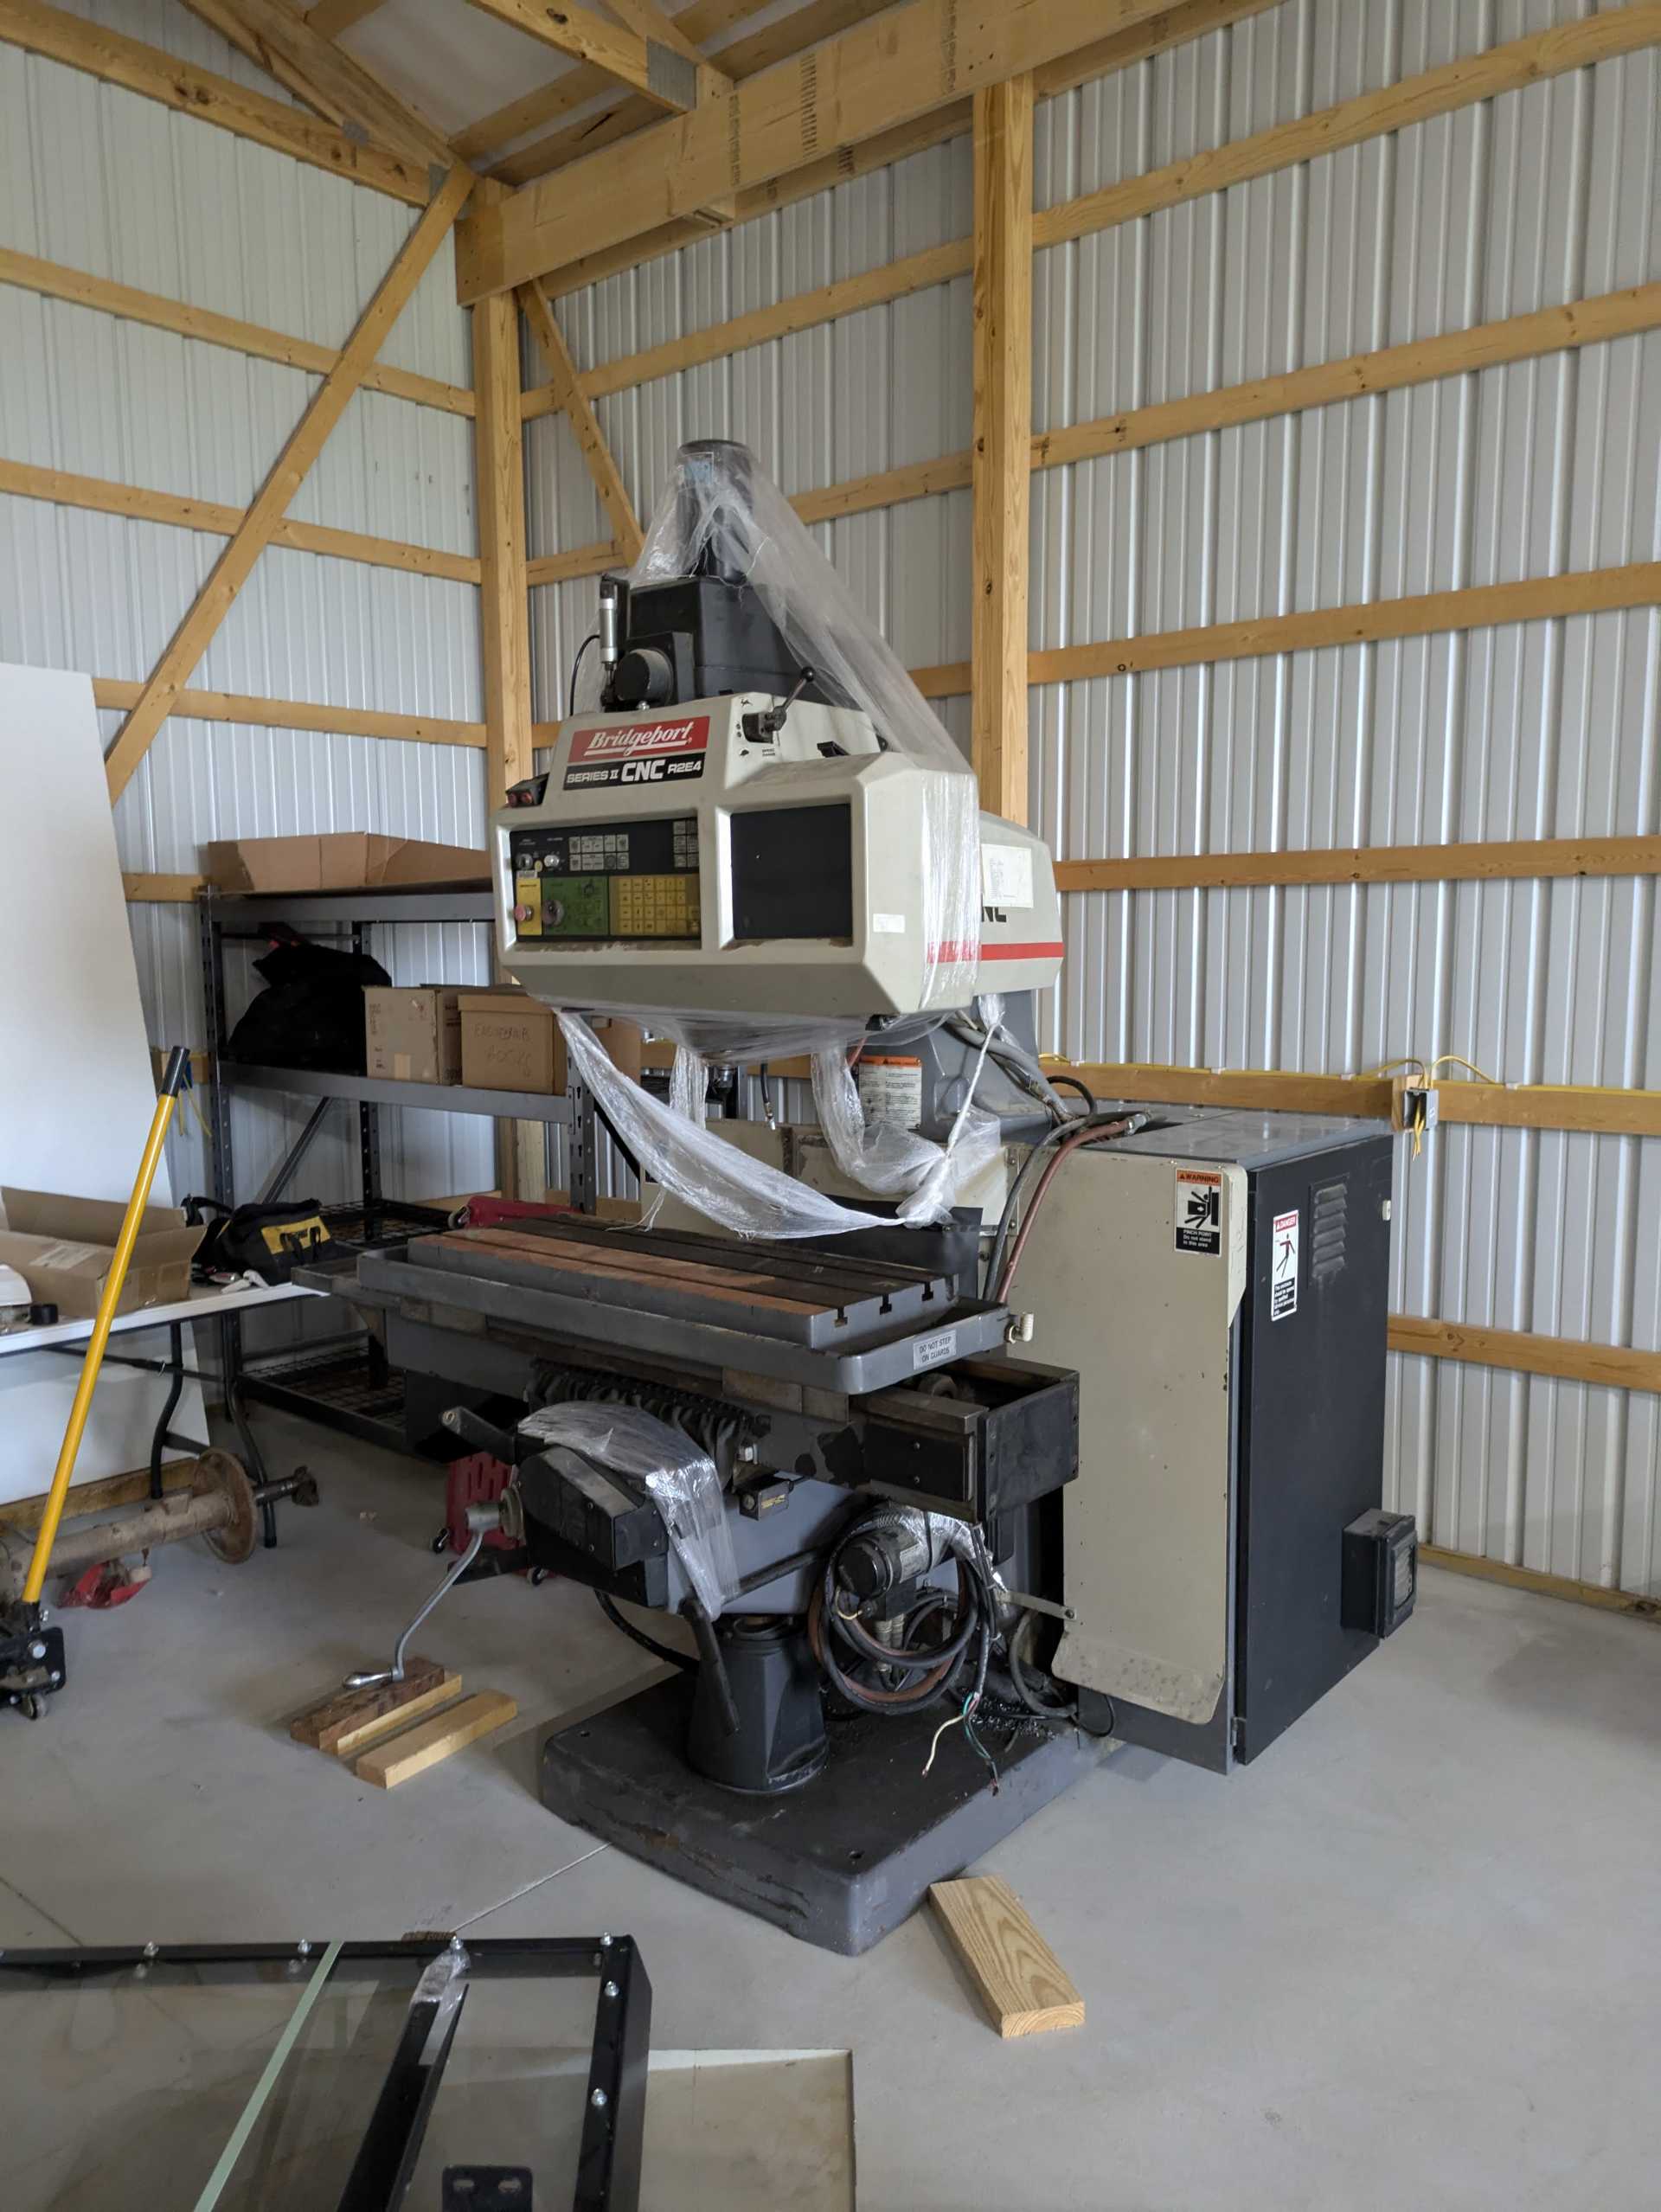
I just got a CNC mill a few weeks ago:

It's as old as I am, but it's mechanically sound and the ways are in excellent shape except for some rust on the ways for the knee. The original controller is dead, however, so I've started converting it over to a modern controller and servo drives.
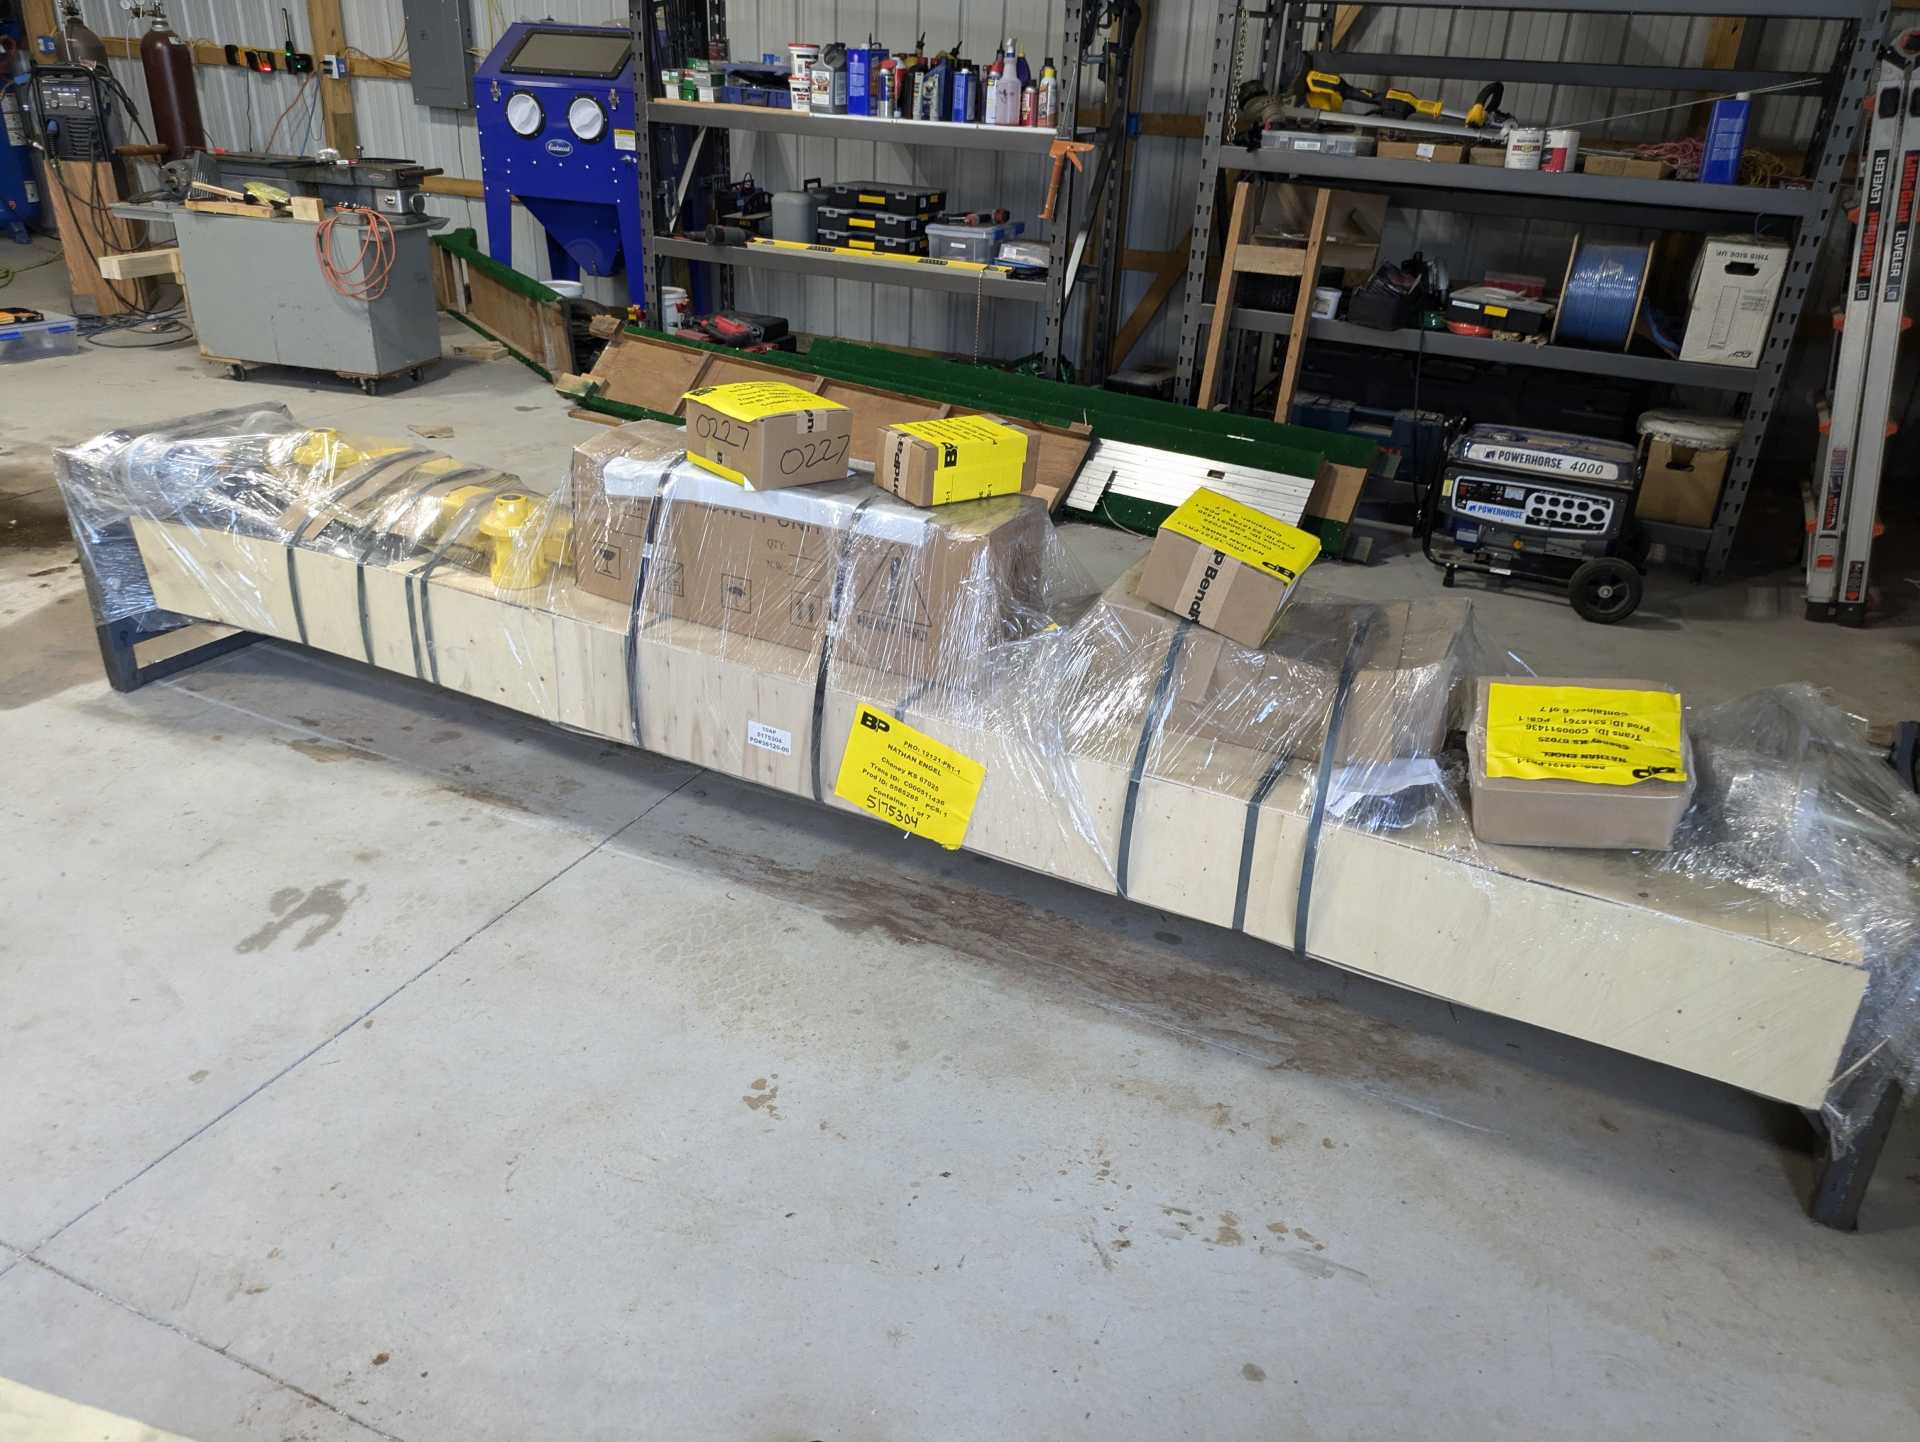
I also got this about a month ago:

Two post lift, that was a pretty big investment but I still do all of my maintenance work on my vehicles myself and I'm getting tired of rolling around on the ground. Unfortunately, this came from money I was earmarking for a Holinger gearbox for the car, but I'm pivoting back towards the more attainable goal of getting this running with an F40. Spending $25K on a transmission that I could easily lunch and get set back another decade on probably wasn't a brilliant idea in the first place.
Current status of the engine is unchanged. Everything is in storage with LPS on it, I occasionally check the block to make sure nothing is rusting but everything is looking good so far. Apologies for the tease, but you should be used to it by now. I still think about this project every day, and still plan to finish it!
|
|

|
fieroguru
|
SEP 28, 06:28 PM
|
|
|
Never a bad thing to invest in shop tools and equipment. I wish I had garage space for a twin post lift...
|
|
    
  |
|


