Well, it took a few months, but I finally got things installed. I guess I was too busy with my porting, custom exhaust, new intake, carb, fuel regulator, wheels, tires, wiring, etc.etc.
Making recessed lights is not rocket science.
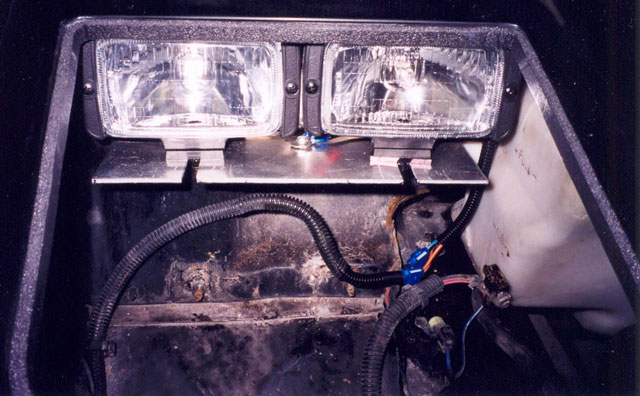
Here is the product and you will notice I have not put in the sub liner yet, so I could take the pics.
The subliner is simply aluminum sheeting, painted black, and bent to the shape required, and then glued in place with either epoxy or gasket silicone.

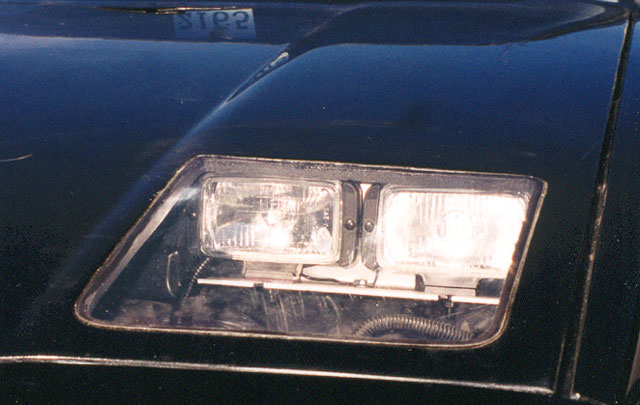
Notice the rubber strips around the perimeter of the opening. They are recessed about 1/8" to allow me to silicone in the LEXAN covers.
Also note the existing wires have not been destroyed. I have tied in with simple electrical locking joiners so that I can re-install the pop-ups for any future owner.
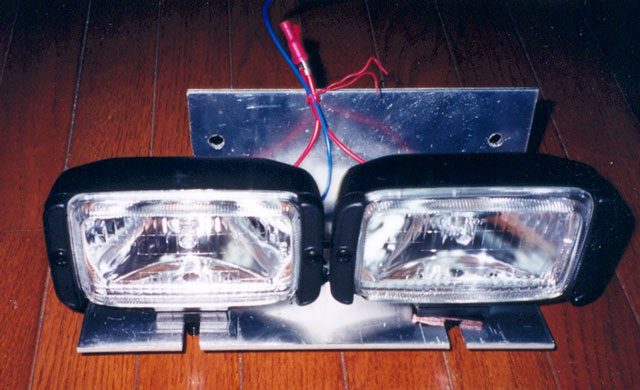
Here they are, on the dining room floor before installation. Note the lights are driving lamps of the cheap variety, and you can get as expensive as your wallet will allow. They mount on a single swivel pedestal for really easy aiming.

Here they are in the car with the LEXAN in place. (the car is dirty so don't comment)

The rubber strips are simply self-sticking weather stripping. I then laid down black silicone on the rubber and stuck the LEXAN down.
Again you will see I did not put in the liner yet but I will do that last, after the lights are aimed.
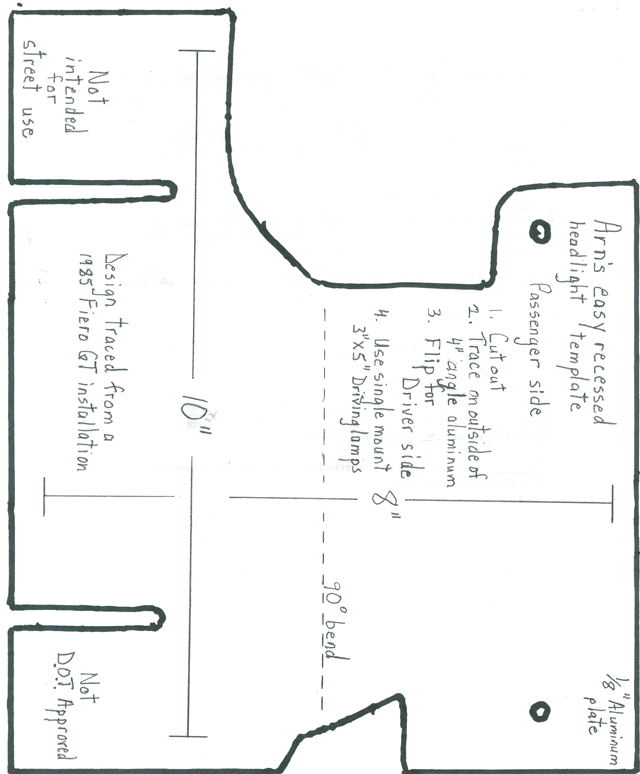
The bracket is easy. You buy a 2 pieces of sheet aluminum, 8" X 10", 1/8" thick at your metal supply store and get them to brake the pieces into 90* as directed. You will then need a ruler, a drill, a jig saw, a good metal file & rat-tail file, and some electrical quick-connects, and the usual wrenches etc.
Below is the template which was traced off the outside of the finished product.
You just have to print it, ensuring that the inside of the black lines at the corners is 10" X 8".
This is the pattern.

This whole project is under $75 USD.
I hope you have fun with it.
Arn
------------------
Arn Brown,


