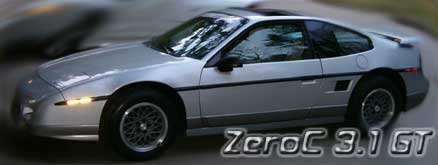
Not so long ago my left headlight failed to pop up. The headlight motor had been rebuild a few years before (or that is what the garage claimed they did) and at first I was planning to rebuild it again, but this time do it myself. I contacted
Rodney Dickman to ask what was needed for the rebuild and he said he happened to get a complete headlight set from an 88 and that it would be better to swap my "Generation 1" headlight motors out for the "Generation 2" headlight motors. He kindly donated the kit under the condition I would do a write up. So here it is.

I made this into a VBook, so to view the VBook, click here or click the "Print VBook" link at the top of the thread.
Introduction
The Fiero uses two different headlight motor systems. One is used in all 84 to 86 Fieros, the other is used in all 87 and 88 Fieros, hence they are usually referred to as the "Generation 1" and "Generation 2" headlight system. The Generation 1 motors have many, many disadvantages. They are noisy and slow and break down often. A lot of people choose to rebuild them when they fail - which is fine if you want to keep your Fiero stock or if you can't find the parts for the Generation 2 headlight system. Otherwise I would suggest doing this swap since it's an easy one and one you will not regret.
What you need
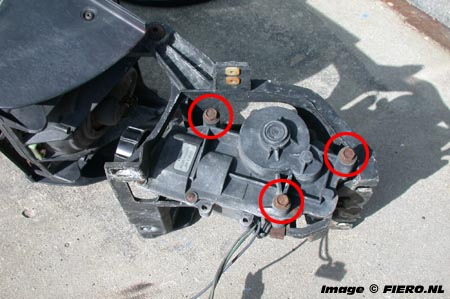
A lot of people wonder what is needed for this swap. Most importantly, you need the headlight actuators (motors) of course. Make sure they are complete with the crank arm and the link assembly:
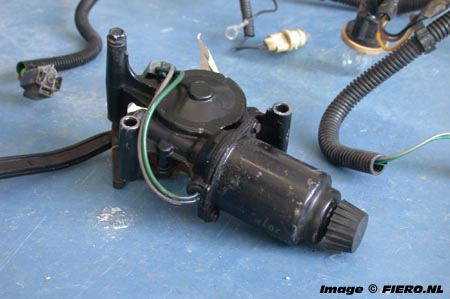
Generation 2 Headlight ActuatorsIf you are removing them from the donor car yourself (or if you have someone remove them for you), make sure they are marked "LEFT" and "RIGHT" since there is a difference. Also, you might want to take the three bolts holding the motor in place since they are about half an inch shorter than the bolts from the Gen. 1 motor.
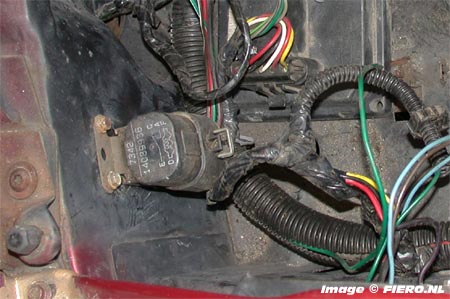
The Generation 2 system uses a motor control module which is not present in the Generation 1 system:
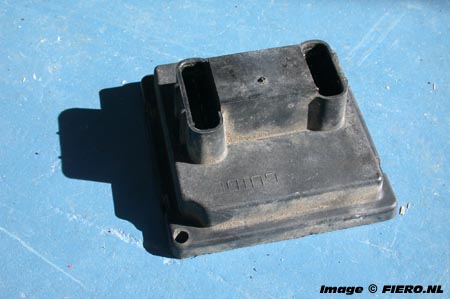
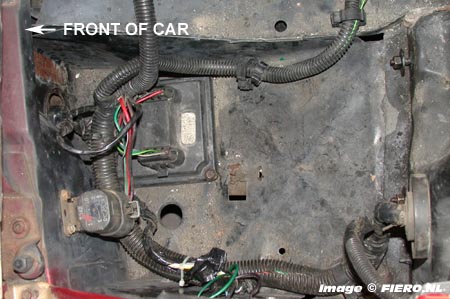
Generation 2 Headlights Motor Control ModuleOn the 87-88 Fiero, the module is located under the driver's side fender. This really is a strange location for the module since there are far better locations for this module:
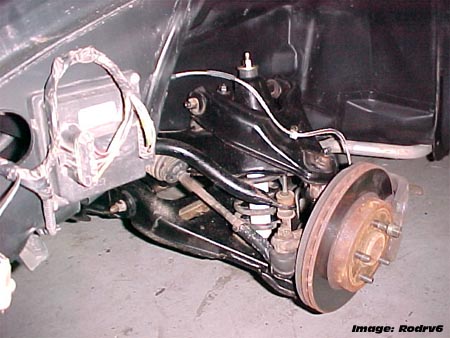
Original location of the Motor Control ModuleFinally, you will need the entire Forward Lamp Harnass, obviously since it's different from the Generation 1 harnass:
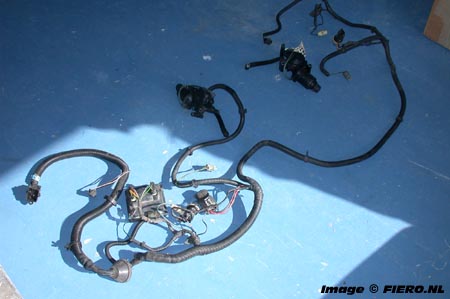
Generation 2 Forward Lamp Harnass
Preperation
Before doing anything else, either disconnect the battery or disconnect the forward lamp harnass (see "The Harnass"). You are working on moving parts and the Fiero's electrical system here and to prevent injuries, you need to make sure the system is not powered!
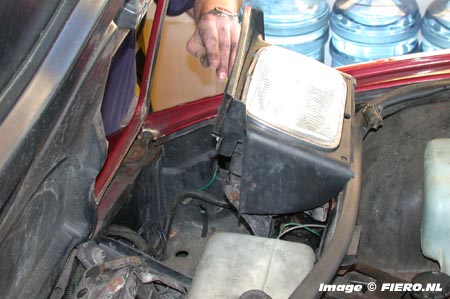
There's absolutely no reason why you don't want to remove the hood. It makes working on the headlights so much easier and re-aligning the hood is a piece of cake. First, open the hood and remove the headlight doors. The headlight doors are attached to the hood with two bolts:
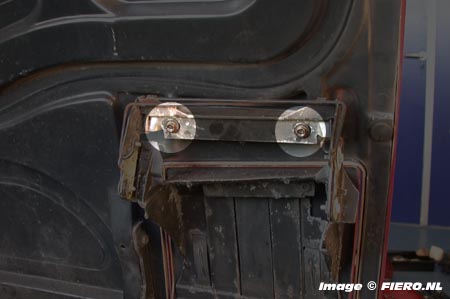
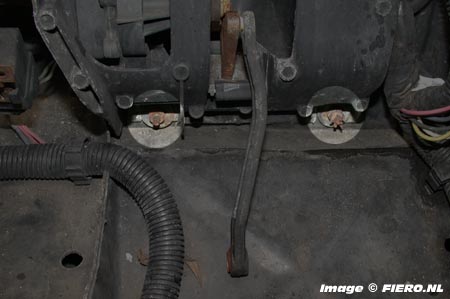
Headlight CoverRemove the bolts and remove the headlight door through the top of the hood. When both headlight doors have been removed, it's time to remove the hood support. Unbolt the two upper support bolts:
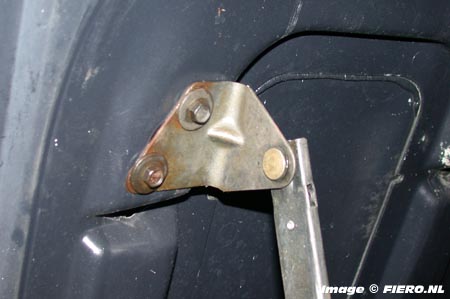
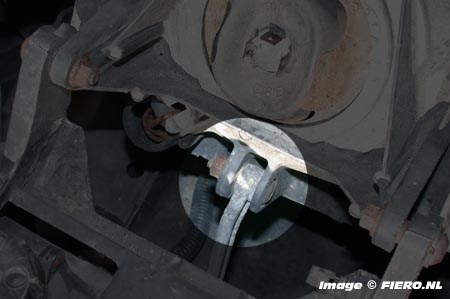
Upper Hood Support BoltsWith the upper support bolts removed, lower the hood support and close the hood. If you now look under the hood through the holes, you can see the two hinges that hold the hood in place. Remove the two bolts on both hinges:
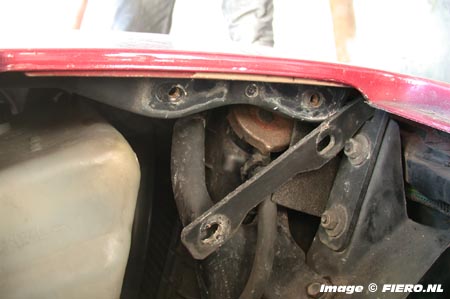
Hood HingeNow you can remove the hood completely.
Continued in next message...


