Well time to start with the polyester!
I've read there are different types of this, being a big noob with this stuff i used what the shop recommend.
The stuff/brands mentioned on other threats were not known here in the Netherlands.
I used a type where one part is the hars and one part is the hardener. Only 3% hardener is needed, i used a bit more to make sure it mix good, the other part are the fiber mats.
Some small tips although im a beginner myself

,
*make sure you get plenty of these parts.
*keep a good scissor close to cut the fiber mats.
*dont mix too much in one go.
*get some cheap brushes. The brushes wont last long and cheap ones are fine.
Since im just starting with this i started at the bottom of the hood. Less important how it looks here.
Also dont worry to much, with the dremel its easy to cut away stuff when its hard.

I sanded the hood a little where i wanted to place the fiber and cleaned it after to get the dust away.
Then i put on some hars first so that the fiber mat holds easier.
Use the brushes to dip on the mats, this helps getting the air out and to make sure hars is everywhere on the fiber mat.
The fiber mat will turn yellow/transparent when u got hars everywhere.

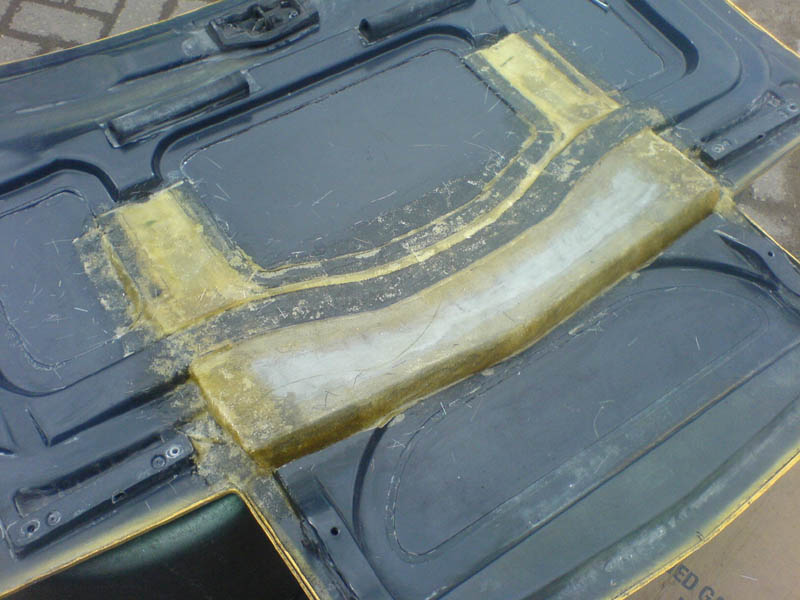
I also placed some fiber mats between the hood vent opening and the headlights to add some strength there.

One side done, i did a few layers, i think about 4/6 layers, im not sure it got pretty thick atleast

Then the rest of the bottom of the hood, i think i did around 2 to 3 layers here. It really dries fast, especially with a bit of sun on it.

Time to start at the top side of the hood. I was a bit more precise here. Using smaller fiber mats at a time.
Also i didnt use too much layers of fiber mats, i didnt want to add much height to this side of the hood.
Also a good tip is to "glue" one part on, let is sit for a few minutes and then do the rest of the fiber mat. It wont move around so much then.

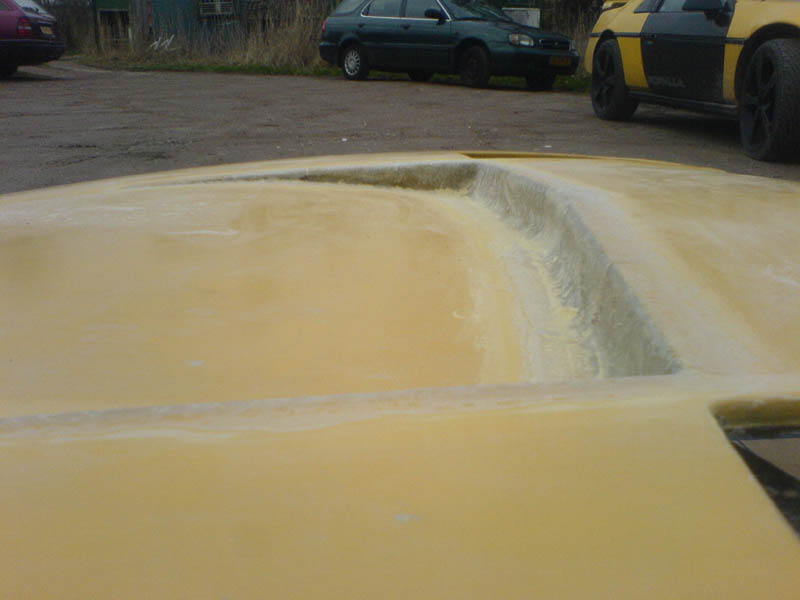
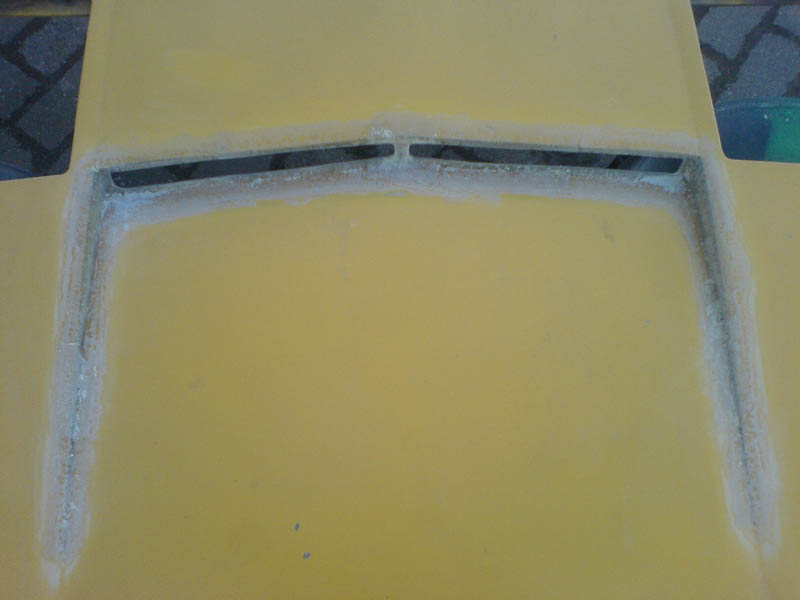
I also filled the vent, i will cut this open again later. I added a bit more in the middle, ill leave a small part there i think so there will be two openings.
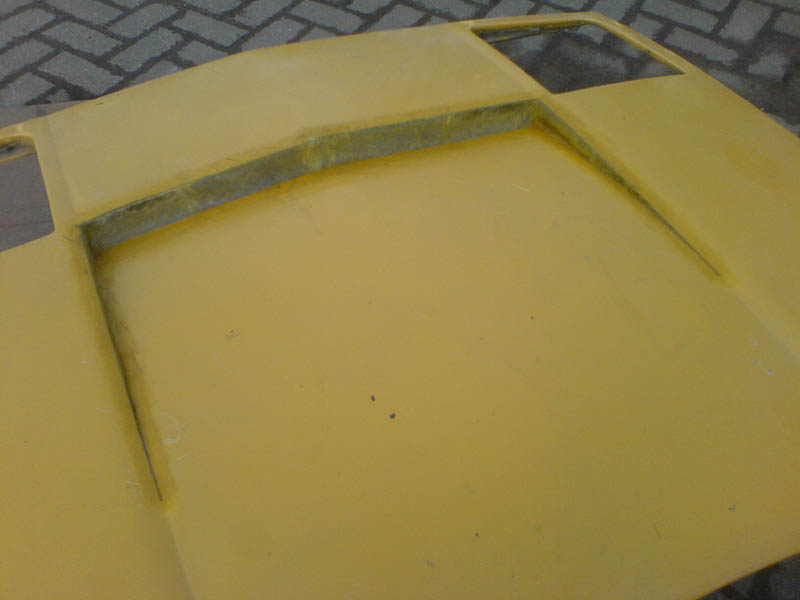
Then again a bit more on the other side of the hood. Some touching up, some for strength and some to make it look a bit better.





 Great looking vent. I have bought another hood from a friend in hopes of cutting it this spring. I have always liked the design that you are doing. I can't wait to see the finished product. Good luck.
 This is my design, but I would love to see what you guys come up with.
 _1.JPG)
