I am getting ready to replace the quarter windows, the local body shop said any tape will work and gave me 3M 06384
This stuff looks thin. It's 1/2 inch wide but is only .045 inch thick. Is this right? I though the quarter windows used really thick foam tape.
Well the stuff is too thin but doubled up it works nicely. I have a nice step by step that works very well and is holding on tight.
I needed a total of 6 yards of the 3M 06384 foam tape, you will lay down the tape twice. I used what I had here for my top layer as you will see in the photos.
Removal of the old windows : if you don't care about busting the quarter windows on the car, go ahead and get physical, Mine did not stick anymore by the bottom of the rear vents so I could get under there and start pulling. WEAR GLOVES the places where it will crack are sharp and will cut you as you bust the window. the old tape is gooey in the black area where it has not had to endure the heat from the engine bay and rain and gunk getting in behind it. If you want to try and save the old windows, it's harder to do, you need fish-line and carefully thread it through and use the fish-line to cut the old foam tape. DO NOT FLEX the window very much. It's 25 years old it will break easily, a lot easier than you think it will. take your time. fish-line does not damage your paint or the old window, piano wire or a guitar string does. also use a heat gun and carefully heat the edges of the window and the whole black area up. you want it to be about 100+ degrees but not much more. you need to soften up the tape a bit.

After the windows are out you need to clean up the tape surfaces, goo gone works if you have time, I used lacquer thinner and a razor blade. I also taped up the areas around it to avoid paint damage, take the time to lay down tape, it's easier than filling a paint scratch. clean all the surfaces as much as possible, some old tape goo is fine as it's the same material as what you are putting on, a body shop is not going to spend 6 hours making it perfectly clean. I then took a heat gun and warmed up the taping surfaces to about 100 degrees. I used a infrared thermometer, if it feels like it has been in the sun all day to the hand, that's a good place to stop. I then applied the first layer of the tape, used a roller to make sure it was down strong, peeled off the release liner and then applied a second layer. This is because I could not get the proper tape here, it is not a common 3m tape. you need to build up the thickness and this acrylic adhesive loves to stick. It also cures with time and heat, so heat is important.
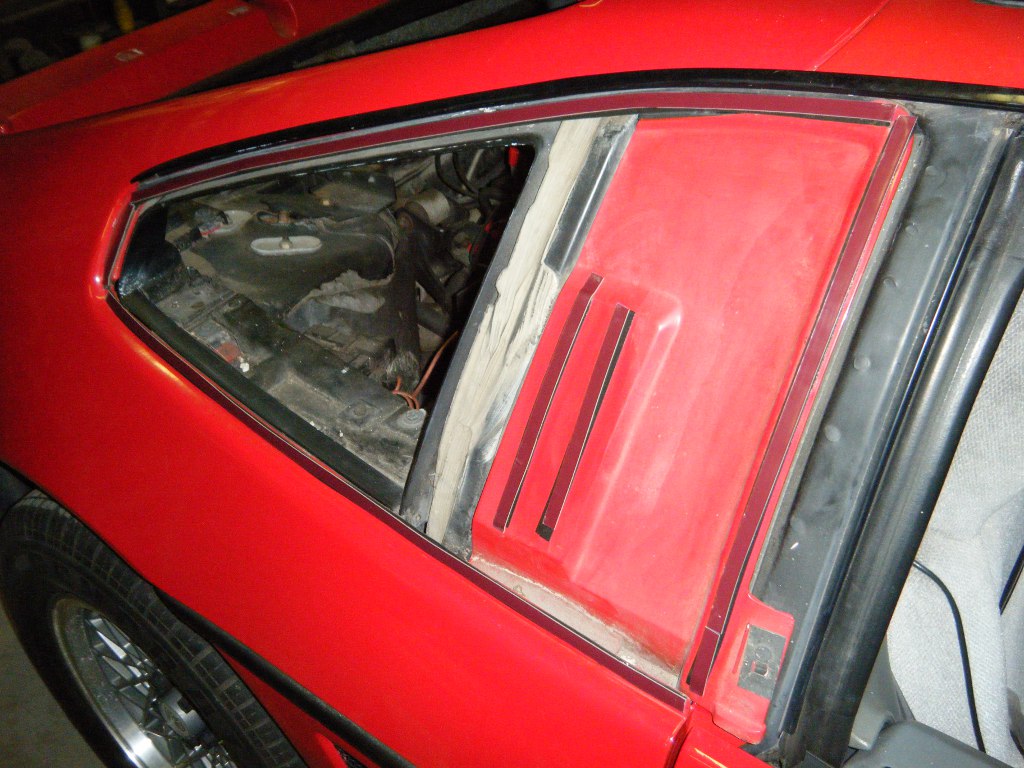
See those extra strips in the center. My stock windows had the tape but the release liner was never pulled. add some here, more is safer.
After the second layer is down, time to wipe the windows taping edges with a bit of alcohol AFTER you go and wash your hands. DO NOT use paint thinner here. The best thing to use is the 3m acrylic tape adhesion promoter, but at $18.90 a can I skipped it. if you are paranoid, buy it and use it. I hear it makes the tape stick really quickly. after the tape is in place I heated all of it once again with the heat gun lightly until I could feel that it all was warm then rolled it all again. Time to install the window. I removed the liner on the end first, and the center ones and the first 3 inches of the three long strips, taping them up and on the car so I can get to them after I install the window. Carefully line up the window and get it lightly in place. DO NOT PUSH HARD! you want it barely stuck to make sure it's right. reposition until you get it right and then slowly pull all the liners out and press down on the window all around where the tape is. I then grab the heat gun and heat the new window in all the taped areas until it's good and warm for at least 5 minutes to make sure the window is heated all the way through, I then press around all the taped spots. keep pressing around every side for a few minutes. I suggest letting the car sit in the sun for at least a day to make the windows stay hot/warm to get the adhesive to cure faster.
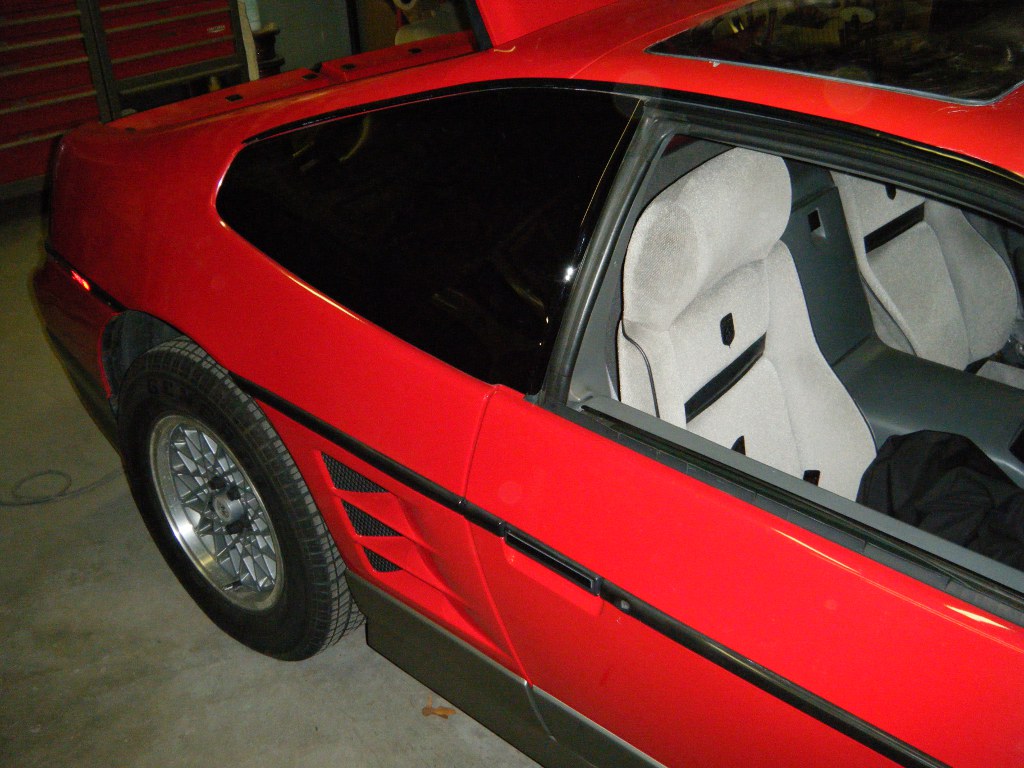
That's it! now I need to tint the side windows!
the thing I learned last night by looking up the 3m tape is all the current stuff is heat cured. Not a problem in the summer, but a day like today where it's 42 degrees out, you either need to heat gun it a lot or let it sit in the shop for 12+ hours with the temperature at 70+ degrees. Right now mine is sitting outside in the sun. As mine is a garage queen it can sit for a few days and slowly cure in the garage. If yours is a daily driver you MUST get that tape warm and the surfaces warm and keep them warm for a while. It will not adhere strongly if it does not have the heat used.
------------------


Get your copy of the Fiero 25th Anniv book at
http://www.blurb.com/bookstore/detail/349809Best RV, Camper, and Trailer dealer in West Michigan.
http://www.cliffstrailersales.com and he's a fiero owner too!
[This message has been edited by timgray (edited 04-17-2011).]