|
|
|

|
Any write ups on pulling 4 cylinder? by weloveour86se
| Started on | : 09-23-2011 08:03 PM |
| Replies | : 54 |
| Last post by | : weloveour86se on 10-30-2011 10:02 PM |
|
|
|
|
Oct 11th, 2011
|
weloveour86se
Member Posts: 4289
From: maine
Registered: Feb 2011
|
| | | quote | Originally posted by 2farnorth:
When you take the engine off the cradle you should support area of the trans to keep it from sagging down and causing head aches trying to hook the eng back up. |
|
Sagging tranny caused all kinds of headaches just putting the cradle back in. We, ( unwisely ) had to remove the pass side strut bracket bolts to get the strut tower to line up on top. Then we had to re-adjust the strut bolts, the biggun's at the bottom of the strut. Were gonna need an alignment or when we put the motor back in we might be able to line it up better, we scribed marks for future reference before removing strut bolts. So glad to have a roller again. It will make life so much easier. Tomorrow were addressing the torque convertor bolts and motor stand attachment bolts. Then the real fun begins!!!
IP: Logged


|
07:12 PM
|
|
|
Oct 15th, 2011
|
weloveour86se
Member Posts: 4289
From: maine
Registered: Feb 2011
|
So we were finally spared the rain today and we got the motor into its winter parking spot. 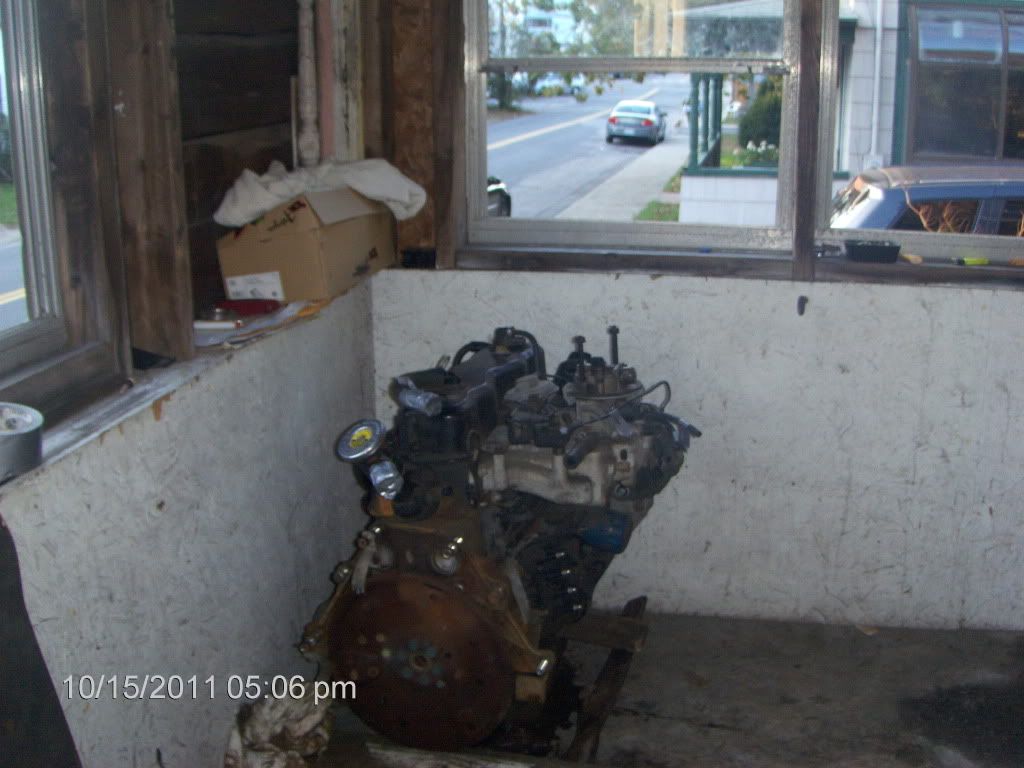 My 11 yr old son had little faith that we could get it up there on the front porch, but with some ancient Egyptian pryamid building techniques, we pulled it off! Up 5 steps and a sharp left turn. A small victory. Now we can sit out on the front porch and have some real fun. We wont have to worry too much about the weather as its enclosed. It might get a lil chilly out there but it's a thousand times better then just out in the driveway or yard! Also got the torque converter off pretty easily using a open end box wrench and reaching in with it. We plan on building a better base to sit the motor on before we start wrenching on the motor. We plan on using small blocks of wood and what not. The motor stand we were planning on using is just too tall and cumbersome. Plus it takes up too much precious porch space. My biggest concern with supporting the motor with blocks of wood is not crushing the oil pan or munging up the oil pan seal edges. Soon the real fun begins, trying to see whats going on inside this motor...Brace yourselves for a large influx of questions and me imploring you guys for advice. This will be my first attempt at a job of this scope. Its nothing like an air-cooled VW motor thats for sure. Thanks and have a great night!!
IP: Logged
|
|
06:00 PM
|
|
|
Oct 16th, 2011
|
weloveour86se
Member Posts: 4289
From: maine
Registered: Feb 2011
|
Ok so the intake manifolds off and a few notes about it, the gasket looks really great Except at the port for the EGR valve. Looks like there may have been some leakage or it was soon to come. It appears that a good cleaning and the intake manifold and throttle body could go right back on. That won't be till much later tho. All the head bolts are turning and are all but out. I just left them in there for the time being. Theres the one thats busted off in the head that will have to be dealt with later. The piece of fire wood we used to help keep the motor upright actually caused the head to shift slightly up and away from the block. There is a very small gap now, enough to fit a screwdriver in. Valve covers off and what I found was no surprise. You may not be able to see it in the pic but the oil thats pooled in the rocker arms is green! Anti-freeze green...Also if you look to the right and bottom of the pic you will see one of those seals that go on additive bottles, it's silverish. It appears to have been plugging up what I believe is a oil passage...Wonder where that came from and how long its been in there.. 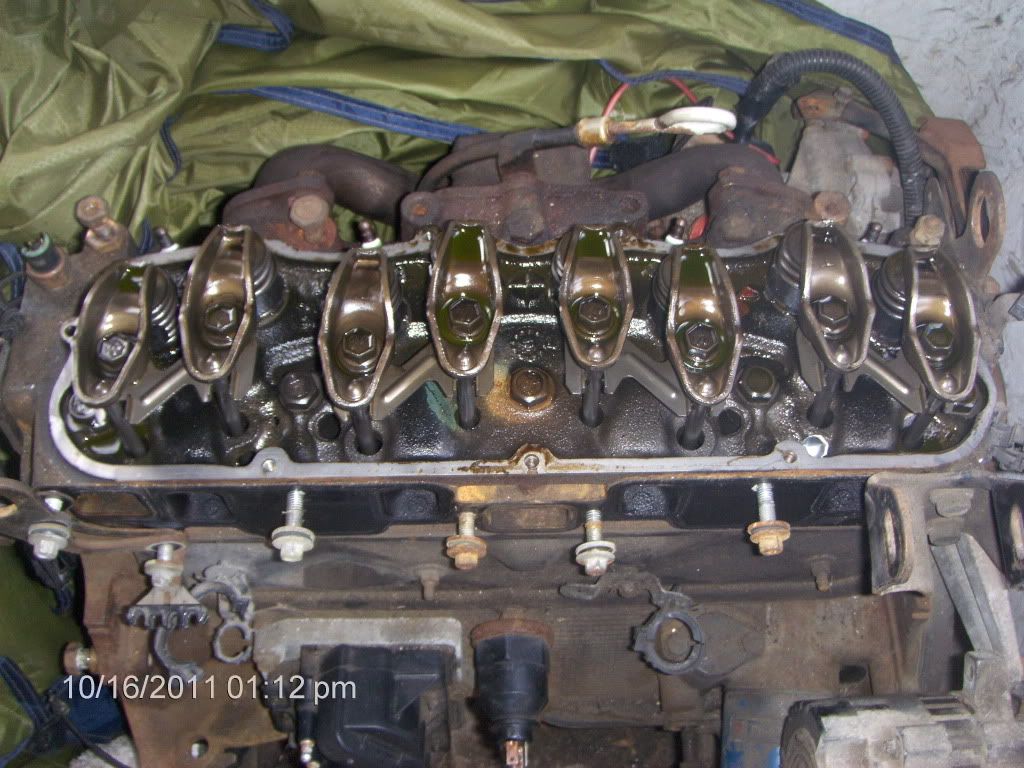 Now the questions. Can I pull the head without having to mess with the rocker arm assemblies? Is that possible? Can i remove the push rod cover and release the push rods somehow? I cant believe how clean this motor looks so far. Guess one good thing about the motor seizing at 20k miles is so far all the bolts are turning really good. Well except for the one on the crank shaft but thats why I'm in there. More to come but Walking Dead season 1 just started!!
IP: Logged
|
|
02:49 PM
|
|
weloveour86se
Member Posts: 4289
From: maine
Registered: Feb 2011
|
Frig the Walking Dead, I seen season 1 anyway. Major Major breakthrough!!!!!!!! The motor now turns! Got it freed up! Cylinder 3 is in rough shape. Had to take a hatchet handle and a hammer and smacked #3 a bunch of times. All this trouble for a lil bit of rust in the wrong spot! Wonder if the PO woulda left the plugs in would it of been this bad. Super happy with todays outcome.  Need to get a cylinder hone. Not the one that makes grooves but the one to clean the cylinder walls. Then I gotta get after that busted head bolt 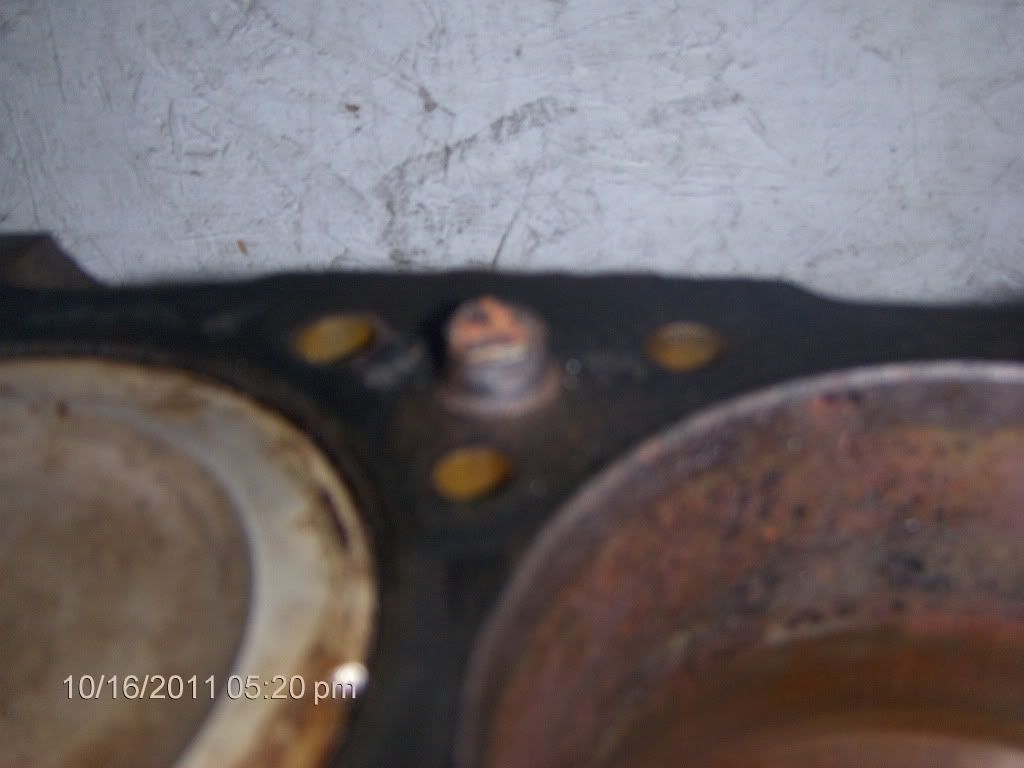 This is what I found when I pulled the head. Cylinder 3 full of Marvel Mystery oil. 
IP: Logged
|
|
06:27 PM
|
|
|
Oct 17th, 2011
|
BlackGT Codde
Member Posts: 1107
From: Gallup, New Mexico
Registered: Mar 2008
|
| | | quote | Originally posted by weloveour86se:
This is what I found when I pulled the head. Cylinder 3 full of Marvel Mystery oil.
|
|
Oooh! ooooh! keep that pf47 filter! nice find! i smell a re-build thread coming up!
IP: Logged
|
|
12:36 AM
|
|
weloveour86se
Member Posts: 4289
From: maine
Registered: Feb 2011
|
She Turns She turns!! Had to take a few pieces of 400 grit wet/dry sand paper and gently remove the ring of surface rust on the inside of cylinder 3. Took my time and was very very careful not to scratch the walls. Before this treatment the cylinder was sticking on the rust ring and not allowing the motor to turn completely. After, its good to go! Turns good and smoothly as far as I can tell.
So I spent the better part of an hour pouring a little Marvel Mystery oil in each cylinder and working each one up and down and wiping the debri off the cylinder walls. The oil made most of the debri stick to the cylinder walls and stay while the piston went down, then a quick wipe with a rag then all over again. Got all four cylinders pretty clean as far as I can tell.
Now the only thing holding us back is that busted head bolt! Grrr. Good thing, if thats possible, is that about 3/4 of an inch is sticking up and I may be able to do something with that. I smell a, "how to remove a busted head bolt?" thread coming! lol
Then we need to drop the tank and figure out whats going on with the fuel pump.
Thanks everyone for any and all tips tricks and advice, past and future.
IP: Logged
|
|
07:54 PM
|
|
Gall757
Member Posts: 10938
From: Holland, MI
Registered: Jun 2010
|
IP: Logged
|
|
08:00 PM
|
|
|
Oct 18th, 2011
|
weloveour86se
Member Posts: 4289
From: maine
Registered: Feb 2011
|
NICE!!!! That dang busted head bolt is out!! Heres my removal kit, 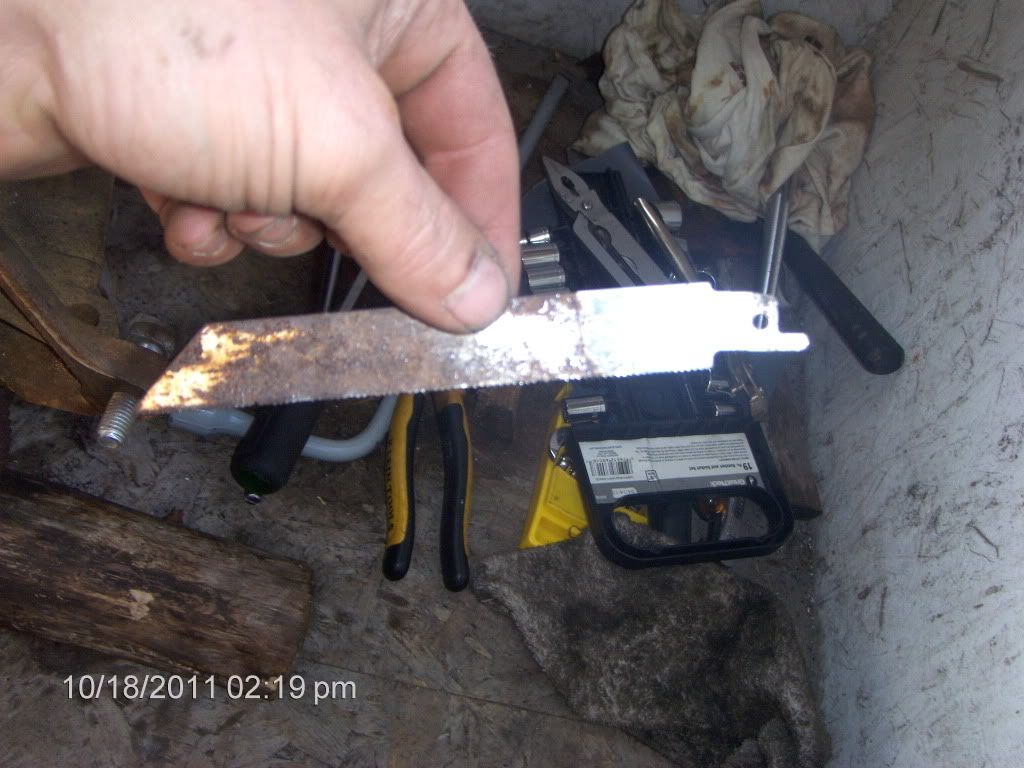 It's a rusty old saw-zaw blade! The only teeth left are on the very end, The white part. Lol worked great! 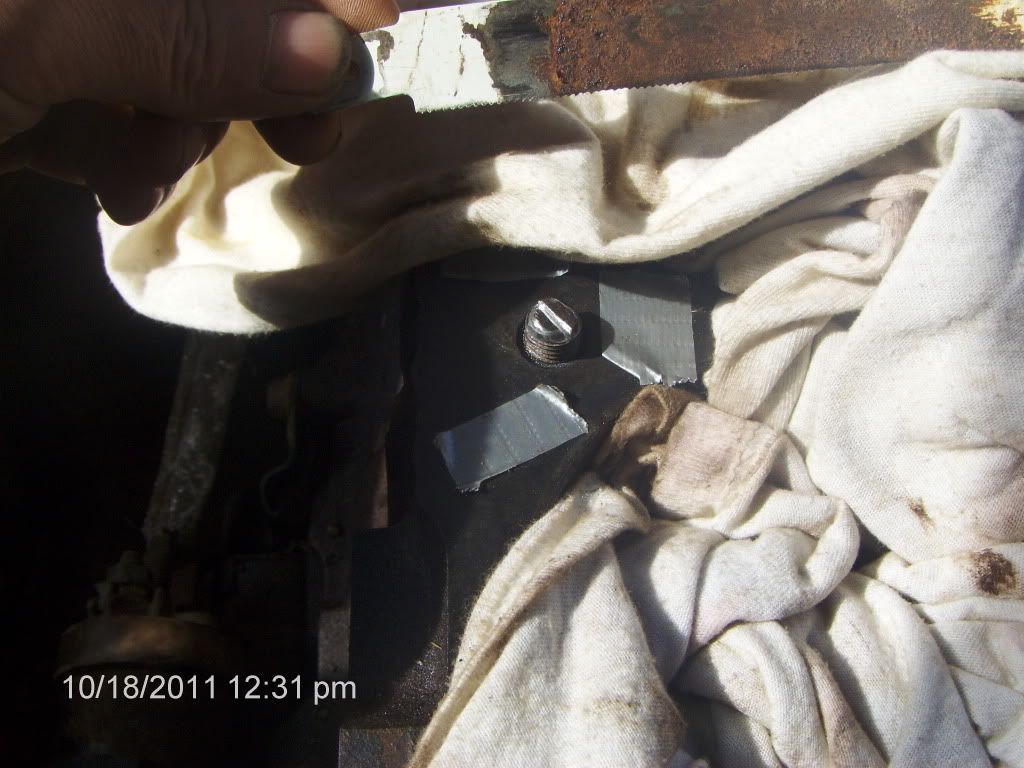 Just sat in a folding chair and took about an hour going real easy and made a notch, put my big meaty in and pushed down as hard as I could and turned. She came right out!!! One small step for me, one giant step for fiero-kind... I'm still jumping up and down with excitement! Guess Pontiac really does build excitement! Anyone got an extra 2.5l headbolt? The rebuilding process is soon to start, gotta find a torque wrench and then it's on!
IP: Logged
|
|
03:21 PM
|
|
Nazareth
Member Posts: 730
From: morristown, TN
Registered: Aug 2003
|
Youre going to want to put all new head bolts in. They are not expensive and are really required.
IP: Logged
|
|
06:41 PM
|
|
|
Oct 19th, 2011
|
weloveour86se
Member Posts: 4289
From: maine
Registered: Feb 2011
|
Dang the Fierostore's listing only shows 8 head bolts and should't there be 10 in the set? what about the 2 bolts with threads above the bolt? Are we supposed to re-use those 2? Doesn't make sense to me... fierostore.com/Product/Detail.aspx?s=52815 Try the link and let me know if it doesn't work. Ebay shows ten bolts in a set... but for much more $$$ Edit; just called and guy went and looked at a set and they come with the full ten bolts, says the pic isn't accurate... [This message has been edited by weloveour86se (edited 10-19-2011).]
IP: Logged
|
|
11:50 AM
|
|
jetman
Member Posts: 7799
From: Sterling Heights Mich
Registered: Dec 2002
|
| | | quote | Originally posted by weloveour86se:
Edit; just called and guy went and looked at a set and they come with the full ten bolts, says the pic isn't accurate...
|
|
Now call Fiero store back and see if 2 bolts in the set actually have studs and if they don't then ask them what the work around is for that. Congratulations on the great progress.
IP: Logged
|
|
04:54 PM
|
|
|
PFF
System Bot
|
|
|
Oct 20th, 2011
|
weloveour86se
Member Posts: 4289
From: maine
Registered: Feb 2011
|
| | | quote | Originally posted by jetman:
Now call Fiero store back and see if 2 bolts in the set actually have studs and if they don't then ask them what the work around is for that.
Congratulations on the great progress.
|
|
Great advice Jetman! Didn't think of that. Will do. Now another question. We hooked a battery up with a piece of wire to the block from negative then hooked the starter wire to the pos. and jumped the silenoid and the starter turns, it turns the motor so the starter seems to be working. It's just that the bendix sticks in the out position, against the fly wheel. Any chance we can give it a shot of WD-40 to lube it up? I can push it back in with my screwdriver but do realise that we gotta make it so it doesn't stick. It's prolly just sticking from sitting but we wanna get it right before we put the motor back in... Thanks and have a great day!
IP: Logged
|
|
04:30 PM
|
|
Gall757
Member Posts: 10938
From: Holland, MI
Registered: Jun 2010
|
It seems to me that with the forces we are talking about it will work just fine. You probably have a layer of rust on the flywheel teeth that will come off after a few spins. If not, you can re-shim the starter, but I would wait.
IP: Logged
|
|
05:18 PM
|
|
|
Oct 22nd, 2011
|
weloveour86se
Member Posts: 4289
From: maine
Registered: Feb 2011
|
| | | quote | Originally posted by Gall757:
It seems to me that with the forces we are talking about it will work just fine. You probably have a layer of rust on the flywheel teeth that will come off after a few spins. If not, you can re-shim the starter, but I would wait. |
|
TYVM Gall. I believe you are spot on correct, the flywheel has a layer of rust on it that will prolly clean right up. Also about shimming the starter thats a good bit of advise about waiting. Thats what we will do. Today's plan is to drop the tank and see what gives with the fuel pump. Hopefully I can figure out how to bench test it and see if it's salvagable. Fun Fun
IP: Logged
|
|
02:52 PM
|
|
|
Oct 30th, 2011
|
weloveour86se
Member Posts: 4289
From: maine
Registered: Feb 2011
|
K ready to drop the tank now. Mother nature threw us a curve ball with a very rare Oct. snow event but oh well. Plus went full time for the right money so been super busy. So anyway times come to drop the tank. I've got it up on stands and I think it's high enough but wanted to know if anyone had a good idea as to how high I will need to get it to get the tank out???
The fronts lifted higher so I'm thinking sliding it out the front prolly. Thing is, is how tall is the tank at it's tallest point?
IP: Logged
|
|
10:02 PM
|
|


