Well, I have been playing with this...
Not what I would call an "Easy" install... depending on your skill level in cuting,fabricating,and electrical, i woudl rat it about a 5 on the difficulty scale.
It doesn't really fit from left to right (it is a wee bit smaller than stock gauges)
However, top to bottom is where the real issue is.
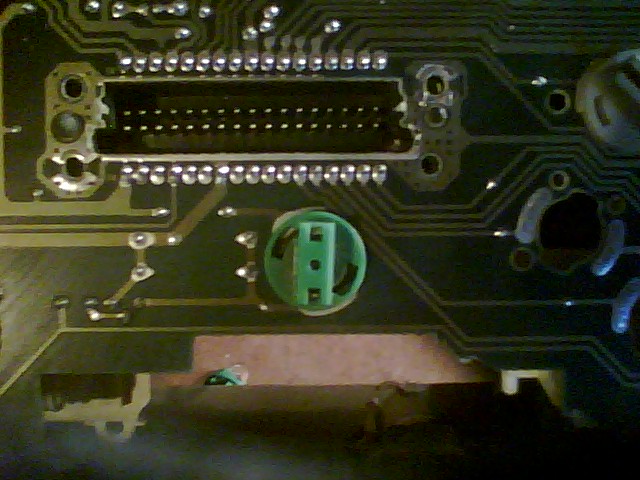
This pic is of the center lower section of the guage panel, as seen from the back.
Sorry for the bad pic, but the only cam I have right now is my Cell


If you look, you will see the green bulb holder, that has to be removed, that is okay though, it only illumintes the shifter indicator, which is also easily removed from the panel.
Then, you will see three Traces, just to the right of the bulb, only actually runs under the bulb and the other two are directly from the plug. these will be cut when you cut/trim the board to sit over the hump of the stteering wheel.
if you have an auto, the two to the right can be cut, no problem. one is not used at all and the other is the "upshift" indicator. if you hae a manual and want to keep that light, you will need to solder in a jumper wire.
The bottom-most trace is needed, it goes to a couple of diferent places, it will need a jumper wire soldered in.
I hope to have pics of it installed and running (ie: light -up, as the engine is still not in the car

) this weekend...
Let me know if anyone needs anymore info on this...


.JPG)
.JPG)


