|
|
|

|
Madcurl's Arch Rival !! by exoticse
| Started on | : 04-07-2005 02:39 AM |
| Replies | : 2019 |
| Last post by | : madcurl on 02-10-2009 06:10 PM |
|
|
|
|
Sep 10th, 2008
|
madcurl
Member Posts: 21401
From: In a Van down by the Kern River
Registered: Jul 2003
|
IP: Logged


|
05:41 PM
|
|
troyboy
Member Posts: 2075
From:
Registered: Sep 2005
|
 .JPG) call me
IP: Logged


|
07:10 PM
|
|
madcurl
Member Posts: 21401
From: In a Van down by the Kern River
Registered: Jul 2003
|
 .JPG) [This message has been edited by madcurl (edited 09-11-2008).]
IP: Logged


|
07:53 PM
|
|
Archie
Member Posts: 9436
From: Las Vegas, NV
Registered: Dec 1999
|
IP: Logged


|
11:39 PM
|
|
|
Sep 11th, 2008
|
madcurl
Member Posts: 21401
From: In a Van down by the Kern River
Registered: Jul 2003
|
| | | quote | Originally posted by Archie:
.JPG)
Archie |
|
I'm liking the V- emblem. Pontiac should be proud.  Funny how a crazy idea ends-up being the icing on the cake. Great job Archie and the Crew.
IP: Logged


|
12:00 AM
|
|
Sharkman
Member Posts: 804
From: Sweden
Registered: May 2004
|
Love it  Want it  | | | quote | Originally posted by madcurl:

|
|
IP: Logged


|
01:15 AM
|
|
Archie
Member Posts: 9436
From: Las Vegas, NV
Registered: Dec 1999
|
| | | quote | Originally posted by madcurl:

|
|
FYI, this is a picture of Troy's mirror mounted on Curley's car. Archie [This message has been edited by Archie (edited 09-11-2008).]
IP: Logged


|
02:35 PM
|
|
exoticse
Member Posts: 8655
From: Orlando, Fl
Registered: Jun 2003
|
IP: Logged


|
04:42 PM
|
|
RCR
Member Posts: 4416
From: Shelby Twp Mi
Registered: Sep 2002
|
Darnit ^^^ That's the color I've always wanted. At least since I saw a custom Camaro painted that back about 20 years ago...
That thing is going to look damed sharp.
Bob
IP: Logged


|
05:38 PM
|
|
fourpoint9
Member Posts: 1058
From: Long Beach, WA, USA
Registered: Feb 2004
|
Very nice.
IP: Logged


|
06:14 PM
|
|
Archie
Member Posts: 9436
From: Las Vegas, NV
Registered: Dec 1999
|
IP: Logged


|
08:46 PM
|
|
|
PFF
System Bot
|
|
|
Sep 12th, 2008
|
whodeanie
Member Posts: 3819
From: woodstock,Ga.,USA
Registered: Jan 2008
|
I see a lot of body work in the near future.
When? When? When Curly get done changing things!
HA HA HA!
looking great!
IP: Logged


|
08:19 AM
|
|
madcurl
Member Posts: 21401
From: In a Van down by the Kern River
Registered: Jul 2003
|
| | | quote | Originally posted by exoticse:
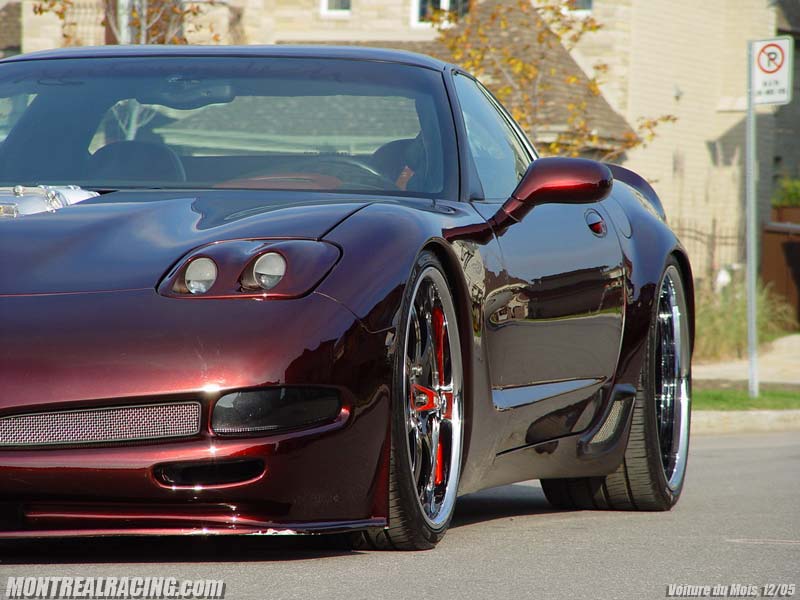
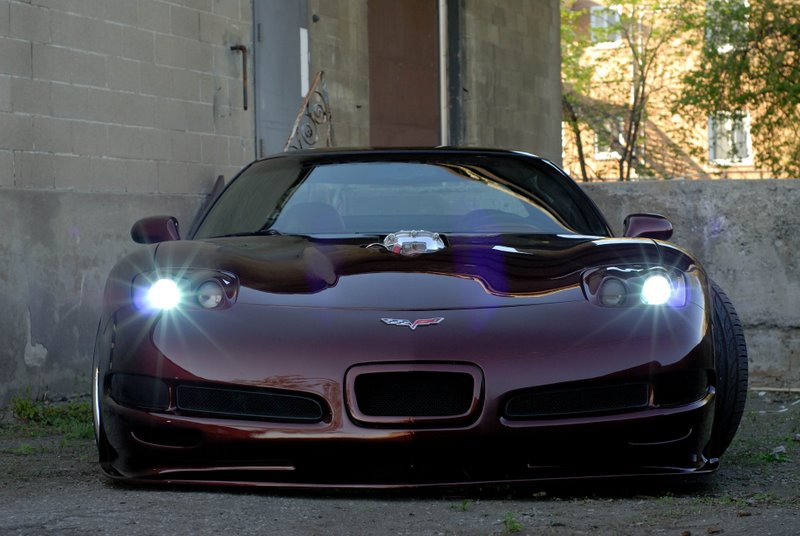
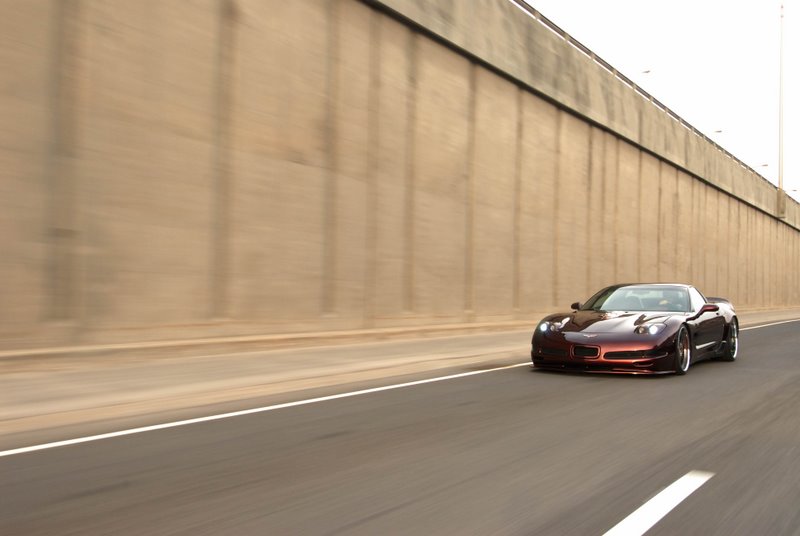
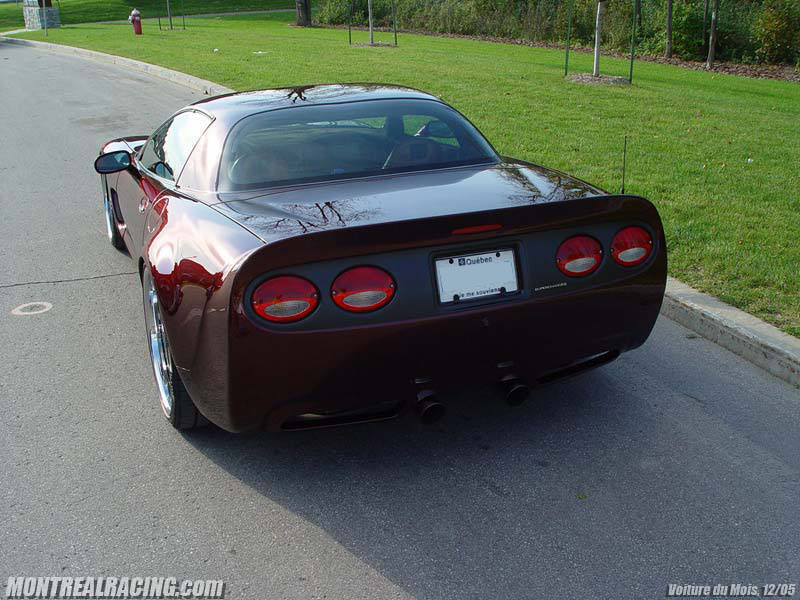
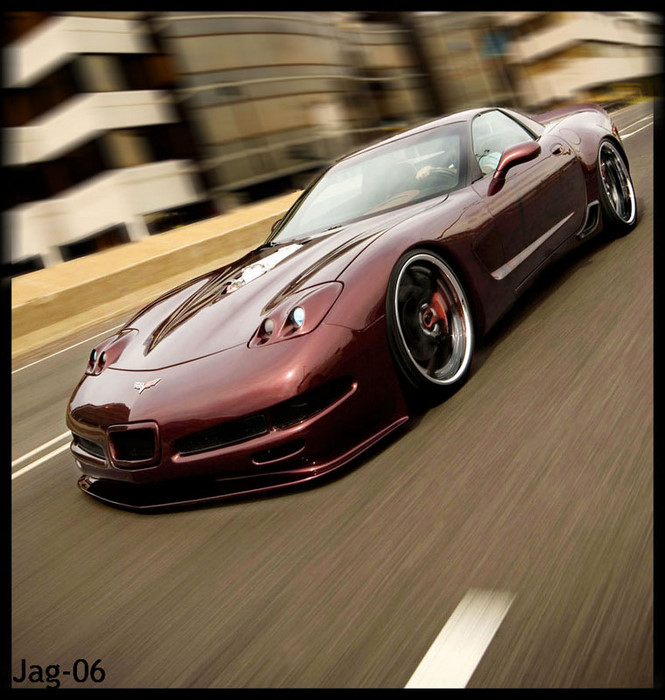
Some pictures of a custom corvette painted the color Madcurl is planning to go with. This Canadian car was pictured in the sept, 06 edition of modified luxury and exotic cars magazine.
|
|
Thanks Tony. I finally got back to Pennock's. Oh yeah, the movie was great! As Tony mentioned, I've been secretly eye balling this beautiful custom Corvette wide body for several years and the color is what I'm shooting for #020 and my paint guy in CA can't wait to lay down some pearls. The only major difference is the lower fascia and ground FX will be painted black. Just like in the pictures, the Corvette dude's front-end has "kissed thy earth" and I don't want to repaint the entire front clip if an accident should occur. Edit: The Corvette is rolling on 20/22 combo. 255/30/20 fronts and 355/25/22 rears. Now that's some beef! [This message has been edited by madcurl (edited 09-12-2008).]
IP: Logged


|
12:23 PM
|
|
madcurl
Member Posts: 21401
From: In a Van down by the Kern River
Registered: Jul 2003
|
| | | quote | Originally posted by Archie:
.JPG)
Archie |
|
Looking good Archie. The Ford vents are perfect. Darn Pontiac dealership didn't want to sell me the G6 vents so I opt for Ford.  For those who may not know, I only replacing the front end of the dash and not the back end. I see nothing wrong with the Fiero's original dash, just the gauge clusters and vents are IMO outdated and in need of a face lift. Just like #011 & #015 the original dash will be re-skinned. Keep what's good and replace what's outdated.
IP: Logged


|
12:35 PM
|
|
Fie Ro
Member Posts: 3735
From: Soest, The Netherlands
Registered: Sep 2001
|
| | | quote | Originally posted by madcurl:
I see nothing wrong with the Fiero's original dash, just the gauge clusters and vents are IMO outdated and in need of a face lift. Just like #011 & #015 the original dash will be re-skinned.
Keep what's good and replace what's outdated. |
|
I agree with that ! Classy color choice btw.
IP: Logged


|
12:56 PM
|
|
madcurl
Member Posts: 21401
From: In a Van down by the Kern River
Registered: Jul 2003
|
I just got off the phone with Archie. Plenty of work was performed on the dash with some minor changes.  He'll post them later on tonight. While I'm waiting,  a few engine pics.   [This message has been edited by madcurl (edited 09-12-2008).]
IP: Logged


|
05:12 PM
|
|
Archie
Member Posts: 9436
From: Las Vegas, NV
Registered: Dec 1999
|
Once all the vents & pretty stuff are mounted on the outside, someone has to go under the panel & everything functional & serviceable. In this case Kris went inside and built a couple of walls to form an air box so that the air that used to come out the center dash vents & make it come out these 2 new vents. .JPG) .JPG) .JPG) That air box will fit right up to & over the modified Fiero center outlet.  The Radio surround..... .JPG) The mounting for the radio & heater controls .JPG) _1.JPG) .JPG) Before we went home tonight all these mountings were glassed in to make them permanent. More pics Monday. Archie
IP: Logged


|
11:38 PM
|
|
|
Sep 13th, 2008
|
JimmyS
Member Posts: 4666
From: Lehigh Acres, Florida
Registered: Apr 2006
|
|
madcurl
Member Posts: 21401
From: In a Van down by the Kern River
Registered: Jul 2003
|
Actually you're correct, but in my case I will remove the phillips screws and use black hex screws from the local hardware store that are similar to the hex screws used on the stock dash/bezel/vents. Frontal pics; 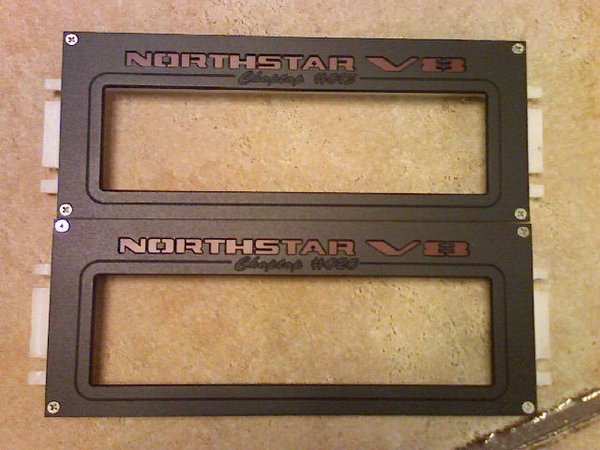 [This message has been edited by madcurl (edited 09-13-2008).]
IP: Logged


|
01:53 AM
|
|
madcurl
Member Posts: 21401
From: In a Van down by the Kern River
Registered: Jul 2003
|
Hey Archie, I'm shipping out the lighters. Should get them by Wednesday UPS. Mitsubishi illuminated rim lighter. Out with the old and in with the new.  [This message has been edited by madcurl (edited 09-13-2008).]
IP: Logged


|
03:00 AM
|
|
exoticse
Member Posts: 8655
From: Orlando, Fl
Registered: Jun 2003
|
Curly here is an interior pic 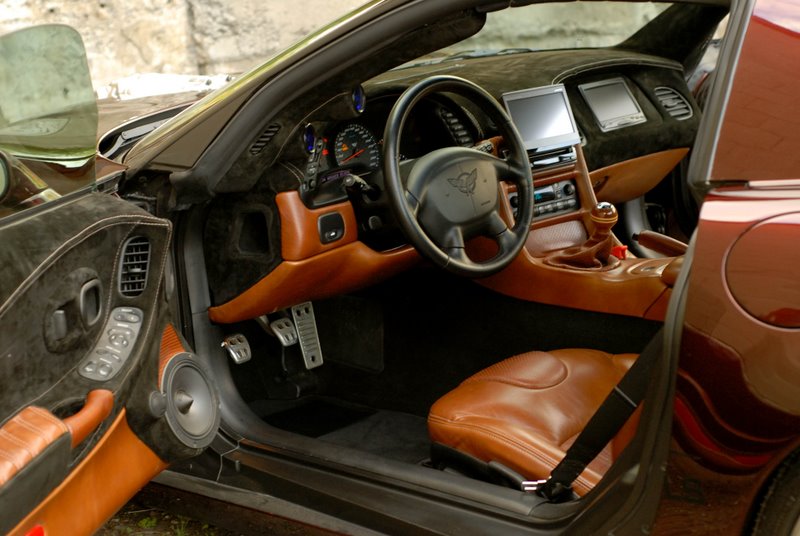 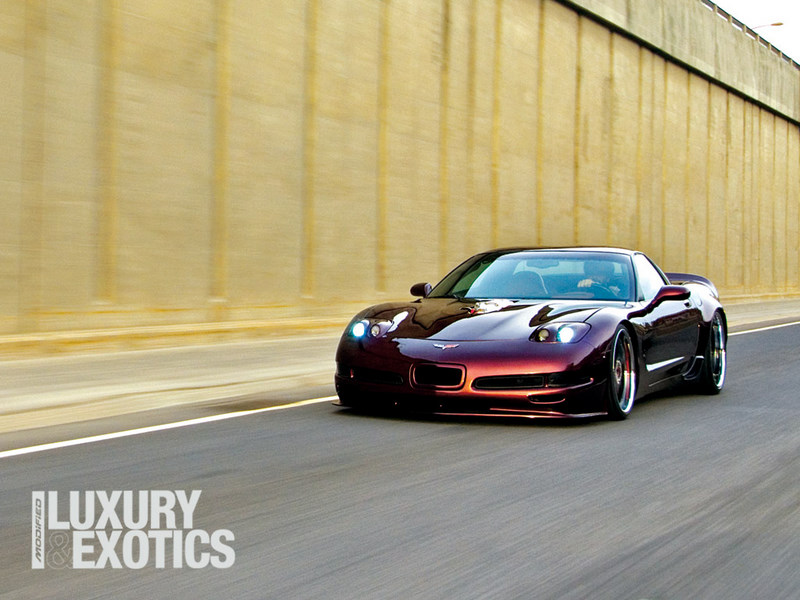
IP: Logged


|
03:22 AM
|
|
|
PFF
System Bot
|
|
|
|
madcurl
Member Posts: 21401
From: In a Van down by the Kern River
Registered: Jul 2003
|
Thanks Tony. I love that interior.
IP: Logged


|
04:08 AM
|
|
InTheLead
Member Posts: 2190
From:
Registered: May 2006
|
Soooo.. can I have your car when its done?? Just thought I'd take a stab never know! 
IP: Logged


|
09:33 AM
|
|
|
Sep 14th, 2008
|
madcurl
Member Posts: 21401
From: In a Van down by the Kern River
Registered: Jul 2003
|
I got my 2009 tags in the mail. Gotta love OK; diffentily no hassle there. Once #020 is back to CA, I'll surrender the plates. 
IP: Logged


|
01:18 AM
|
|
madcurl
Member Posts: 21401
From: In a Van down by the Kern River
Registered: Jul 2003
|
IP: Logged


|
10:23 PM
|
|
|
Sep 15th, 2008
|
madcurl
Member Posts: 21401
From: In a Van down by the Kern River
Registered: Jul 2003
|
  [This message has been edited by madcurl (edited 09-15-2008).]
IP: Logged


|
06:29 PM
|
|
Archie
Member Posts: 9436
From: Las Vegas, NV
Registered: Dec 1999
|
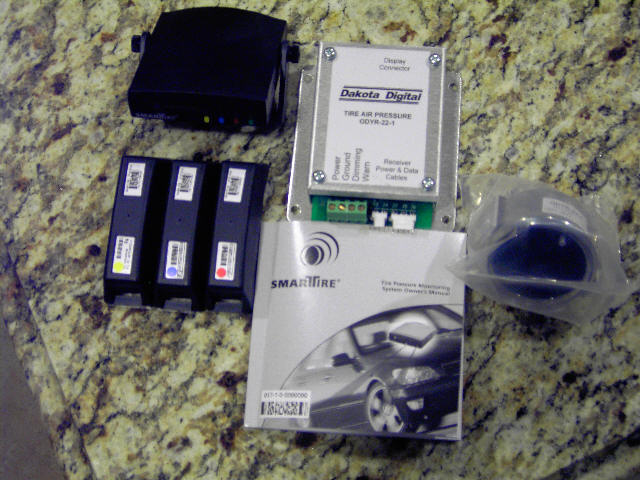
Today, Kris finished up all the inside mounting provisions on the center dash panel. Then he started trying to make it pretty. .JPG) _1.JPG) .JPG) Meanwhile, the Caddie instrumentation has been located. The big thing on it is now trying to make a housing around it that looks good. .JPG) .JPG) _1.JPG) We also looked at the Dakota digital instrument panel. You'll see that it is way wide & will interfere with where you want to mount the left side vent. .JPG) .JPG) Curley call me tomorrow. Archie
IP: Logged


|
08:22 PM
|
|
PaulJK
Member Posts: 6638
From: Los Angeles
Registered: Oct 2001
|
|
|
Sep 16th, 2008
|
madcurl
Member Posts: 21401
From: In a Van down by the Kern River
Registered: Jul 2003
|
Thanks for the updates Archie. The dash is starting to take shape, especially the vented area. Can you stand back 25-feet (or as far-as-you-can) and take a picture of the hood? 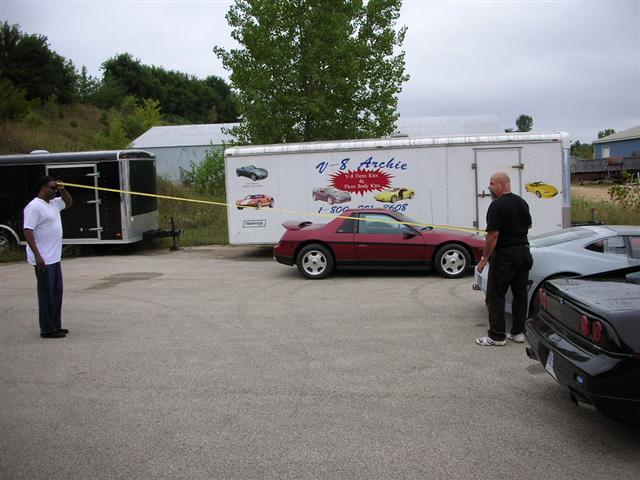 (  Scientific survey being conducted @25ft)  | | | quote | Originally posted by PaulJK:
Since you already have the caddy instruments on the side, this might be all you need for the driver:
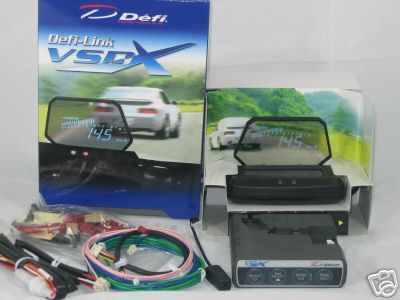
[URL=http://cgi.ebay.com/ebaymotors/DEFI-VSD-X-SPEEDOMETER-TACH-MONITOR-LED-HUD-RPM-GAUGES_W0QQitemZ150194063118QQihZ005QQcategoryZ33678QQrdZ1QQssPageNameZWD1VQQcmdZViewItemQQ_trksidZp1638Q2em118Q2el1247]http://cgi.ebay.com/ebaymot...p1638Q2em118Q2el1247[/ URL]
|
|
Thanks for the "heads-up" display. Due to limited room, we''ll have to wait on that after the dash is finished. side note; the Caddy's "heads-up" display is a plug n' play using the N* and Caddy instrument pods, but as noted I have limted space using either system. [This message has been edited by madcurl (edited 09-16-2008).]
IP: Logged


|
02:11 PM
|
|
madcurl
Member Posts: 21401
From: In a Van down by the Kern River
Registered: Jul 2003
|
 _1.JPG) Hmm.  I'm thinking about having the area that surrounds the air/heater switch pod cut-out and sent to the business in Canada (Humount faceplate) to make a custom surround for the air/heater pod. This way the entire area will appear OEM as one-unit.  [This message has been edited by madcurl (edited 09-16-2008).]
IP: Logged


|
02:53 PM
|
|
madcurl
Member Posts: 21401
From: In a Van down by the Kern River
Registered: Jul 2003
|
My mind is still "rolling" with new ideas. 
IP: Logged


|
09:34 PM
|
|
|
PFF
System Bot
|
|
|
Sep 21st, 2008
|
madcurl
Member Posts: 21401
From: In a Van down by the Kern River
Registered: Jul 2003
|
While I was at Archie's I did some measuring; from 25 ft, hehe. 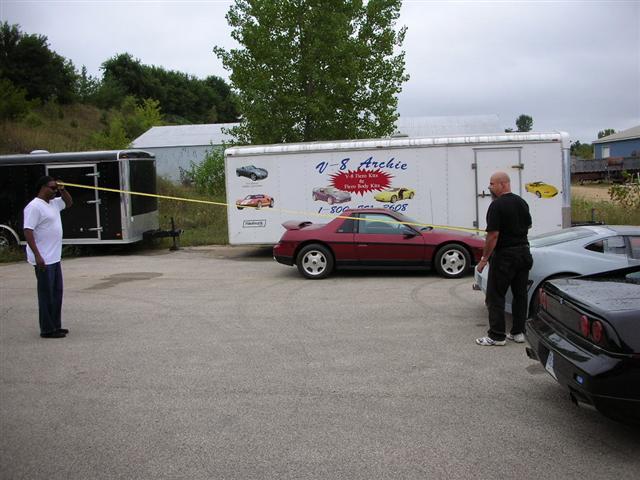 I came-in closer; 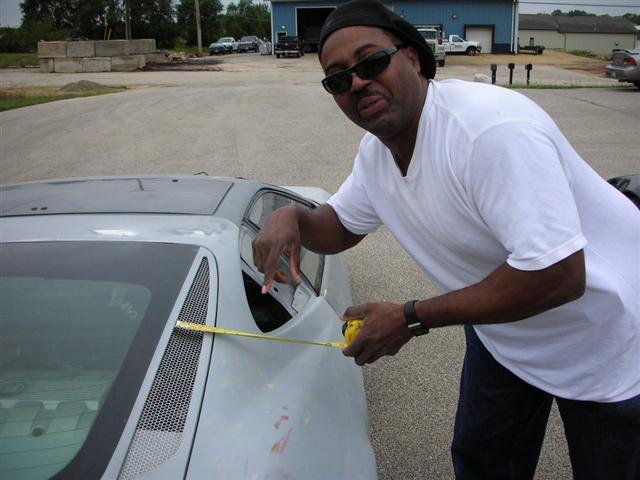 I found something interesting; I was shocked! 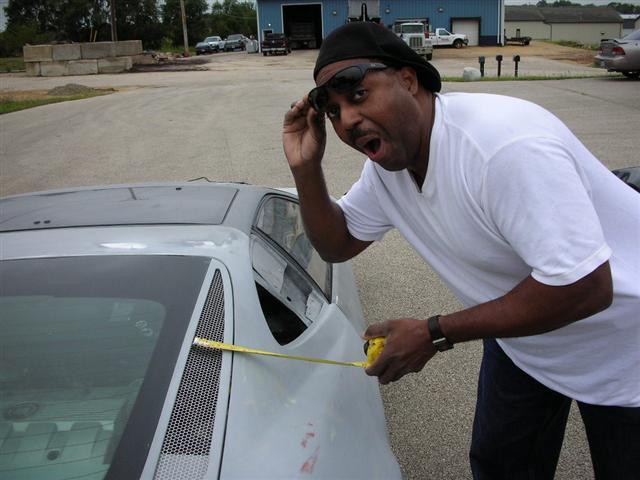 [This message has been edited by madcurl (edited 09-21-2008).]
IP: Logged


|
01:18 PM
|
|
madcurl
Member Posts: 21401
From: In a Van down by the Kern River
Registered: Jul 2003
|
IP: Logged


|
05:02 PM
|
|
|
Sep 22nd, 2008
|
whodeanie
Member Posts: 3819
From: woodstock,Ga.,USA
Registered: Jan 2008
|
Curly,
when are you going to get it to paint?
IP: Logged


|
09:21 AM
|
|
madcurl
Member Posts: 21401
From: In a Van down by the Kern River
Registered: Jul 2003
|
| | | quote | Originally posted by whodeanie:
Curly,
when are you going to get it to paint? |
|
Plan A; I hope to have the exterior painted by Trendzs here in CA by November-December (like the Corvette above). I don't foresee any additional tweaks for the exterior, but I'll need at least 1-month for everything to marinate. I'm looking at 6-8 weeks at the paint shop, so in the meantime I want to take it all-in while #020 is in the garage. Plan B; I can always wait until March-April 2009 for paint and in the meantime tweak a few interior semilar to the Corvette's interior above. Either way I'm in no rush.
IP: Logged


|
12:19 PM
|
|
whodeanie
Member Posts: 3819
From: woodstock,Ga.,USA
Registered: Jan 2008
|
I hear ya. I would just like to see it with paint and complete.
it is to nice of a car to not ever finish.
but I know some day you will get it done.
IP: Logged


|
12:26 PM
|
|
|
Sep 26th, 2008
|
madcurl
Member Posts: 21401
From: In a Van down by the Kern River
Registered: Jul 2003
|
| | | quote | Originally posted by whodeanie:
I know some day you will get it done.
|
|
Today was busy day wrapping and boxing the Baer brakes... all 90 pounds of them. I hope to have Kevin at Design 1 System install them. Since the Baer rotors are a different set-up, Kevin will use a mock-up car (87) making it a (somewhat) easy swap transfer. 
IP: Logged


|
02:38 AM
|
|
|
Oct 2nd, 2008
|
Archie
Member Posts: 9436
From: Las Vegas, NV
Registered: Dec 1999
|
IP: Logged


|
07:52 PM
|
|
JimmyS
Member Posts: 4666
From: Lehigh Acres, Florida
Registered: Apr 2006
|
Thats pretty cool but awfully noisey.
IP: Logged


|
08:01 PM
|
|
madcurl
Member Posts: 21401
From: In a Van down by the Kern River
Registered: Jul 2003
|
IP: Logged


|
08:40 PM
|
|


 Funny how a crazy idea ends-up being the icing on the cake. Great job Archie and the Crew.
 Want it

 For those who may not know, I only replacing the front end of the dash and not the back end. I see nothing wrong with the Fiero's original dash, just the gauge clusters and vents are IMO outdated and in need of a face lift. Just like #011 & #015 the original dash will be re-skinned.
  a few engine pics.


 Scientific survey being conducted @25ft)


