|
|
|

|
Alex's 3800 Supper Charged Swap by fiero al
| Started on | : 06-23-2011 01:10 PM |
| Replies | : 127 (7193 views) |
| Last post by | : fiero al on 03-13-2015 05:18 PM |
|
|
|
|
Jul 21st, 2011
|
fiero al
Member Posts: 206
From: north ridgeville, ohio
Registered: Jan 2010
|
| | | quote | Originally posted by nosrac:
I am not sure about a 1999 regal PCM but I am pretty sure about a 98 GTP PCM will work. You just need to bypass the VATS on the later PCMs 99+ until you start modding. The closer you stay stock the less of a need for a custom tune. I suggest redoing the harness or buying a premane one for ~$400. I hear it is not that difficult. Unloom it, Plug everything in, remove the extra wires you dont want, add extray wires you need(Fiero), loom it back and done. |
|
so far i haven't done any mods other than porting the exhaust. so for the most part it is stock. it would be nice if i could buy the wire-harness already done but not for $400. i think, if i have time, i will attempt to redo the harness myself but if anything, i need to get the connectors repined to work with the fiero. ADD: I own page 2! [This message has been edited by fiero al (edited 07-21-2011).]


|
03:45 PM
|
|
mattwa
Member Posts: 7106
From: Lorain, Ohio
Registered: Sep 2008
|
| | | quote | Originally posted by fiero al:
so far i haven't done any mods other than porting the exhaust. so for the most part it is stock. it would be nice if i could buy the wire-harness already done but not for $400. i think, if i have time, i will attempt to redo the harness myself but if anything, i need to get the connectors repined to work with the fiero.
ADD: I own page 2!
|
|
$400 is a damn good deal for a ready made harness into a Fiero, the one for the 4.9 costs $750.


|
03:49 PM
|
|
phonedawgz
Member Posts: 17091
From: Green Bay, WI USA
Registered: Dec 2009
|
I'm pretty sure a 99 Regal PCM is going to need to have the VATs disabled. That or you have to get a different, earlier PCM but then you still need to do a CASE learn on it. Your 99 PCM can get reprogrammed by Darth Fiero for $85.00 including everything that needs to be addressed on it. http://www.gmtuners.com/eprom/index.htmOh and btw, my standard price for doing a conversion harness is $385.00 but then you have to supply the two donor harnesses plus I charge $20 for shipping so yeah it's $405 total - but if your interested that's cool. If not that's cool too. [This message has been edited by phonedawgz (edited 07-21-2011).]


|
03:59 PM
|
|
fiero al
Member Posts: 206
From: north ridgeville, ohio
Registered: Jan 2010
|
| | | quote | Originally posted by mattwa:
$400 is a damn good deal for a ready made harness into a Fiero, the one for the 4.9 costs $750. |
|
ya it may be a good deal but remember, i have a budget and i just spent $400 on the heads and 200 for the paint. that's not including the main cost of the whole setup when i first bought it and the cost of the replacement parts. so far i think i put about $2000+ into this whole project [ncluding the cost of the whole setup when i first bought it] and with out a job that doesn't leave me a lot of room for the rest of the parts i need. if i had the money than yes that would be a good deal and probably save me time to do other things. now that i think of it, if i had more money i could have easily bought all the parts i needed premade to do this swap. but since i don't and have to barrow the money i need from my parents [until i can get a job and pay them back] i have to set priorities. it also helps to know people who ether work at places and can give you deals on parts or even help with the paint job. at this point i'm lucky that the engine is so far in good condition so i don't have to worry so much about the more costly replacement parts. also if i really had to, once i got the engine in the car and running, i could always go back later and fix or redo the other things like the wiring and the computer. as long as it runs i'll be happy with it. [This message has been edited by fiero al (edited 07-21-2011).]


|
04:09 PM
|
|
mattwa
Member Posts: 7106
From: Lorain, Ohio
Registered: Sep 2008
|
Excuses.  Lol, Yea I know your situation, how about since you don't use that xbox anymore to sell all that stuff, eh?  [This message has been edited by mattwa (edited 07-21-2011).]


|
07:01 PM
|
|
fiero al
Member Posts: 206
From: north ridgeville, ohio
Registered: Jan 2010
|
|
mattwa
Member Posts: 7106
From: Lorain, Ohio
Registered: Sep 2008
|
| | | quote | Originally posted by fiero al:
i still use it just not as much since there's no new games out yet. when Motorsports 4, battlefield 3, and gears of war 3 come out, then i'll start playing again. so some time in September i'll be back on. |
|
Yea, I'm excited for Gear of war 3 and Forza 4 to come out myself, love those series!


|
08:08 PM
|
|
nosrac
Member Posts: 3520
From: Euless, TX, US
Registered: Jan 2005
|
| | | quote | Originally posted by fiero al:
ya it may be a good deal but remember, i have a budget and i just spent $400 on the heads and 200 for the paint. that's not including the main cost of the whole setup when i first bought it and the cost of the replacement parts. so far i think i put about $2000+ into this whole project [ncluding the cost of the whole setup when i first bought it] and with out a job that doesn't leave me a lot of room for the rest of the parts i need. |
|
It's too late but you should have purchased the NEEDED parts first then spend extra on looks and performance depending on what is more important to you. $2K is more than enough for all the premade conversion parts and a few look good ones too. $400 for refurbished heads $200 for painted a SC VC or $10 for rattle can, $5 degreeser, $0 elbow grease...priceless Good luck and I have been there on my swap. The money trail seemed endless. I went over budget, few issues cause more $$$ to b spent, However, I couldn't be more happier with the final product. Hang in there. 


|
10:14 PM
|
|
|
Jul 22nd, 2011
|
mattwa
Member Posts: 7106
From: Lorain, Ohio
Registered: Sep 2008
|
I have to agree with this, this is why my swap doesn't look the greatest paint wise but damn does it run


|
01:03 PM
|
|
fiero al
Member Posts: 206
From: north ridgeville, ohio
Registered: Jan 2010
|
| | | quote | Originally posted by nosrac:
It's too late but you should have purchased the NEEDED parts first then spend extra on looks and performance depending on what is more important to you.
$2K is more than enough for all the premade conversion parts and a few look good ones too.
$400 for refurbished heads
$200 for painted a SC VC
or
$10 for rattle can, $5 degreeser, $0 elbow grease...priceless
Good luck and I have been there on my swap. The money trail seemed endless. I went over budget, few issues cause more $$$ to b spent,
However, I couldn't be more happier with the final product. Hang in there.  |
|
When i said the whole thing cost 2000+ i meant that along with the $1400 engine/trans, i had an extra $800 in restoration parts and paint. Even though now looking at what good condition the engine turned out to be in, i guess some of the parts were not needed but it didn't hert to replace them. The other thing is that it's not so much as that i'm running out of money, it's just that at this point, i only have money for parts that are need to get this swap into my car and running. It's also that with the lack of time i have, it's hard to get everything i want to do done. As for what my preferences are, i want an engine that runs good and looks good. Not so much with the adding performance since the engine already puts out way more power then the 2.8 so i'm happy with what it already has for power. That's not saying that i wont add power to it later but not for the time being. so at this point im still not sure what im going to do but it seems with time crunches i seem to get more things done.


|
01:33 PM
|
|
|
Jul 24th, 2011
|
Ridgelandbaseball
Member Posts: 383
From: North Ridgeville, Ohio USA
Registered: Aug 2009
|
Hey Alex. Any progress over the weekend?


|
11:14 PM
|
|
|
PFF
System Bot
|
|
|
Jul 25th, 2011
|
fiero al
Member Posts: 206
From: north ridgeville, ohio
Registered: Jan 2010
|
| | | quote | Originally posted by Ridgelandbaseball:
Hey Alex. Any progress over the weekend? |
|
no, i wasn't home. i was at my grandparents for the weekend. but i do plan on getting some things done this week. Jean, the painter, is coming over to get the parts that were painted because they are getting repainted. we decided that the purple/red color wasn't going to work. i mean it was cool scheme and all but for it to work in my car, it needs to be the right color of red. so he is going to repaint the parts with the candy apple red that i wanted and we will see how that goes. we might also get the cradle i got from Matt painted by him as well. i'm also going to get the bottom end of the engine put back together and then put the heads back on. i might also start taking my old engine out but i'm not sure. guess i have to wait and see how far the rest of the work goes.


|
01:53 AM
|
|
|
Aug 4th, 2011
|
fiero al
Member Posts: 206
From: north ridgeville, ohio
Registered: Jan 2010
|
|
|
Aug 6th, 2011
|
Ridgelandbaseball
Member Posts: 383
From: North Ridgeville, Ohio USA
Registered: Aug 2009
|
Looking good Alex. Keep up the good work.


|
02:15 PM
|
|
|
Aug 13th, 2011
|
fiero al
Member Posts: 206
From: north ridgeville, ohio
Registered: Jan 2010
|


|
02:56 AM
|
|
|
Aug 22nd, 2011
|
fiero al
Member Posts: 206
From: north ridgeville, ohio
Registered: Jan 2010
|
bump for first day of college


|
09:26 PM
|
|
|
Aug 27th, 2011
|
fiero al
Member Posts: 206
From: north ridgeville, ohio
Registered: Jan 2010
|
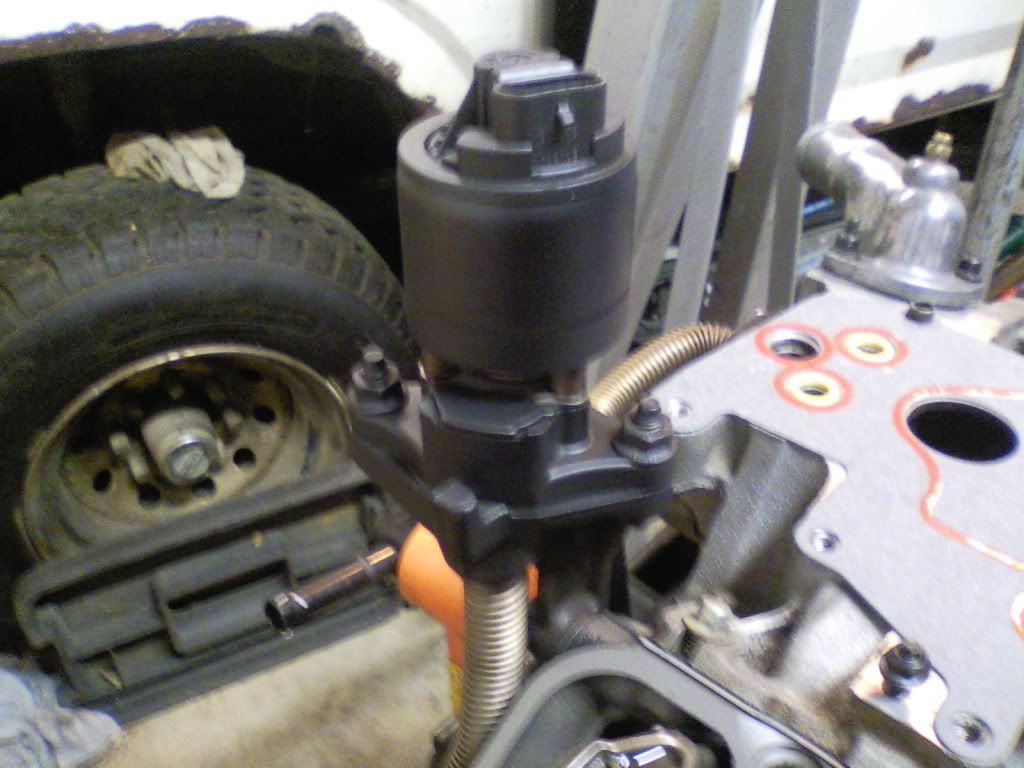
well i made it through my first week of college and I have to say it isn't as bad as high school. the one part i like is that i don't have to get up as early as high school. the one part i don't like is trying to find a parking spot on some days. with school here i wasn't able to do a lot of work on the engine but i did get some things done. i started working on the harness but i really couldn't do anything with it till i get the engine and trans together. I also went to Jeans house to see if had gotten any work done on the parts that were getting painted. so far he hasn't painted anything but he did start prepping the cradle for paint. the reason its taking some time for him to start painting is that he has other projects that he needs to get done. so it might take some time before i get these back but I got some time before im going to need those back anyway. along with this, I did a little painting myself. today i painted the exhaust manifolds and crossover pipe, the EGR heat shield, the exhaust manifold heat shields, and the trans. below are pics of what i did so far. wiring harness with covering off  cradle being sanded for paint 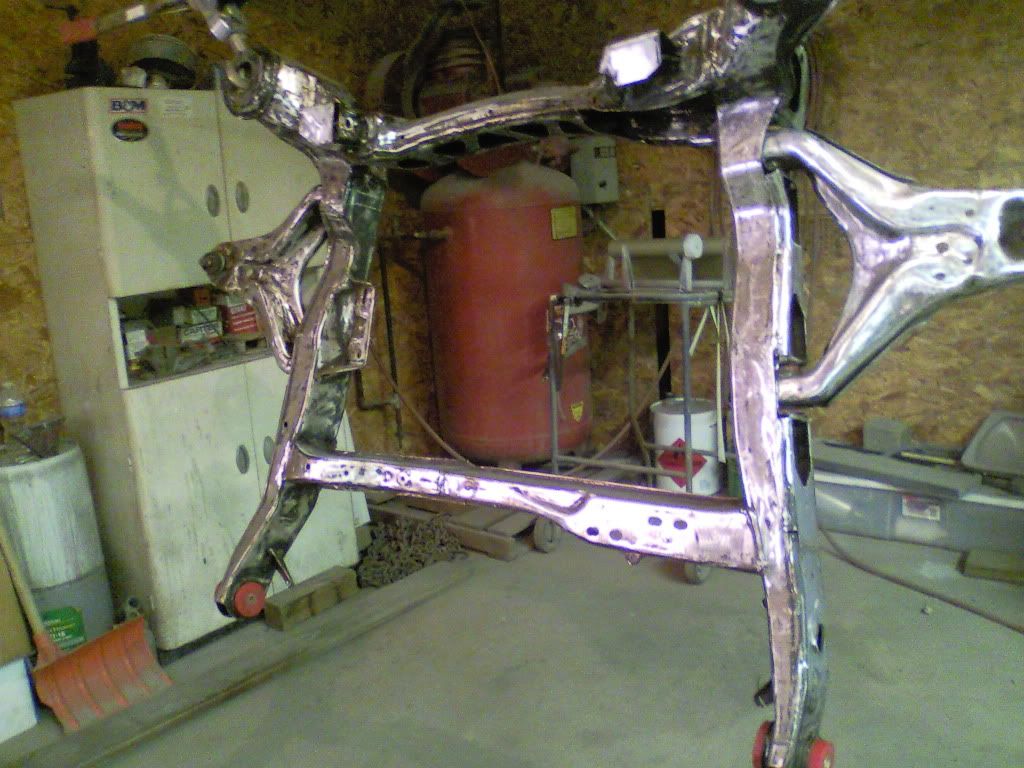 my dad and Jean standing next to one of Jean's project cars. it's a Pontiac GTO 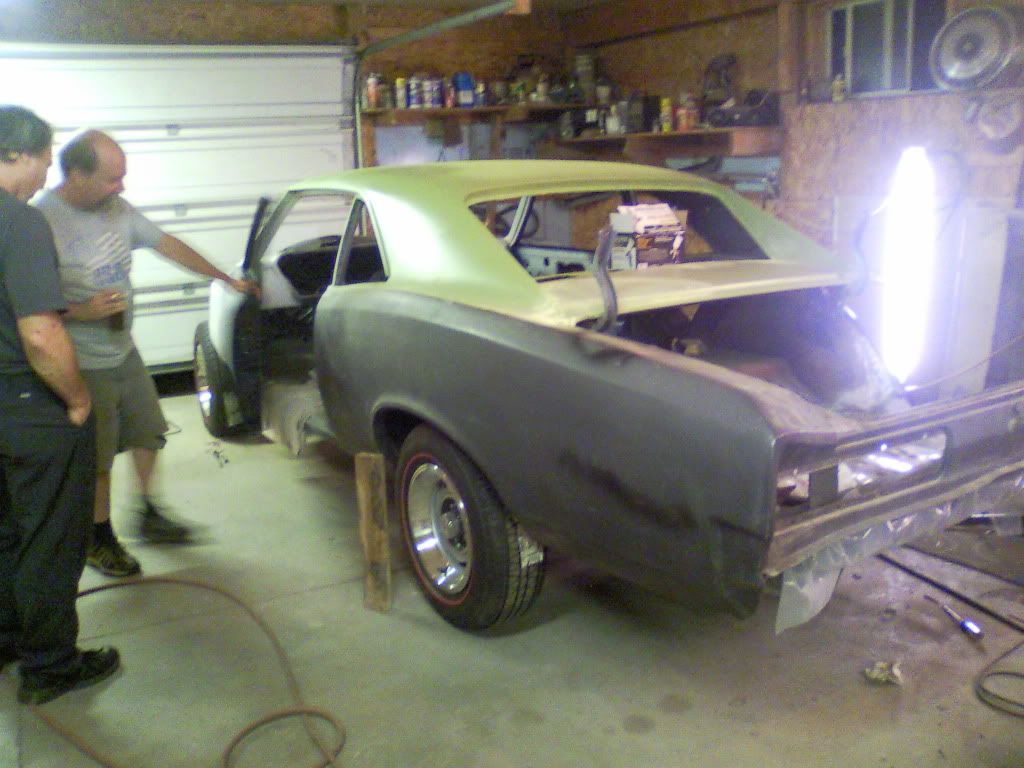 some panels that are going on Jean's project car 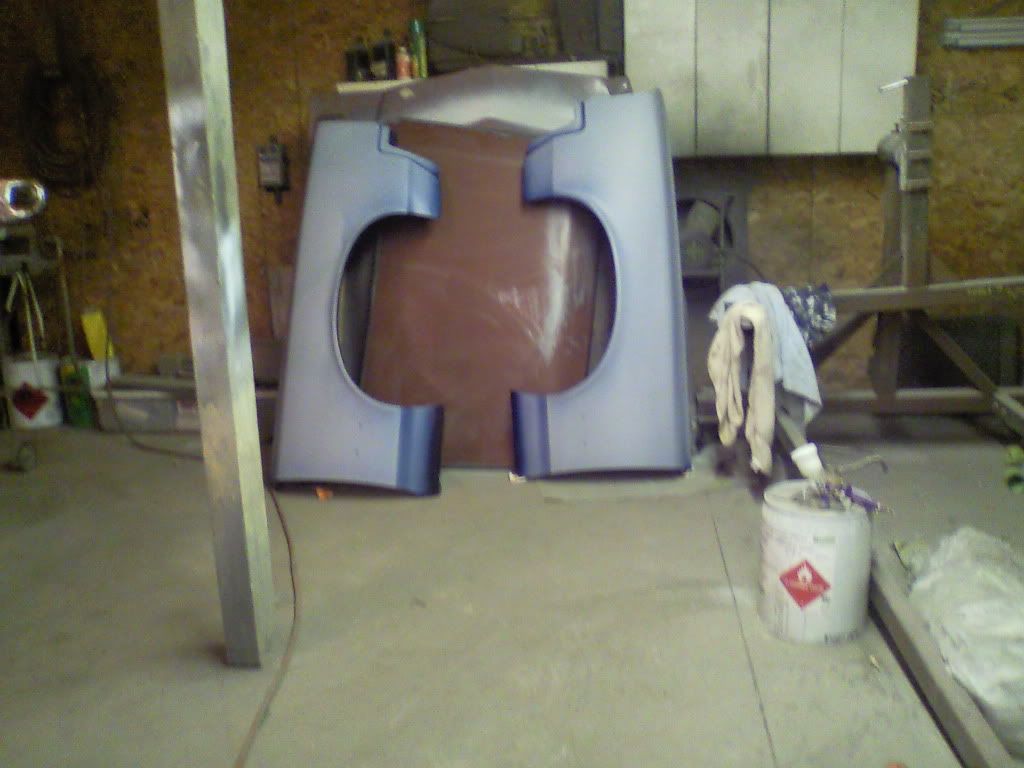 pic of all the parts i painted [except the crossover pipe that i forgot to put in pick]  trans 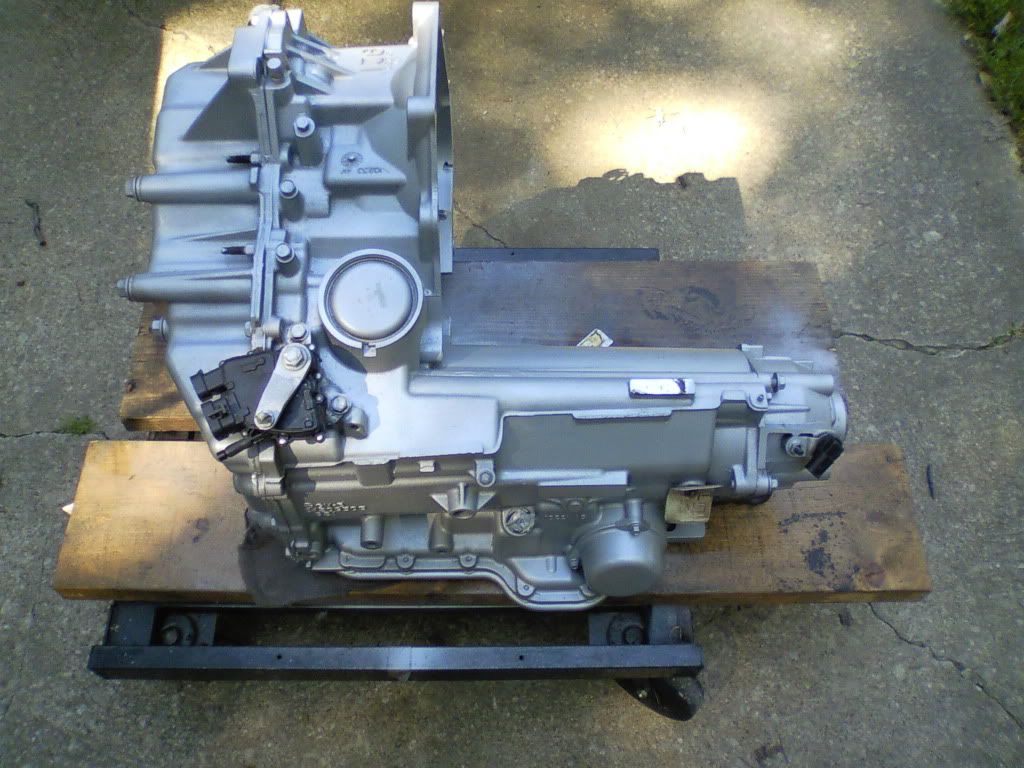 manifolds  EGR heat shield 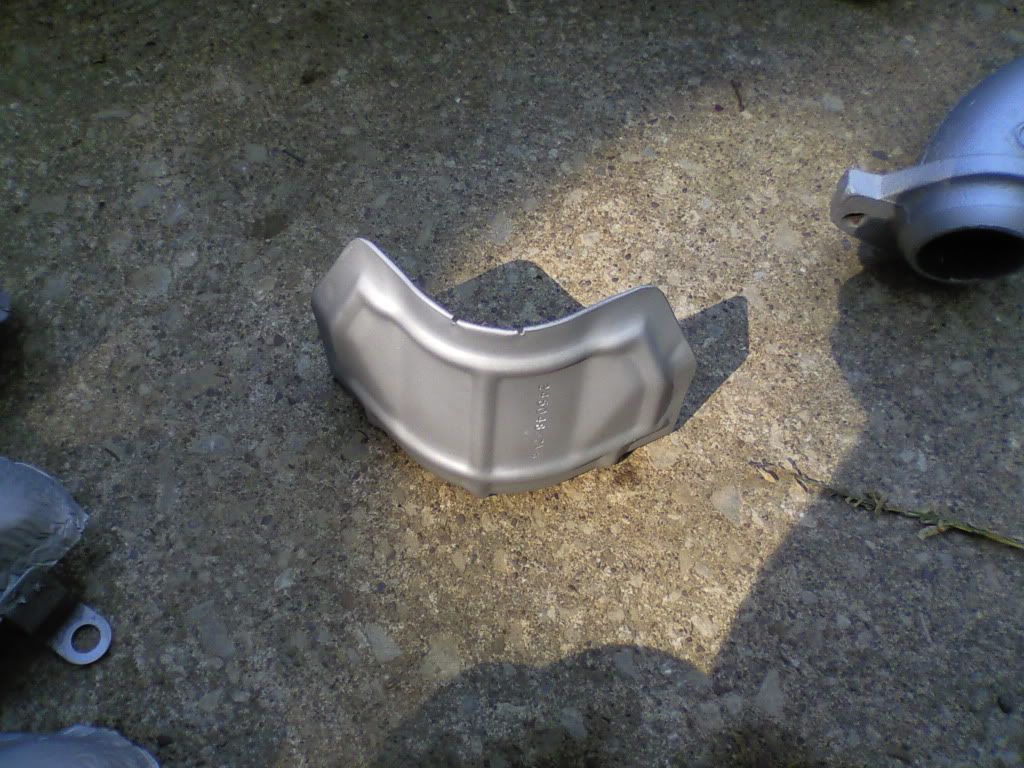 manifold heat shields [ just the outside was painted]  crossover pipe 


|
08:48 PM
|
|
|
Aug 31st, 2011
|
fiero al
Member Posts: 206
From: north ridgeville, ohio
Registered: Jan 2010
|
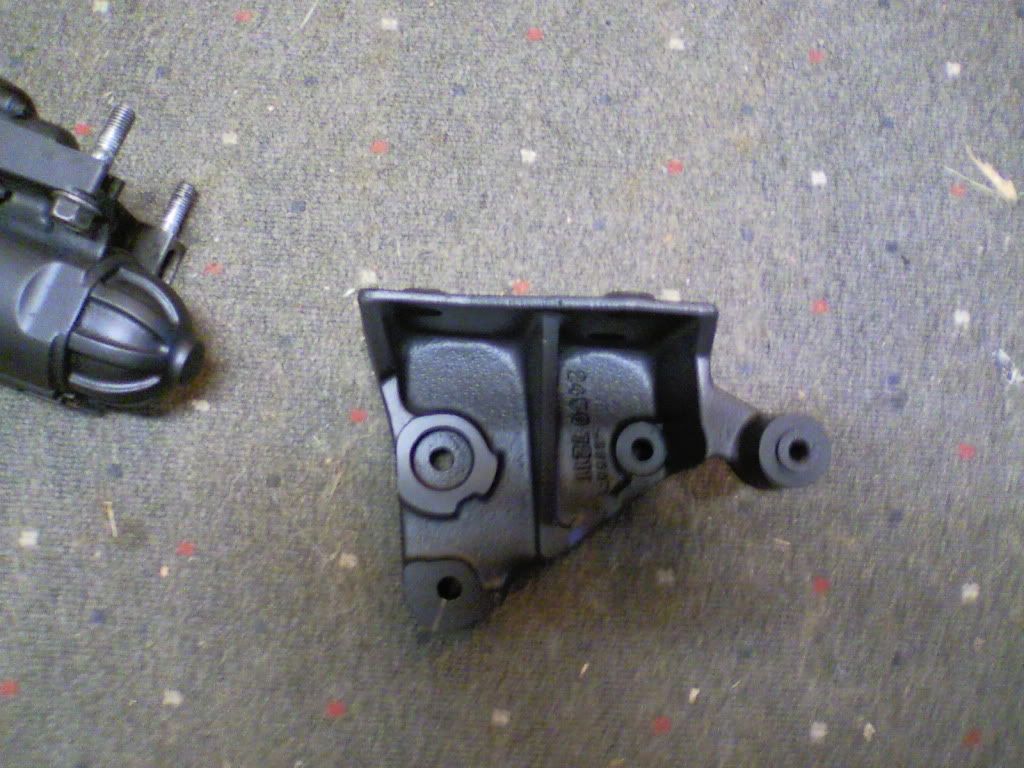
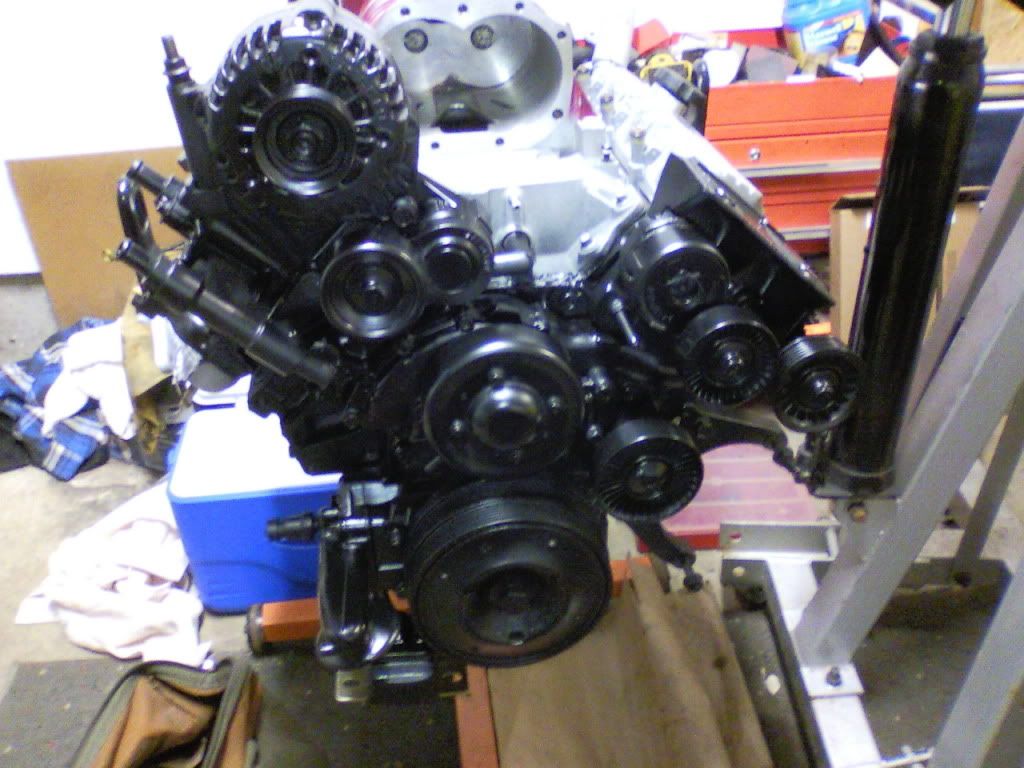
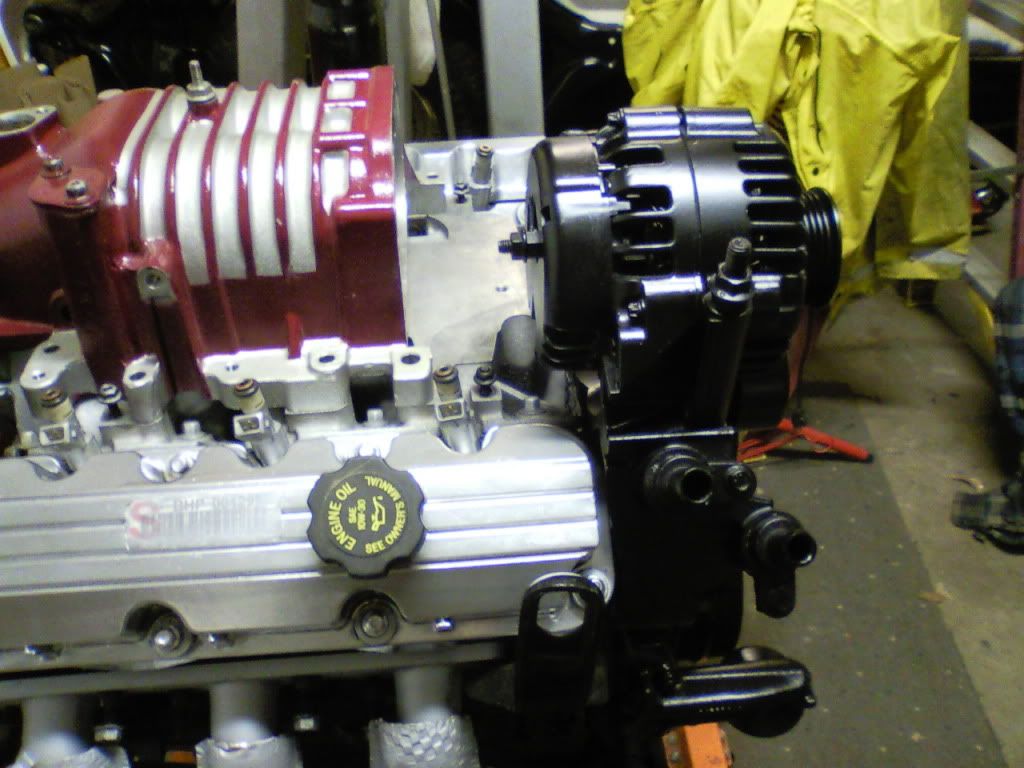
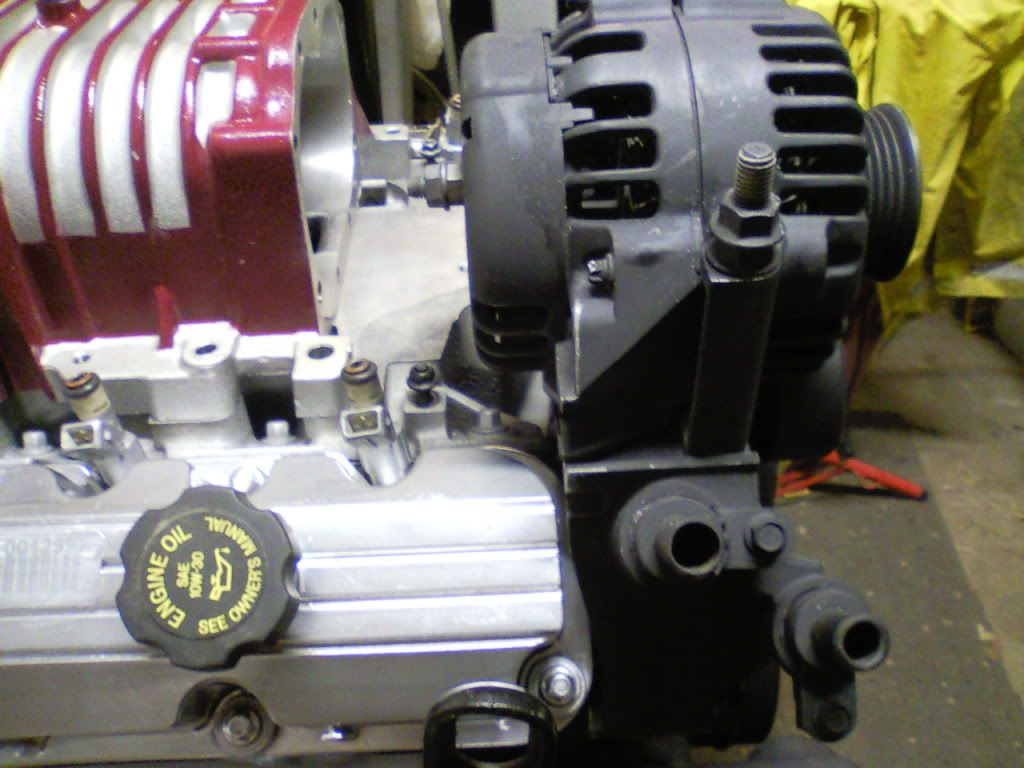
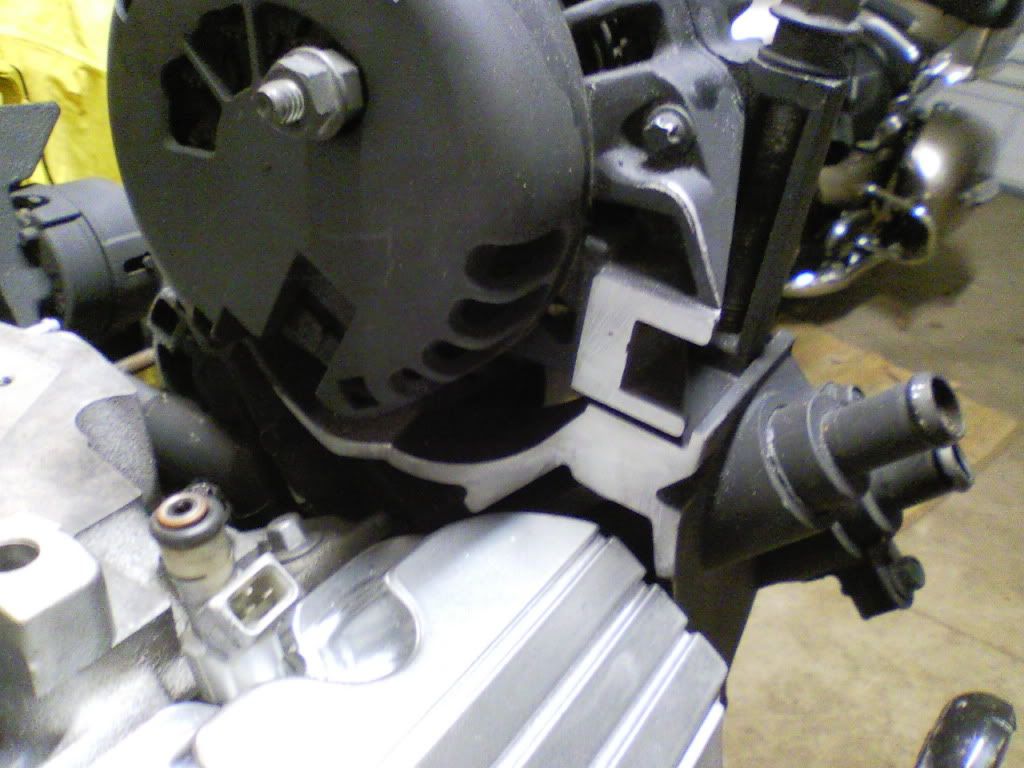
really haven't done much else lately but i did get some more parts painted and test fitted the exhaust to see what it would look like. below shows what was painted and test fitted. pulley side painted 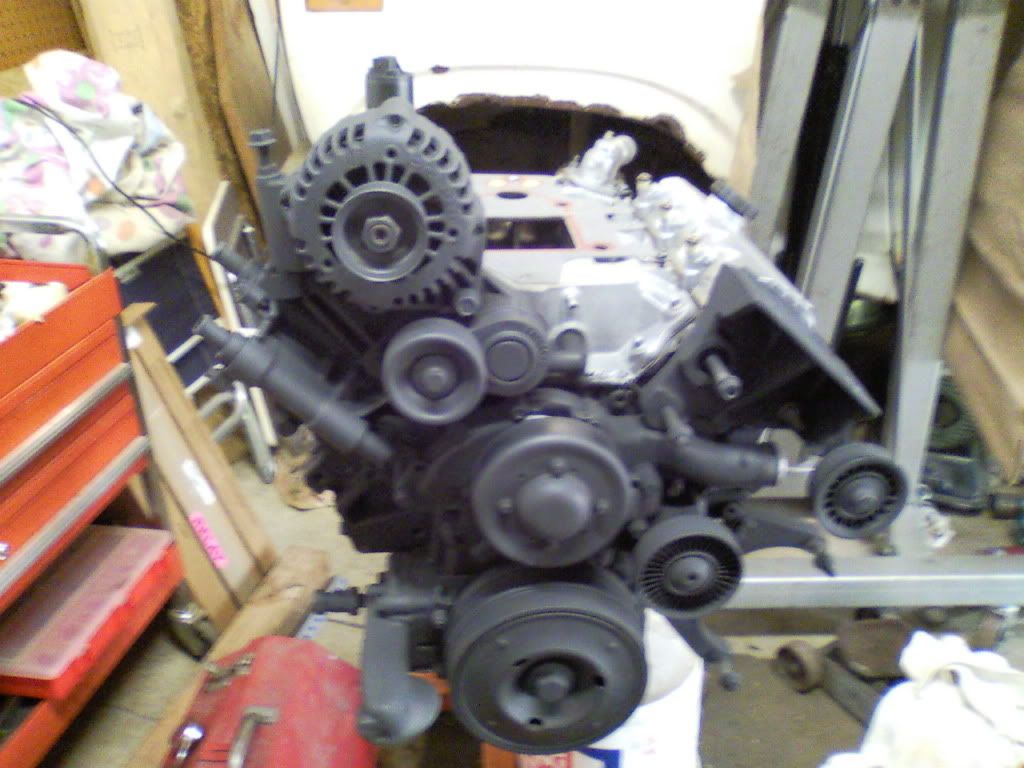 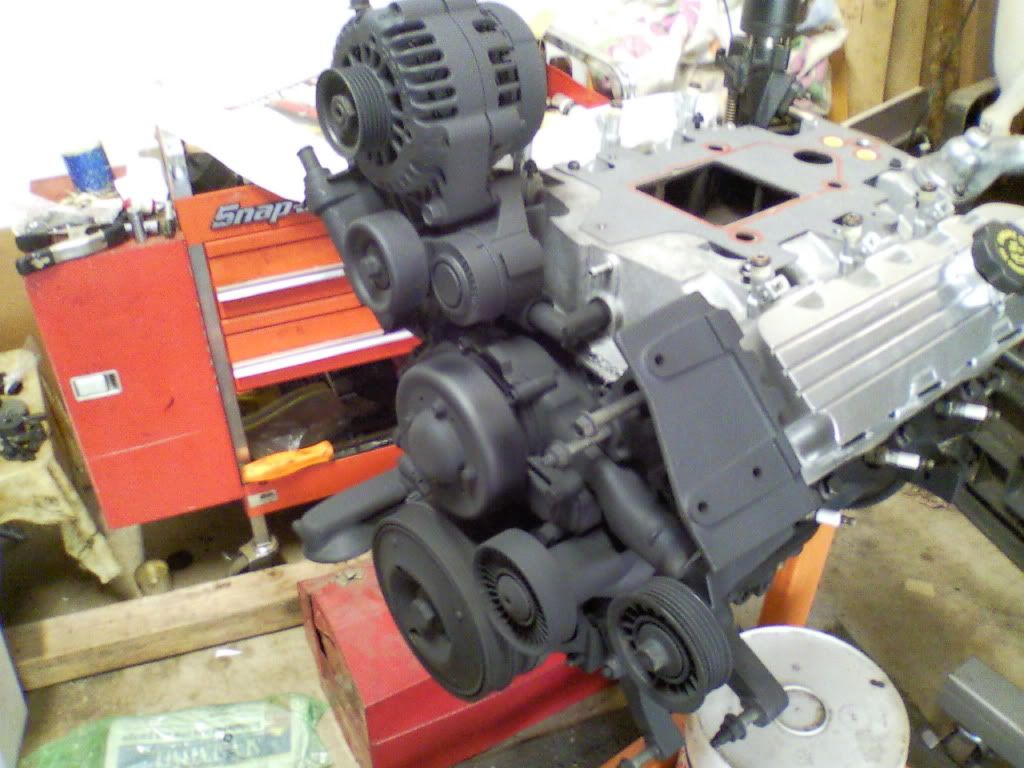 fuel injectors painted 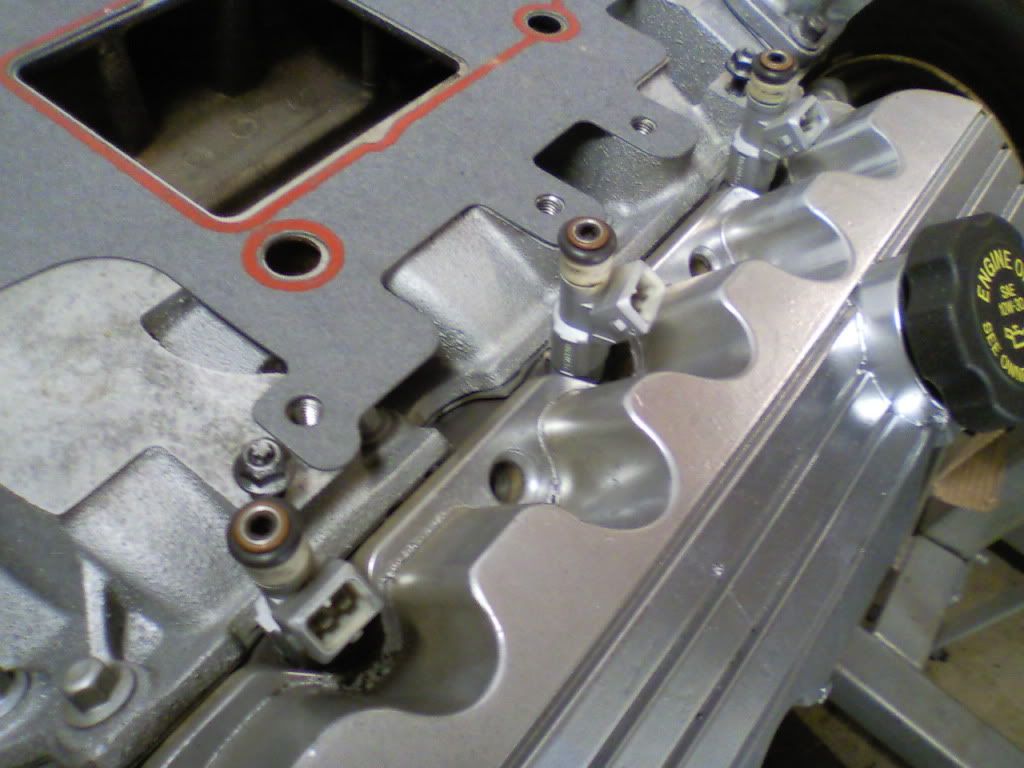 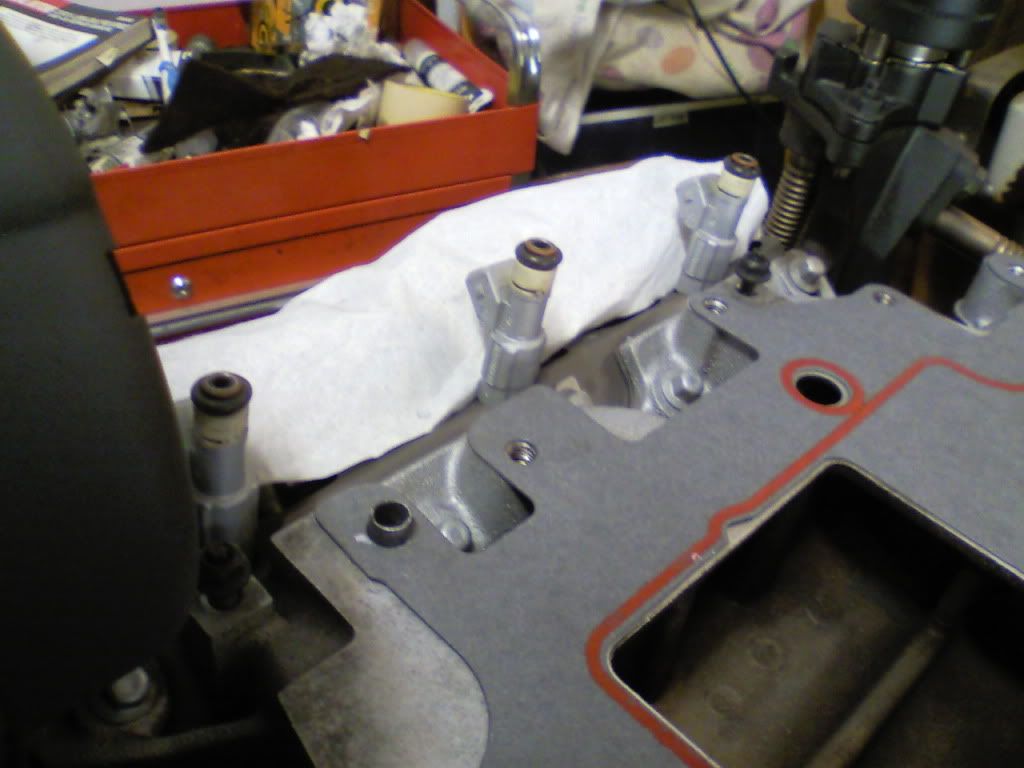 exhaust test fit 1 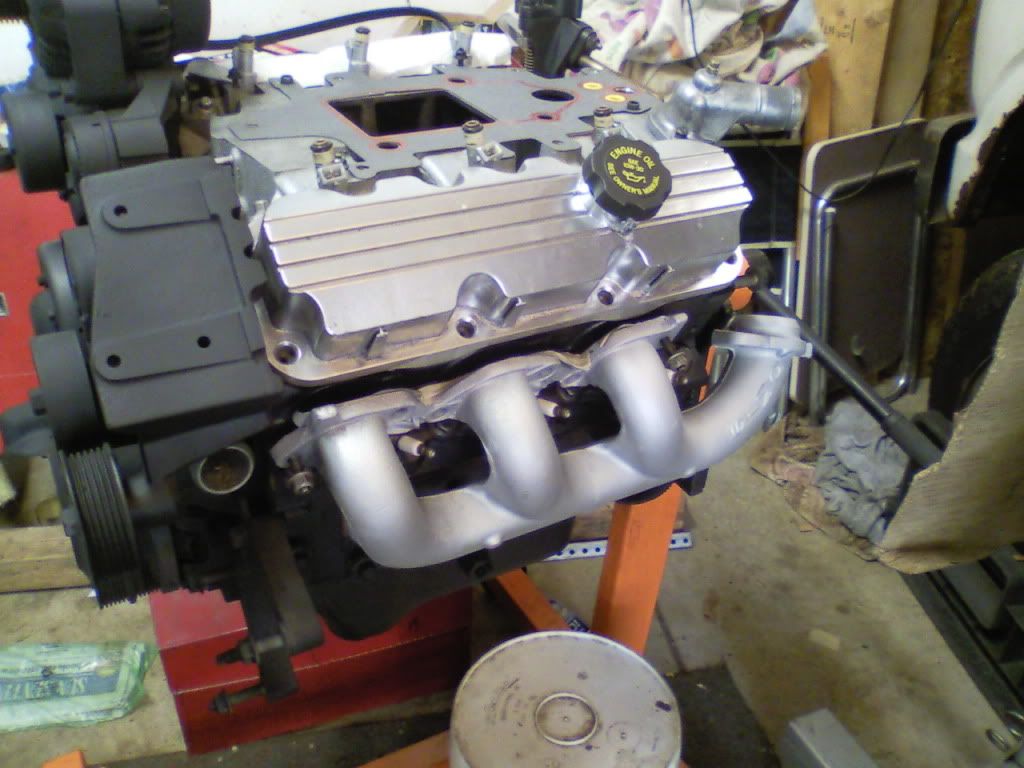 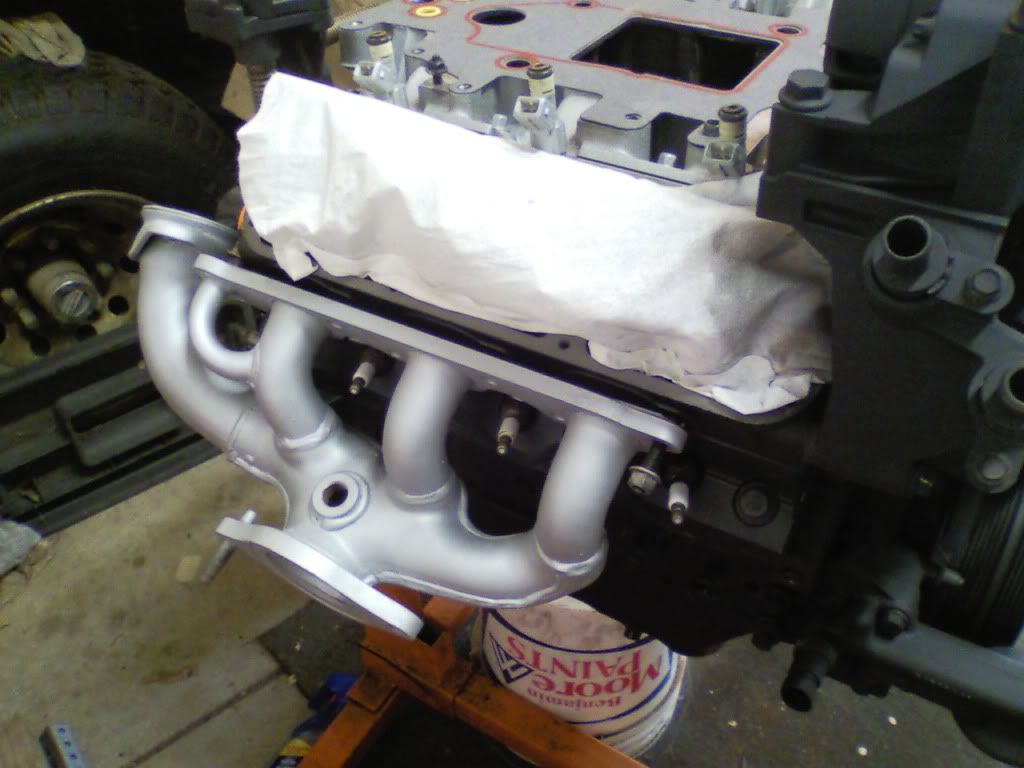 added the missing pulley on the coil pack bracket 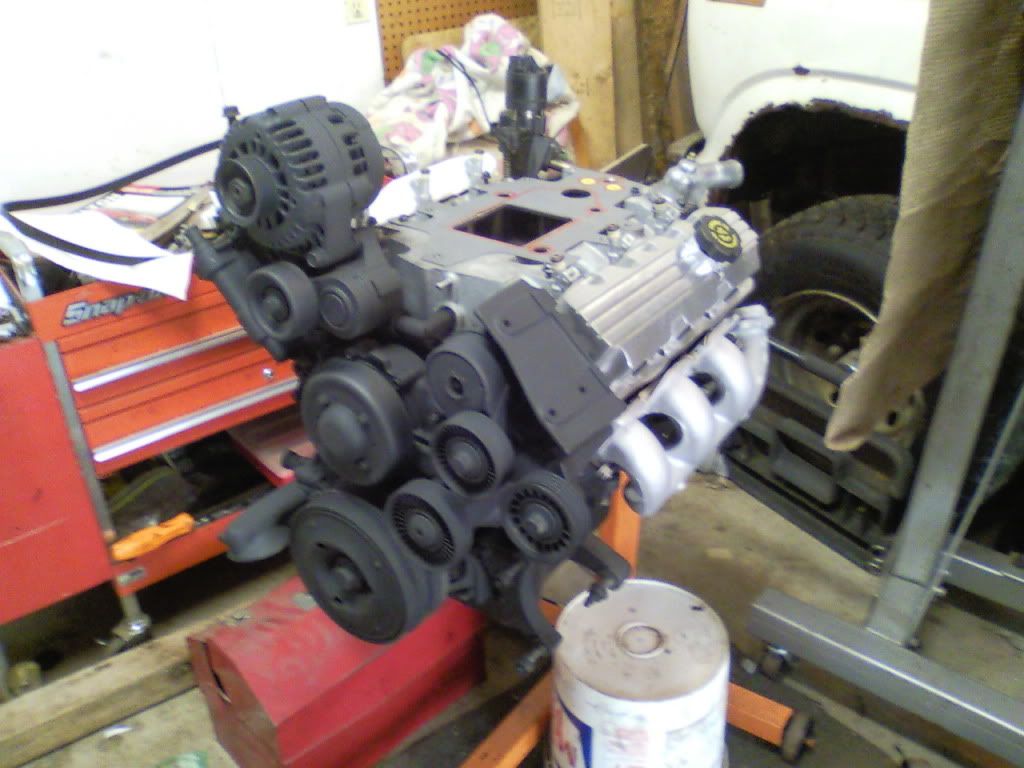 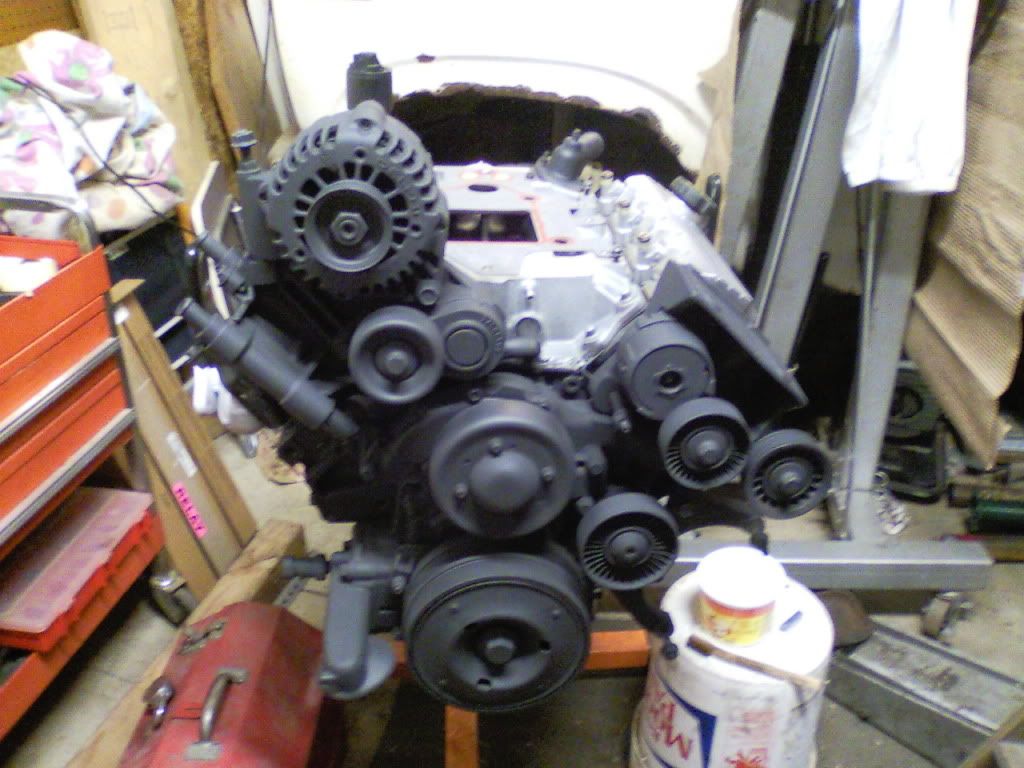 test fit 2 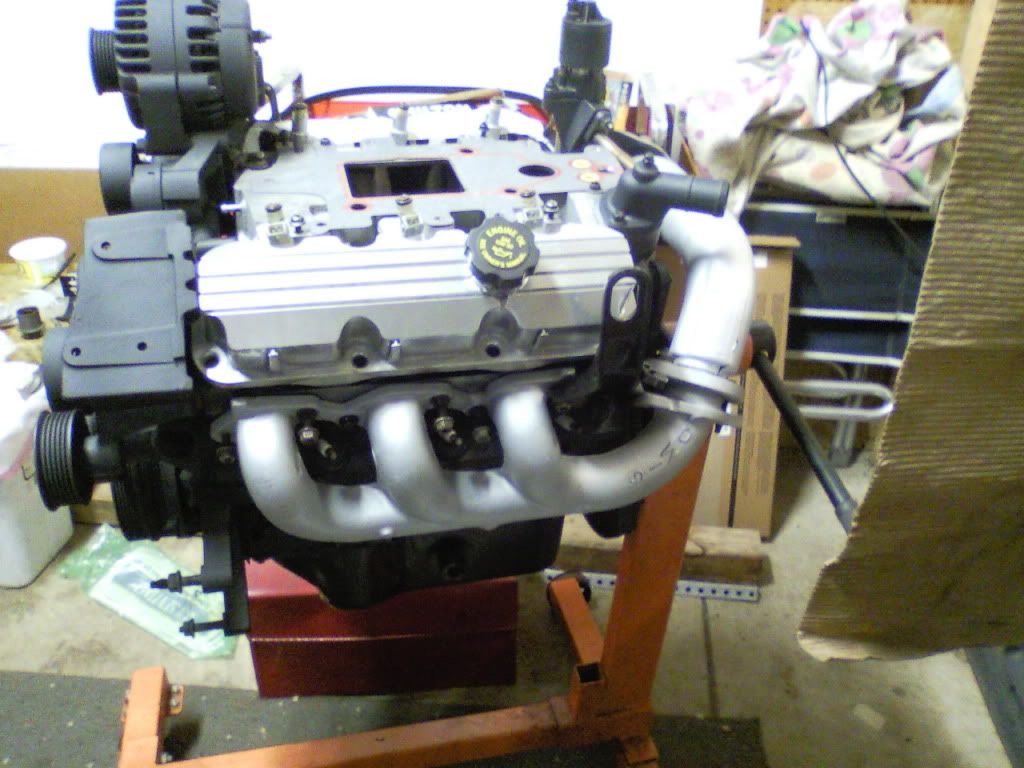 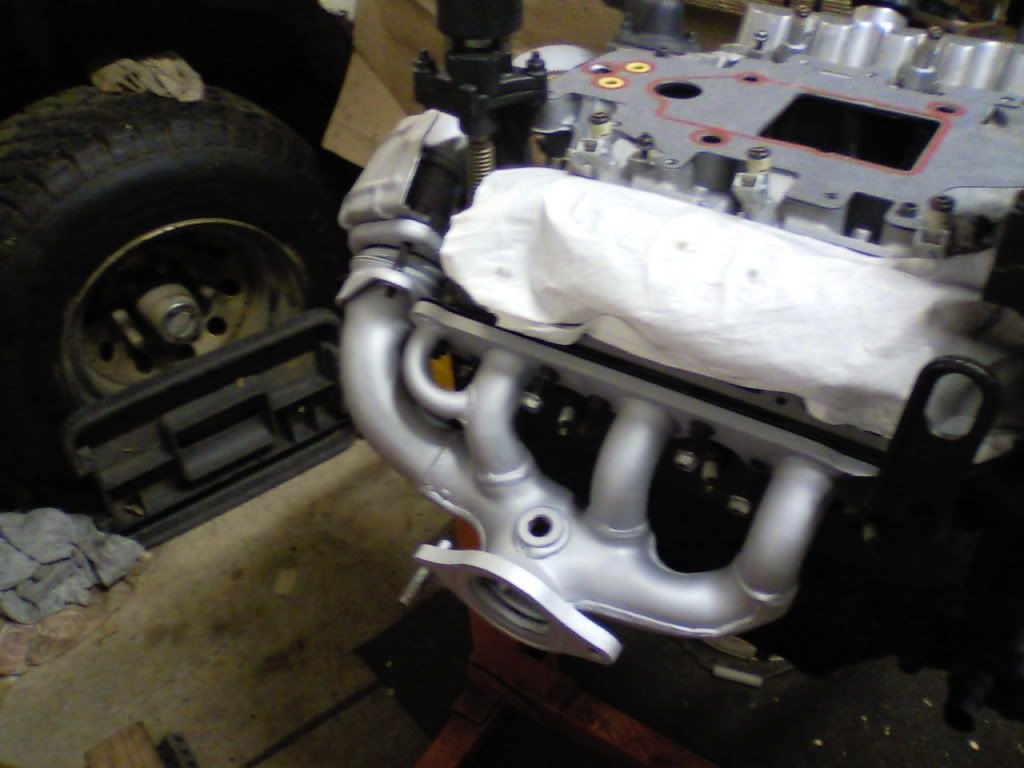 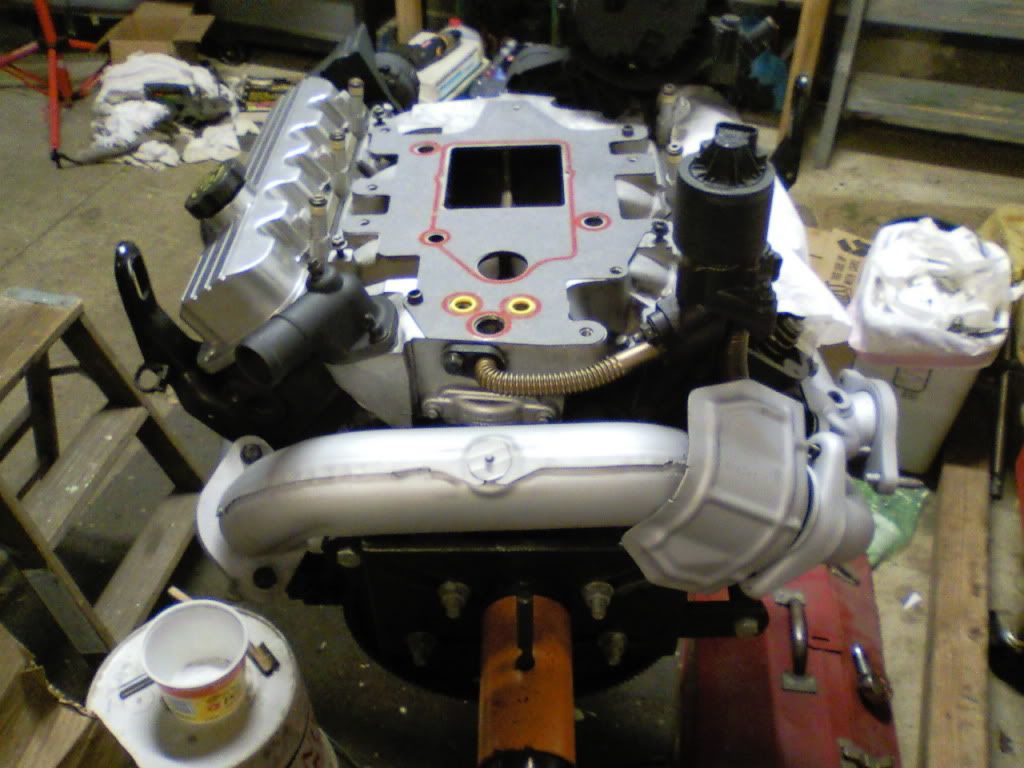 manifold heat shield test fit 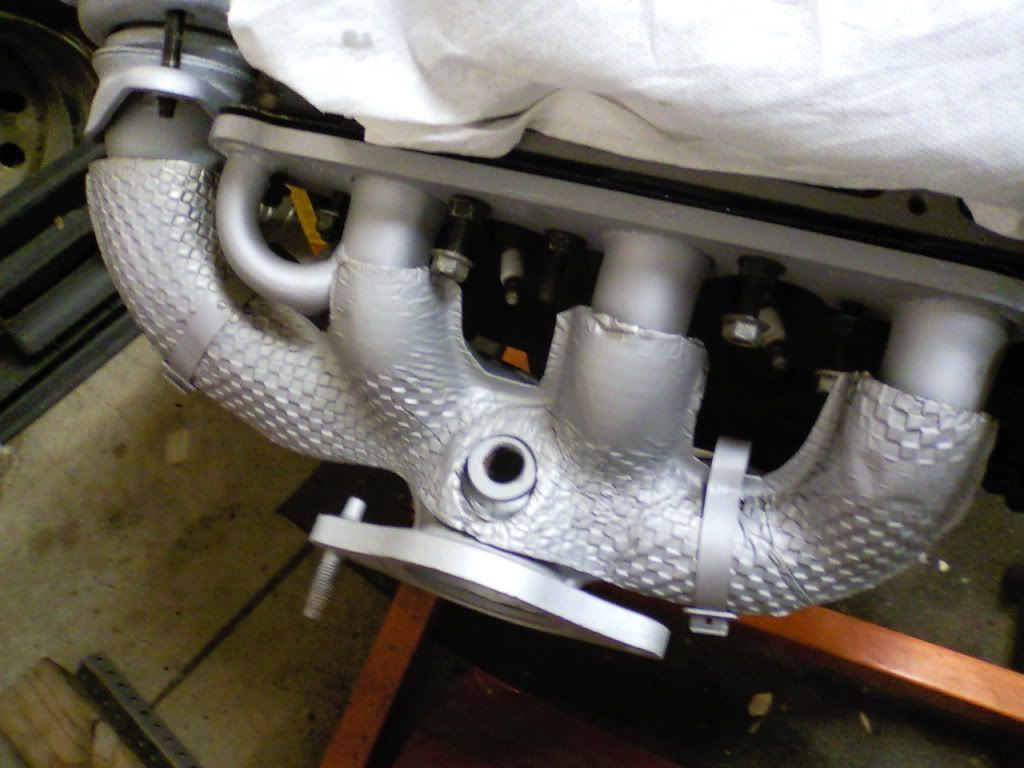 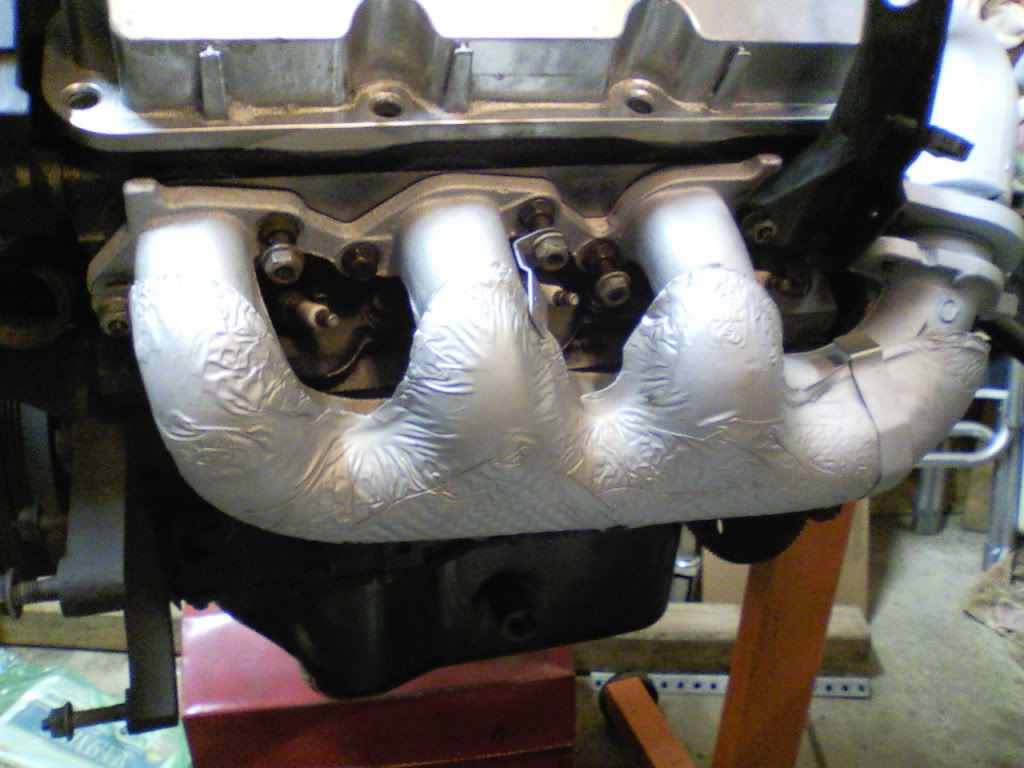 add: the chrome valve cover is just a test cover and will not be used because of the crack in the oil fill cap. more or less it is just to see how things will look and work when done. also im not sure this is going to be what this is going to look like later down the road [concerning the location of alt and other things up in that area] but for now this is were its going to stay. as for the color i used for the front pieces [the black color] i thought it was kinda cool how it came out. my theory with this was that the black color would allow these pieces that are painted to be not so visible when it's in the car. what i mean is that instead of looking at a chrome alt, you will have most of your attention on the main pieces of attraction such as the painted supercharger and valve covers. i might add something later to it but for now i think im going to leave it alone as is. [This message has been edited by fiero al (edited 08-31-2011).]


|
09:23 PM
|
|
|
Sep 19th, 2011
|
fiero al
Member Posts: 206
From: north ridgeville, ohio
Registered: Jan 2010
|
bump
not much has been done over past several days. still waiting on some parts that i need to get this project moving.


|
04:56 PM
|
|
|
Oct 5th, 2011
|
fiero al
Member Posts: 206
From: north ridgeville, ohio
Registered: Jan 2010
|
i got my cradle back Monday and i also brought back my supercharger so that i could do some work on it before Jean paints it again so i don't mess up the new paint. so far, with the supercharger, i was able to smooth out of parts in the intake part and i also cleaned and ported the blower part [ triangle area] a little but not to extreme. more or less to get the sharp edges out so it breaths better. i have the pics of what i have done but not on me right now so i'll put them on later today.


|
01:30 PM
|
|
fiero al
Member Posts: 206
From: north ridgeville, ohio
Registered: Jan 2010
|
heres the pics of the cradle and the supercharger close pic of the inside of the intake part of the supercharger 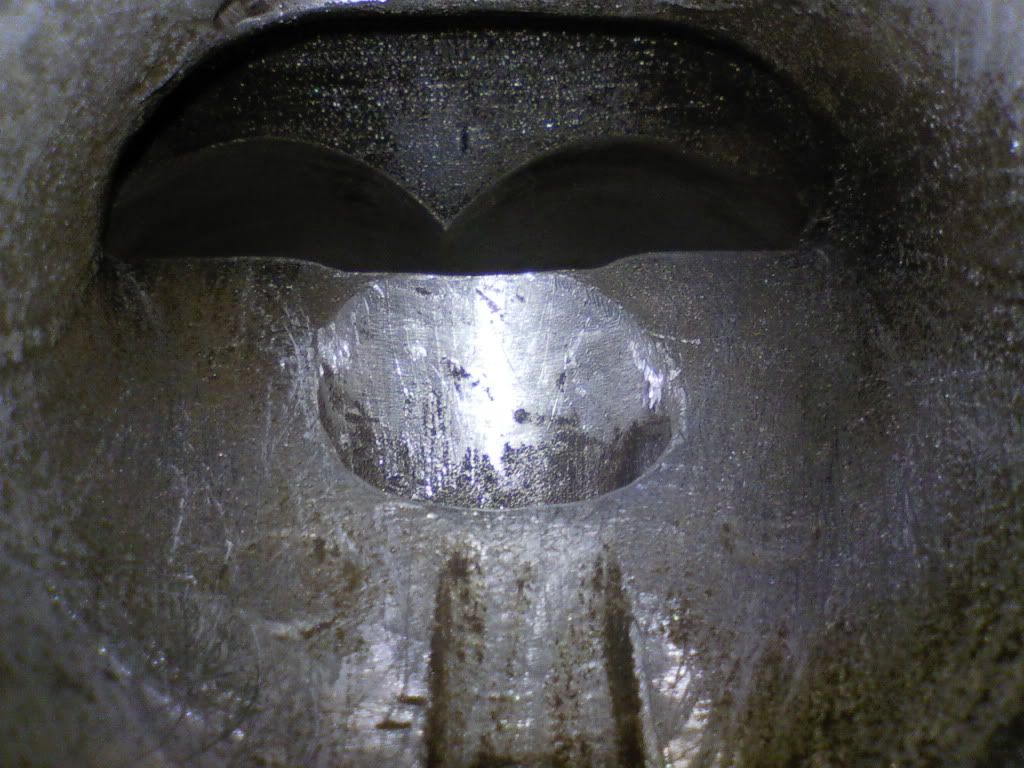 not so close 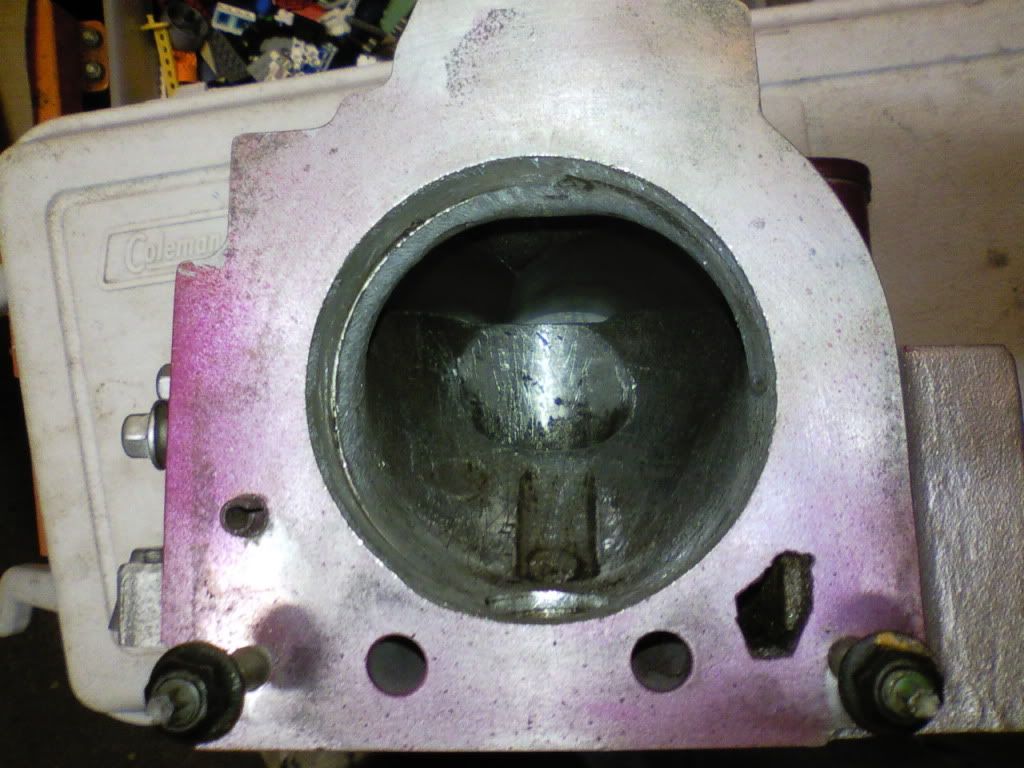 a look at what the triangle port like now that i cleaned it up a little. i might decide to port it more once i know that is thing will work 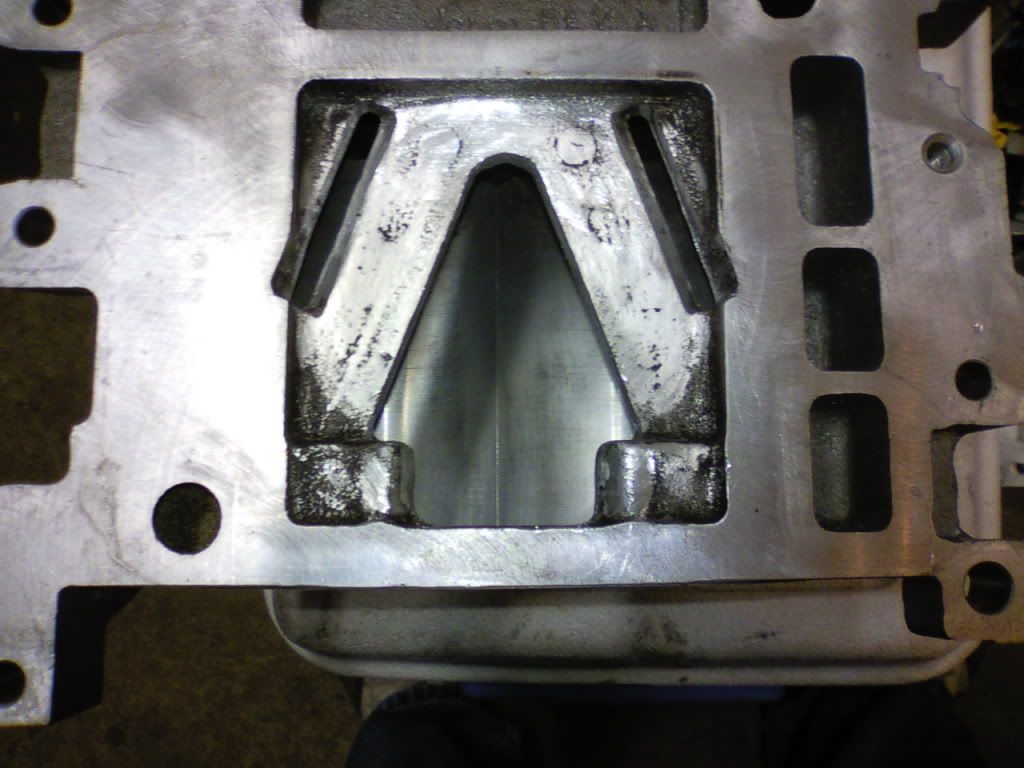 inside the blower area 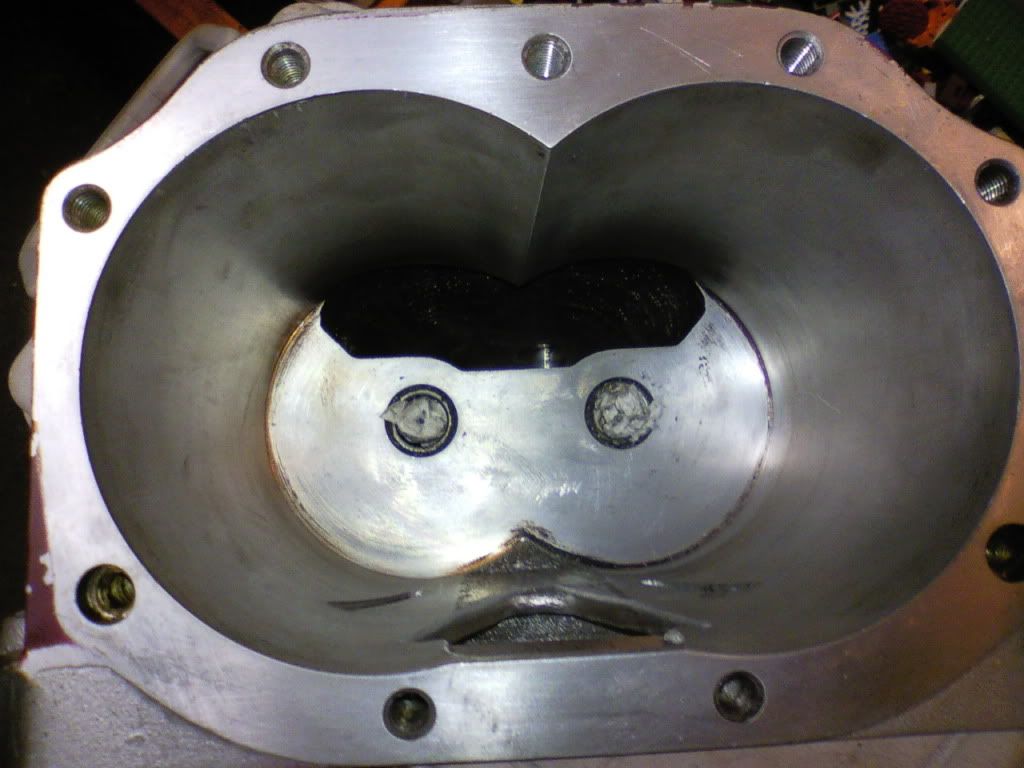 pics of what the setup might look like when it is done [except without the valve cover and fuel rail] 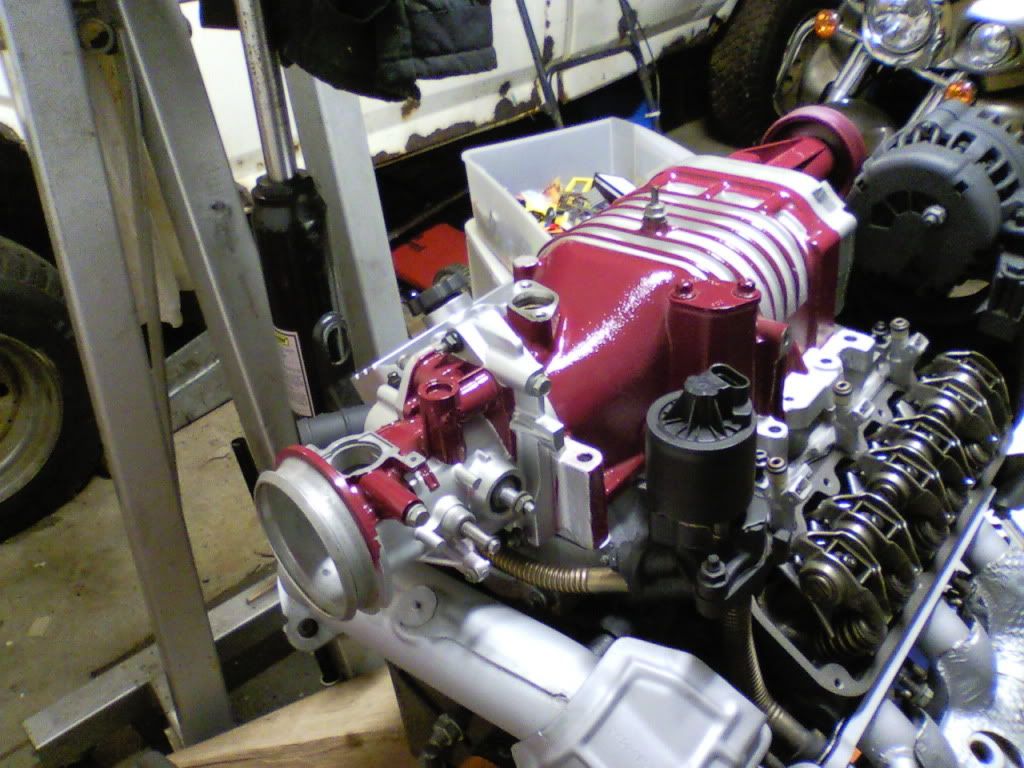 probably gonna repaint the pulley to match the rest but i have to ether replace it with a new one or fix the one that is on there since it got banged up a little on the sides. 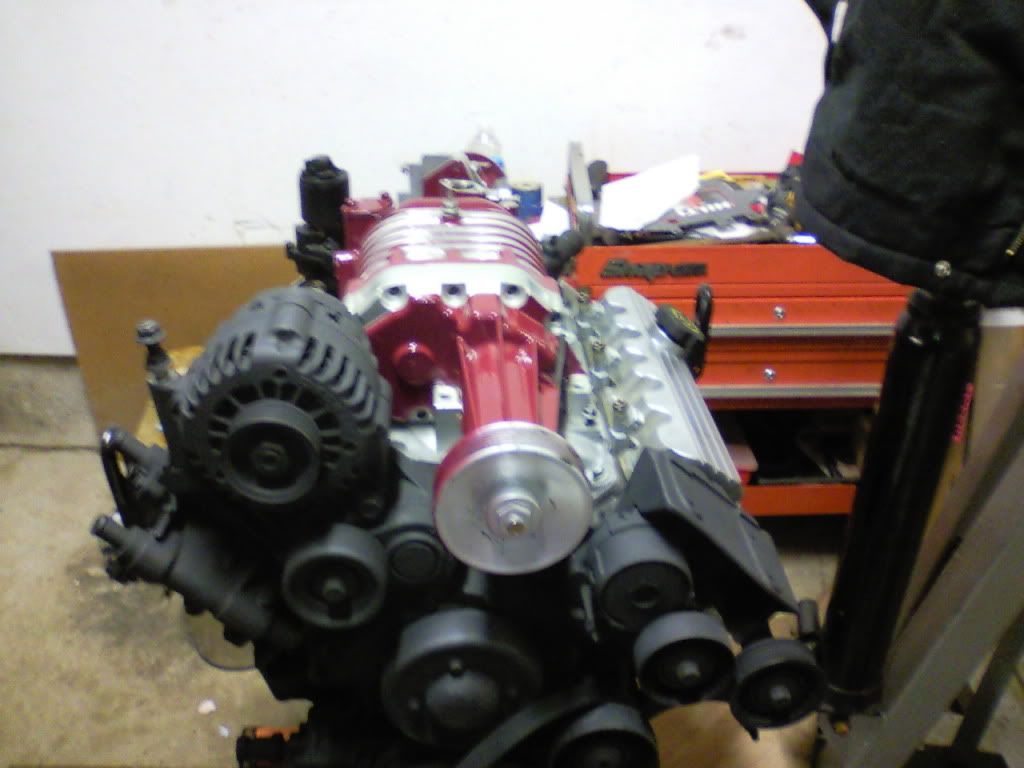 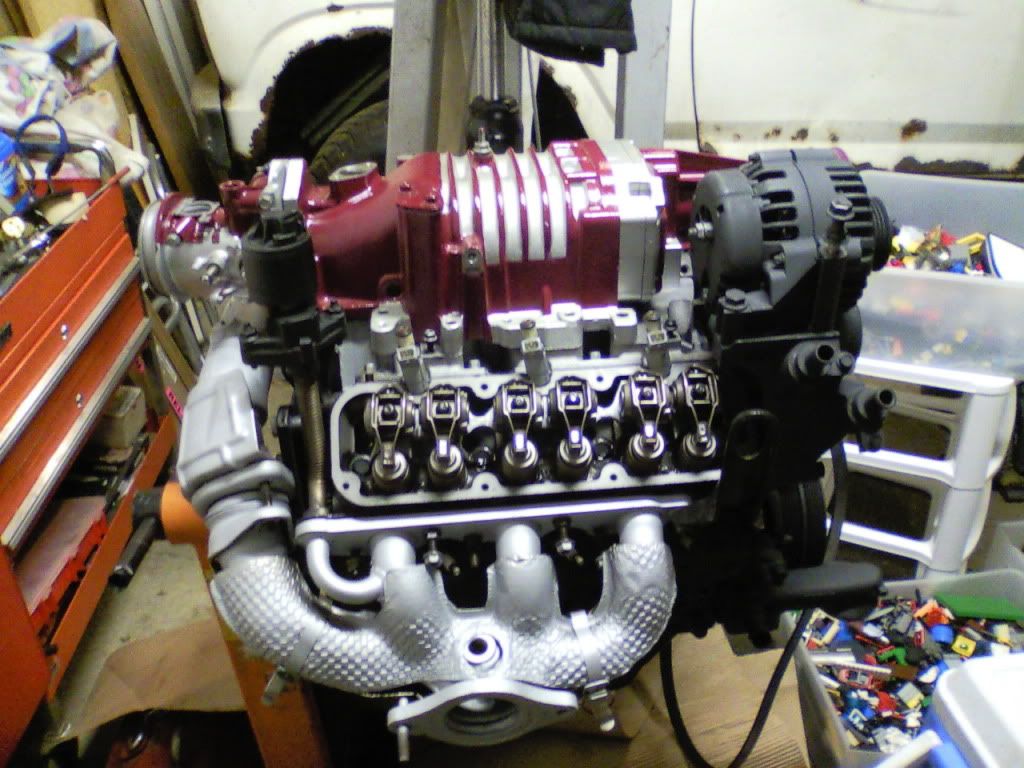 pics of the cradle over a Jeans after being painted 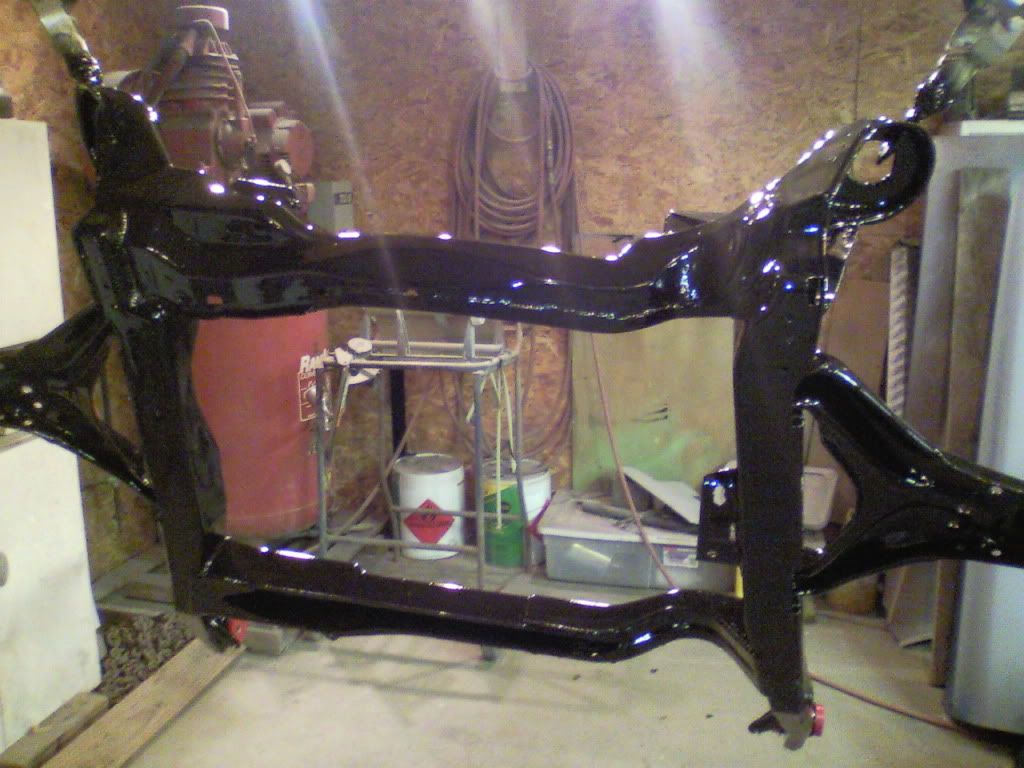 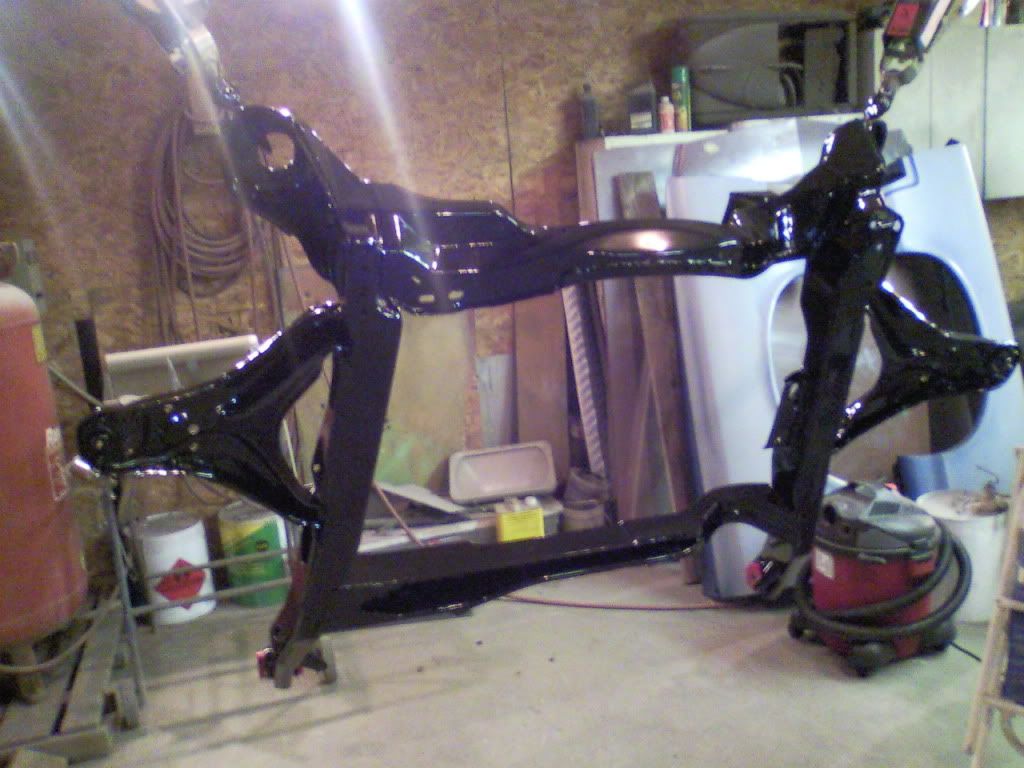 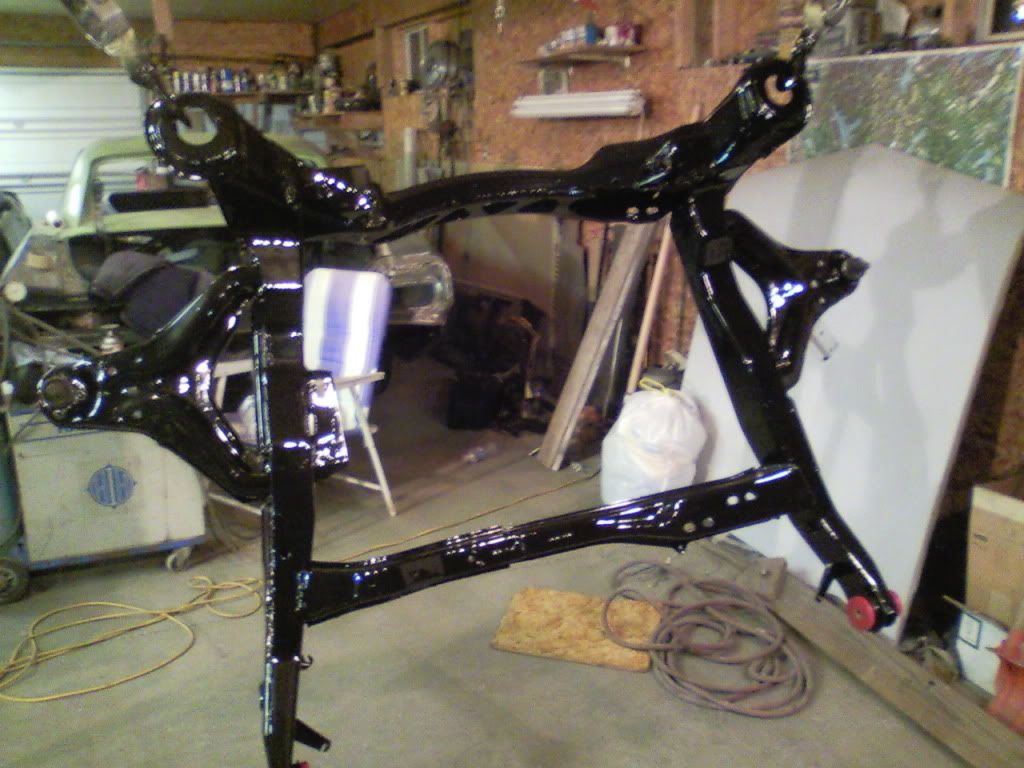 most likely going to start putting some of the parts on cradle once i get some other parts like the mounts.


|
05:16 PM
|
|
|
PFF
System Bot
|
|
|
|
|
Oct 6th, 2011
|
hercimer01
Member Posts: 2308
From: Rockford IL.
Registered: Mar 2008
|
| | | quote | Originally posted by fiero al:
test fit 2

|
|
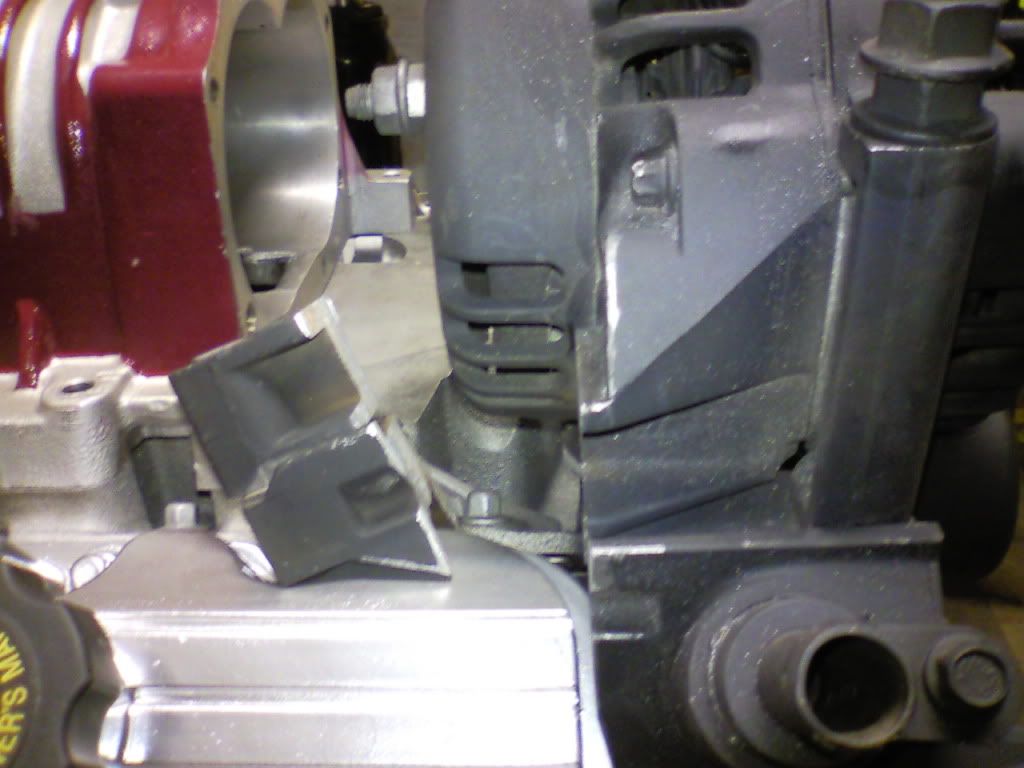
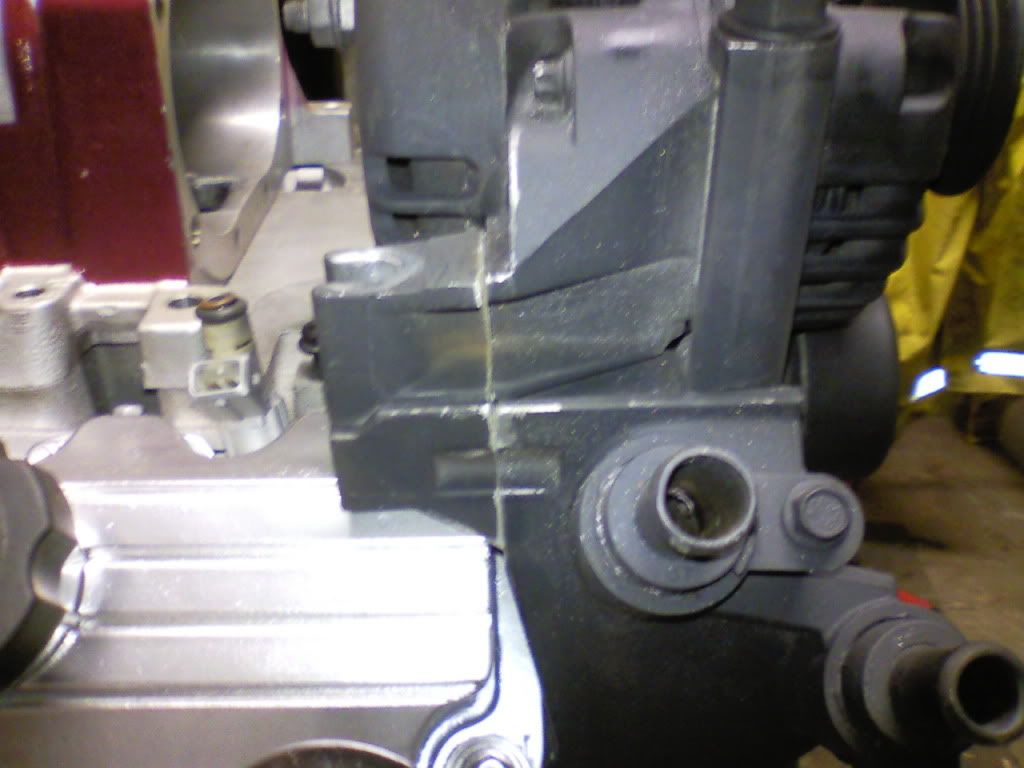
Nice build so far. Your ICM wont work mounted to that bracket. It will hit the hood hinge. I moved mine by going to LKQ and getting 3 long plug wires, then you can trim the excess of the ICM bracket. Check out my build thread. ------------------
Project Genisis Lo Budget 3800SC swap in progress
88 formula 3.4L 4t60 swap


|
01:56 PM
|
|
|
Oct 7th, 2011
|
fiero al
Member Posts: 206
From: north ridgeville, ohio
Registered: Jan 2010
|
| | | quote | Originally posted by hercimer01:
Nice build so far.
Your ICM wont work mounted to that bracket. It will hit the hood hinge. I moved mine by going to LKQ and getting 3 long plug wires, then you can trim the excess of the ICM bracket. Check out my build thread.
|
|
well i wasn't going to put the ICM there but i need the bracket there so i can use the pulleys. i was going to put the ICM were the battery is and relocate the battery to the front. i also already modified the bracket by removing the dogbone part of the bracket. i might trim more off but for now i think it will work the way it is. [This message has been edited by fiero al (edited 10-07-2011).]


|
12:30 PM
|
|
|
Oct 10th, 2011
|
fiero al
Member Posts: 206
From: north ridgeville, ohio
Registered: Jan 2010
|
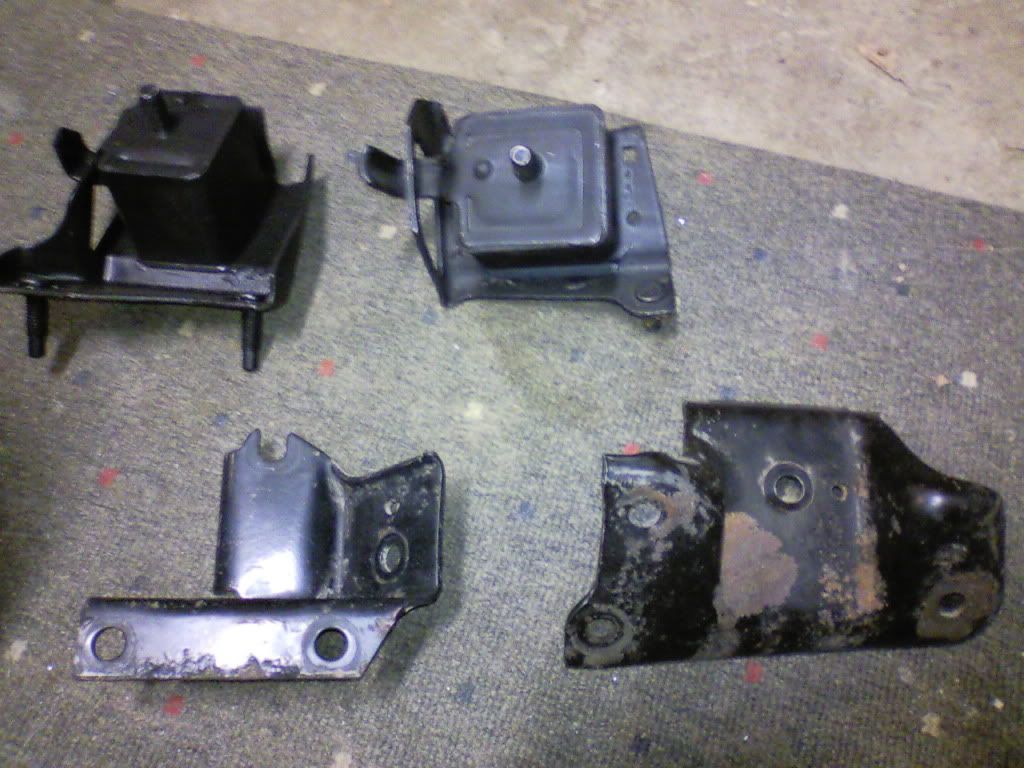
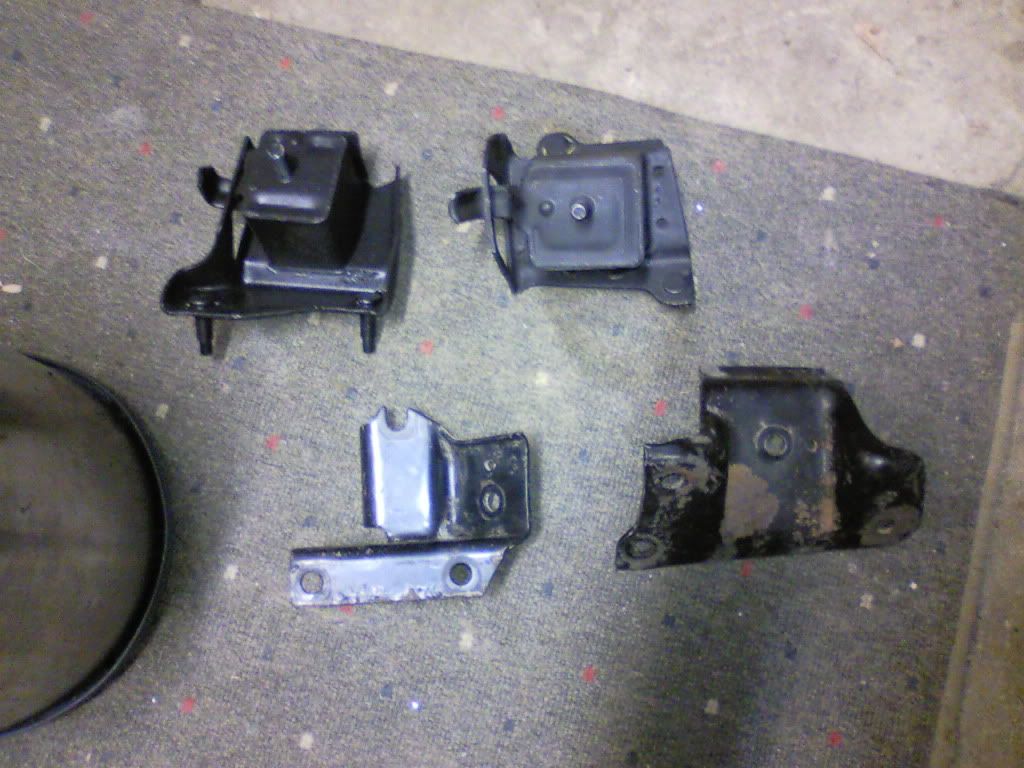
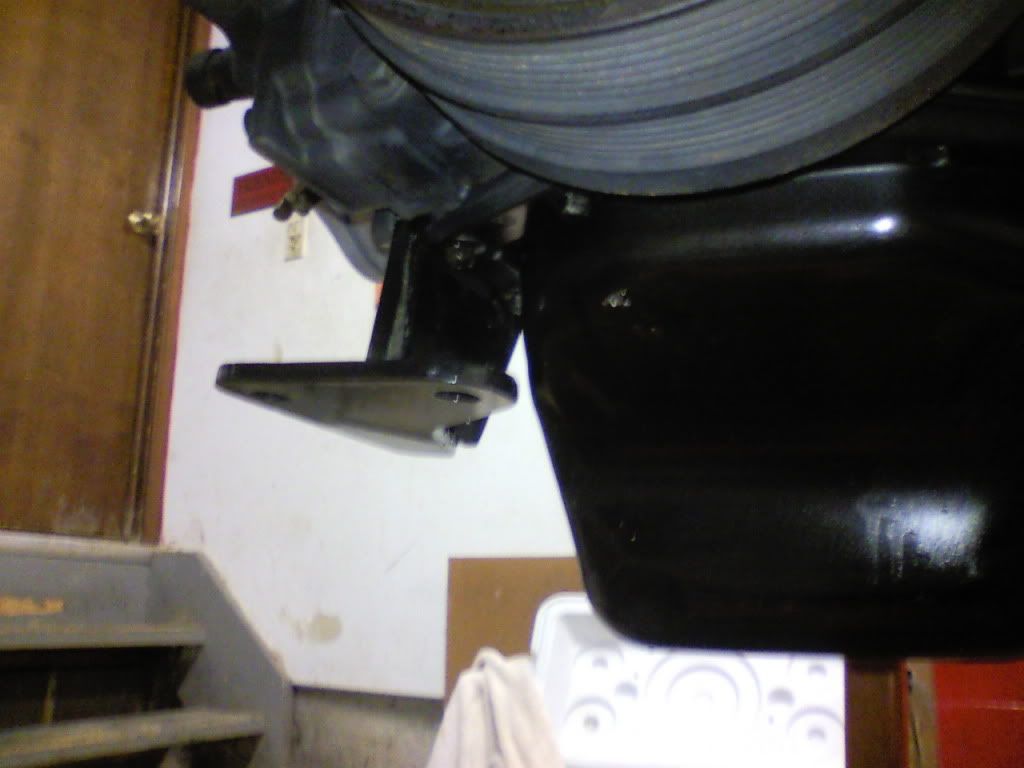
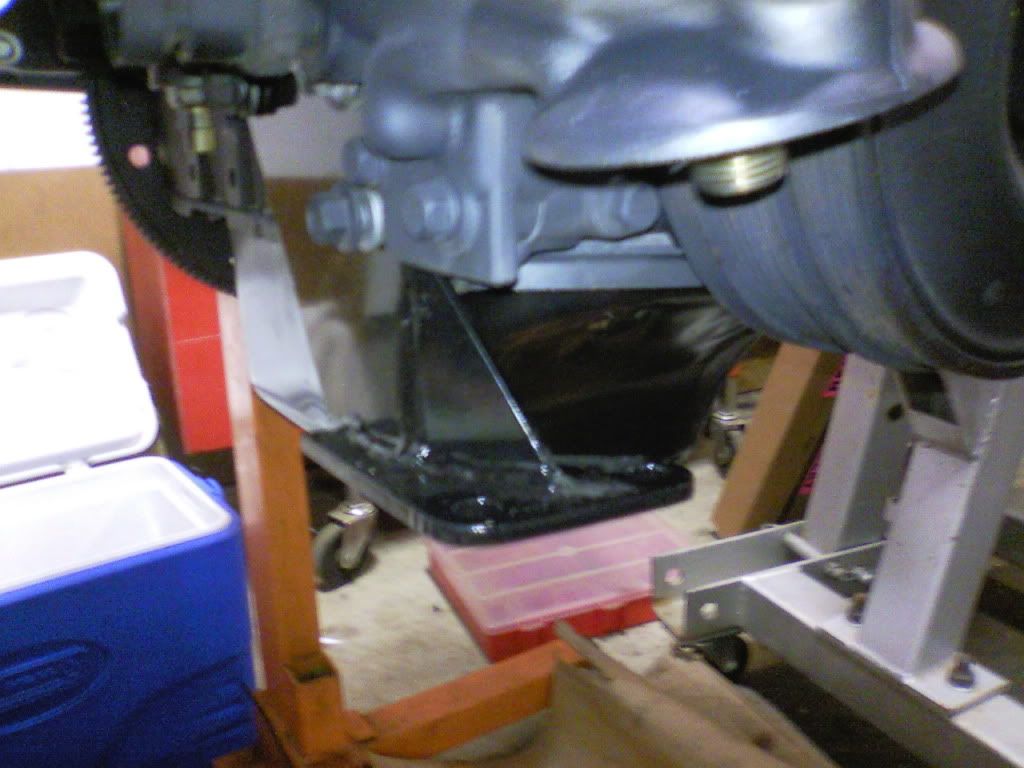
so far i haven't done much with the swap at this point. still need to figure out what to do about mounts so that i can put it on the cradle. i think what im going to do is use the two original trans brackets/mounts off my old 4t60 trans. as for the engine i think i might buy and engine bracket and use the original fiero engine mounting spot. then add a dogbone to the opposite side of the ALT over by the EGR since i am going to keep the ALT on top for now. i might also add another mount to the bottom of the engine over were the old shock thing was on the 2.8 for add support. here is a pic i found that uses the dogbone were i want to use it [from hercimer01 3800 swap] 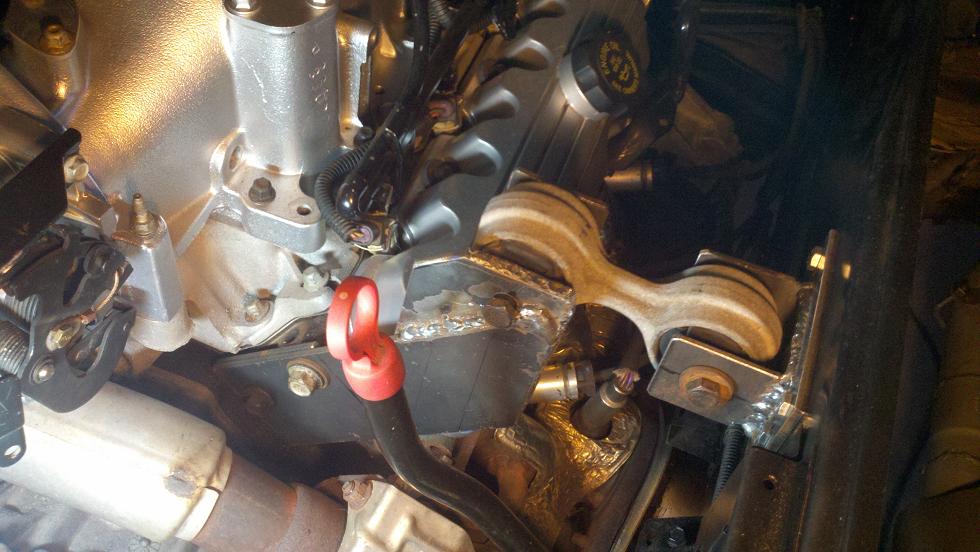 once i get the engine and trans on the cradle, im going to start working on other things such as the wiring. other things that still need to be done is making a passenger side axle [ I only need the passenger side made because from what i heard i can use the driver side axle from the 4t60 that i already have on my 2.8 so i will just use that if it works otherwise i make one for that side as well]. I also have to get the computer sent out to get reprogrammed but im still not sure exactly what im going to do with it and who is going to reprogram it. along with that, i still need to buy the fuel pump im going to use which is the Airtex Master E3240 at AutoZone. hopefully after i get all this done, i will be able to start putting the swap into my car. i plan on doing putting it in when my winter break starts


|
08:46 PM
|
|
|
Oct 11th, 2011
|
phonedawgz
Member Posts: 17091
From: Green Bay, WI USA
Registered: Dec 2009
|
Darth Fiero - his email is sp1@gmtuners.com is the guy to program your PCM.


|
11:24 AM
|
|
Alex4mula
Member Posts: 7405
From: Canton, MI US
Registered: Dec 1999
|
| | | quote | Originally posted by phonedawgz:
Darth Fiero - his email is sp1@gmtuners.com is the guy to program your PCM. |
|
DITTO


|
02:52 PM
|
|
mattwa
Member Posts: 7106
From: Lorain, Ohio
Registered: Sep 2008
|
Yep, Ryan is the guy my dad and I have had all our chips reprogrammed at, great guy.


|
02:56 PM
|
|
fiero al
Member Posts: 206
From: north ridgeville, ohio
Registered: Jan 2010
|
is that the guy you told me to send it to awhile back Matt? i forgot who it was that you told me but if that's him then i will probably be sending it to him sometime soon. right now I'm in the process of getting the mounts that i need in order so that i can start putting the engine/trans on the cradle.


|
05:54 PM
|
|
mattwa
Member Posts: 7106
From: Lorain, Ohio
Registered: Sep 2008
|
| | | quote | Originally posted by fiero al:
is that the guy you told me to send it to awhile back Matt? i forgot who it was that you told me but if that's him then i will probably be sending it to him sometime soon. right now I'm in the process of getting the mounts that i need in order so that i can start putting the engine/trans on the cradle. |
|
Yep, same guy. Ryan Gick at Sinister Performance.


|
07:16 PM
|
|
|
Oct 25th, 2011
|
fiero al
Member Posts: 206
From: north ridgeville, ohio
Registered: Jan 2010
|


|
04:15 PM
|
|
|
Oct 28th, 2011
|
fiero al
Member Posts: 206
From: north ridgeville, ohio
Registered: Jan 2010
|
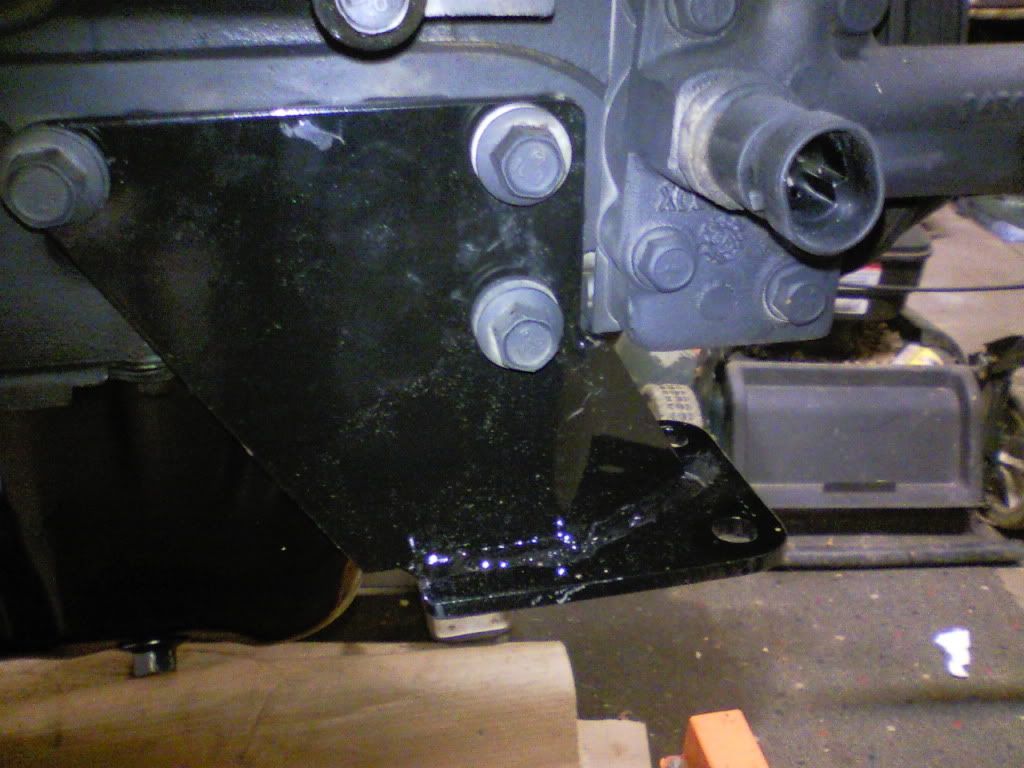
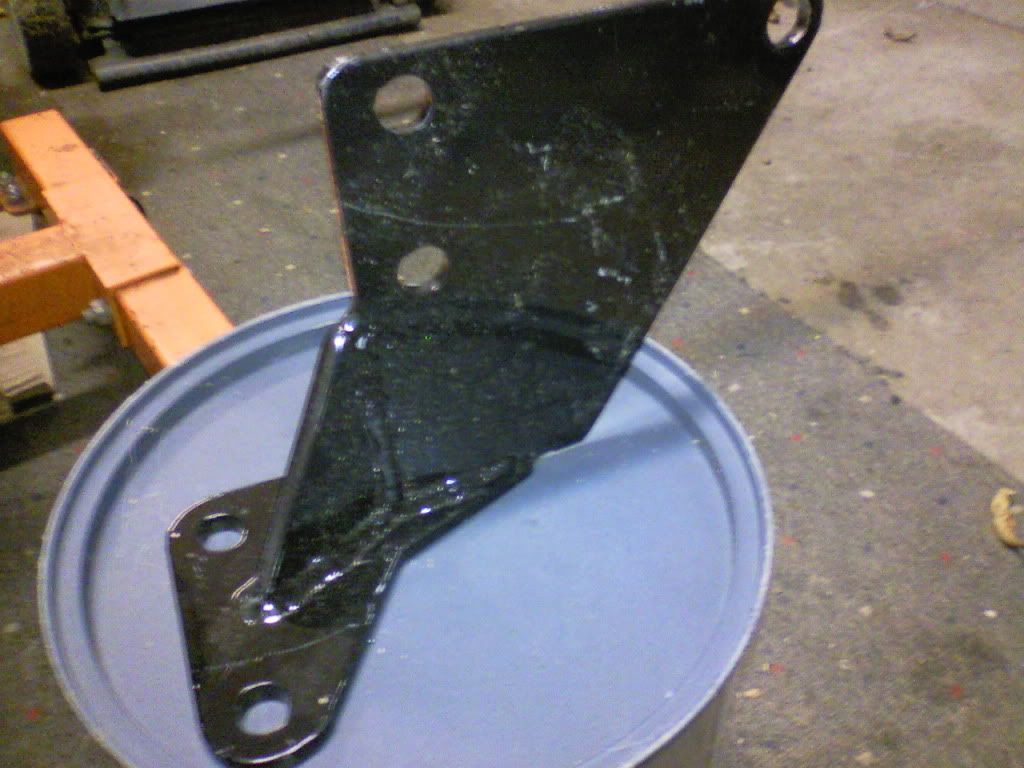
today Matt and i got the engine and trans together. at this point it is sitting on the wooden crate till i can modify the one trans bracket and after that i should be able to put it on the cradle to start working on the other mounts. i also have the exhaust that i got form Matt today and i plan on working on that sometime. probably going to take the exhaust over to Jeans to see if he can cut and weld it in the way it needs to be so that it can fit and work. along with that, i will probably take the super charger over jean's house and give it to him so that he can start painting it. trans with torque converter in 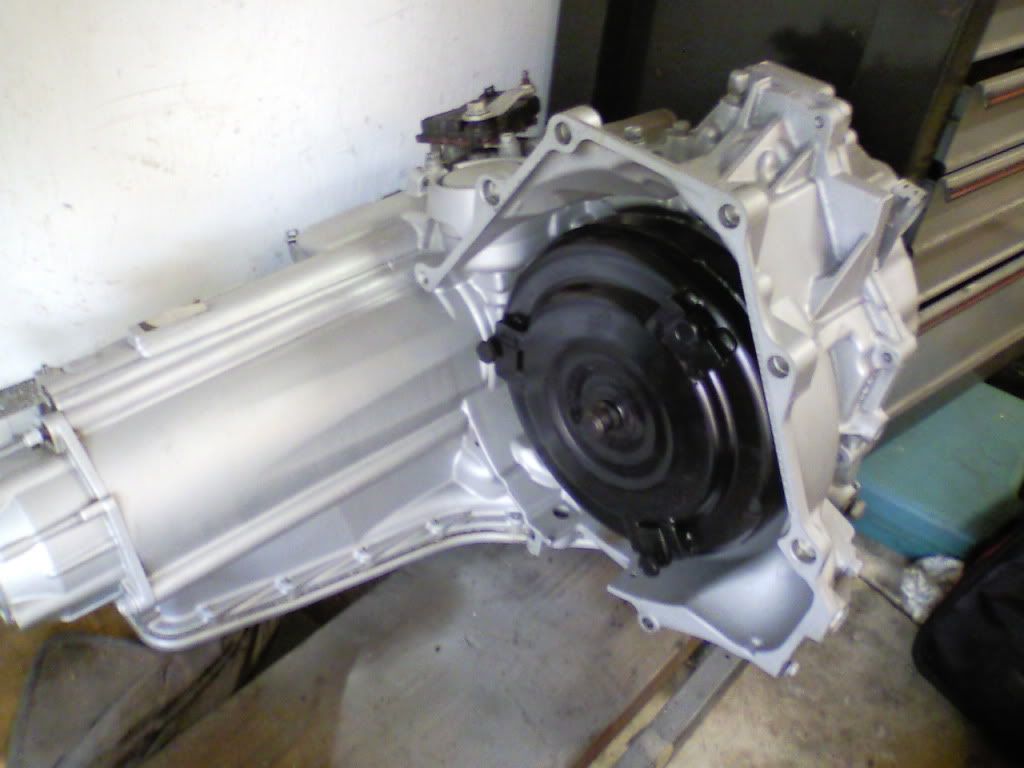 exhaust that needs to be modified up by the S bends and the CAT. it also needs the part that hooks it to the other part on my engine. the one on the exhaust doesn't work. 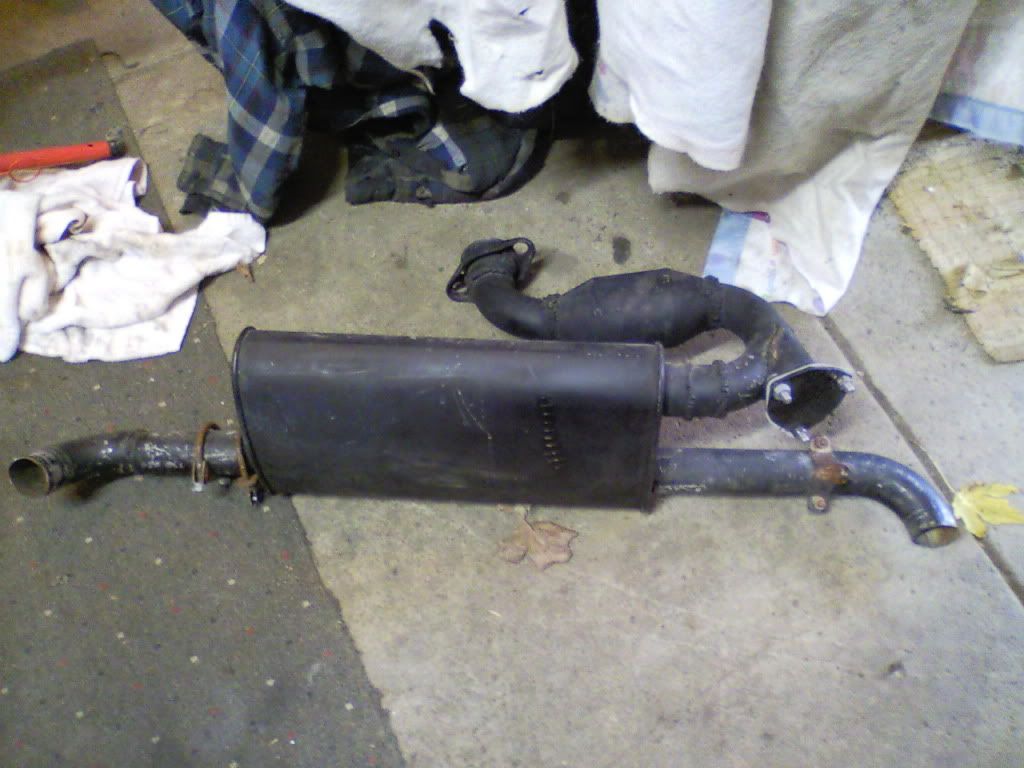 engine being put together with trans 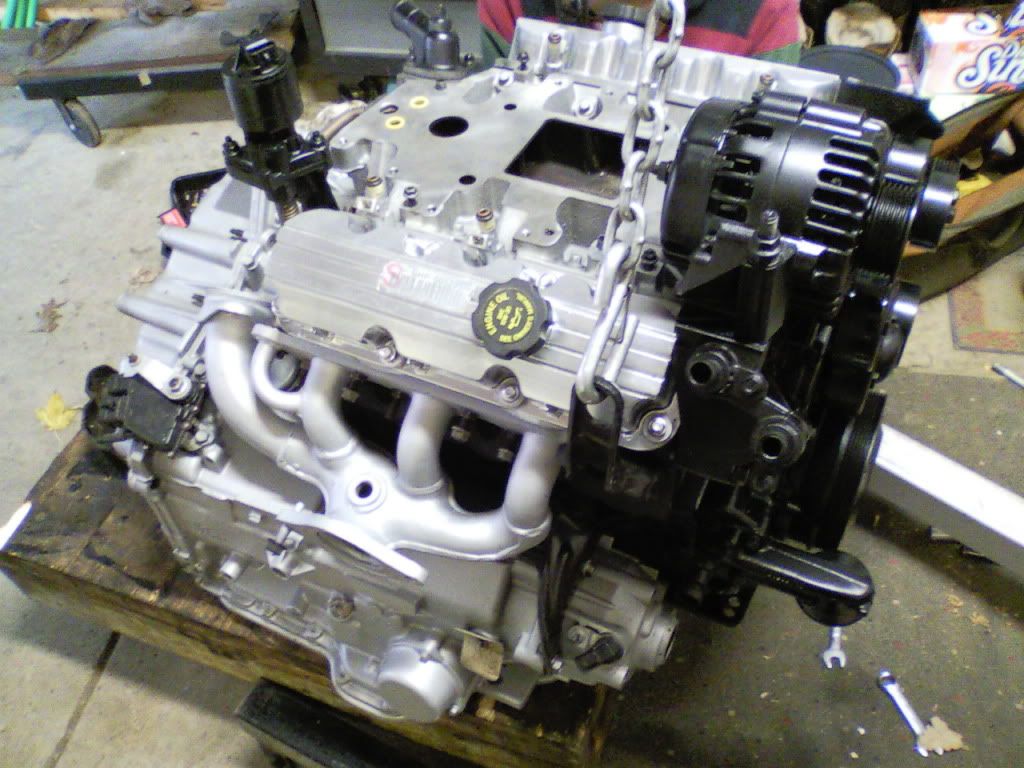 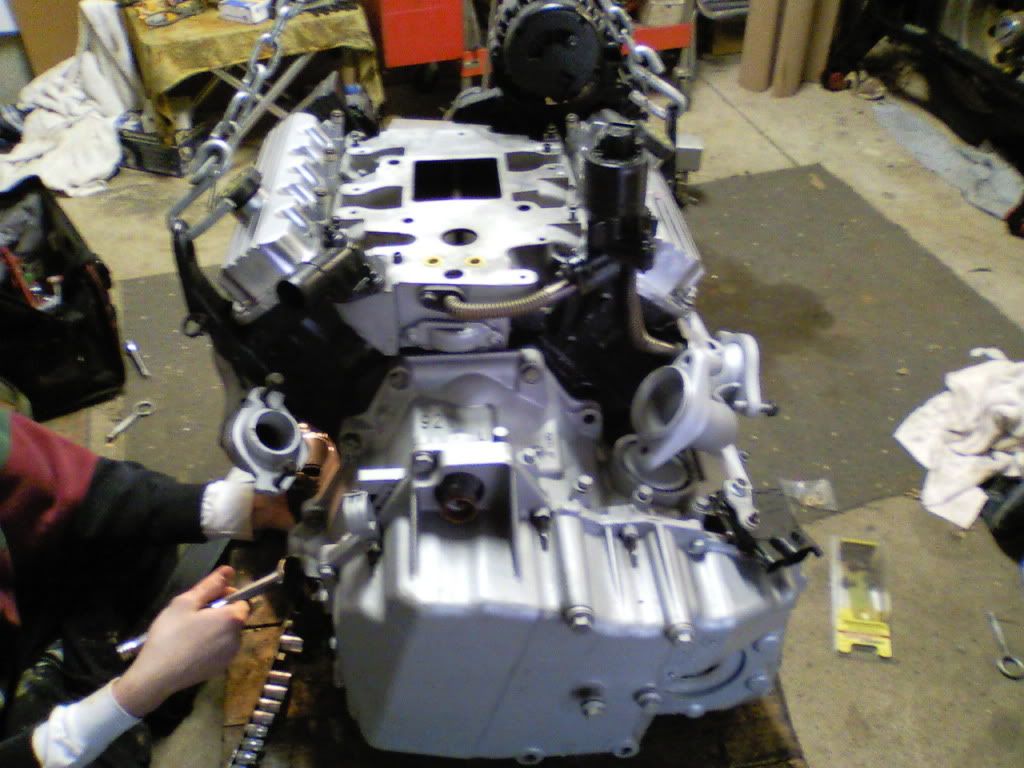 test fitting some parts to see what it might look like. it looks good now but i want to see what it will look like with the new painted super charger, valve covers and fuel rails. 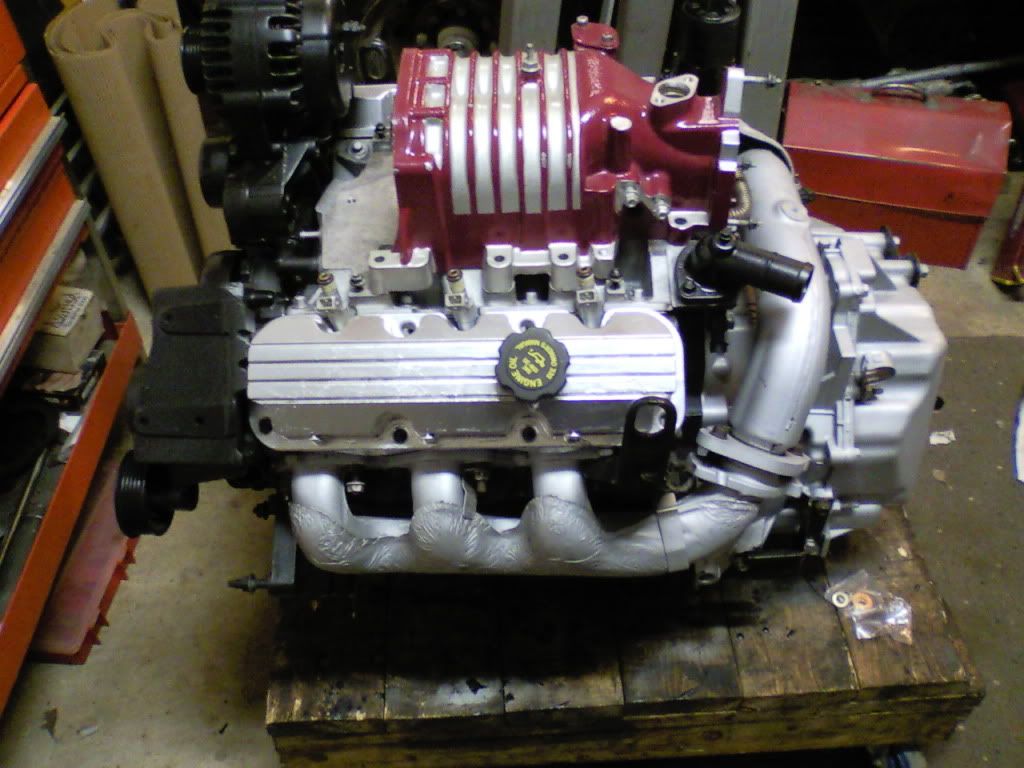 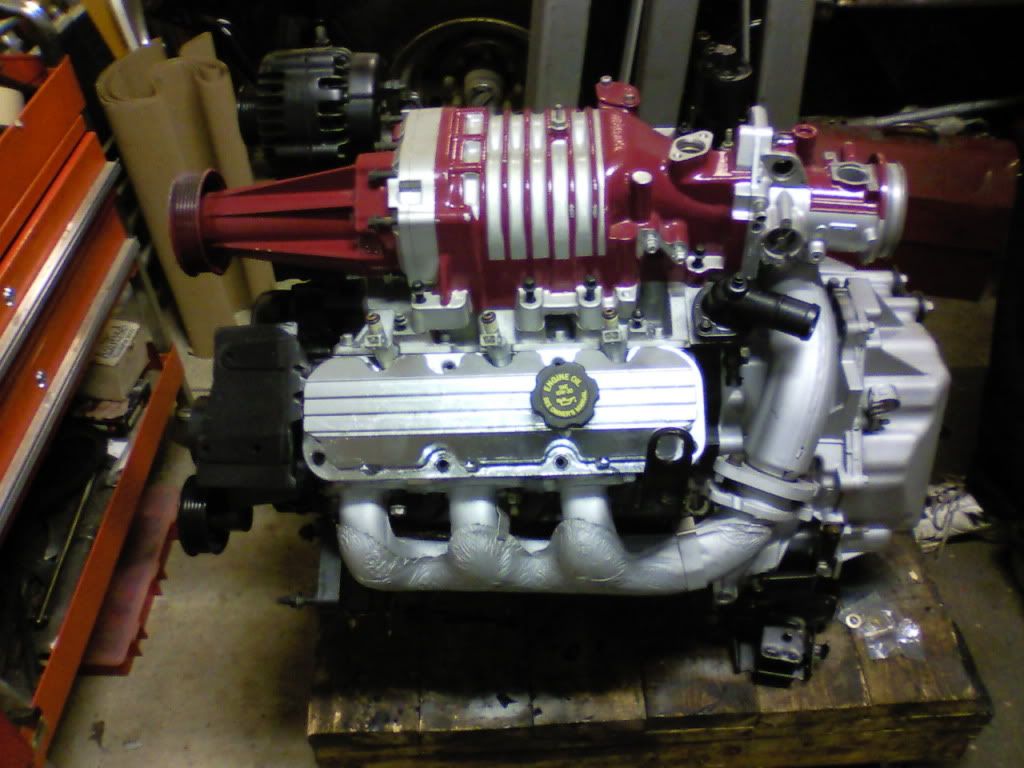


|
11:16 PM
|
|
|
PFF
System Bot
|
|
Ridgelandbaseball
Member Posts: 383
From: North Ridgeville, Ohio USA
Registered: Aug 2009
|
Looking very nice Alex. Can't wait to see it in your car!


|
11:24 PM
|
|
|
Oct 29th, 2011
|
1988holleyformula
Member Posts: 4109
From: SE MN
Registered: Jul 2009
|
| | | quote | Originally posted by Ridgelandbaseball:
Looking very nice Alex. Can't wait to see it in your car! |
|
X2 That SC looks great. Just to be clear, you're replacing this engine bay right? 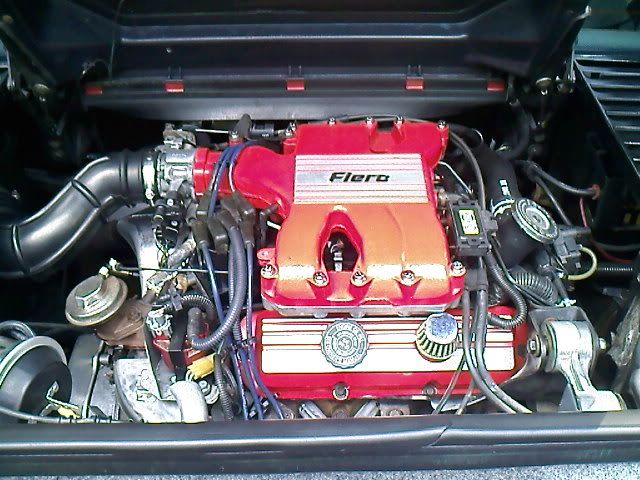 That's nuts! It's so clean! Nice build man.


|
04:18 AM
|
|
fiero al
Member Posts: 206
From: north ridgeville, ohio
Registered: Jan 2010
|
| | | quote | Originally posted by 1988holleyformula:
X2 That SC looks great. Just to be clear, you're replacing this engine bay right?

That's nuts! It's so clean! Nice build man. |
|
yea, the engine that is in my fiero is getting taken out and mattwa will be getting it for his blue fiero to replace the 4 cylinder.


|
01:13 PM
|
|
mattwa
Member Posts: 7106
From: Lorain, Ohio
Registered: Sep 2008
|
That L67 is look'n good! [This message has been edited by mattwa (edited 12-04-2011).]


|
01:16 PM
|
|
|
Dec 4th, 2011
|
fiero al
Member Posts: 206
From: north ridgeville, ohio
Registered: Jan 2010
|
today i have good news. I got a job  . the job I got is up at the airport as a airport station worker (more or less a baggage loader for the airplanes). I need to get training done first before I start actual work but soon i will be able to start putting money towards finishing this project.


|
06:25 PM
|
|
|
Dec 24th, 2011
|
mattwa
Member Posts: 7106
From: Lorain, Ohio
Registered: Sep 2008
|
Now that I have my own 3800 swap going, it's a race to the finish!!  Mine may take longer then you think because of those damn mounts. Bump.


|
02:51 PM
|
|
|
Jan 5th, 2012
|
fiero al
Member Posts: 206
From: north ridgeville, ohio
Registered: Jan 2010
|
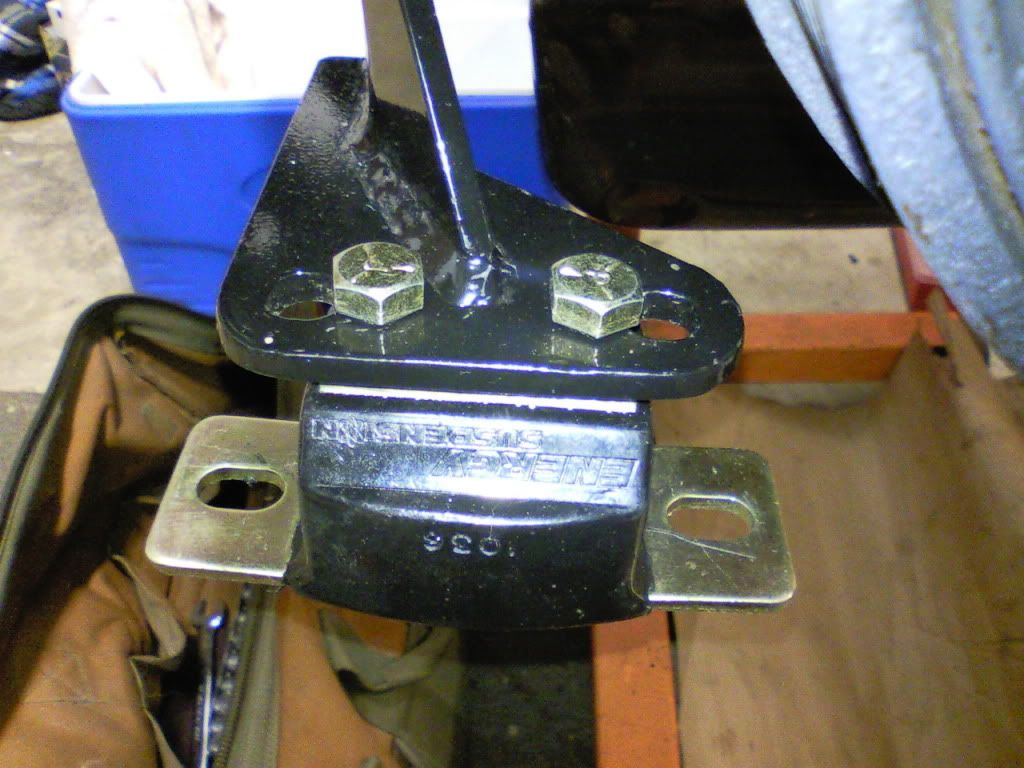
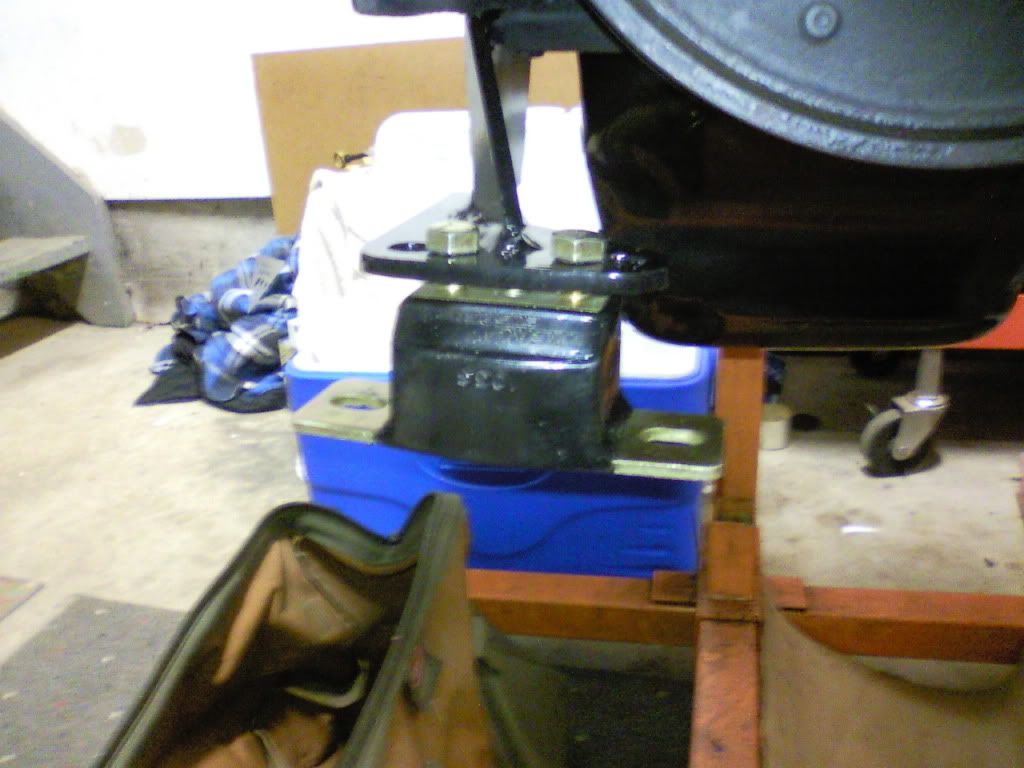
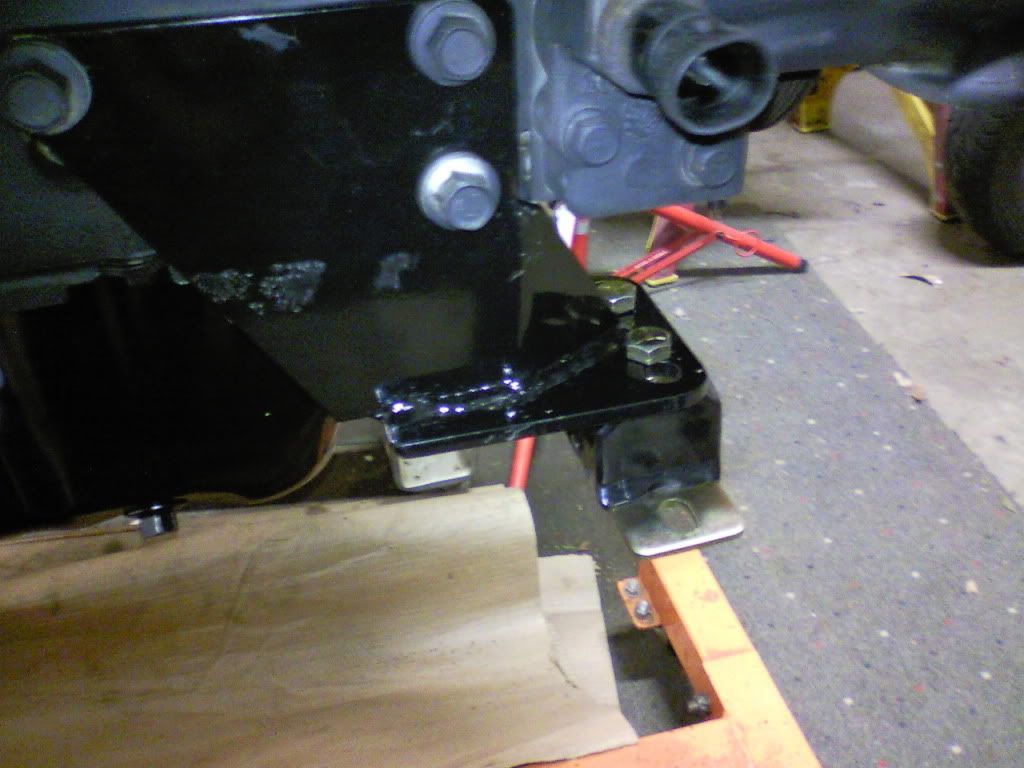
It's been awhile since I posted anything on my swap but I finally got some things done on it with the help of Matt. I was able to get the engine on the cradle for now so that i can see what I need to do for mounts and brackets. So far it is sitting on 3 mounts. I got it to work with the front engine mount and the two trans mounts [The one by the trunk needs to be modified but it works for right now as a place to hold the engine on the cradle]. I still need to make the side engine mount and see if I can make a center trans mount. Along with this, Matt and I unpinned the wire harness and labeled all the wires so that it can be redone properly. Once I get the other parts that are still out getting painted, I can start working on redoing the wiring. Here are some pics of what is done so far. I'm using rubber mounts for right now just to get it in place and make sure it works. later down the road I will change them to poly once I'm sure it works were it is now 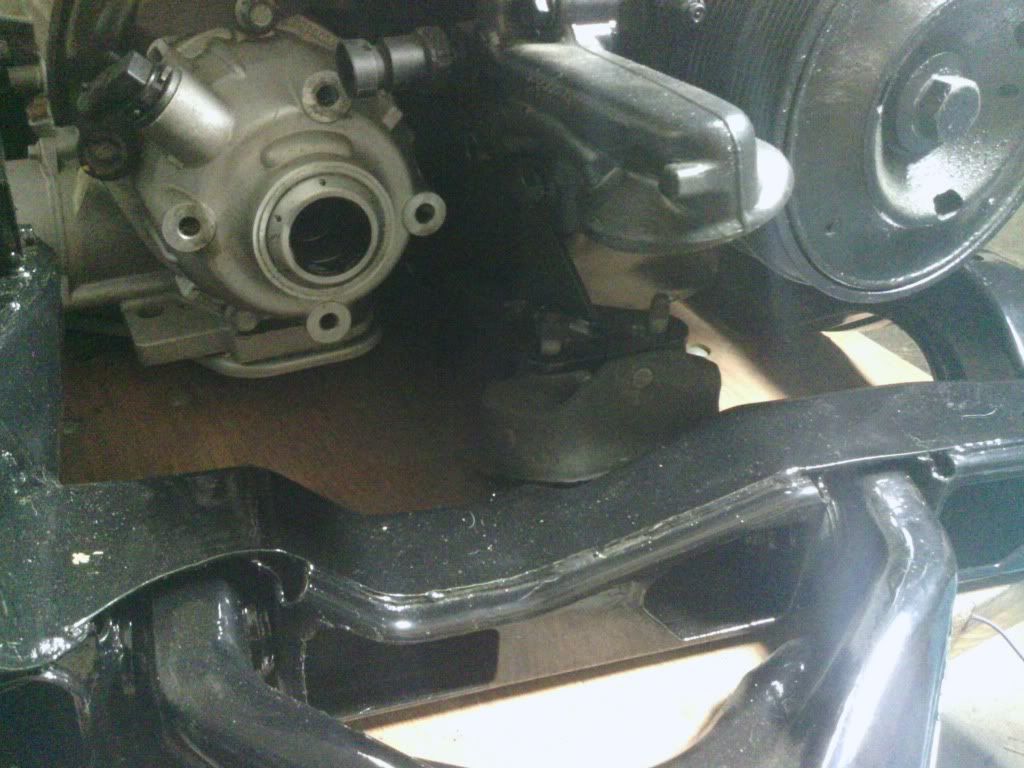 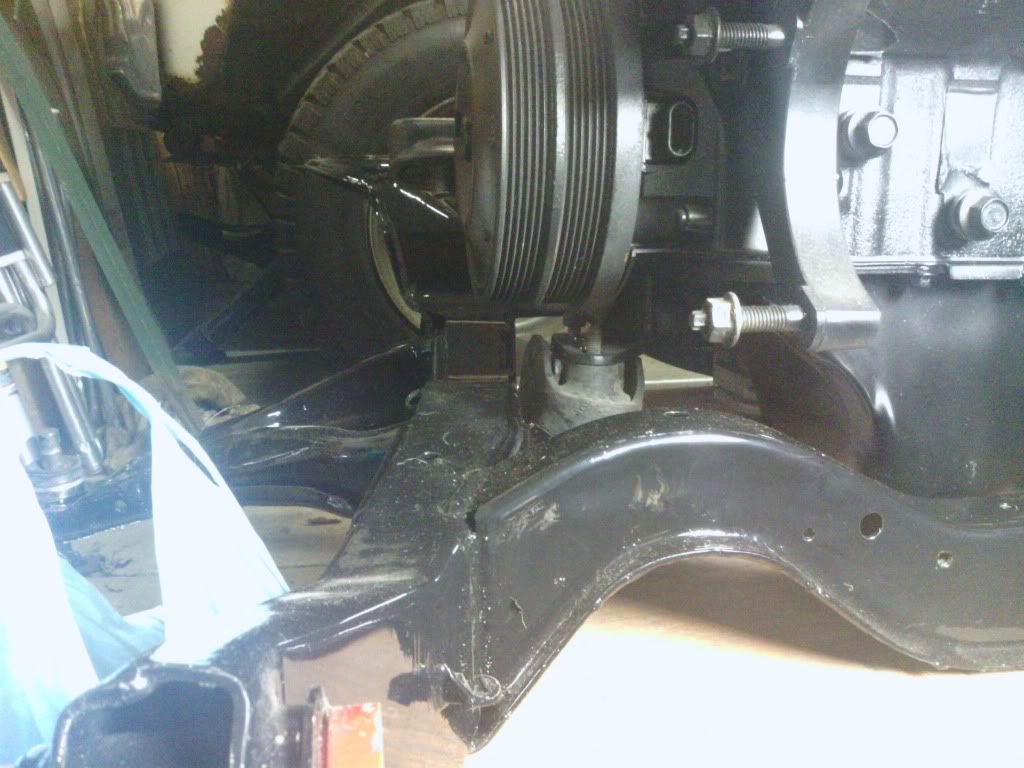 I want to use this center mount but with the lack of room for a bracket on the cradle, it might not work out well 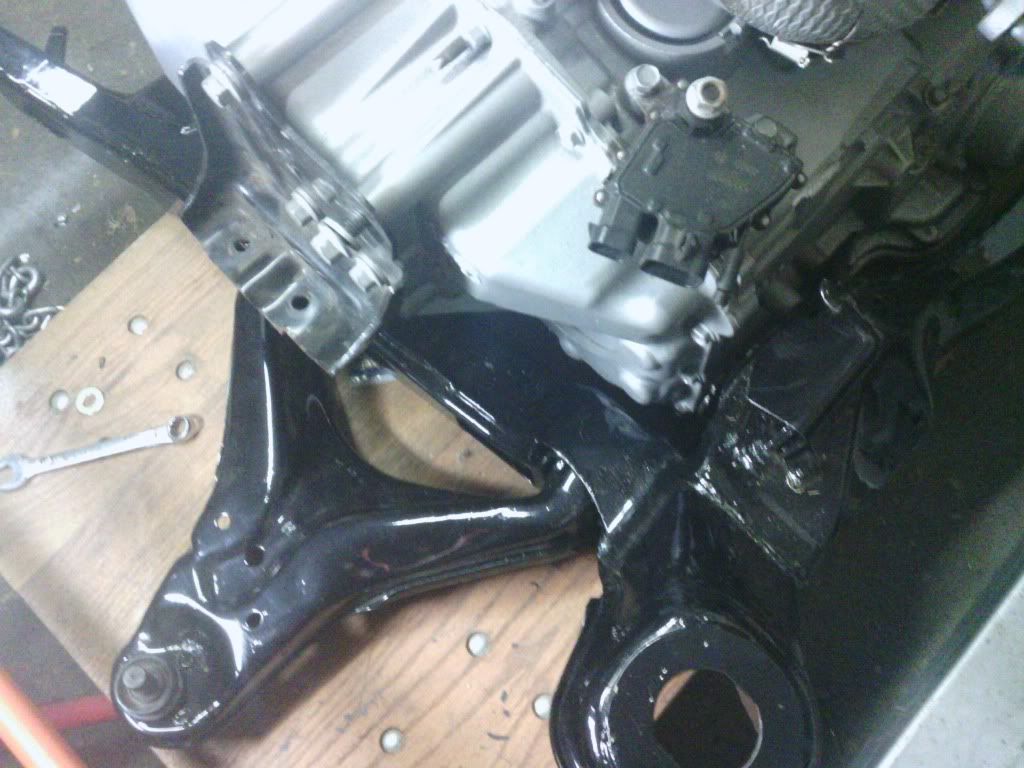 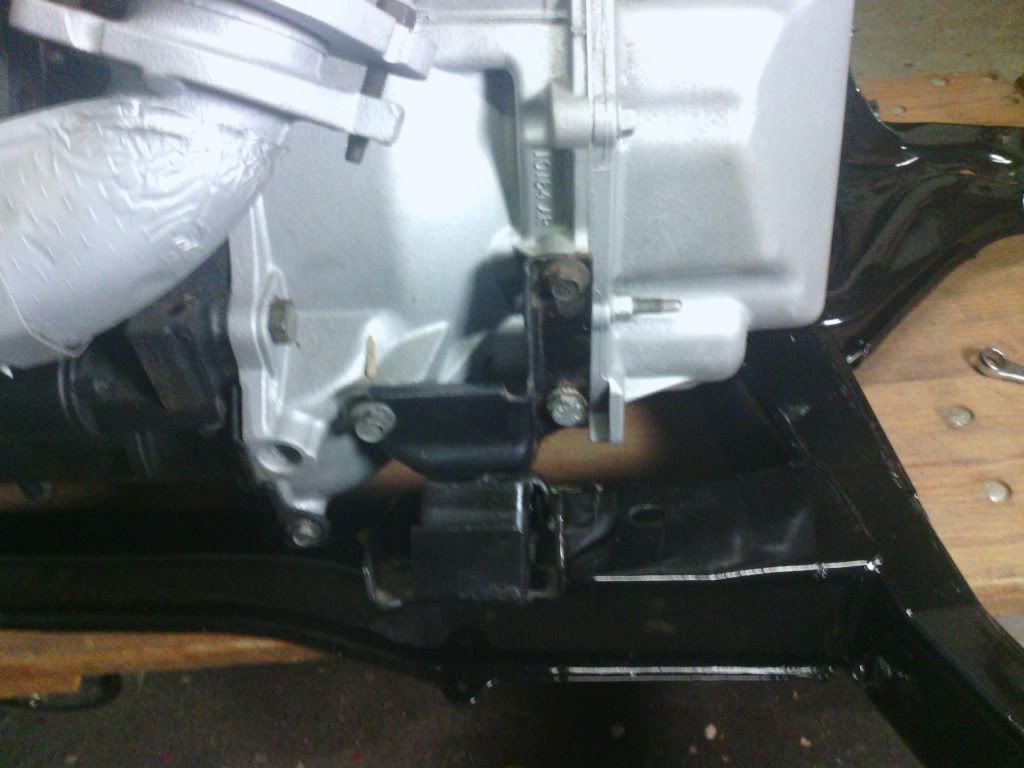 got to make a side engine mount by the area were the AC ump would be 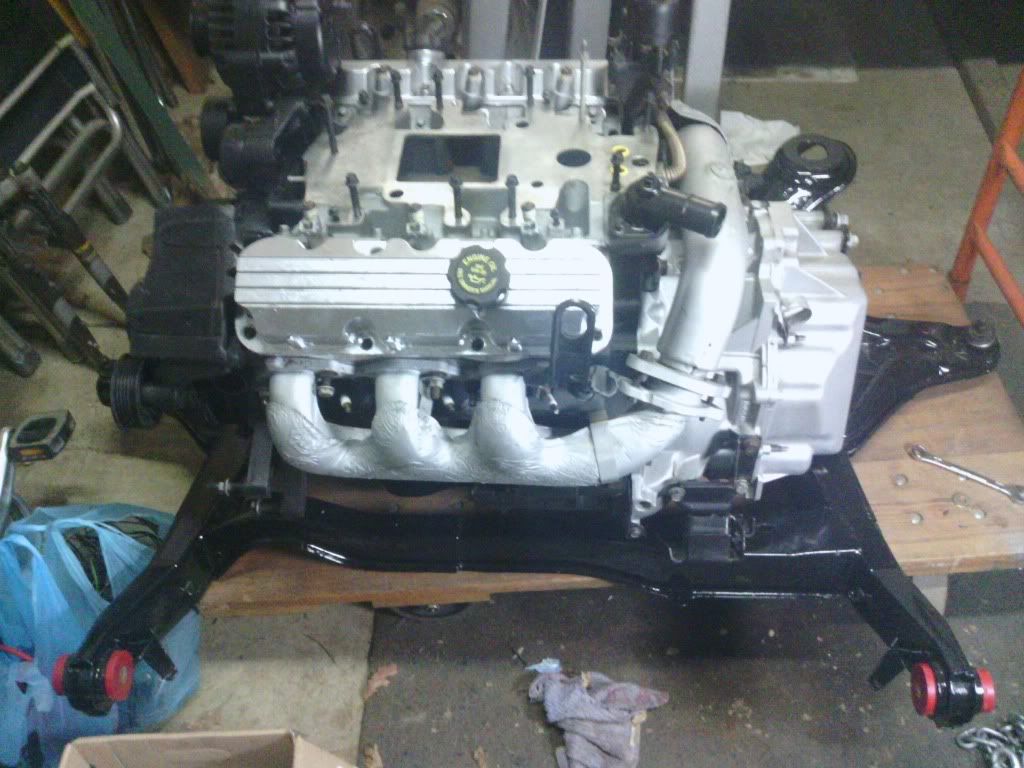 some connectors that were not needed 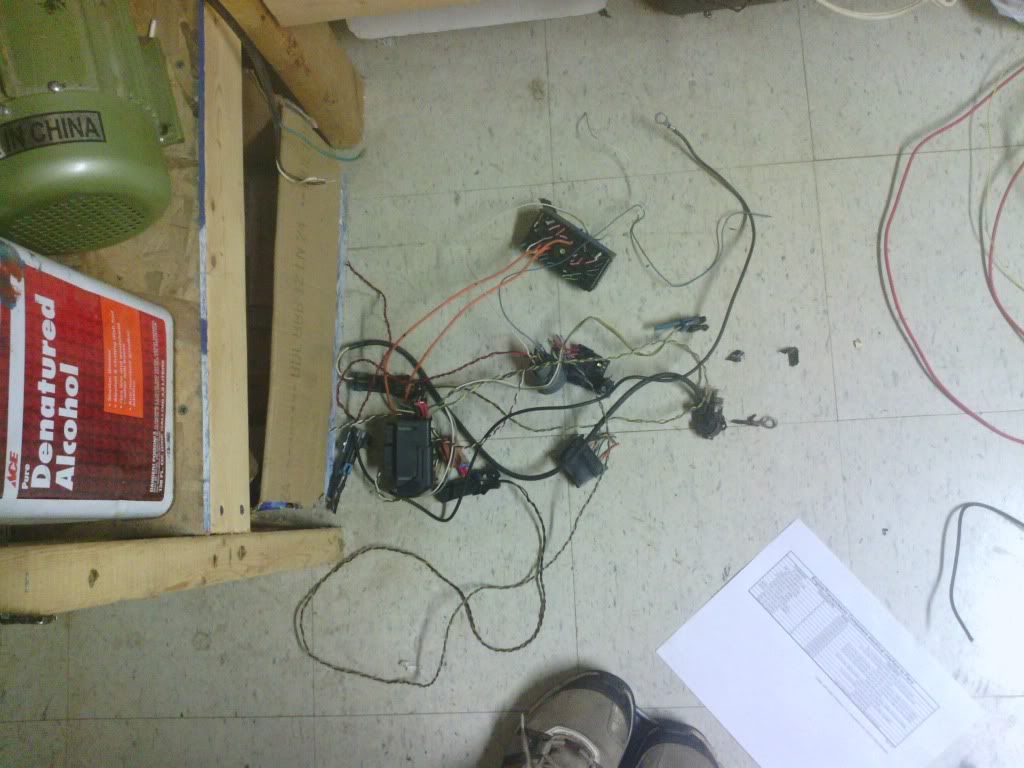 wires that were also removed but may be used to replace some wires 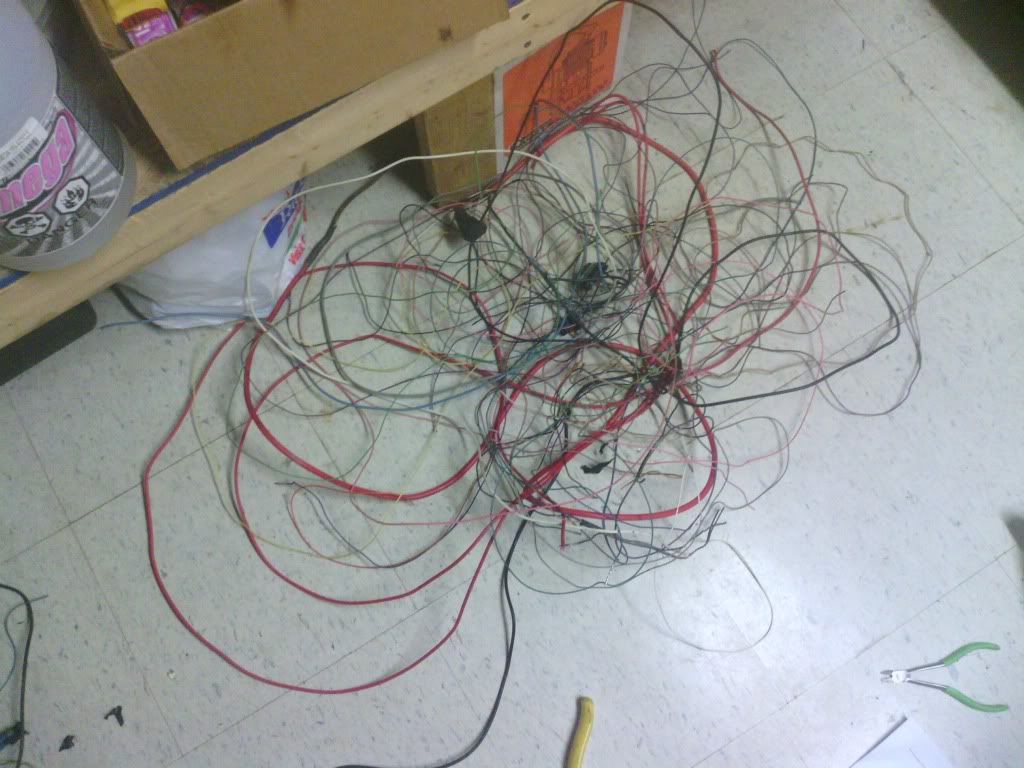 transmission connector [people who have a manual trans wont need this] 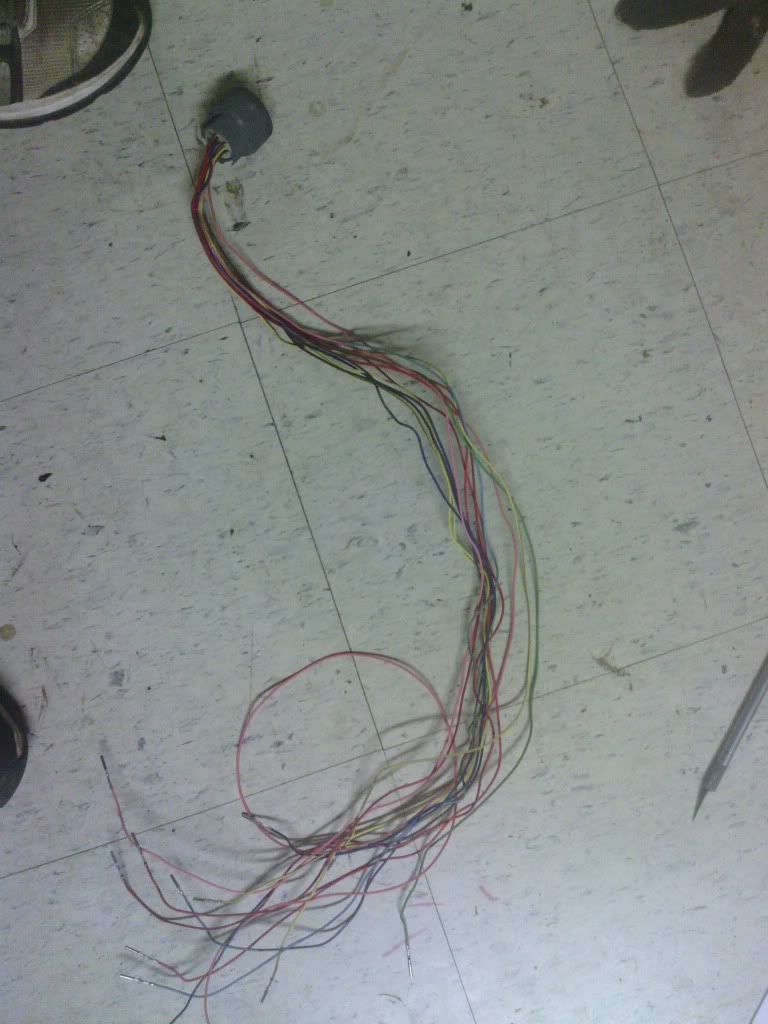 box of labeled wires that came off the 3800 harness 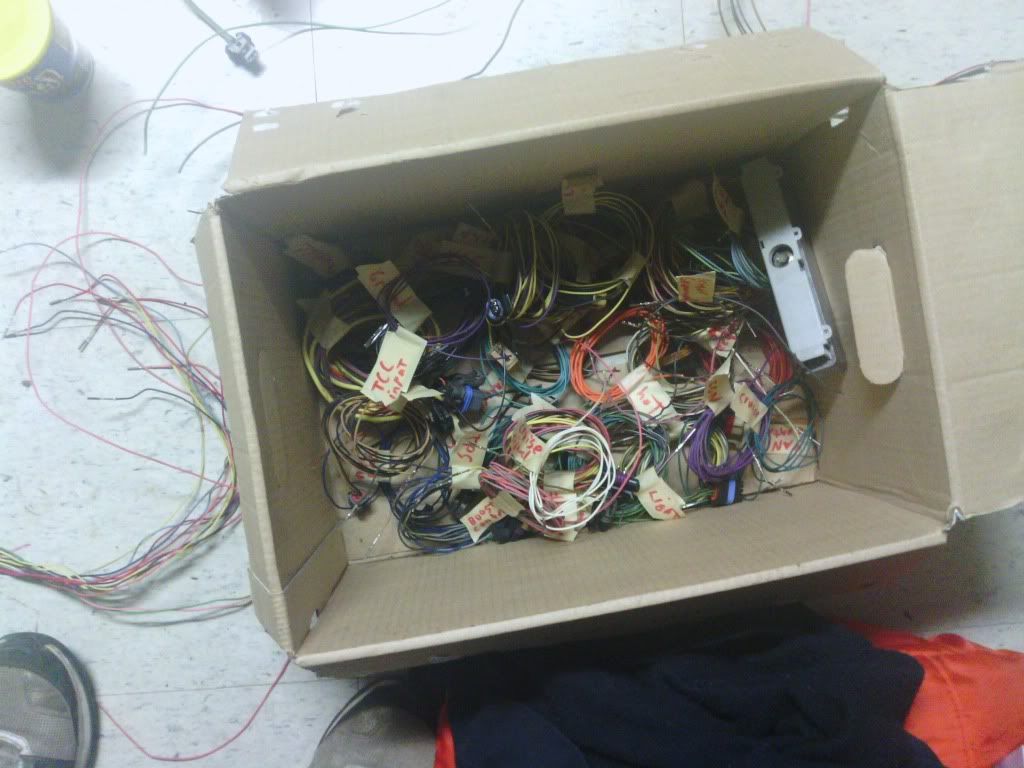 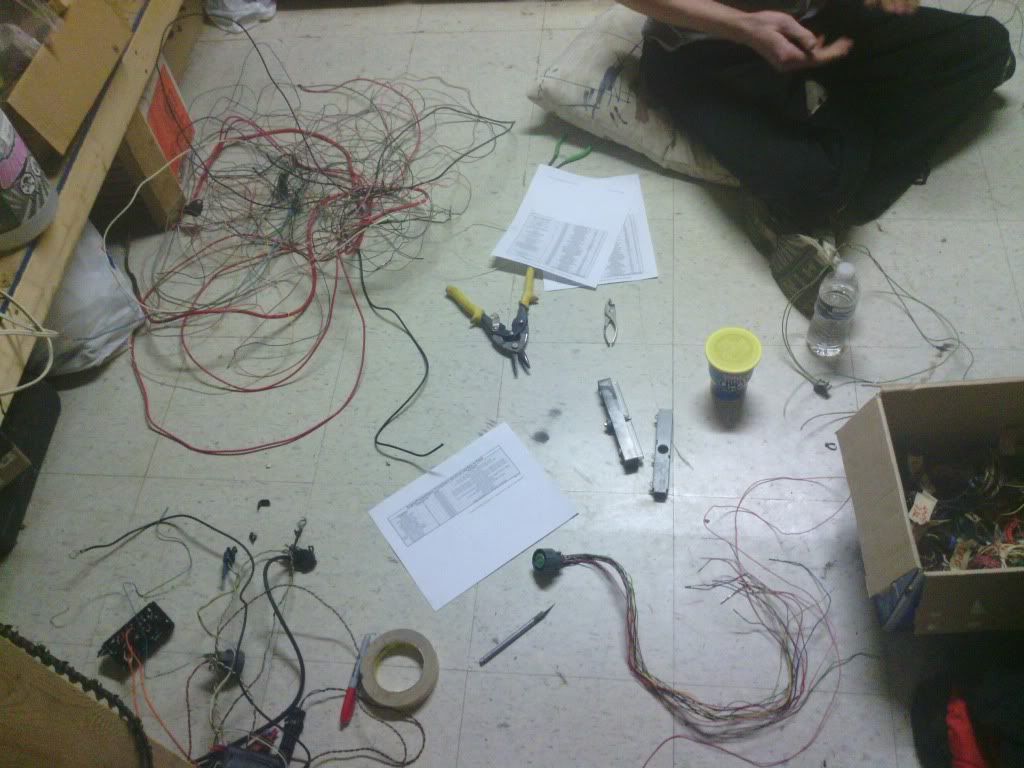 On a side note, I have also been working on another project. Recently I have been working on two Honda elite scooters that i got from my uncle some time back that needed some work done. They were stored in the shed for some time till recently i needed to make room in the shed for the lawnmower/tractor so i pulled out the scooters and started working on them so i could use them in the summer. The main issue with both is that since they sat for so long with gas in the tank that each of their gas tanks rusted out so they need cleaned out and coated with a tank sealer so it wont rust anymore. each scooter runs well if you put fuel directly into the carb and bypass the tank. Other than that there is not much else that is an issue with them except for some minor issues with cosmetics on each of them. In my opinion, the scooters kinda look like Fieros with some of the features they have. The reason I say they look like FIeros is because each are mid engine, has a pop up headlight [red one only] and they both came from the 80's. So I decided to call this side project the fiero scooter project. If I don't have much going on with the 3800 project, I might work on these. not sure if I will post anything on these since they are somewhat off topic but I thought I could use it to fill in times when it takes so long for me to post anything. more or less it would be the same as a bump but a little more interesting. Below is a pic of what the two scooters look like as of now after some dissembling. the white one is an 80cc (would be like the 4 cylinder in a fiero) and the red one is 125cc ( would be a v6 in a fiero) 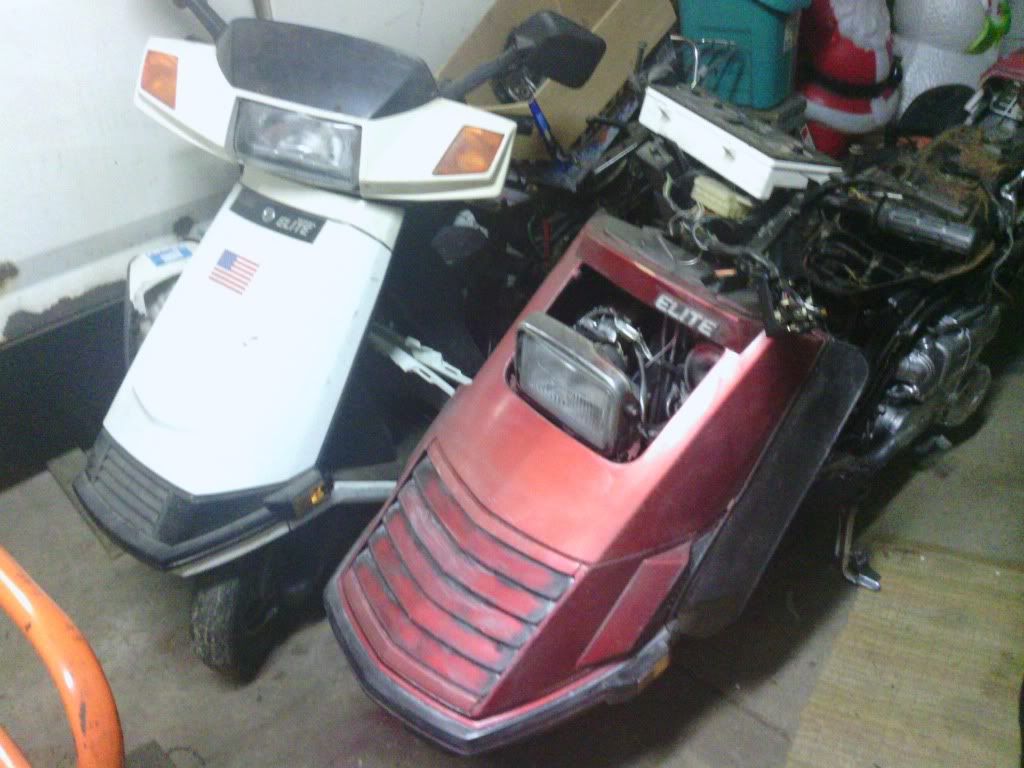 here is a pic of what the red one looks like complete 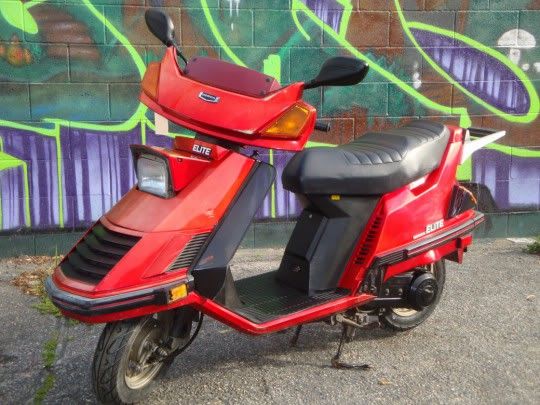 they even had it in the same gold color as the fiero 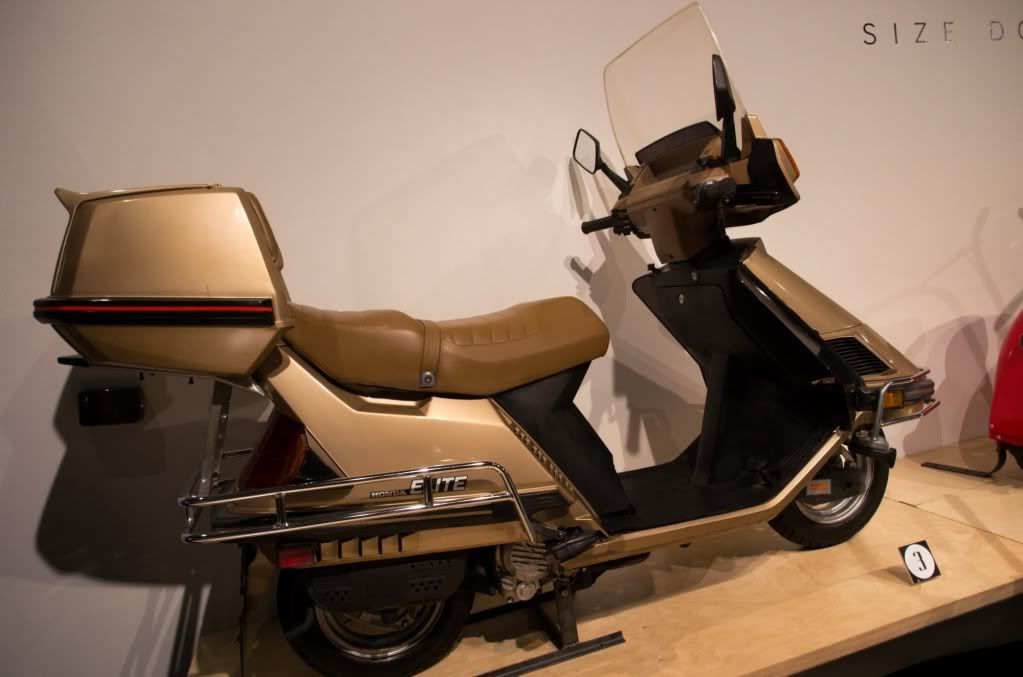 funny thing about the 125cc scooter is that you can do engine swaps in it [ ether put a 150cc {basically a 3.4 swap in a fiero} or a 250cc {basically a 3800 swap in a fiero}].


|
06:48 PM
|
|
mattwa
Member Posts: 7106
From: Lorain, Ohio
Registered: Sep 2008
|
Yep, lots of progress yesterday. Only problem is my neck was throbbing when I woke up today from looking down for 4-5 hours at those wires.


|
09:21 PM
|
|
|
Feb 7th, 2012
|
fiero al
Member Posts: 206
From: north ridgeville, ohio
Registered: Jan 2010
|
Not much done on the swap lately since the job situation is taking longer than I though it would but I plan on getting some things done here once I get things organized. I still need to get the painted parts back from Jean's but I'm thinking I might go some time this week and see how things are going. Other news is that my car has just recently hit the 100,000 mile mark and it is still running well. The only problem is that the trans still doesn't work as well as i would like it to but it gets me from point A to point B in one piece.


|
04:48 PM
|
|


 Lol, Yea I know your situation, how about since you don't use that xbox anymore to sell all that stuff, eh?
