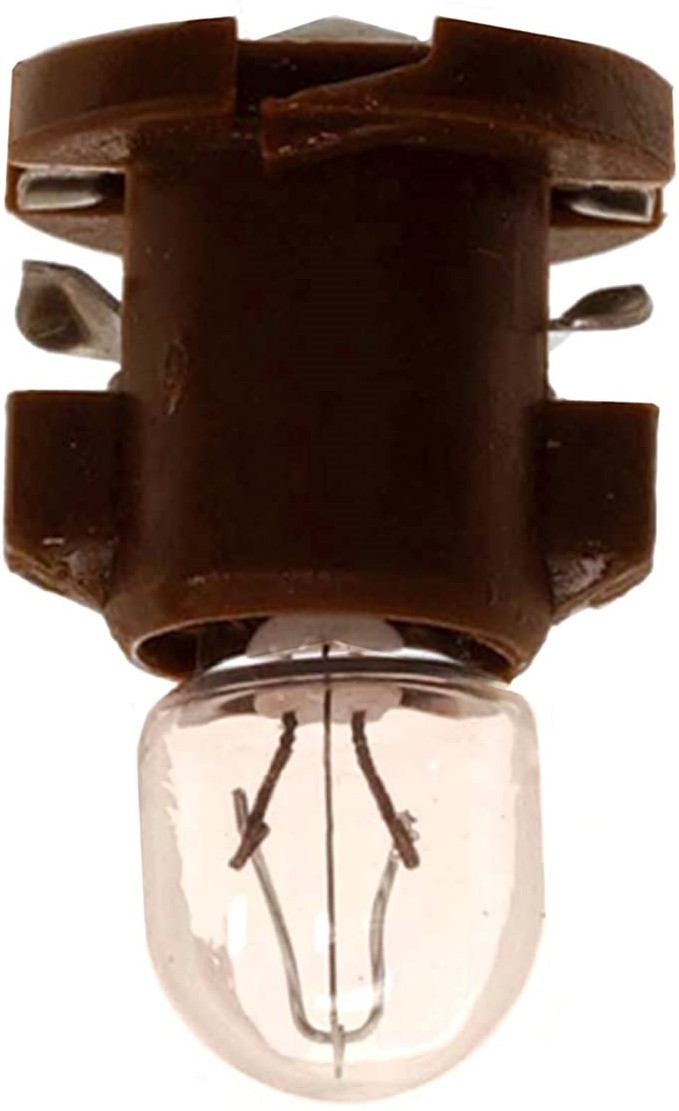
This is a common problem on the Delco Monsoon radios, One day you go out and turn on your car, your radio starts playing but the screen is still black. Most people automatically assume that the screen went out and trash the radio. 99% of the time the real problem is the bulb behind the screen burns out.
After having one in my car burn out and a friends I decided to take one apart and see if it is fixable, I found out that it is very easy to do and takes around 15 minutes. I have done several of these radios since and have had no problems at all with any of them since. Keep in mind this will only fix radios that the screen does not light up, the ones that display random jibberish is a completely different problem.
The radio I am using to make this write up has already been fixed but I did not have any with the factory bulb to demonstrate with.
Ok before we start I want to make it clear you are doing this on your own and if you mess anything up it is not my fault and I am not liable for any damages.
Step 1) Remove the radio from your car

Step 2) Start by popping loose all the tabs that are circled in the following pictures. The best way to do it is to start with one and slowly work your way around till they are all loose


As you pop them loose gently pull outward like this

Step 3) Once all the tabs are loose pull the face plate out from the radio, There will be a ribbon wire connecting to the internals of the radio so be carefull with that


Step 4) locate the bulb and socket behind the screen and see if you can see the broken filament in the bulb

This is the socket from the top

Step 5) Twist the socket counter clockwise to remove it from the board. (note: you may need some needle nose pliers to turn it, Sometimes it is easy to turn other times they can be a total pain)


Step 6) Once you have the bulb and socket out you will have the remove the factory solder holding the bad bulb in. (as I said above this radio has already been fixed so I can't show the solder) You will need to remove the solder from the small silver tabs. I used a small pick to do it.

Step 6) Take your new bulb and fold the wires down straight out like this. ( Sorry but I cannot give a exact bulb number as I do not know, I have several small bulbs left over from another project and they worked perfectly, Pretty much if the bulb is a automotive bulb and will fit in the socket your good to go)

Step 7) Insert the bulb into the socket through the small holes made for them.

Step 8) Bend the wires from the bulb back onto the tabs, I have never resoldered any of the ones I have done and they have been fine, You can resolder them if you would like.

Installation is reverse of what you have just done. Snap it all back together and plug it up and your good to go.
This is the first write up I have ever done so I hope it helps at least one person. If Its hard to read or anything like that comments and suggestions welcome.


 (so I'm not sure of the reason for the "Monsoon" designation in the topic heading).
 The ridiculous price of that bulb is one of the reasons why I was wondering about the availability of an LED replacement.
 ($2.23 within the US.)


