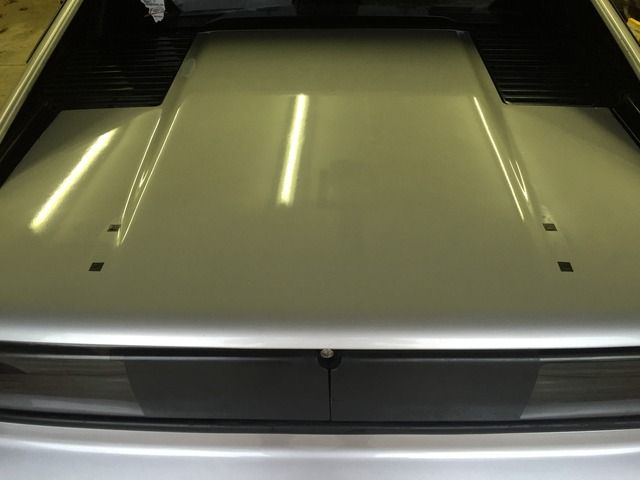
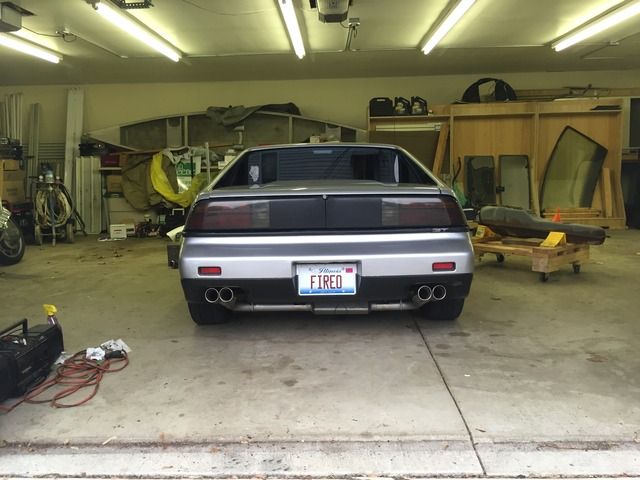
I figured it was time I finally start my build thread on PFF. For the last year and a half I have been documenting my build on a local car forum here in Chicago. The next few posts or so will just be catching up to where I currently stand with the build right now. Most of the posts will be pictures mixed with a bit of text describing what’s going on.
Here we go….
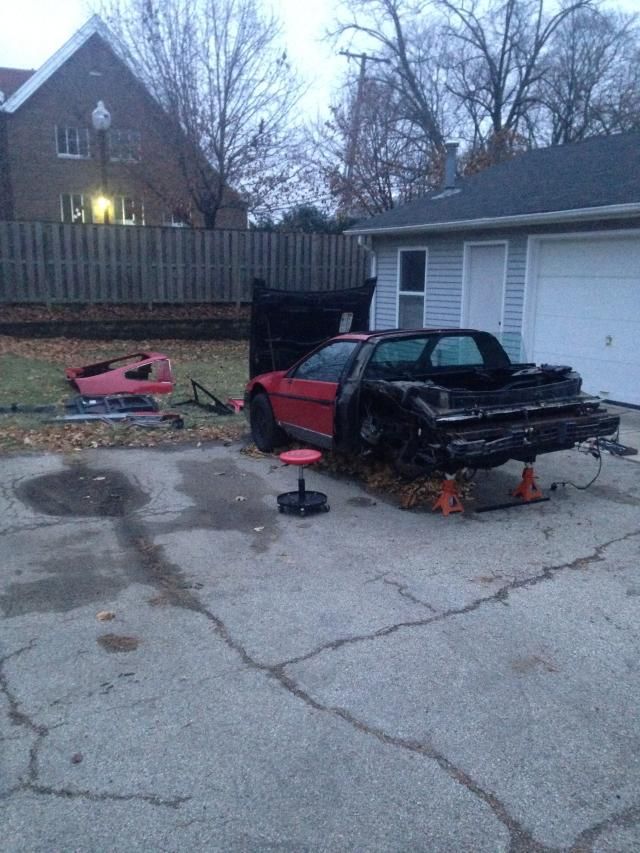
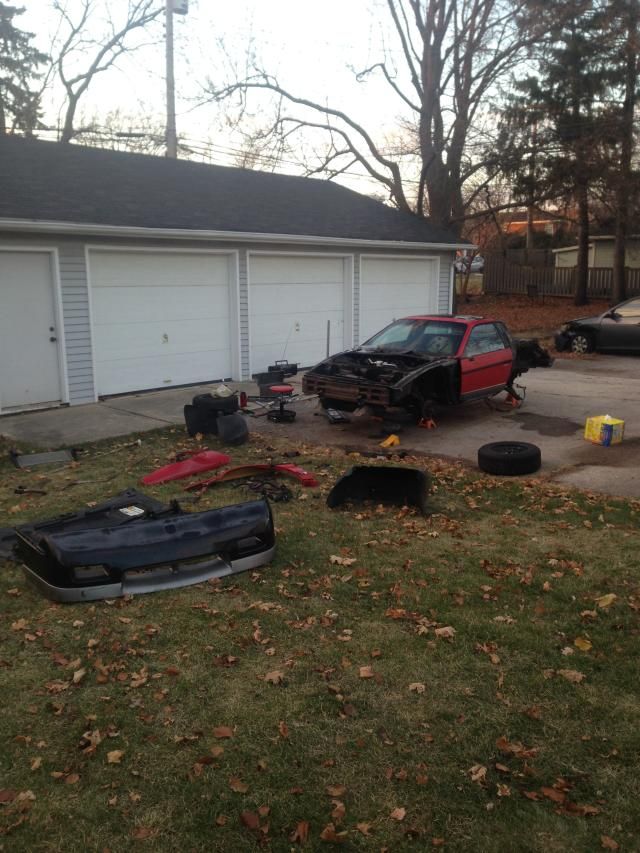
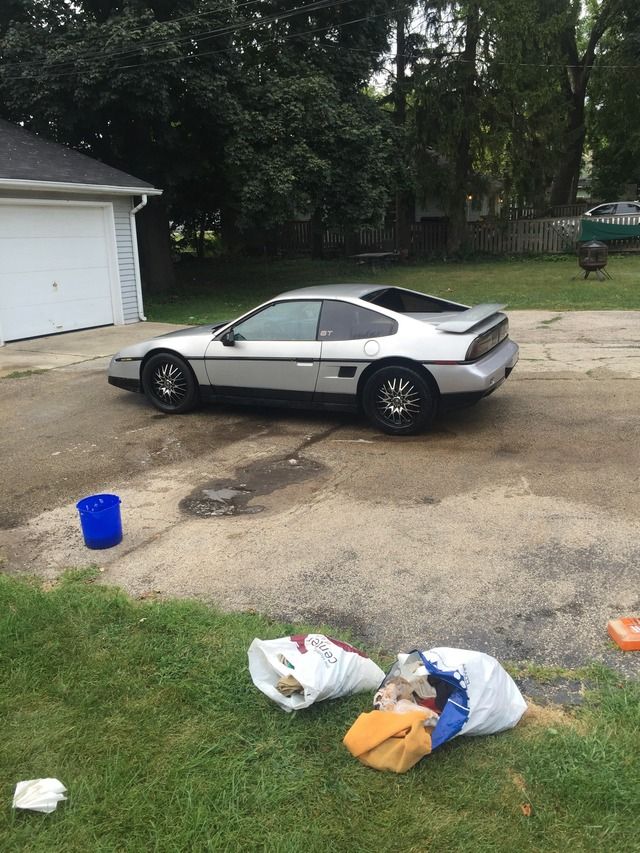
I was finally able to bring my Fiero home from my house at school and figured it was about time I start my build thread. The car is a 1986 Fiero GT I bought from PaulV being stored just down the street from my house. The car sat for many years in a field and the paint is all faded but only has 69k miles on. Paul was stripping it down and selling parts off of it. When I bought it the interior was completely gone except for the steering column/wheel and wiring along with the front bumper. Lucky for me I already had another 86 Fiero GT I was parting out due to the frame being rusted and engine being shot. I took the interior and front bumper and swapped them onto the red Fiero, and had a running and driving car.
What drove me to Fiero's is I was trying to find a car to swap a L67 into that was rear wheel drive, affordable and provide a somewhat unique build. While a L67 swap is nothing new in a Fiero, it is still a unique car with a relatively easy and well documented swap. Trans bolts up and I get to have a manual L67, something I've always wanted. I stumbled across Fiero's during my research for a vehicle to transplant and L67 into, I've since been bitten by the Fiero bug. I've bought both of my Fiero's for less than a grand total which worked out great with my budget being in grad school.
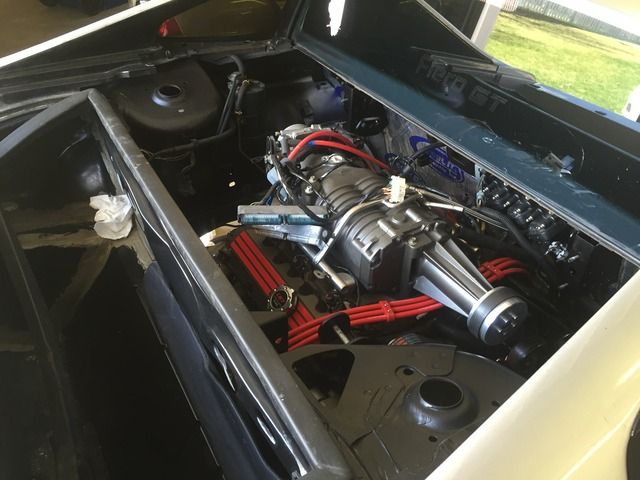
The plans for the car are an L67 swap using the stock Fiero 4spd manual trans, a GenV, Northstar TB and a 3.6 s/c pulley to start off with. All the parts were taken from my GTP when I returned it back to stock.
Here are some pictures of the progress so far:
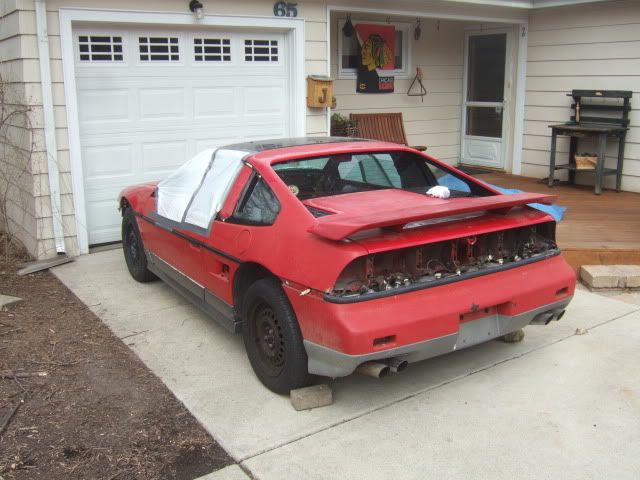
When I got the car, had to cover it up to protect from the rain.
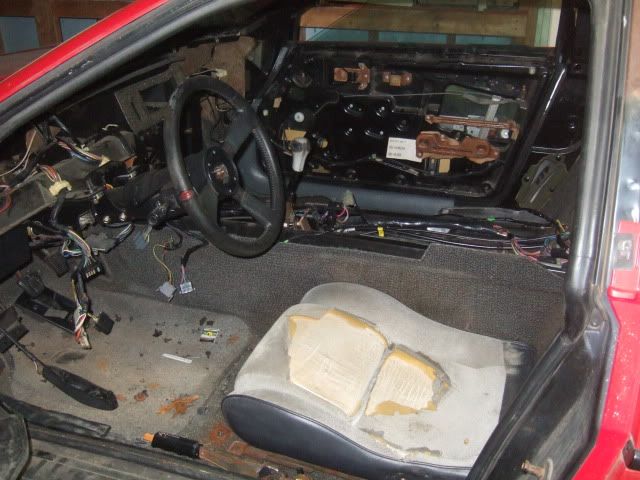
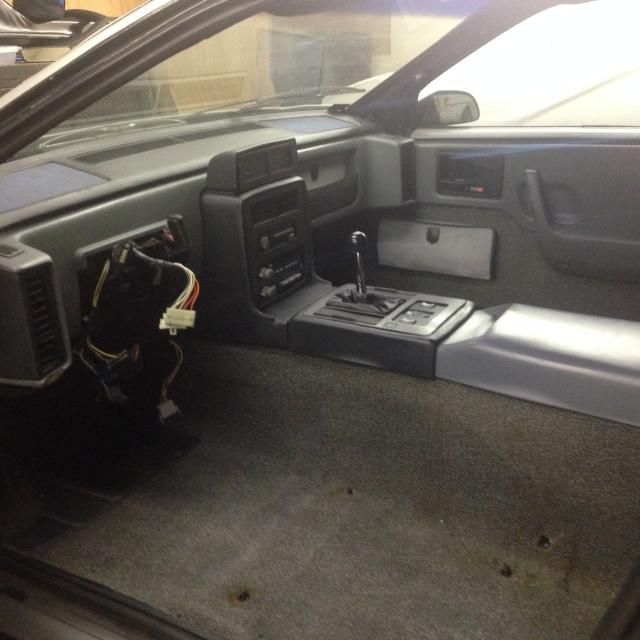
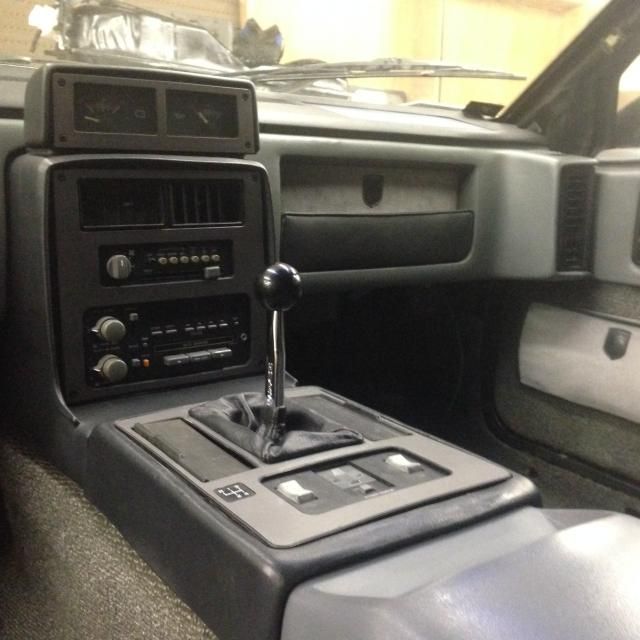
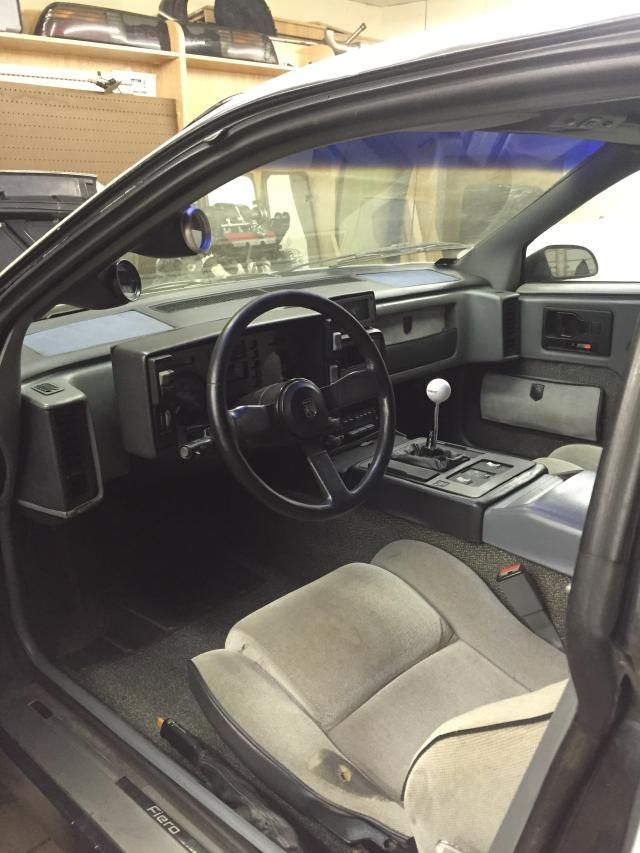
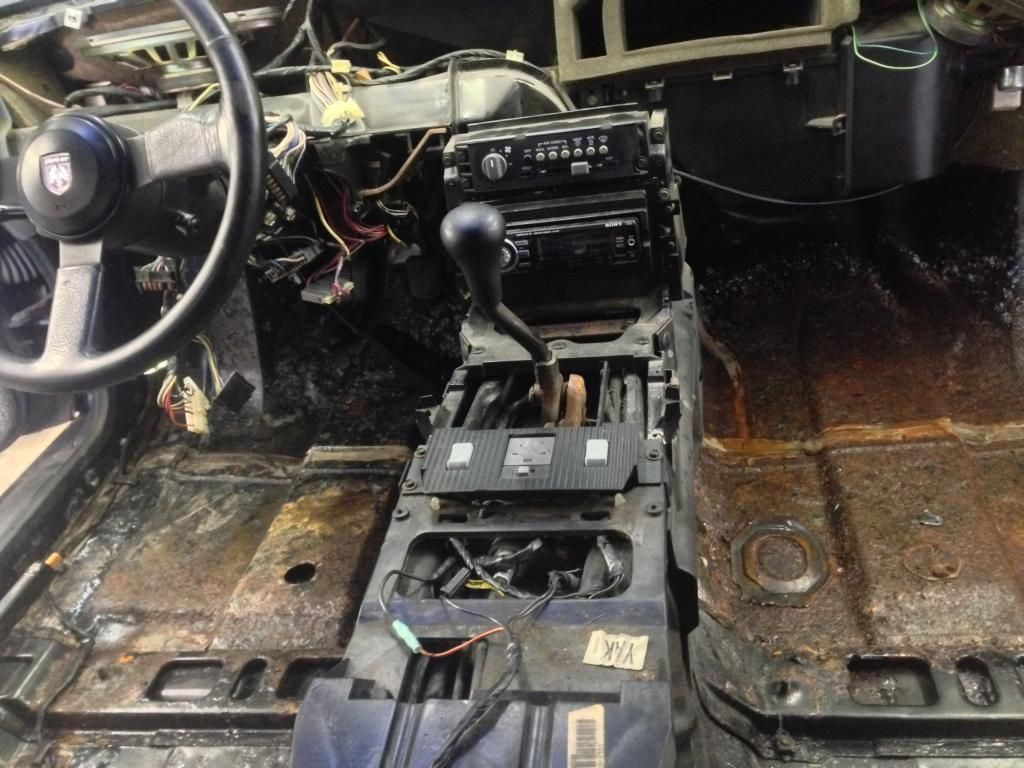
Interior before
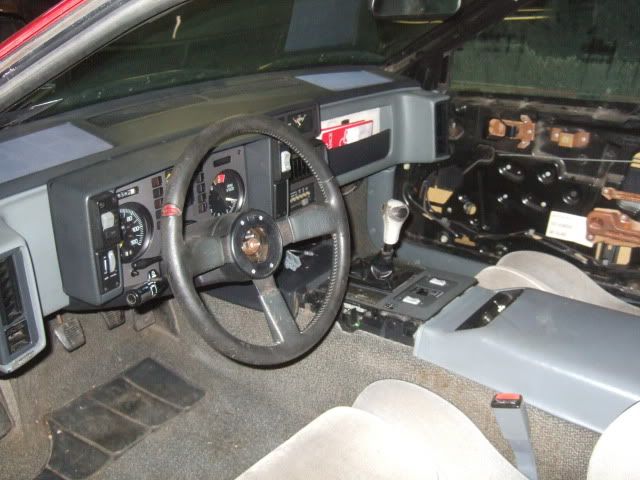
Not the most recent picture, door panels are now on
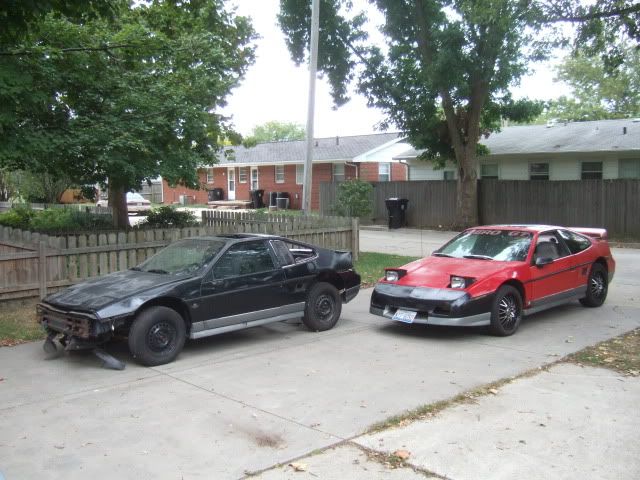
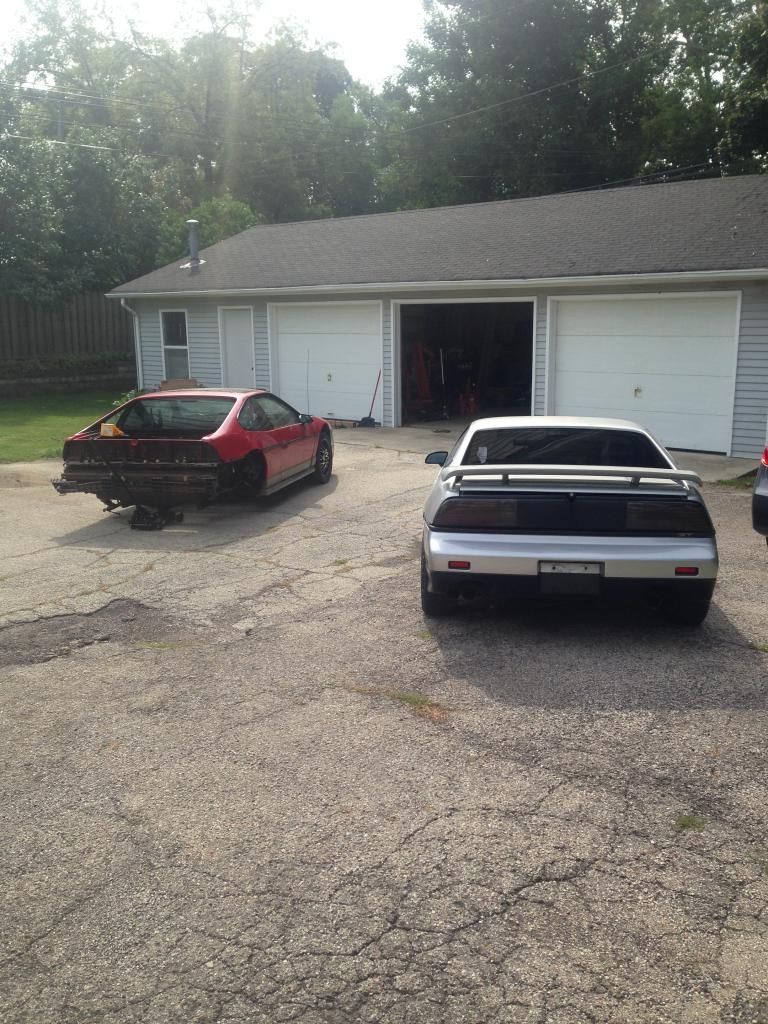
Donor car and the recipient
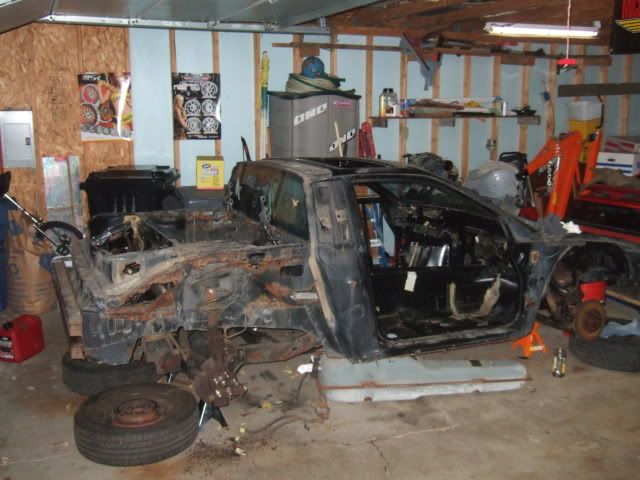
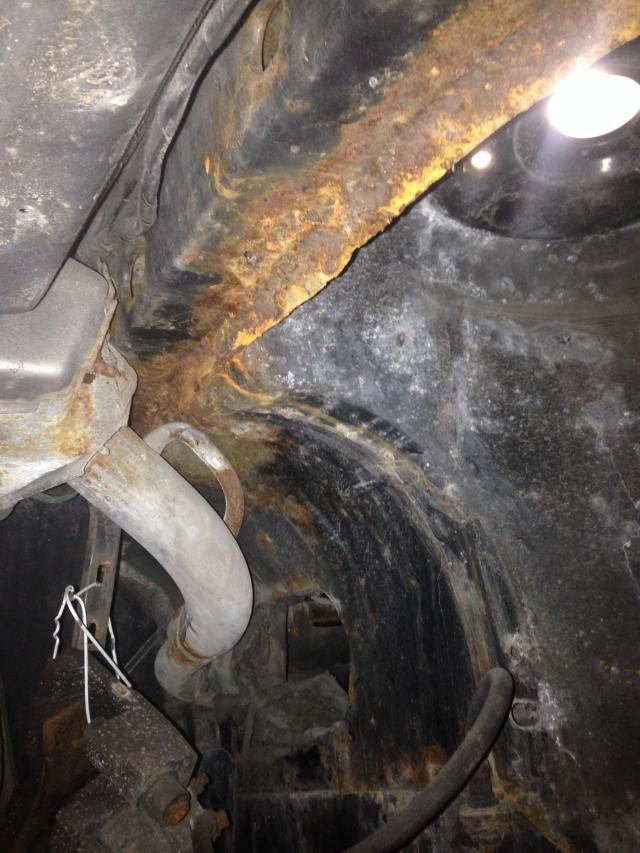
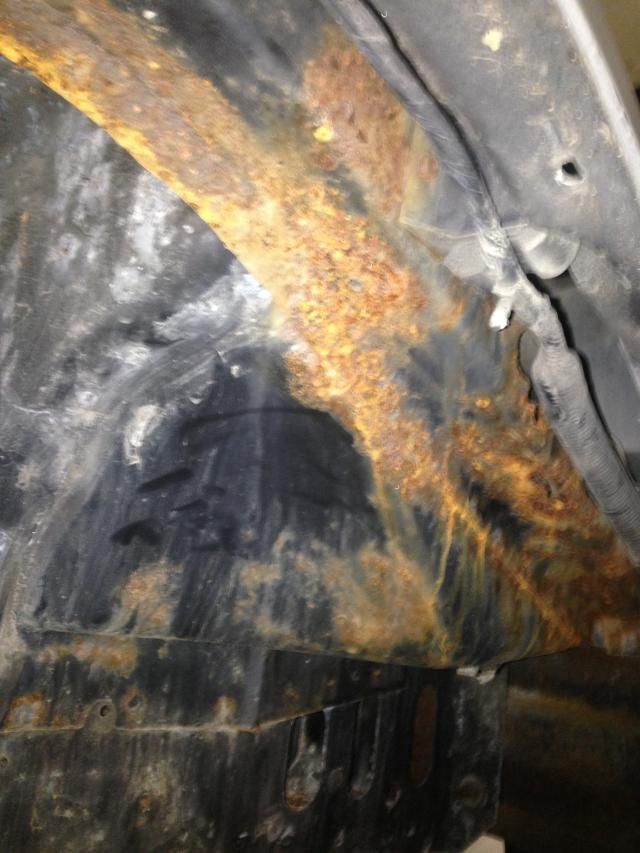
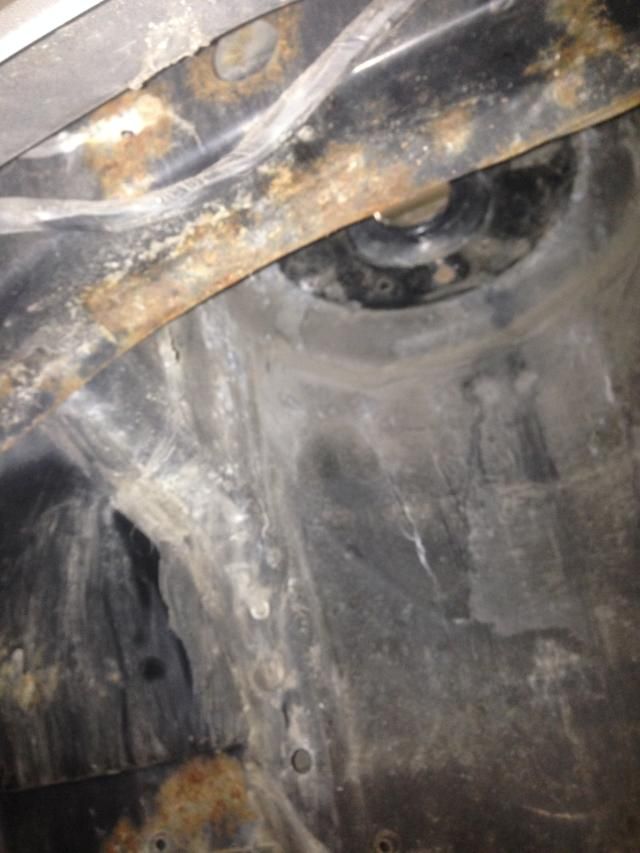
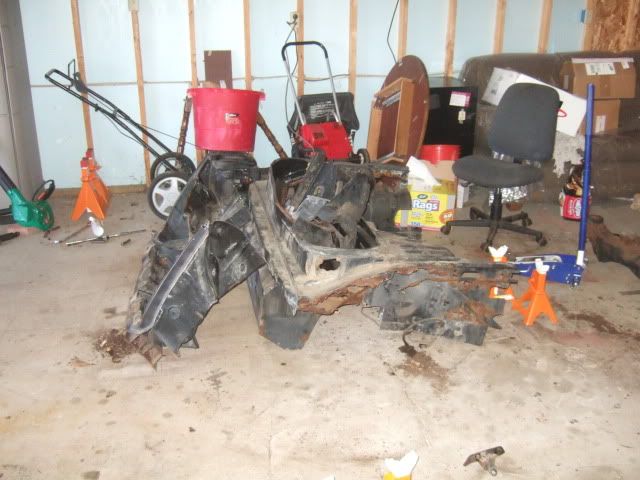
Donor car stripped down and ready for the junkyard. You can somewhat make out the rust damage on the rear frame rails that lead me to junk the car.
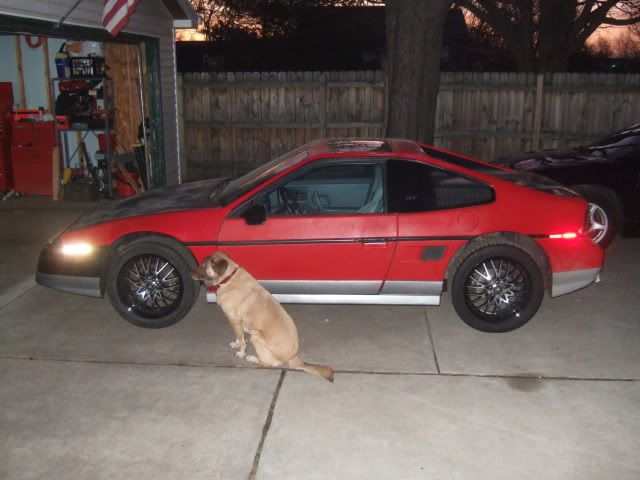
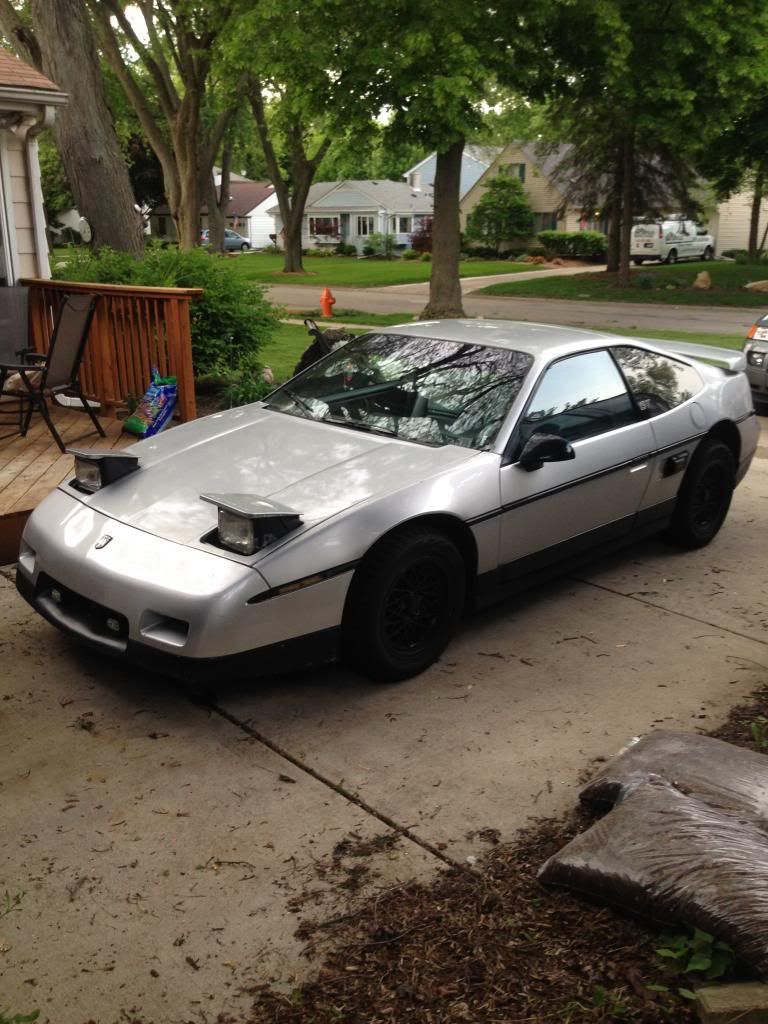
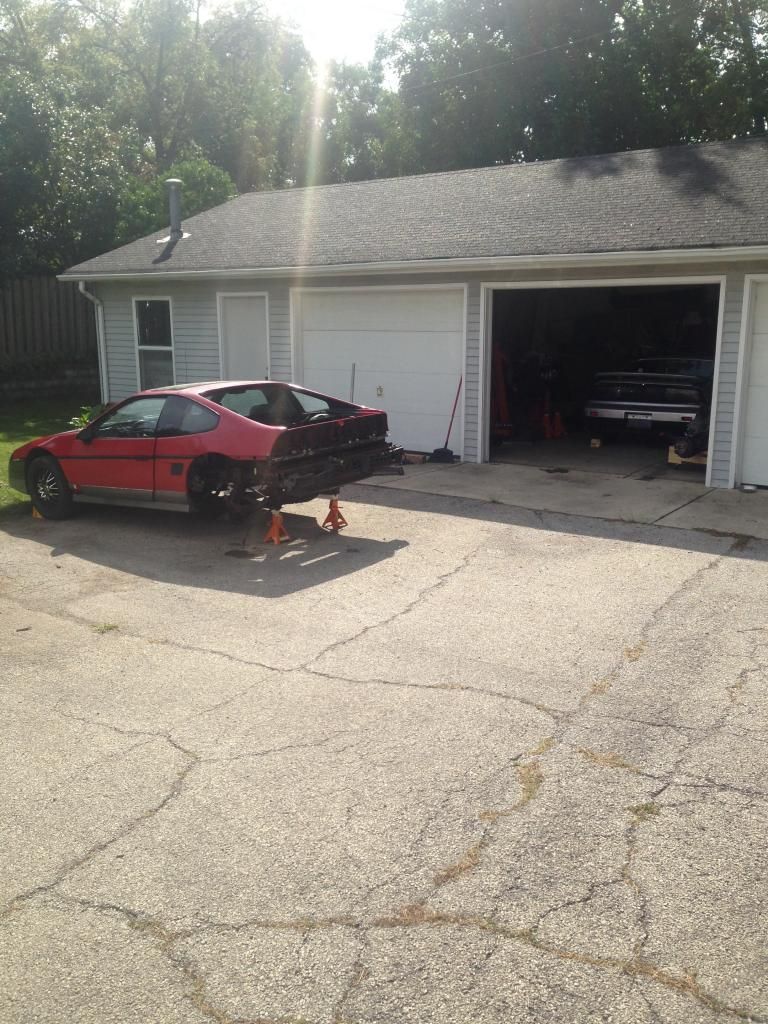
Red project Fiero as it sits today
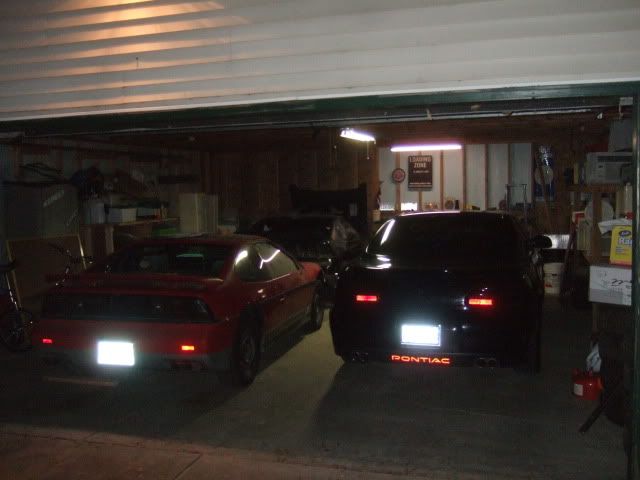
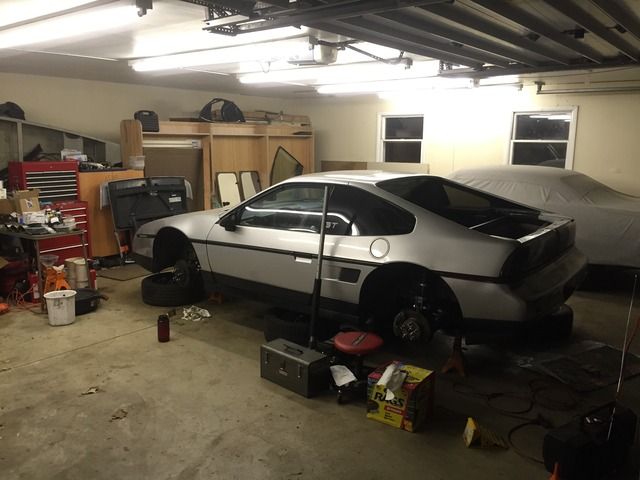
I’m going from this amazing spacious garage at school
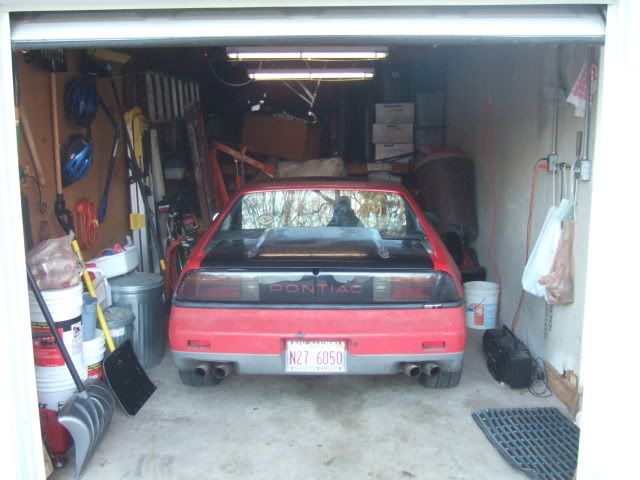
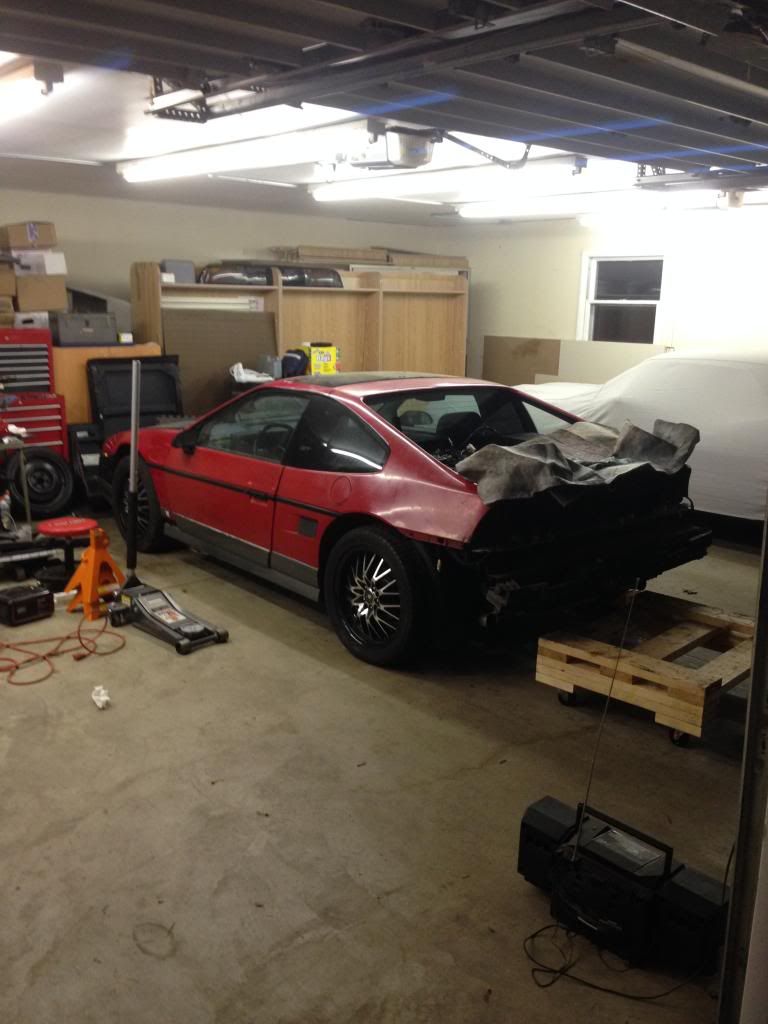
To this garage, I was spoiled at my last place.
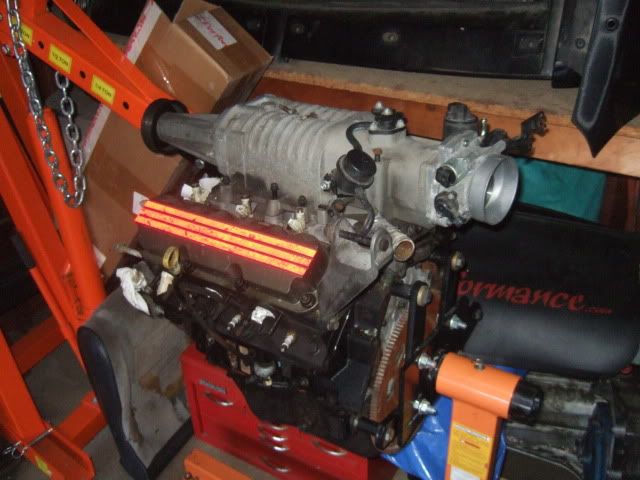
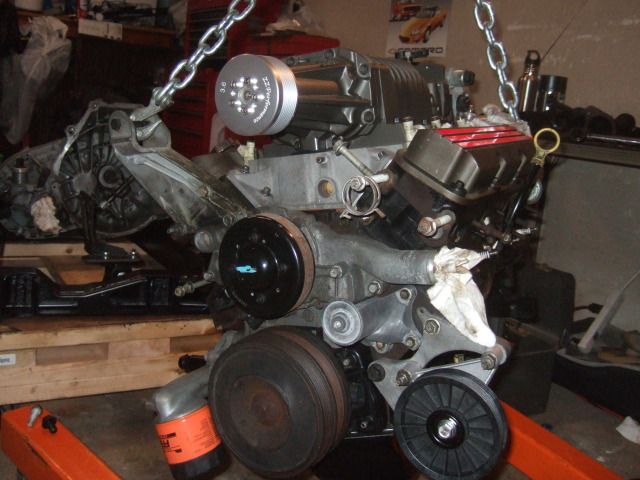
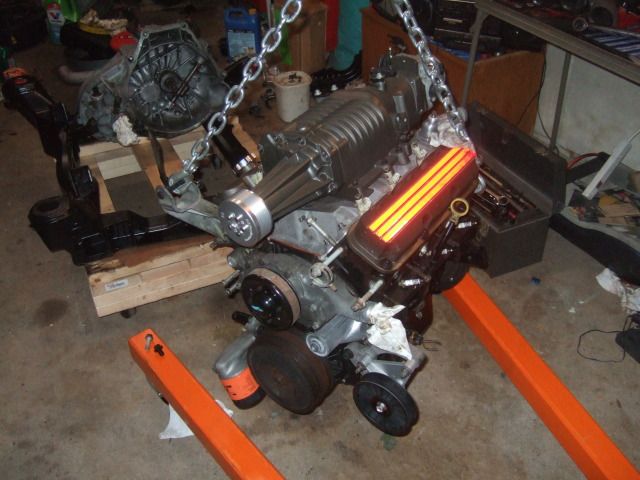
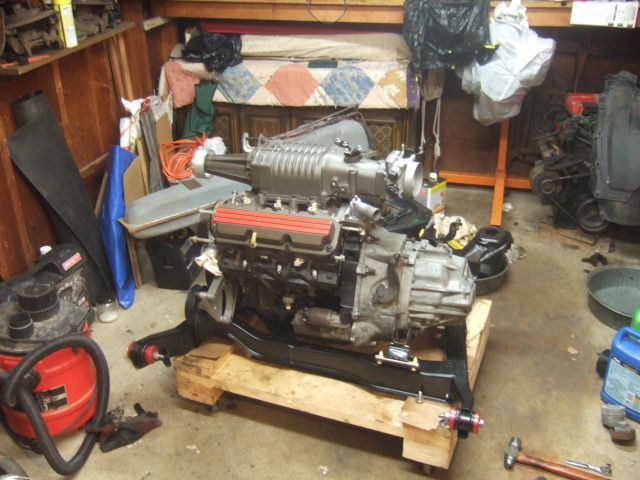
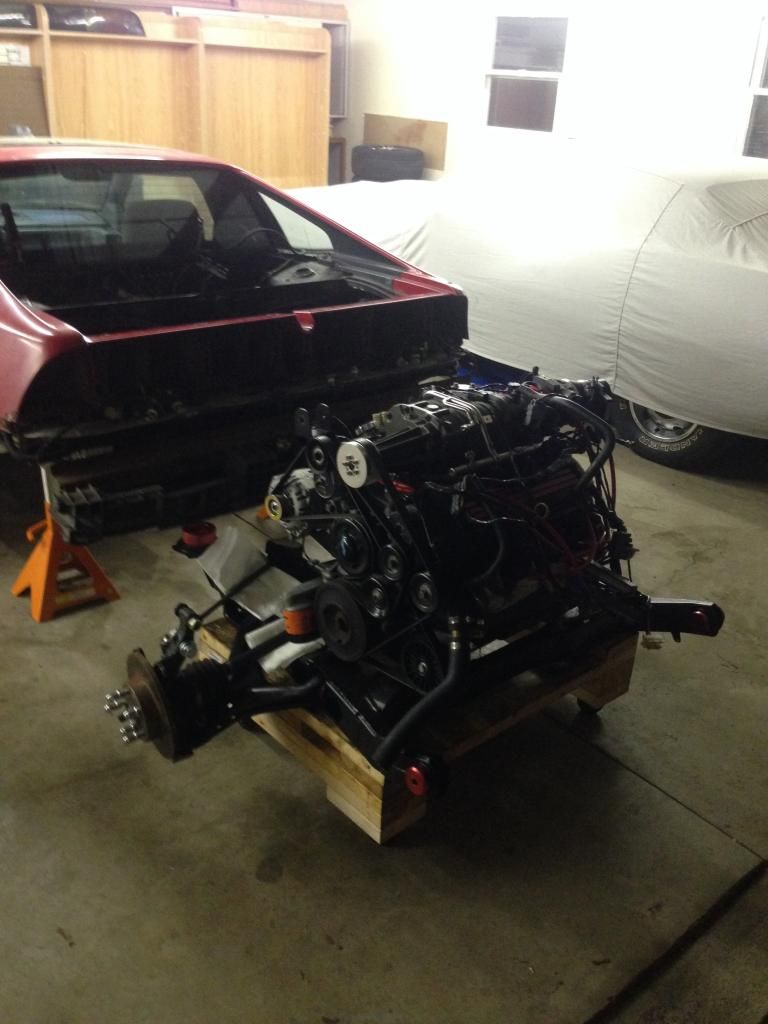
Donor engine waiting to be installed
Misc. swap parts:
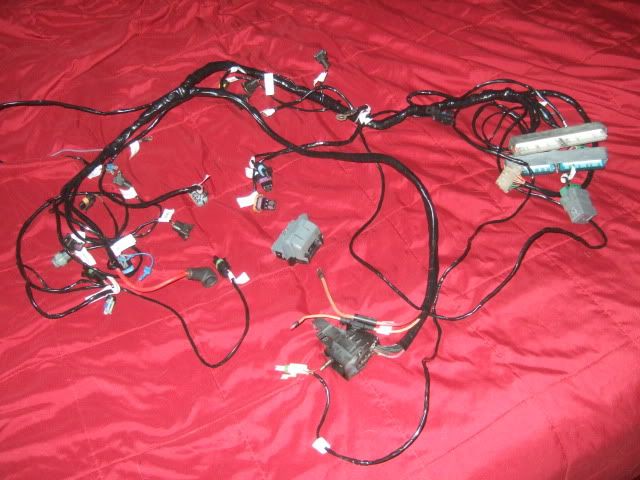
Phonedawgz engine
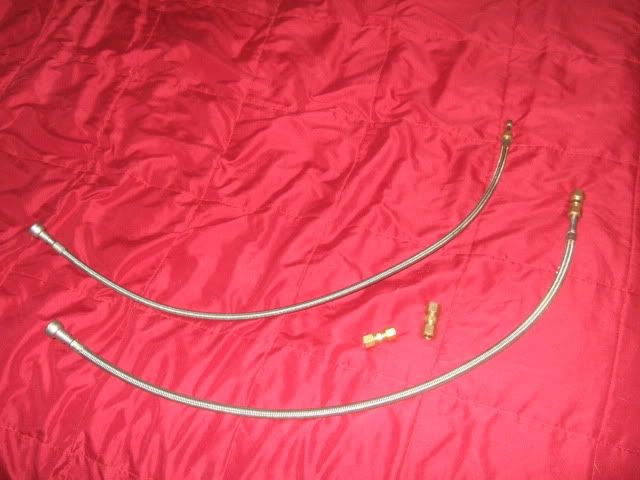
Fuel lines to connect the L67 fuel rail to the Fiero's fuel lines.
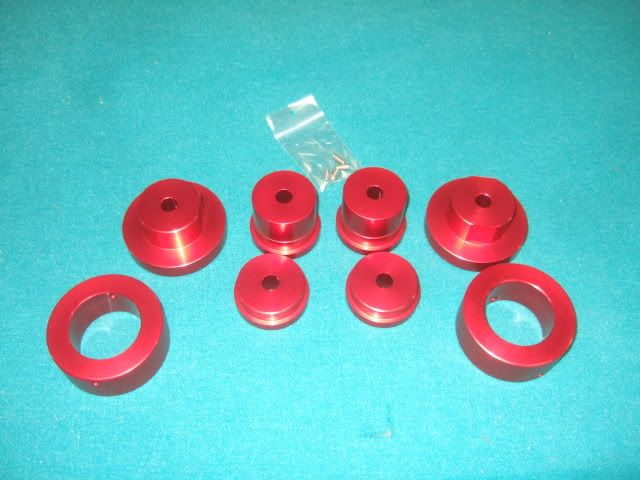
Aluminum rear cradle bushings
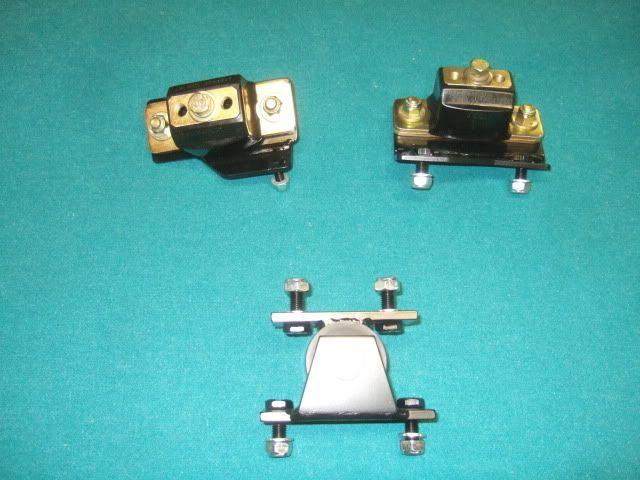
Poly transmission and engine mounts
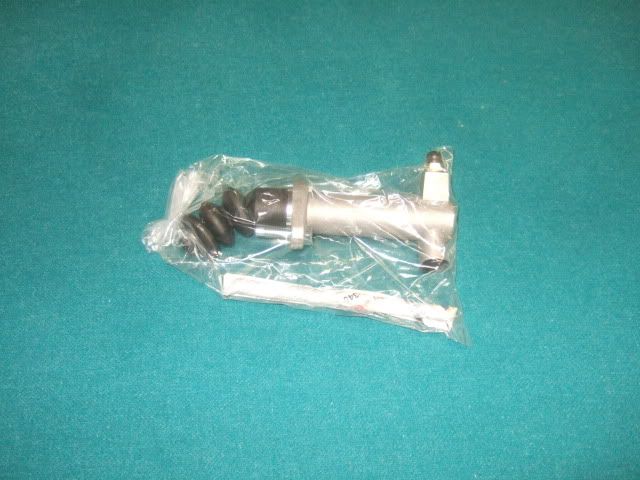
New slave cylinder
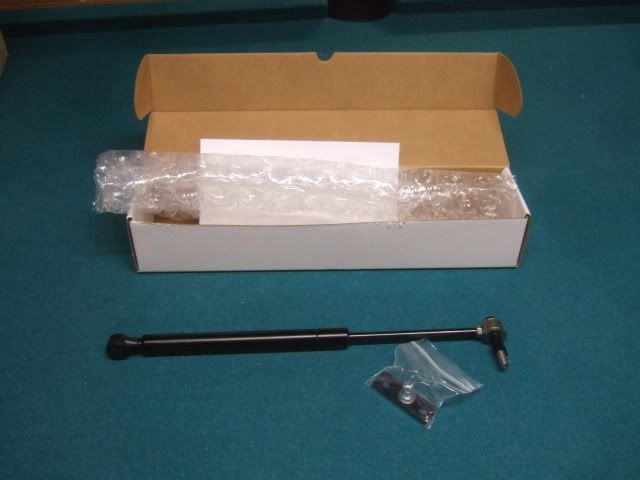
Rear decklid shock kit.
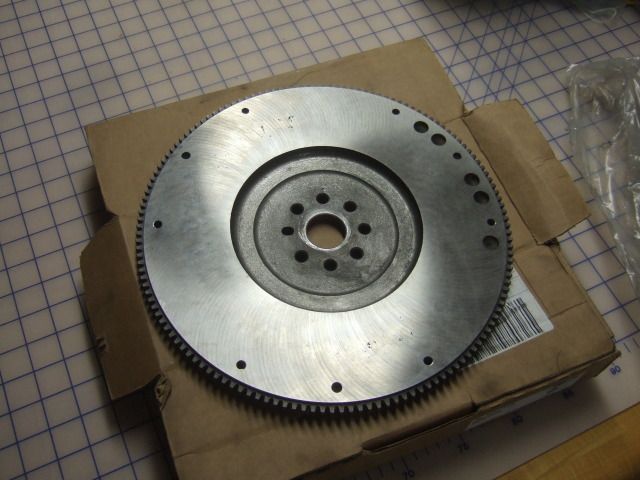
Cut and balanced flywheel
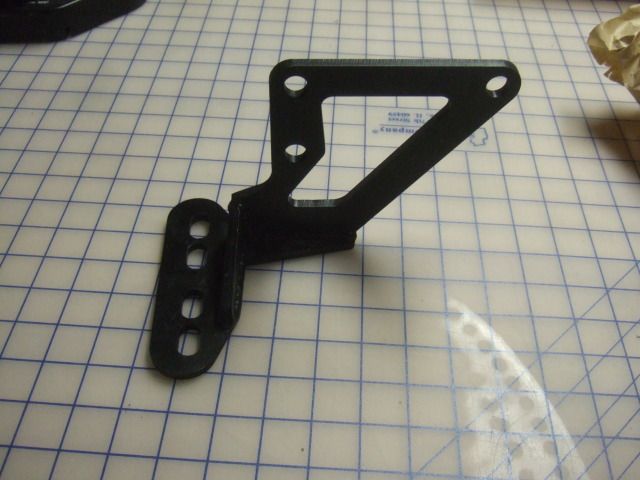
Engine mount
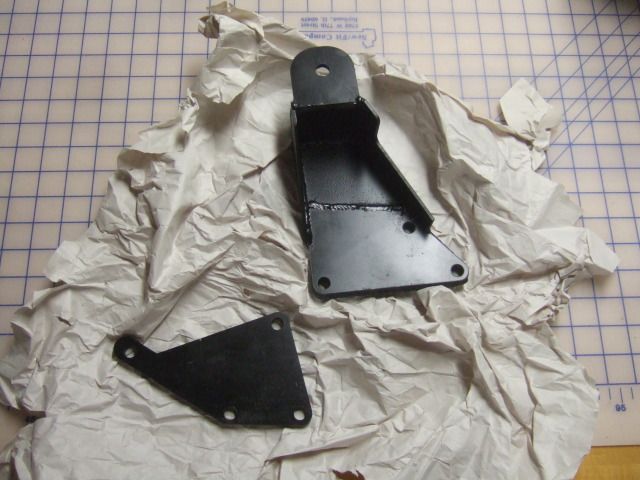
Low mount alternator kit
To give an idea of where I started with my Fiero L67 swap here are pictures from the first Fiero I intended to use in the swap.
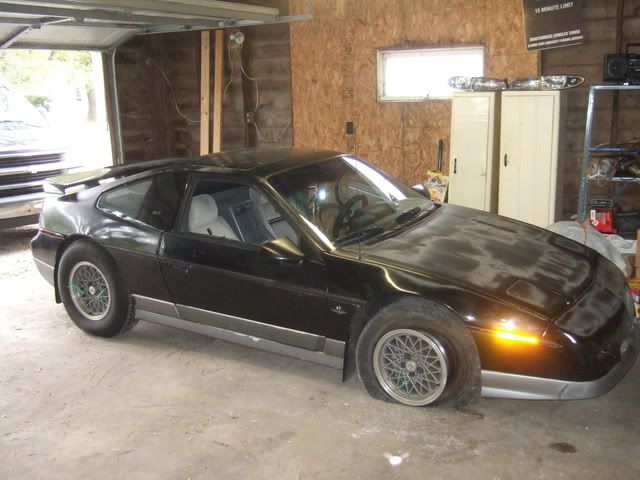
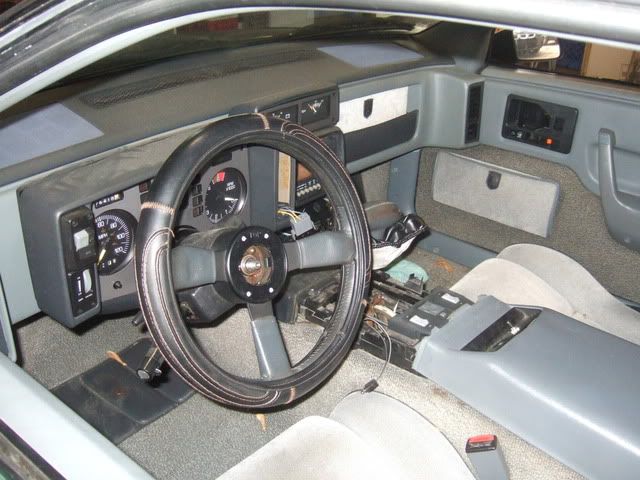
This is how the car looked when I picked it up. It was in rough shape as it had been sitting for a bit and had 176k miles on it. The original owner said it just needed a new ignition switch to get the car running. That was partially true. I don’t really know what happened, but somehow the engine mount sheared in half, the harmonic balancer wore out and caused the engine to run like crap. The engine would start and run but would die if I didn’t keep on the gas. The interior was in remarkably nice shape for its age and the mileage.
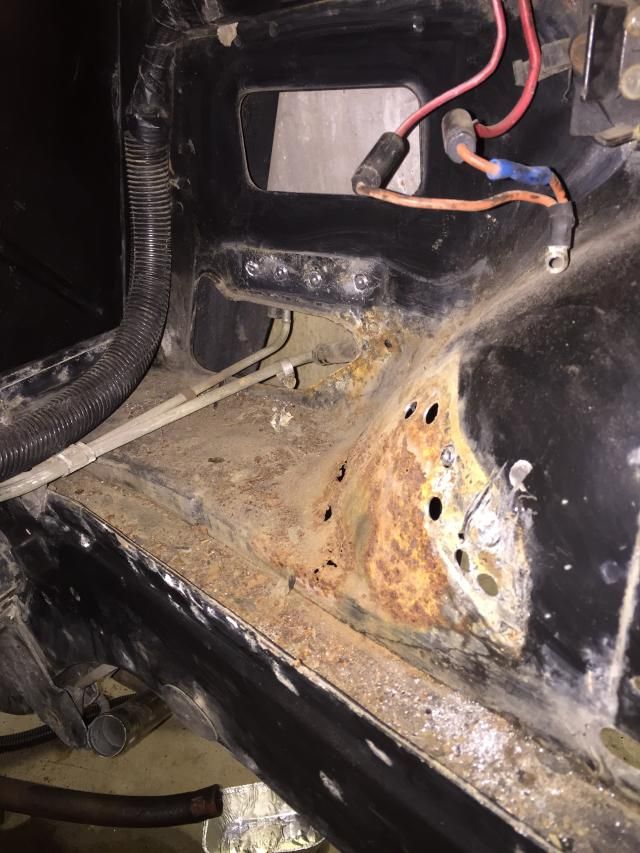
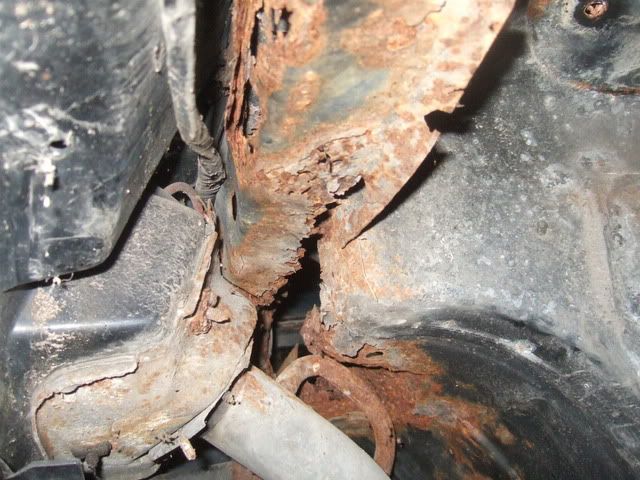
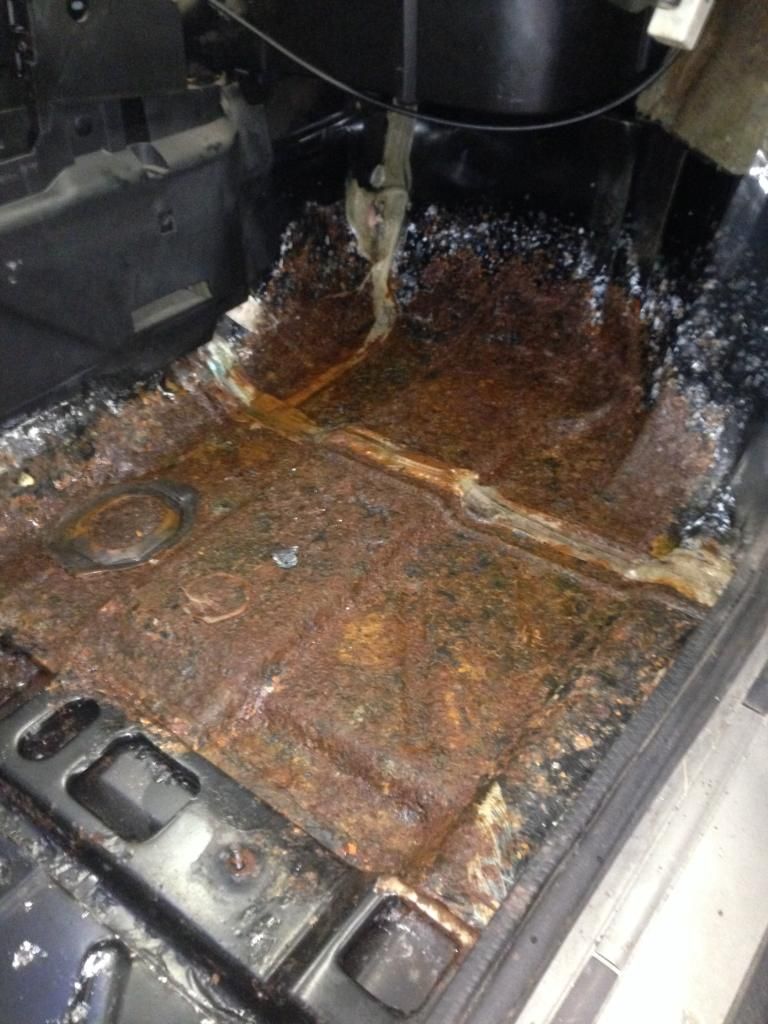
Unfortunately once I removed the engine I realized the rust damage on the Fiero was beyond my capabilities to fix.
This is the driver’s side rear frame rail that was pretty well rusted away.
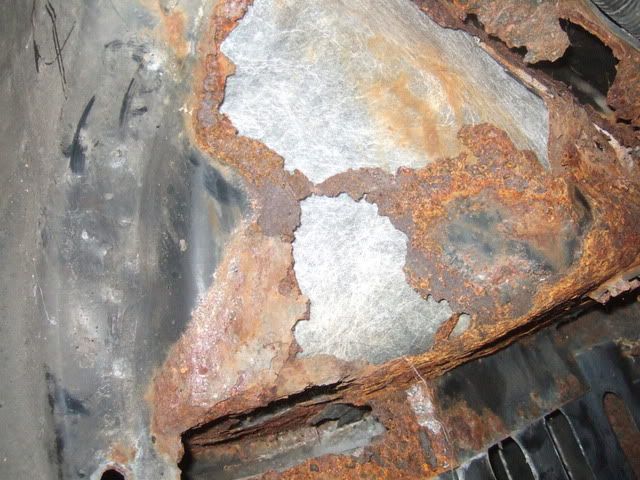
The trunk was pretty well rusted away at the corners as well.
This is what led me to buy my current Fiero to build up, lower mileage, less and more manageable rust damage. I’ve removed the majority of the parts from my first Fiero to save for my current build and to save usable parts from the scrapper
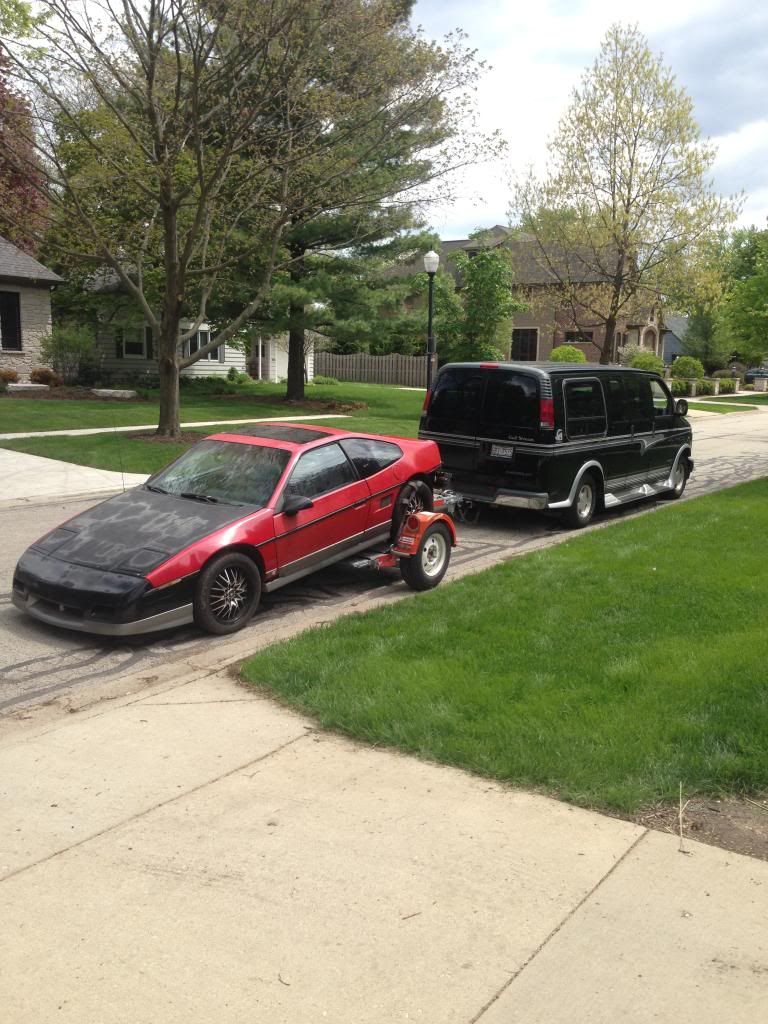
I was able to finally send the junk Fiero to the scrapyard.
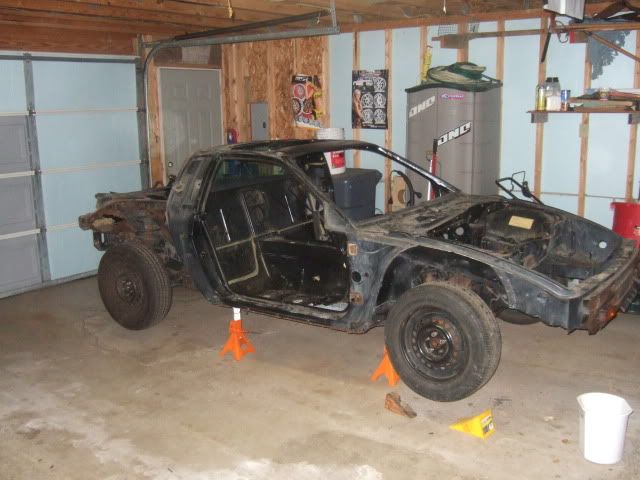
Before
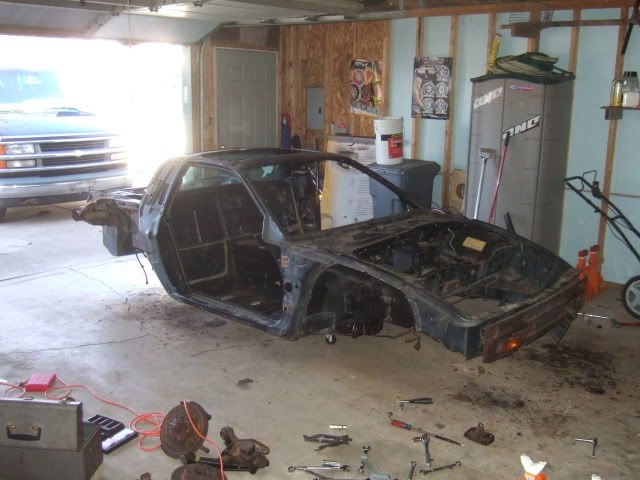
After
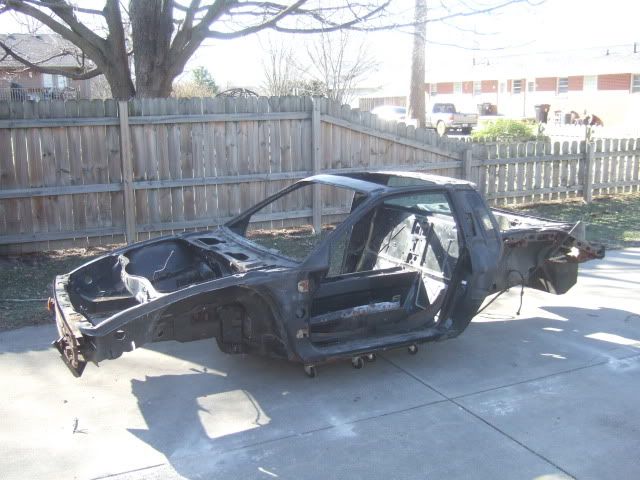
Junkyard wouldn't pick up the car without wheels so I had to improvise to get it there.
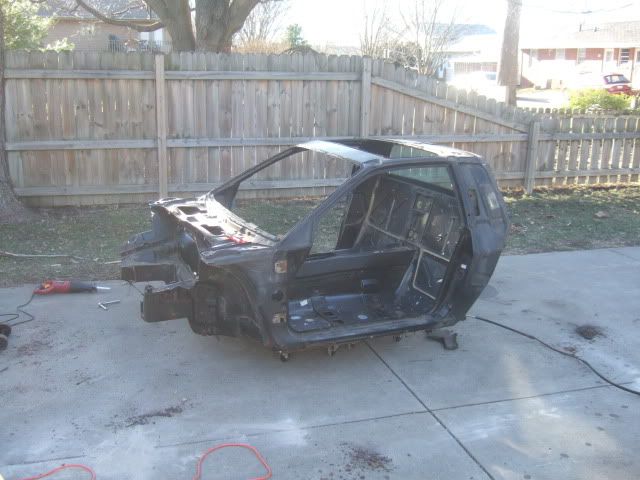
I installed a newer headlight harness. I had to solder connectors in on the old one and must have mismatched a few wires (one connector alone had 3 identical red wires) as the headlights wouldn't pop up and I had parasitic draw. Now one headlight pops up, the other one I believe the motor/relay is shot. Progress none the less.
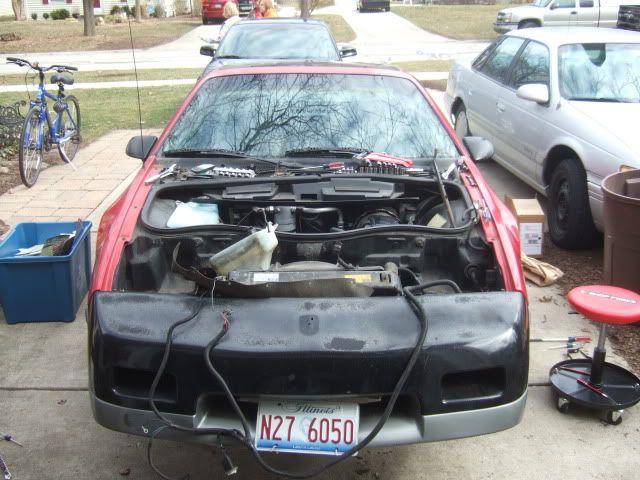
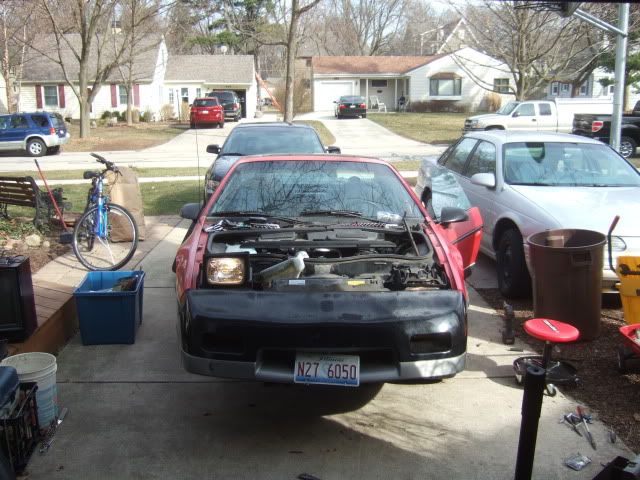
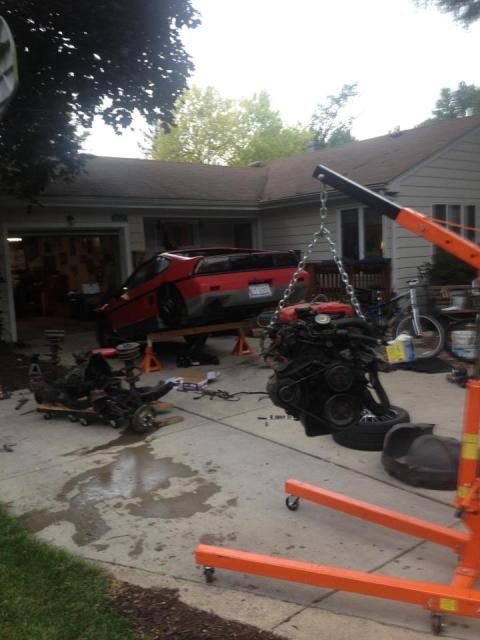
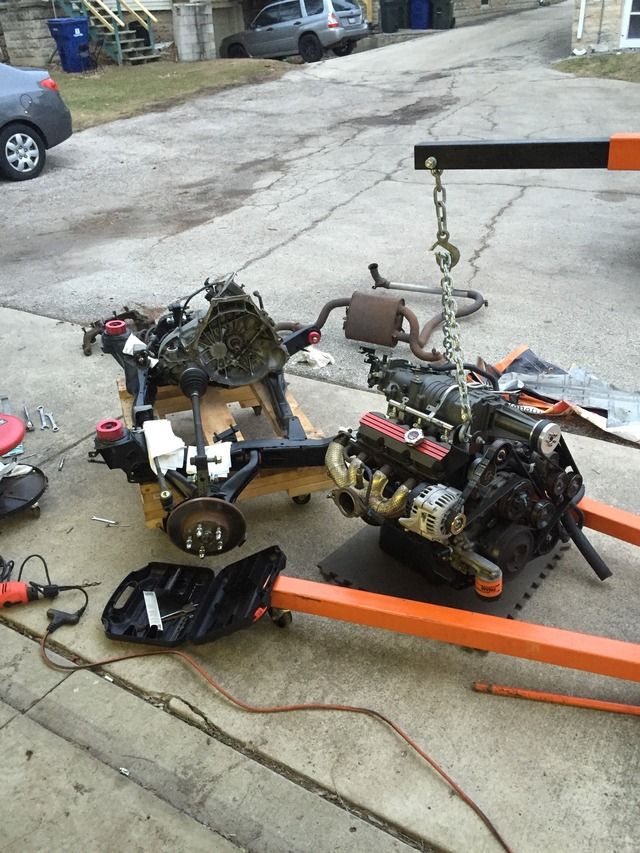
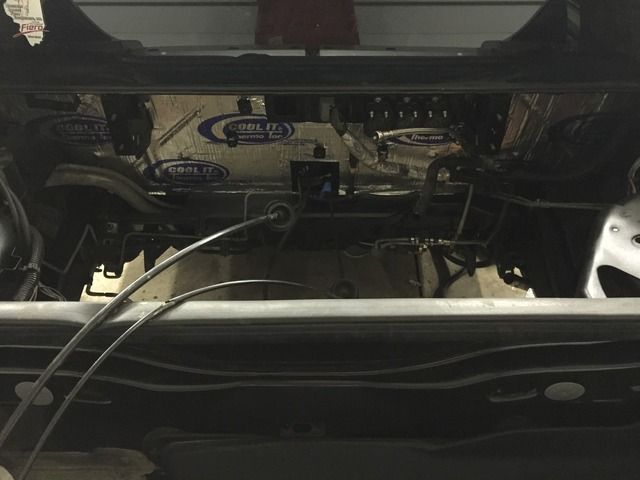
The tired old 2.8 V6 is out
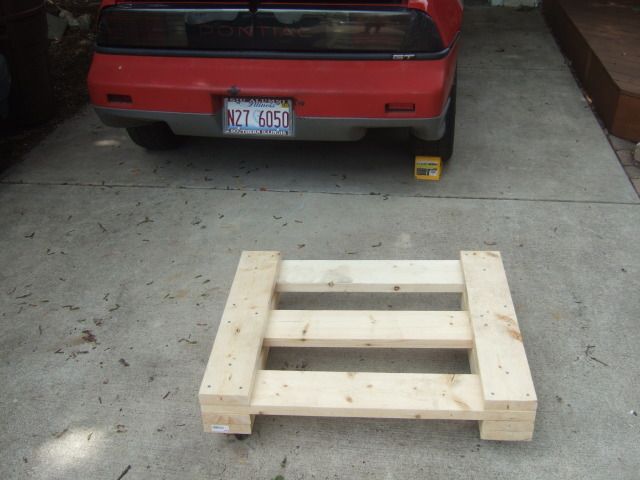
Built an engine cradle dolly to help with the engine swap
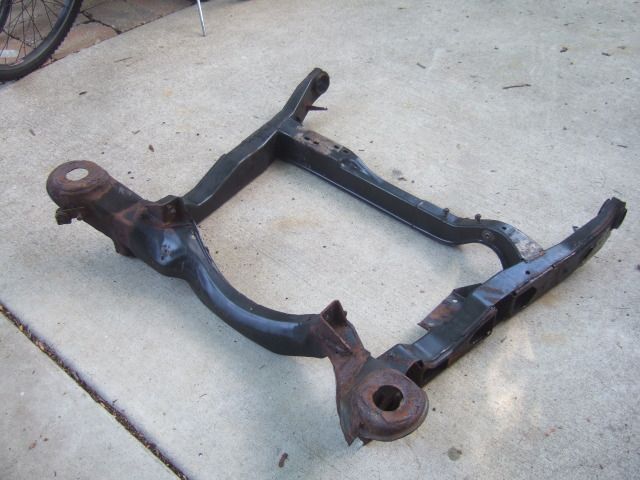
The old engine cradle after everything is removed
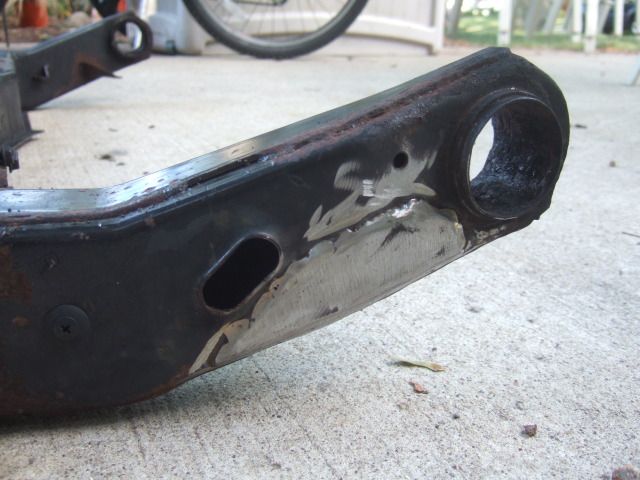
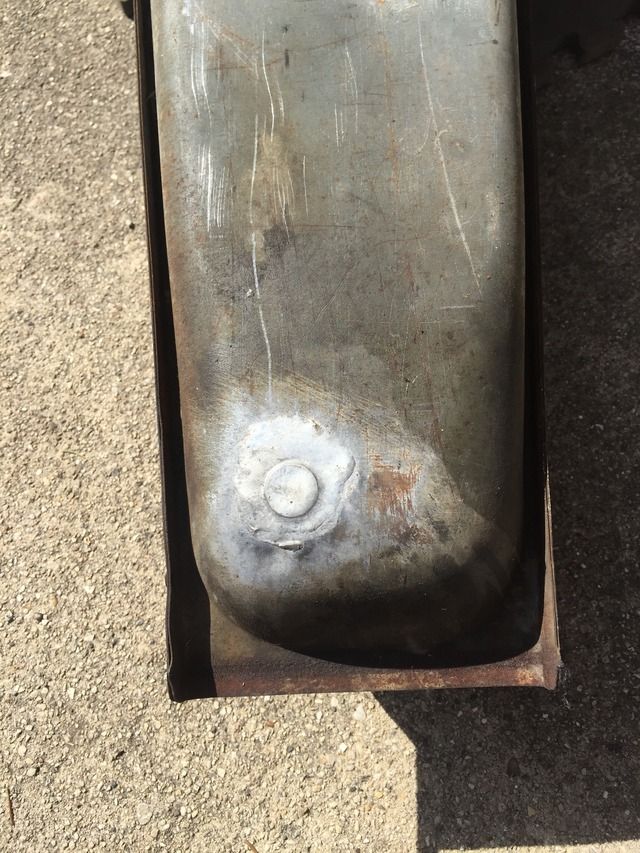
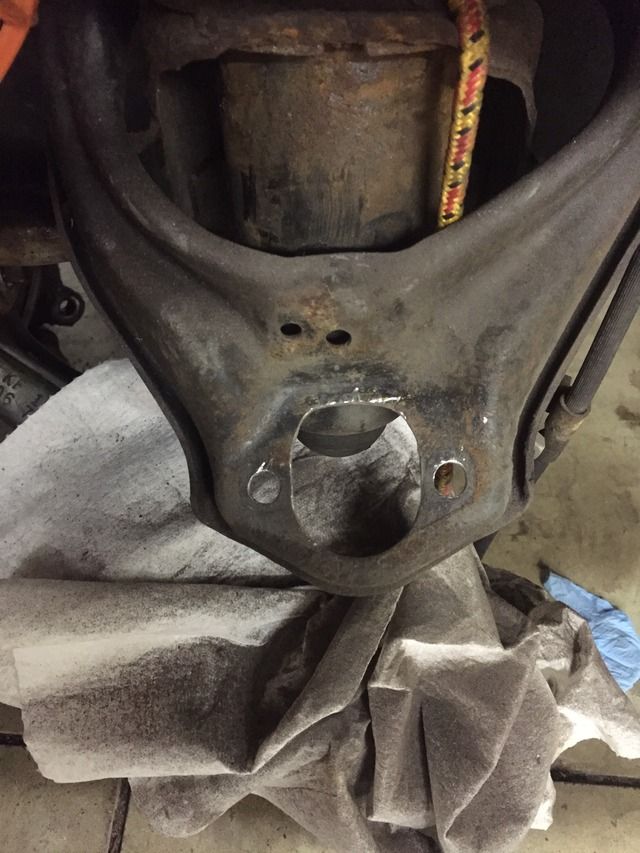
A shop patched a rusted spot before the cradle got powder coated.
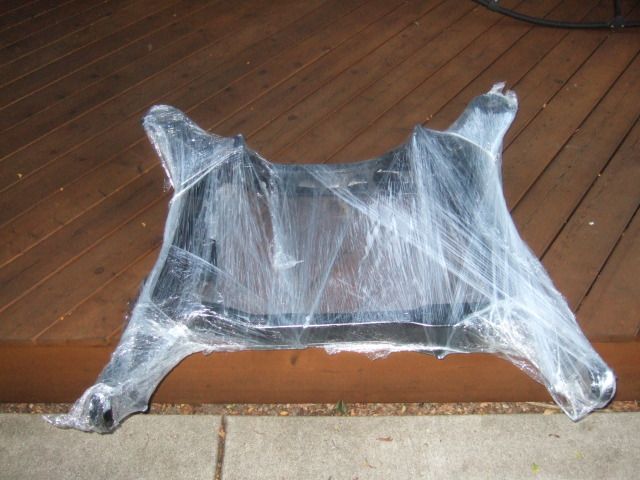
Gift wrapped goodness back from powder coating
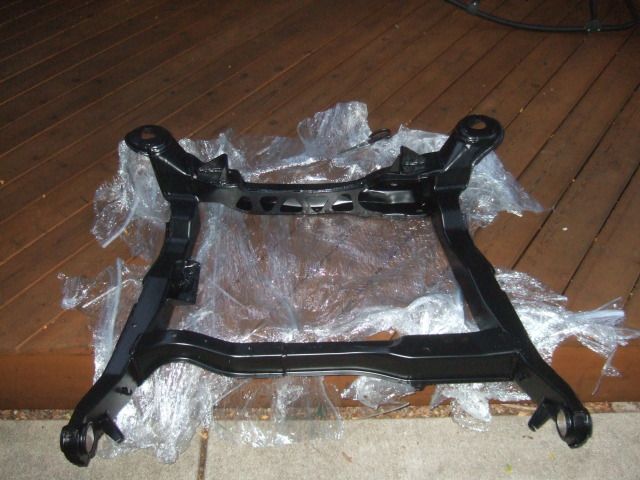
Engine cradle unwrapped
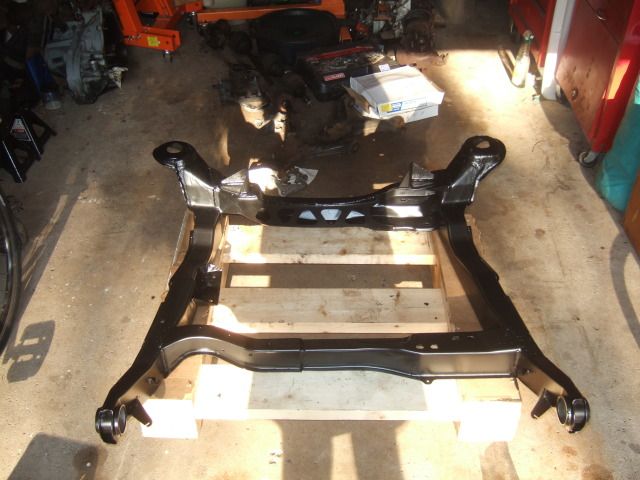
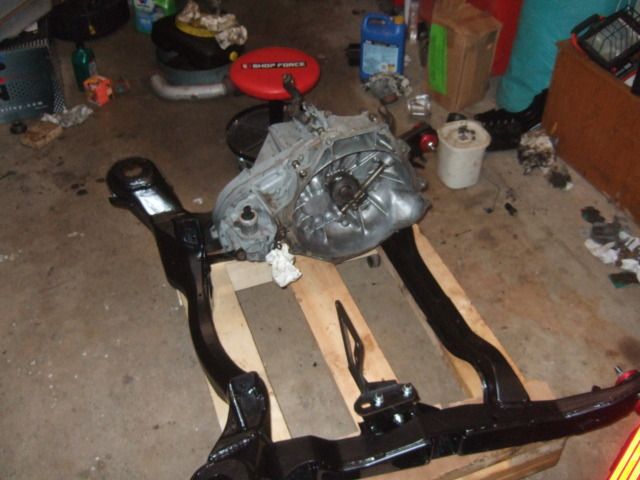
Engine cradle on the dolly awaiting the engine/trans mounts....
Here are some more pictures...
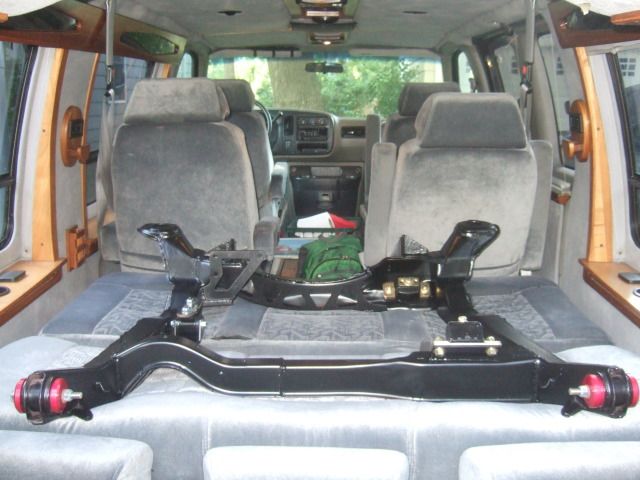
The engine cradle with the mounts test fitted.
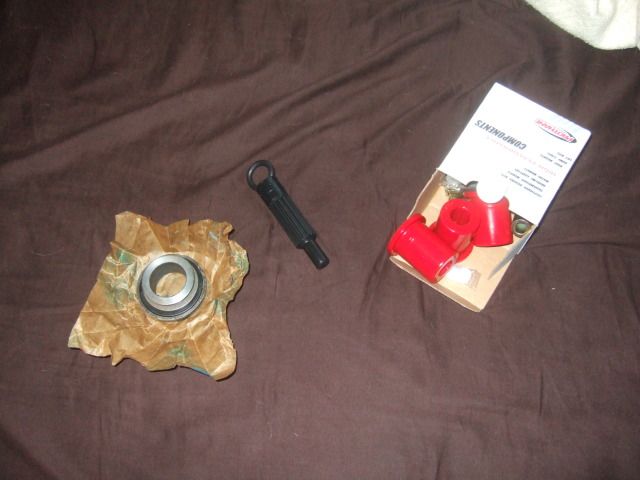
Trans release bearing and poly rear lower control arm bushings.
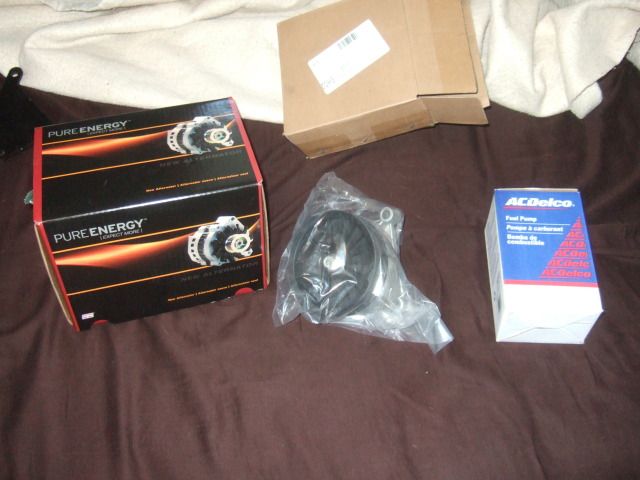
105 amp alternator, a/c delete pulley and new AC Delco EP 381 fuel pump.
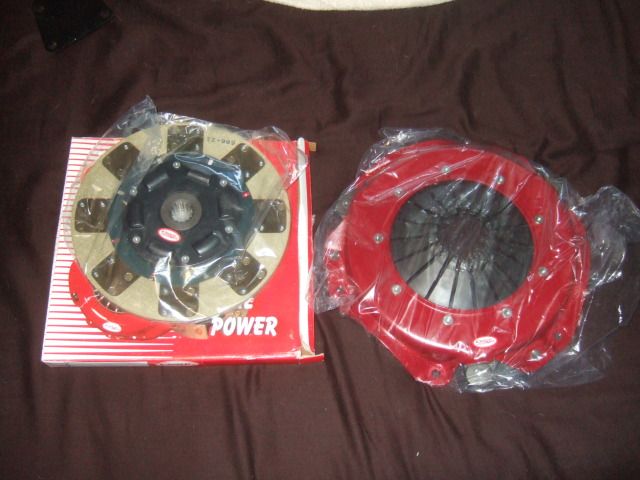
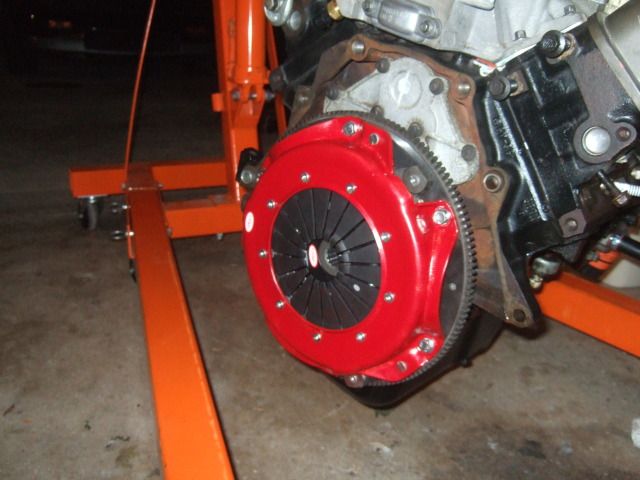
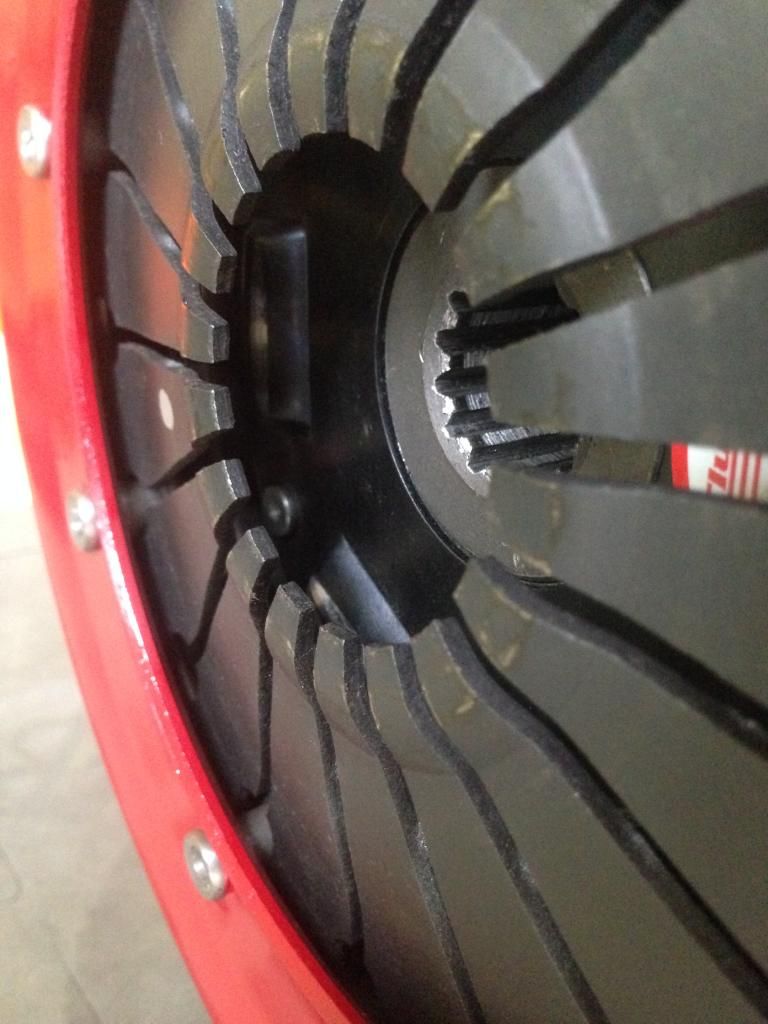
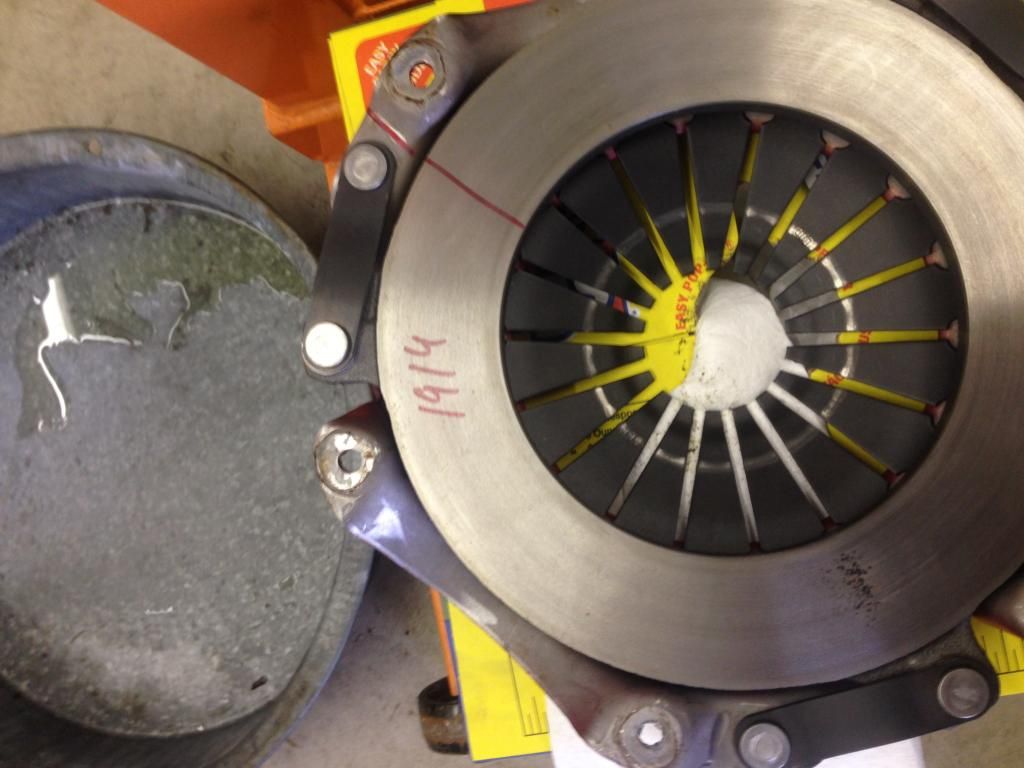
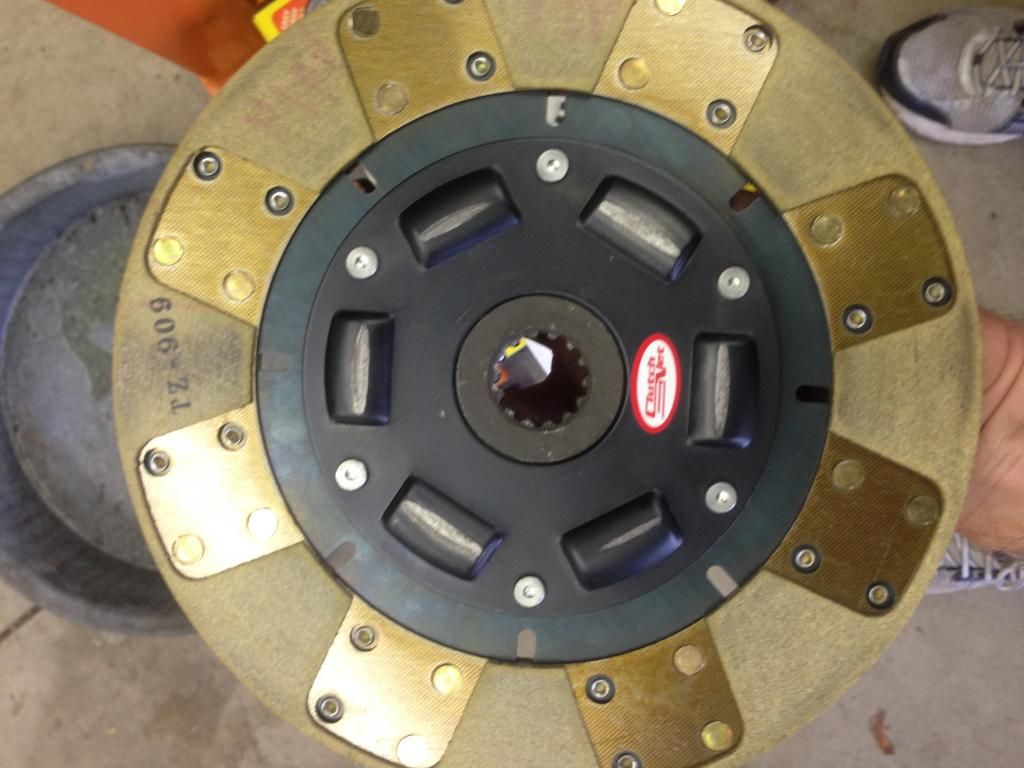
Clutch Net pressure plate and clutch disc.
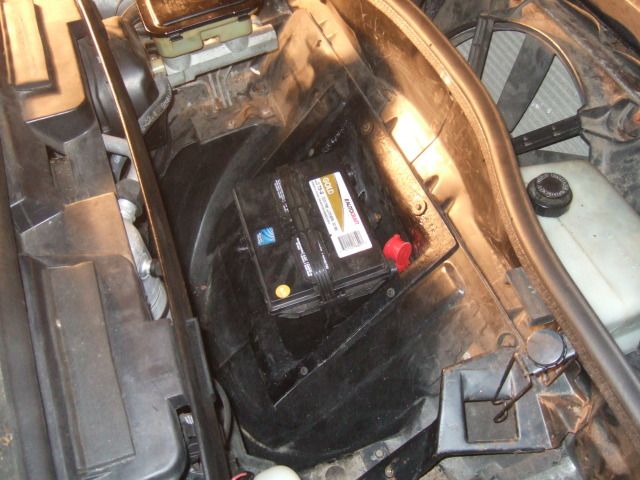
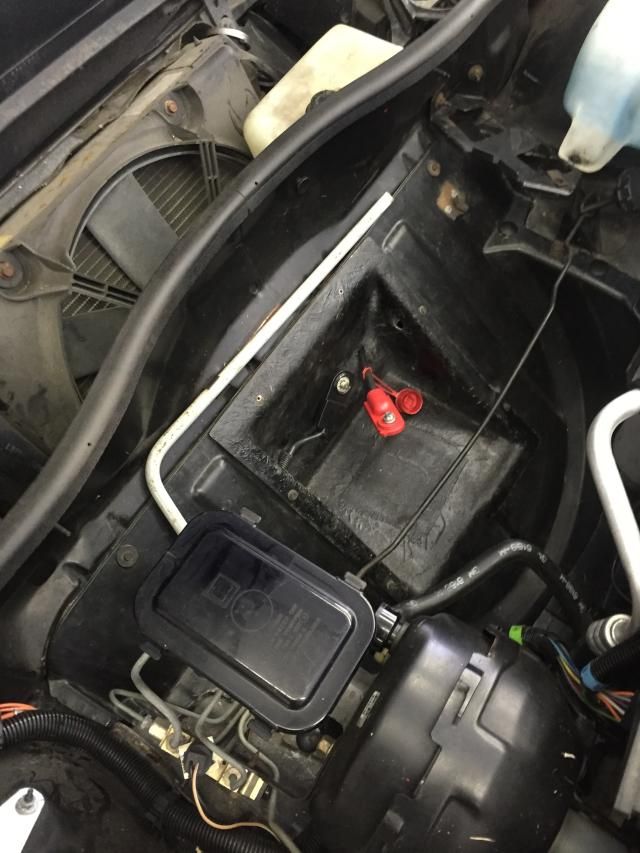
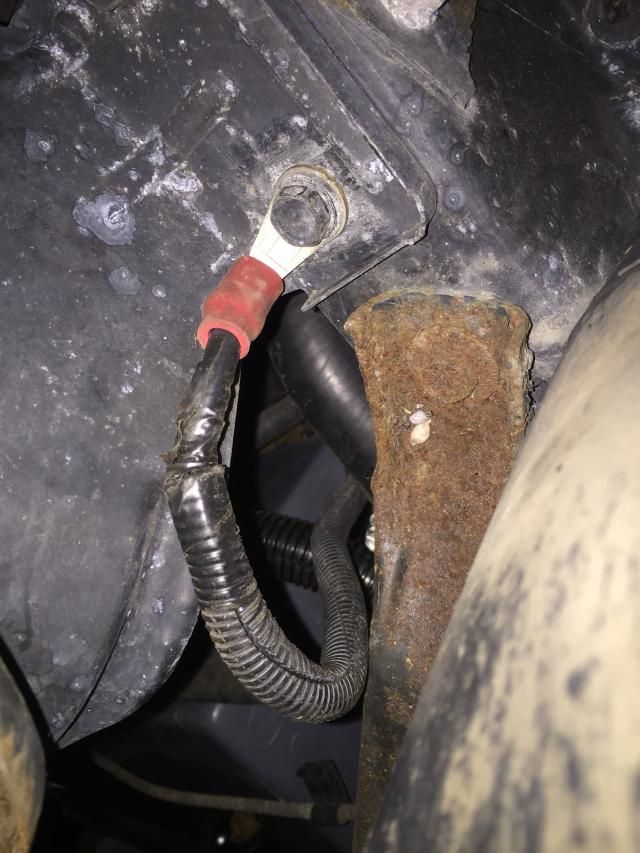
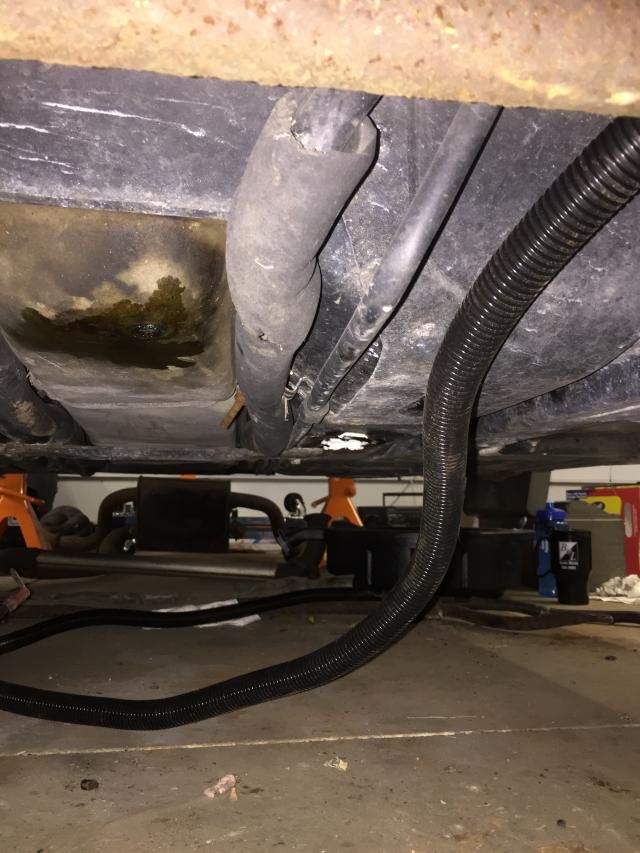
Front mount battery installed
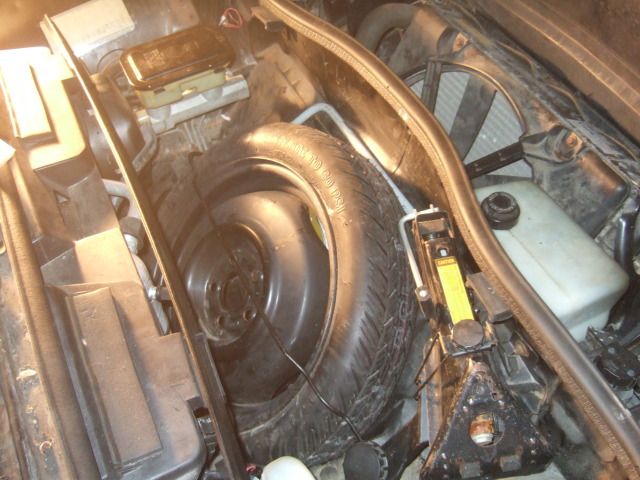
I found a Fiero in a local junkyard (1984) and it had the full spare tire set up on it as well as a few other nice items. The spare tire jack/mount on the 84's are a bit different than the later years but at least I now I have the spare tire to complete the battery install.
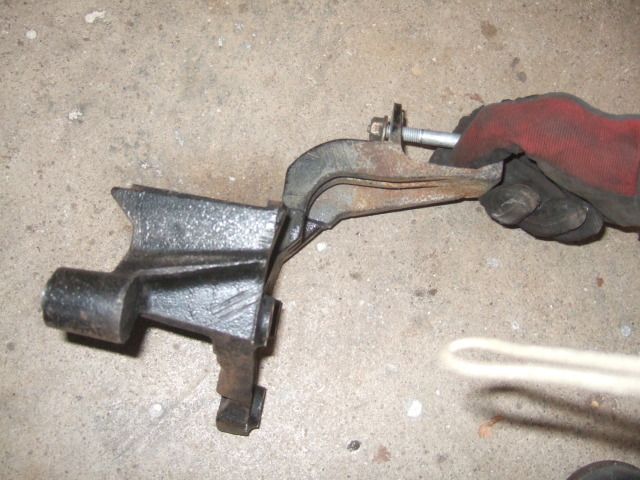
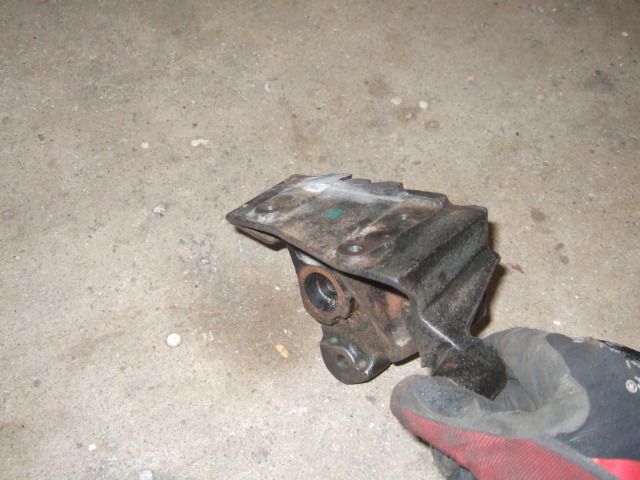
I modified the ignition coil bracket to fit in the engine bay.
Before:
After:
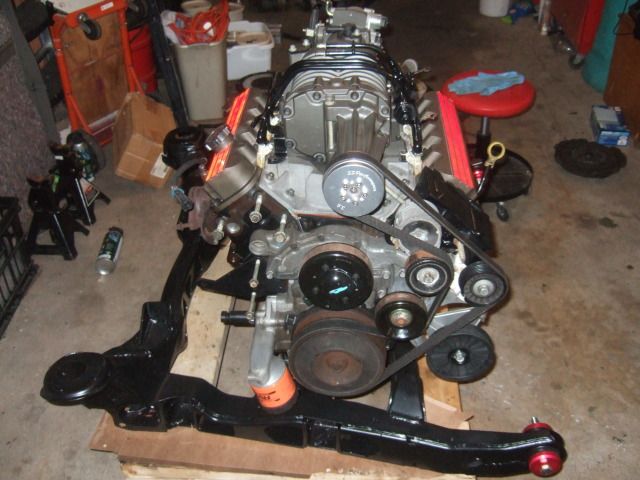
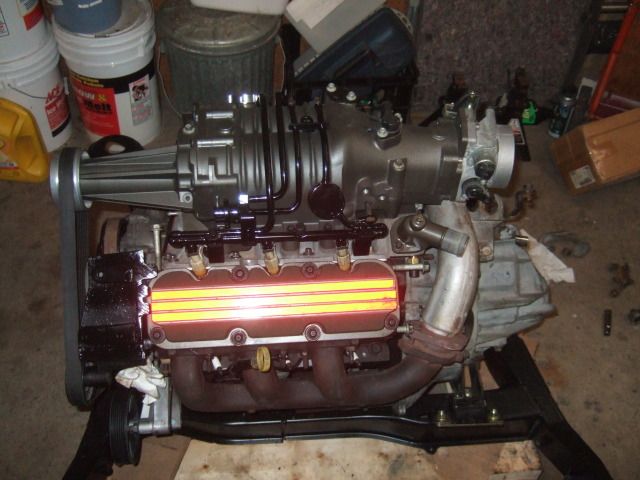
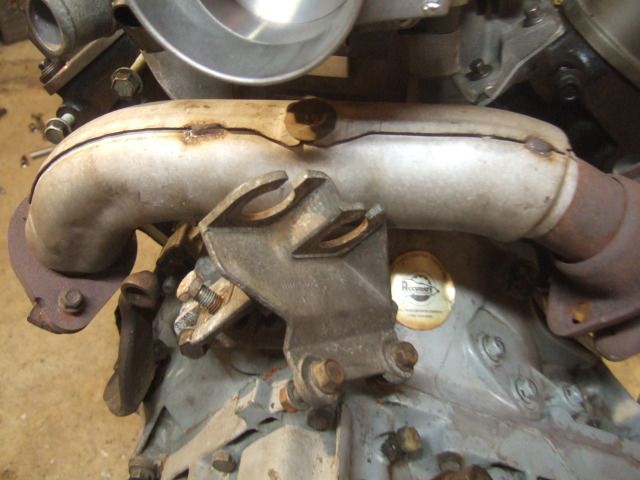
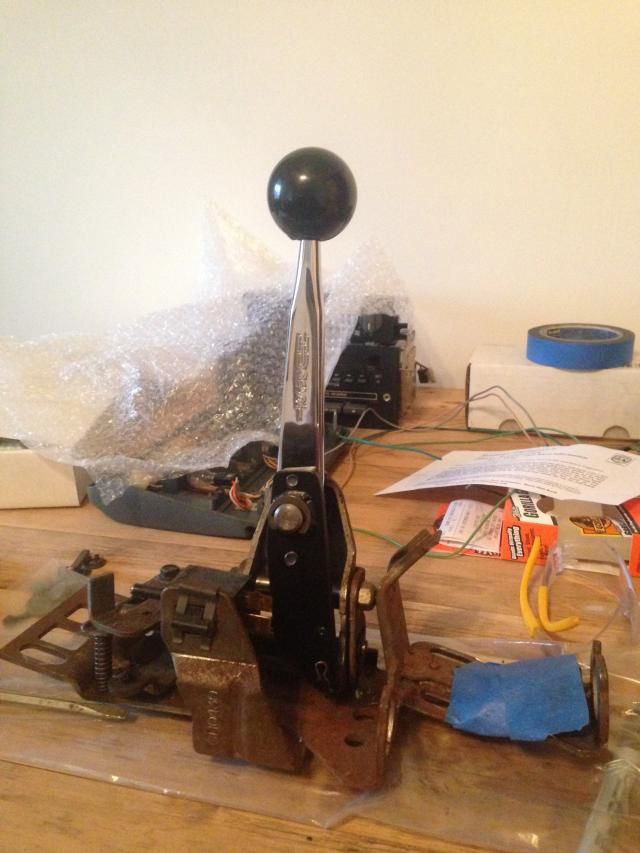
The shifter bracket interferes with the crossover pipe as expected
Painted the gas tank with POR-15 and installed a new fuel pump.
Pictures:
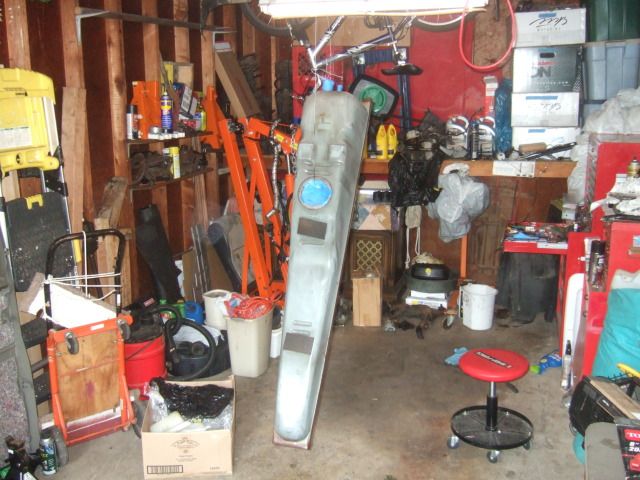
Gas tank being prepped for paint.
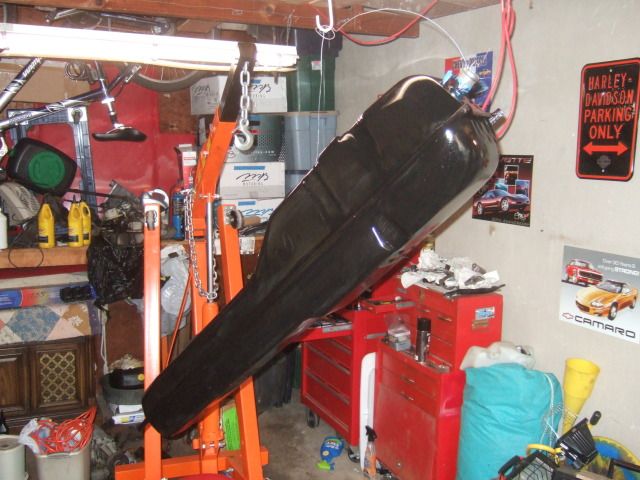
Gas tank after 1 coat of paint.
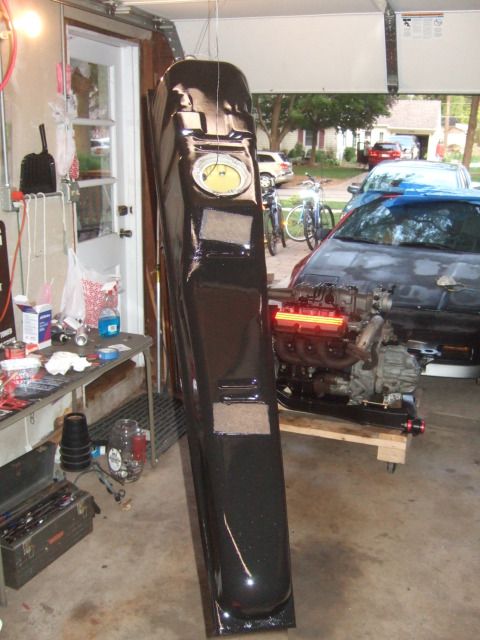
Gas tank after 3 coats of POR-15.
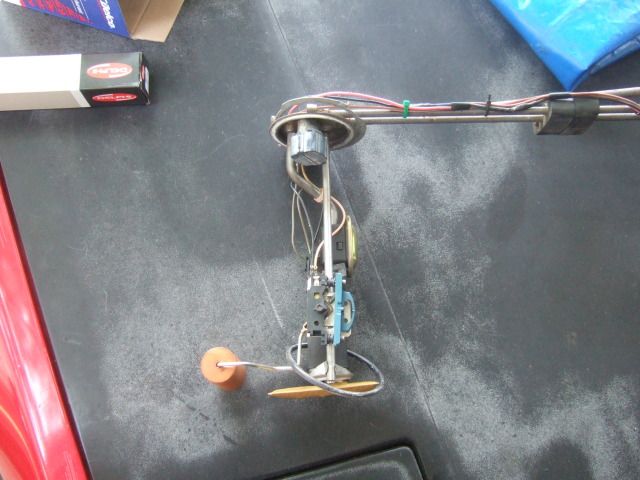
Old fuel pump
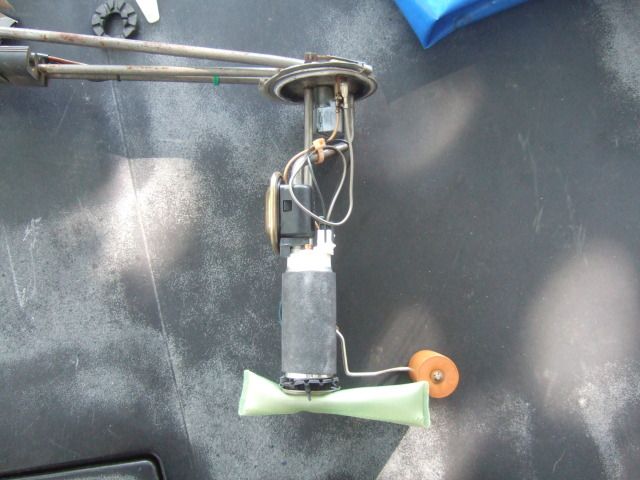
New fuel pump and strainer installed
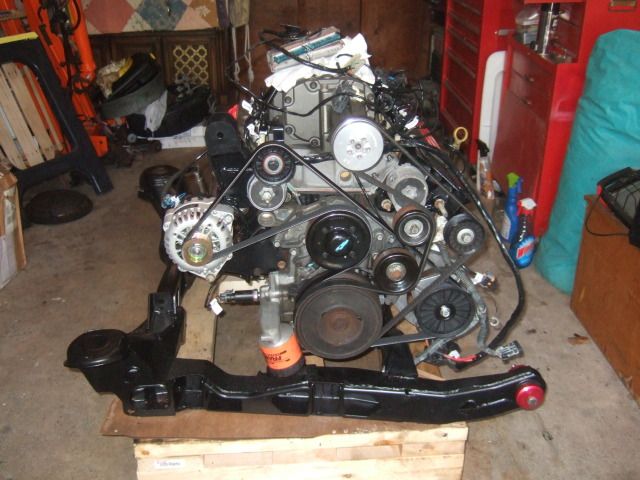
Found and routed an accessory belt that fit with the low mount alternator bracket
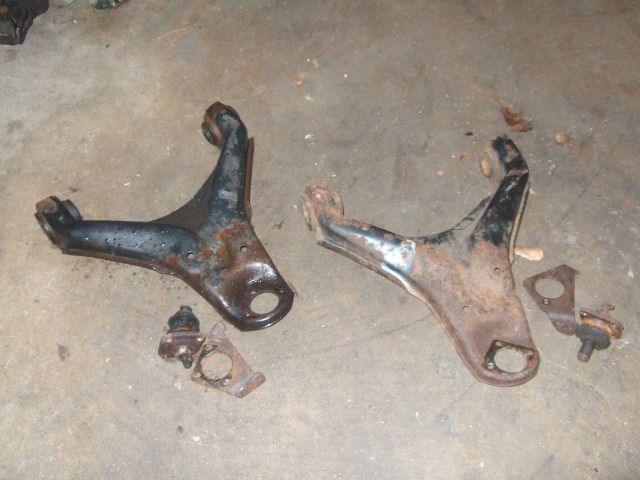
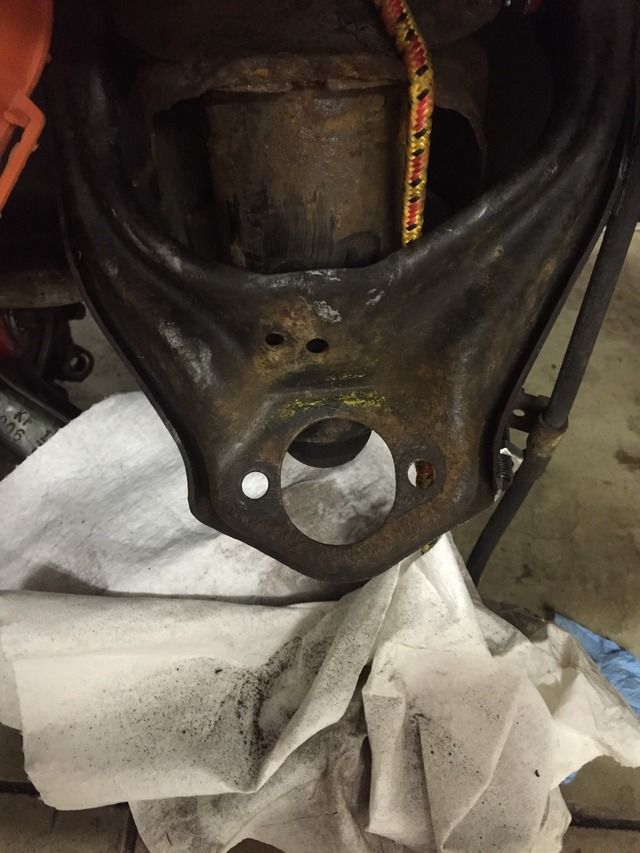
Stripped the rear lower control arms to be powder coated eventually
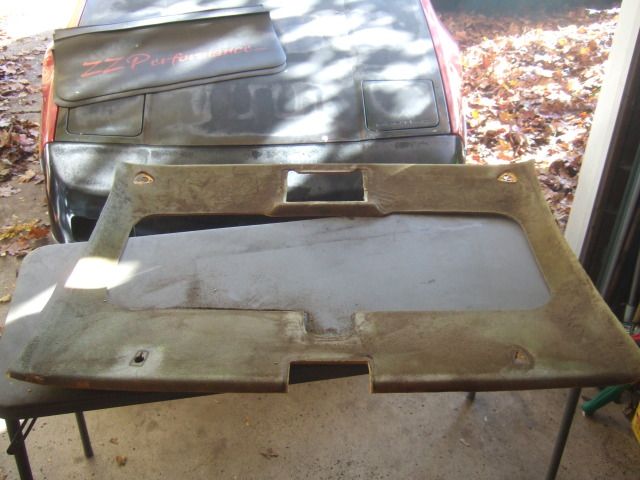
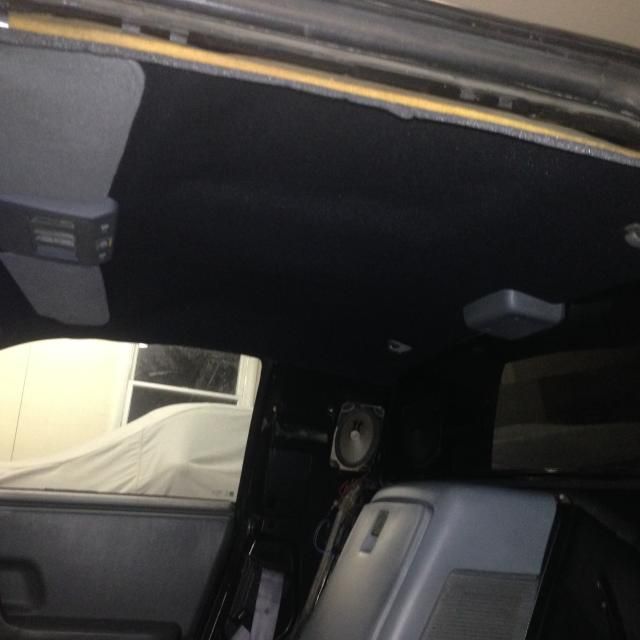
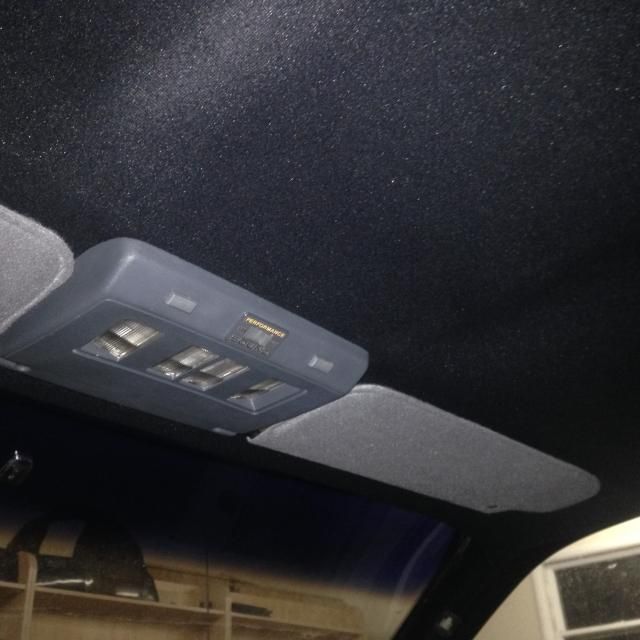
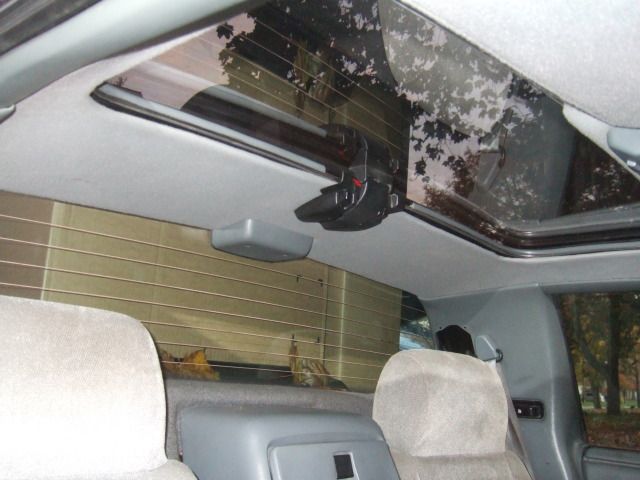
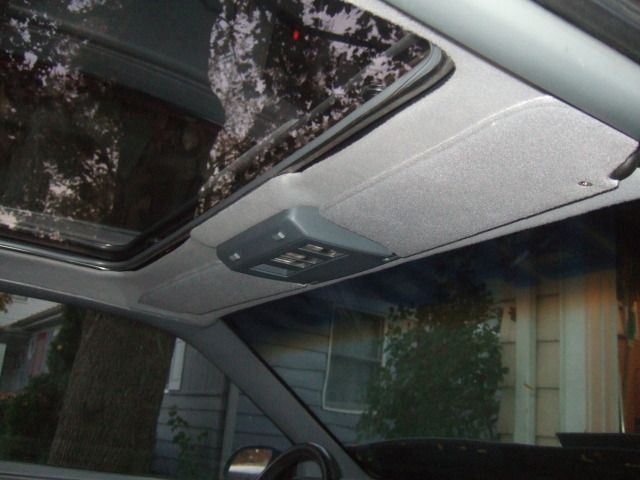
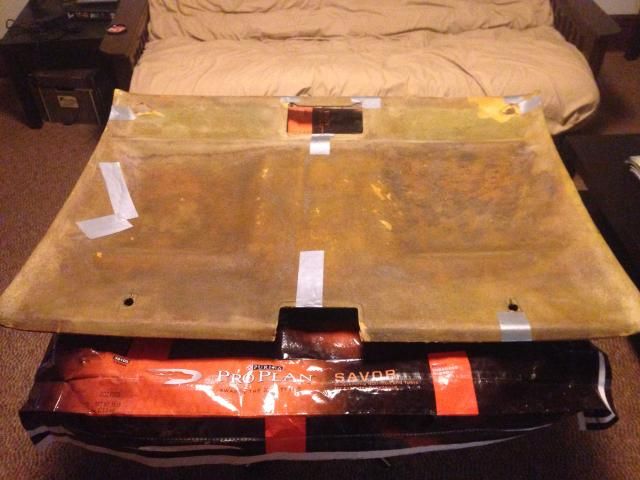
The headliner board being stripped of the old adhesive.
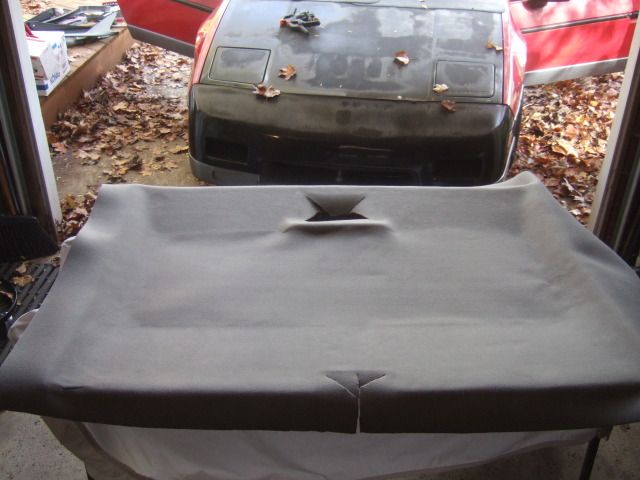
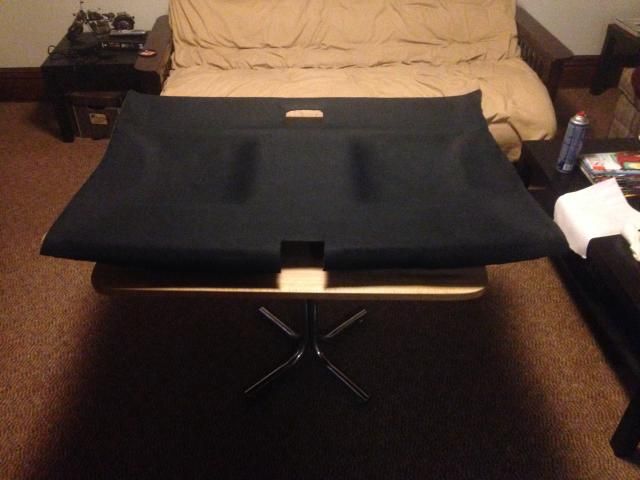
Starting to trim to fit the board.
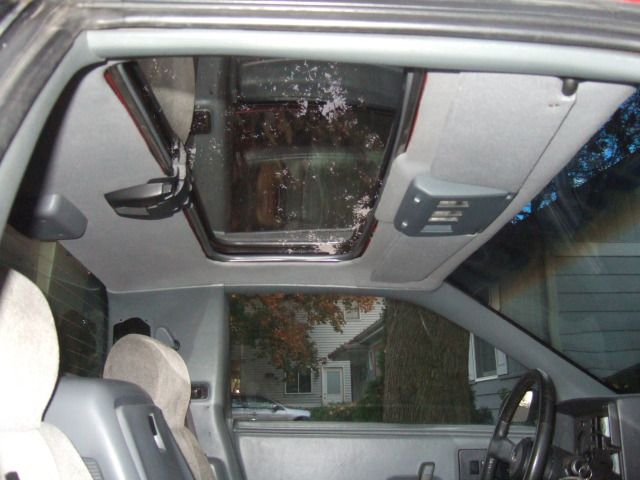
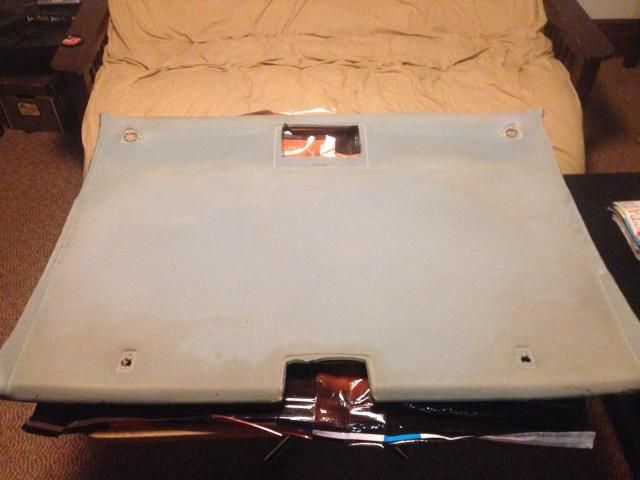
If you look close you can see the red from the underside of the roof showing through...oops.
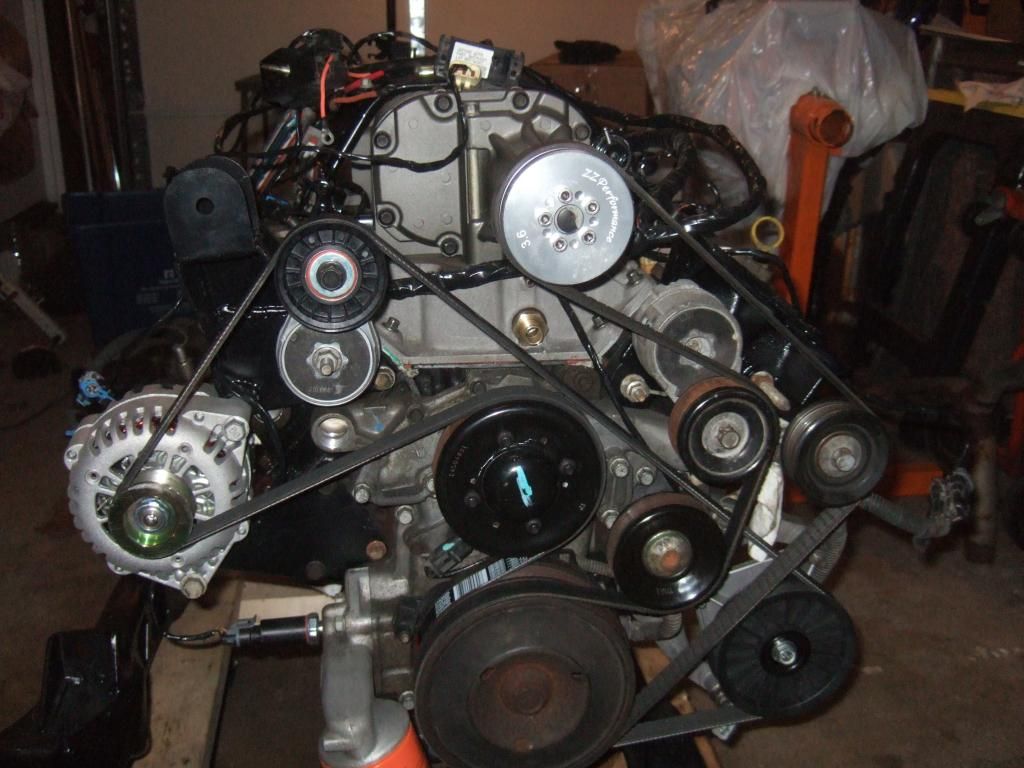
Tapped the lower intake to attach heater hose
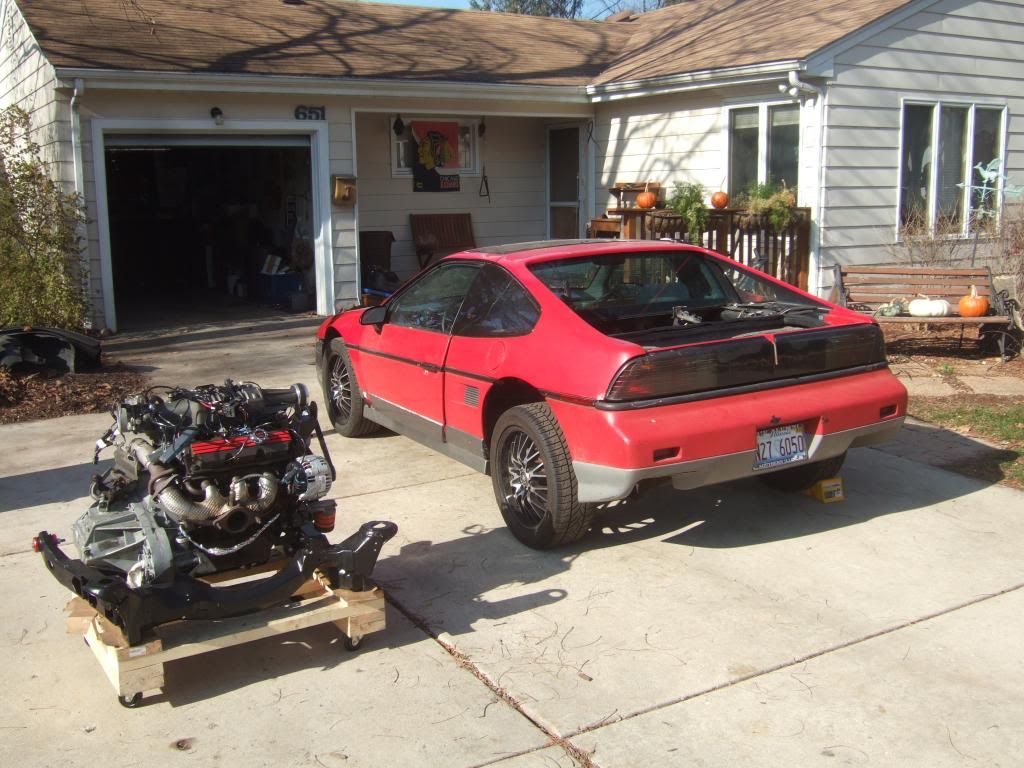
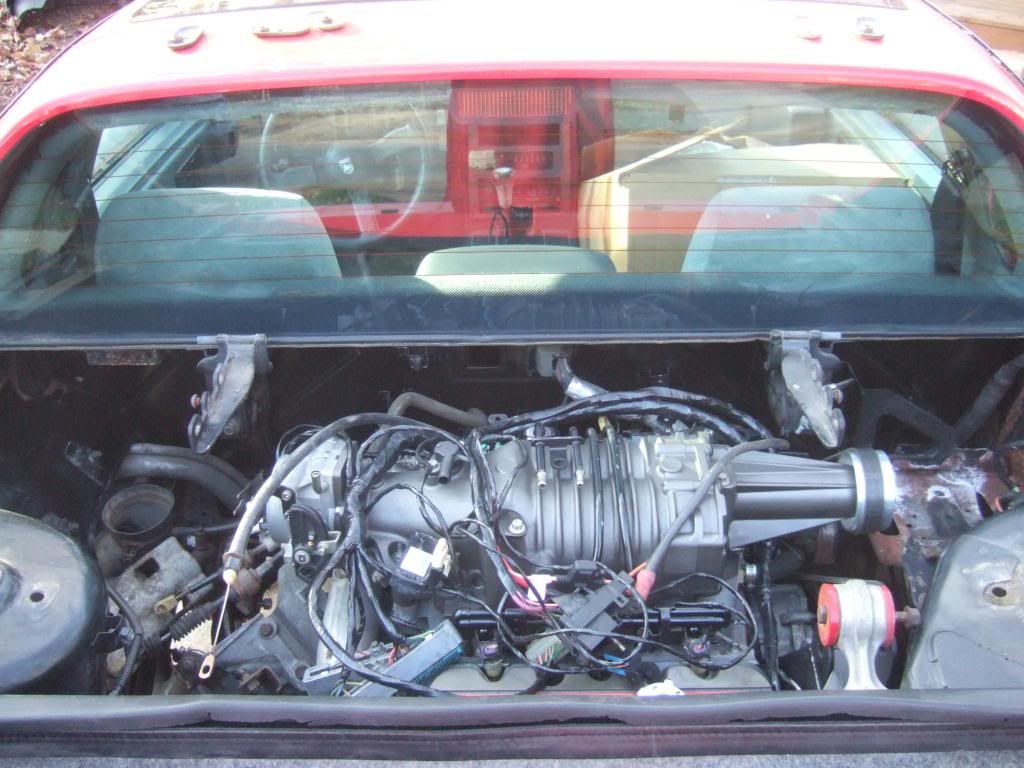
Finally installed the engine
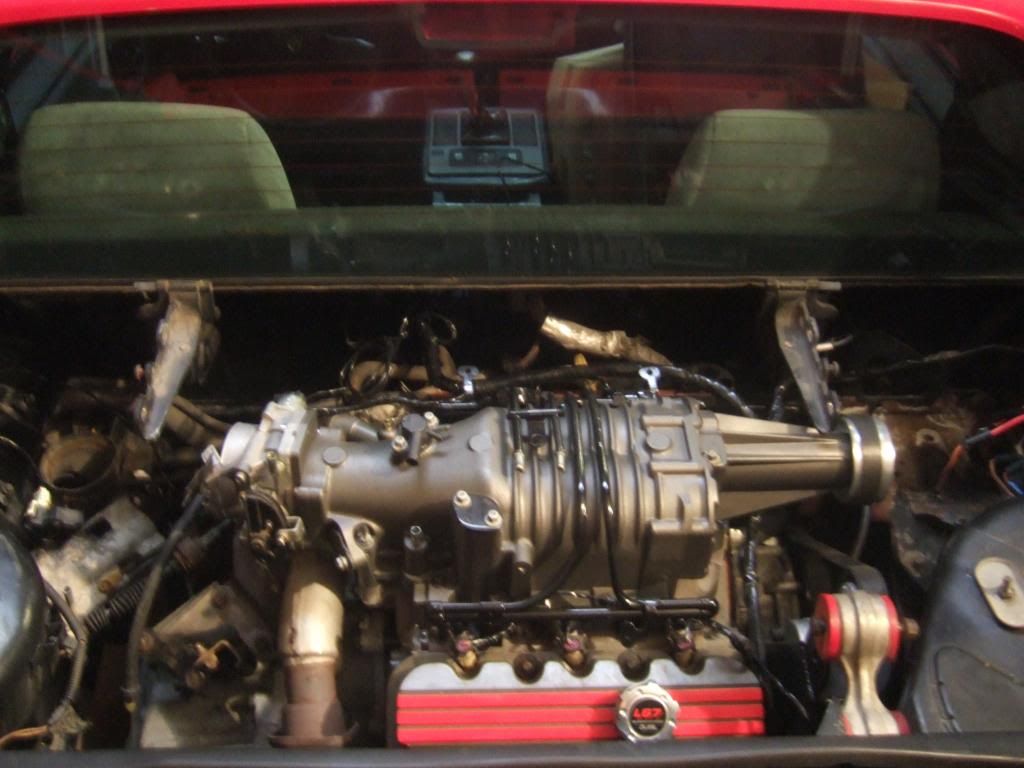
Engine harness properly routed
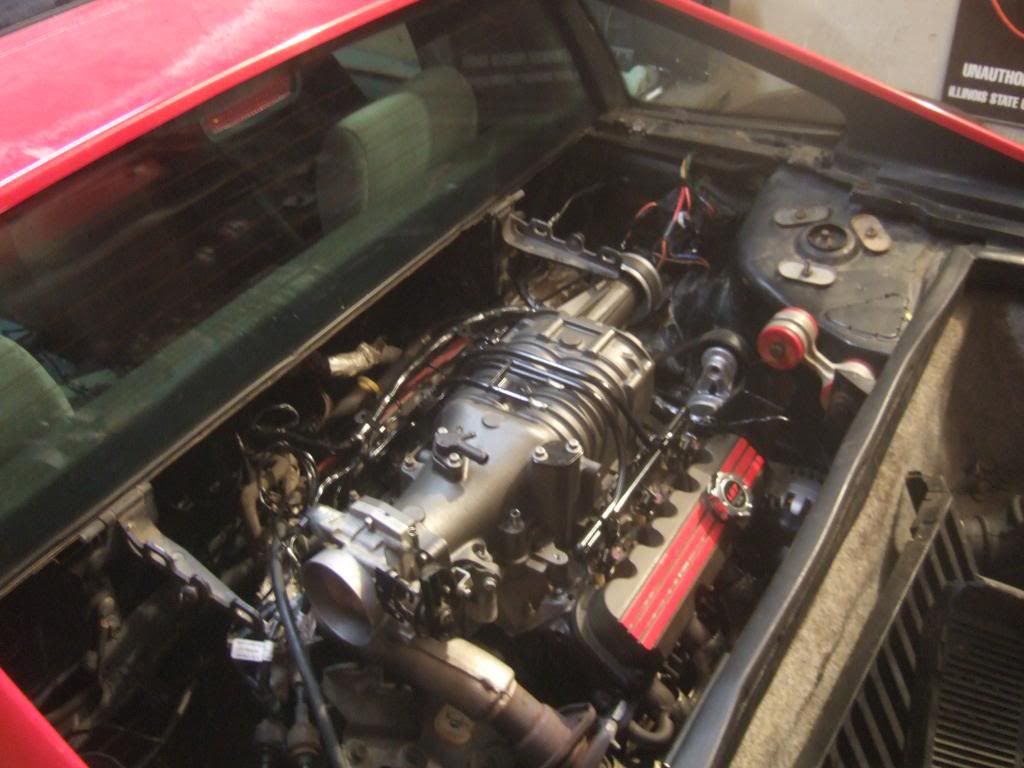
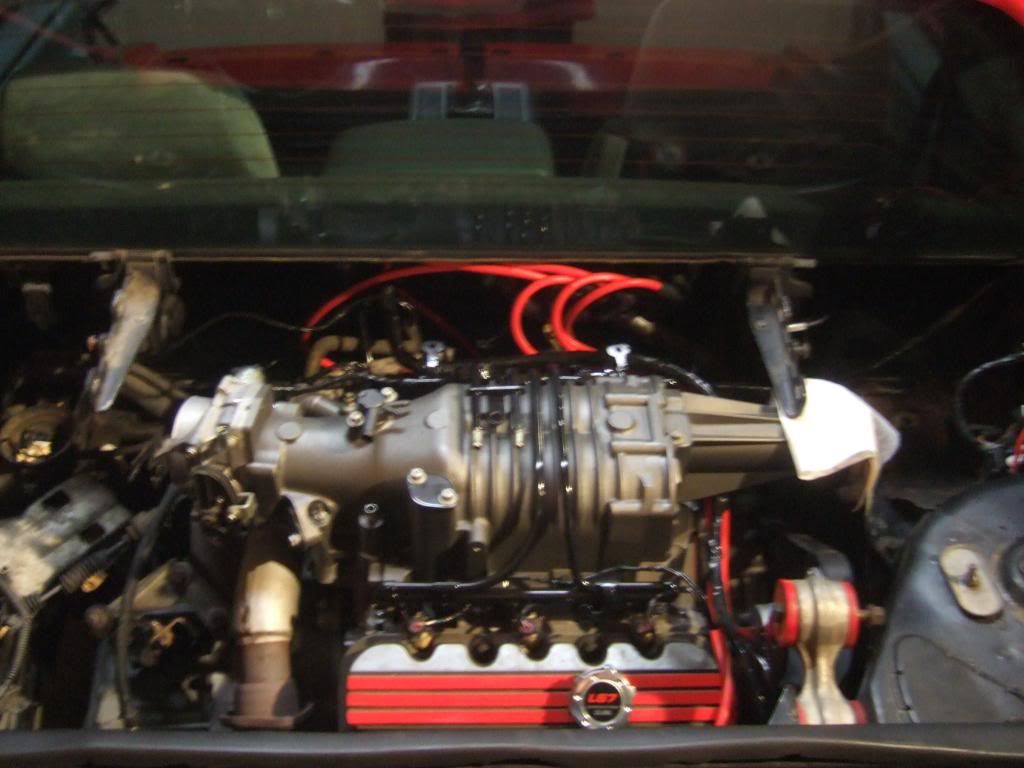
Ignition coil bracket and spark plug wires routed
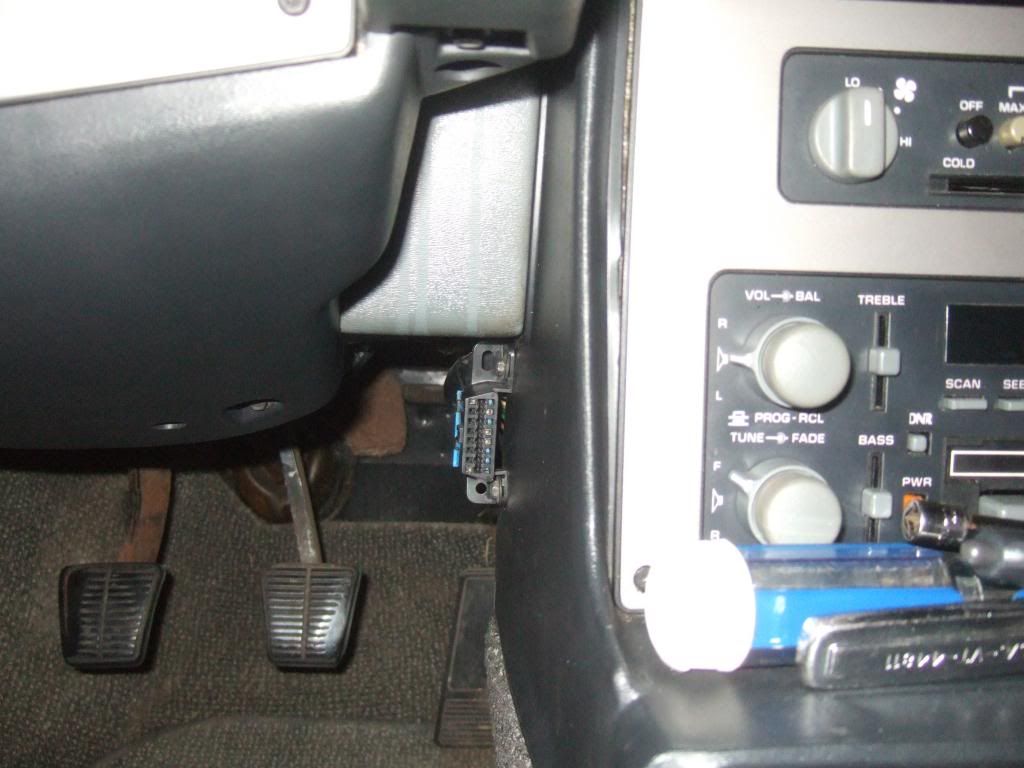
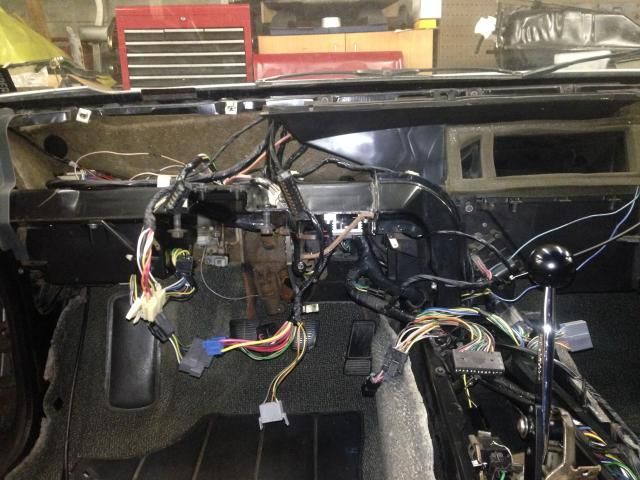
OBDII connector mounted under the dash
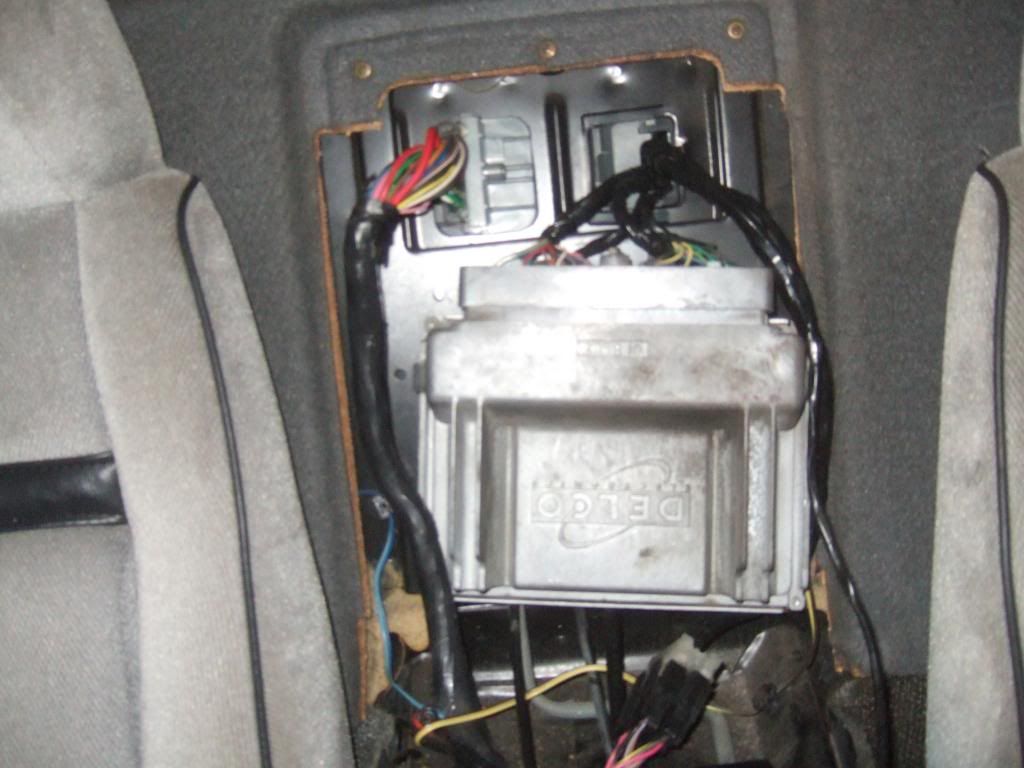
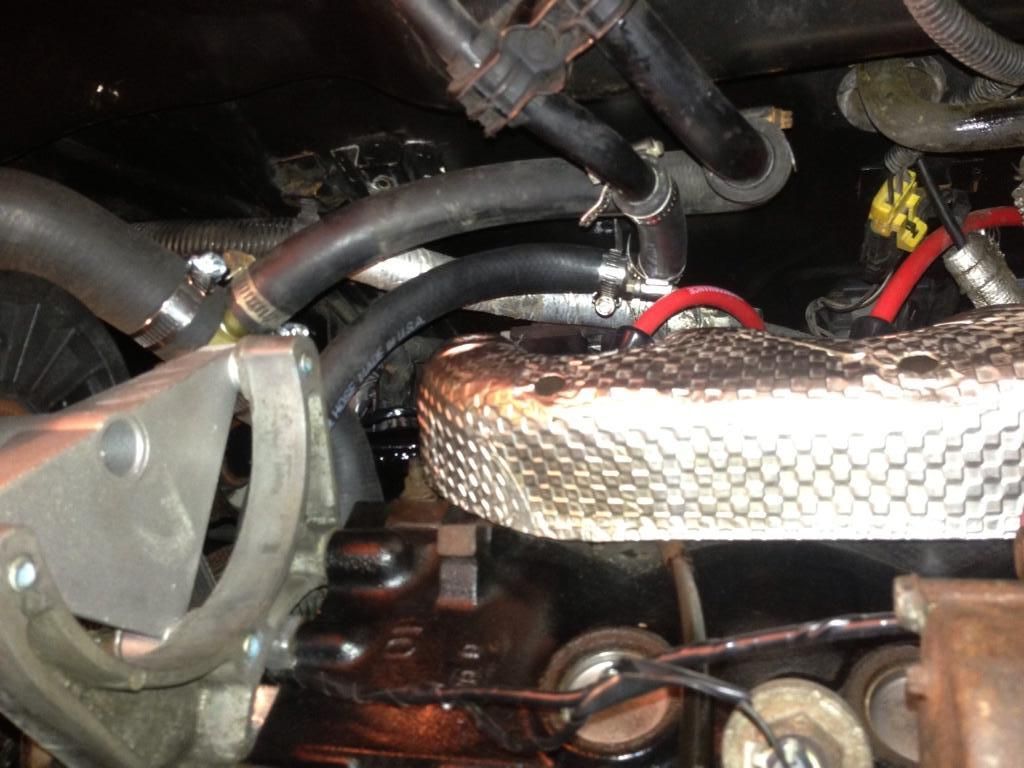
Heater line hose adapters routed
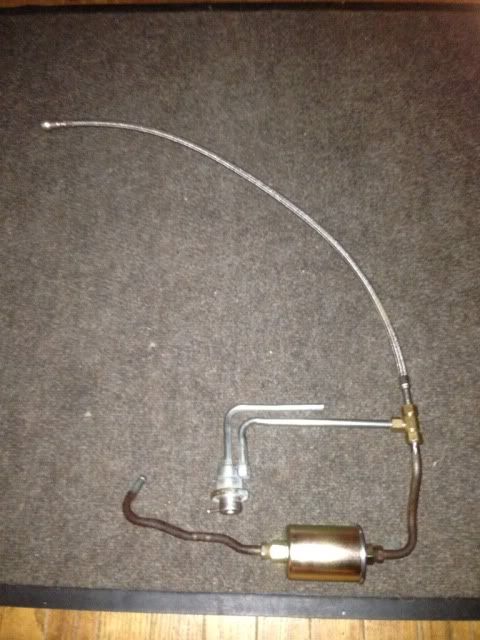
This is my returnless fuel line routing and set up
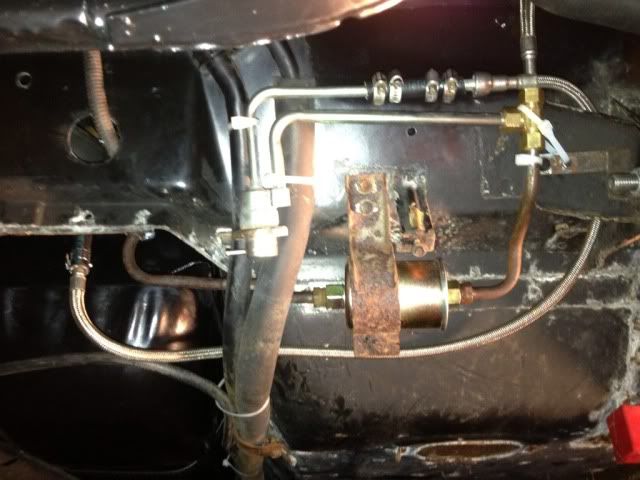
Mounted on the car
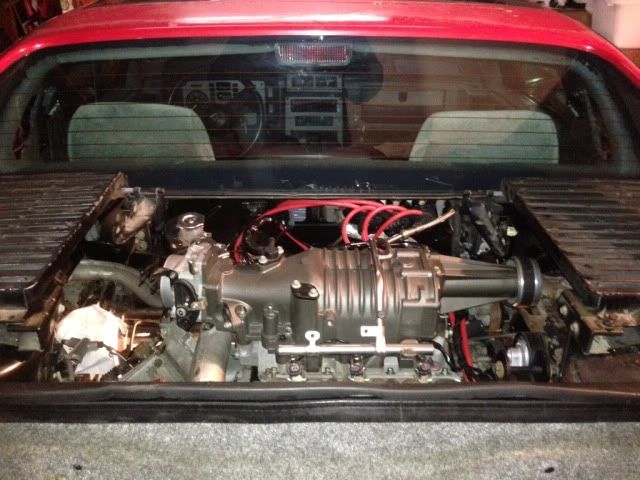
Modified L32 fuel rail installed
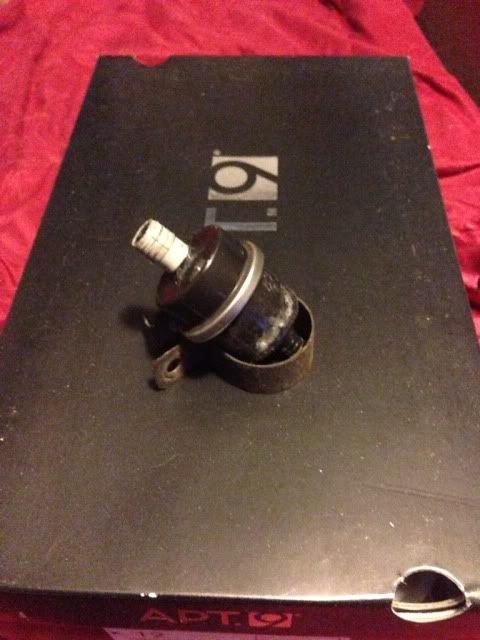
Cut the end off of a stock L32 brake check valve to install over the Fiero one. This enabled me to use an L32 style brake hose.
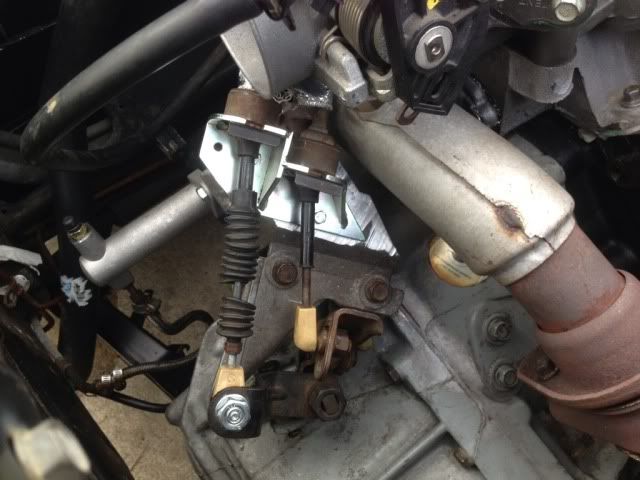
To clear the exhaust crossover, I bought a 4 speed shift bracket replacement from Rodney Dickman. I cut off the original eyelets and shifted it over just enough to clear. So far it works great and I can access all gears (with the engine off….more info on that later)
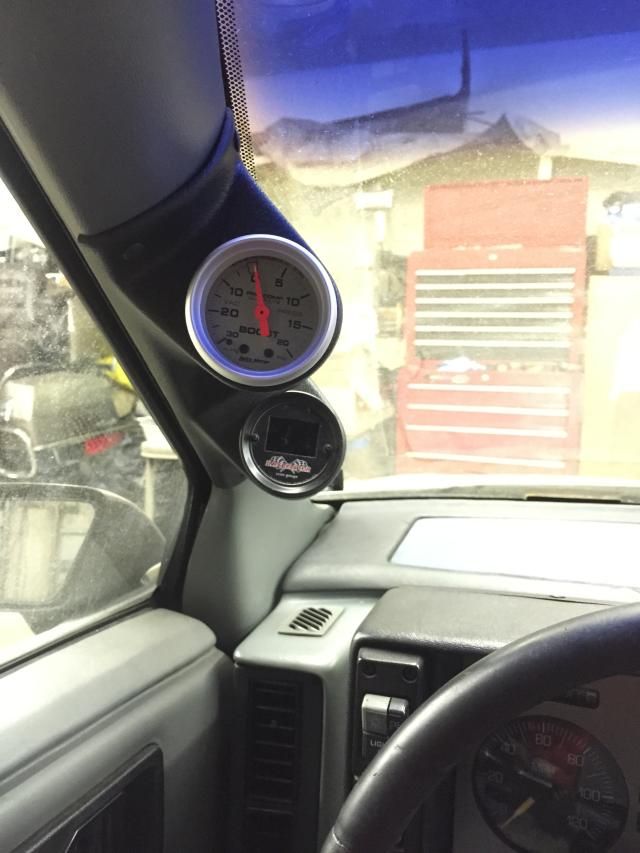
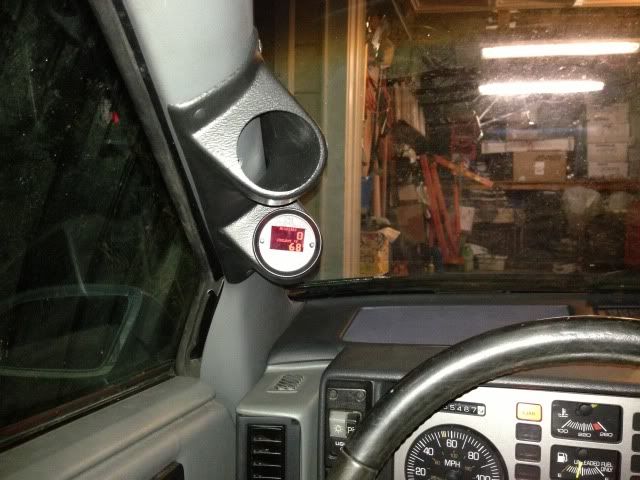
I installed an A-pillar gauge pod, for now I only have the scan gauge, eventually a wideband will fill the extra spot.
Installed the stock performance setup, car originally came optioned with it.
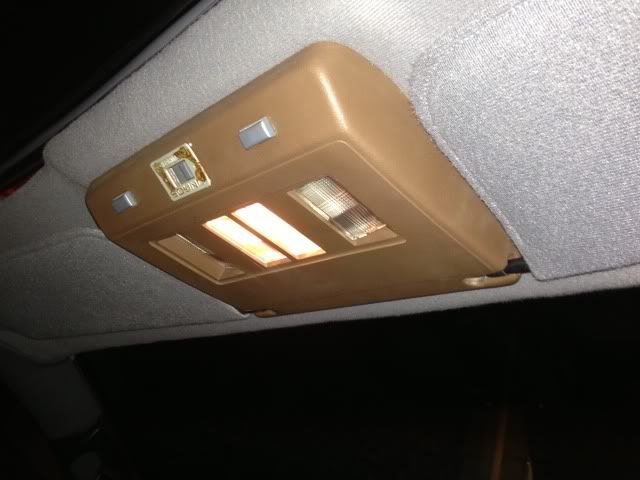
Here is the trim piece. Obviously the color doesn't match but I plan on eventually painting the interior black. Otherwise if I have a spare grey panel I'll try and cut the holes necessary for the bass control, and transfer over the wiring to it.
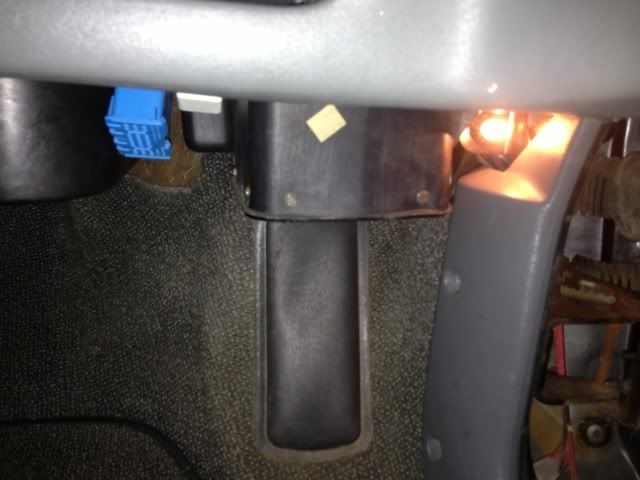
Here is the bottom of the sub box. I still need to buy the speaker for it, but at least it is installed for now.
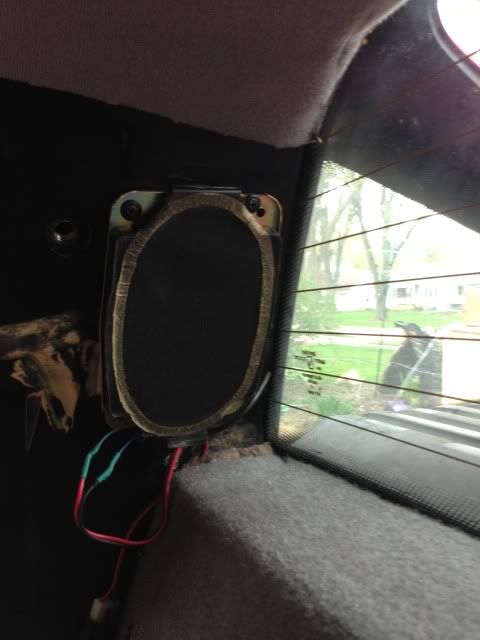
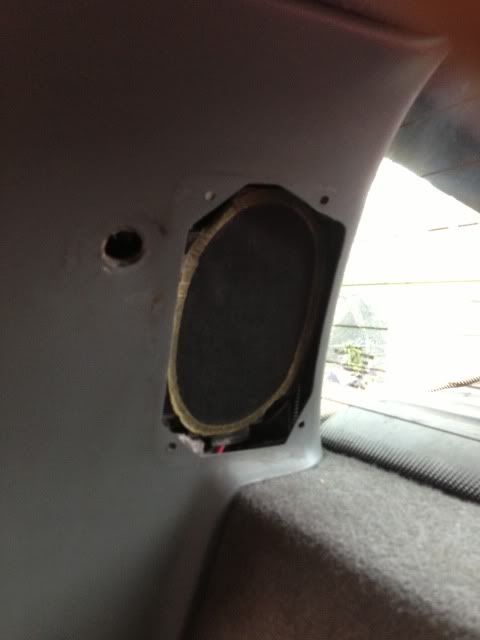
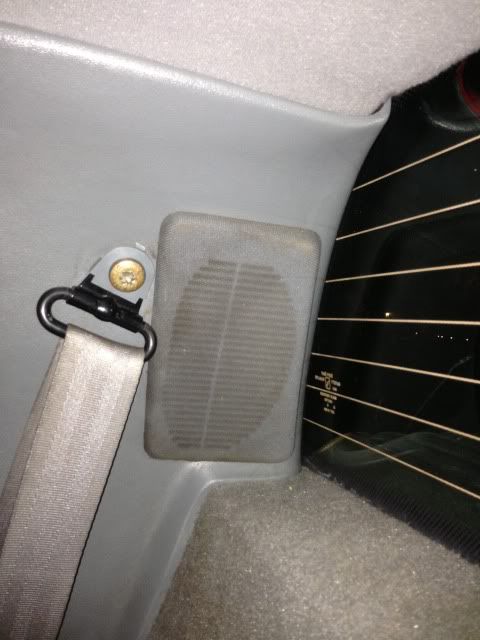
A friend had given me a set of speakers from his 03 Sierra a few months ago seeing if I could find a use for them. As luck would have it they were the same size as the rear speakers for the Fiero. So after a little modifying I was able to mount them and solder in the correct connector I pulled from a junkyard. For no cost to me I now have working rear speakers and have full audio from all speakers, minus the sub of course.
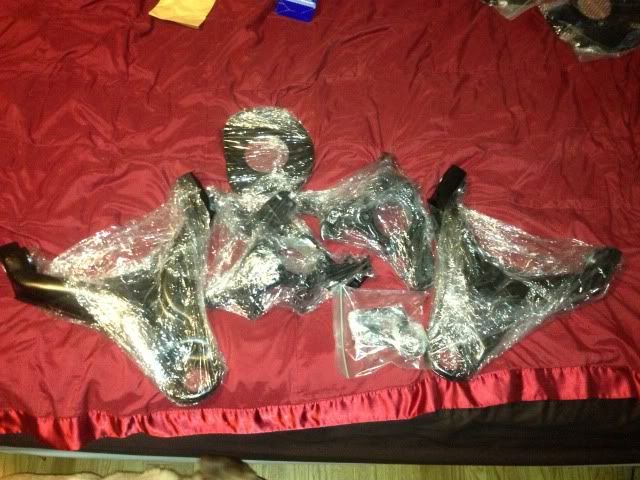
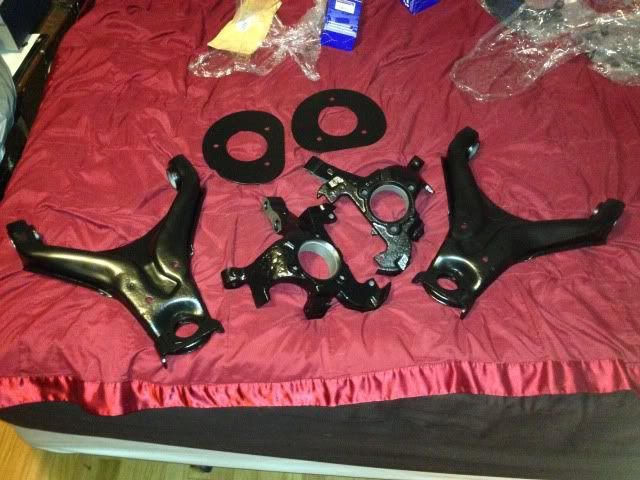
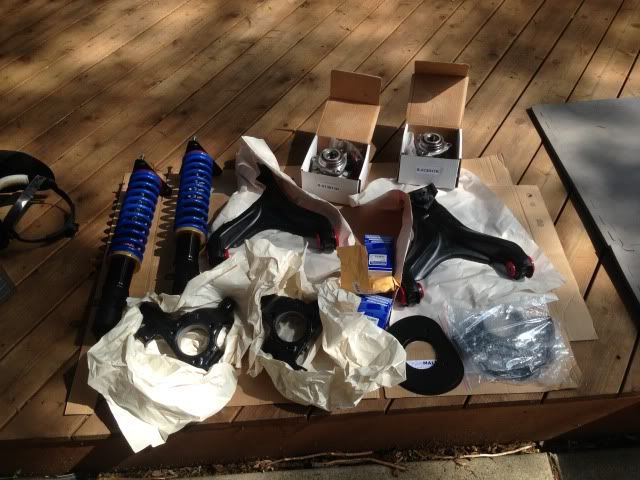
I got the rear control arms, knuckles and spaces plates powder coated.
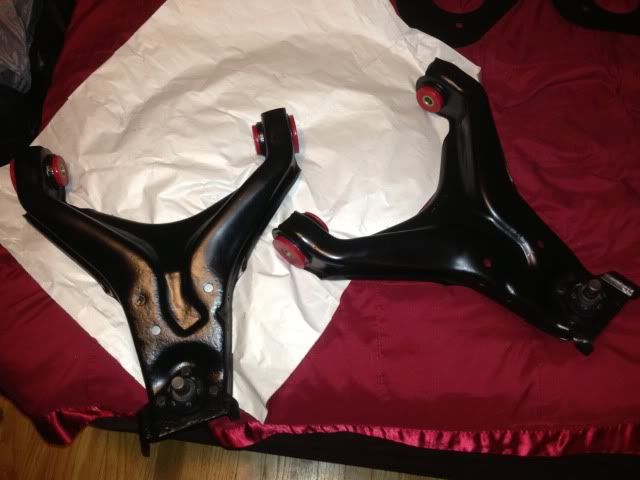
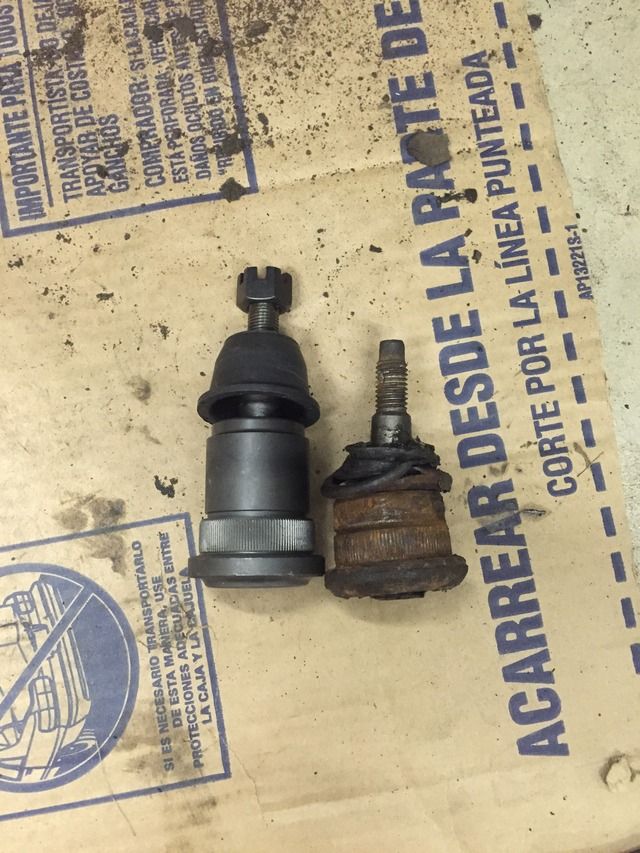
I installed the poly control arm bushings and new ball joints.
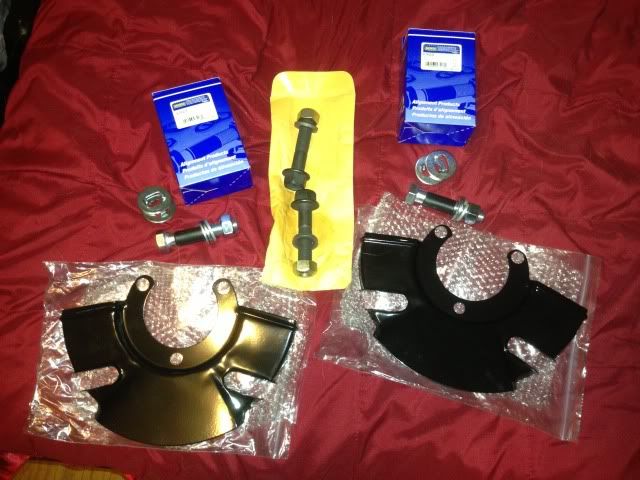
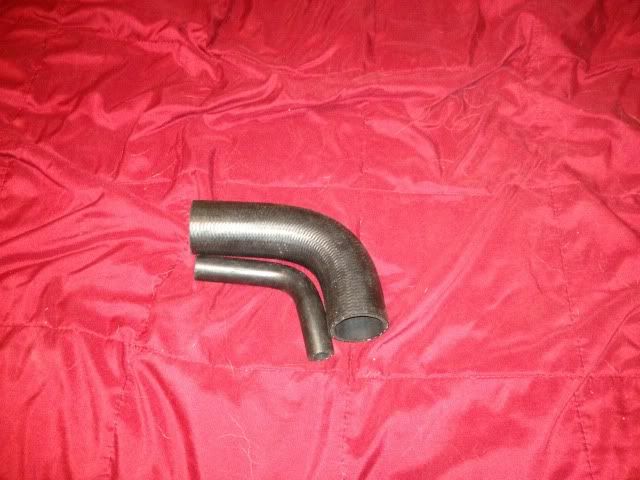
I ordered new brake backing plates, rear strut bolts and camber bolts, new fuel rubber fuel tank hose, as well as the new stainless steel clutch line, too big to post up yet.
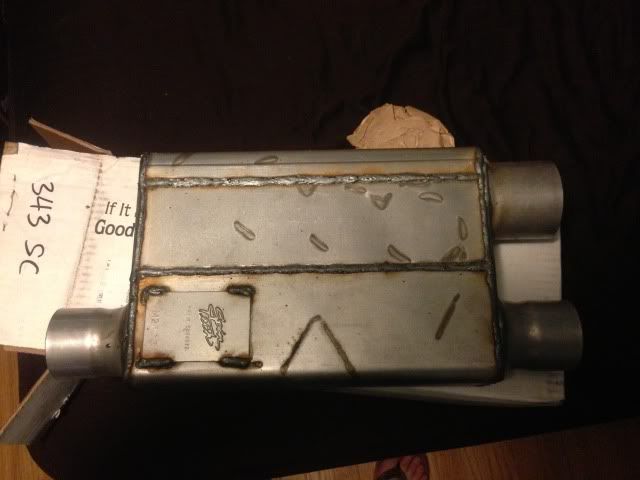
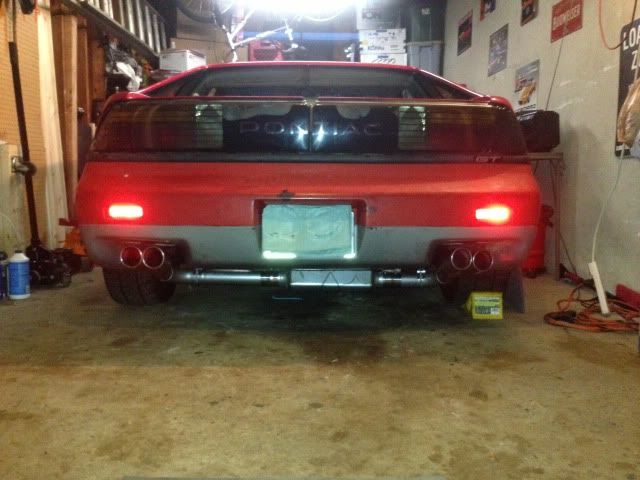
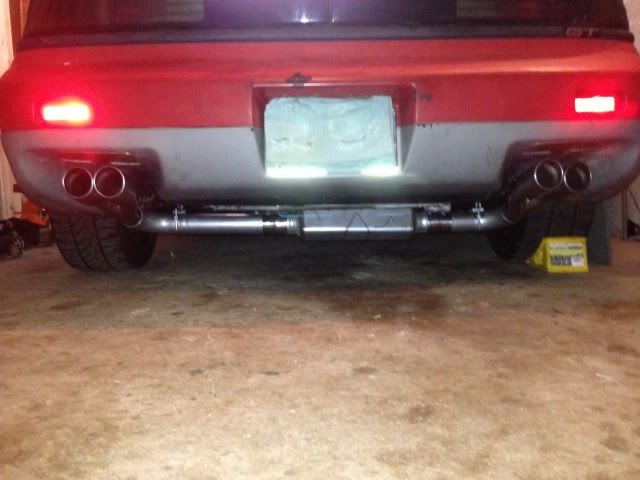
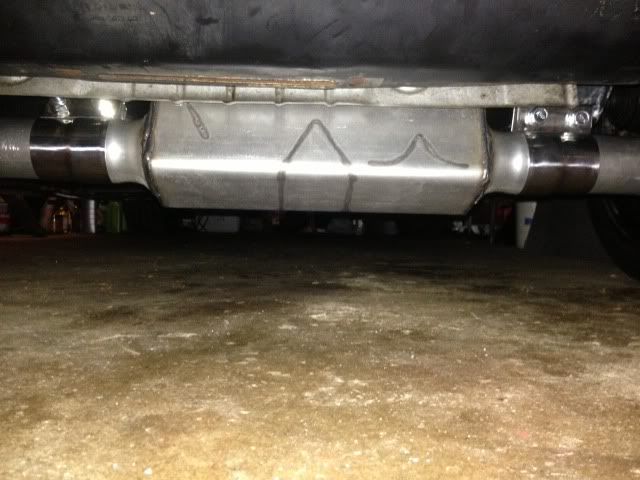
The muffler I’m using is Spintech sport case: 3' inlet and dual 2.5' outlet.
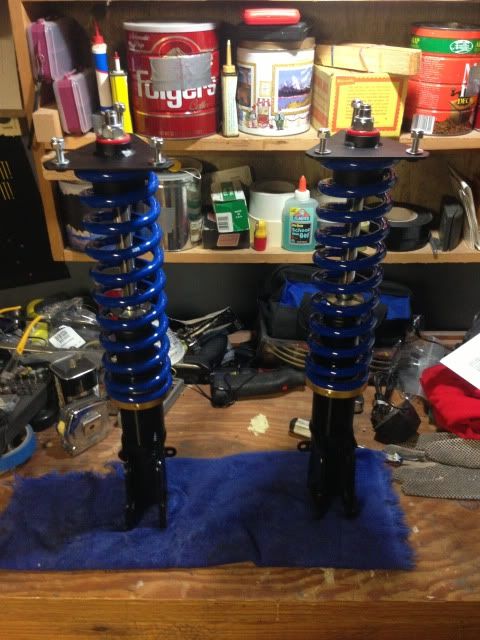
I bought a set of KYB rear struts and built coilovers out of them.
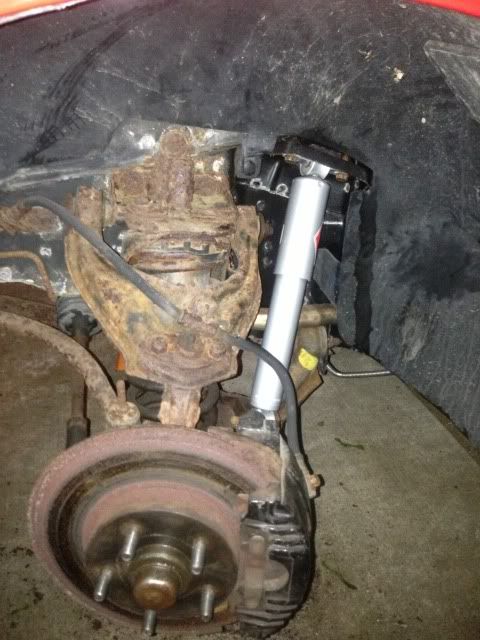
Today I installed all of the rear suspension parts, seen below.
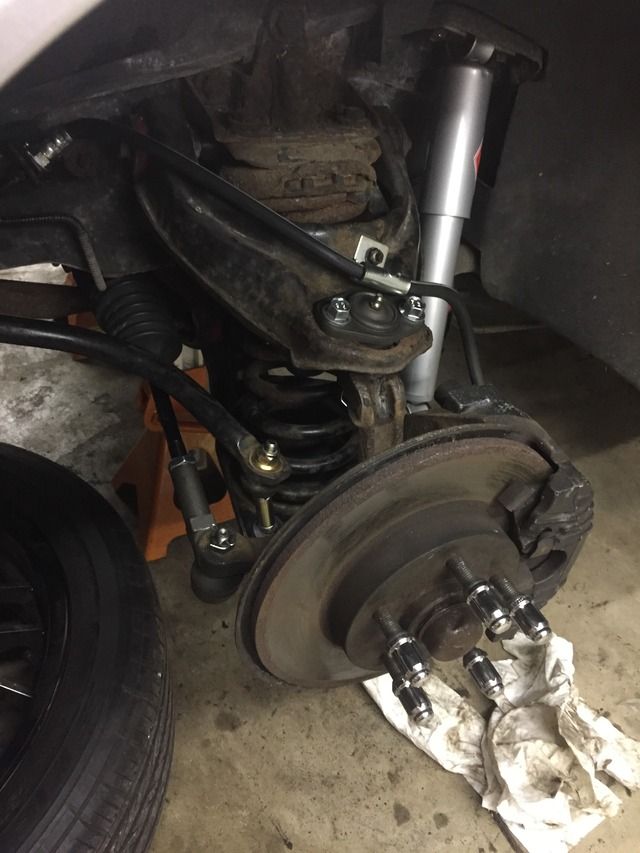
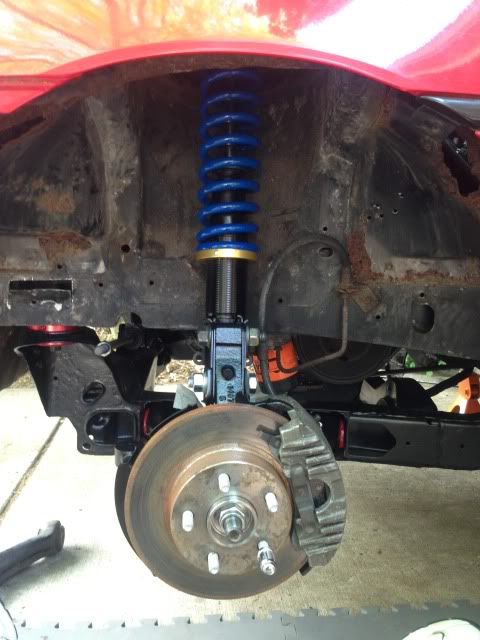
Here is everything installed, you can't see it but theres a new wheel bearing behind the rotor. Rear brake pads/rotors and calipers are new from a year ago, but obviously show some rust from sitting so long.
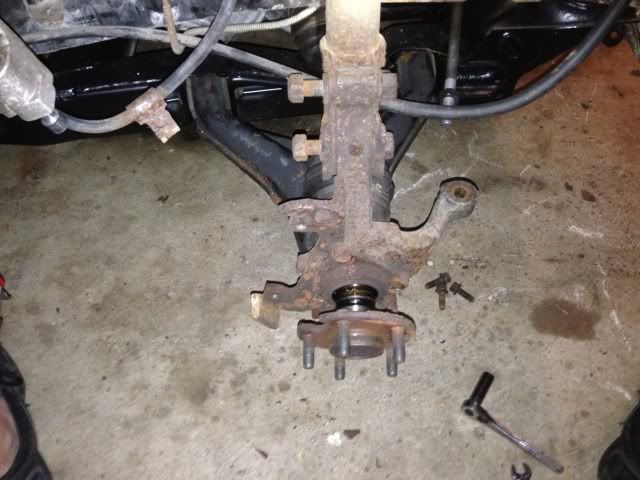
I was debating on whether to install the new wheel bearings since the ones on the car only have 66k miles on them, but I'm glad I did. The front piece of the bearing separated from the rear. I'm sure this was what caused pushing the car in/out of the garage to be difficult.
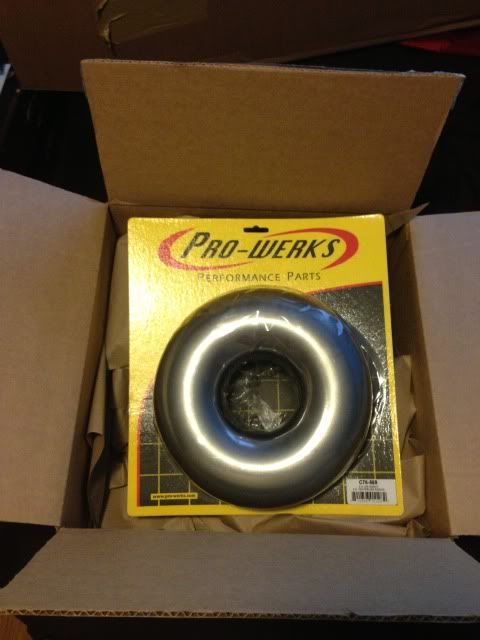
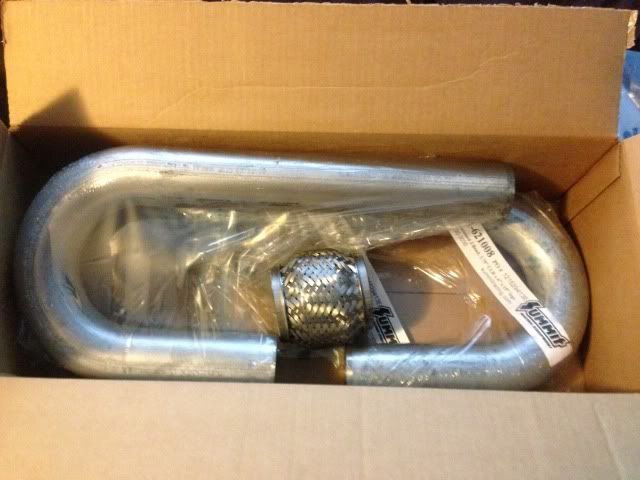
Those are the parts I’m using to build the exhaust
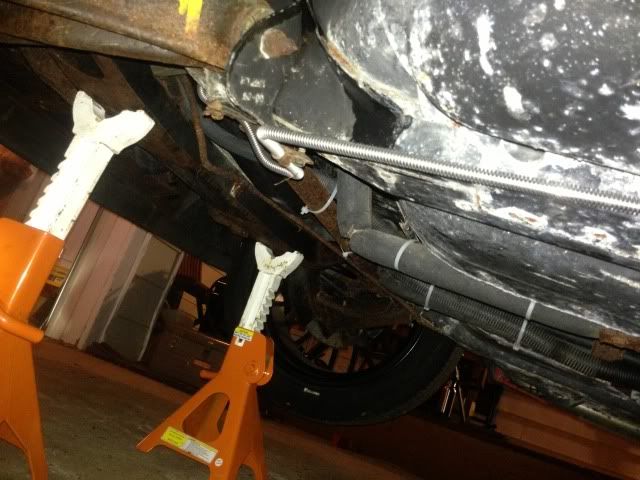
Installed a new clutch line as the original one ruptured.
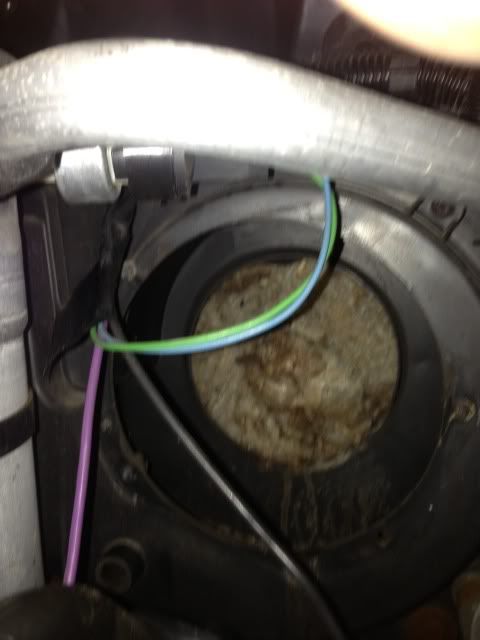
I found a nice mouse nest inside the blower motor housing.
Installed new front KYB shocks.
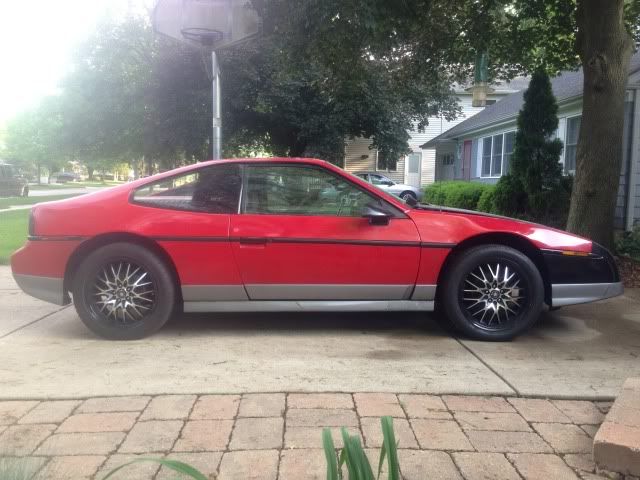
This is how the car sits after lowering the rear and installing the new front shocks.
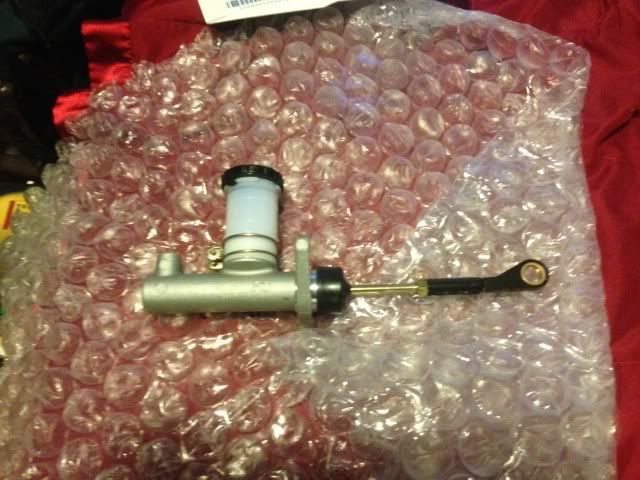
New RD master cylinder
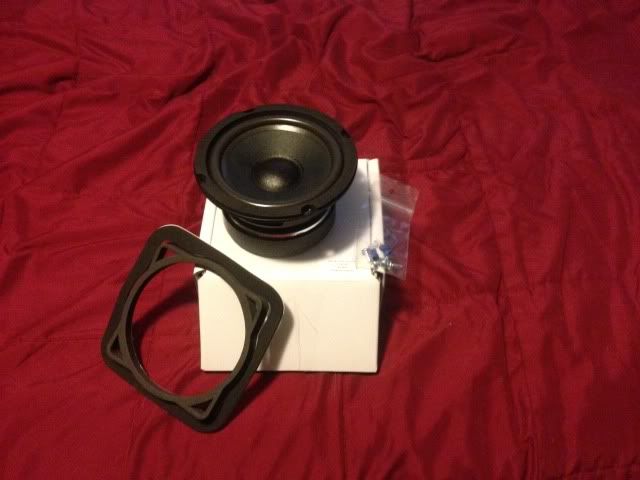
New RD sub woofer
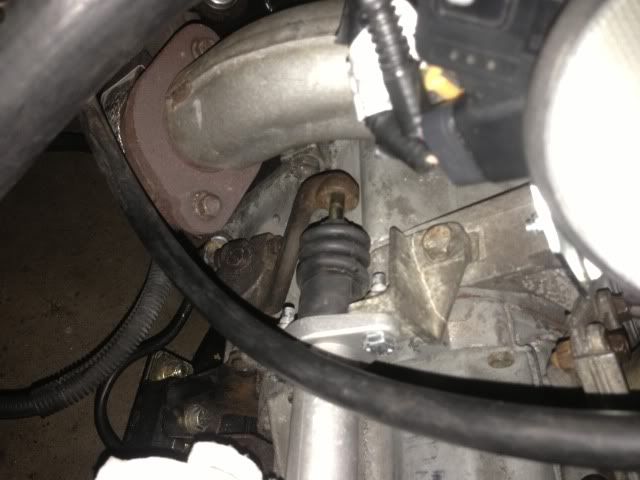
Original slave cylinder bracket cracked so I had to order a new one.
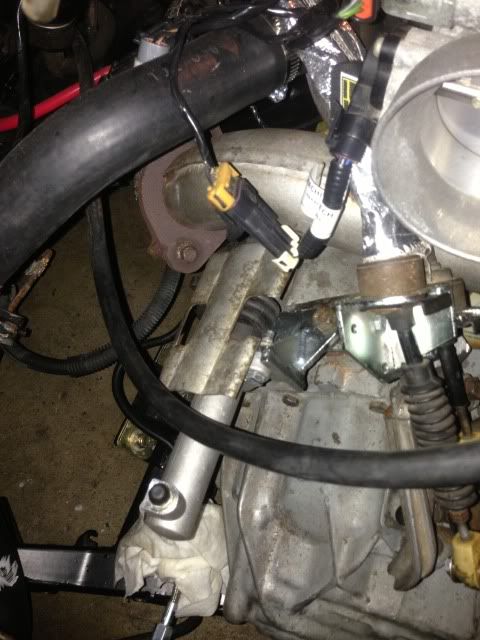
Here is a pick of the slave heat shield and new mounting bracket installed.
The exhaust is mocked up and ready to go, the only issue is how low it hangs. I have about 4’ ground clearance under the muffler. I’ll have to do either cut the trunk or modify the downpipe to raise it up more.
------------------
Project L67 Fiero[This message has been edited by Jfrost (edited 07-27-2013).]



 placed in my favorites !!! Good job !!

