I'm mad at everyone right now, and I want to drink a lot of alcohol. Woke up at 7:00 AM... I'm thinking... shoot, three more days before I have to go back to work, I'm going to sit around and literally do nothing today... but let me just step outside and check out the Fiero.
Forgot to eat, wife brought me a fruit salad, daughter came out to talk to me about Pokeymon cards, and 6:54 PM, I'm just now coming back inside.
Frustration Part 1: Decklid Torsion Bars
- I was super grouchy about the fact that after we put the hinges back on, and the decklid, that the "setting 1" of the torsion bars, didn't hold up the decklid with the luggage rack. I did something... followed some "super trick" I found, and one of the torsion bars popped out of the socket. Yes...
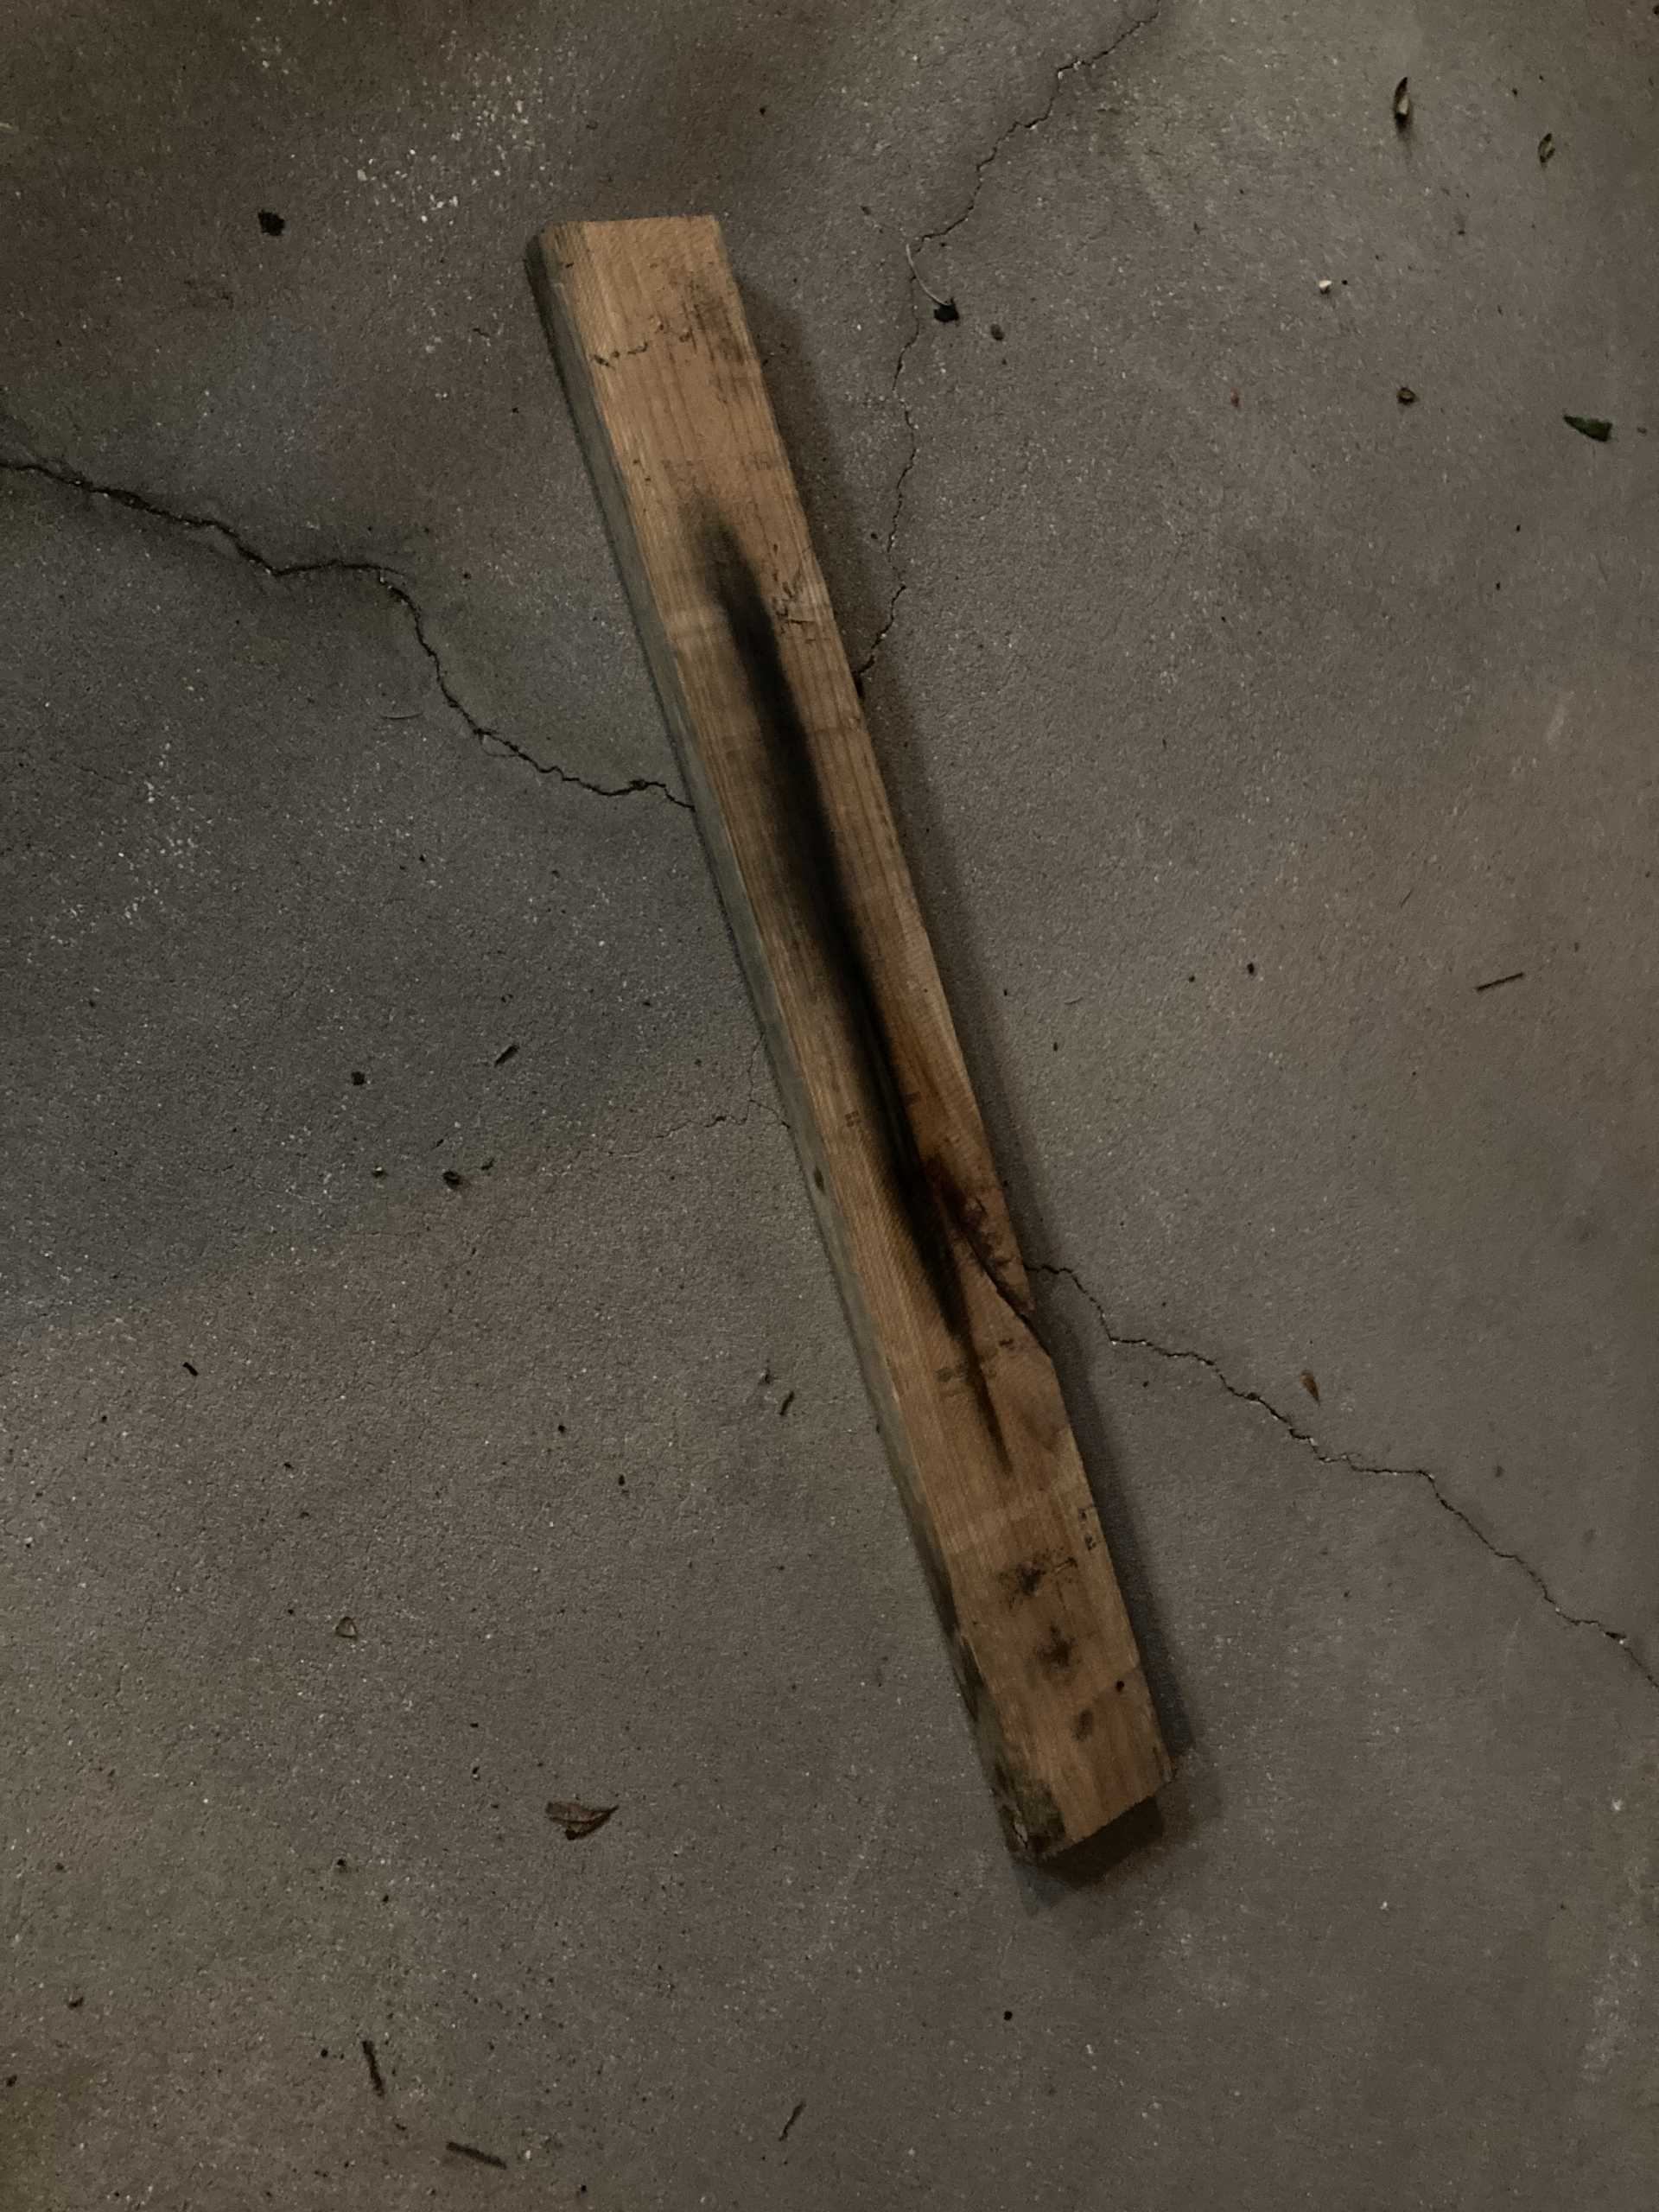
Once again, this ***hole is my best friend:
... it's the only thing that worked. Many hours later, the brackets are re-installed (with the things going the right way), configured for option 2. I'm not even going to go into it... I tried a lot of things, none of it worked, only using my bare hands and a damn 2x6. Everything is sore.
While I was putting the brackets on, I was like... ok, I'm going to go ahead and re-install the grounding straps that I forgot to put last time, and also re-connect that radio RF thingy that's on the back of the decklid in the same place. So I do that.
Pro Tip: I used brand new "Seat Track Nuts" from the Fiero Store in place of the old nuts that I took off. The Seat Track Nuts from the Fiero Store are the exact same nuts, same rating, and have the proper finish. Much better than re-using the ones that we painted and took on and off 1000 times.
.
Frustration Part 2: Exhaust Manifold
- I was like... ok, I know I have an exhaust leak somewhere, I think it's between the down-pipe and the exhaust manifold. We used an "88" Dorman manifold, which worked well, but the place where the exhaust doughnut goes was too sunken in, and as it turns out (after we removed it), it's been constantly leaking exhaust towards the engine... which explains why I assumed the "puff of smoke" coming from the engine bay was not in fact coming from my daughter's exhaust welds at the new catalytic converter.
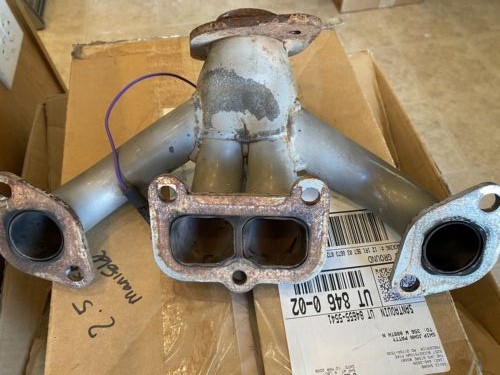
Well, I had purchased an Iron Duke shorty header off eBay several months ago. It was a ceramic coated one that was originally sold by the Fiero Store back in the late 90s. I only see it in my oldest Fiero Store catalog. It's not the long "Hooker Header" but the shorty header that's roughly the same size as the Dorman stock manifold. It has less "length" at the downpipe though so I knew my exhaust doughnut would fit just fine. So I start installing that... it looks like this:
- Holy ****... of course, the thing doesn't use the same downpipe bolts... because, I don't know. So I have to drill them out and then tap them. Problem solved.
- O2 sensor bung is old, barely can get the O2 sensor in there, so I have to tap that out with the O2 sensor tap I bought a million years ago and finally got to use it.
- I start installing it... bolts won't go in... just refuse. The distance between the two further cyls is just slightly off... I had to use a tapered bolt that I found in my bucket of 1000+ bolts, just to shift each manifold tube to the correct spot, slightly... so I could insert the other bolt, then remove it, and install the other bolt. I finally got it in.
Called the daughter over... we drove the car around with no hood, no decklid (but the hings are installed), and no tag (we have insurance, and already paid for registration but are waiting for her custom tag... but still technically illegal)... engine sounds amazing. I don't really know how else to explain it, but the old stock manifold really just sounded like **** . It didn't really "leak" once warmed up (the old one), but it just sounded like poo poo. This new manifold, even though I guess it's not technically that different from the factory one (except it's all tubes), it makes the exhaust of this Iron Duke tractor motor sound ... well, "tuned" is the best way I could say it. I mean, the exhaust and engine sound absolutely fantastic. Literally, with everything my daughter has done to this motor, and with me installing this exhaust shorty header, the motor sounds... dare I say, really smooth. I mean... it's really, really smooth!
We get back home, my daughter gives the car a hug, and then runs inside to text her boyfriend. She runs back outside a minute later, and then says... "love you," so I guess she realized she had more affection for the car than me and came back out, hahaha! ... and then runs back in.
So now I put the decklid in... I carry it over, have the bolts strategically located so I can get them in. I get it all settled, I've got all the bolts loose, including on the hinges with the vents off, and my rubber mallet ready. I move it around, tighten all the bolts, and it closes awesome.
I reconnect all the stuff and all the things, and that's where that decklid is going to remain for as long as I live. If it needs to move, or those torsion bars need to be adjusted, someone else is going to do it. I'm not taking that decklid off ever again.
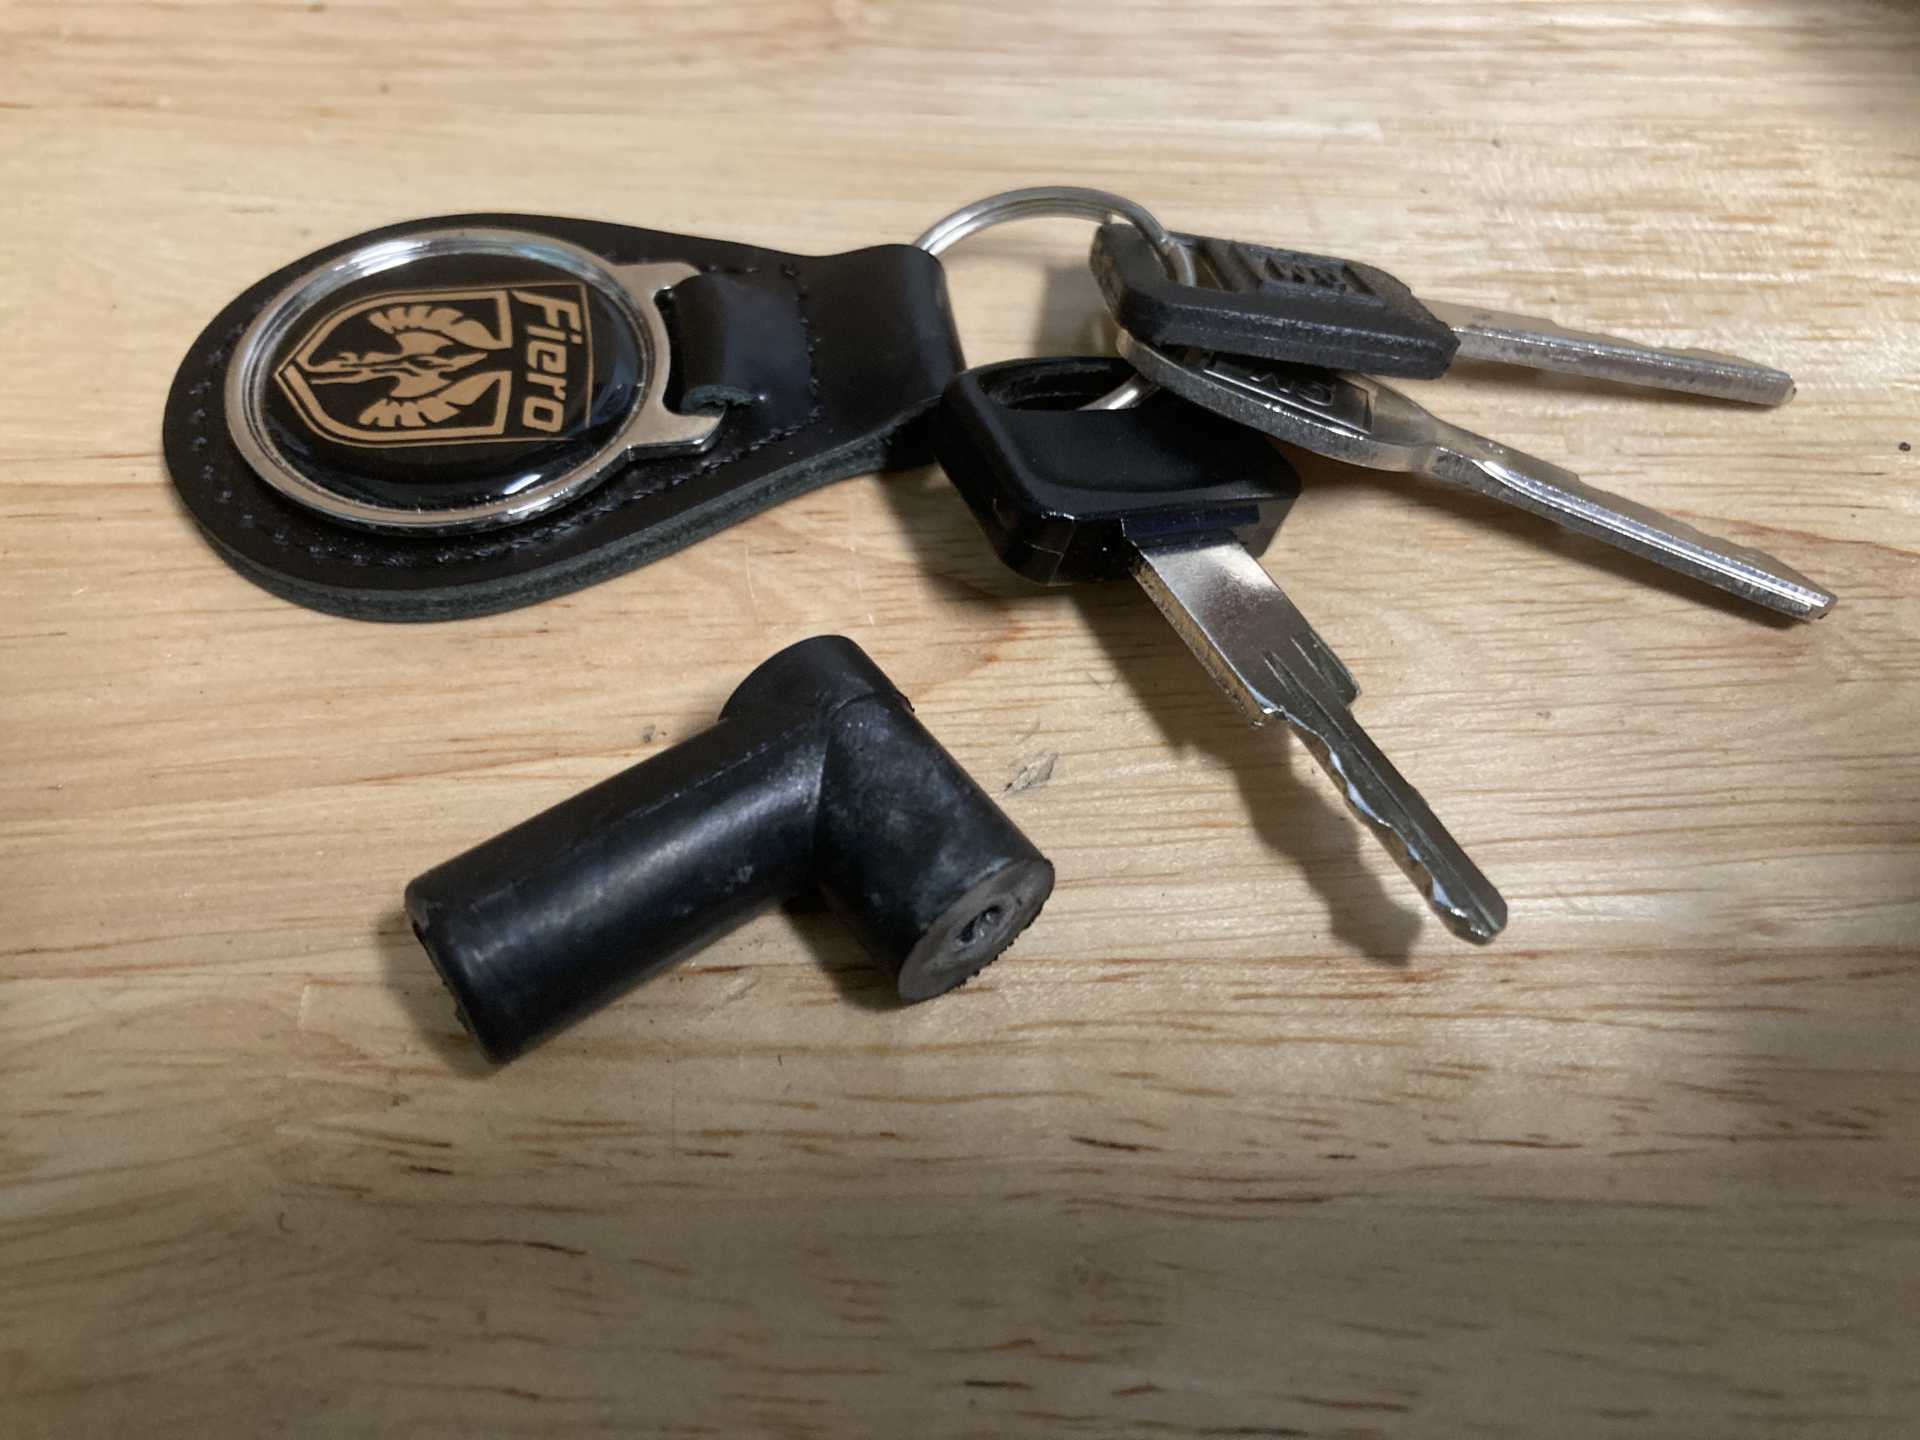
Quick question... I'm trying to get the ThermAC working... I mean, it works... but the elbow piece doesn't.
Anyone know where I can get a new one of these???
Big hole side goes on the throttle body, small hole goes on the plastic tube that runs along the underside of the air cleaner... both holes are just a little worn out and not sealing, so I hear an audible vacuum leak from it.
Oh man!!! That sucks!!! How did that happen? Did you drop something on it?
What are your plans for fixing that. I've only had to replace a windshield once on a Fiero, and it was just over 20 years ago... and at the time, cheap as hell. I heard they remade these in China, but not aware of any of the NOS or decent ones still being made. Have you priced a new windshield?
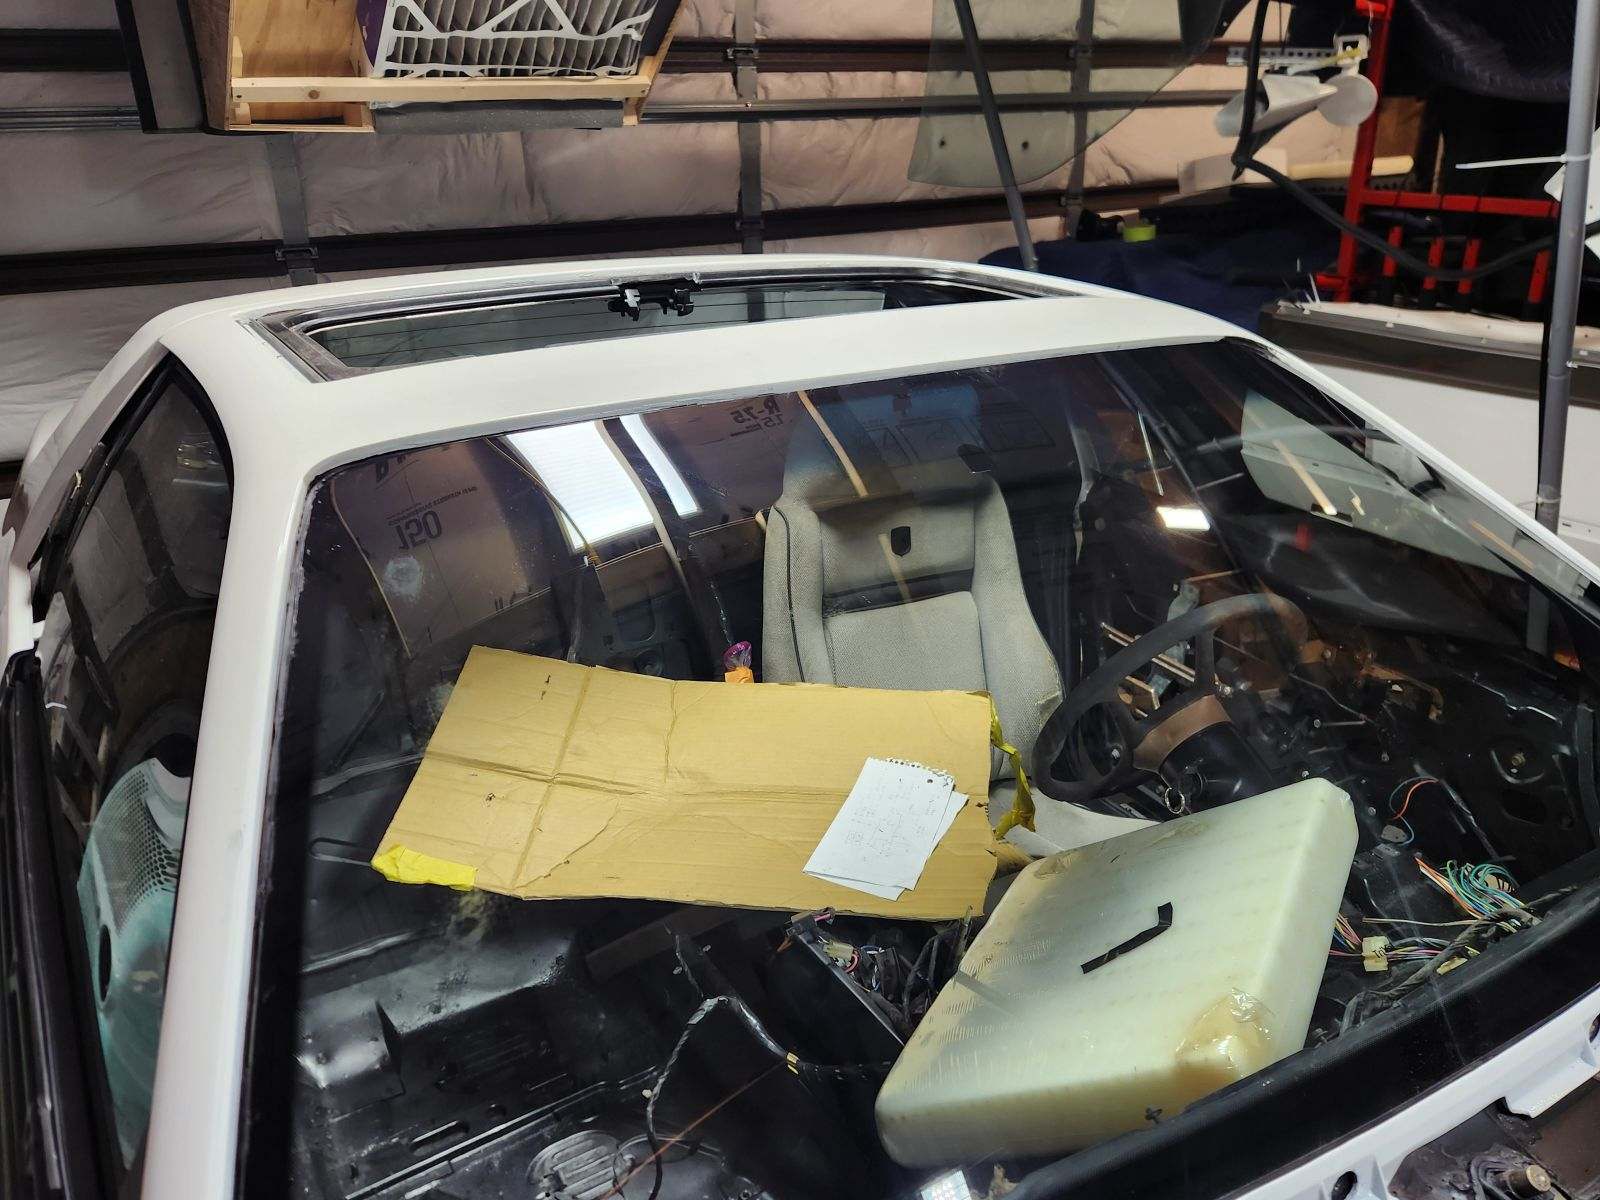
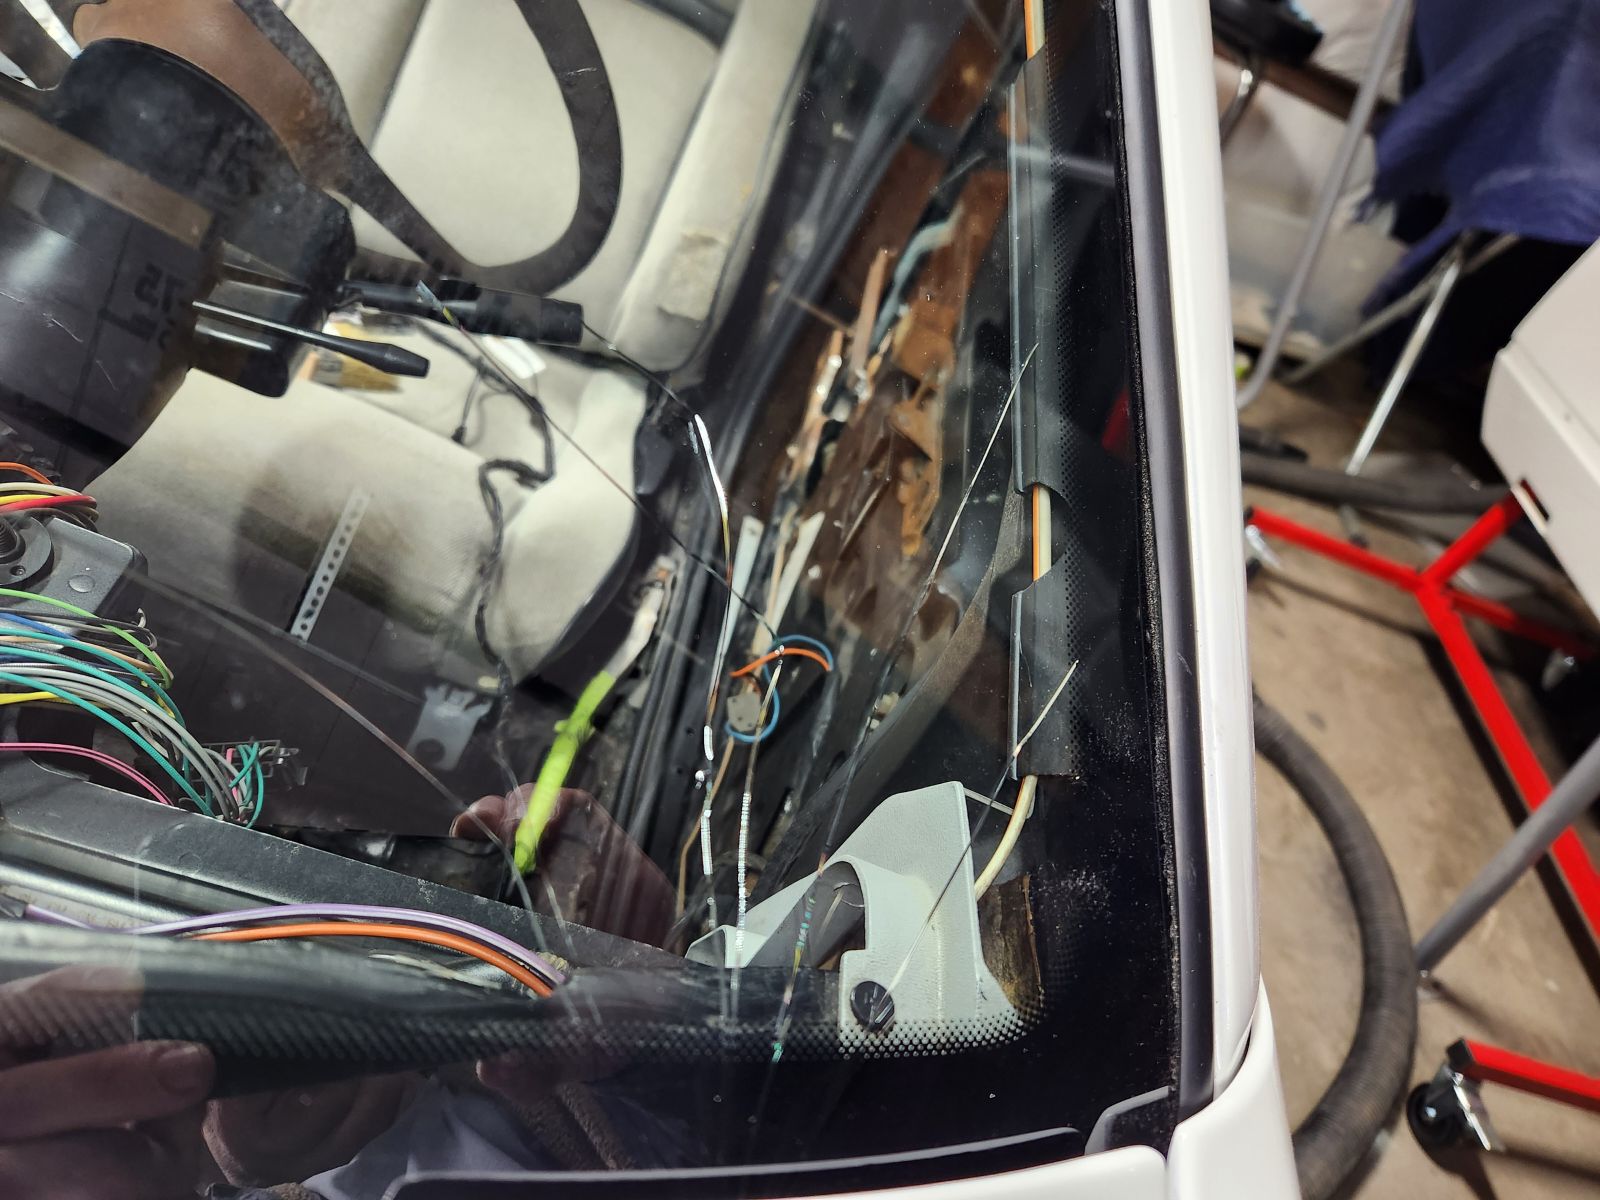
Yeah, how this happened I was installing the push pin retainers in for the cowl. The small ones on the outer sides were being difficult and tapping with a small blunt object well ....
I wasn't really happy though as the guys that installed it didn't reuse the spacer blocks and the reveal molding has quite a significant gap at the top corners of the roof. The result looks like the glass isn't sitting quite right up high.
As far as this glass it's Trival, it has a monsterous logo in the center at the bottom/dash.
For replacement yeah I haven't seen any LOF glass in sometime. No shops in my area can't get the glass nor want to replace it even though I was able to get one.
I have 2 leads I'm waiting on hearing back on from some bone yards. Not sure how viable used glass will be, the only other option I know of is ebay, last I saw it was up to $290 + 190 shipping to a commercial address.
Originally posted by 82-T/A [At Work]: Once again, this ***hole is my best friend:
Heh heh, funny.
quote
Originally posted by 82-T/A [At Work]: - O2 sensor bung is old, barely can get the O2 sensor in there, so I have to tap that out with the O2 sensor tap I bought a million years ago and finally got to use it.
I myself own tools I wanted but have never used or only used once or twice, but if I ever need one I am glad I bought it. I have no regrets of buying them. A shop needs to be equipped. To pause a job to go hunting for a tool you don't have, not for me.
quote
Originally posted by 82-T/A [At Work]: I had to use a tapered bolt that I found in my bucket of 1000+ bolts, ...
Ah yes, the proverbial magic bucket. How much does yours weigh, ? To pause a job to go hunting for a fastener you don't have, not for me. After you dump the bucket, spread your assortment around, find what you need, how do you get them back into the bucket ? I bought one of these ... :
Originally posted by 82-T/A [At Work]: Pro Tip: I used brand new "Seat Track Nuts" from the Fiero Store in place of the old nuts that I took off. The Seat Track Nuts from the Fiero Store are the exact same nuts, same rating, and have the proper finish. Much better than re-using the ones that we painted and took on and off 1000 times.
I do not understand why the old nuts were still not good. What did you do with the old ones ? Add them to your 1,000+ bolt bucket, ?
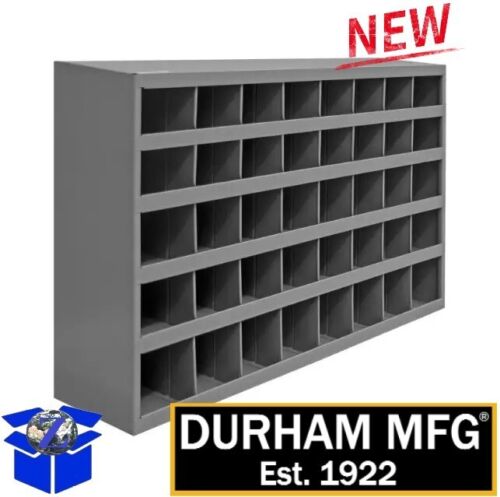
I got lucky. While closing up a drilling rig shop they were going to throw away a hardware assortment cabinet.
I got four of them. Glad I did. My SAE course threads are separated by diameter size / length size, as well as machine screws the same. Same with my metric bolts / fasteners.
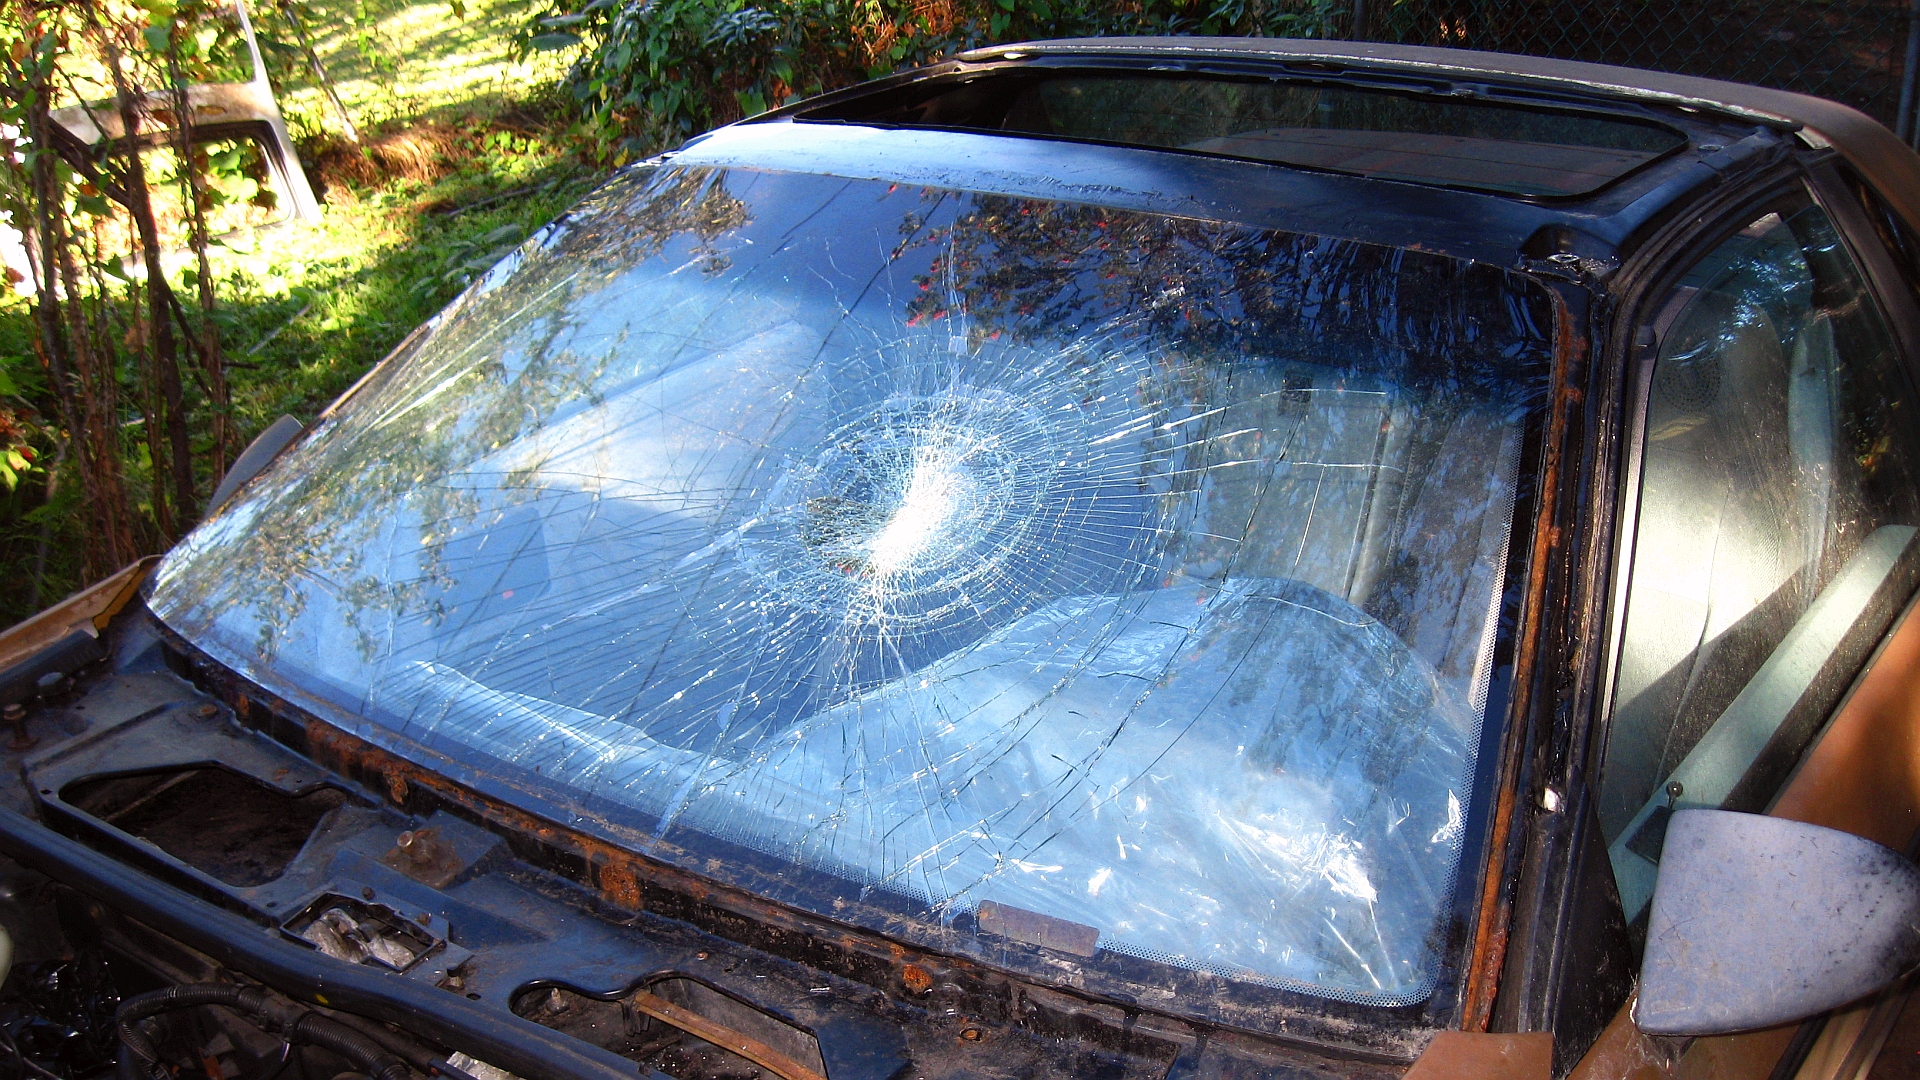
I know the feeling as well. I was pruning some large long limbs off of a huge Mountain Ash tree in my backyard. I had moved my '84 Fiero about 30 feet away from where I was working. I figured that was a plenty safe distance. The 4th or 5th limb I cut off, from quite a height, landed upside down on the ground (with the heavy end sticking up)... and "bowed" while doing so (storing a lot of energy), and then the heavy end rocketed towards me as the limb "unbowed"... missing my head by inches... and then did this...
I wasn't happy about the windshield being smashed, but it could've ended a whole lot worse!
Damn, that sucks. Was the car already kind of stripped like that when the tree fell on it? I suppose it could have been a lot worse for the car even... (aside from not being hit in the head by it).
I ended up fixing the vacuum leak. I discovered that AutoZone had a replacement elbow so my daughter and I picked one up and installed it.
Damn, that sucks. Was the car already kind of stripped like that when the tree fell on it? I suppose it could have been a lot worse for the car even... (aside from not being hit in the head by it).
Full disclosure... some effing vandals had already cracked the windshield (way over on the passenger side), so the windshield needed to be replaced anyway... but no, I removed the roof panel after the tree limb episode. I had a sunroof from a parts car, so I figured prior to having the windshield replaced, that it would be a good time to swap out the original solid roof for a sunroof. I also removed the old broken windshield myself and did some minor rust repair at the bottom passenger-side corner where it had been leaking for years. It was so nice to finally have this Fiero not leaking any longer!
I think you got your "loops" reversed. It starts off in Open Loop, and then it enters Closed Loop when the O2 sensor gets warmed up.
That's what I thought too... but I looked it up (several sites), but they all said an engine starts off in "closed loop" because it's not listening to any of the sensors, and focusing on existing programming and looking only at TPS. It said it then goes into OPEN loop when it's "open" to looking at sensor and input data when the O2 sensor has heated up.
Ambient also got spelled wrong on the second slide...
That's what I thought too... but I looked it up (several sites), but they all said an engine starts off in "closed loop" because it's not listening to any of the sensors, and focusing on existing programming and looking only at TPS. It said it then goes into OPEN loop when it's "open" to looking at sensor and input data when the O2 sensor has heated up.
Not that this is necessarily the absolute best source, but have a look at the explanation in This discussion.
quote
In open loop operation, which is normally when the engine is first started after a cold soak overnight or after sitting for several hours, the PCM ignores the oxygen sensors while they are warming up in the exhaust stream. The PCM uses inputs from the MAP, Coolant Temp Sensor and the Intake Air Temp sensor, to name a few, to calculate the fuel control becuase the oxygen sensors do not provide good data until they reach a certain temperature.
Closed loop operation occurs when the oxygen sensors reach their normal operating temp and the coolant temp has reached a predetermined setpoint along with some other things. In closed loop the PCM uses the oxygen sensors as direct inputs to control the AFR, or Air Fuel Ration. The varying voltage produced by the oxygen sensors gives the PCM that data so it can give the engine the fuel that it needs based on the current operating condition.
Yeah, the "loop" is comprised of a feedback system of ECM injecting gas, o2 telling ECM correction, ECM injecting corrected mixture, o2 telling ECM new status, etc. back and forth, open loop disconnects that, leaving the ECM making decisions by "educated guess", closed loop is the feedback loop of the o2 sensor.
If I can offer some words of encouragement; work on any Fiero, or any classic car is always ongoing. It never stops and can be frustrating but thats what you sign up for when you own an older vehicle. Hobbies are supposed to be fun so look at the work as a diversion from your business or employment. In my case it gets me out of the house and into the garage when the wife is having bad moments. What a relief that is.
------------------ " THE BLACK PARALYZER" -87GT 3800SC Series III engine, custom ZZP /Frozen Boost Intercooler setup, 3.4" Pulley, Northstar TB, LS1 MAF, 3" Spintech/Hedman Exhaust, P-log Manifold, Autolite 104's, MSD wires, Custom CAI, 4T65eHD w. custom axles, Champion Radiator, S10 Brake Booster, HP Tuners VCM Suite. "THE COLUSSUS" 87GT - ALL OUT 3.4L Turbocharged engine, Garrett Hybrid Turbo, MSD ign., modified TH125H " ON THE LOOSE WITHOUT THE JUICE "
Originally posted by Dennis LaGrua: If I can offer some words of encouragement; work on any Fiero, or any classic car is always ongoing. It never stops and can be frustrating but thats what you sign up for when you own an older vehicle. Hobbies are supposed to be fun so look at the work as a diversion from your business or employment. In my case it gets me out of the house and into the garage when the wife is having bad moments. What a relief that is.
True words. I once bought a boat, and needed to take it to the shop. I asked how much it would cost when it was all over and ended. The lady said, "it's never all over with when you have a boat".
I had a detached garage. I spent much time out there. Though not always because of my Wife.
Ok so these pics are from a newly installed "not by me" company/person.
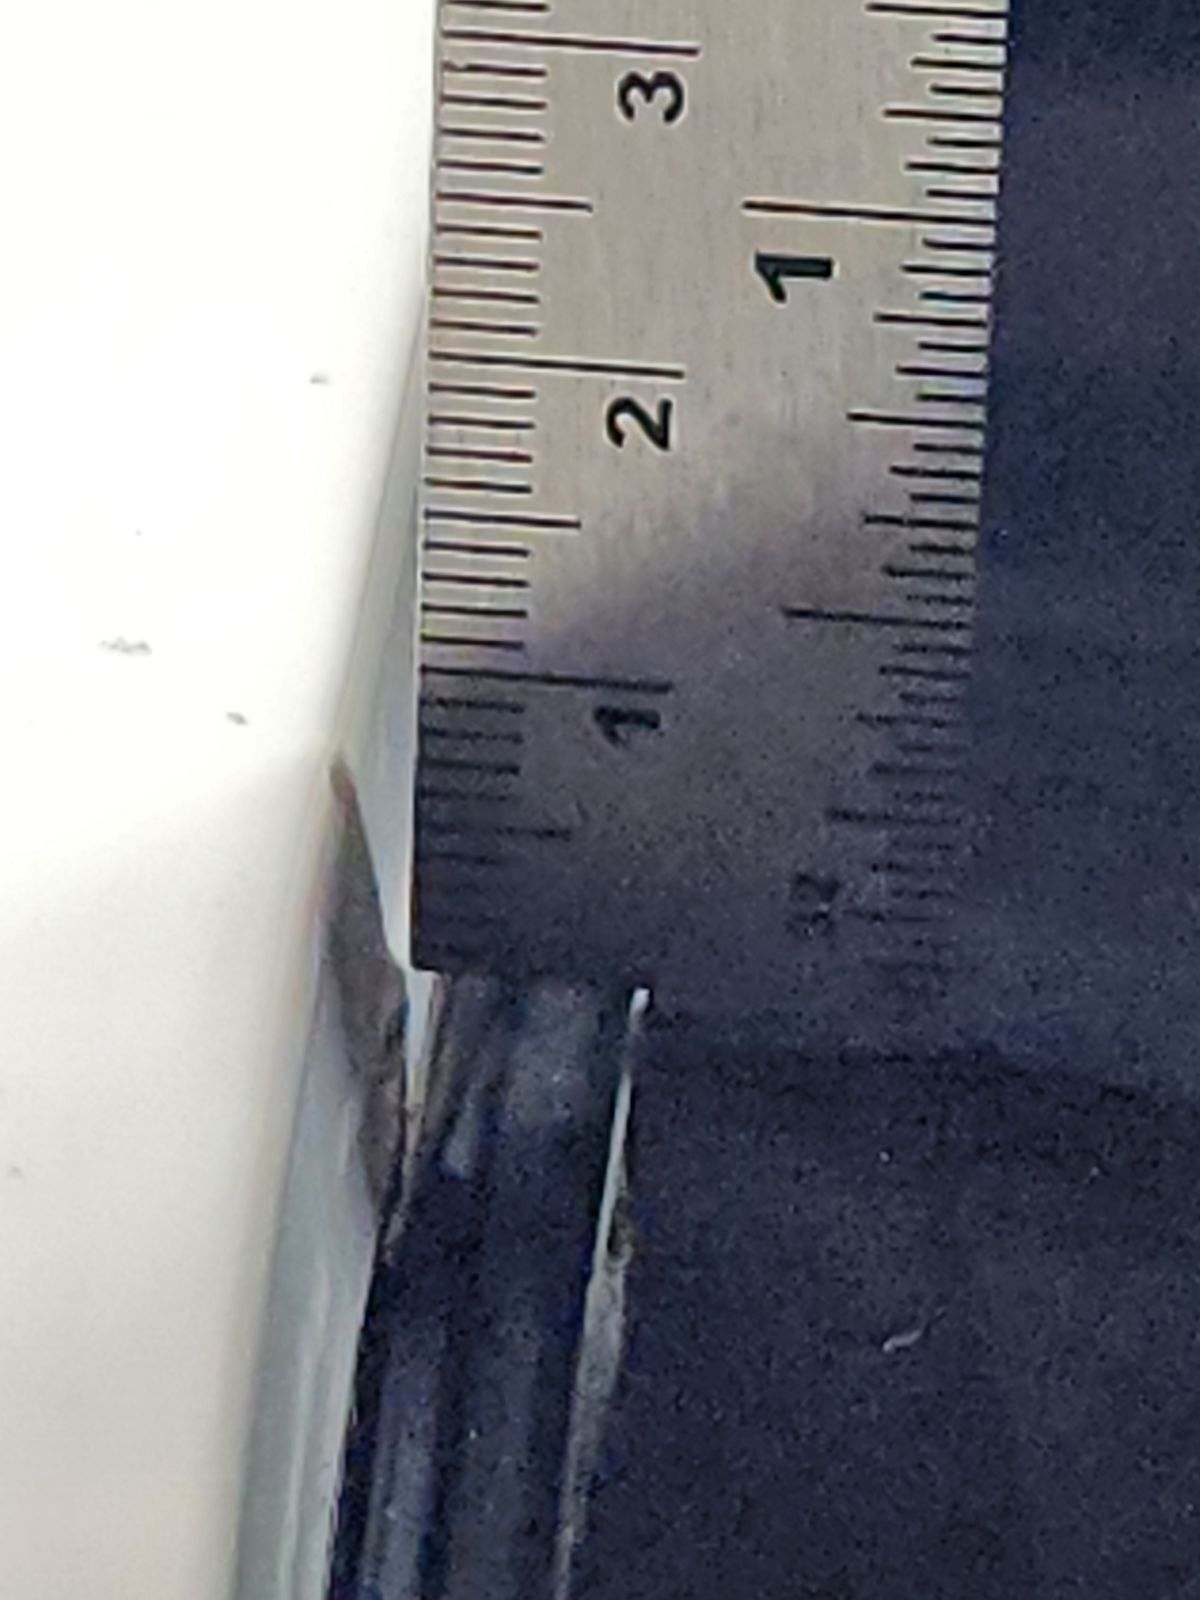
Left side measurement
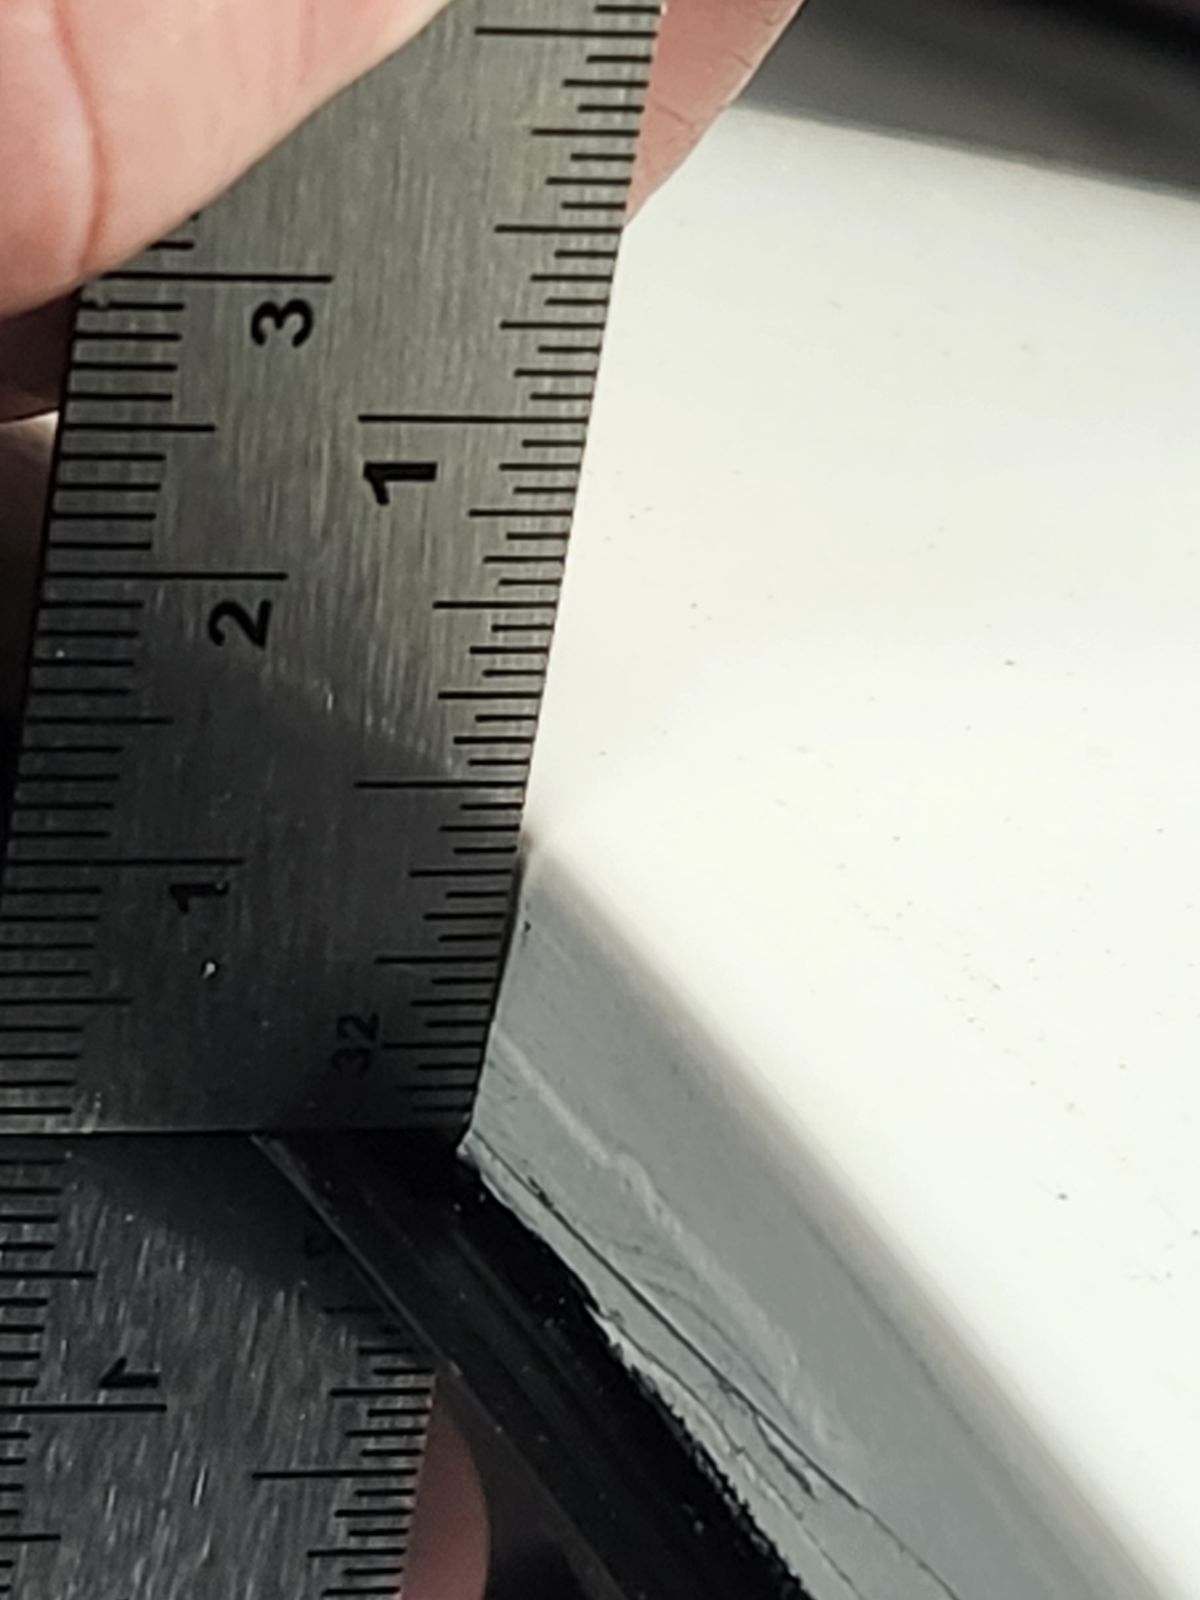
Right side measurement
I can't express correctly just how frustrated I am let alone having to replace something that just got installed, albeit I should have stopped earlier when the pin didn't want to go in.
Here's the result of rushing something, lesson learned.
By the way I'm not happy! I'll join ya
[This message has been edited by Stingray92 (edited 01-07-2025).]
There are rectangular rubber spacers that the windshield sits on around the frame perimeter - they are spaced about every 12-18" all the way around. These raise the windshield close to the flush with the roof and a-pillar trim and leave more room at the base. They are easy to scrap off and remove when removing the windshield sealant, but are needed for proper placement. It is best to dry fit the windshield with the spacers to ensure proper depth before applying the windshield sealant.
The windshield installer might not have known about them, did see them, or didn't care to use them.
Dang... we were gonna work on the Torsion bars... but maybe a broom handle works just as well as a "trunk prop"... Happy new year to 'all of youse'
I guess what I discovered is... there are no special tricks.
I saw a bunch of posts where someone did X or Y a little different, and said it made it much easier. I tried all of them... I used a ratchet strip (it just slipped off to the side and popped it out of the pivot), or using cables, etc. The only thing that worked, is literally what the service manual recommended... a 2x6 up against the rear window, tucked onto the top of the mount and using that as a back-stop to prevent the bracket from hitting the window.
The ONLY "trick" that I did (which was something I didn't see anyone else do), was I used multiple zip ties on the end of the torsion bar where it mounts to the bracket that attaches to the decklid. I did this because when I first installed it, I had a constant problem of the bracket flipping backwards... and sometimes you don't realize it until after you've gotten it all bolted up, and then you have to do it all over again. This prevents it from flipping back. I'll take a picture and make a diagram if you don't know what I mean.
But the best way to do it is to just use the wooden 2x6, and brute strength. I'd imagine it would help if you have two people doing it, but I didn't want my daughter's fingers anywhere near that thing.
I also greased the pivot points and the hooks that the torsion bars go in. They tend to fail there...
There are rectangular rubber spacers that the windshield sits on around the frame perimeter - they are spaced about every 12-18" all the way around. These raise the windshield close to the flush with the roof and a-pillar trim and leave more room at the base. They are easy to scrap off and remove when removing the windshield sealant, but are needed for proper placement. It is best to dry fit the windshield with the spacers to ensure proper depth before applying the windshield sealant.
The windshield installer might not have known about them, did see them, or didn't care to use them.
I know the feeling as well. I was pruning some large long limbs off of a huge Mountain Ash tree in my backyard. I had moved my '84 Fiero about 30 feet away from where I was working. I figured that was a plenty safe distance. The 4th or 5th limb I cut off, from quite a height, landed upside down on the ground (with the heavy end sticking up)... and "bowed" while doing so (storing a lot of energy), and then the heavy end rocketed towards me as the limb "unbowed"... missing my head by inches... and then did this...
I wasn't happy about the windshield being smashed, but it could've ended a whole lot worse!
I don't know why people will not listen to me. TREES ARE NOT YOUR FRIENDS!!!
Heh heh... yeah, this tree definitely tried to fight back. I was really surprised when the cut limb (very large) shot towards me after it hit the ground. Way way too close for comfort!


 ? To pause a job to go hunting for a fastener you don't have, not for me. After you dump the bucket, spread your assortment around, find what you need, how do you get them back into the bucket ? I bought one of these ... :
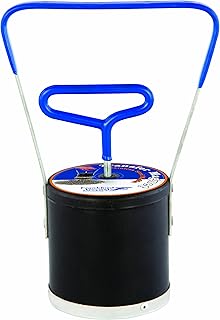
 ?
?


 ... and then did this...