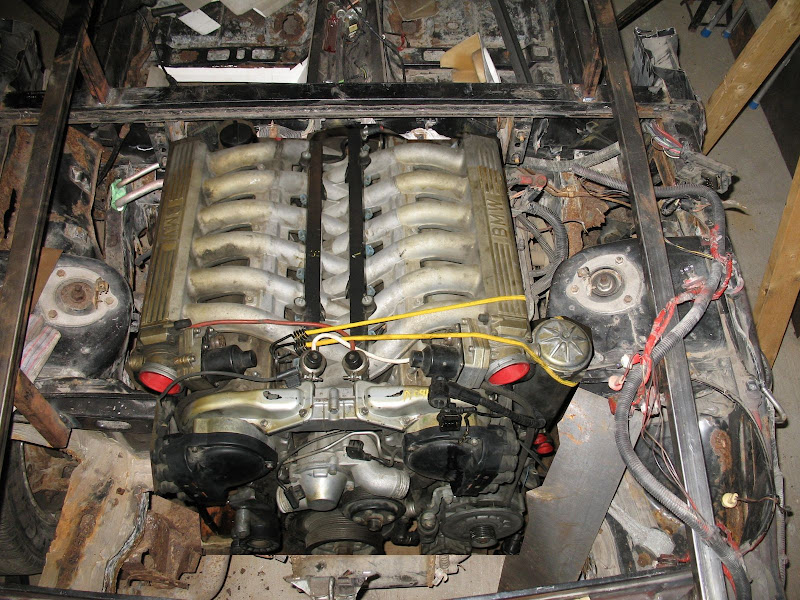
I am building a 25th Anniversary Countach replica on an 1988 Fiero Chassis. The Replica i Bought was designed around a
Fiero chassis stretched 5" in the passenger compartment, this is good for me since I am 6'-4" tall, it give me more room to
lean the seat back. Since the stretch was done in the passenger compartment the engine area is stock size...
Back Ground Information
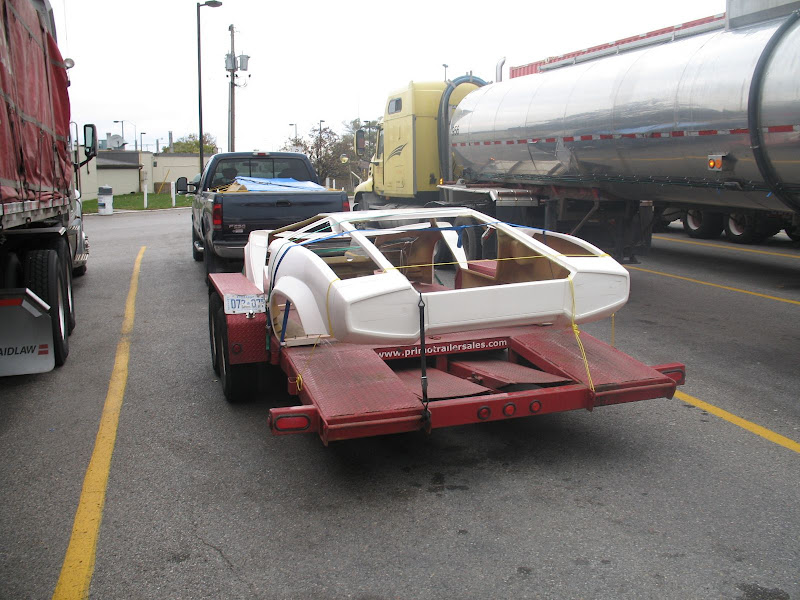
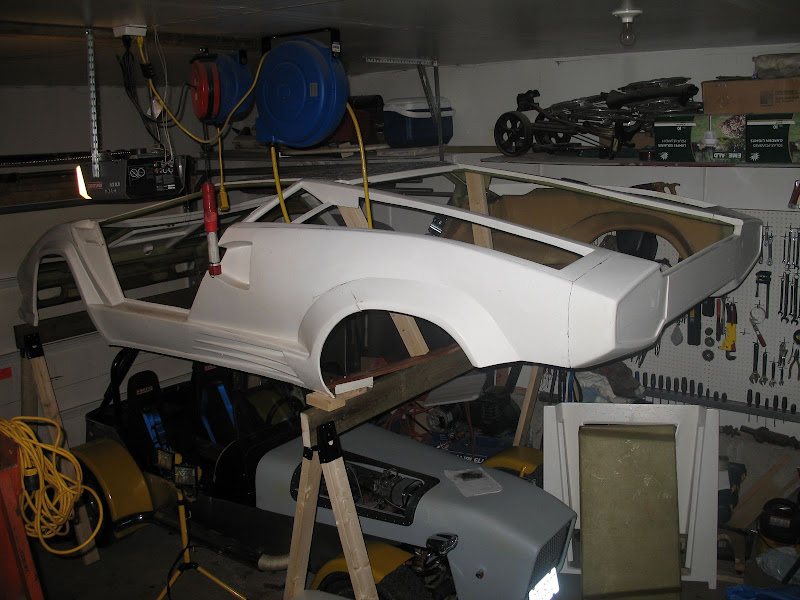
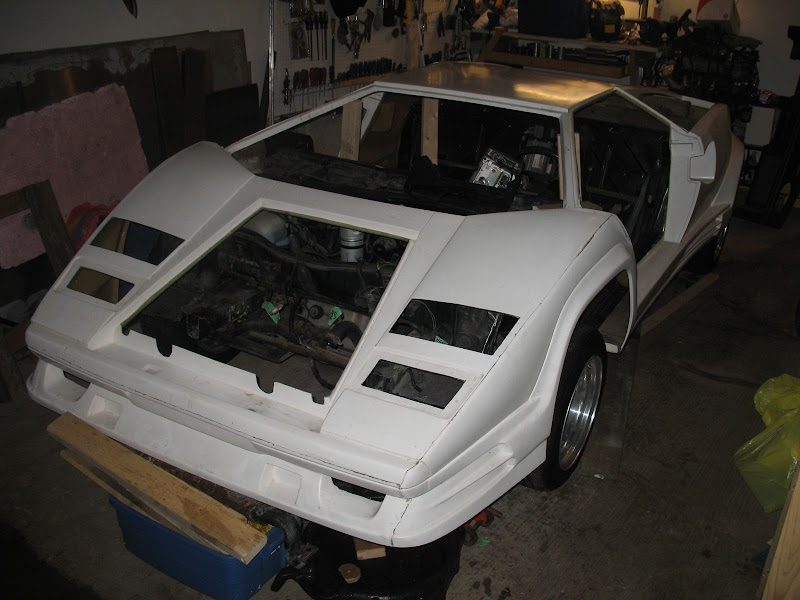
In October 2008 I picked up a 25th Anniversary Lamborghini Countach replica, and a month later I bought a
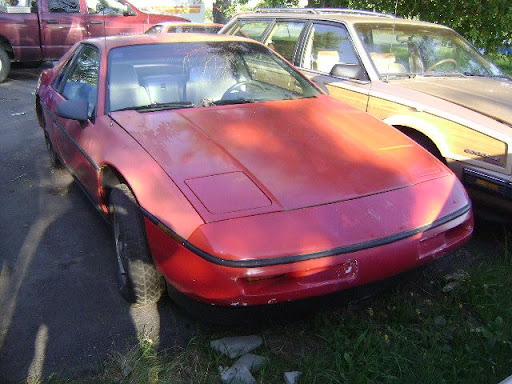
1988 Fiero (2.5L 5 Speed) for the base of the kit. The Fiero only had 76000Km on it and I got it really cheap.
When I went of inspect the car if was raining really hard and I was very hard to see underneath. I looked in the
major rust areas (Canadian car and we put lots of salt on the roads during the winters…) and found a bit of
rust but nothing major, so I bought it. I was told the car was stored for 7 years in a barn, and the car looked clean.
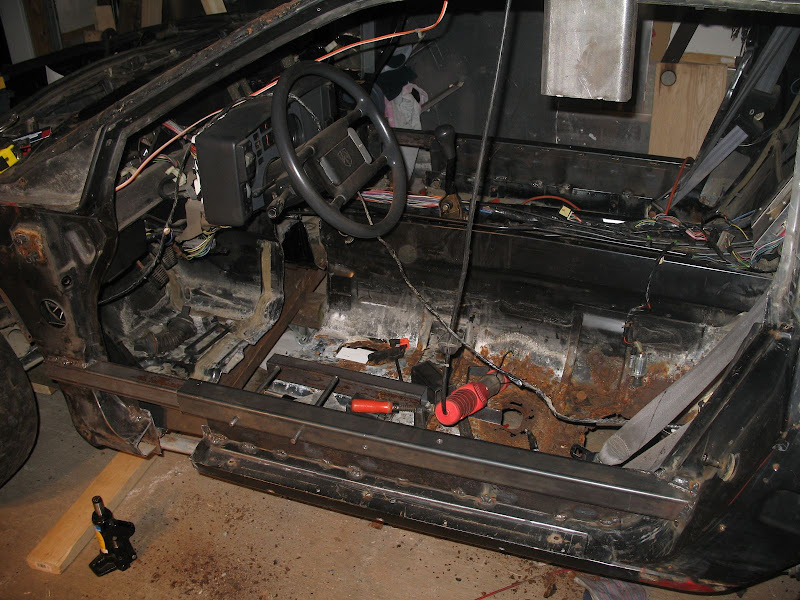
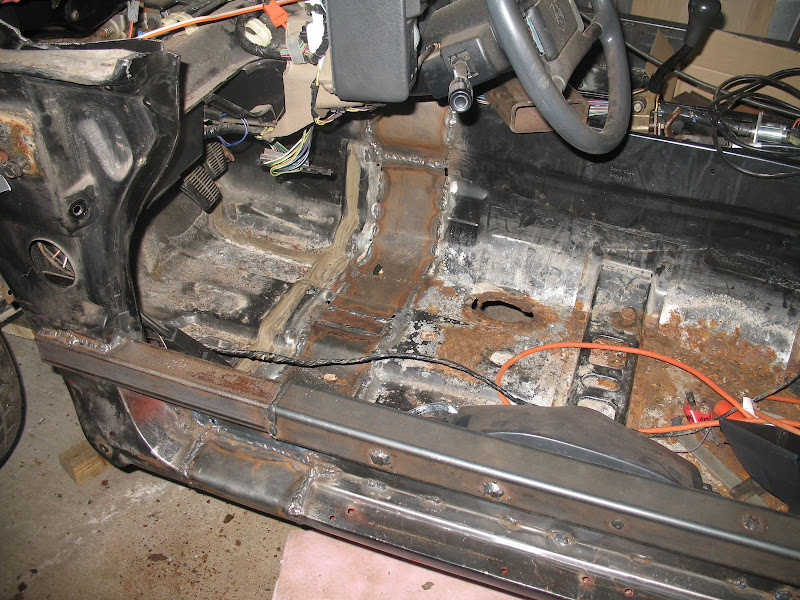
Over the next few weeks I stripped the Fiero to the bare chassis. This is when I got a bit of a surprise, the front
half of the car looked almost new, very little rust, the back rear passenger side had a bit of surface rust and a
hole near the battery tray. BUT the rear driver side had a football sized hole in the floor under the seat, the sheet
metal around the fuel filler tube area was really rusty and at the back of the wheel well. I figure the car must have
sat on a wet spot in the barn for so many years and caused this damage.
The hole in the floor didn’t concern me since I was going to cut it out and drop the pan 2” anyway (I’m 6’-4” tall).

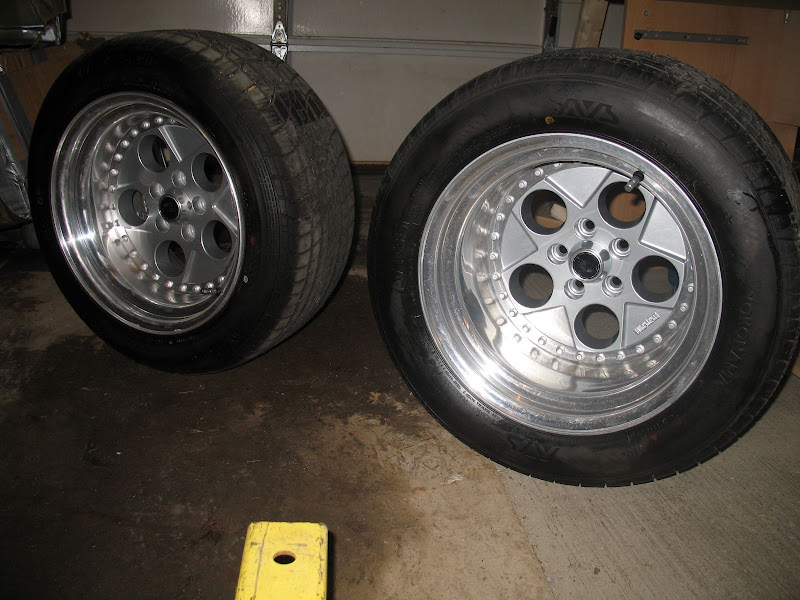
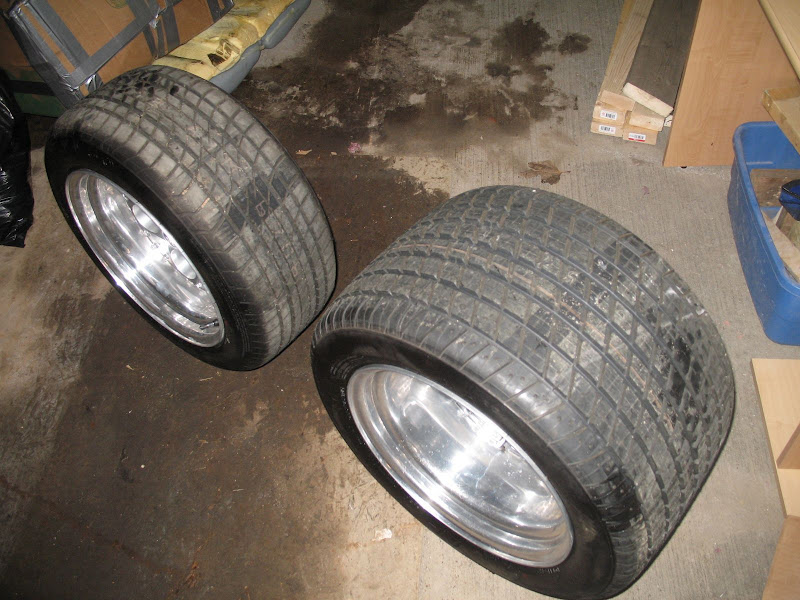
Stretching the Chassis
The kit I bought was designed to fit on a Fiero that is stretched in the passenger compartment, which is different than
the more common engine compartment stretch. I like this idea, because it is a lot simpler and gives you a lot more
passenger room. The only place that you would notice the difference is the rear window is at about a 45° angle rather than vertical.
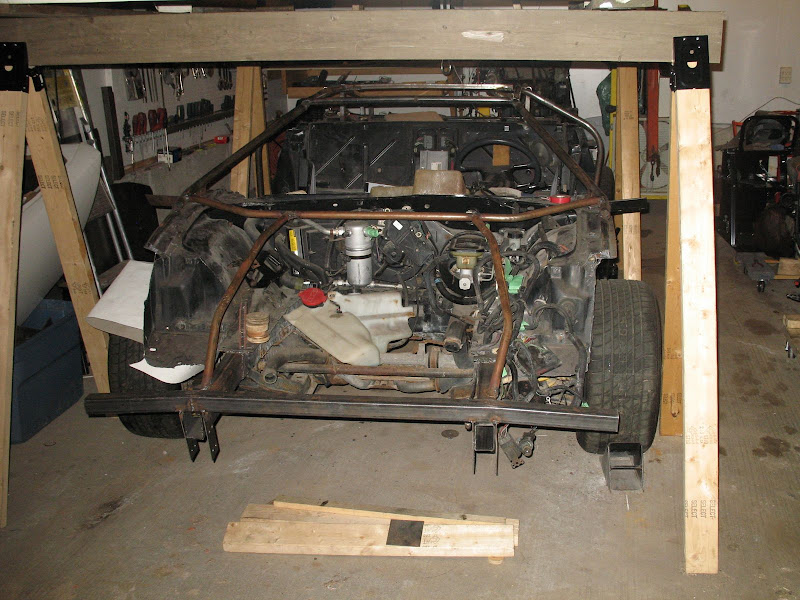
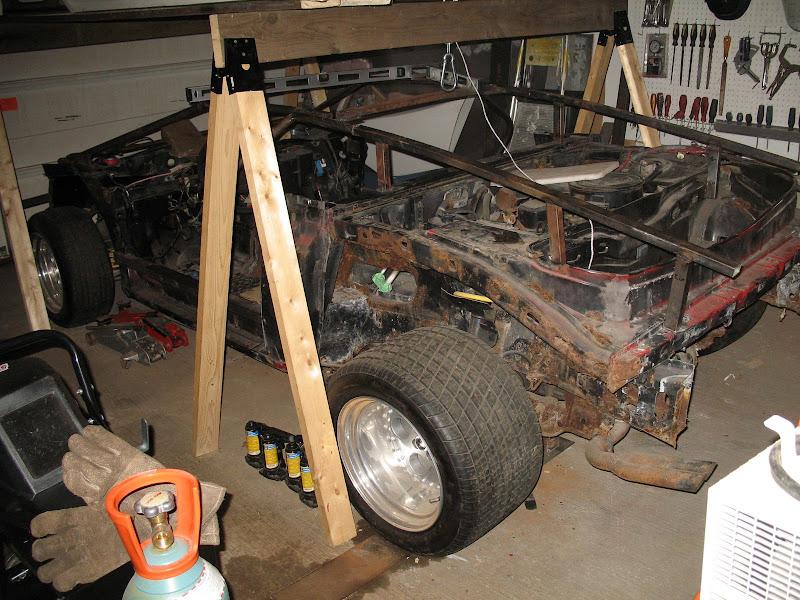
To do my stretch I put the Fiero up on stands, then I made a cart (I used steel casters so there was no roller compression)
and slid it under the front suspension frame members. I levelled the car, using jacks supporting the rear half of the car and
the cart supporting the front. Next I bought 2” x 2” x 0.10 wall and 1.75” x 1.75” x 0.10” wall square tubing. I made a telescoping
tube that over lapped by 4 feet. Since there was only 0.05” play over the 4’ overlap I wasn’t too concerned with alignment.
I also drilled 3/8” holes at 5” centers (5” being the length of the stretch) thru the telescoping tube assembly then welded them
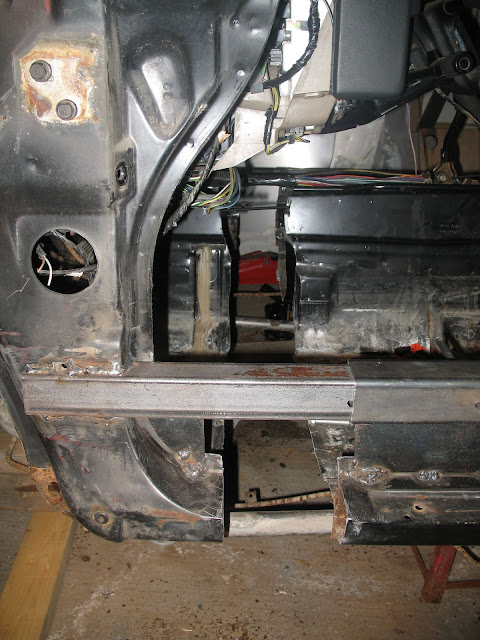
into the door frames. Next I cut the chassis across just in front of the shifter, then I pulled the front half until the holes in the
telescoping tubes lined up and slid a 3/8” steel rod thru. This worked really well, the chassis stayed aligned.
I then dropped the body on and tacked in the body support structure. The body is now removed and I will be adding more structure to the chassis
then it will be stripped and sand blasted and painted.
I have now turned my attention to the engine/transmission...



Engine Choice
Since the 1988 Fiero I bought had a 2.5L engine I had planned to replace it with a 3.8L Supercharged GM Engine to give the
Countach kit more performance (having a less than 100Hp motor in a Countach replica isn’t right). I found an engine that was
just pulled for a Pontiac GTP that had blown the transmission, I was able to get the engine, harness and ECU at a really god price.
I started doing research of how the swap is done and collecting ECU pin out info, and sourcing and pricing for items used in the swap.
During my search on the web for Fiero engine swap information I came across a BMW V12 mated to a Audi FWD transaxle
swap into a Diablo Replica, this caught my attention because; 1) the engine is all aluminium (almost the same weight as the 3.8L V6)
, 2) the engine looks similar to a Lamborghini V12 (in the Diablo) and 3) it’s a V12… and I was surprised to find that these engines were
fairly inexpensive and very durable. (you can buy a whole early 90’s BMW 750 V12 for under $2000 strip the engine out and sell the
remaining parts and make more than you spent on the car back)
The only problem is that the BMW V12 is put into a Diablo Replica which has an 11” stretch in the engine compartment (and even at that it’s a tight fit)
and since I did my stretch in the passenger compartment I had a stock Fiero engine compartment. There is NO way I was going to fit a V12 in there…or was there…
After a little more research I found some people putting V8 engine longitudinally into stock Fiero chassis using a
Cadillac 425THM, 325THM or 325-4L Auto transmission, see Link Below
http://www.fieroaddiction.com/SBCLa.htmlAfter reading this information I decided to do some more research on the reversed installation method mention at the bottom.
This seems more logical way of doing the swap, most of your weight is in front of the axle, your belts and accessories (alternator, starter, AC compressor…)
are all facing the rear so you have easier access to them, and the orientation is similar to the real Countach.
Before I went out to buy an engine I wanted to make sure that I could make it work, my biggest issue was with this
transmission/differential setup the left hand axle has to go under the engine. When the GM V8 engines are used the
oil pan is notched to allow the axle to pass under. The problem with the BMW engine is the block is lower the GM block,
I knew that I would defiantly have to go thru the oil pan but I wasn’t sure if it would clear the bottom of the engine block.
I found some drawing on the web showing the V12 engine, using these drawings I was able to make my own scale using
a known dimension and have in access to a 325THM transmission I was able to figure that the axle would just clear the
block…with this info I decided to buy a V12 engine and proceed further.
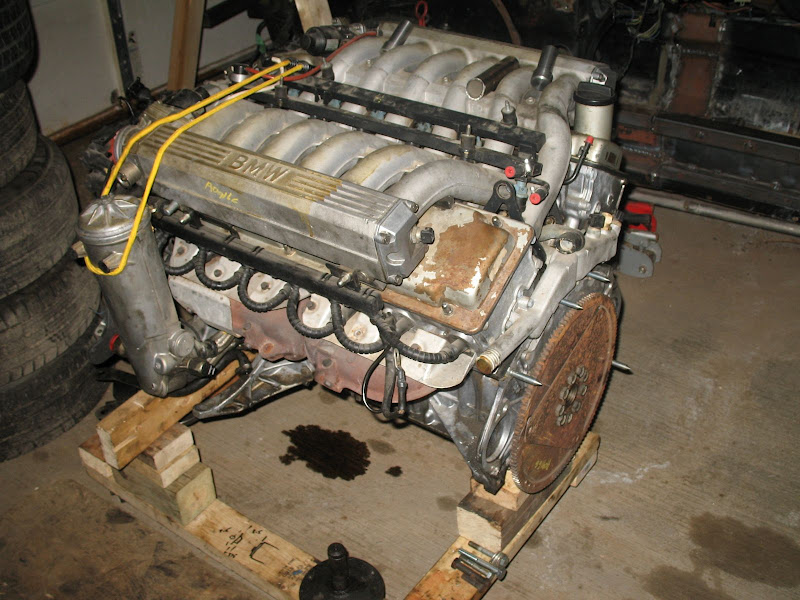
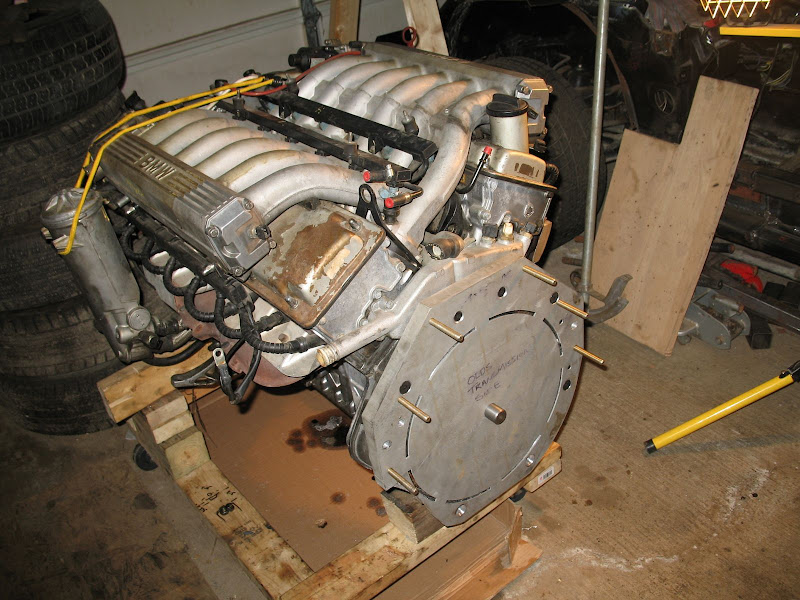


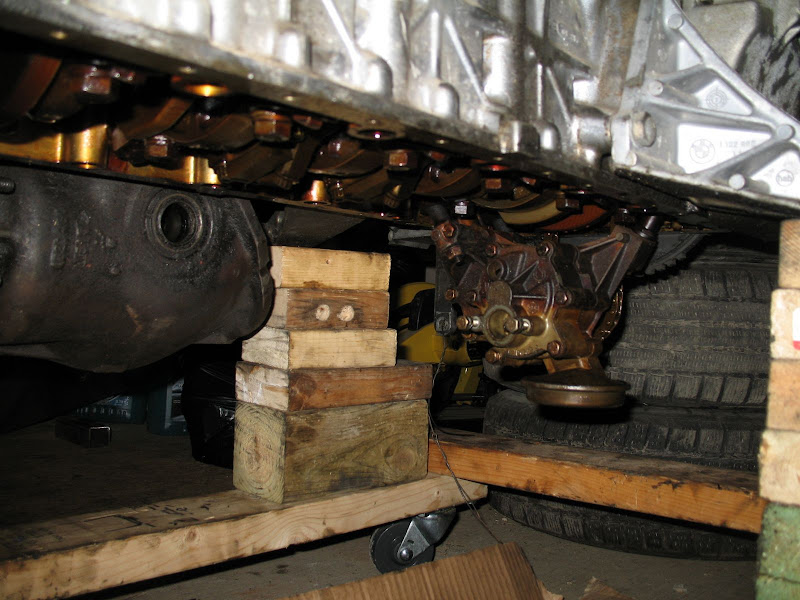

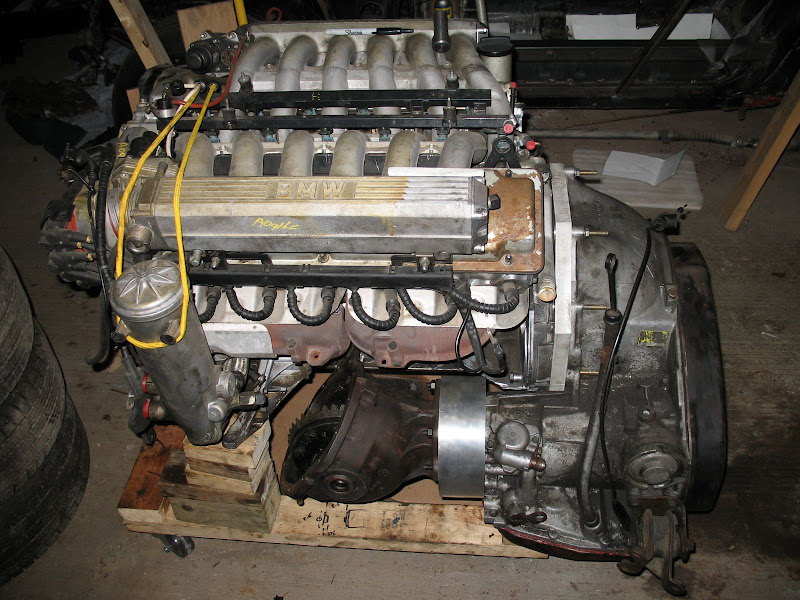
Issues mating the V12 to the 325THM Transmission
Q1) Can the transmission be mated to the V12?
A1) Yes, you have to make a spacer from a V12 Bell Housing (so you adapter plate clears the water cooling jacket above the flywheel),
make an adapter plate, a spacer and a triangular plate to attach the flywheel to the torque converter.
Q2) will the drive shaft clear the block?
A2) Yes, you have to make a adaptor plate/spacer to rotate the differential 180° and space it out to pass under the Main Bolts (or the crank will hit the axle shaft)
Q3) Do you have to modify the engine?
A3) Yes, you have to cut some material off on the left side of the block and oil pan to allow the transmission to fit in. you will also have to machine a hole thru the oil pan and weld in a tube to pass the axle thru.
Q4) Do you have to modify the Transmission?
A4) Yes, you have to remove a couple of tabs off the differential to allow the short axle to fit the opposite side and to clear the oil pan. You also have to make a coupler to bridge the gap created by the transmission to differential space/adapter.
Q5) What is the weight distribution of this set up
A5) I am estimating with the transmission and 50% of the engine in front of the axle that the weight distribution will be a about 80% in front of the axle


 You [i]should[i/] show us some pictures of that diff spacer if you have some before it was installed, and tell us what you have planned for an exhaust system... with a longitudinal layout, you should be able to come up with something really nice.



 ) wants the Lotus 7 out saturday, i have very little room in the garage, I really need a work shop
