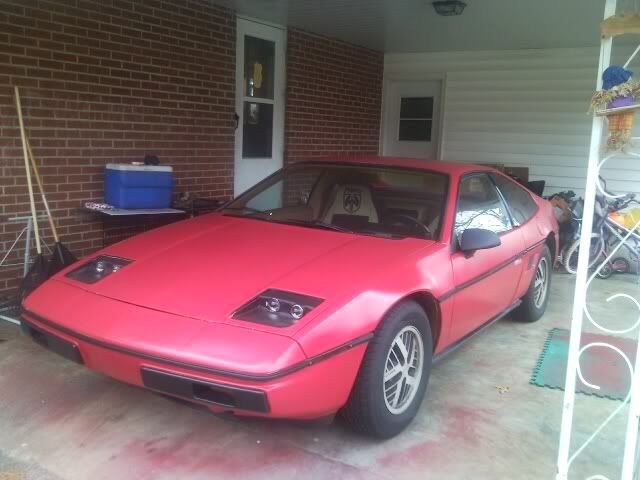
I have searched high and low to find a write up on a notchie to fastback conversion but was never too successful is doing so. Therefore, I’m doing the write up and placing it on the forum. Enjoy!
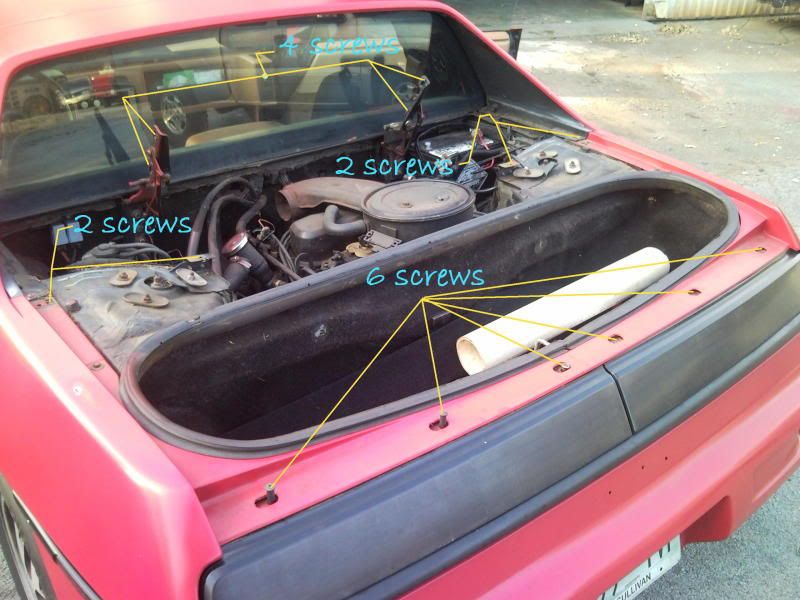
The first thing to do is to take off the vents by unscrewing the two (2) screws on the vents themselves then its time to take off the trunk lid. This is done by taking of the four (4) screws at the hinge on the trunk lid.
Next, take off the black covers at the top of the tail lights exposing the screws underneath. These come out with a simple Phillips head screwdriver.
Next, there are about 16 bolts that need to be taken off of the back where the lights are and up the siding of the rear clip as seen in the picture. (note) You will also need to take off the side markers.
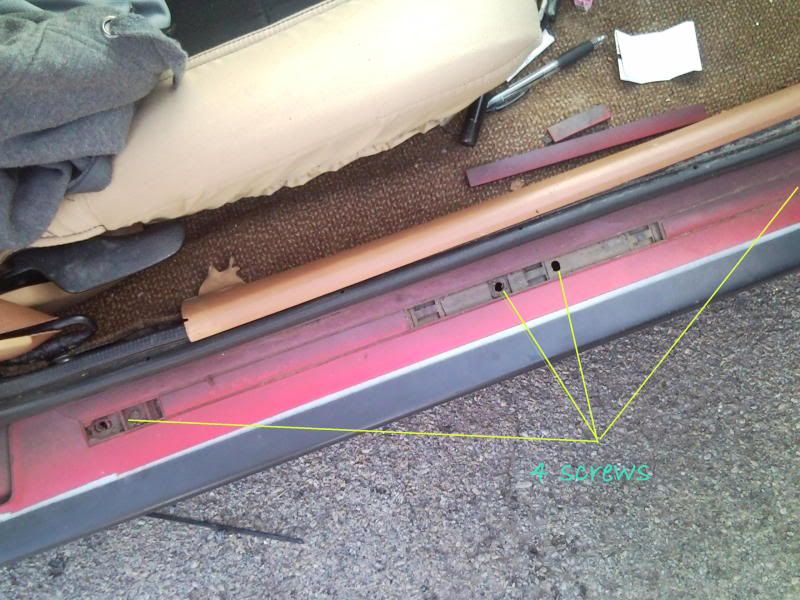
Next, take off the clips of the runner boards by opening the doors and using a flat head screwdriver flip them up and off exposing the screws underneath. These 4 screws are 9/32 screws. There are screws under the runner board underneath the car that are exposed to the elements; these can be very fun to take off. There are about 5 to 6 of these bad boys. Then, do the same thing on the driver’s side of the car.
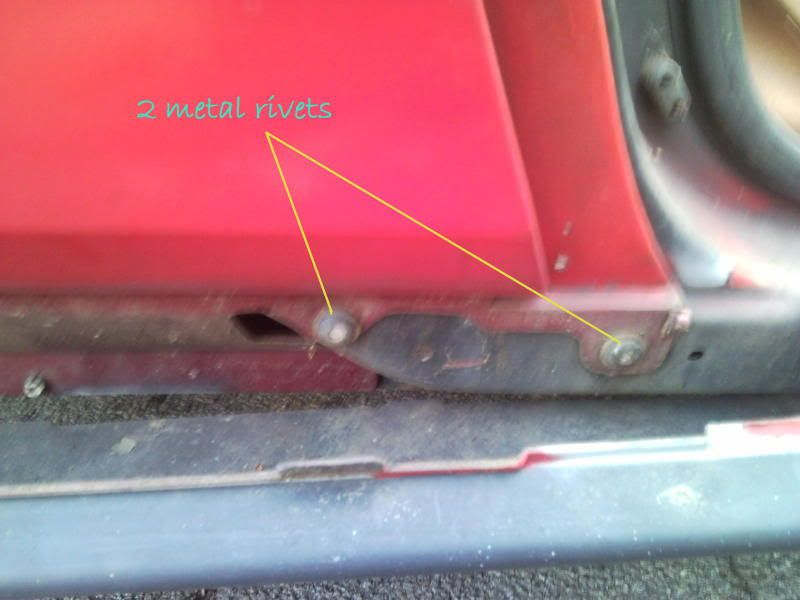
Pull the runner boards down but not all the way off. This will expose the two metal rivets on the bottom of the side ¼ panels (the one with the scoops). Drill these out thru the center, they’re made of aluminum so they will drill out quickly. Take off the side molding on the ¼ panel and expose the back plastic rivets, there are two plastic and 1 metal closer to the door – Drill these out as well. Then do the same n the other side.
Next, take off the black mesh on the front of the car to expose the bottom side of the windshield. You will need to take off the windshield wipers to do this. This is where there are 2 screws that need to be undone to loosen the pillars so they will not crack. Also, there are four (4) screws on the front of both fenders that need to be undone – these are located on the top. Be sure to take off the antenna.
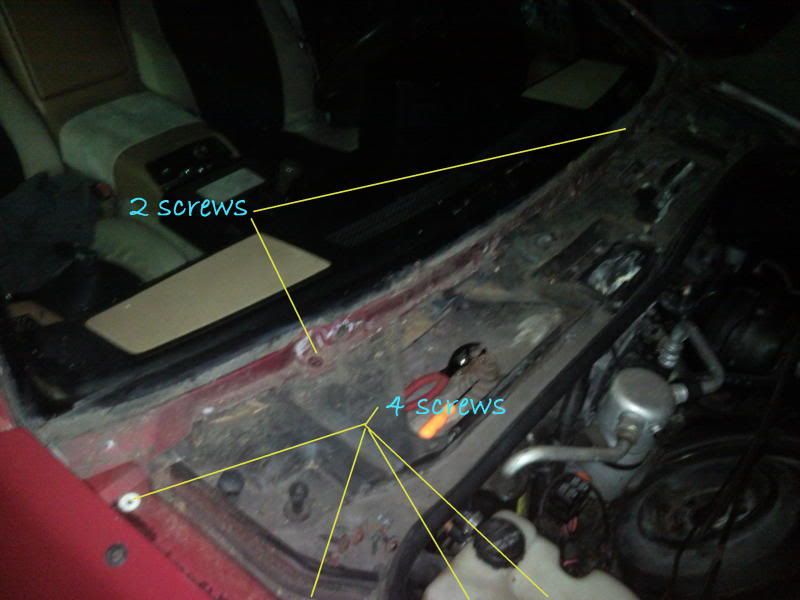
Next, remove your HEADLINER. Undo the SEATBELT with the TORX screw on both sides and make sure to take off the screw/nut that hold onto the SAIL PANELS on both sides [dirver/pssenger] (they should be 10mm), then the two COAT HANGER clips in back, the LIGHT FIXTURE up front has four screws – 2 in light and 2 where the sun visor hooks in, remove the SUN VISOR, remove the UPPER MOLDING and the BACK INSIDE MOLDING. (BE CAREFUL - EXAMINE AVERYTHING TO MAKE SURE YOU HAVE GOT EVERY TRIM OUT OFTHE WY BEFORE YOU TRY TO DROP YOUR HEDLINER - IT WILL BREAK - IT"S FIBERGLAS) This will expose the screws located on the roof of the car.
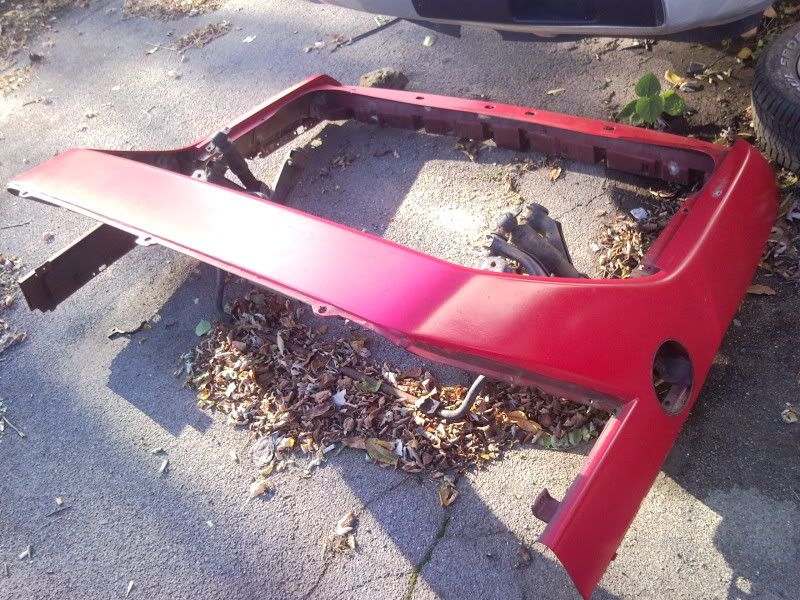
There are three bolt nuts that run along the back, the are two silver bolts in back, there are three silver bolts in front and there are two bolt nuts one at each pillar. With all of these loosened up you are now ready to have a buddy help you slowly, very slowly, start at each pillar and pry it up…..take you time in loosening these, they are glued in and will crack if your too hasty. Work your way thru the whole roof and there are three bolts under the roof that hold the back clip on. With the roof loosened up, you and a buddy lift the rear clip up and out, your half way done. (the metal you see in this picture is from the cross members on the bottom end of nother car, they are there just to keep the clip off of the ground), oh yes, and do NOT forget the three screws inside the gas door, and the cable - be sure to release that too.
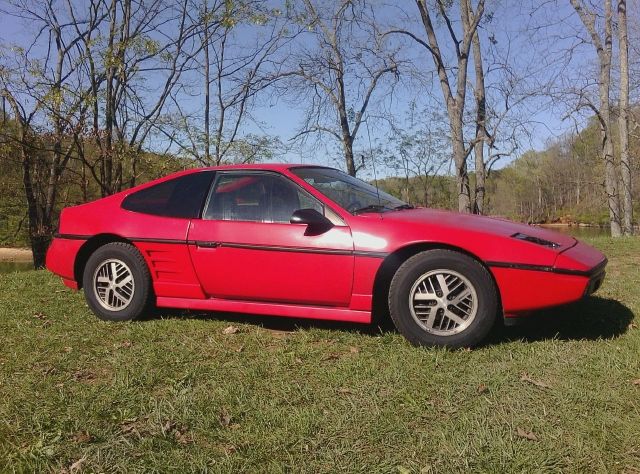
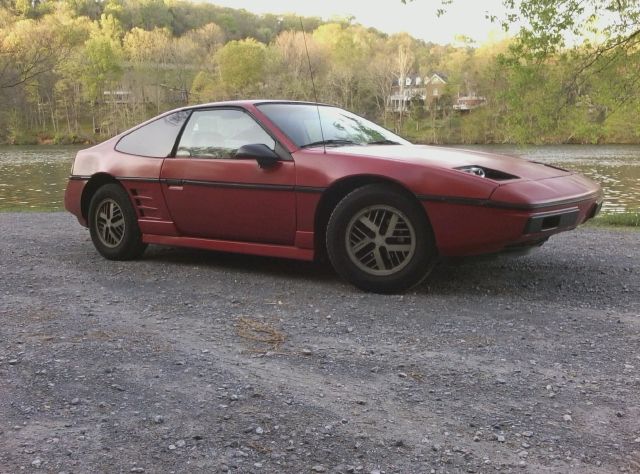
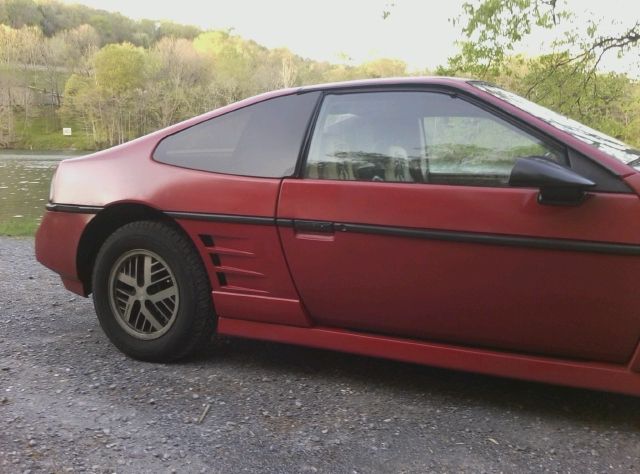
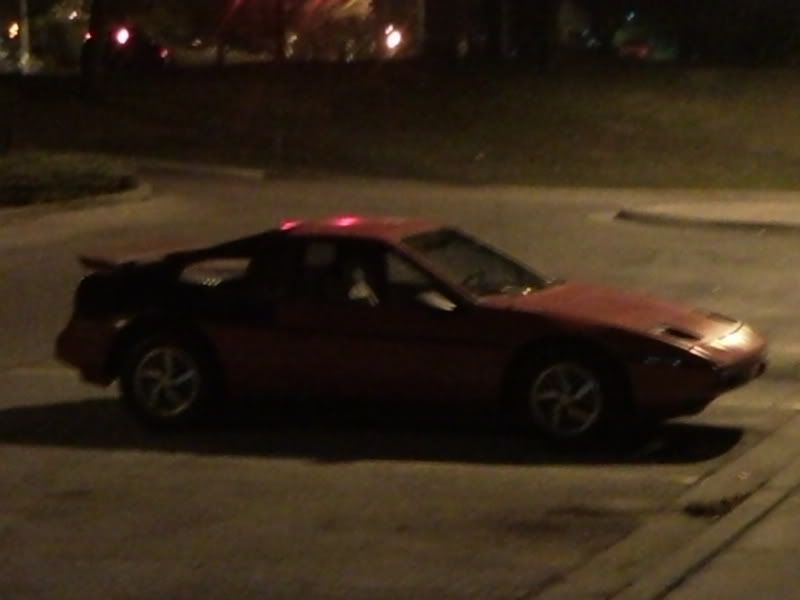
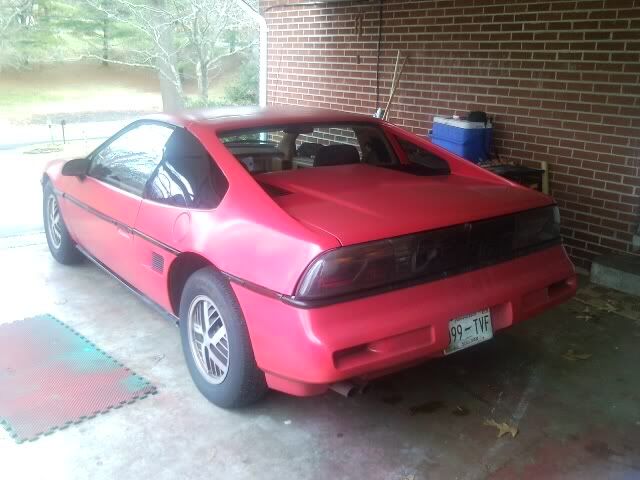
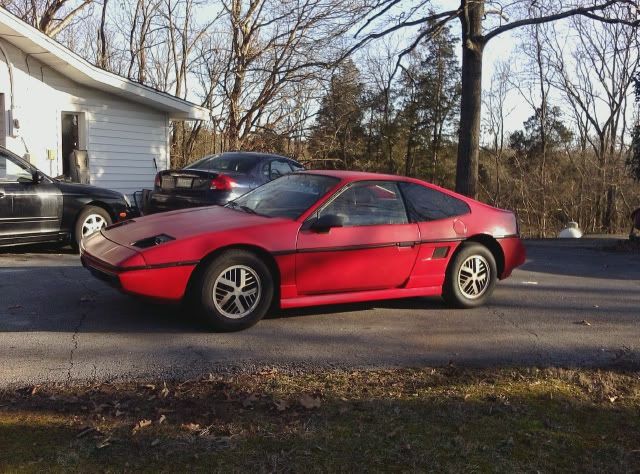
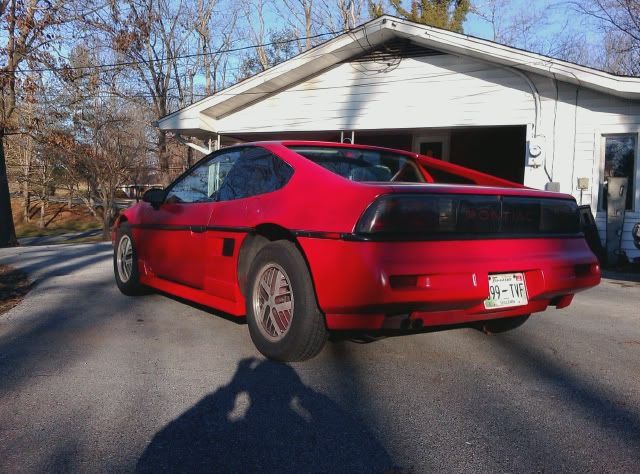
Next, is to put the fast back clip on and then simply put the car back together the same way you took it apart. Line everything up and now you have a fast back!! Good Luck, CrazyDragn In these pictures I addd the ground effeects but not on the doors. I think this looks cool, there are no holes in the notchie doors so it looks ike a small version of a wide body or "poor man's wide body". anyways I think it ooks cool.
[This message has been edited by CrazyDragn (edited 06-16-2012).]
So why did you have to take the screws out of the door sills and the windshield wipers?
EDIT: Did all GT's have flat deck lids? I thought all V6's have the bump.
well to to put it simple, to get the top of the rear panel off or even loose, you need to loosen these screws so that you can loosen up the the top roof skin to take off the rear clip becaue there are 3 screws that sit down from the roof clip that would keep the rear clip from coming off. thus, the need for loosing all screws that connect to the top roof, yes, thy connect all th way around the front under the wipers. all part of what you must do to remove a rear clip.......insaine right?
I have never had to remove anything forward of the windshield before. The A pillars are glued on anyway, so the lower windshield bolts won't help much. Also, the rockers don't really need to be removed. You can take the clip off while they are still in place. Just saving a few steps! Don't forget the radio noise suppression wire on the decklid. Easy to rip off if you leave the plastic loom keeper attached to the decklid.
I have never had to remove anything forward of the windshield before. The A pillars are glued on anyway, so the lower windshield bolts won't help much. Also, the rockers don't really need to be removed. You can take the clip off while they are still in place. Just saving a few steps! Don't forget the radio noise suppression wire on the decklid. Easy to rip off if you leave the plastic loom keeper attached to the decklid.
Good write up!
Well, if you do not take off or loosen those parts on the windshield, you WILL crack your A pillars, but hey - it's your car. Just remember you have to work from the front to the back when takeing off the roof and A pillars. the main thing is totake your time, hastemakes waste, if you short cut this - I guarantee you will NOT like the results.
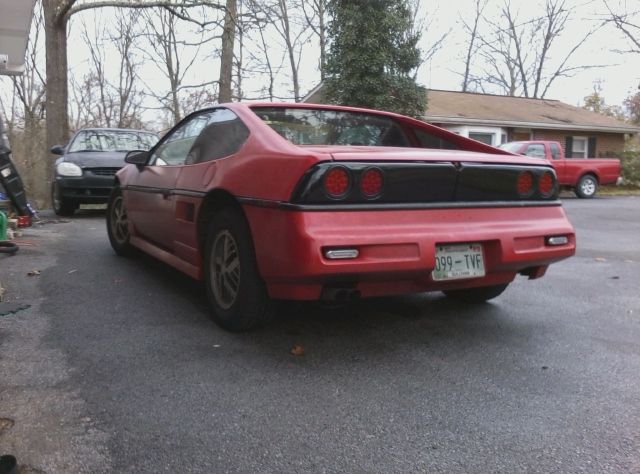
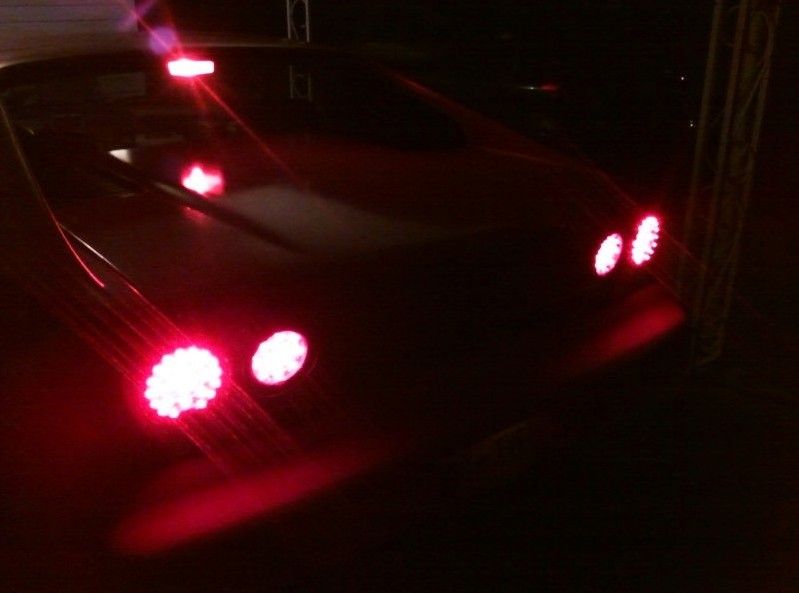
I used special HID LED lighting to make the halo's around the tailights which can be seen at night very well as in the day
This is when the park lights are on. When turning- the outside light blinks, when brake is appliedthe outside light is solid bright - pretty neat huh, speacial thanks the PISA of Arizona for these inserts for a ferrari look on fiero
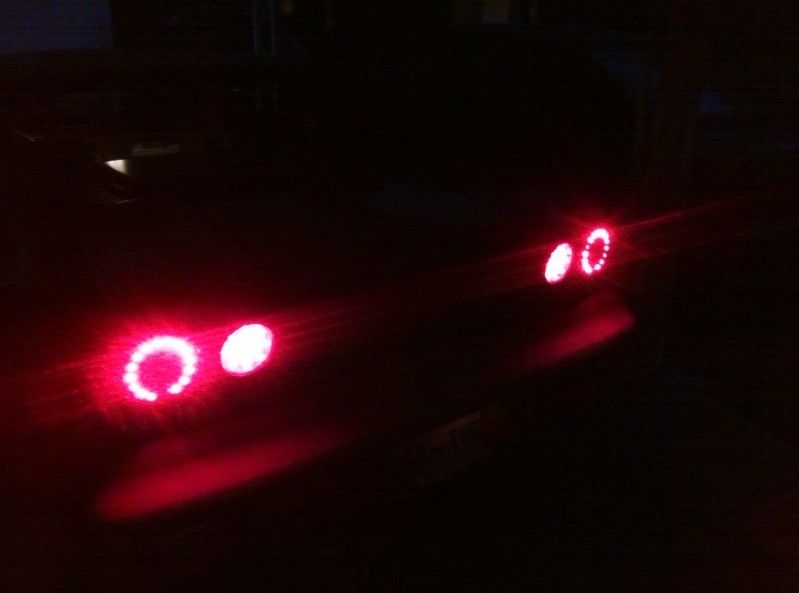
This is with the reverse halo lights on when in reverse (I'll put one up soon with them on during the day - still very bright during day)
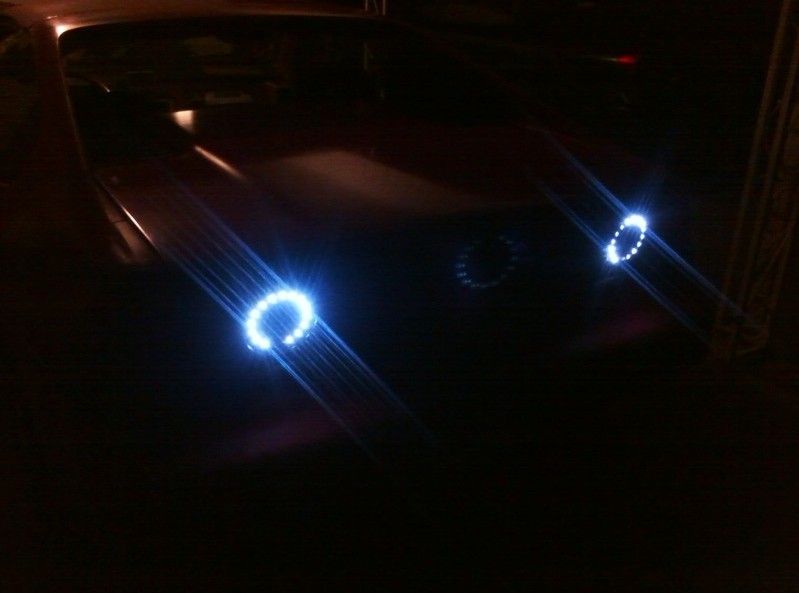
This is with reverse and park lights on
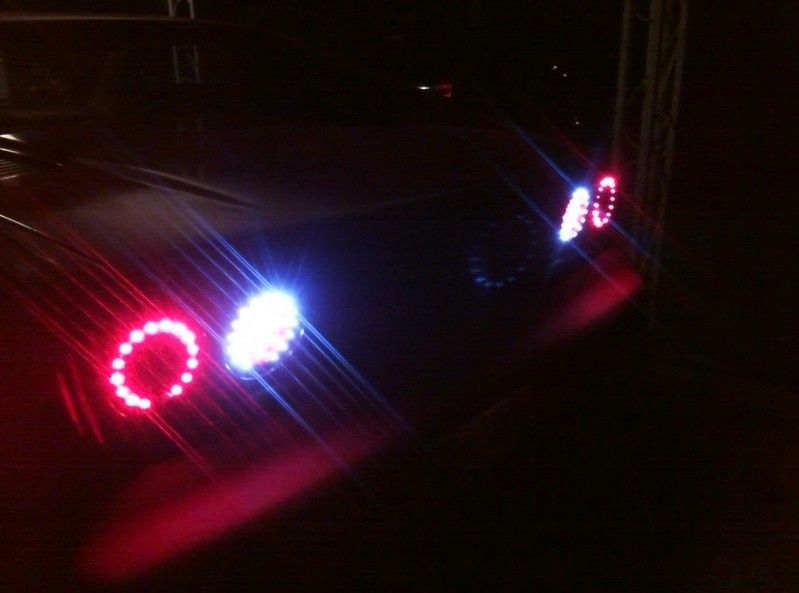
This is with brakes applied
[This message has been edited by CrazyDragn (edited 03-20-2012).]
What did you do with your factory tail lights? I am in need of a drivers side lens. Mine is cracked so I can't even do a recondition of the old lights.
Edit to say the new tail lights look awesome. Very bright too!
[This message has been edited by donnie072003 (edited 03-20-2012).]
Don't forget to mention that the rear bumper is different notchie to Fastback, even if they look close. (not a required change, but it does change the look.)
What did you do with your factory tail lights? I am in need of a drivers side lens. Mine is cracked so I can't even do a recondition of the old lights.
Edit to say the new tail lights look awesome. Very bright too!
I sold the notchie set however, the GT drivers side has a crack in the lens too but the backing is in great condition - passenger side is in great condition
Front pad bumper is going to be replaced with a f355 ferrari bumper
2.) This is the same configuration I want to do with my car. (except I am keeping my flip up head lights)
I LOVE the PONTIAC lights, but because they are so terribly expensive I have always stayed away from the fastback conversion. Until I found a website on here that sells those alternative fill-ins.
Again, great write-up & thank you for posting.
[This message has been edited by no2pencil (edited 03-24-2012).]
2.) This is the same configuration I want to do with my car. (except I am keeping my flip up head lights)
I LOVE the PONTIAC lights, but because they are so terribly expensive I have always stayed away from the fastback conversion. Until I found a website on here that sells those alternative fill-ins.
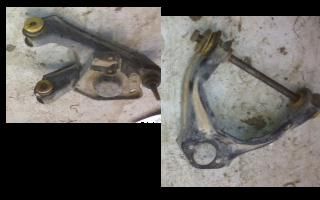
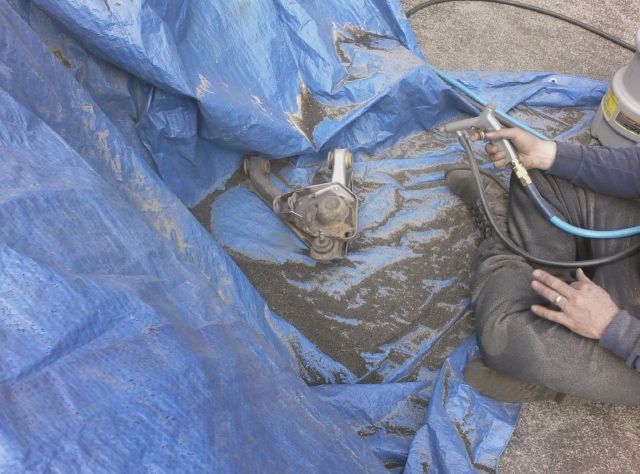
OK, so I recently aquired an upper and a lower for my front drivers side. Apparently, some one went joy riding in my car and hit a curb at 40 mph. Yes, I have kids and they deny deny deny. So, here I am replacing those parts - got pics. First, I went to BoostDreamers house to get sandblasted so here are some before and after pics of sand blast: before:
BoostDreamer sandblasting:
after:
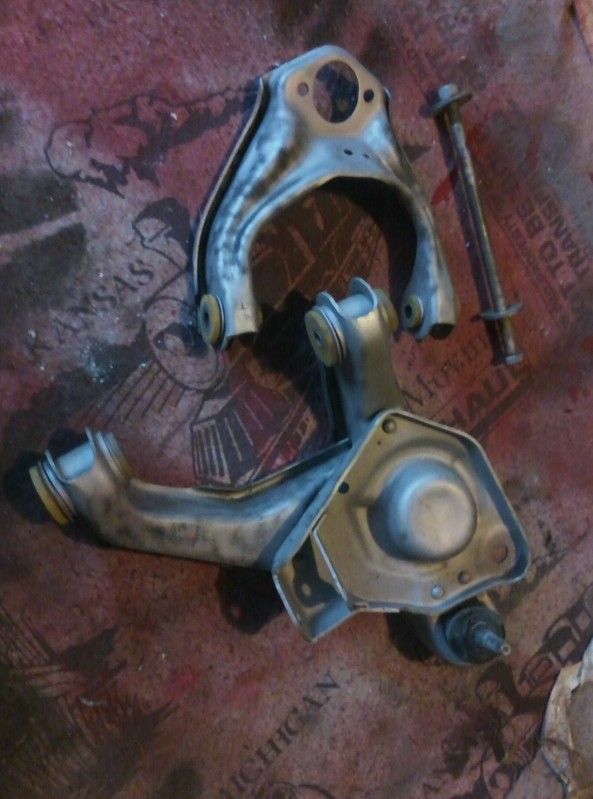
and now painted:
putting them on Sunday afternnoon.
[This message has been edited by CrazyDragn (edited 04-21-2012).]
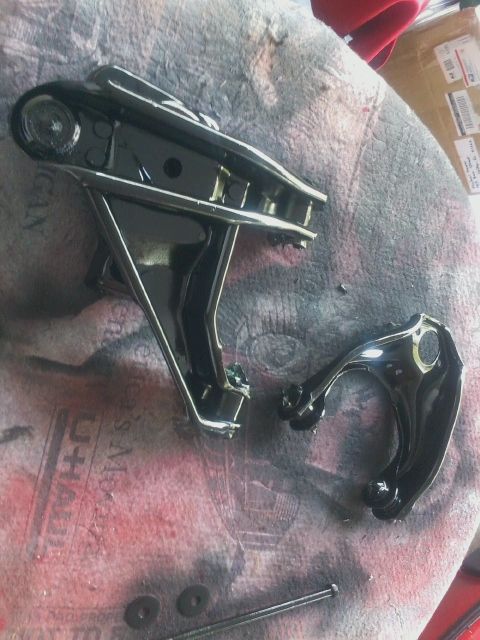
The control arms look great! Remember to grease up those poly bushings. I'm glad I could help with them. Conscider it an advanced thank you for helping with my body swap It's good to have Fiero buddies close by!
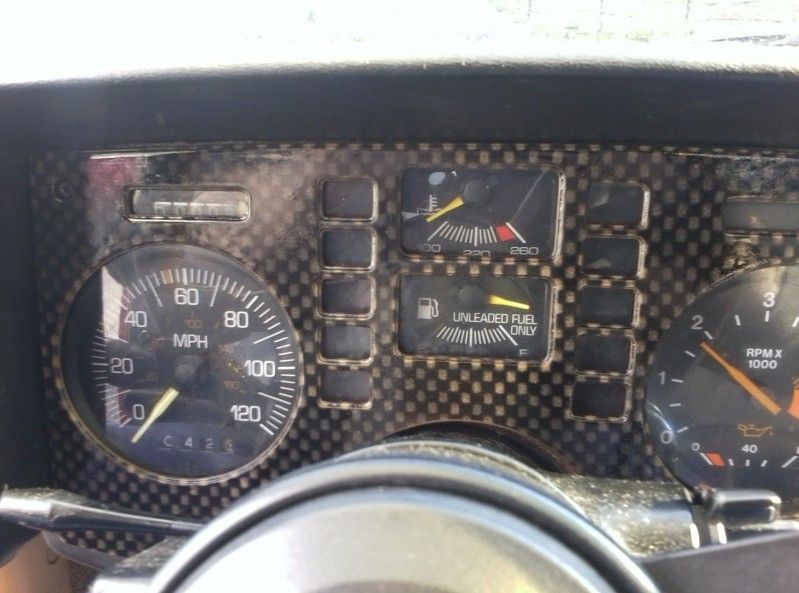
gonna get control arms on this wednesday. Till then I have developed a way to make your trims look like carbon-fiber without all the $$. Pics coming soon.
[This message has been edited by CrazyDragn (edited 04-23-2012).]


 great for a future reference