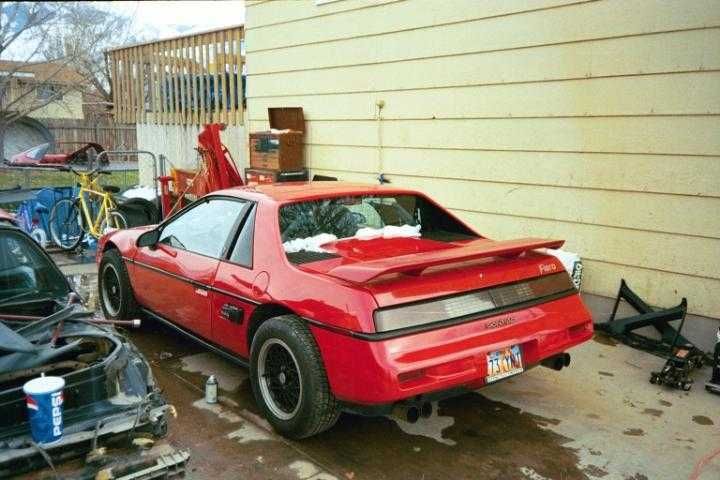
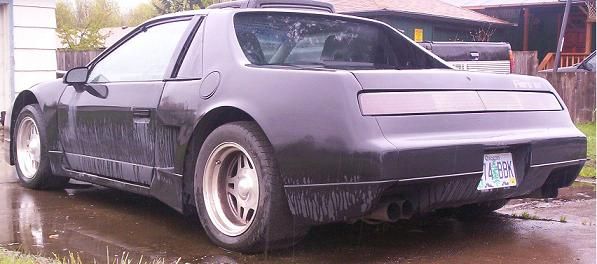
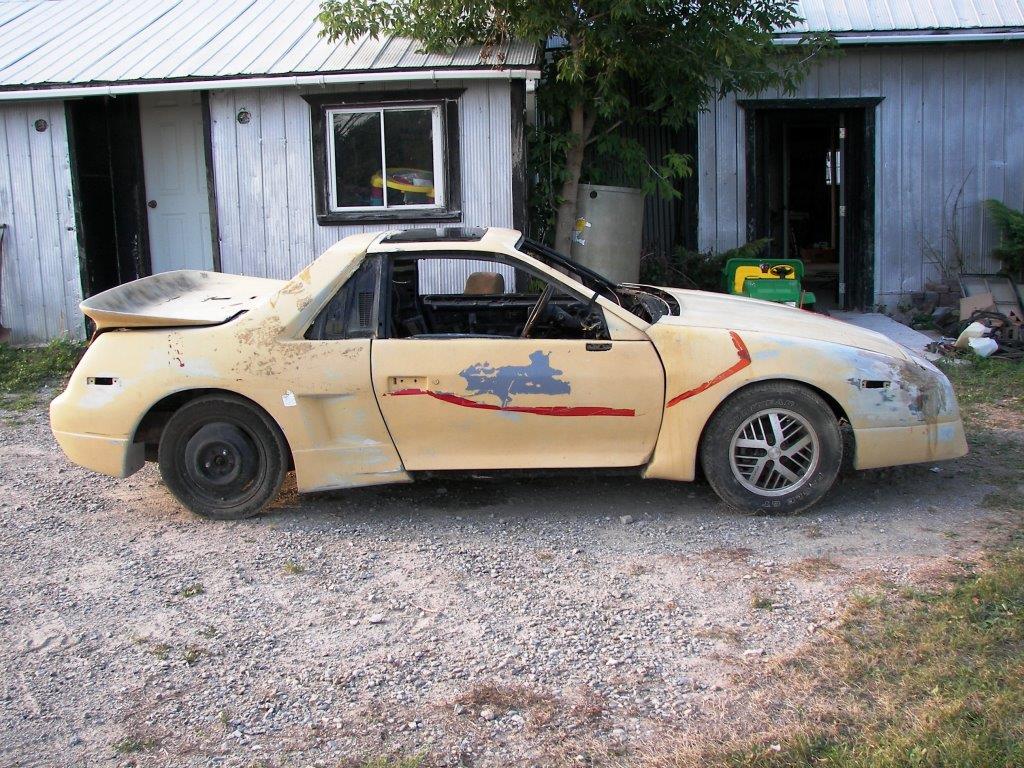
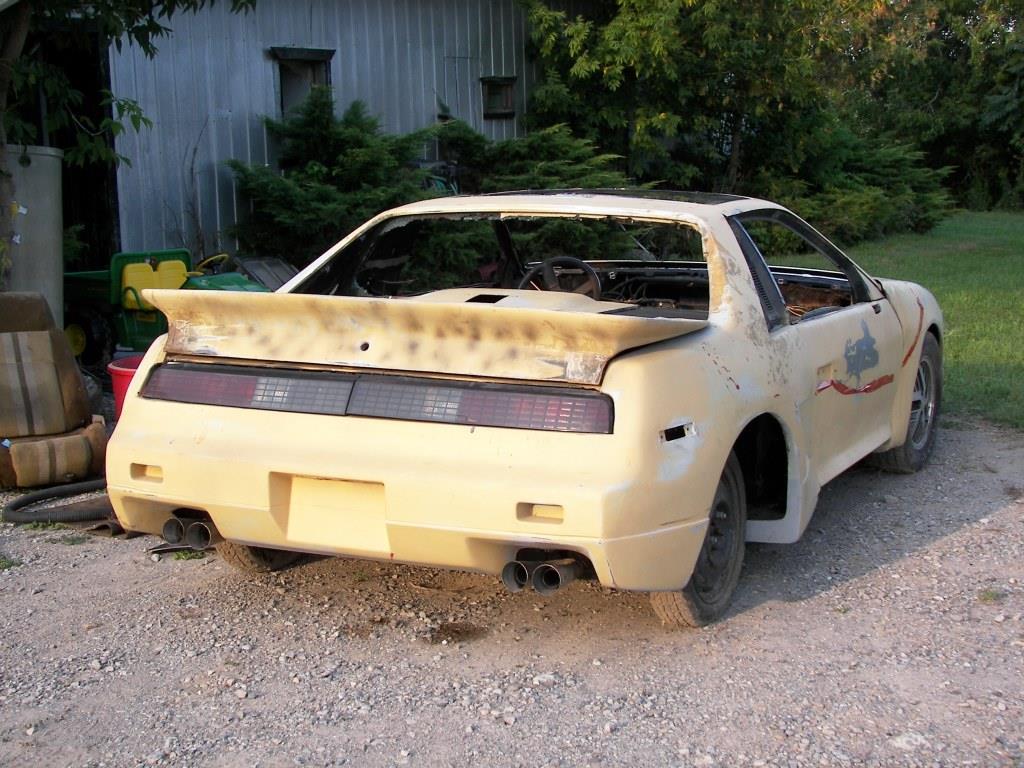
I bought this 88 Coupe in 1999, I'm the second owner. This is the only pic I can find of it after all these years as it was born, except for the wheels, spoiler, engine and a few other things. The Holley scoop sold on eBay for $197.50 I wanted a fastback, so... Then I kept going, adding t-tops, a turbocharger and a few other things. This next pic was taken at Wheatstock in Topeka, Kansas in 2004.
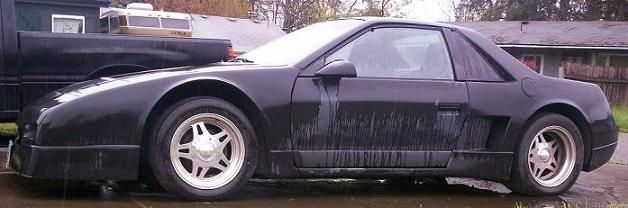
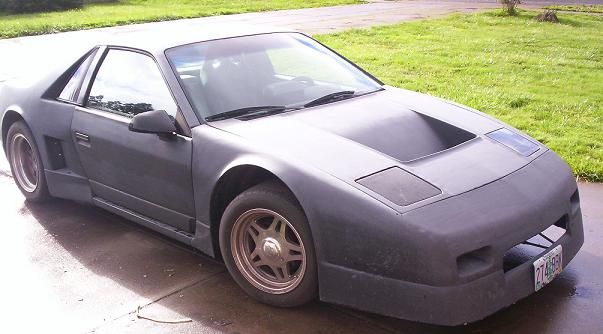
I always liked the IMSA, but not so much the stock ones. They look a bit "odd" to me with the low wheel arches and some other things. Then I find this one listed in The Mall section. Yes, I bought it. I moved the body from the 85GT it was on over to my 88 Coupe. I wonder how many go from a notchback to a fastback, then back to a notchback? However, there are some things about it I want to change. I'm lowering the front wheel arches a bit and tweaking the rest. Which is why I am making this thread - I need help!
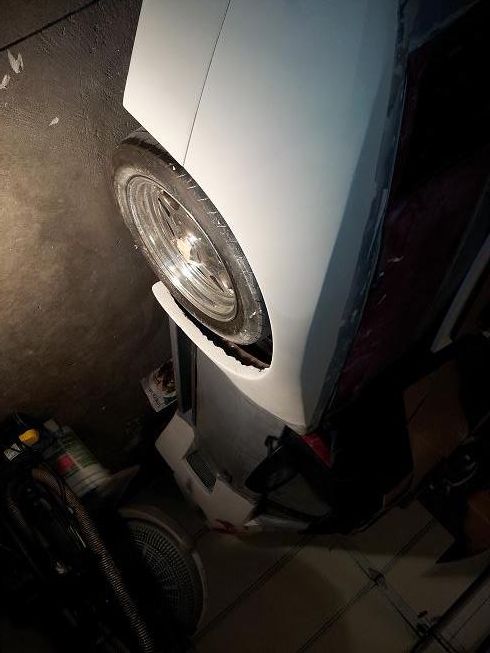
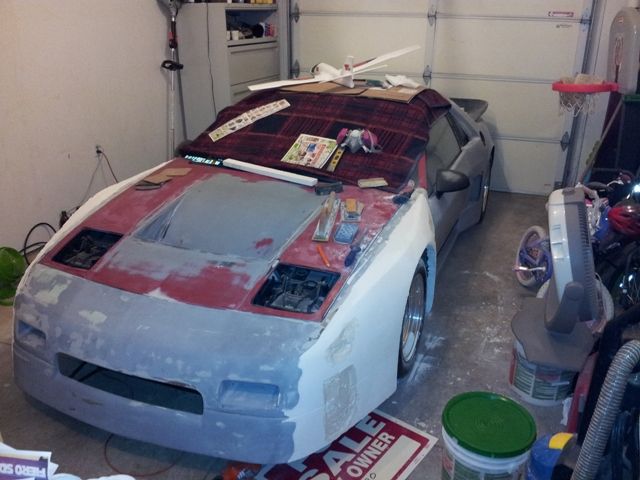
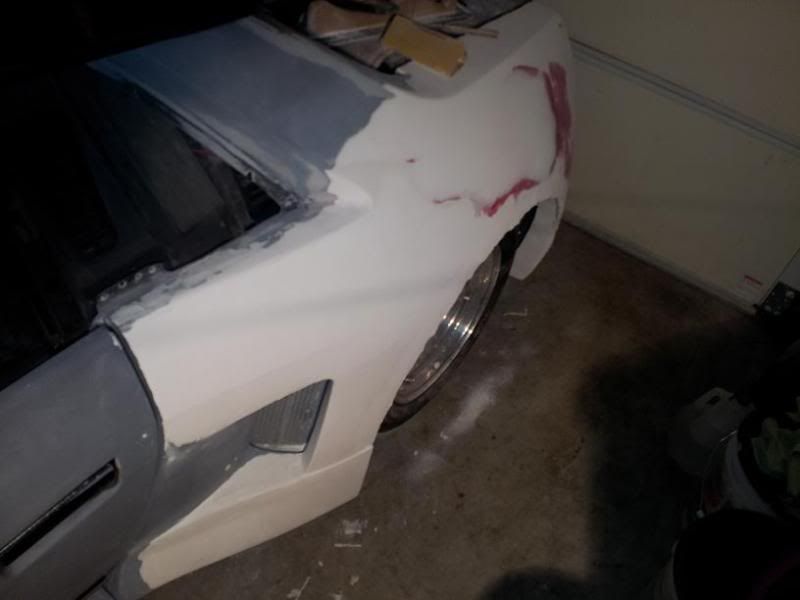
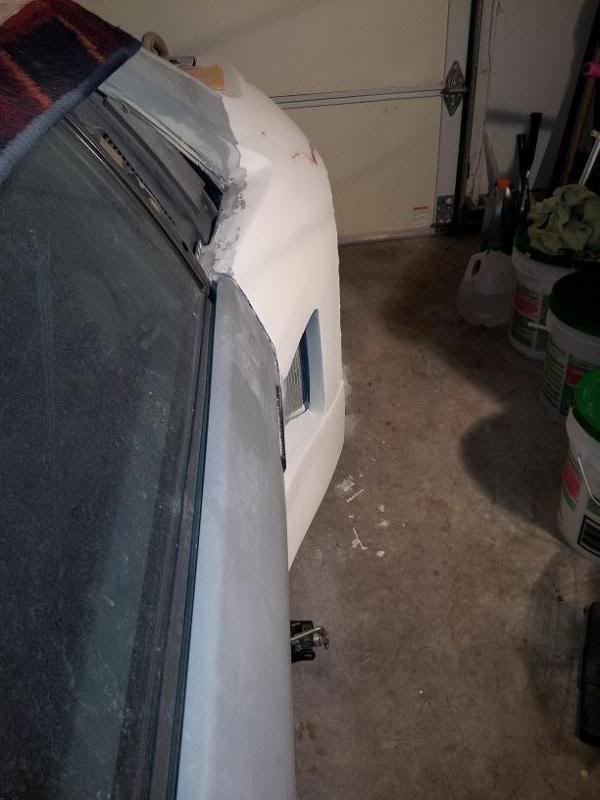
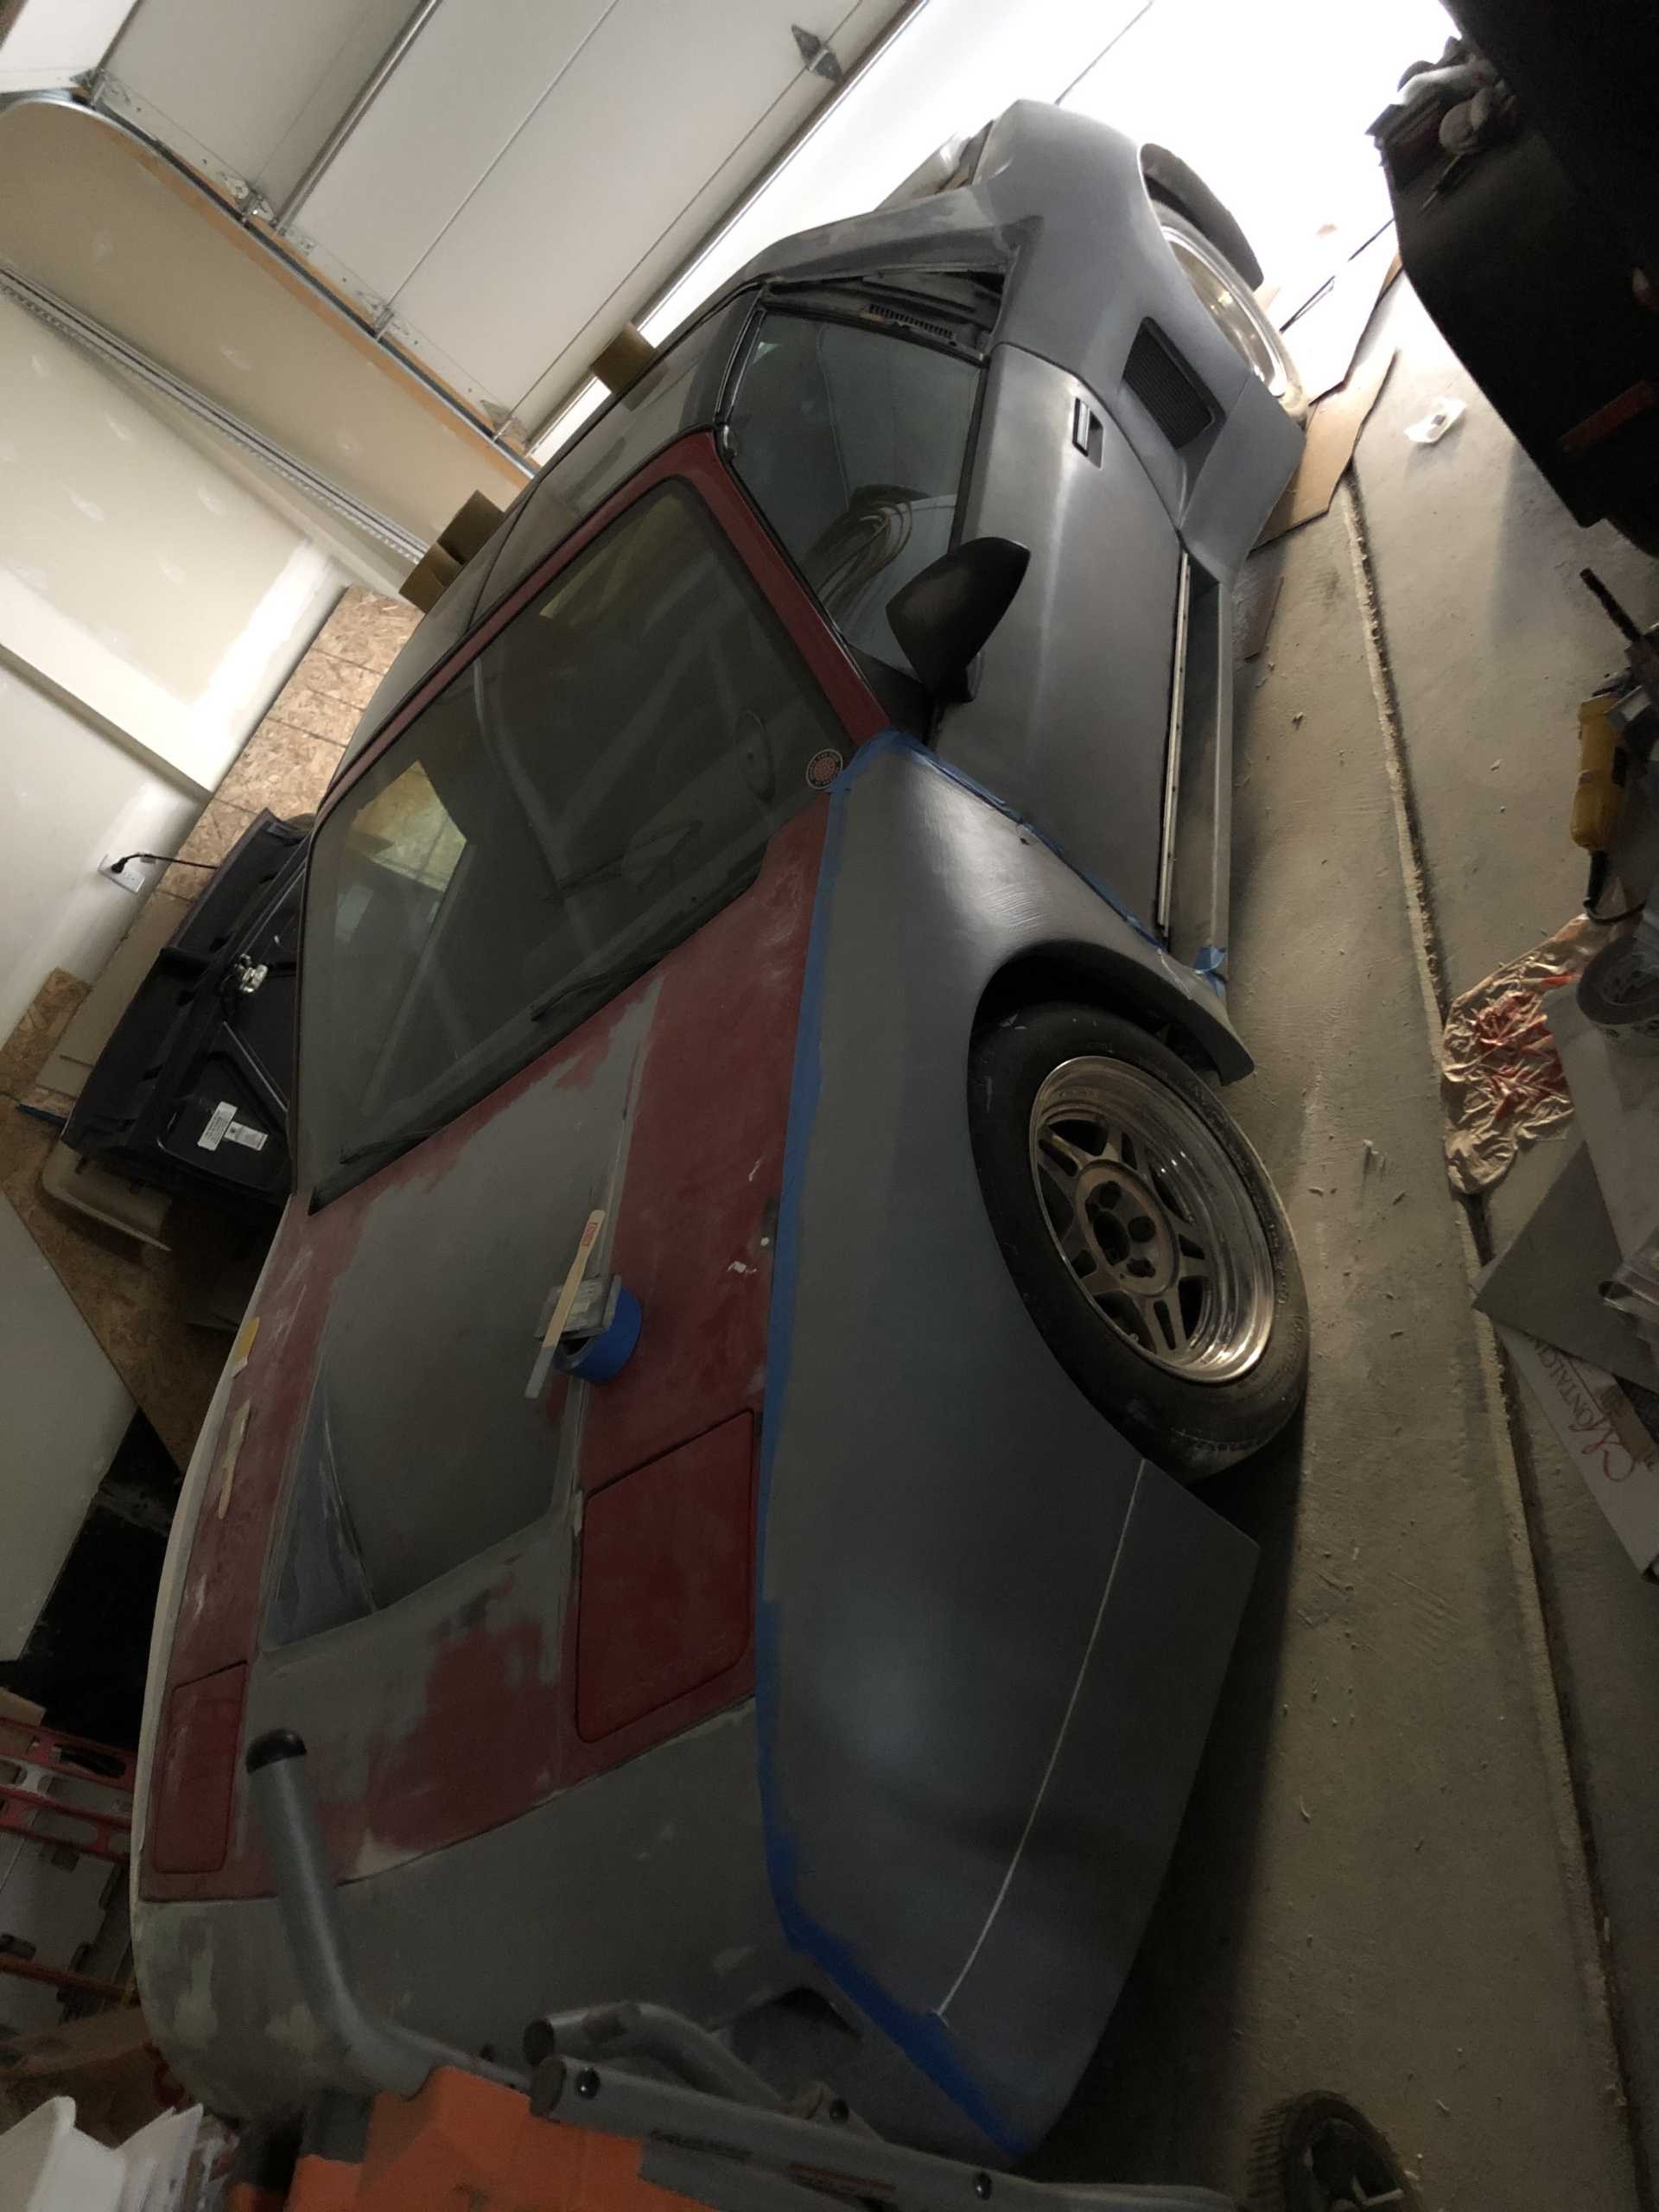
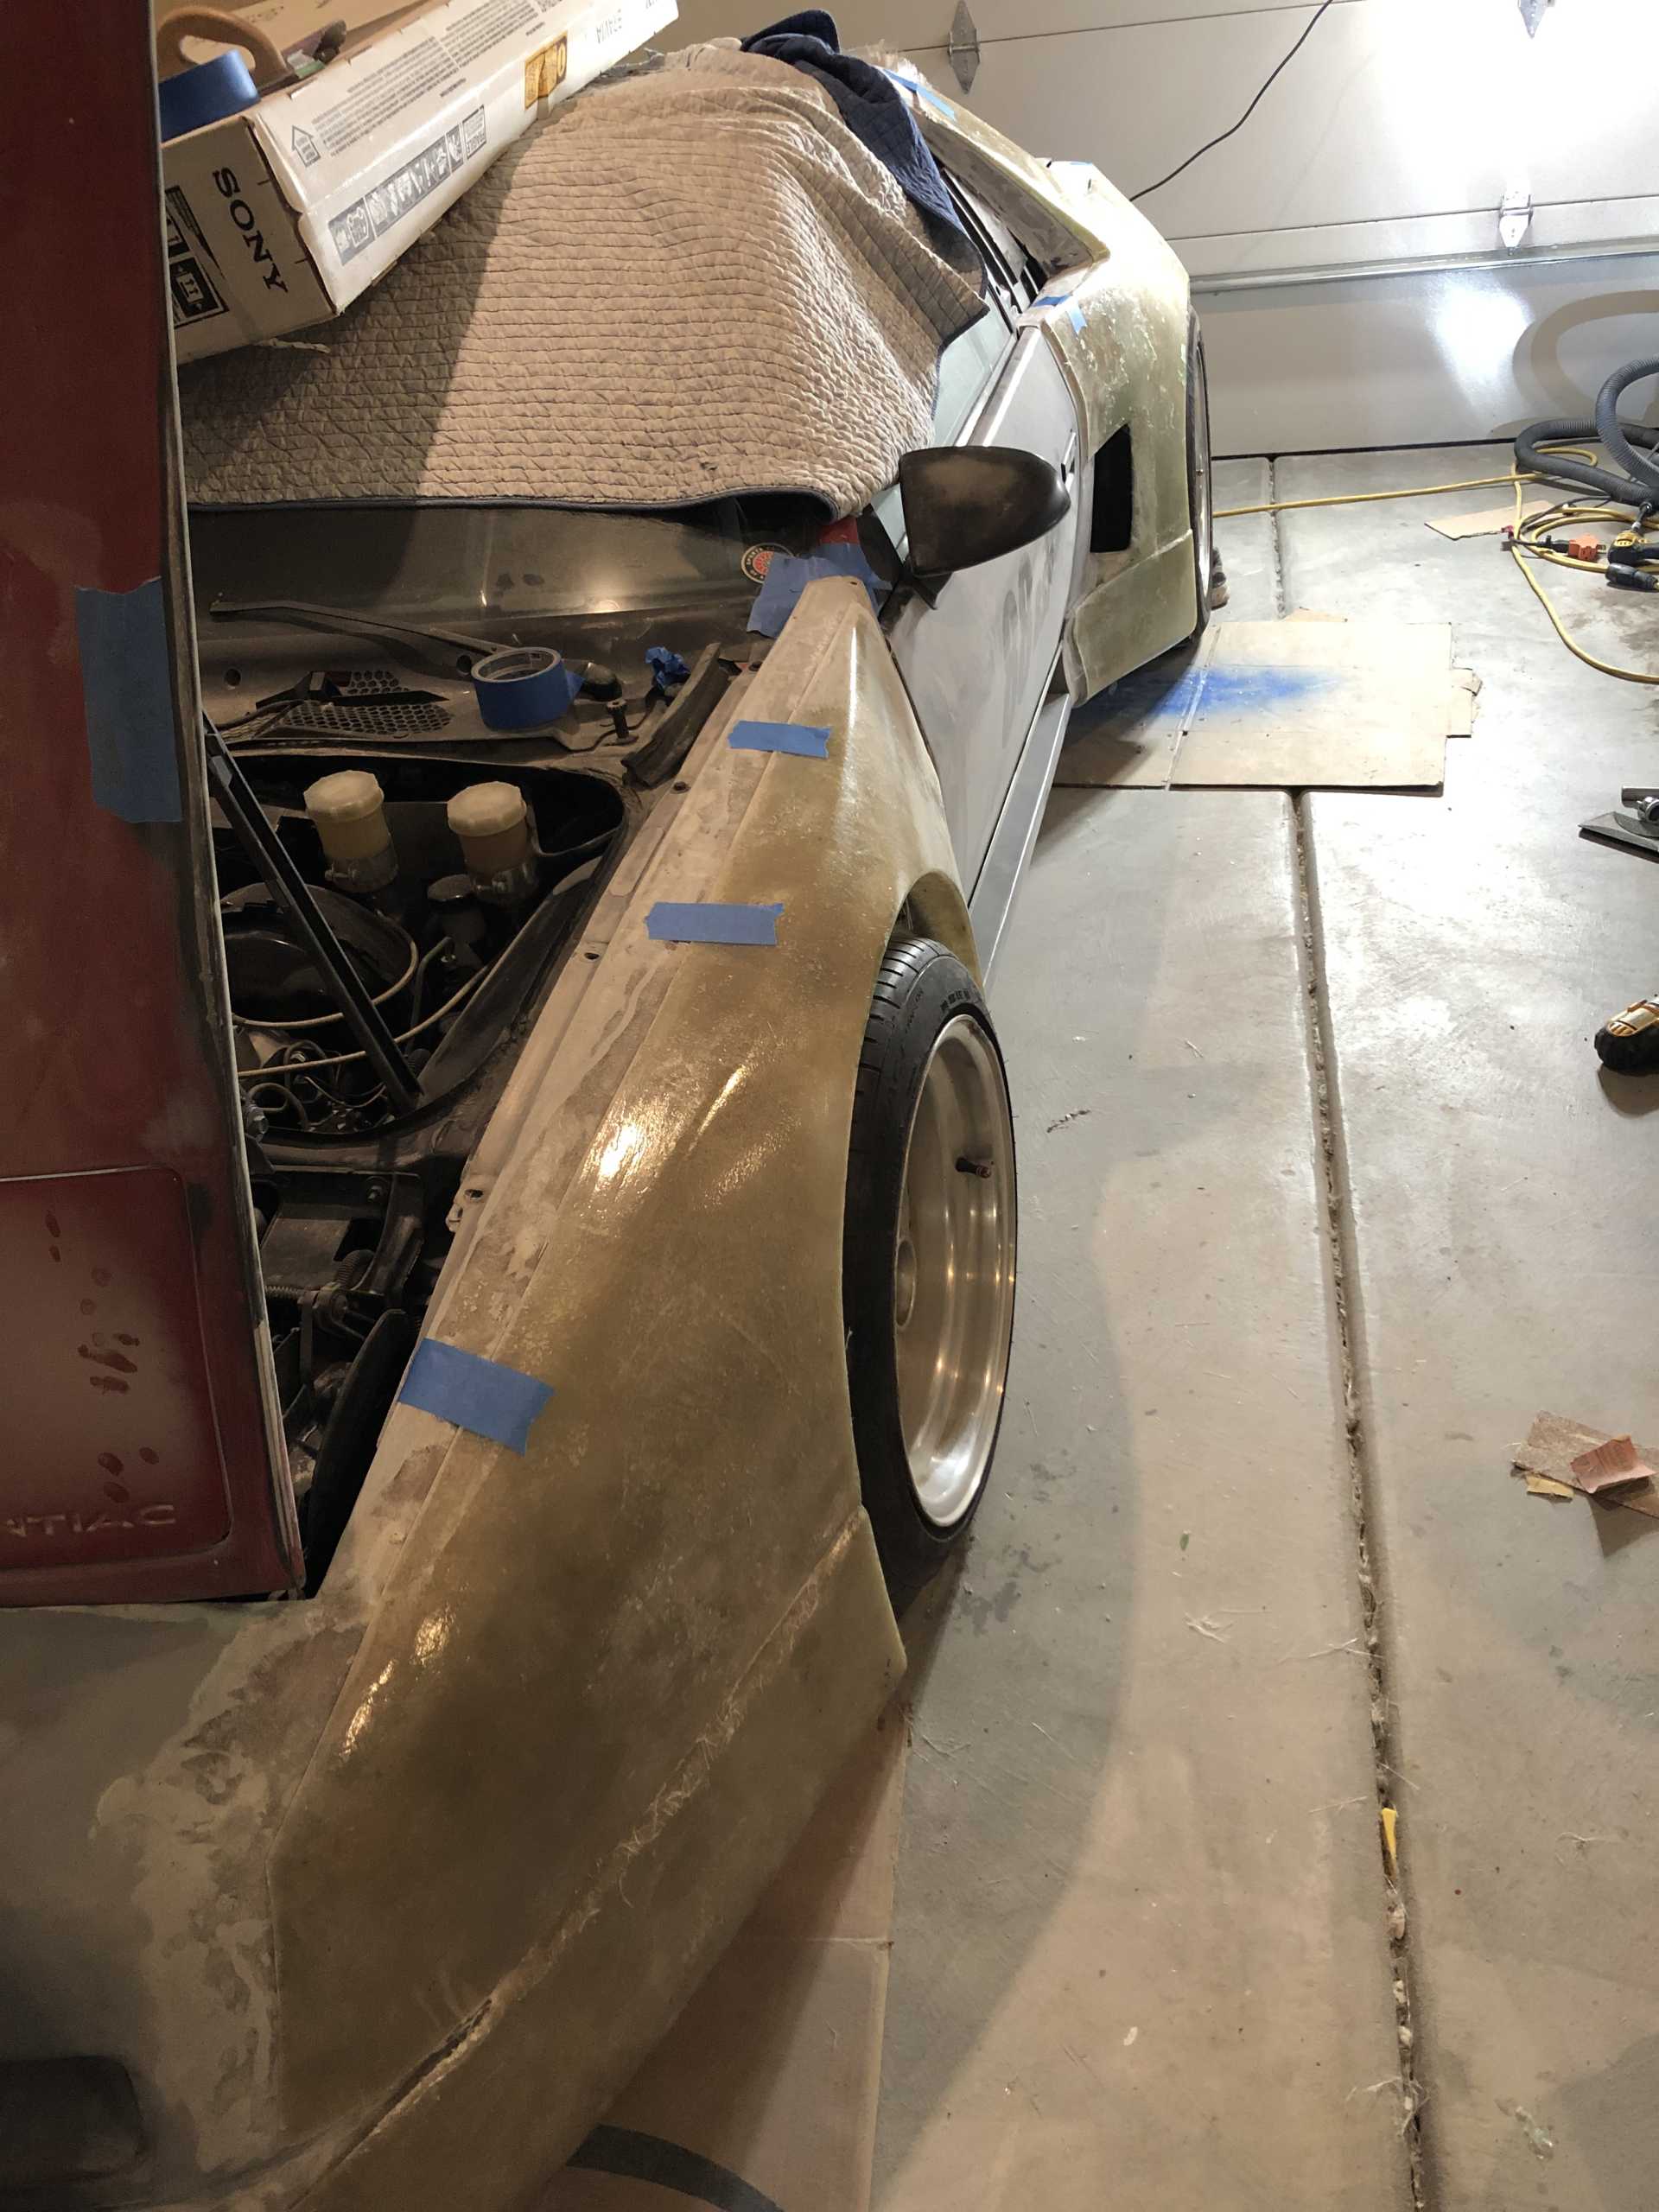
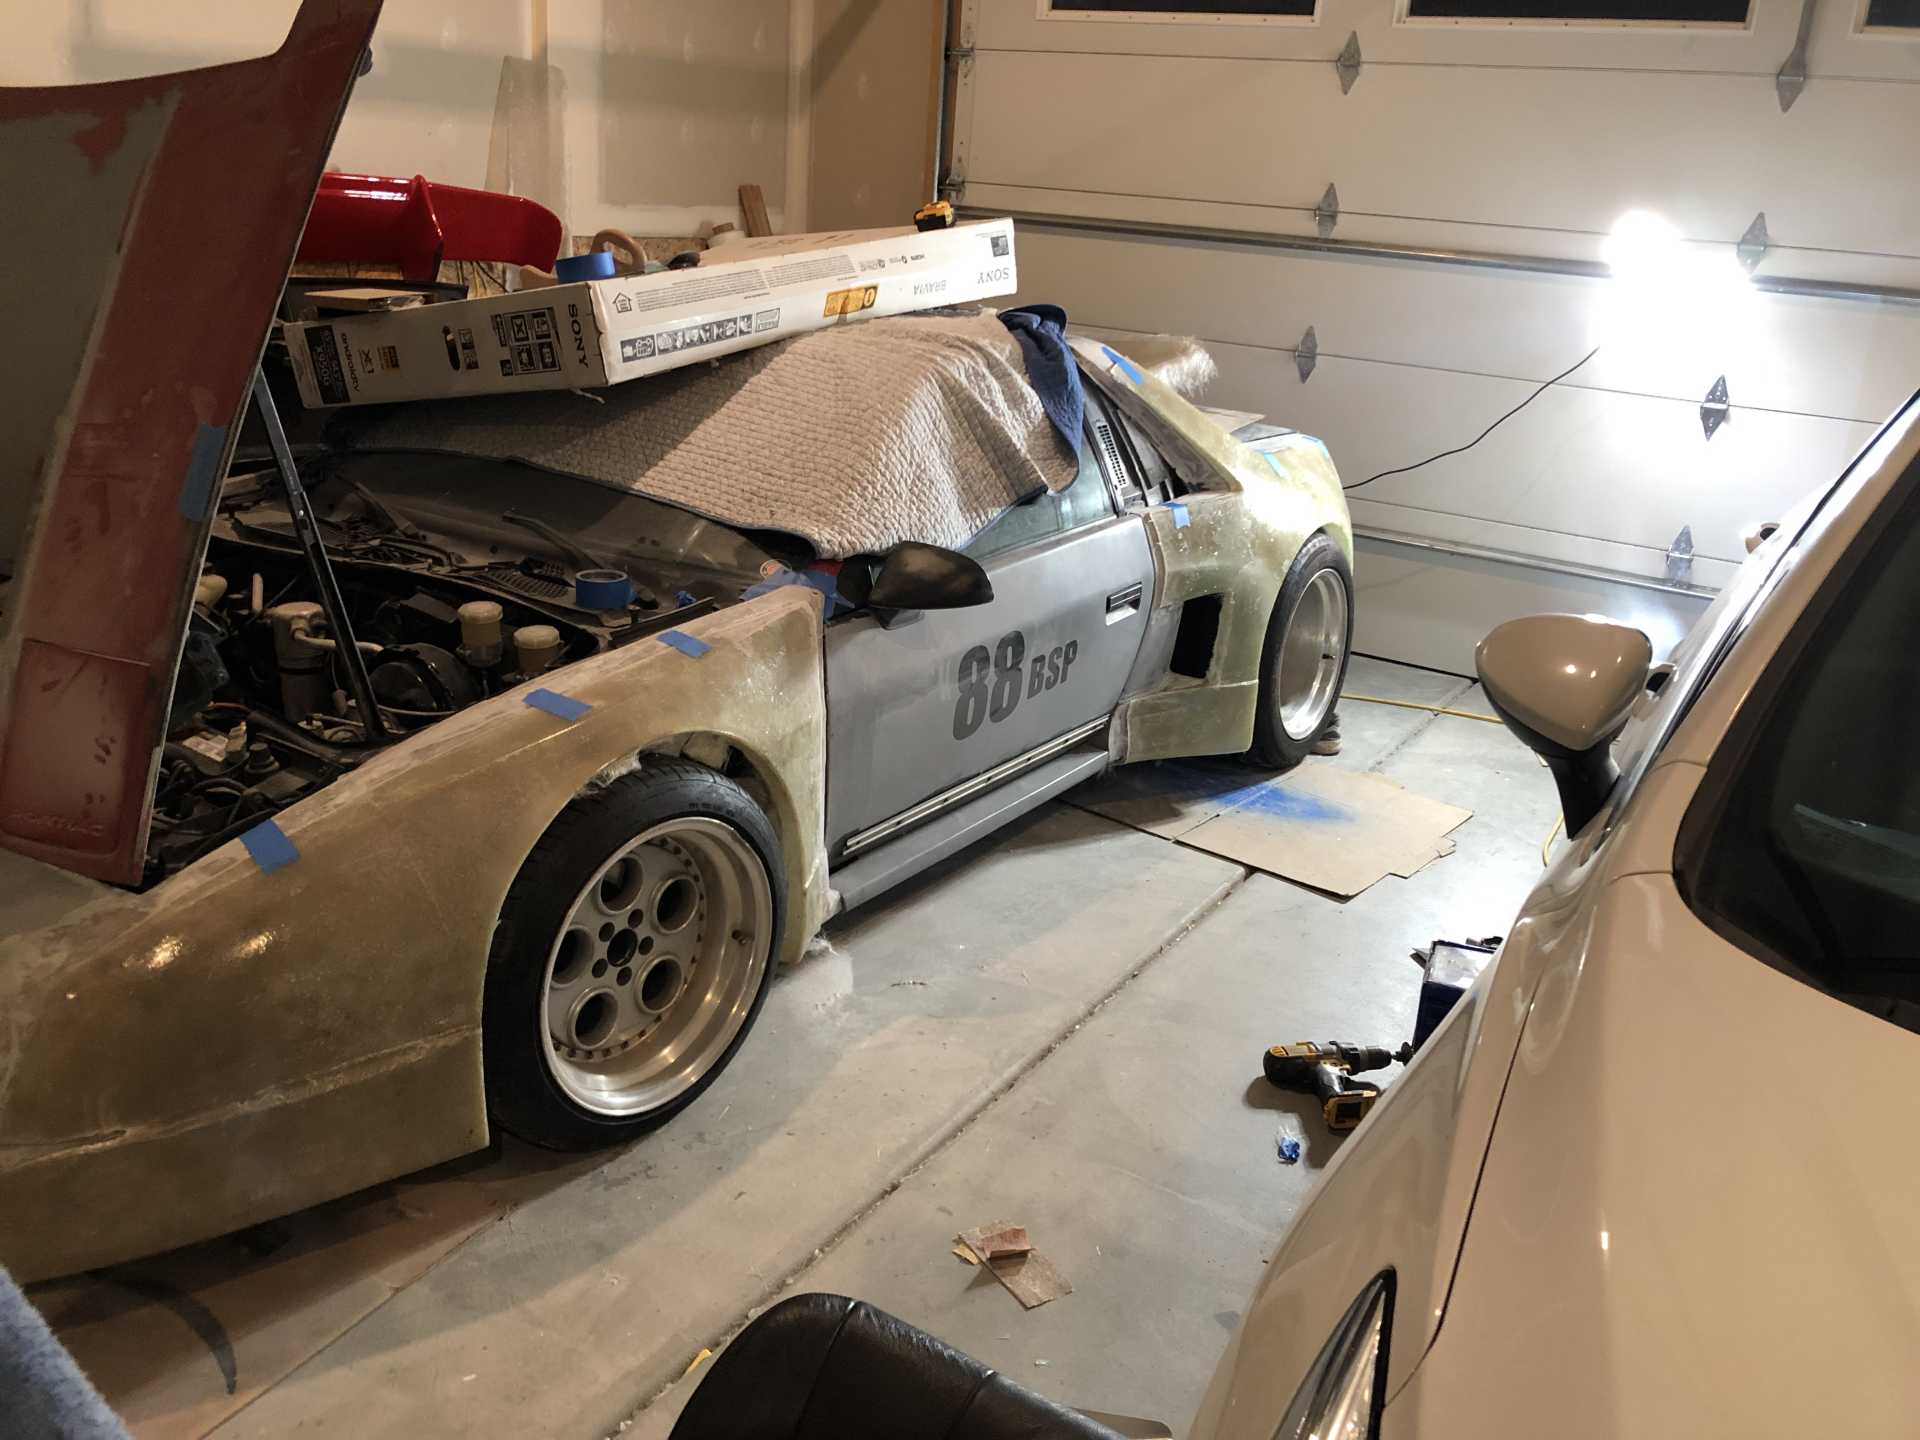
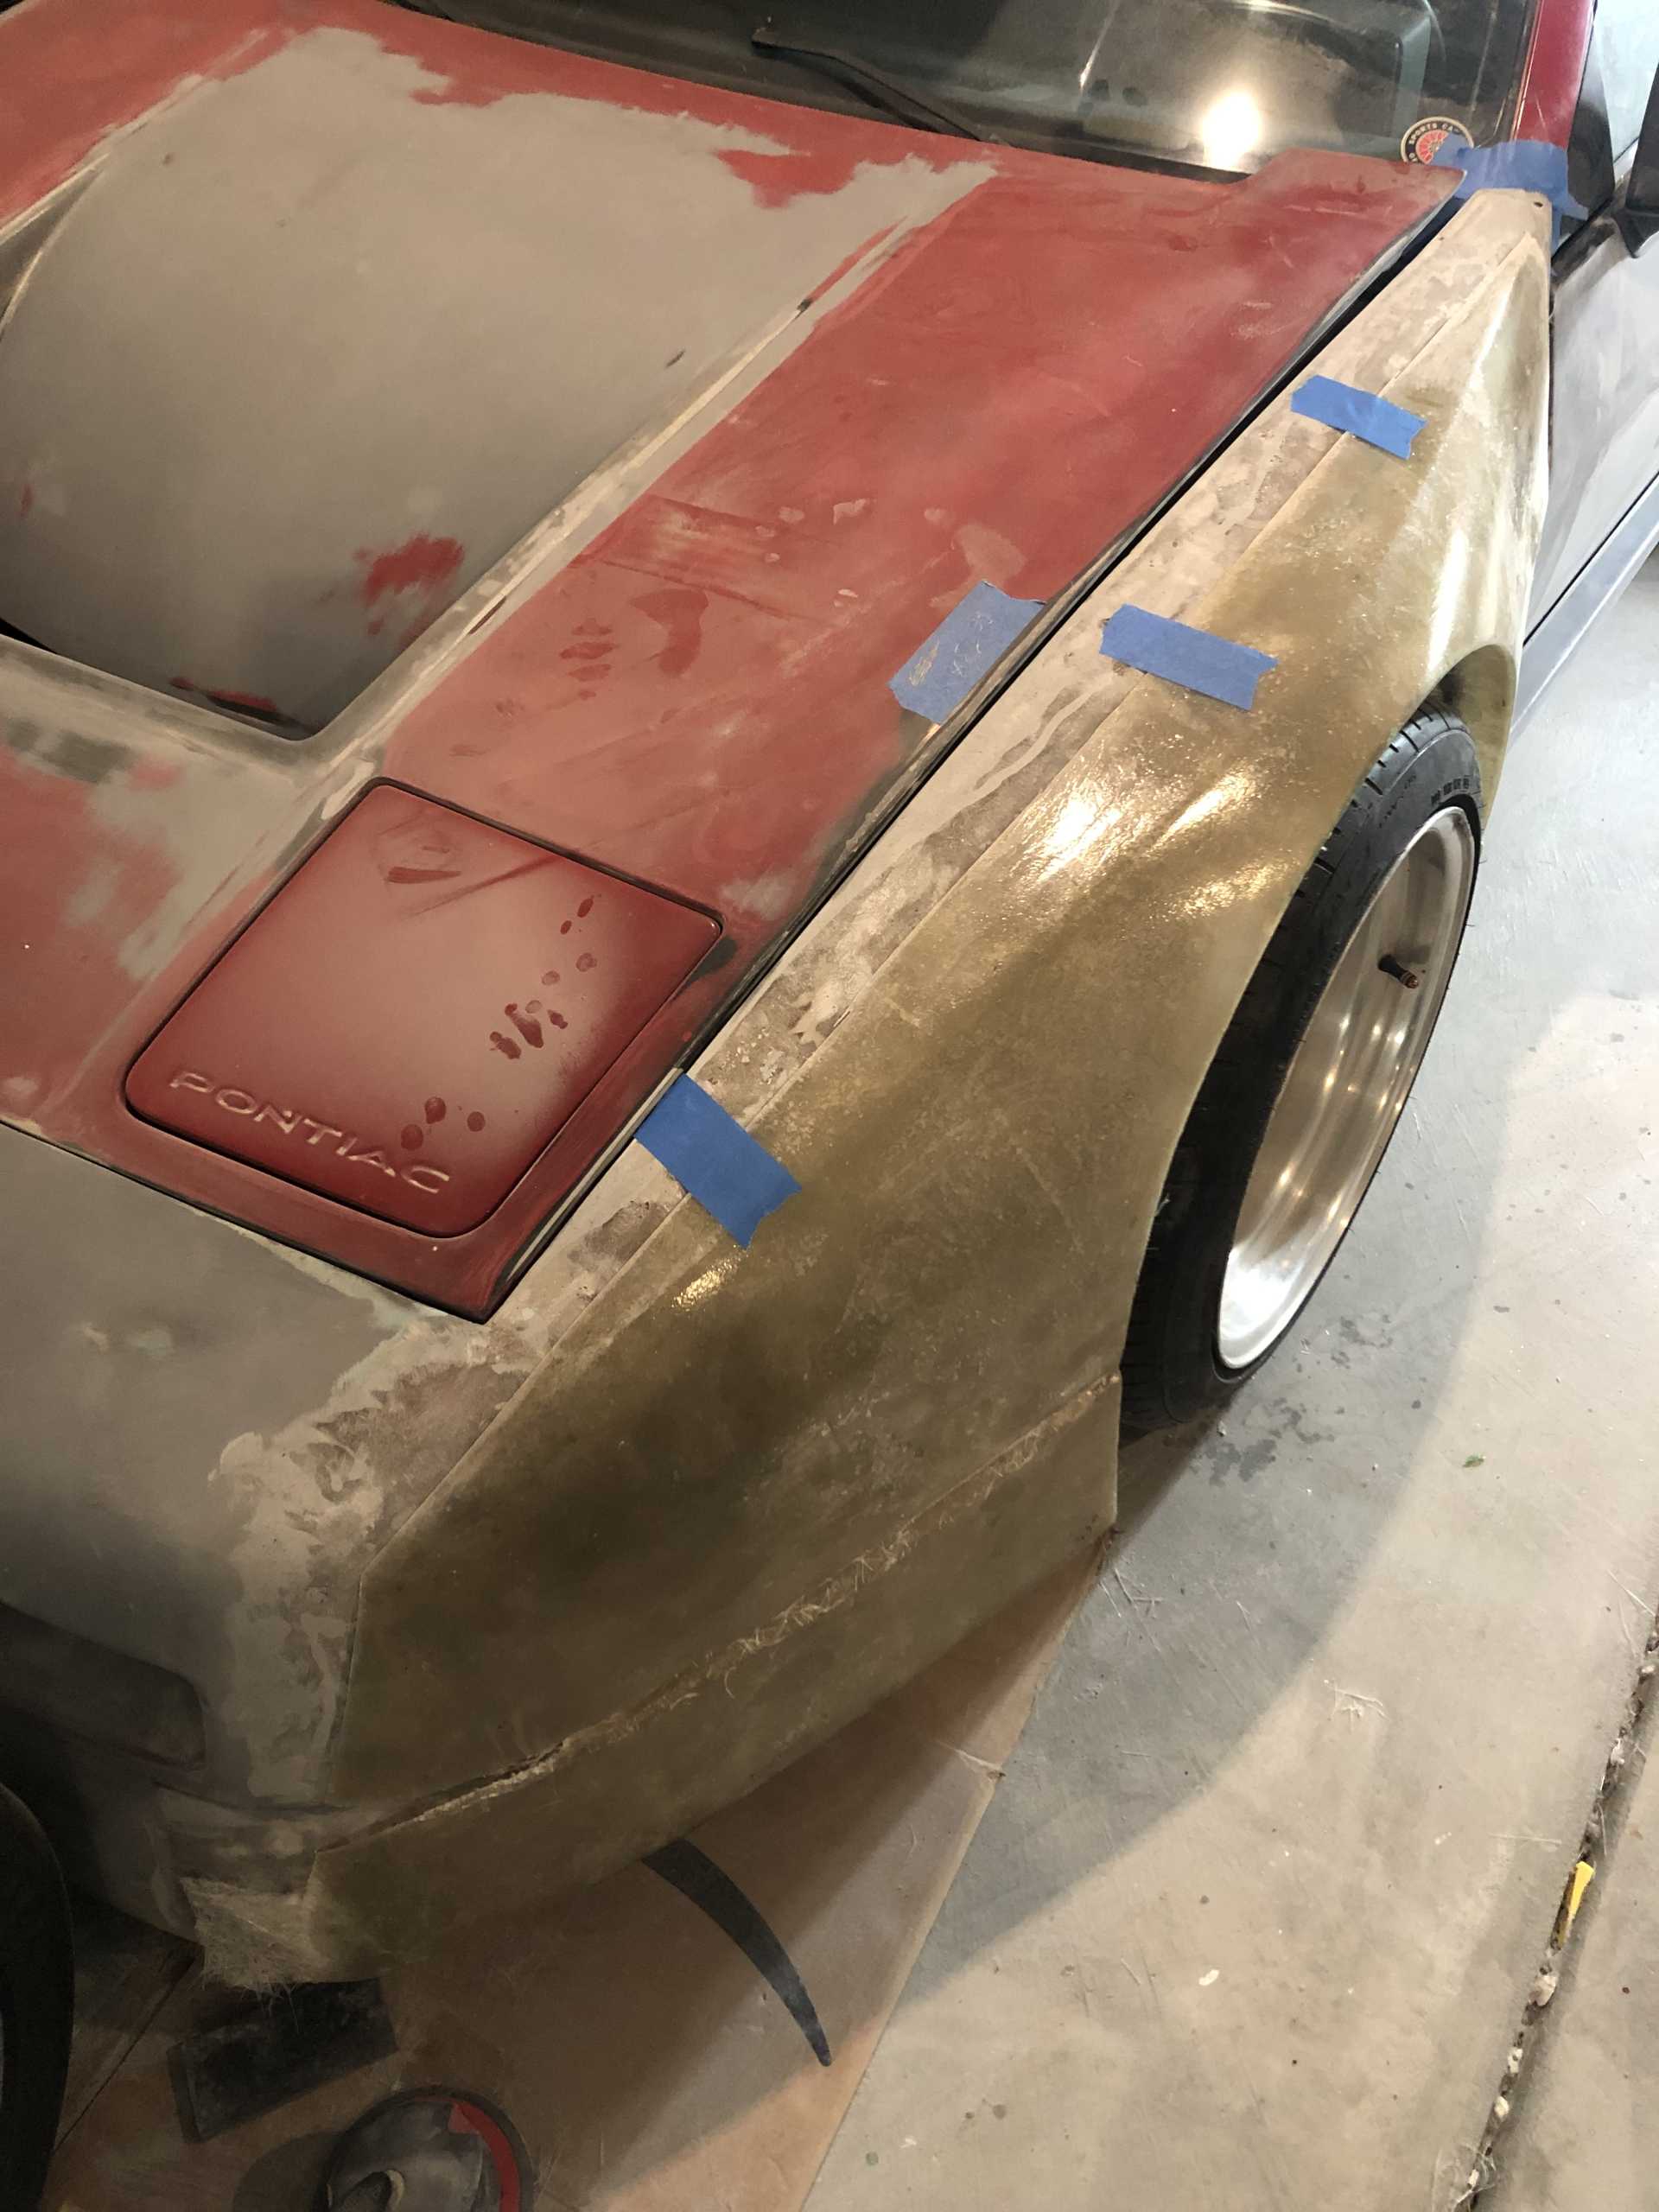
Here it is today: I lowered the front arches about an inch and a half and widened the front about the same. The rear is wider as well and I shaped the opening differently. In that pic the rear has 10" wide wheels with 0 offset and you can't even see them.
I'm using foam and sheetrock mud to make the changes. I've heard others have done the same with success. Now what I need help with is finishing it properly. Should I make molds if I don't plan to make any copies?
The fuel filler might need to be relocated. I was thinking about the deck vent, but my liquid intercooler is there.
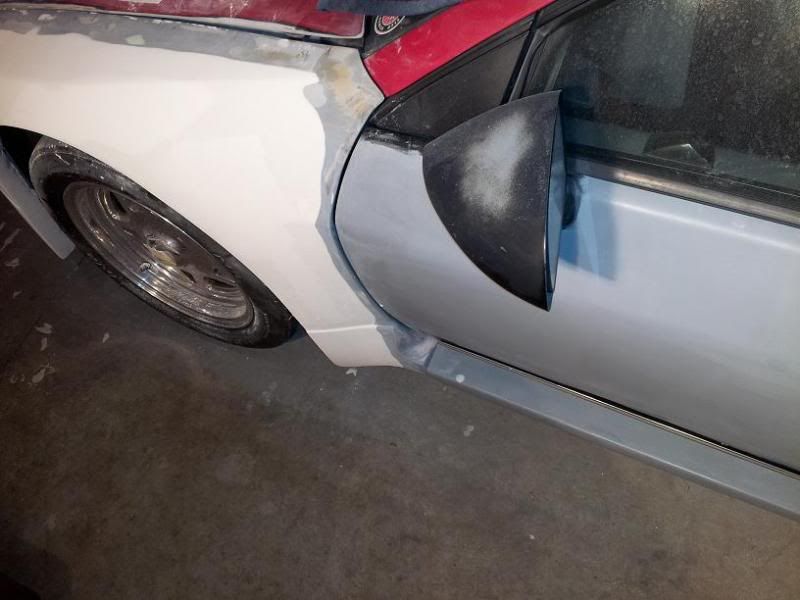
An earlier pic, before I started on the back. That car has become a storage shelf. I have some cleaning and organizing to do in the garage.
I'm gonna need help to finish and maybe some prodding to keep going.
[This message has been edited by SCCA FIERO (edited 01-28-2014).]
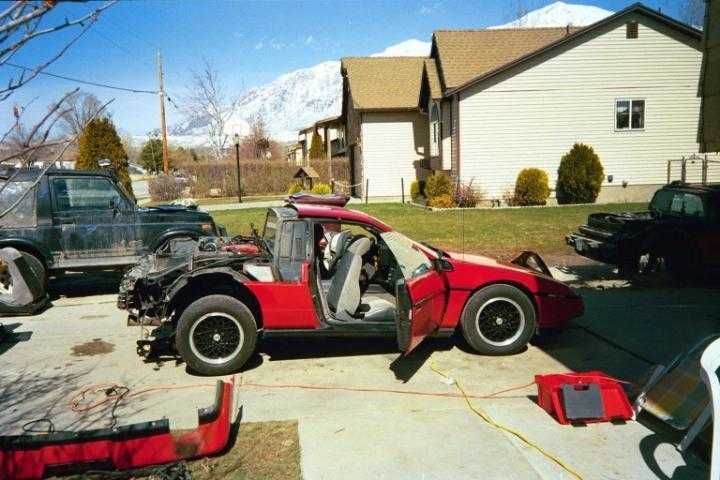
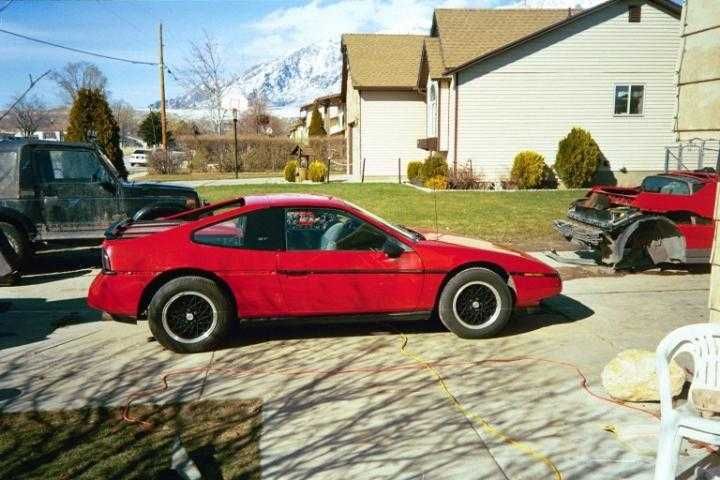
The black car (IMSA) I bought as you see it in the three pics above. It was an 85GT and built by another member who has since moved on to Corvettes (as far as I know anyway). I moved the IMSA body over to my 88 Coupe, the red car pictured above.
And yes, those tires are no longer made, but Coker makes a 295/40/15 copy of a vintage Michelin tire http://www.summitracing.com.../tire-size/295-40-15 ,but they are expensive. Another option is a 295/50/15 truck-looking tire that looks aweful. My plan is to have wheels made for this car.
Car looks great. It's had quite a journey as have you with it.
To answer your question, at least from my experience, yes, most "pros" will make a mold for the finished parts they plan to use, even if there is no plan for production and it's just going to be a one of.
Some of the reasoning is that when you make the plug, it's kind of "cobbled" together in bits and pieces till you finally get what you want, but it usually weighs a ton and is not very stable as far as vibration and general use. The way you are doing it, not sure if when you are done, you could get all your raw materials out from behind your finished fiberglass panels, but that's gonna have to be your call.
Short answer is yes, even if you don't plan to make any copies. Not a law or even a rule, just an observation based on what I've seen/heard/learned.
Looking forward to seeing the finished product, no matter how you arrive at it.
I don't plan on leaving the foam and mud on the finished panels. I was thinking the best way to go about it would be to make molds of the parts I am changing, then removing all the foam/mud and glassing the parts to the existing parts. Looks like I will learn to make a mold
Now I need advice on sanding blocks. I have a few, but not enough, I also have a DA. I was thinking about ordering a set of Dura-blocks unless I find a better alternative.
Keep in mind, there is usually a difference between a mold made for a "one of" and a "production" mold.
The one of mold does not have to be as thick (fewer layers of reinforcement) and the tooling gel coat on the pulling surface is not an absolute necessity (could just use regular gel coat) but is a better grade (withstands higher temps) of gel coat.
There are plenty of sites with info on how to go about it, but here is one that I generally pass on to those looking to do something like you're contemplating: http://www.fibreglast.com/category/Learning_Center
You could back your mold with foam core or something similar and still not have to use as much reinforcement, but basically end up with a near production quality mold, especially if you spring for the tooling gel to pull from.
Their prices on materials is kinda high, but the info is good. We generally get our supplies at Composite One.
With what you've done thus far, there's no question you'll do great with the finish up part!
On the other hand, if you go about it right, you could do what you were thinking in the first place and not have to make a mold at all, just up to you what you want to end up with. If I'm understanding you right, you planned to build up what you want, skin it with fiberglass, then remove the material/s used to do the build up and leave the new fiberglass shell as your finished surface? No reason that couldn't be made to work, just a matter of what you want to do. Most guys who have done what you are doing, want the new part to look like a new part, inside and out, that's why they make a mold in the first place. See if you can find the thread done by Alex, who I believe was in FL at the time when posted about making his wide body car, which turned out beautifully. He did exactly what you are doing....made the mods he wanted to the body, made molds and pulled the parts to build his car the way he wanted it. Don't remember his exact screen name, but he used the car as part of his entry requirements to get into an engineering/design school, and I think is now employed in the field. I'm sure somebody else on here can chime in and fill in the particulars, it was an impressive project, and turned out well. He made his own molds, not even sure if he even used gel coat in his, but it does make it easier to take parts out of.
HAGO!
[This message has been edited by Sage (edited 01-28-2014).]
Yeah, I've been to Fiberglast and watched many videos, watched quite a bit on Youtube as well.
I was thinking about making a skin and finishing it on the outside instead of making molds. But I wasn't sure which way would be easier/better. It sounds like making molds is the way to go. Making a skin would be difficult in the area whith the ground effects, which are molded in. A mold would likely transfer that line a bit better.
One thing I am worried about is the mud releasing the mold without a lot of it coming off, even though it wouldn't be too hard to remove it. The mud is dry and likes to 'suck up' anything with moisture. I watch a guy's Youtube channel who recommended Mother's pure carnauba paste wax for a release agent. And since it's a paste, I think it might work. It seems it's the only thing he uses. He makes hood scoops and the like for a company whose name I can't remember at the moment. Any thoughts on that?
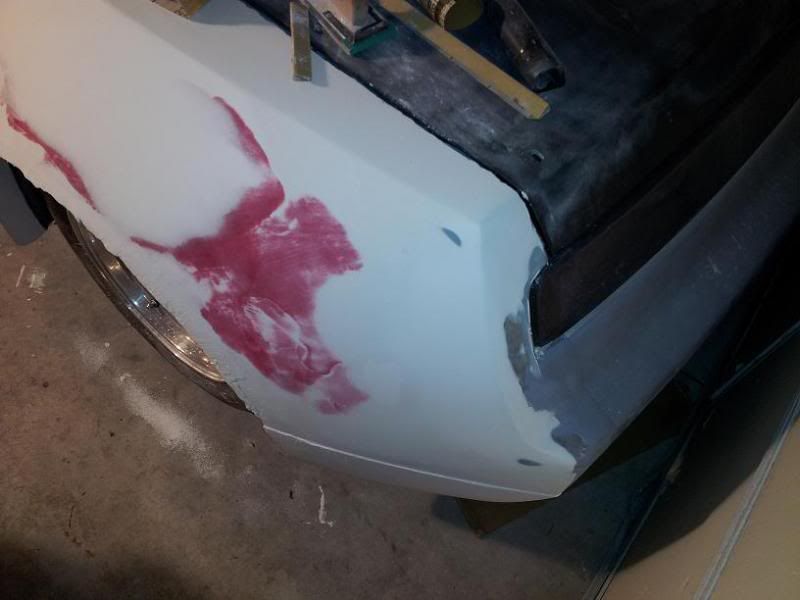
I'm still in the process of shaping it the way I want it. I've changed the front twice and still trying to decide on the rear where the clip goes up to the roof. The IMSA panel in that area is already a couple inches wider than a stock panel. I went out to the garage and started to organize a bit, still a ways to go. Snapped some pics when I was out there.
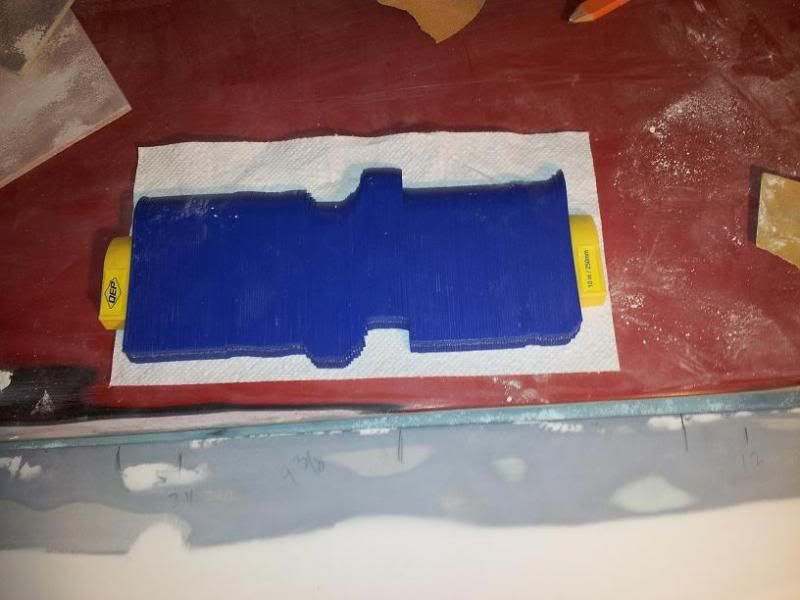
Something I am using to get the other side the same. I found it at Home Depot for like 10 bucks in the tile section.
[This message has been edited by SCCA FIERO (edited 01-28-2014).]
I have been going back and forth trying to decide foam versus clay to shape. Working on engine first. I want the T-top too. Sunroof in it now, how hard to convert?
I will be following to learn form your mistakes so I can make my own!
I always wondered what happened with this car. Glad you are sticking with it.
Back in the day people gave me a lot of crap for using sheetrock mud for shaping - Used it on my whole front clip (old thread).
You have a couple choices at this point.
Cheap - fiberglass skin it, remove all the buildup underneath and reinforce the underside with more glass... You will end up with a skin aprox 1/8" wider then your 'buck' but if you account for that in plug production then it works out fine.
Quality/Better end result - get the shape exactly how you want it, apply a couple layers of primer, seal it with some cheap spray paint - then proceed to wax and use a PVA release agent. Make your molds - Ideally on a 'one off' you want to make the mold thick enough to pull at least 2 copies (you would want to strangle someone if you got it damaged one day and had to start all over)
Your release agent is going to be key in getting the molds off without pulling your plugs apart.
Duratec makes a good finish to make a mold on. Used to be able to use laquer paint, but you just can't get the "real" stuff anymore, not even sure if anybody still makes it. They sell stuff that's called "laquer", but it's nothing like what it used to be.
You just have to make sure your plugs are sealed good, and end up slick enough that "a fly couldn't land on it" , that's what the guy I learned from always said.
I generally use gel coat to seal-finish off a plug. Yes, you still have to put the hardner in ( a little more than usual) and work fairly quickly, I spray it on with a regular hvlp gun (about 5 coats) thinned with acetone or laquer thinner (50/50) and have never had a problem seperating the mold afterward. Proper prep is the key.
Whatever you end up using, you'll want to fine sand it (usually wet) up to at least #600, and if you want to go all out, all the way up to #1200, but most don't bother and it's not necessary, just depends on how smooth you want your finished part, and how much work you want to do to get it that way after it's out of the mold. Most molds are going to be wet sanded and buffed before they get used, but again, depends on how much work you want to do and when you want to do it.
Then the waxing comes......again, up to what you want to end up with, and how much work you want to do to get there, and if you want to do it now, or later. The more time you spend making your mold the way it should be, the less work you'll have to do to your parts when they come out. Being that you're going for a one of, I wouldn't go overboard on the molds, cause you're only going to have to work one set of parts, one time, but the rule is the same....the more work/time you put into the molds, generally, the better your parts come out. I usually put about 10 coats of wax on a new mold before using it the first time. Not sure you'd have to go to that extreme, but....see above^. Whatever you do for a finish and/or waxing, you'll want to use a seperate release agent like PVA or Fibrelease, to help ensure you don't have trouble getting the mold off your plug.
Don't wanna overstep my bounds here, so will bow out. Should you have any more questions for me, feel free to PM or email me.
Good luck, judging by what you've done in the past and up to now, don't see where you're gonna have any problem getting what you are wanting.
HAGO!
[This message has been edited by Sage (edited 01-29-2014).]
Don't forget to use the correct amount of hardener for your resin, I measure by weight. It's pretty simple, with resin go 1% by weight and gelcoat go 2% by weight. Another way to think of it is like this, 100 grams of resin add 1 gram of hardener, 100 grams of gelcoat add 2 grams of hardener. For mold release I like 3 coats of mold release wax, then a coat or two of PVA.
. I always do one layer of epoxy glass over white insulation foam or the blue stuff if I can find it and the epoxy won't attack it. After you glass the foam you can use bondo to shape it and then primer. Wet sand the primer up to either 400 or 600 grit sandpaper and your ready for mold release for the mold. Brush or roll one the gelcoat and let it cure then you will want to glass on some veil over the resin and let that cure. After it cures go back and look for air bubbles and voids and cut the out with a utility knife and you ready for either 3/4oz or 1 1/2 oz mat cloth. I build up multiple layers to get it up to 1/4" thick and let it cure. You don't have to build it all up at one time but you will have to prep sand the cured stuff if you do. Be sure to use either laminating resin or vinylester resin for the mold but it only needs enough to wet it out, don't use too much as it's a waste and only ends up costing you more money. Resin by itself is very weak and adding more will ony make it look bad and gain weight. You should build frame work for the mold to keep it straight and glass it on before you remove the mold from the master. This will help keep it true and if you do it right will double as a work stand to keep the mold steady as you laminate the production parts.
This should get you fiberglass molds good enough to get to pull a few copies and if they are really good, sell a few!
I use three layers of professional grade masking tape over the area I'm working on. You can work right on top of it and when it comes time to remove the work it comes right off the surface. Just don't sand away on it as it won't stand much sanding action.
I know I've asked you in the past but I don't remember your answer.....are you running adapters with the current wheels of were they custom made to fit the 5x100 pattern with the proper offset?
Current wheels are made by Billet Specialties and are 5x100 and hub centric, no adapters. Rears are 15x10 and 0 offset, front are 15x8 and 30 offset.
It's a shame because I don't believe Billet Specialties are doing custom wheels anymore. I tried to have them make a set for me and they declined to make a 5x100 in that width.
You do have a few options. Both are viable. I did the thin layer over foam to do my front and rear facias. It's a boatload of work, but something I can comprehend a little better than mold making.
I used molds to make my head light buckets. I took short cuts and now it's a boatload of work.
Hey SCCA, glad to see you're still working on this project. Great progress. Did you decide on making molds or just building up fiberglass? One thing I figured I would mention, you can build up decent molds fairly cheap (ones that would be capable of 2-5 pulls) just in case... it would suck to have to remake all that custom work over a simple fender bender. Good luck with everything.
I have a set of HRE three piece wheels that I will replace to outer lip, which is 1.5", with a 6" lip. The inner barrel is 7", so the width will be 13" with a 355/30/19 tire on the back. The finished wheel will be about 2" further out than the 10" wheel on it now. I need to double check everything and make sure I don't need a 6.5" lip...
For racing I will use the wheels in the pics with a race tire made by Hoosier, which is a 275/35/15.
I think I will make a "skin" part and see how that goes. If the plug is undamaged, I will try to make a mold as well.
I'm going to look at a donor car tonight with an LS4.


 .
.
 .
.


