Much of the published material is about the difficulty on removing this actuator, especially separating the motor from the two link arms inside the ducting without losing them and the retaining clip. This thread is about how simple that repair was for me.
I previously had a problem with mouse nests. First it was inside the heater blower where they ate the plastic squirrel cage wheel. Then the heater fan ballast resistor ignited the clogged nesting material, etc. Eventually I removed nearly all the HVAC covering under the hood and removed all the nest material. Inside the car, I was seeing nest material under the defroster vent screens, etc. At the same time, I discovered the blend door was not responding to the dash controller buttons.
Using the Factory Service Manual, I determined the blend door actuator motor was not responding to correct signals from the buttons. After searching and reviewing every thread on this, including a very good video, it became obvious the actuator had to be replaced and it would not be an easy job. Since I also knew the interior side of the HVAC system still had mouse nesting inside, it would be necessary to remove the dash. Knowing the dash had to come out, I figured the blend door actuator would be much easier to replace.
Over the last 6 months, I'd removed the instrument cluster many times and had taken the console apart more times than I can count. Many years ago, I replaced the heater core and recalled it was not particularly difficult. The heater core removal played an important part of this blend door actuator replacement.
There are plenty of threads for removing the dash and I found it to be fast and simple with no complications. Keep in mind, I've already perfected the removal of the cluster and center console parts.
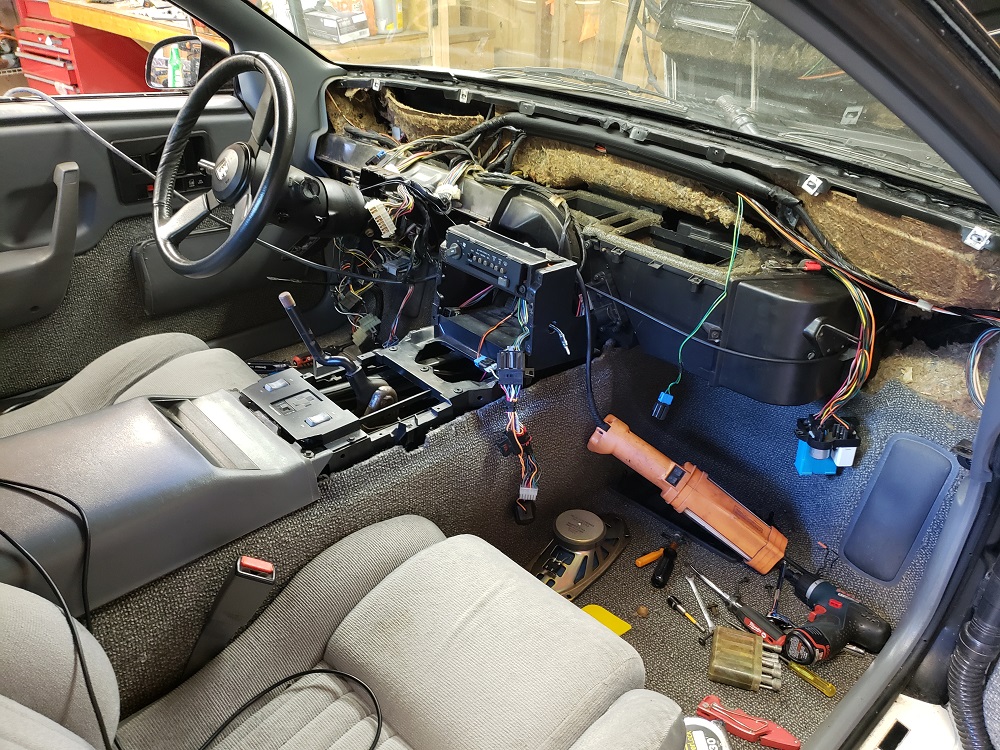
Here's the inside with the dash removed. It looks worse than it really is.
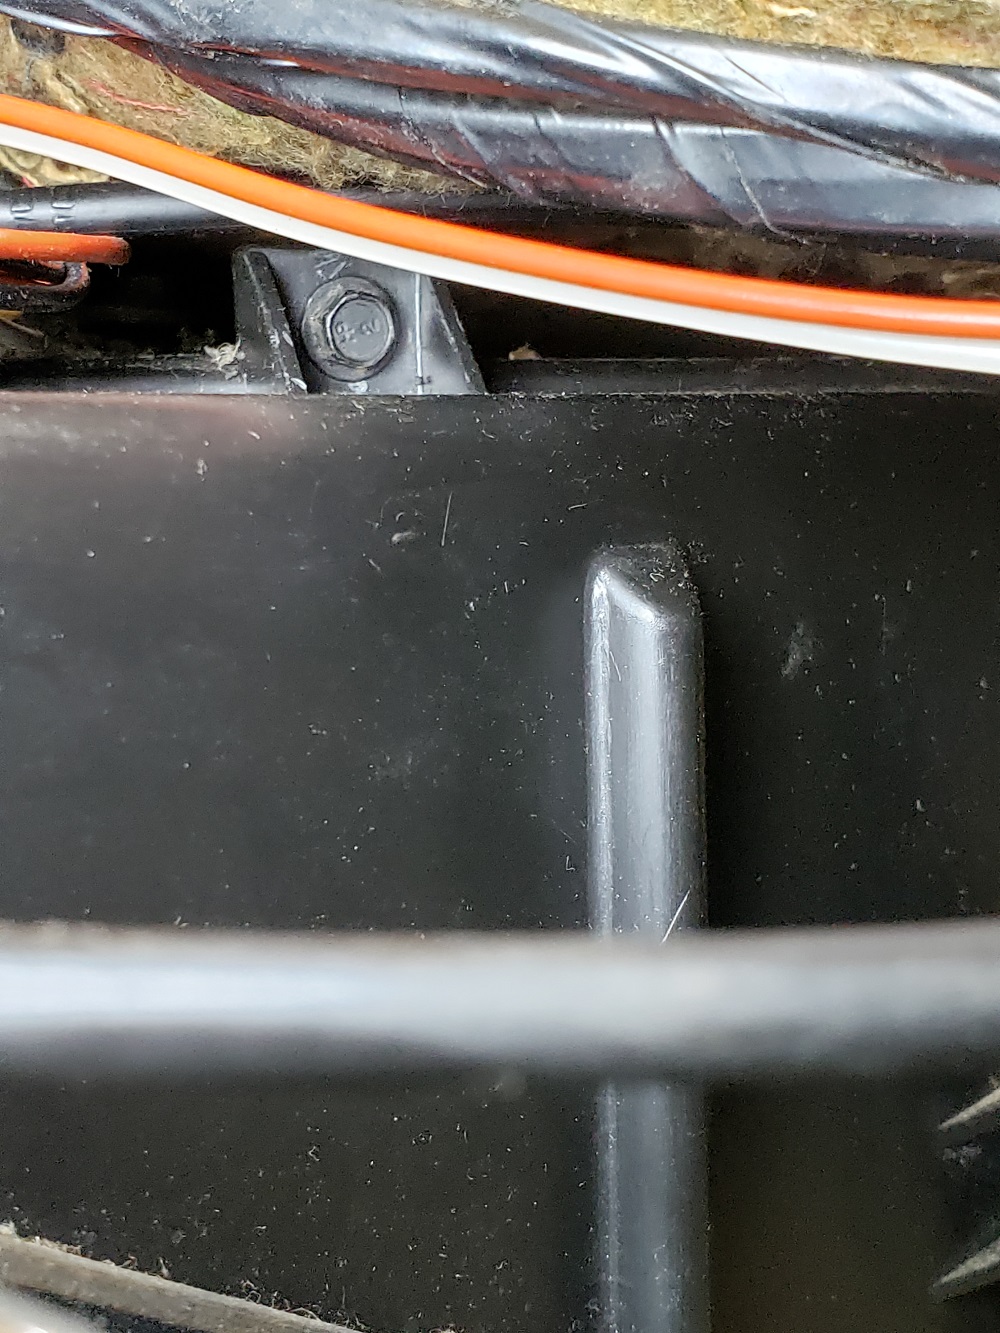
Heater Core Removal - There are 4 fasteners that hold it in. If the dash is in place, the uppermost fastener is accessible by removing the speaker.
Here it is:
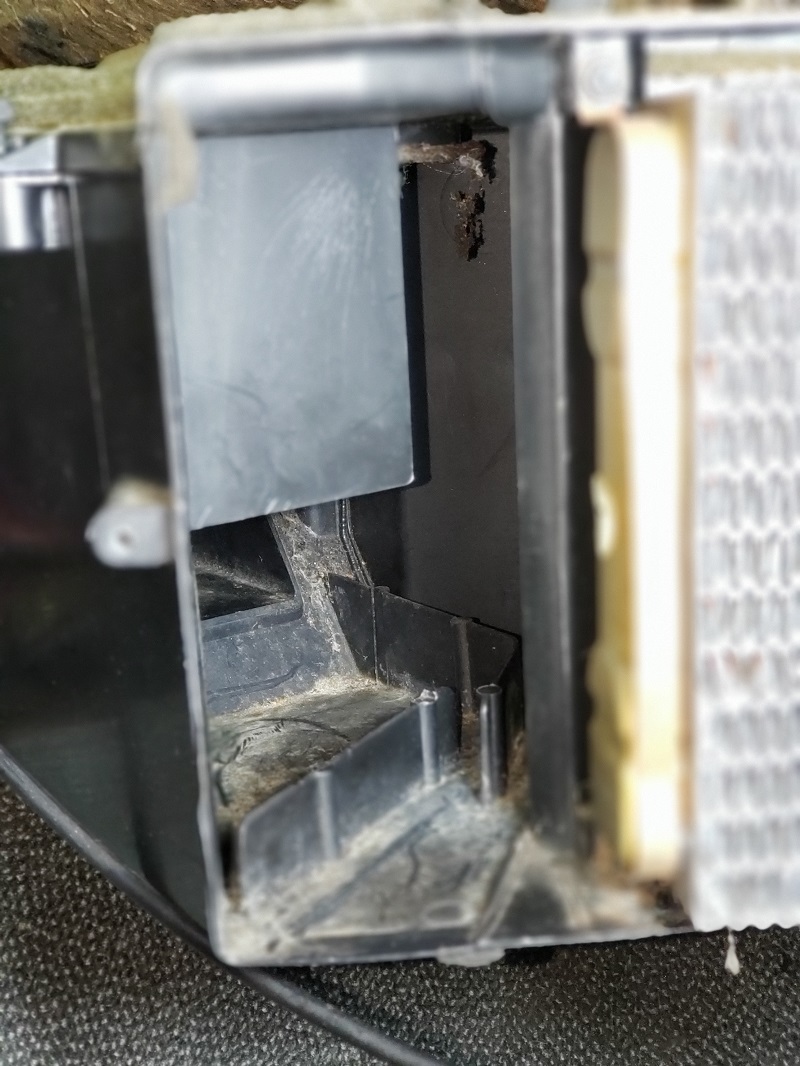
The front, bottom, and rear fasteners are easy to find. Then remove the end cover and core bracket and it looks like the image below. This can all be done without removing the dash.
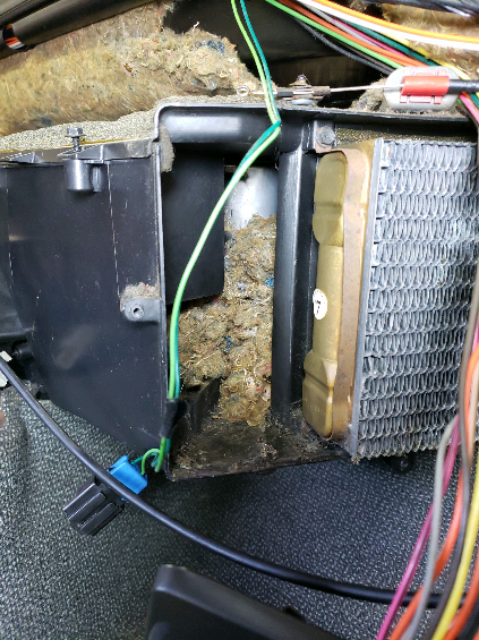
Mine was full of mouse nests
From this point, it was a simple matter to insert my right hand up into the duct and grab the two inside linkage bars. I used an offset blade type screwdriver to pull off the retaining clip. Even if you drop the clip and lose your grip on the two linkages, it's a simple matter to hold them again with your right hand. Meanwhile, by holding the door actuator with your left hand, it's a pretty simple swap.
All of this can be done without removing the dash. So, once you remove the radio, a few console panels, remove the passenger speaker, and finally remove the heater core compartment cover, you're home free. Reassembly was not difficult. In my case, I reconnected the battery with the cluster still out, etc. to make sure the replacement door motor functioned properly in all modes. BTW the door motor actuator was purchased "used" from this forum and works great. Thanks!
Hope this makes it easier for others to do this same repair.
------------------
88GT 355 CI Sequential Holley Multiport , AFR milled 180, Dyno'd at 427 HP, 320 WHP
anderson@gdsconsulting.com
[This message has been edited by V8Steve (edited 09-10-2020).]


