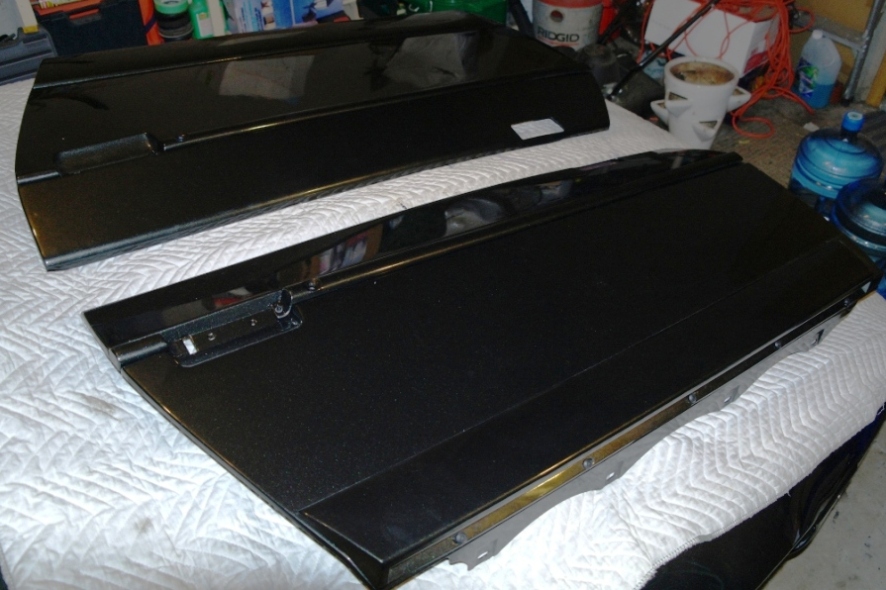
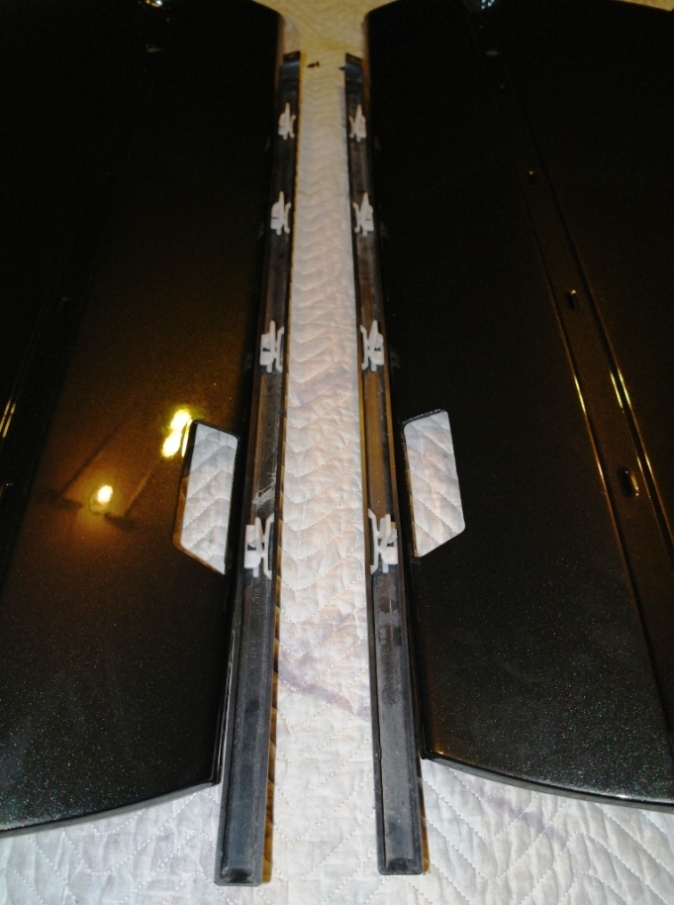
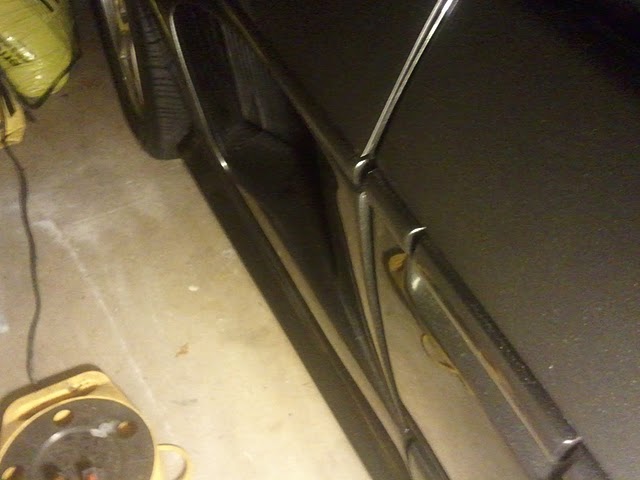
Definitely looking forward to getting the wheels back on! Need to check the brake system for a vacuum leak and reinstall rear wheelwell first. (I had to remove it to get sequential tailight harness out as Bubbajoe is helping with the rewire) Been busy this long weekend but started prepping doors and mounted these filler panels...
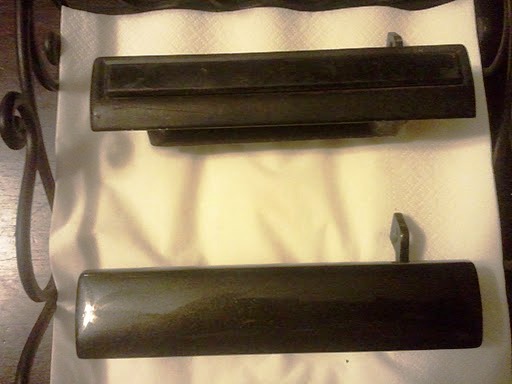
Also picked up my custom door handles and 1/4 windows from the paint shop.
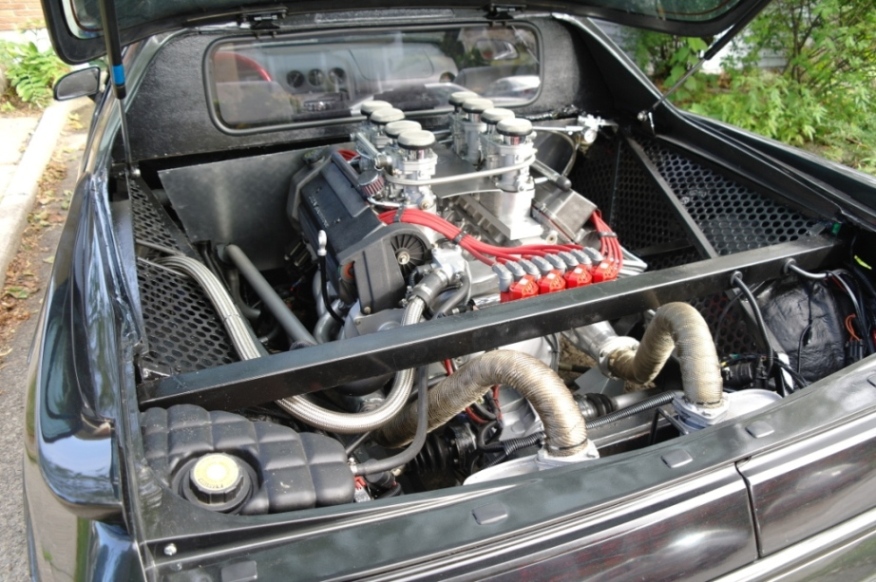
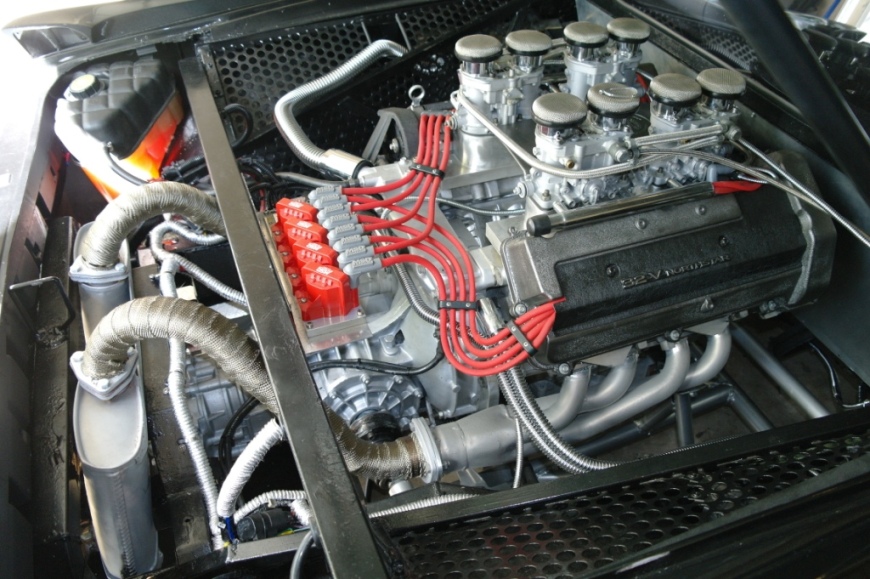
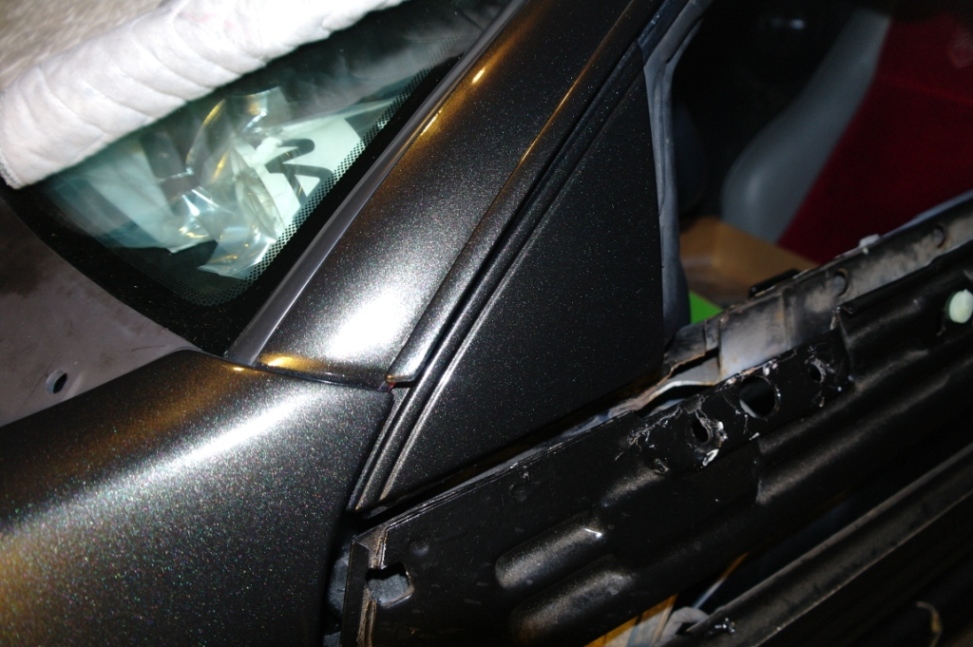
Hey Gokart, looks like blower backfire protection for the blower I don't have
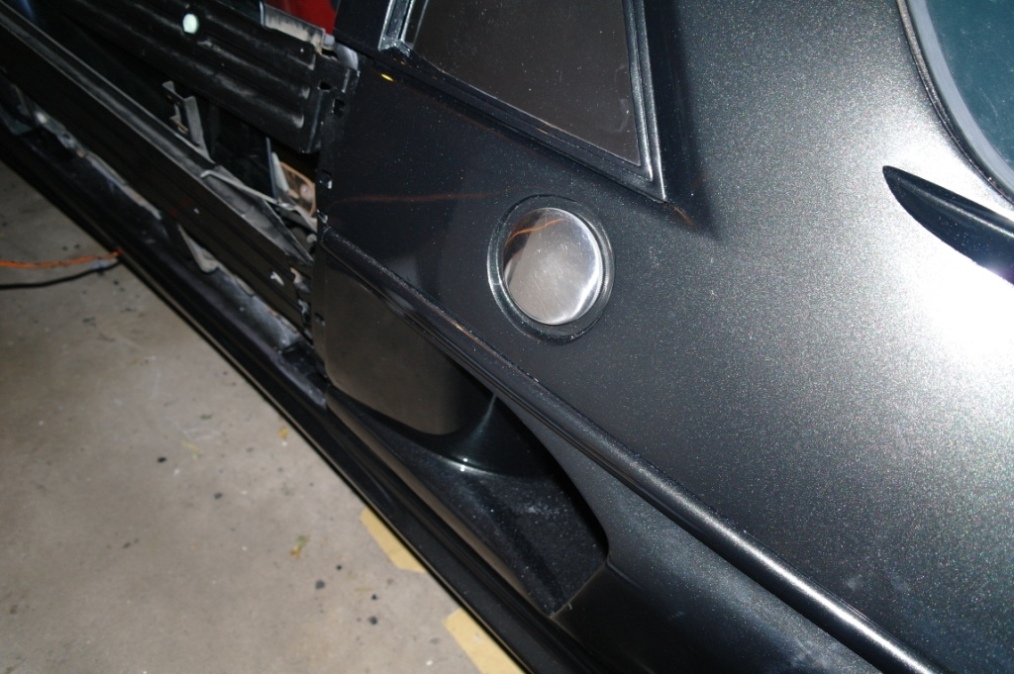
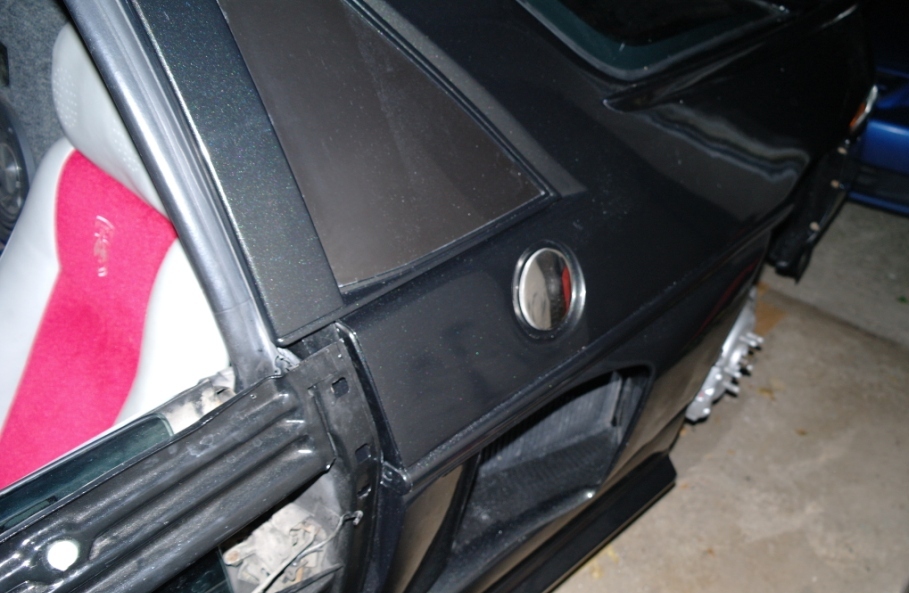
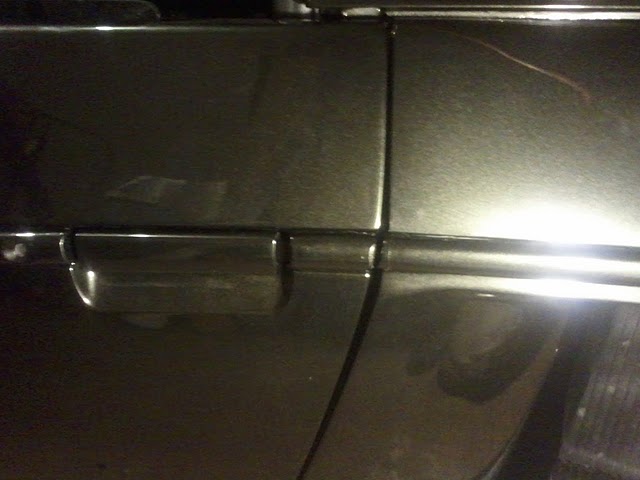
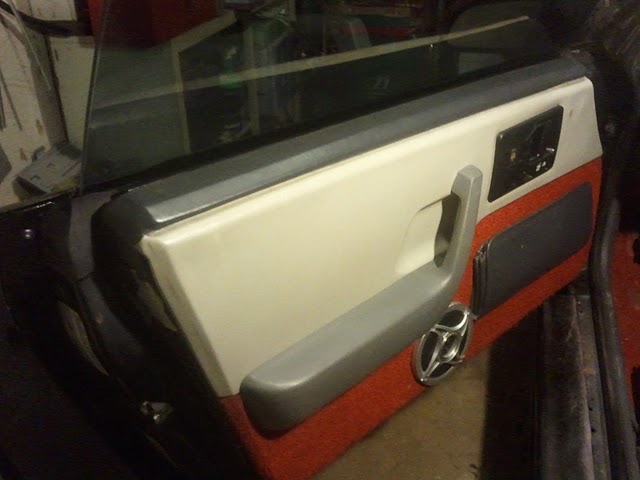
Did some work on the door handles so I can reassemble the outer door panels. Here's the custom shaped handle back from paint to better match the smooth molding.
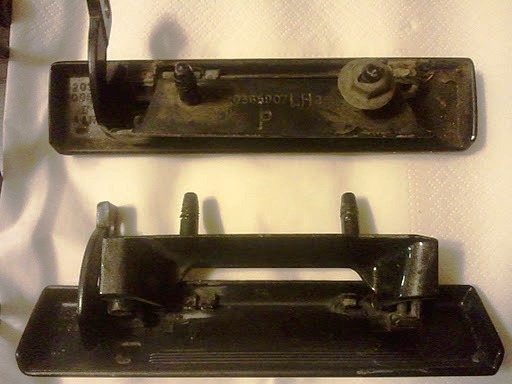
This is a mod I'd recommend to others with 87-88 Fieros. I removed the ribbed piece stuck on with adhesive and filled into the shape I wanted. Only problem was the LH handle had a broken spring and retaining clip.
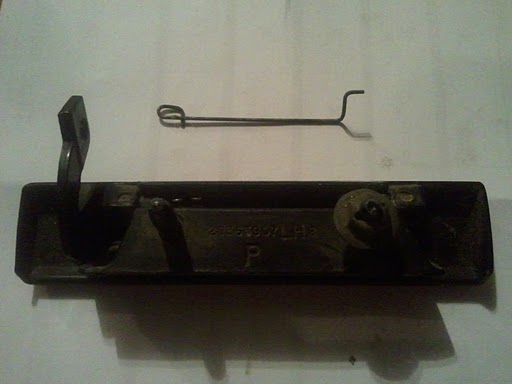
So I dug into my parts stash to harvest another LH spring.
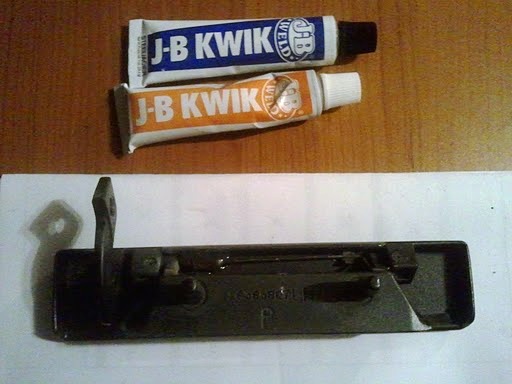
Hopefully the JB Weld will solve the problem - will update on that once it cures...
Did some work on the door handles so I can reassemble the outer door panels. Here's the custom shaped handle back from paint to better match the smooth molding.
That is a nice mod for the door handles.
When are you going to put the wheels on it and roll it out in the light of day so we can see just how bad ass it's looking.
When are you going to put the wheels on it and roll it out in the light of day so we can see just how bad ass it's looking.
Cheers Beers n Gearz. Joe
Joe
Possibly as soon as this weekend Joe. I agree that natural light will make for much better photos! I can do more fit and finish work outside the tiny garage as for example I can't open the doors fully inside. I've got some other underside finish work to do but I can always jack the Fiero back up for that...
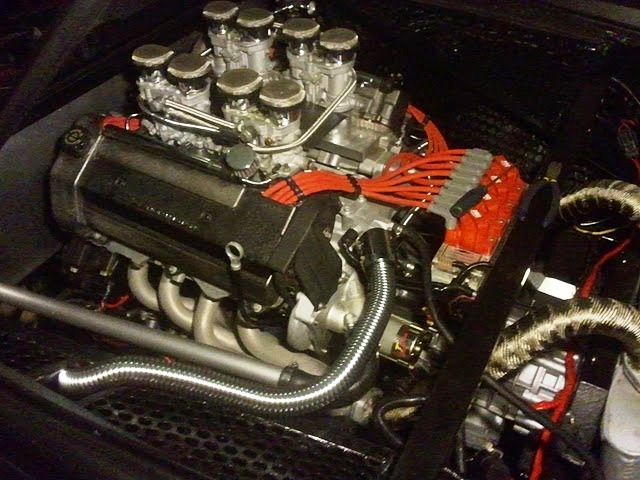
Originally posted by Gokart Mozart: I mean fill in this area
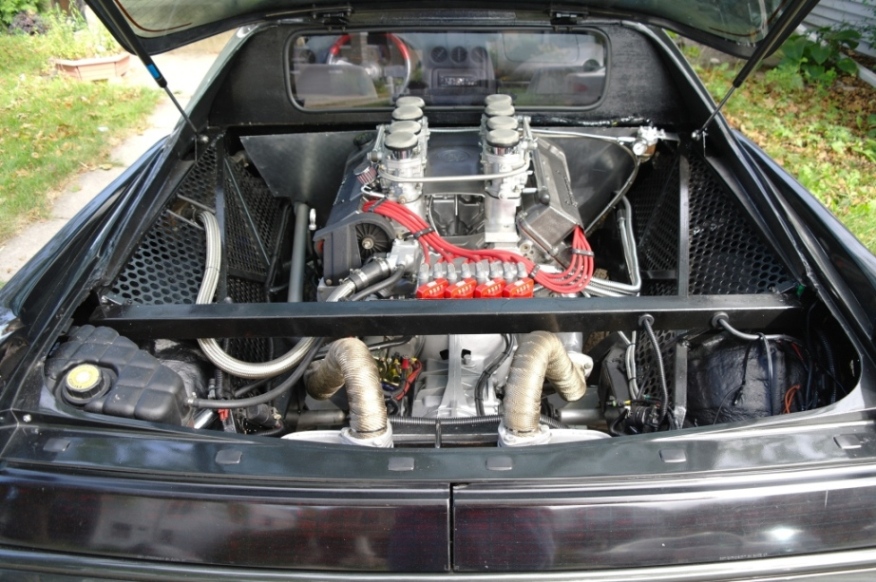
Ok I'll consider adding it to the list - not sure yet because I like getting a peak at the engine valley...
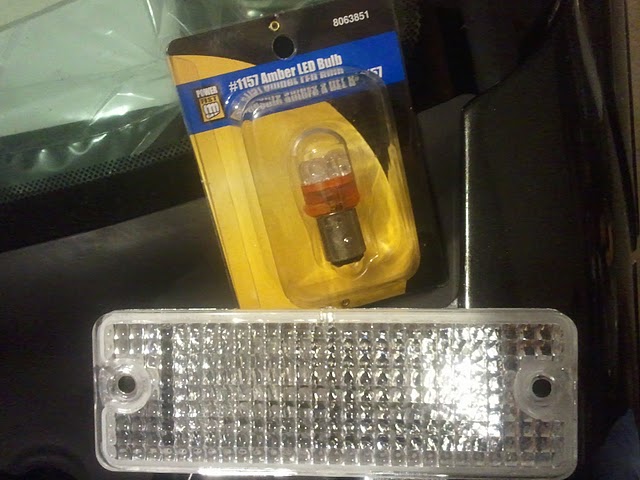
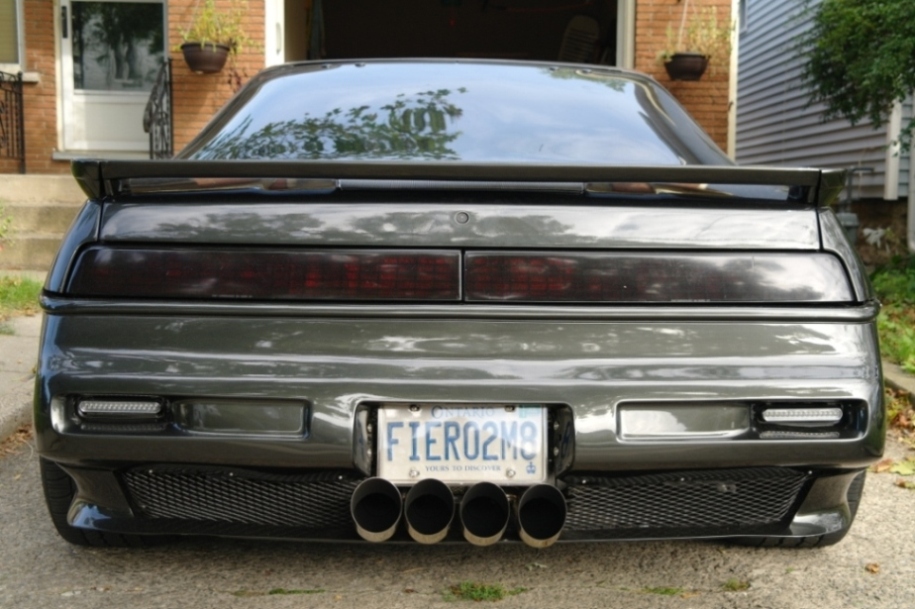
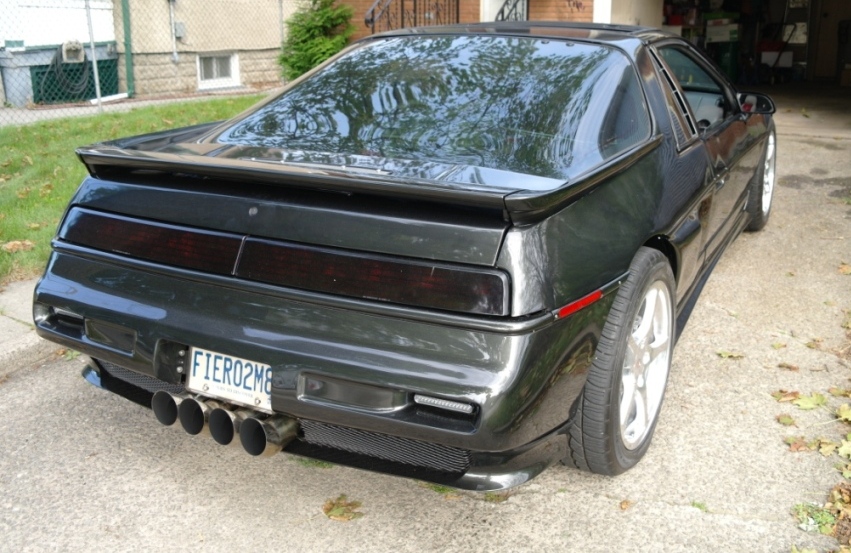
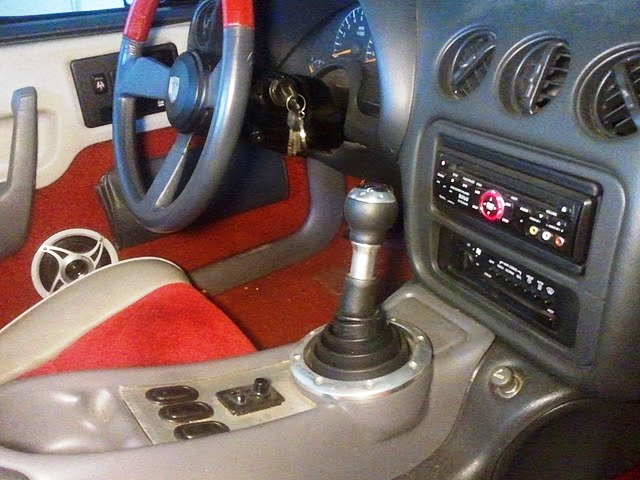
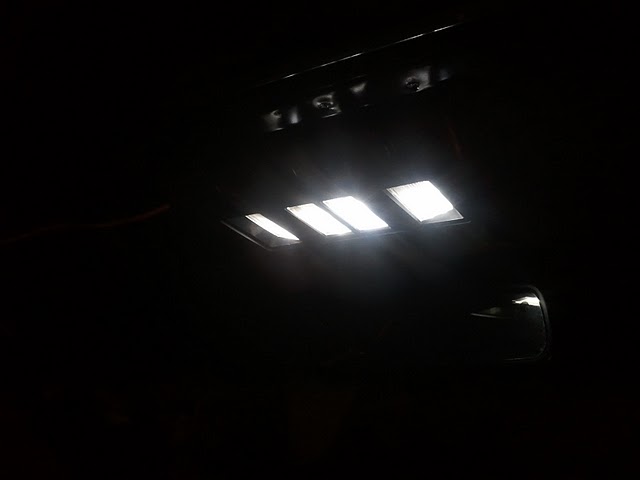
LED indicators and clear marker lens installed:
Also installed the gas filler neck:
Some of you will remember that I had a stock gas door painted as well but that's going on the future mods list for now. Got a good idea from Bubbajoe on building an all aluminum louvered grill which is also on the list.
1/4 windows are on too:
[This message has been edited by Fiero2m8 (edited 09-08-2011).]
Yesterday I got enough done to get the project back on its own wheels. 1) installed horns that I had forgotten all about. 2) adjusted front fenders to align with door panels. 3) reinstalled wheels and lowered from jackstands.
Battery was dead so I put that on the deep cycle charger.
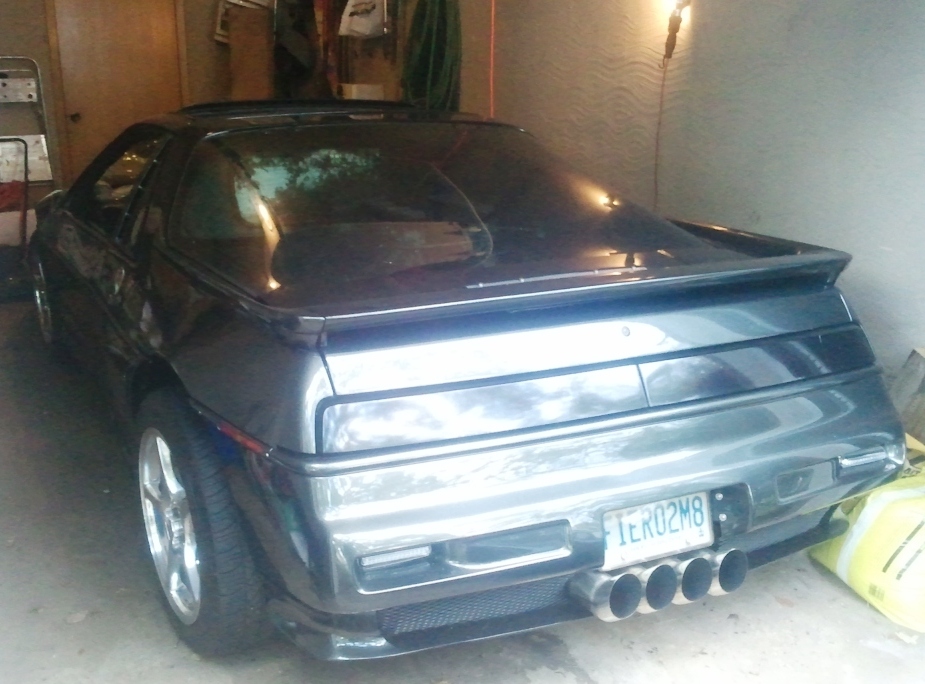
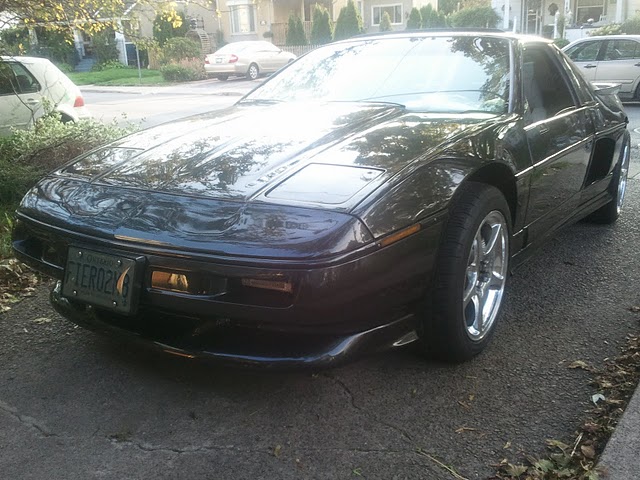
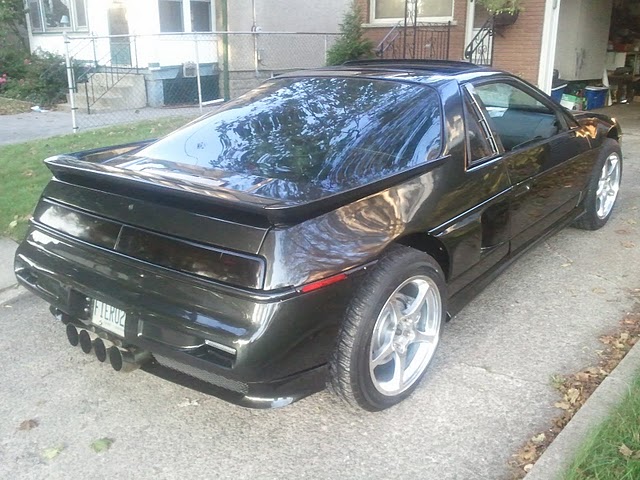
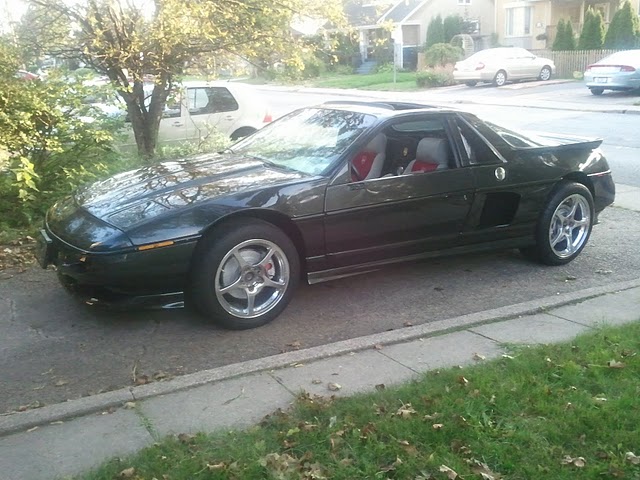
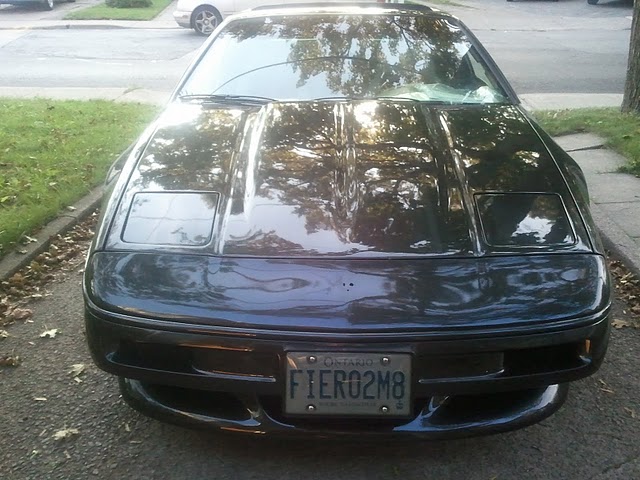
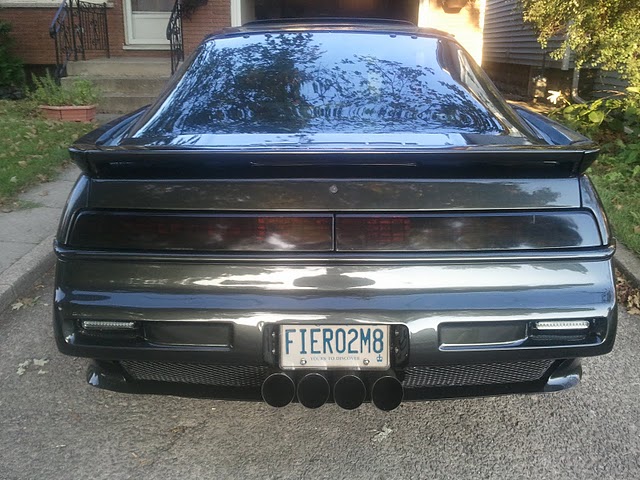
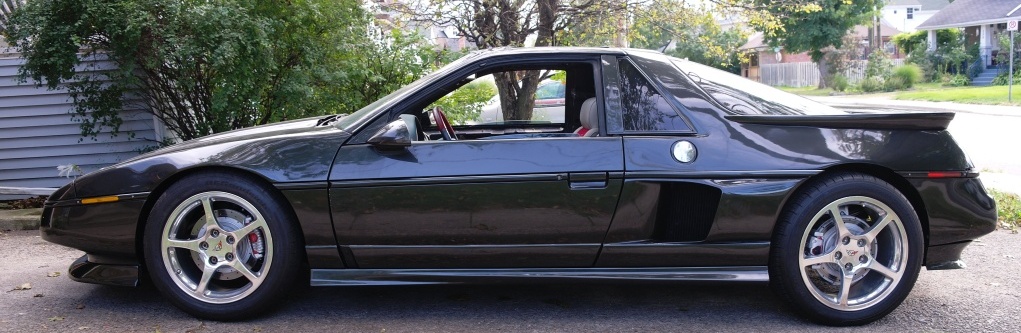
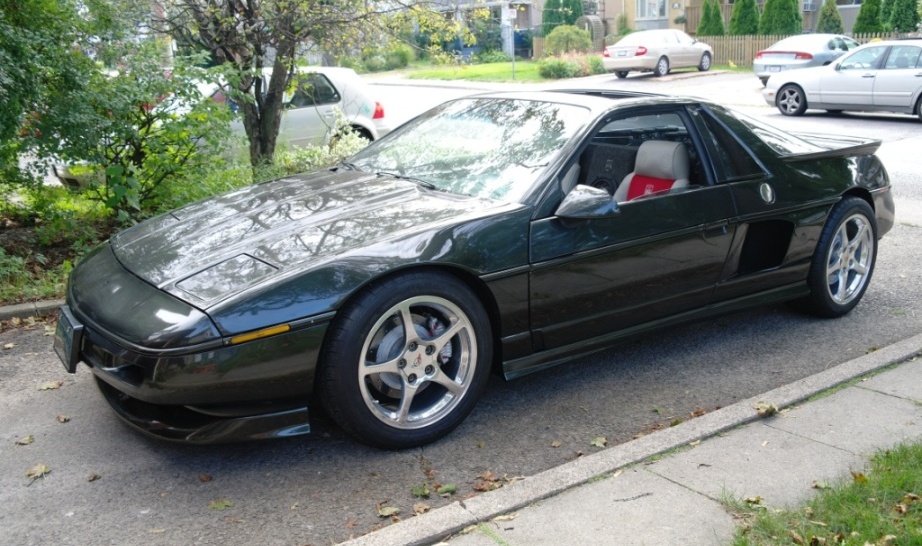
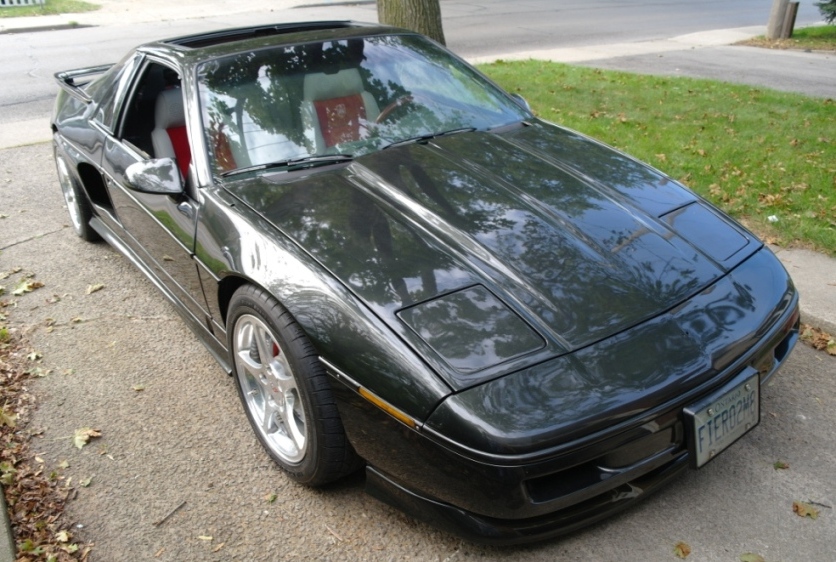
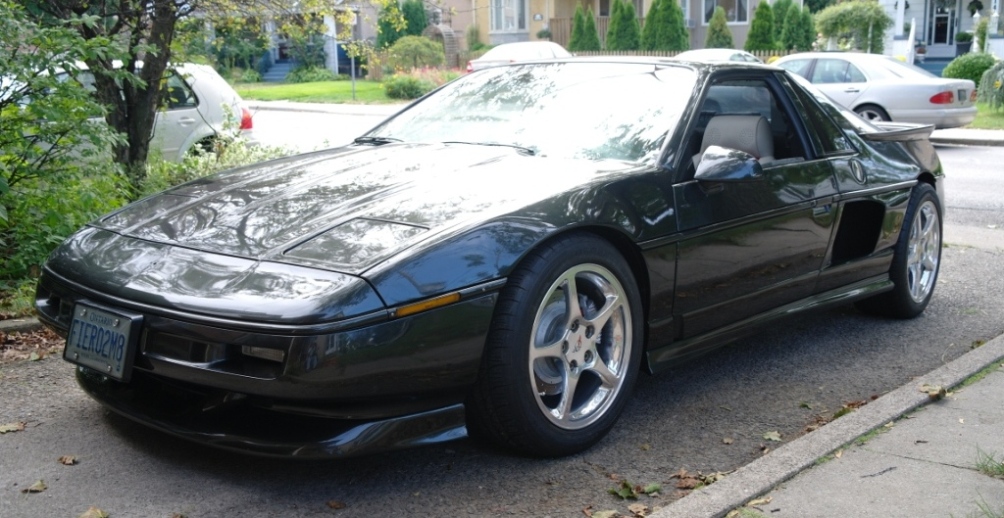
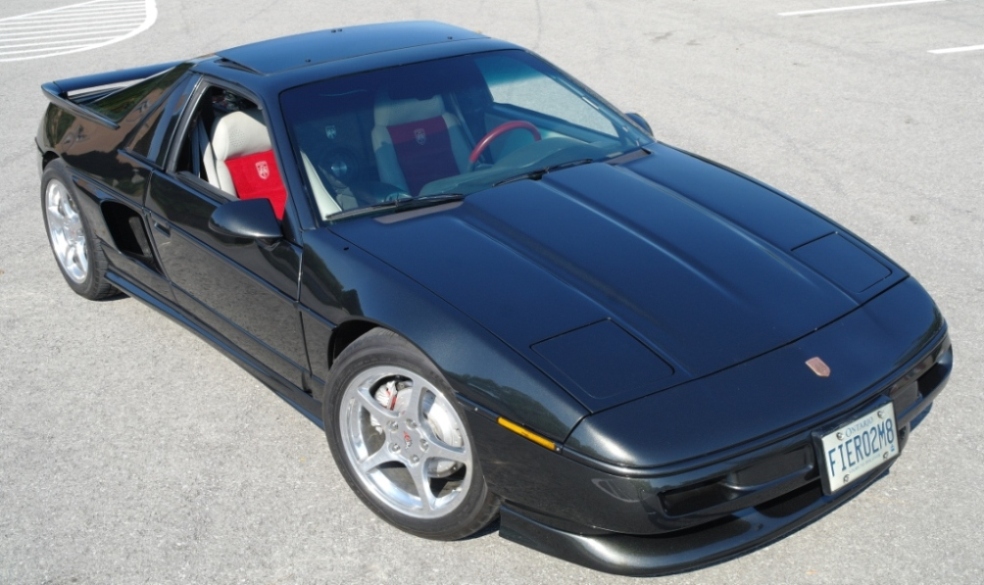
Well got home from work today and couldn't resist pulling it out of the garage! This is the first time I drove it since page 59 of the build thread. Believe me I didn't know at the time it would be one month shy of two years since I drove it again. I carefully backed it into the driveway and snapped a few cell phone pics in the daylight.
Best feeling was taking it for a spin around the block with proud neighbour onlookers who know how hard I've been working on it show their approval. Lots of tweaking still to do but it started, the clutch and transaxle worked well and it even stopped Comments and questions welcome as always. Cheers, Fiero2m8
Originally posted by Fiero2m8: This is the first time I drove it since page 59 of the build thread. Believe me I didn't know at the time it would be one month shy of two years since I drove it again.
I hear you there... my Blue SBC fiero became engineless in Dec 2009 and I am hoping to have it running again before the 2 year mark.
Congrats on completing the restoration/upgrades and putting the finishing touches on an absolutely epic Fiero.
Thanks Guys, it means a lot coming from Fiero enthusiasts. Patrick I will be in Vancouver Oct 25-27th for work but they won't pay me mileage to drive... Yes a video is in order, will try a short one myself this week and can probably get an assistant to record a better one on the weekend. I pulled her back in the garage and my guess on the rear ride height appears very good now that the springs have settled.
The front ride height needs to be lowered but I am loving the turning radius and steering/ride of the 88 front suspension. It easy to recommend this swap once it's done Planning to finalize door panels, install side mirrors and sunroof next.
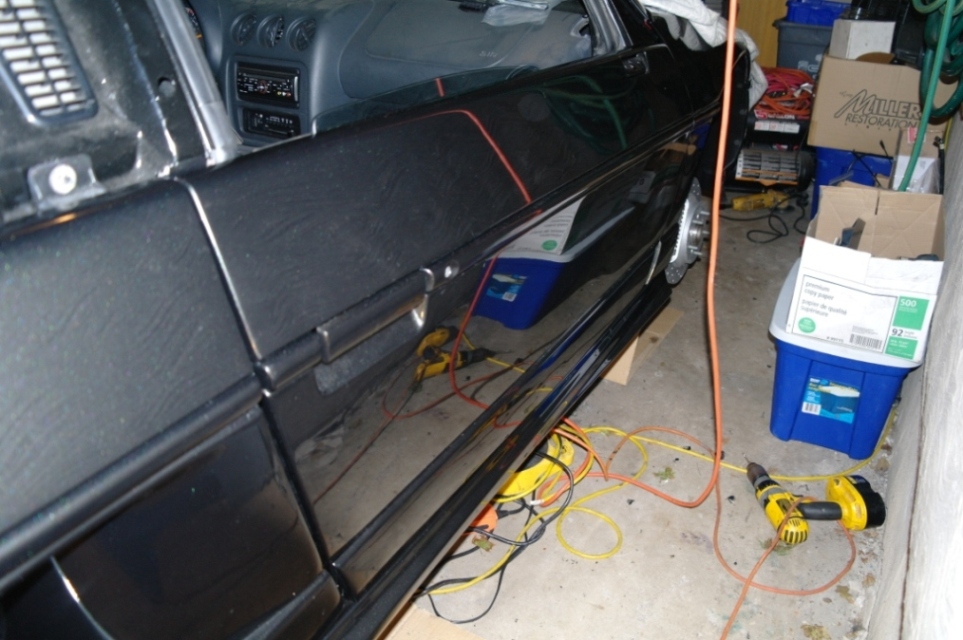
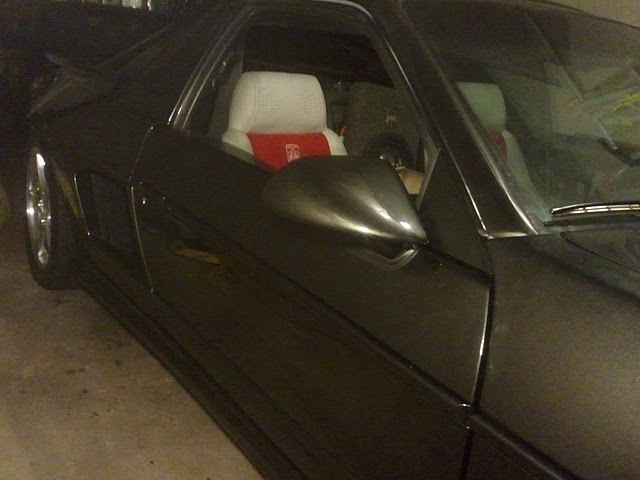
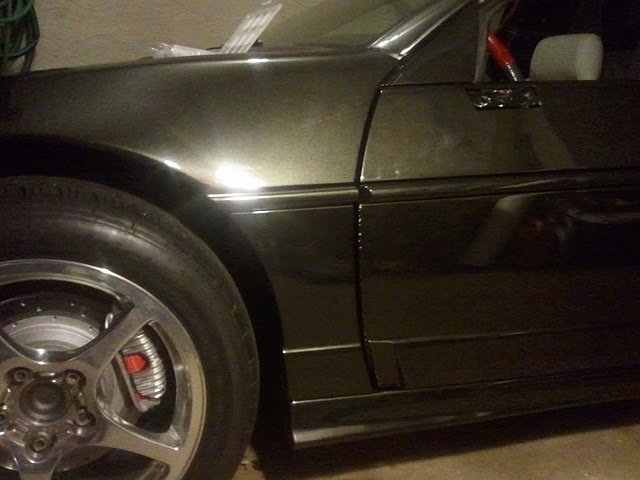
Door panel alignment finalized so mirrors could be installed. I used door gaps and molding as guidelines. I also brought the panels flush to the rear quarters with shims. The pictures below should do the talking:
Before
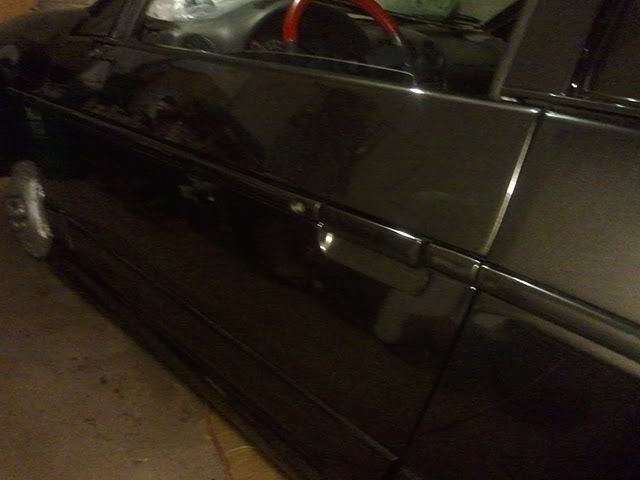
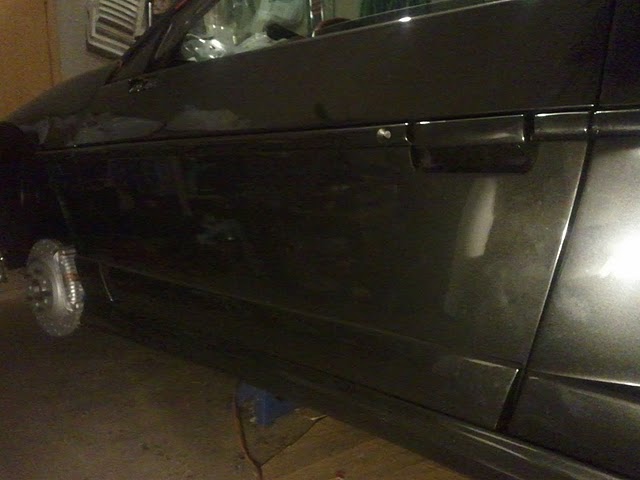
After
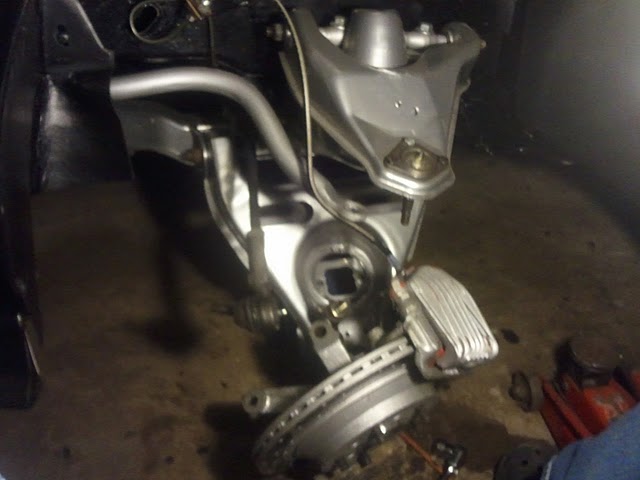
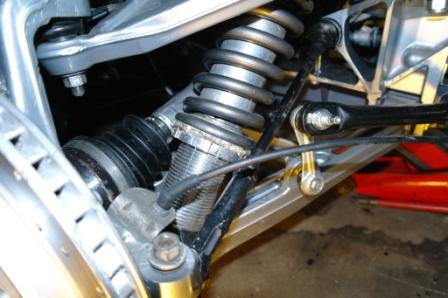
Next I lowered the front ride height: Stock Spring swap
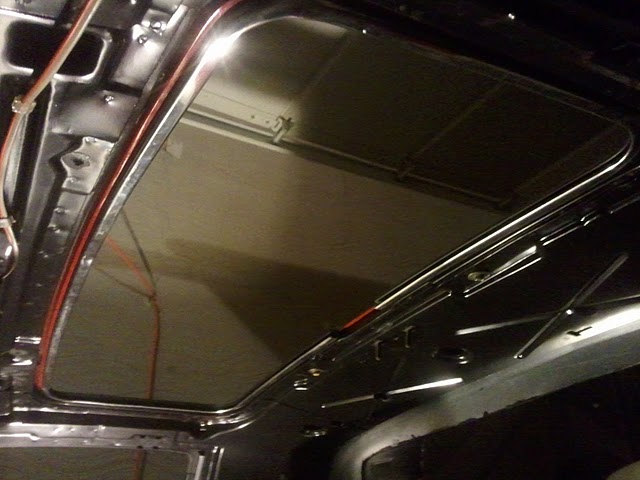
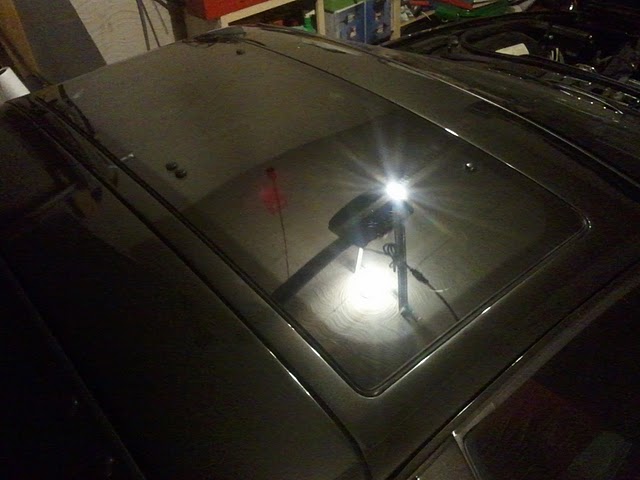
Also got started on interior. Mounted roof panel first:
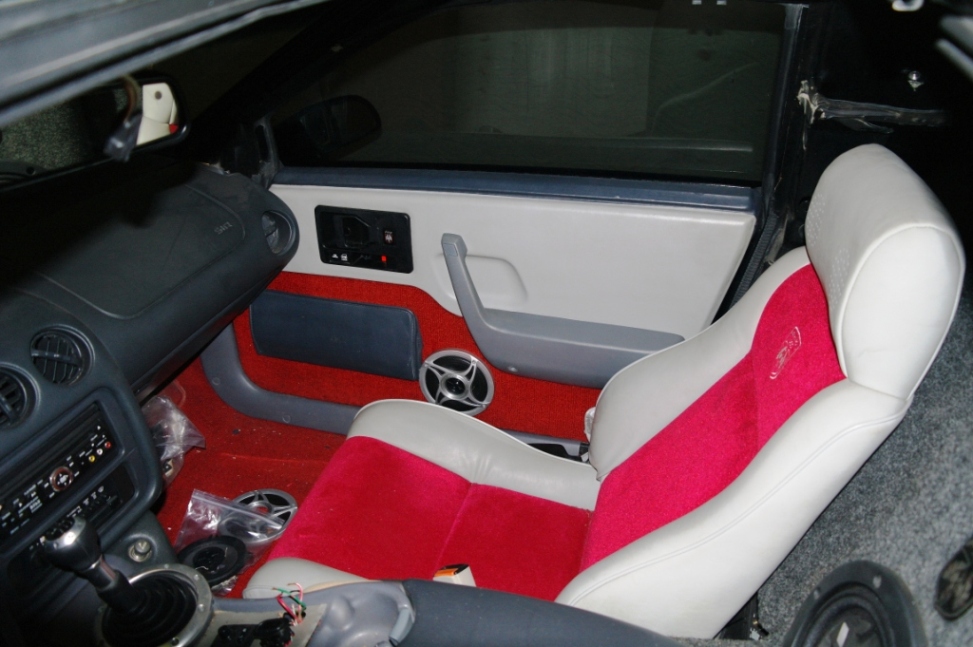
Installed the interior door panel, hardware, dew wipes, mirrors and speaker:
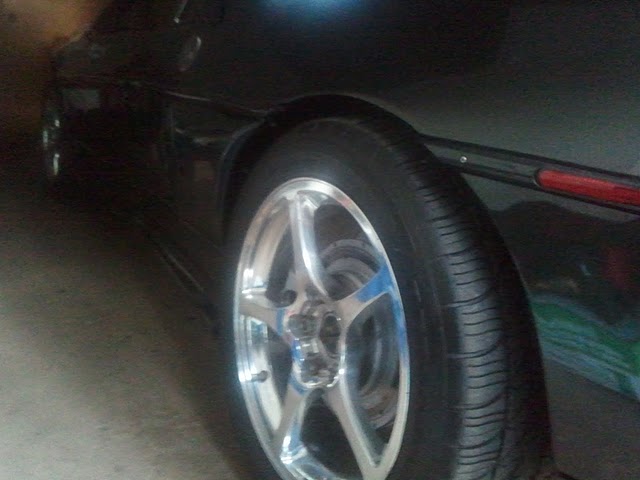
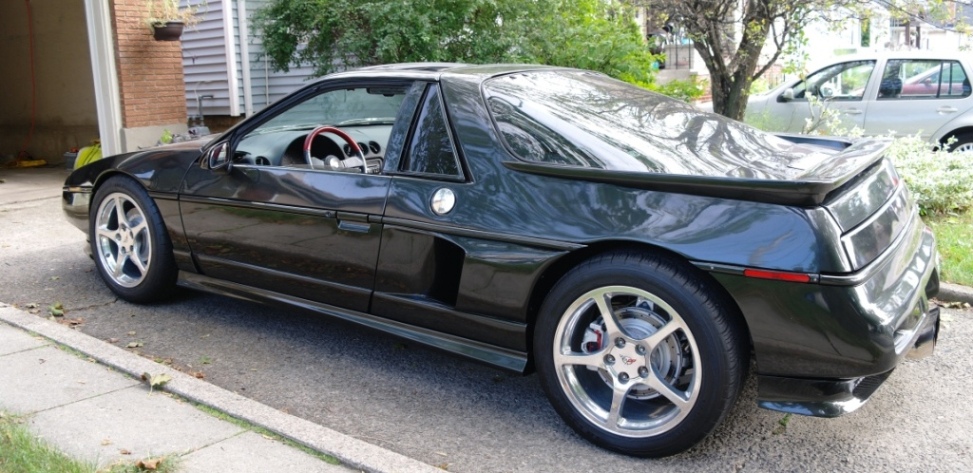
Looks amazing! I've always been a fan of those style Corvette wheels, very nice mod.
Yes the C6 wheels are so much more common these days but I really like the non-painted C5 five spoke.
Driver's side door panel reassembled - I still need to order some new inner dew wipes:
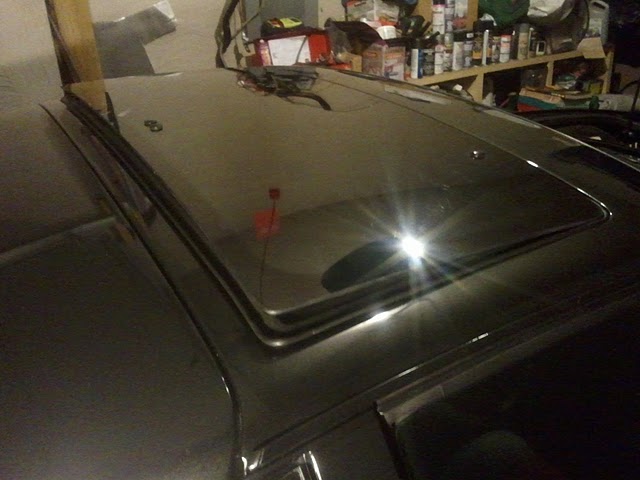
Sunroof panel didn't have 1/4" holes so I drilled them and finished seal install:
Sunroof glass hardware reinstalled:
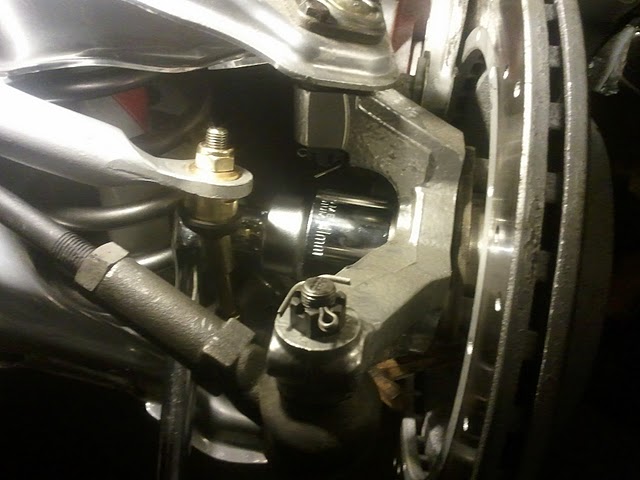
Hub bearing nuts were also retorqued now that new roller bearings have seated:
Also adjusted front end alignment so it's in the ballpark now. Next working on new power window switches and headlamps that are going to remain stock for now.
[This message has been edited by Fiero2m8 (edited 09-23-2011).]
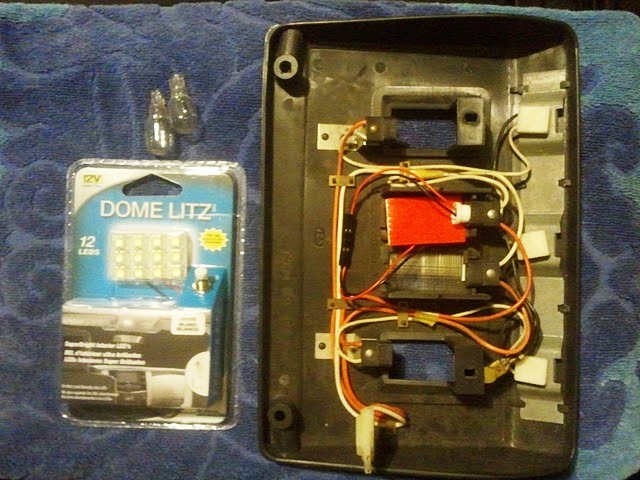
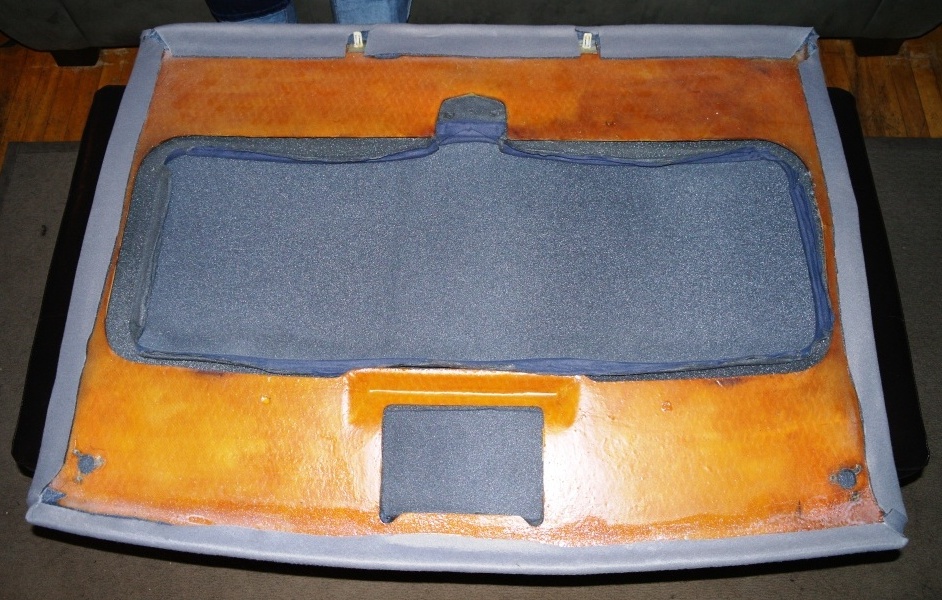
Finally got around to a rainy day project of recovering the fiberglassed headliner in grey foam headliner material I got at Joanne Fabrics. It will be installed once I prove that I don't have any leaks
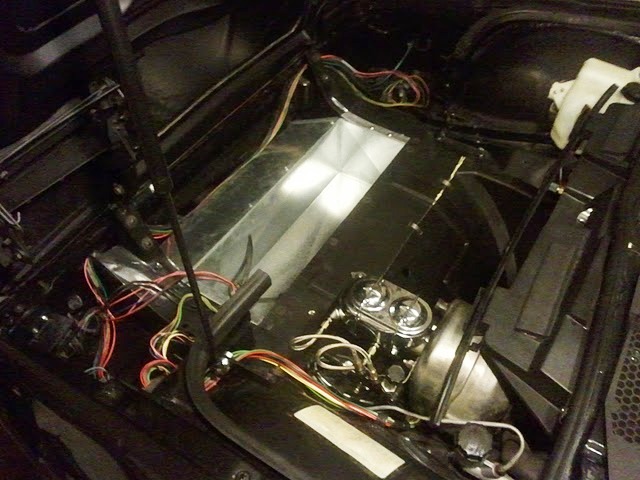
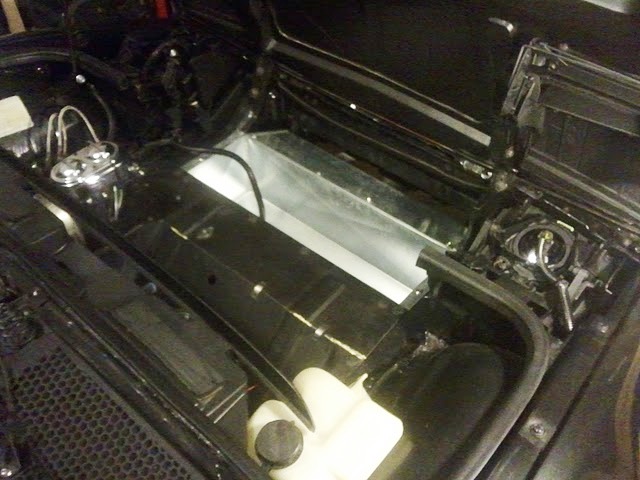
Headlights are done until future mod is decided upon (got to leave somethings to ensure the project is never done) Started by removing all the original harness loom:
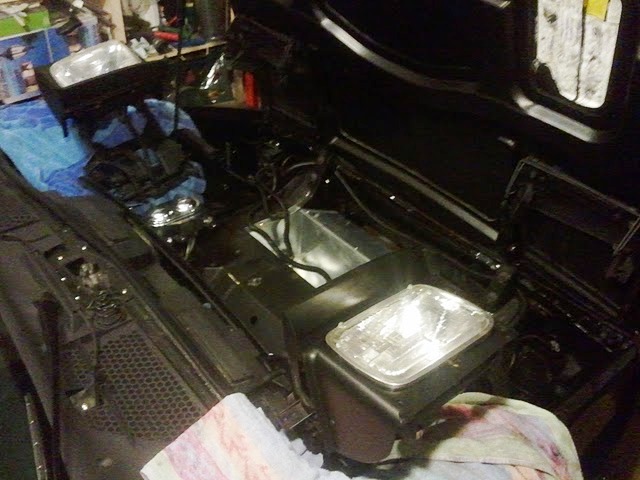
Next reassembled the assemblies after cleaning and repainting all the components:
Buckets were slighty adjusted from original mounting locations to align with current hood position:
The passenger motor is lazy and will need repair or replace which isn't surprising since the driver's side failed just before the rebuild started:
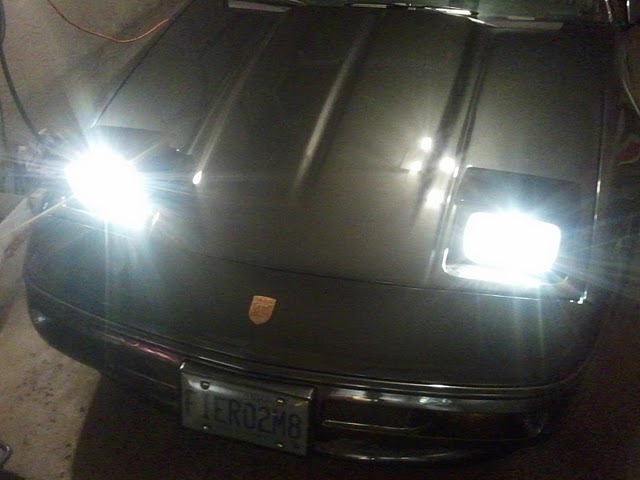
Looks like new and just need to do headlight alignment when I have car in an proper environment to make accurate adjustments...
[This message has been edited by Fiero2m8 (edited 09-29-2011).]
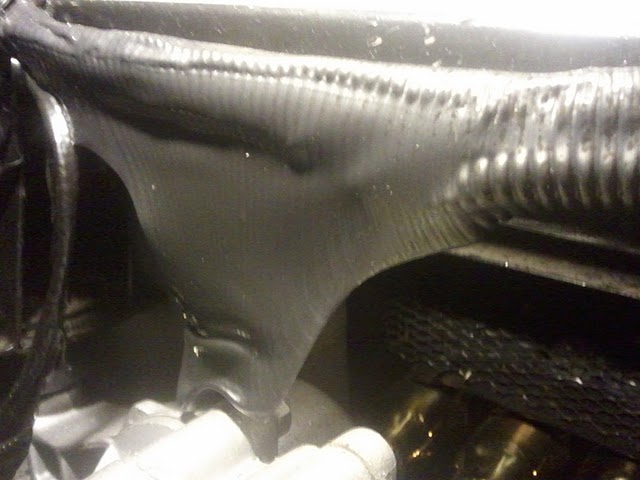
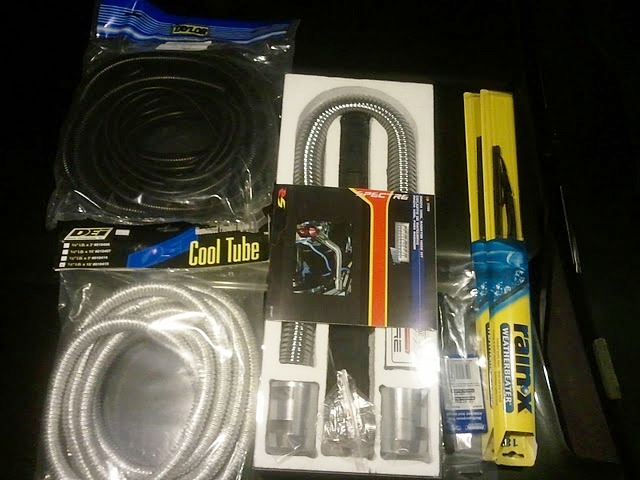
Picked up a few supplys to care care of my leaking upper rad hose and this new problem:
The Cool tube is the split type so it's really easy to install:
When the upper rad hose developed a leak at high pressure it caused a chain reaction of issues. Air got in the system and coolant stopped circulating causing a hot temp guage. Meanwhile the coolant in the rad was cooler so the electric fans didn't come on. Engine bay temp got hot and starting melting plastic loom anywhere relatively near exhaust system.
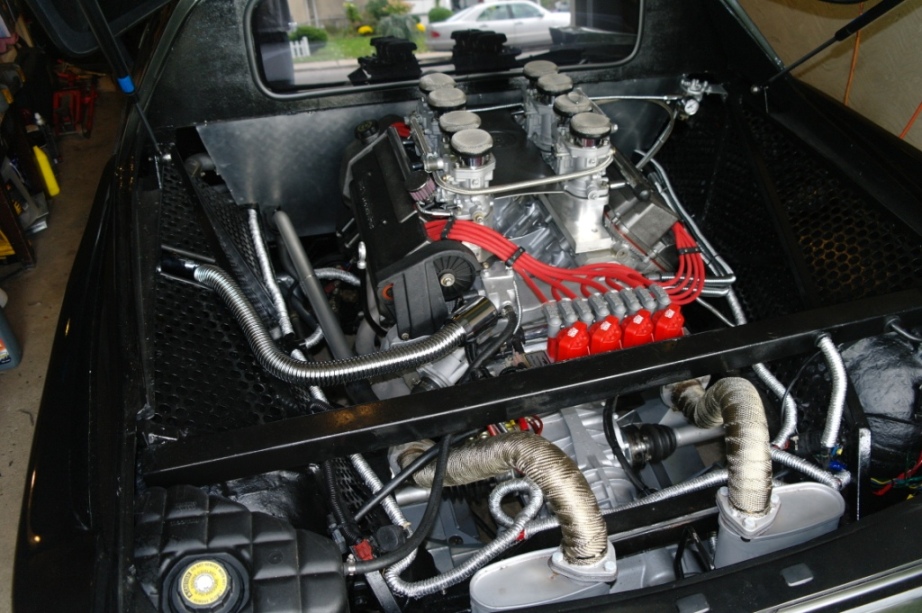
Anyways will have this all resolved soon - started by swapping the rad hose to a chrome 36" flex pipe that matches my heater hoses:
Working on cool tube install this weekend and then tweaking rear ride height and rear camber / toe alignment adjustment.
Thanks guys, I intend to keep posting the details as the project continues to envolve. As for centre caps, I figure new decals on the original caps would be easiest. I haven't done that yet but I did get chrome lug nuts for the wheels installed last weekend.
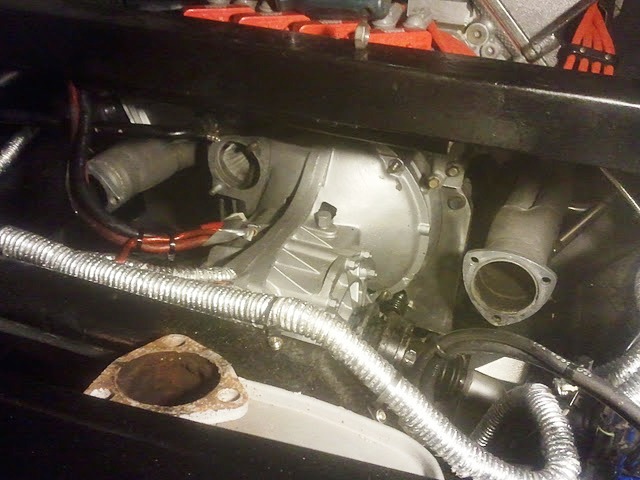
My "Rebuilt" porsche transaxle is only a 3spd as 4th and 5th do not work. Unfortunately that means it has to come back out and apart, DOH! Upon further inspection, best way to remove it was out the back. Here are the pictures as I tackled this last night.
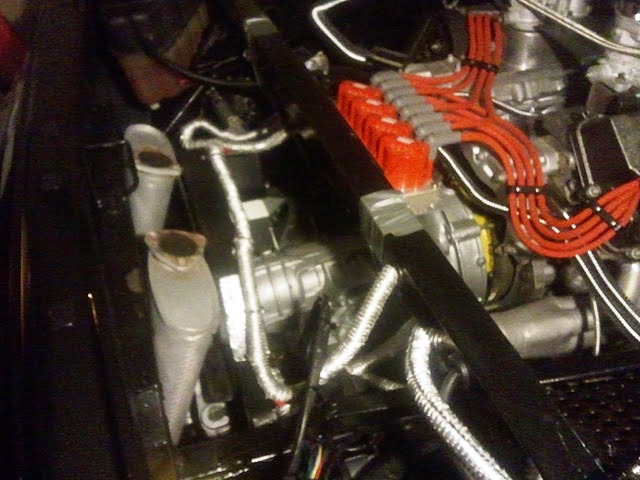
Starter, exhaust, axles, linkage and wiring all removed before unbolting:
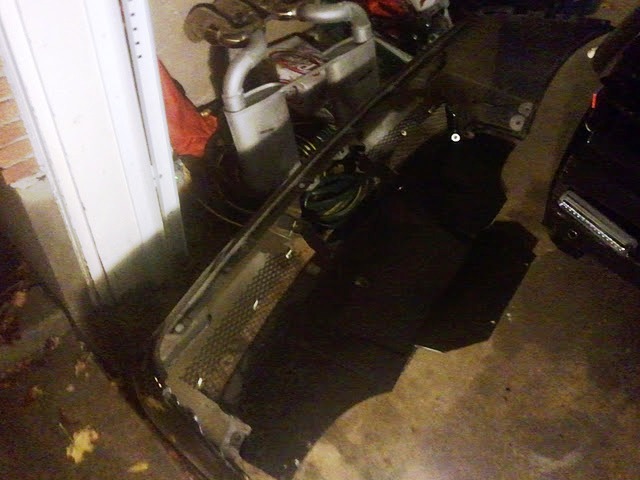
I was able the remove the rear bumper as a complete assembly this time:
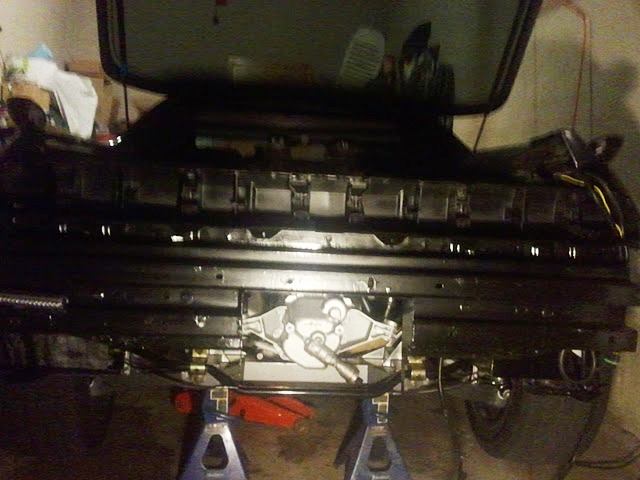
Then the transaxle came right out and I am dropping it off at the Porsche mechanic to make it right:
Not as bad as I thought because it took just under 3 hours - guess I'm getting faster cause I've done it before


 It looks like there's a piece missing on the engine/plenum cover, something like