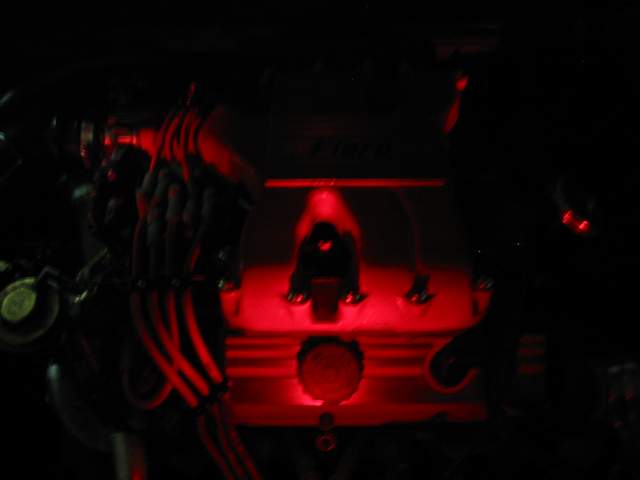
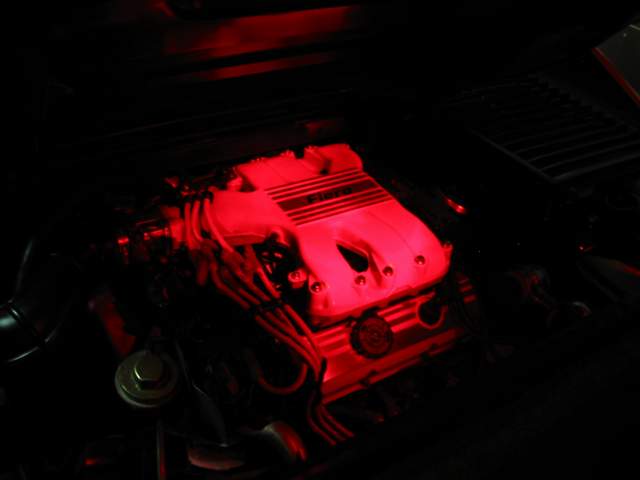
~ Engine Bay Lighting Setup ~~ Idea: Color lights to enhance the looks of the engine bay, Fiero side scoop and car interior
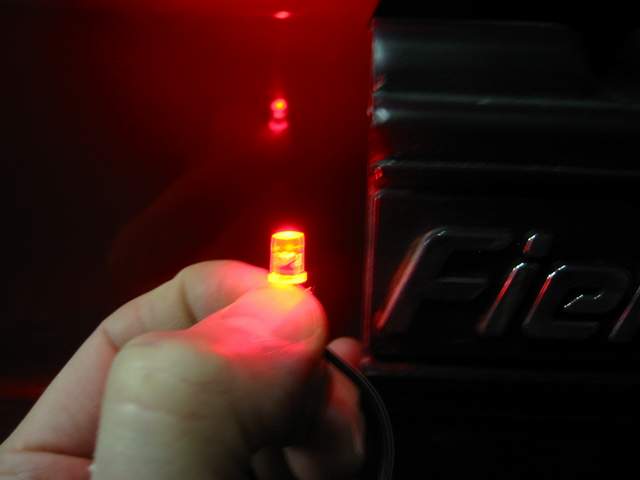
~ Concept: Use of bright body color LEDs in a way that the effect is seen with minimum visibility of the light source.
~ Parts:
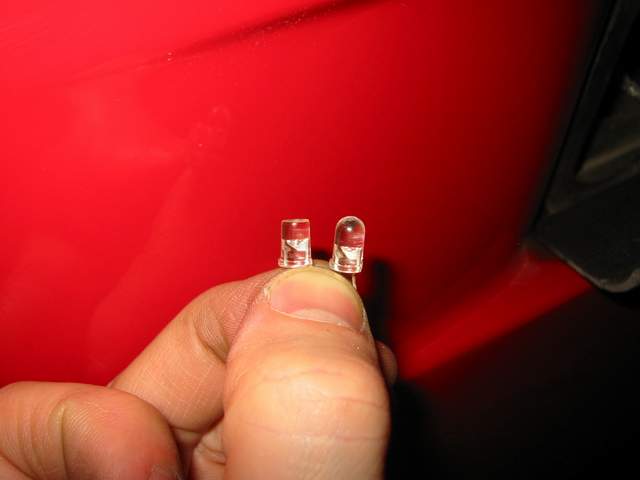
1. "Clear Water" LEDs 2.2V - peak power 60,000mcd @ 100mA - Color red
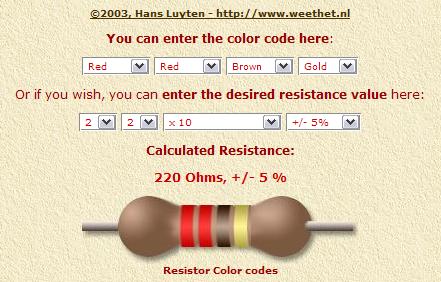
2. 220ohm resistors (your application most likely require different resistance, depending on type and number of LEDs, connection method and power source)
3. LED socket - depending on your application, decide between the simple 'socket' type which leaves the entire LED exposed (more surrounding light effect) or the 'screw housing' type which blocks the diameter of the led and creates a more direct beam effect.
4. Wires and heat shrinks (insulation sleeves)
(Beginners tip: don’t forget to put the sleeve on the wire before connecting/soldering and far away from the heat source)
5. Wire clamps (tapping)
6. 2 Rocker switches (on-off-on) with plastic holder bracket
~ Some of the parts used ~
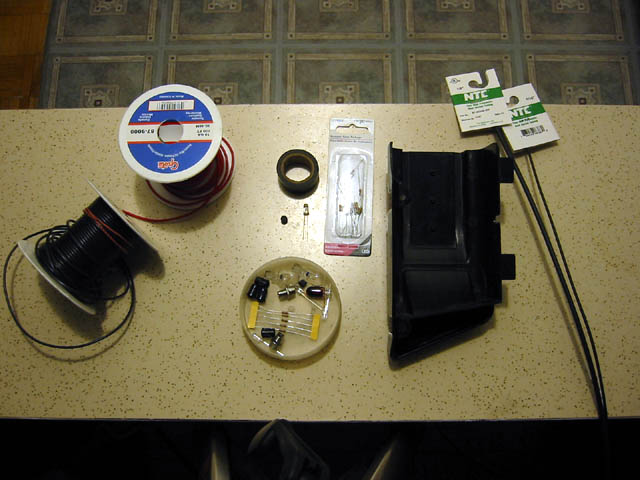
~ Tools: Drill, 5mm metal drill bit, hot glue gun, wire cutters, solder, 3rd hand tool (really helps with soldering) insulation tape, courage

~ To plan and calculate your LED setup you can use the following info and links:
 http://www.metku.net/index....ds/ledcalc/index_enghttp://www.weethet.nl/engli...istor_calculator.php
~ Resistor calculator on
www.weethet.nl/ ~
~ Installation and wiring: (Depending on the function you prefer)
1. I used the wires running to the trunk light, this way when the trunk is closed all lights turn OFF. These wires run from the engine compartment to the trunk rail on the D/S of the engine bay.
2. Wire each LED to (+) source with a proper resistor
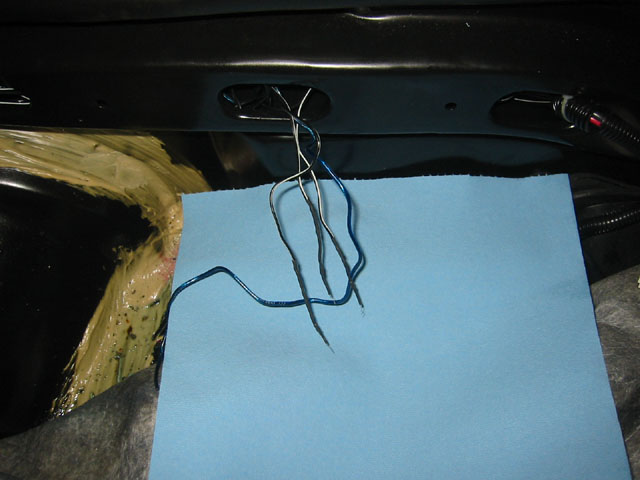
3. Wire ground wires from the trunk light source to a 3 position rocker switch (I've installed the switch away from eye-sight)
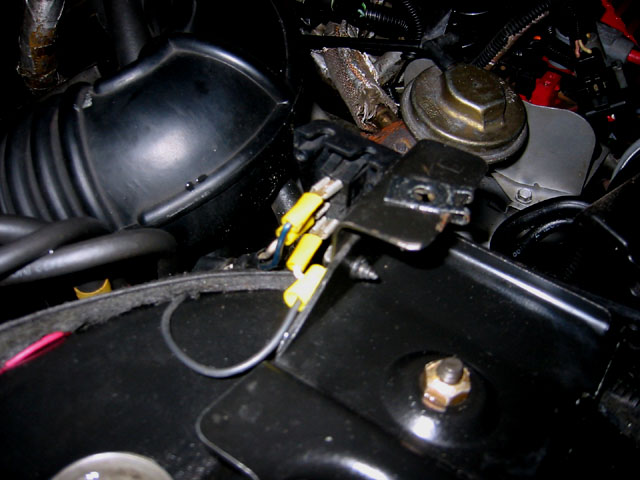
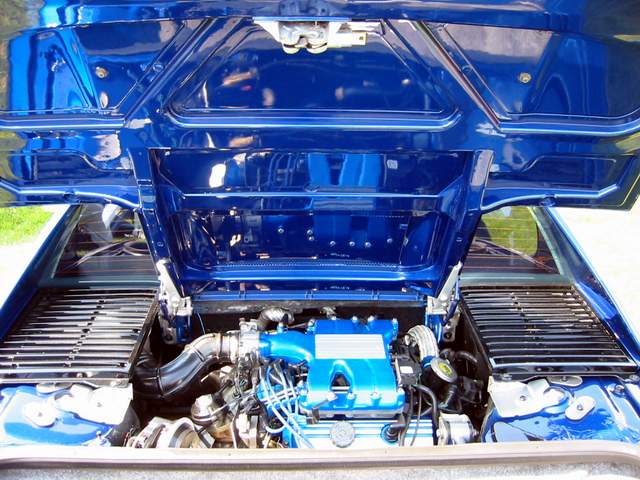
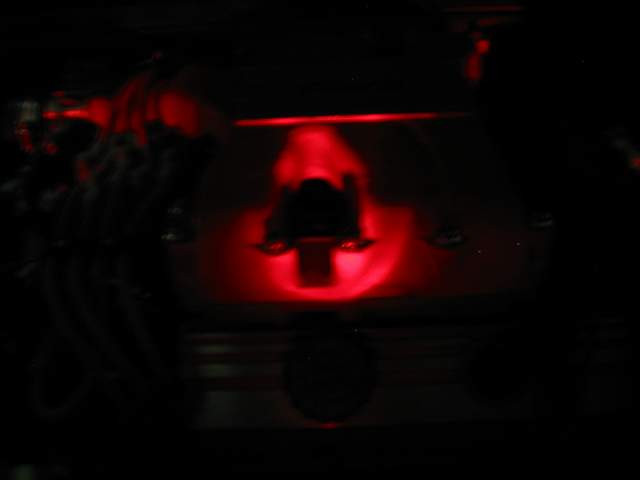
4. Choose your desired illumination subject. (in this example it’s the Fiero upper plenum)
Test aim your light source, make sure you get the object lit properly with minimum shadowing. Choose the angle that utilizes the most of the LED beam (done best in a dark environment)
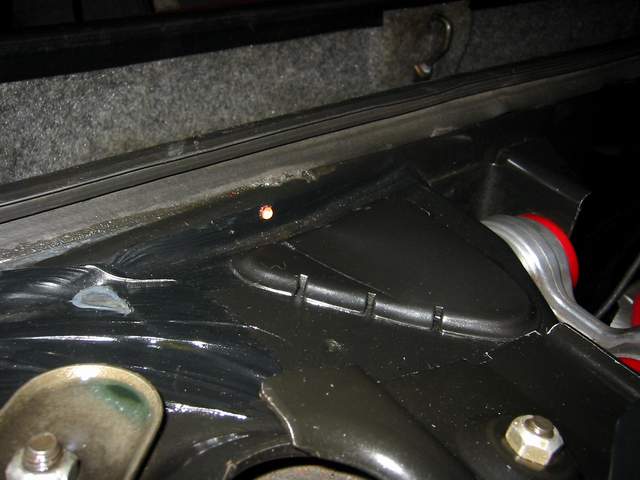
5. The next step is not for the faint of heart LOL, Punch mark your drill point, AND... drill your Fiero trunk wall away …

(pay attention to wires and hoses)
you get 1 chance to drill it right, if its off you’ll have to use glue to hold the LED in the right direction.
4. Test fit your LEDs in place and inspect illumination, when result is satisfying set LEDs in place (use of hot glue is optional)
~ 3 Trunk wall LEDs facing the engine ~
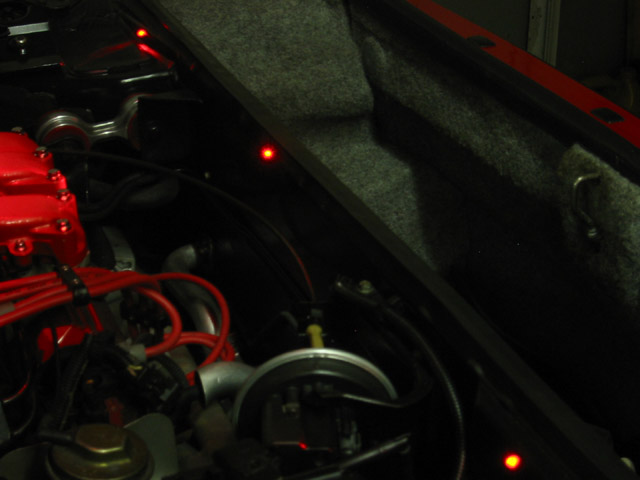
~ Angled drill detail ~
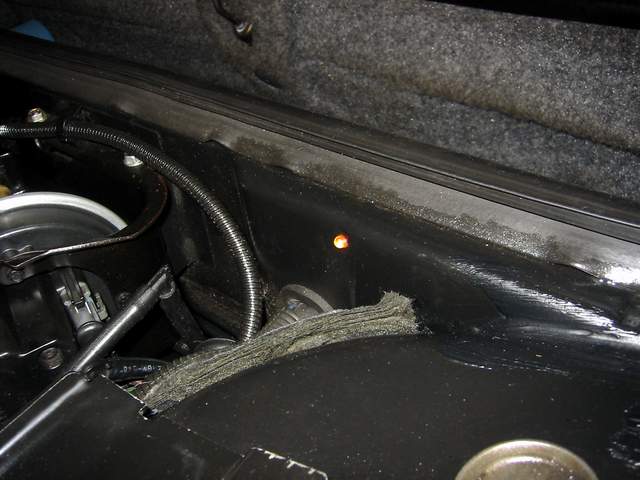
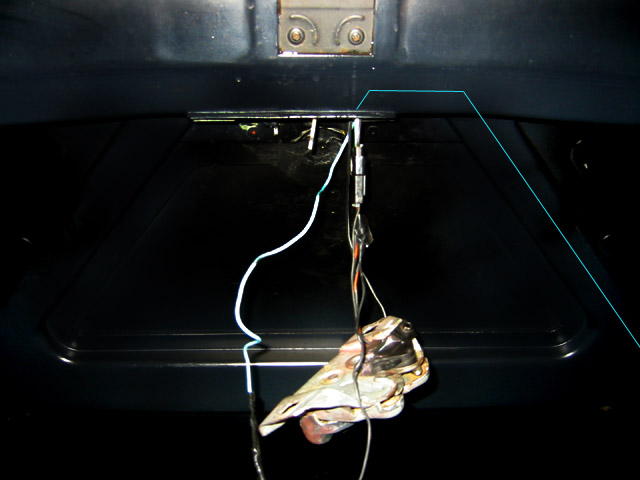
5. For the deck-lid lock LED you’ll need to run a power (+) wire through the deck-lid beam. There is a wiring harness running through there so be careful. (I used a metal wire to "fish" the wire up and it wasn’t that difficult)
6. Ground (-) is supplied by the deck-lid switch (this LED is always ON until you close the trunk and the ground is cut off, I didn't bother with figuring that bug out)
~ Trunk lock wire in deck-lid beam (blue line) ~
~ Trunk lock LED mounted with double sided tape to lock ~
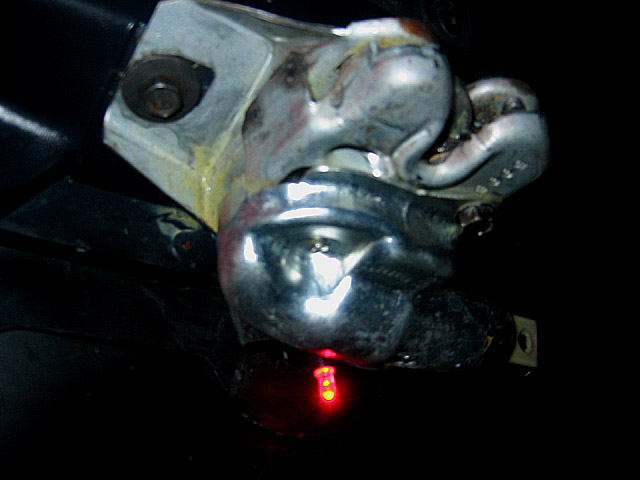
Note: If you're looking for an easy way do this and don't care too much for "perfect" results, one or two LEDs from this angle would cover the entire engine just fine.
~ Engine bay lights operation:
1. Show mode - Up Position = All LEDs ON
2. Daily use - Down position = Stock trunk light ON
3. Override - Center position = All lights are OFF
4. Master override - Trunk closed switch overrides all lights to OFF
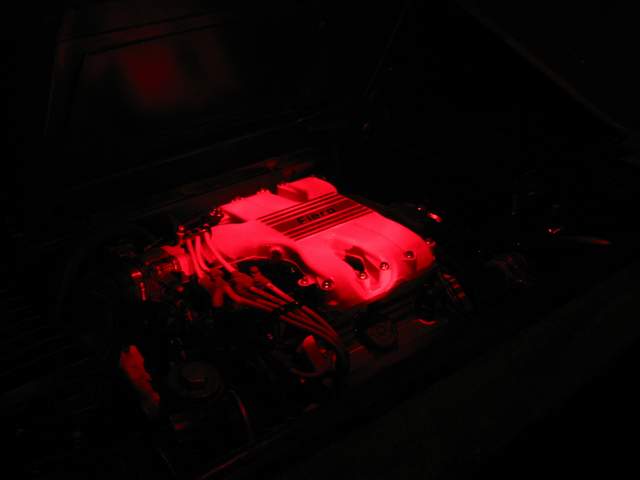
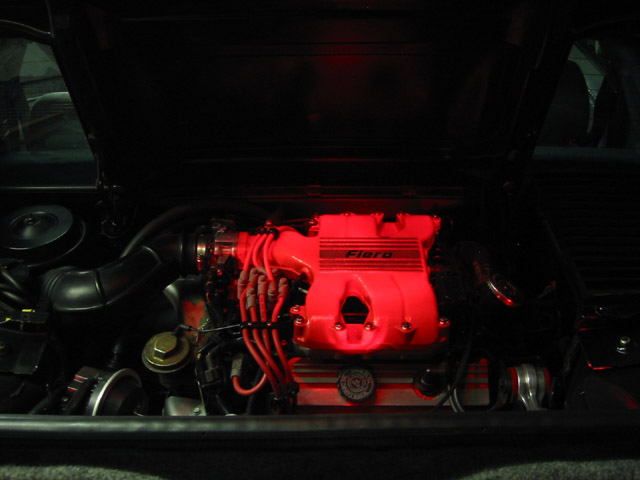
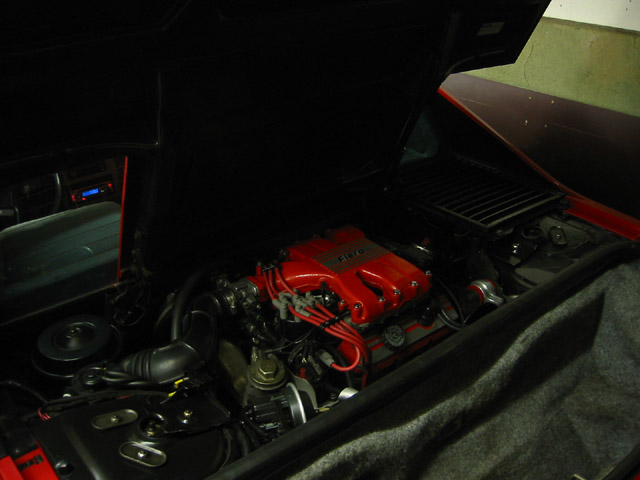
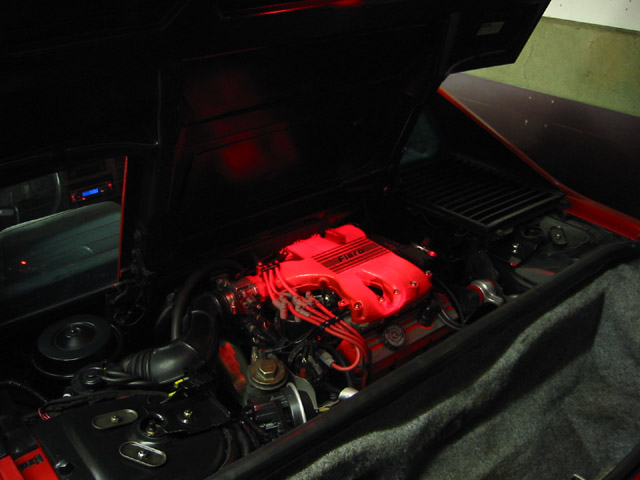
~ And now for the results….
LEDs off
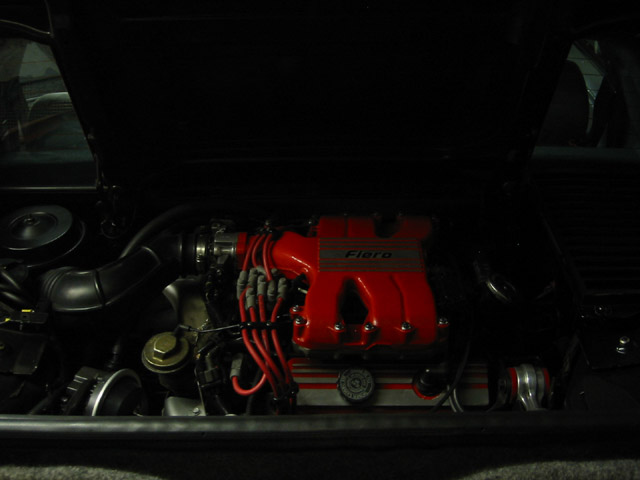
LEDs on
LEDs off
LEDs on
~~~~~~~~~~~~~~~~~~~~~~~~~~~~~~~~~~~~~~~~~~~~~~~~~~~~
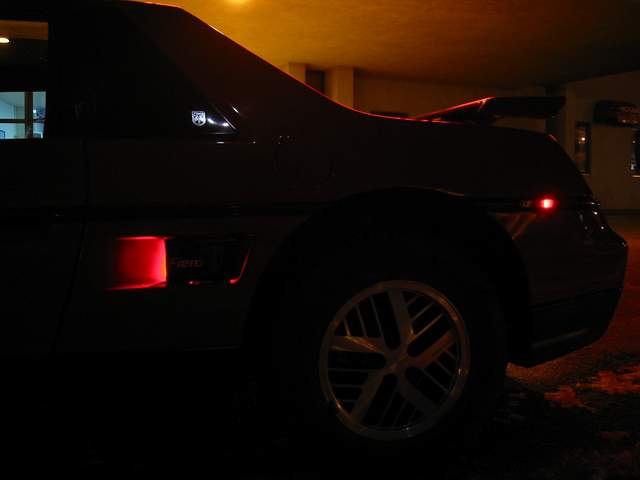
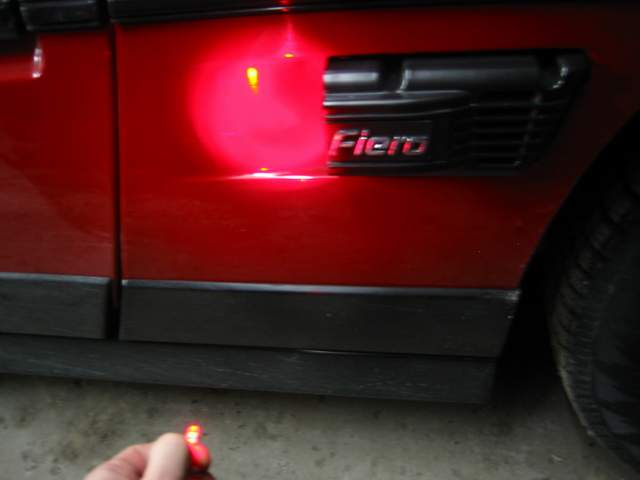
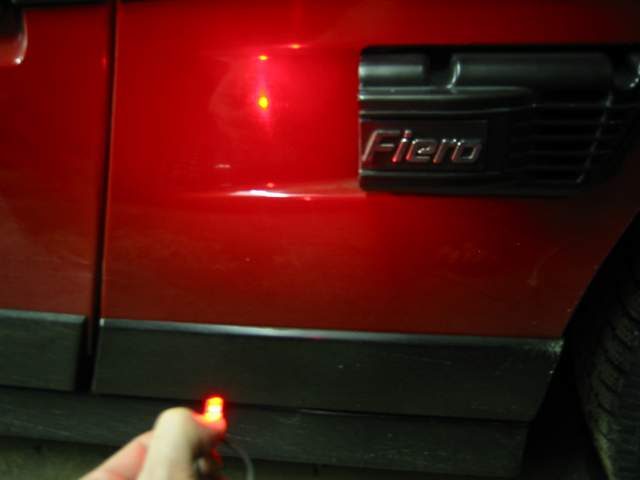
~ Fiero Side Scoop LED Setup ~ ~ Installation: (so simple it hurts)
1. Drill hole through center back wall of side scoop and set the LED in place.
(Estimated installation time 46 seconds)
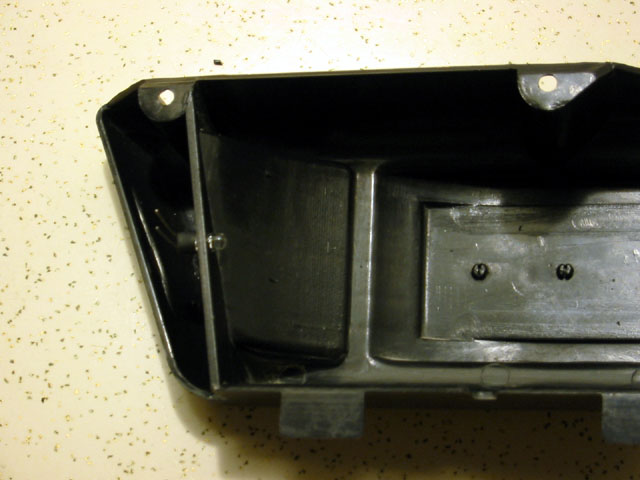
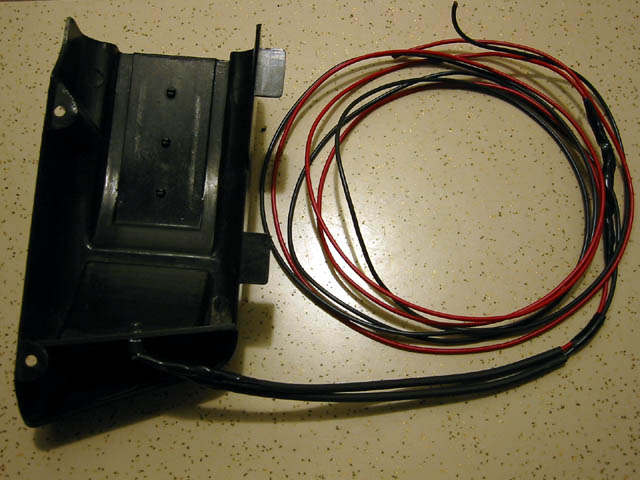
~ Wiring:
In order to achieve the dual function light I’ve used 2 alternate current sources.
1. Wire (+) source 1 from constant battery source to rocker switch
2. Wire (+) source 2 from side marker light to rocker switch
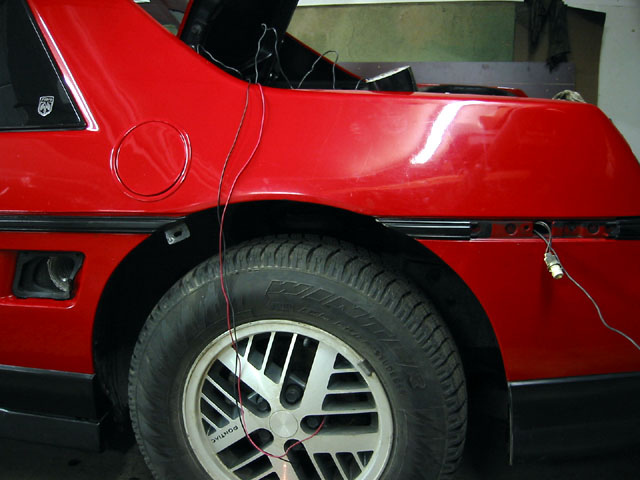
3. Wire (+) from rocker switch to LED with proper resistor
4. Wire (ground) constant wire to LED
~ Wires in a protective plastic tube inside the wheel well (black tube)~
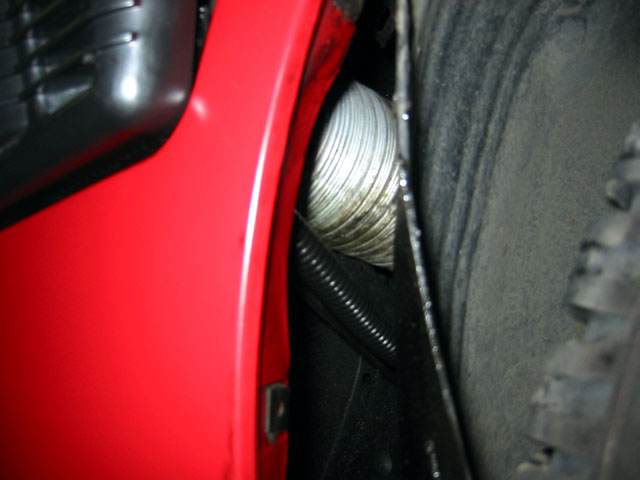
~ LED wired in place ~
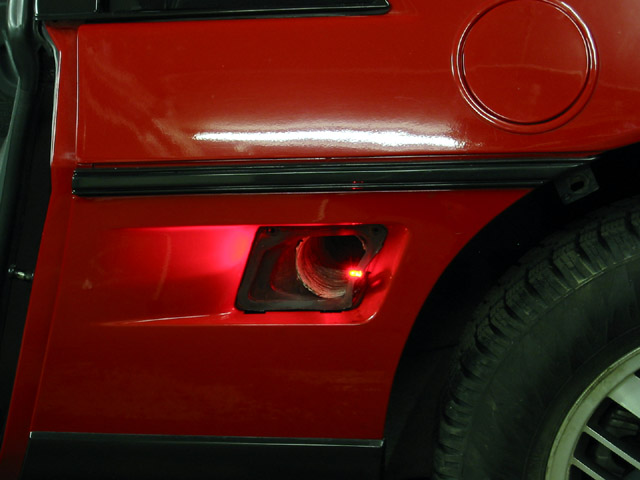
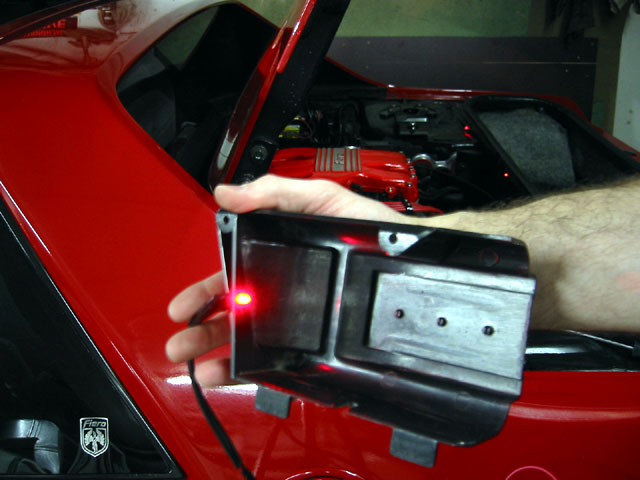
(Sorry, the hand model was sick that day

)
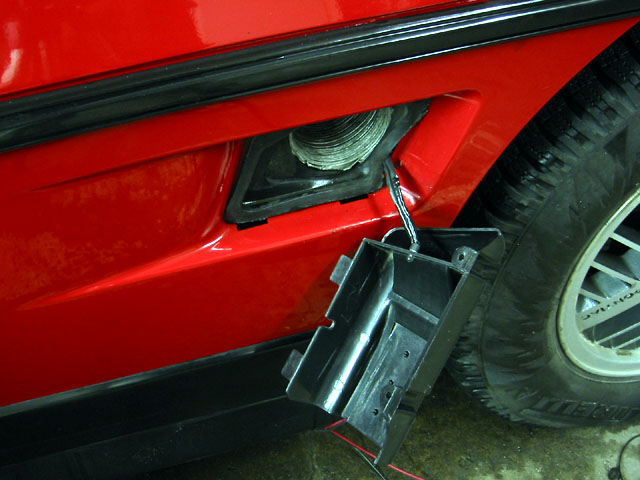
~ Operation:
1. Show mode - Up Position = Scoop light ON
2. Drive mode - Down position = Scoop light turns ON when marker lights are on
3. Override - Center position = Scoop light OFF
~ Results…
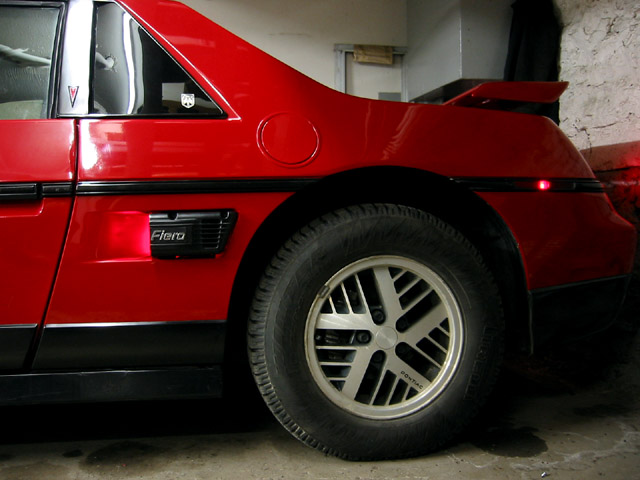
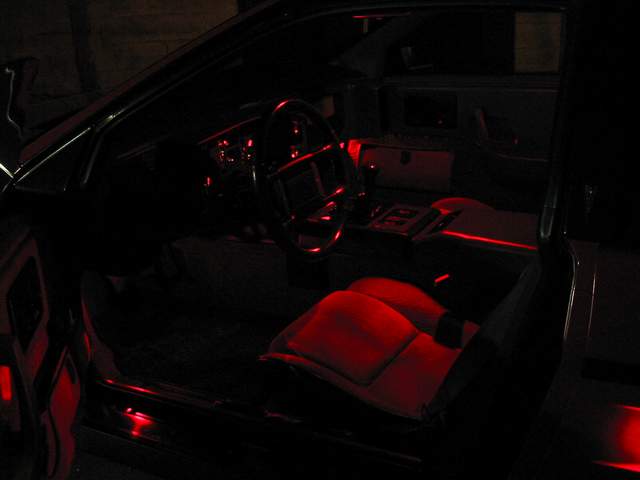
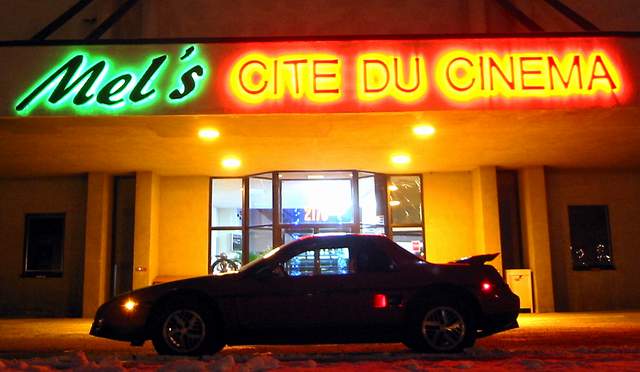
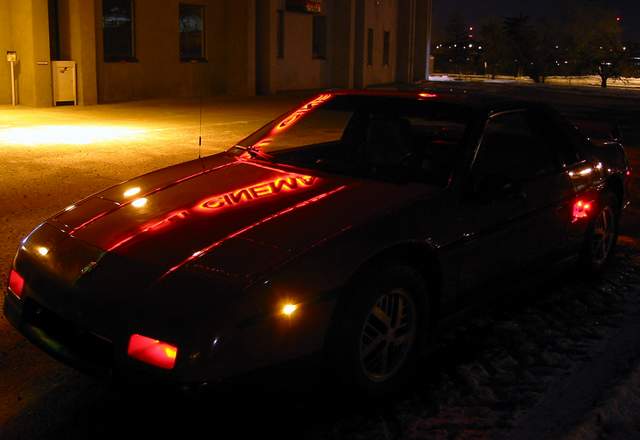
~ Night shots...
These are the actual shots (no Photoshop) the red LED over red plenum comes out glowing in a
1 sec exposure of my digital camera…
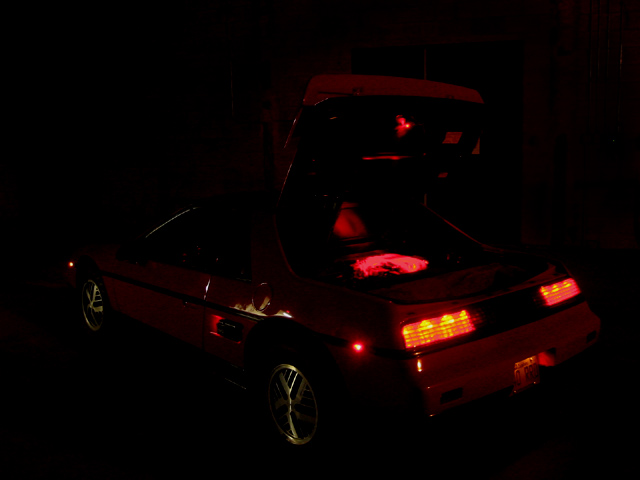
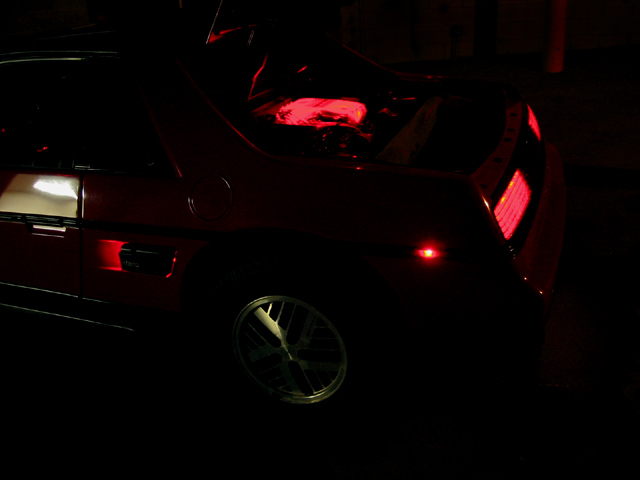
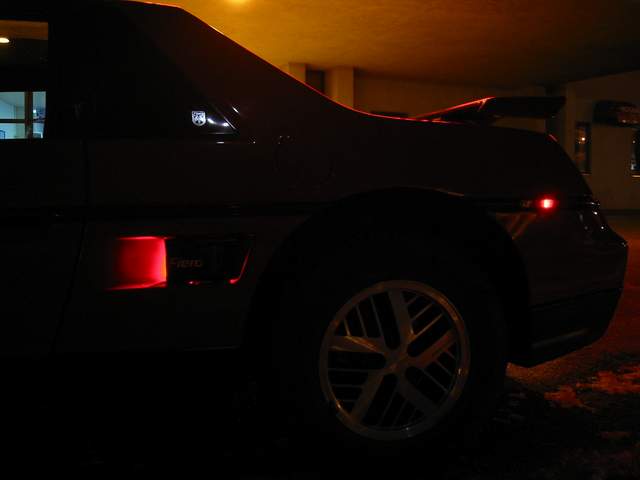
**Please note that a forward facing RED light is not legal for street use, I would recommend
Using an amber LED for street usage**
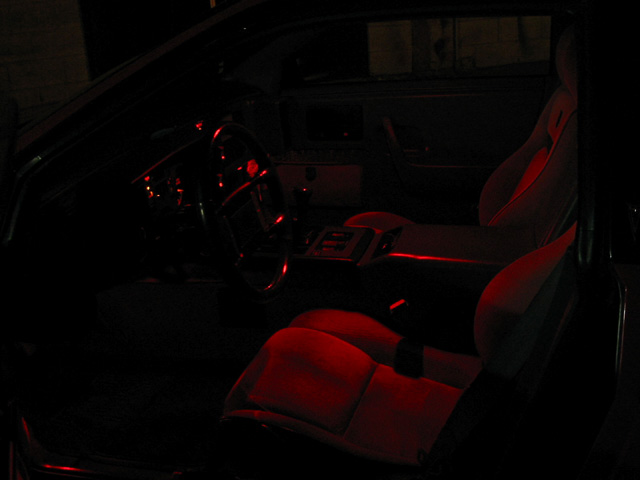
~ Interior red lights ~To follow the lighting theme of my Fiero I’ve replaced all interior white lights to exact replacement red bulbs, and placed designated rubber red caps on the dome lights.
~~~~~~~~~~~~~~~~~~~~~~~~~~~~~~~~~~~~~~~~~~~~~~~~~~~
Suggestions and comments are always welcome, please share your own similar projects.
Good luck, and enjoy the drive
 ***Disclaimer: This is an amateur write-up of my ideas. Information here is provided for explanation of the general idea, I’m not a car electrician nor will I’ll be held responsible for any damage to your car, electrical components, your garage going in a blaze or destruction of your marriage life
  Please use at your owe risk - Thanks.***
------------------

[This message has been edited by Mister (edited 03-05-2007).]


 (pay attention to wires and hoses) you get 1 chance to drill it right, if its off you’ll have to use glue to hold the LED in the right direction.


 )
)


 Please use at your owe risk - Thanks.***


 ..I love the engine bay ..Good job well done ..Rob