OMFG! I may have just made a happy mess in my pants. That engine install is extremely sexy! She is looking just great. I have always watched this build, and can't wait to see the end result.
Whoo hoo! Page 17 is mine. ------------------
[This message has been edited by Tony Kania (edited 06-08-2009).]
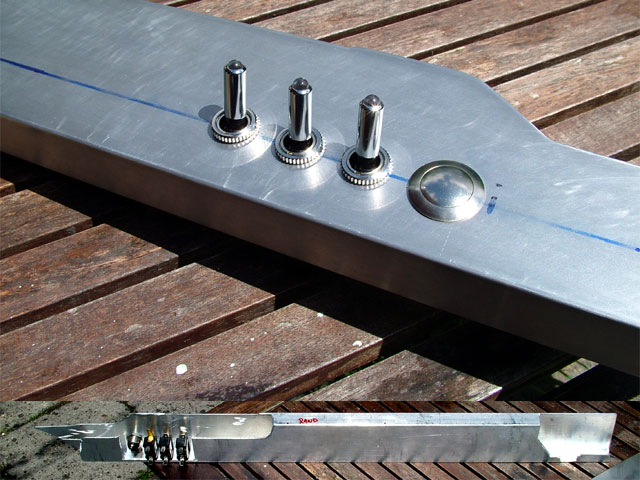
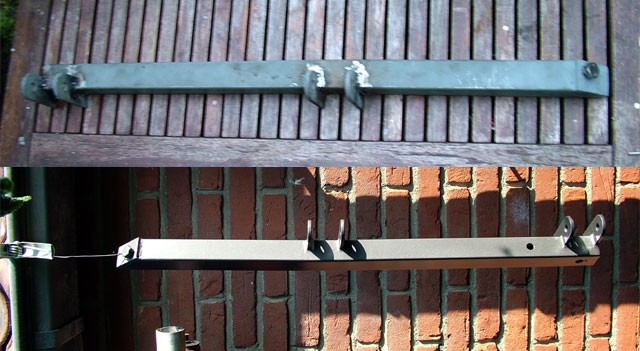
..for the trunkside of the enginebay I had a rough idea for a fiberglass or carbonfiber cover but I found an aluminium profile that could work too but differently, gave it a try After a lot of cutting/fitting/cutting/fitting/cutting/fitting/ etc its taking shape
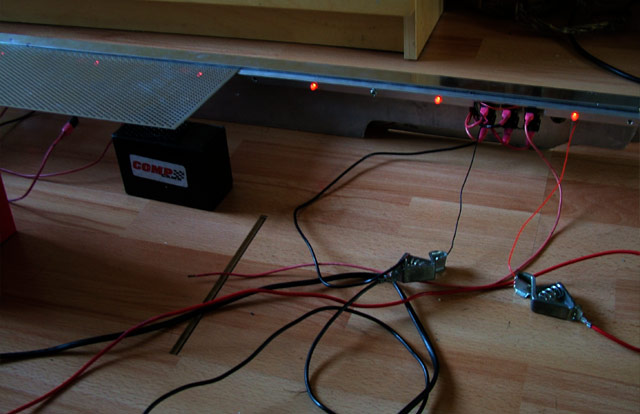
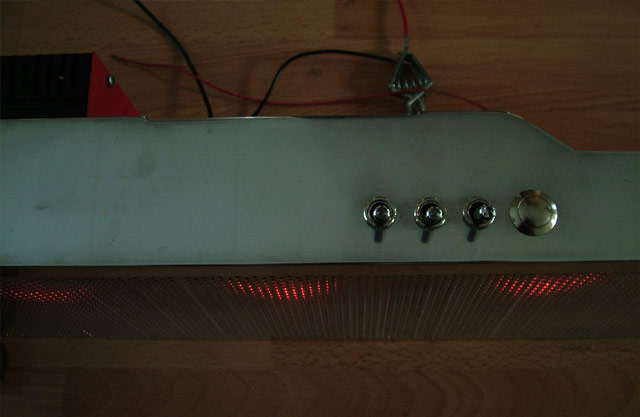
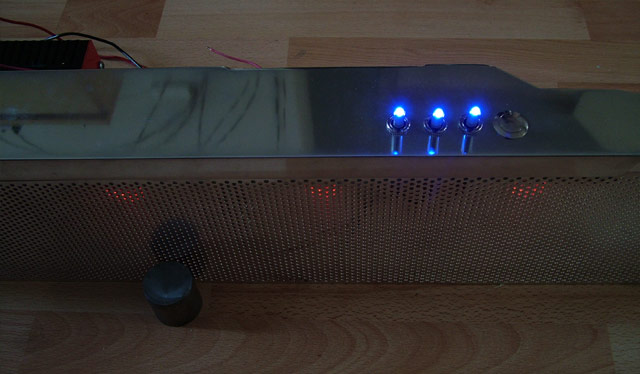
Then I want to mount a few switches that I dont want in the trunk
switches testfitting
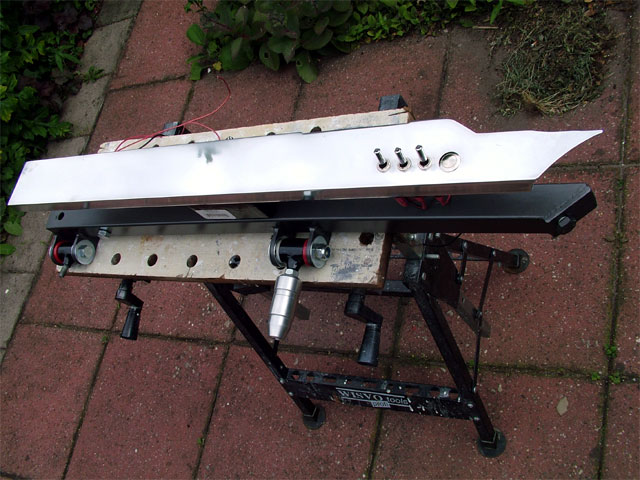
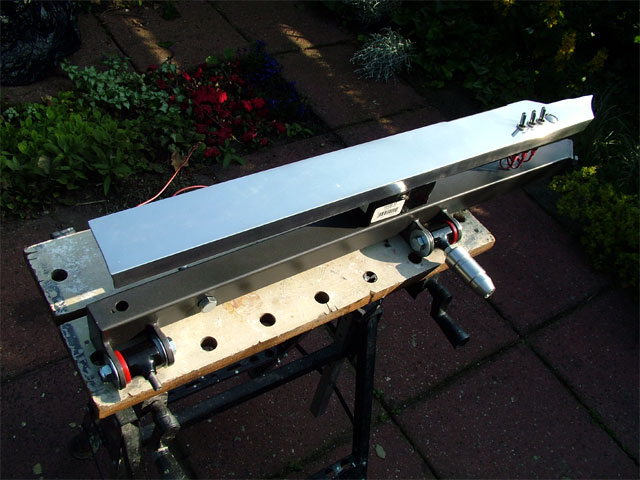
The rewarding stuff is to make it shine Wetsanded with 400 and 1000 ...polished a little with a polishingwheel on a drill and then some belgom handpolish...this is the first pass
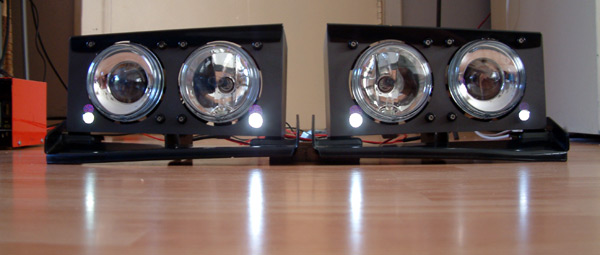
hey Kolja, I used a grinder and my powerfile for that, and some finishing with a handfile...just using the basic tools I have and make the best of it. The lights are just mounted how I like them but I have not fitted them yet.... looks I have to be careful and change position, how much do the housings stick out with yours ? btw what kind of connector is used for the parking lights? Still need those. I got an idea for the unused holes:
how much dose a set of headlights like that go for?
Originally posted by IVANNATINKLE: how much dose a set of headlights like that go for?
These are Fiero1fan's brackets and I ordered the Hella lights seperately (and also did some mods)...I dont have a total figure but it is not really cheap
Fie RO, are you going to make an engine bay window for this car when it is done? I think it would really show it off. (just make sure to add some curvature to the "glass" (acrylic) )
Originally posted by Austrian Import: Fie RO, are you going to make an engine bay window for this car when it is done? I think it would really show it off. (just make sure to add some curvature to the "glass" (acrylic) )
It crossed my mind but its already been done nicely before, starting with Skitime's.. ..now when heatresistant flexible oled displays (transparent when turned off) will become available and affordable I may think again
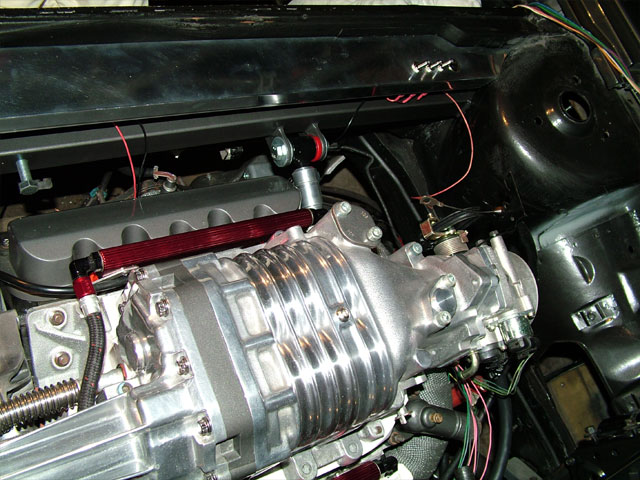
Seriously I am going for a good look with the decklid up... the challenge (+time) is to make everything fit and work right...getting all the pieces of puzzle lined up and get the final picture...pff..lol
quote
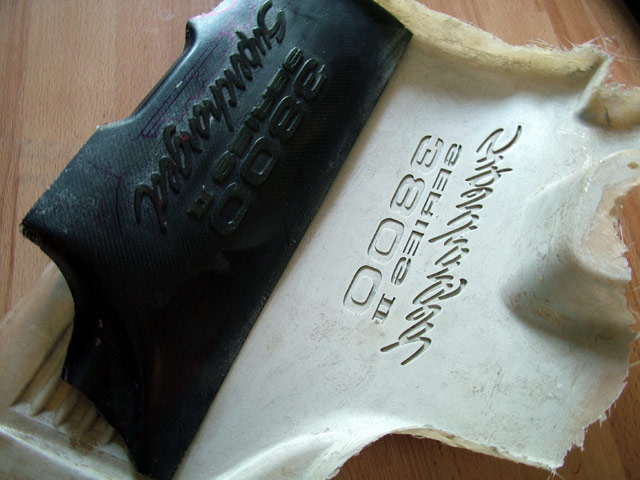
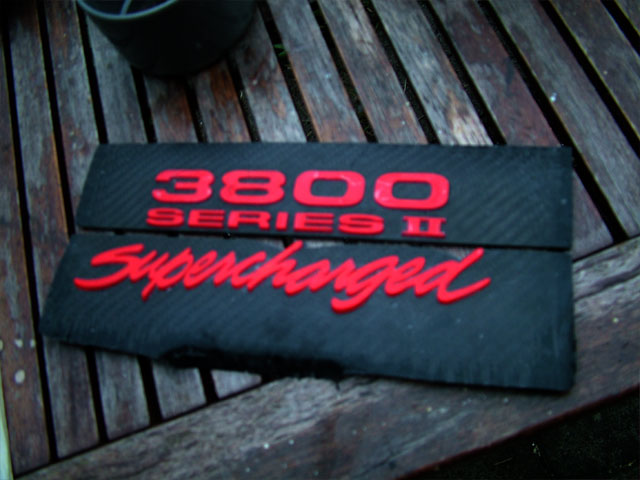
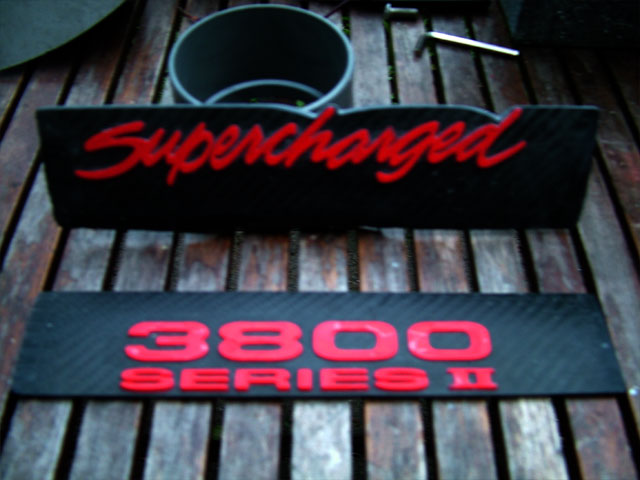
Originally posted by Fie Ro: I still think the aluminium bar needs a logo... .time to take out an old idea..
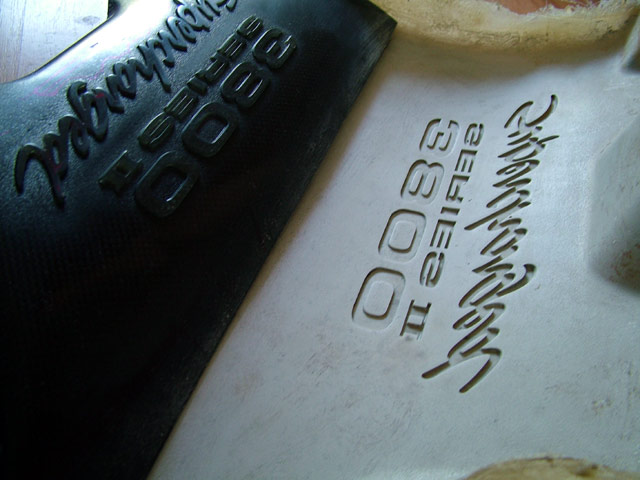
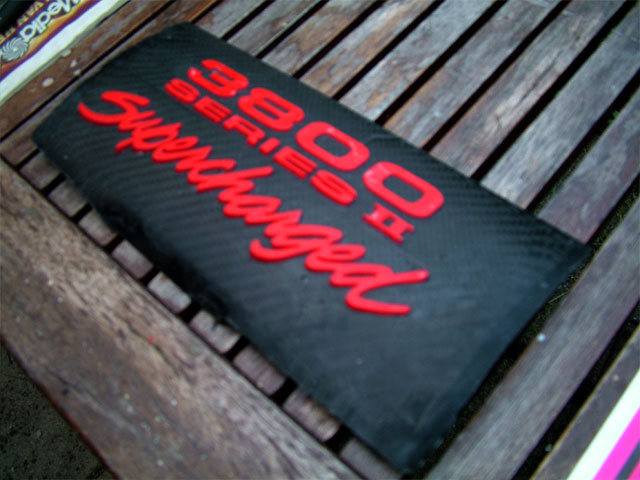
Yeah When I got the L67 I was able to get a pretty good mold of the engine cover logo and made a copy in clear and CF.... they have been gathering dust...
however I tried several setups ( paint and cutouts ), I never found a way to justify to cover the blower
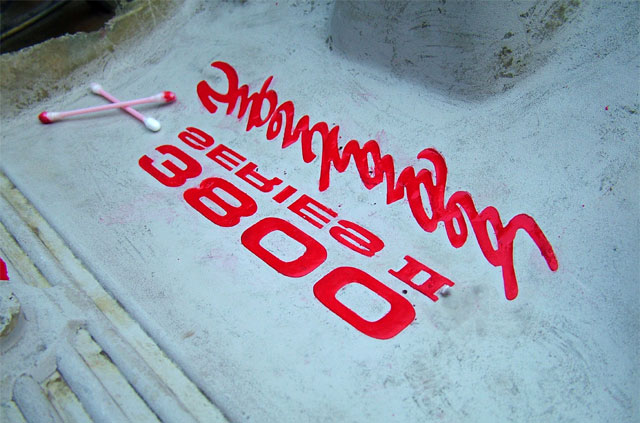
anyway, a new version would now need: - smooth main surface ( instead of small texture) - red casted letters ( better than paint)
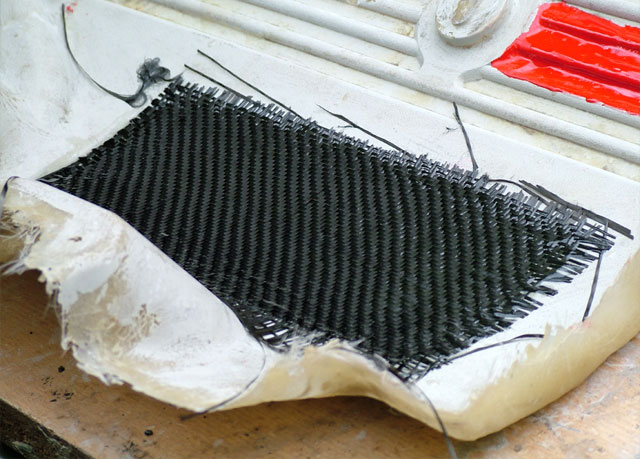
Start, hard to fill red tinted resin without spilling and cleanup clear resin and CF rough from the mold
all that tinkering slows down total progress but hey ; " my Fiero is my sketchbook "
Still fighting how to use these...it always gets complicated
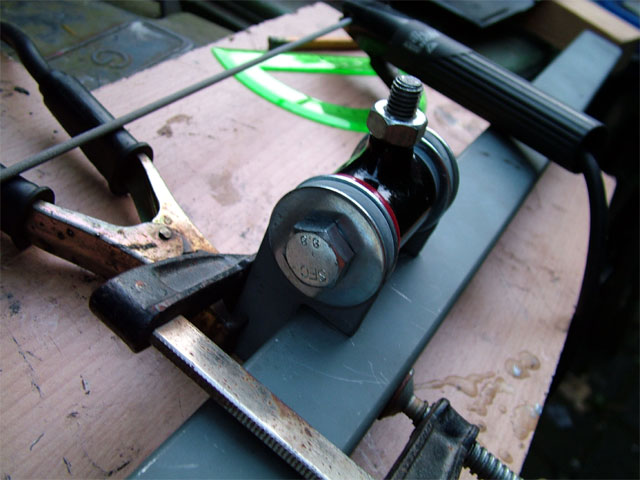
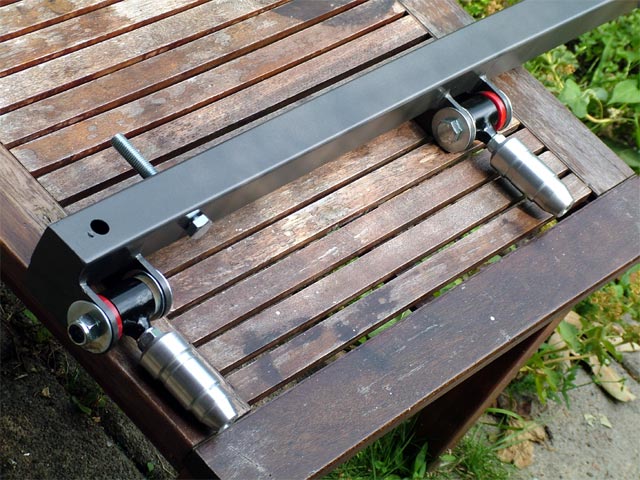
So went to testfit the dogbones
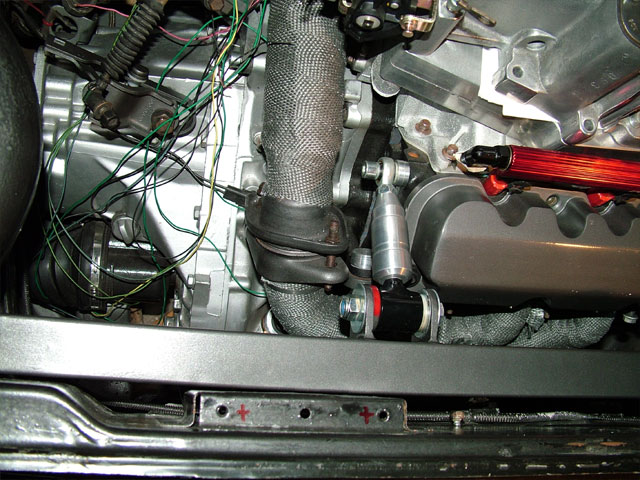
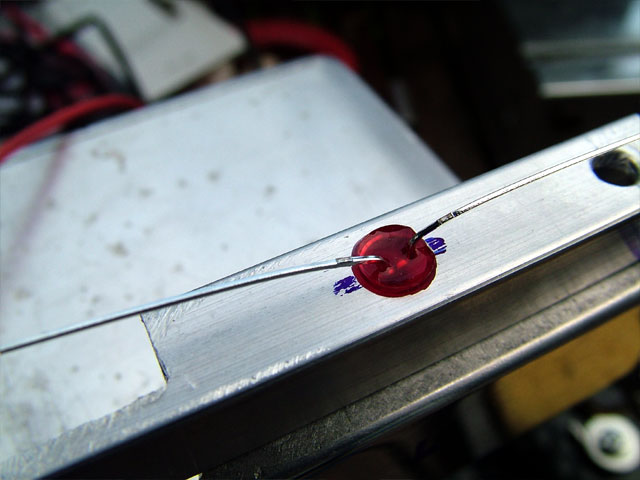
At the top right of the pic below I turned a teflon spacer to mount the bar to the trunk for extra support..I consider a second one close to the left side mount..as most of this setup is selfmade and I cant trust everything I make...
The right dogbone setup first needs some clearance work on the aluminium (ex) heater passage next to the head.. The block still needs to be lowered a little at the right side to sit perfectly level, by slotting the enginemount some more..but since the dogbones are adjustable that shouldnt be a problem for the final setup..
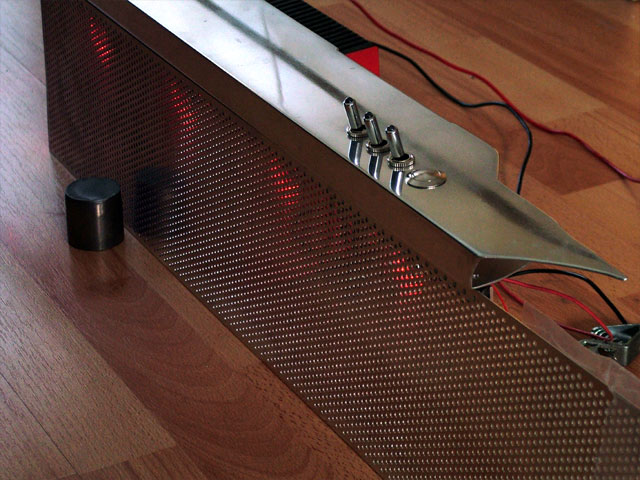
I want to use some mesh and led backlight to fill the space between the 2 bars...after some thinking I came up with a simple small aluminium U profile; mounted to the upper bar, mesh mounted to the profile and leds in the profile...pix will explain better
using the drilled profile as a soldering jig, leds are upside down shrinkwrap
Most leds are around 2V and to keep it simple I usually put 6 or 7 leds in series to run on 12V so no resistors or other scary stuff is needed...heres a mockup of the effect of the mounted leds on the mesh..
The effect is pretty cool, changing in size when you move angle looks a little like a tube amplifier I guess
But these red leds are not strong enough..I like subtle but it needs to be pretty dark to see them...will have to get some brighter leds ! The blue switch leds blow them away..
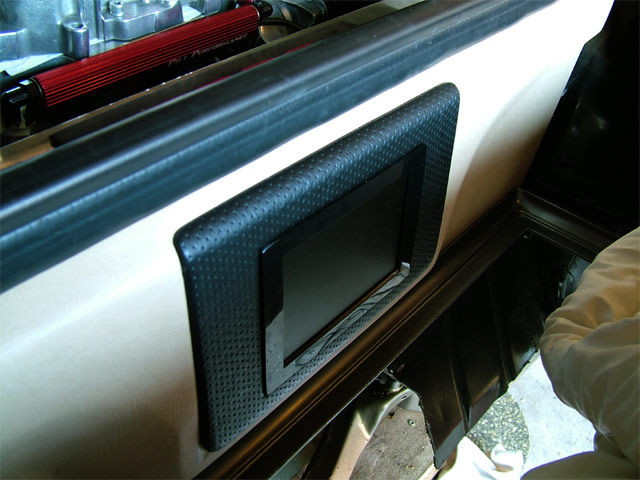
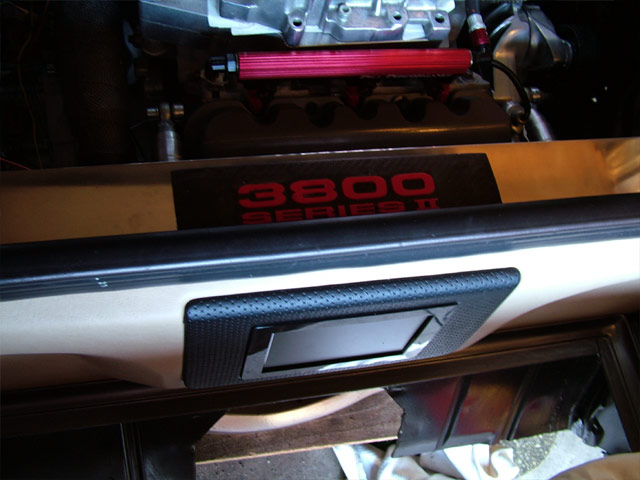
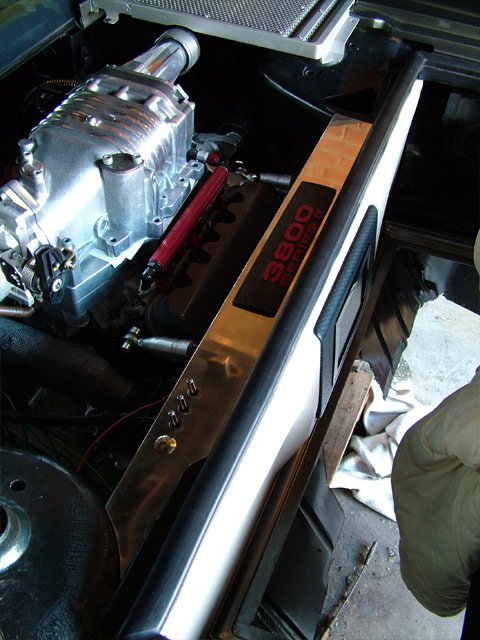
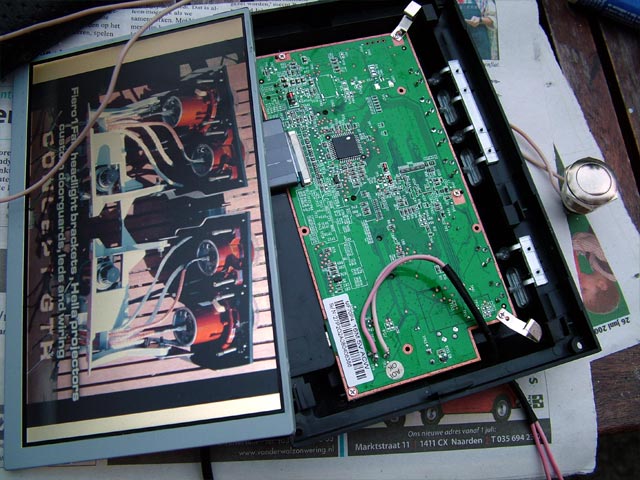
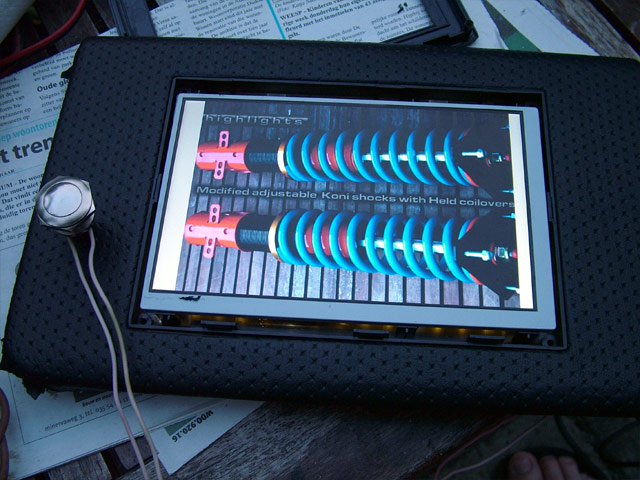
I want to make everything to work together, put a mockup together (again ) The 3800 logo needs to line up with the lcd (and needs tweaking)...just to get you the idea where I am heading at..
Originally posted by Sharkman: Will the LCD flip up when you go on shows?
No, but it is angled upwards a little already with this setup...maybe hard to see on these pix..but more would be too obvious.. and the screen is pretty good to see at angles so I just hope it works well enough this way..
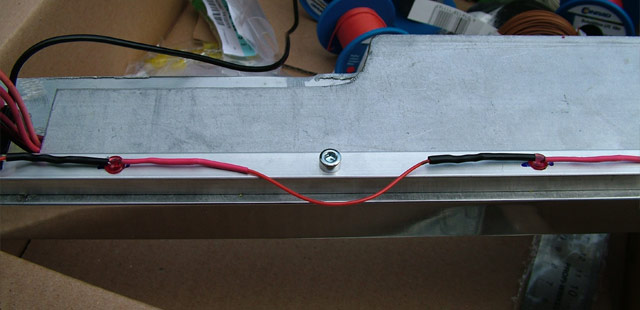
Btw I fitted remote on/off wiring for the tft ..it will be the pushbutton next to the switches.
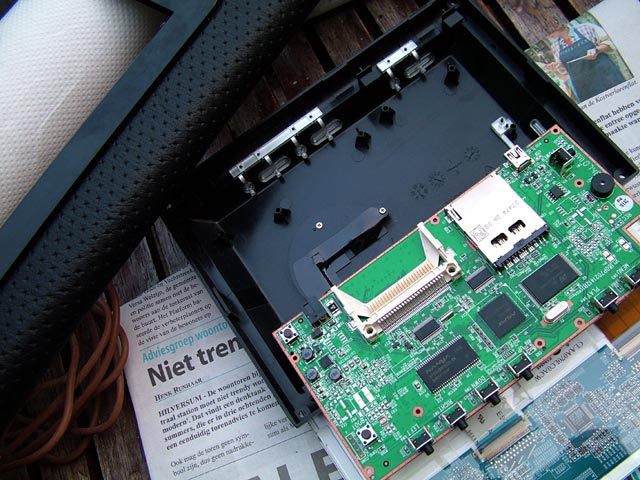
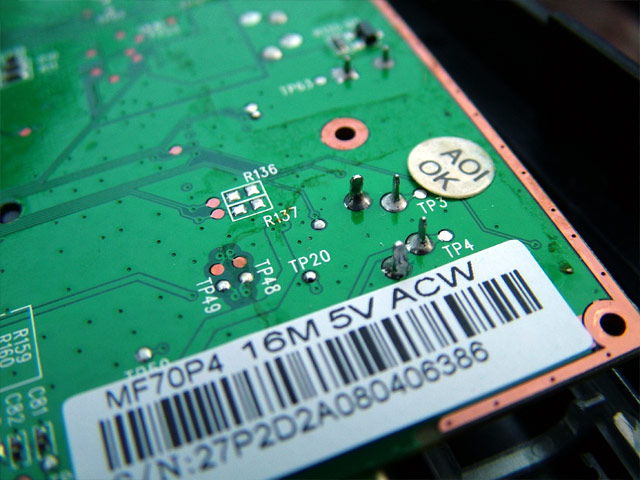
I got worried if I would have to solder to a tiny part.... but tp3 and tp4 cant be missed, easy...! Checking More checking while putting everything back in place
Realy nice, I got a LCD photo screen for mine. Useful to show the build.
Exactly, at one time I considered dvd video and speakers in the trunk but that would be too much.., its about the car..first..then a simple slideshow tells all about it for those who really want to know about it..
Sorry, I havent put much time into the project last months, busy at work, a freezing garage and some Fiero withdrawel that happends sometimes. Allthough I am slowly getting back to picking up projects...I want to get it back on the road this year (like I said last year )
Front has some minor changes now and the Crystal lights came in today! They seemed soooo big to me but when I placed them on the bumper I thought/think I can make them fit in there
Originally posted by GT86FASTBACK: Hey! What is this bumper originally from?
I think it was a 1996 accord..civics had them too. At the time the best base I could find. Top is part of a Fiero coupe nose, the rest is custom. Although its a short nose on the Fiero the wheel arches of the buck were moved 2" backwards.
quote
Originally posted by HausFiero: What year m3 do the side skirts come off of and how do you make them fit?
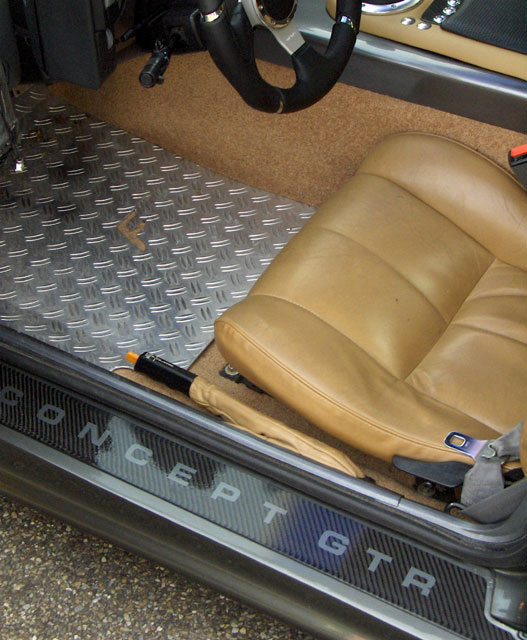
These were universal fiberglass copies..cut to length. I bonded them to the stock rockers and made fiberglass endcaps and a CF sillplate


 She is looking just great. I have always watched this build, and can't wait to see the end result.


 )
)