Yes, I know that this is an easy one that most could do with their eyes closed. But somebody somewhere hasn't done it so when I did one recently I took pictures to document it. Hopefully this will help somebody eventually.
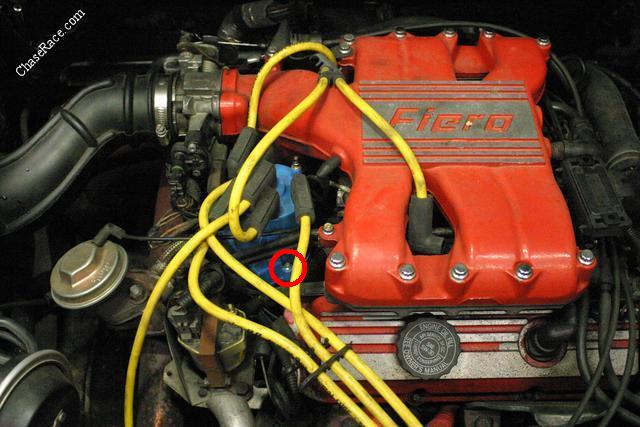
Step 1: Remove distributor cap. There are two screws, one is circled in red, one is on the other side of the cap. They take a phillips screwdriver or a 7/32" nut driver. If you remove the coil wire and one or two plug wires you'll be able to set the cap aside and leave the other wires connected.
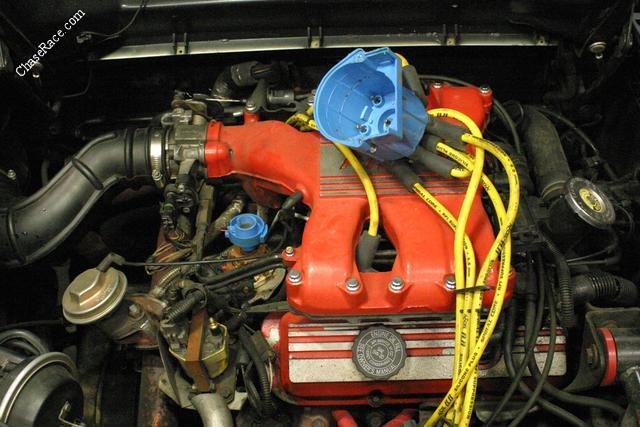
You should now have something that looks like this:
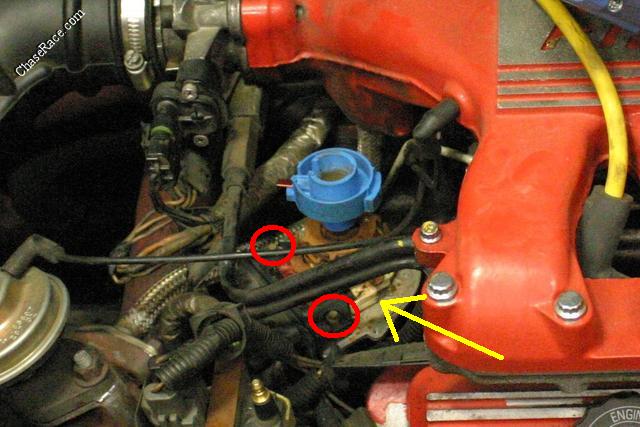
That black thing in there with the wires plugged into it is the ignition module. Remove the three wire connectors. One is inside the cap and is shown with the yellow arrow. The other two are outside the distributor cap and can't be seen in this photo. Remove the two screws (circled in red) that hold down the ignition module. They are 7/32" hex heads.
It should now look something like this:
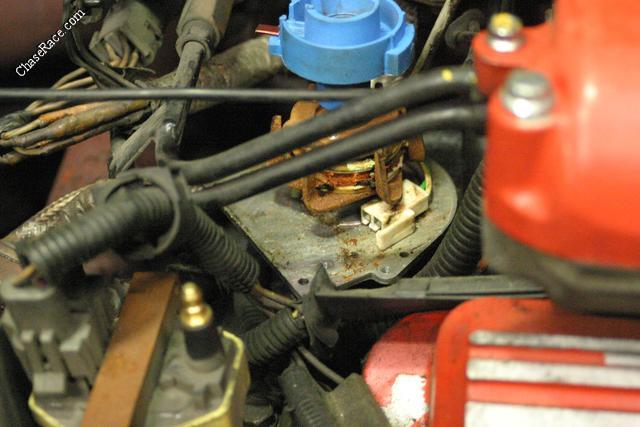
Clean up all the dirt and goo in there and make it look like this:
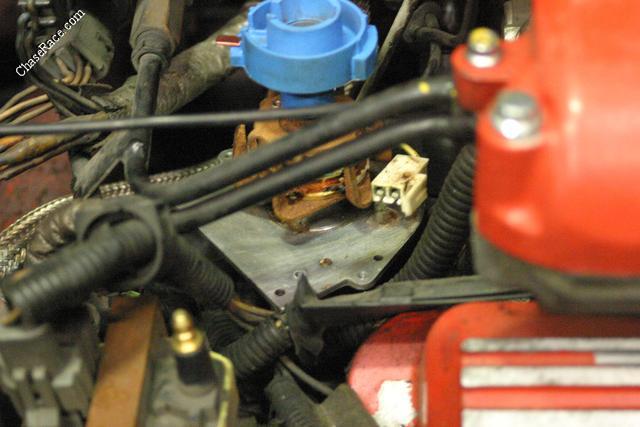
Now spread the new goo (it should be included with the new module) on to the mounting surface of the module and re-assemble. Piece of cake.
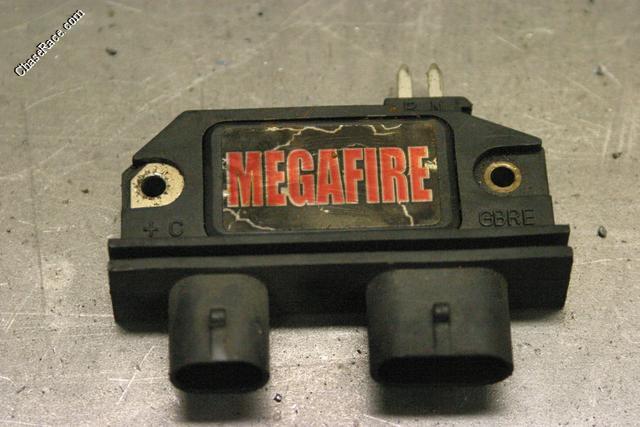
One final thing. Use a genuine GM module. Don't use a module that looks like this or you'll be doing the job over again soon.
------------------
Doug Chase
Chase Race
Custom: cages, exhausts, fabrication
Duvall, WA
425-269-5636


