Reflection: The Process of Light Bouncing Off a SurfaceThe amount of light reflected from a bulb depends on the nature of the reflector surface; a smooth and shiny mirror can reflect
almost all the light hitting the surface, while dark or dull surfaces reflect less.
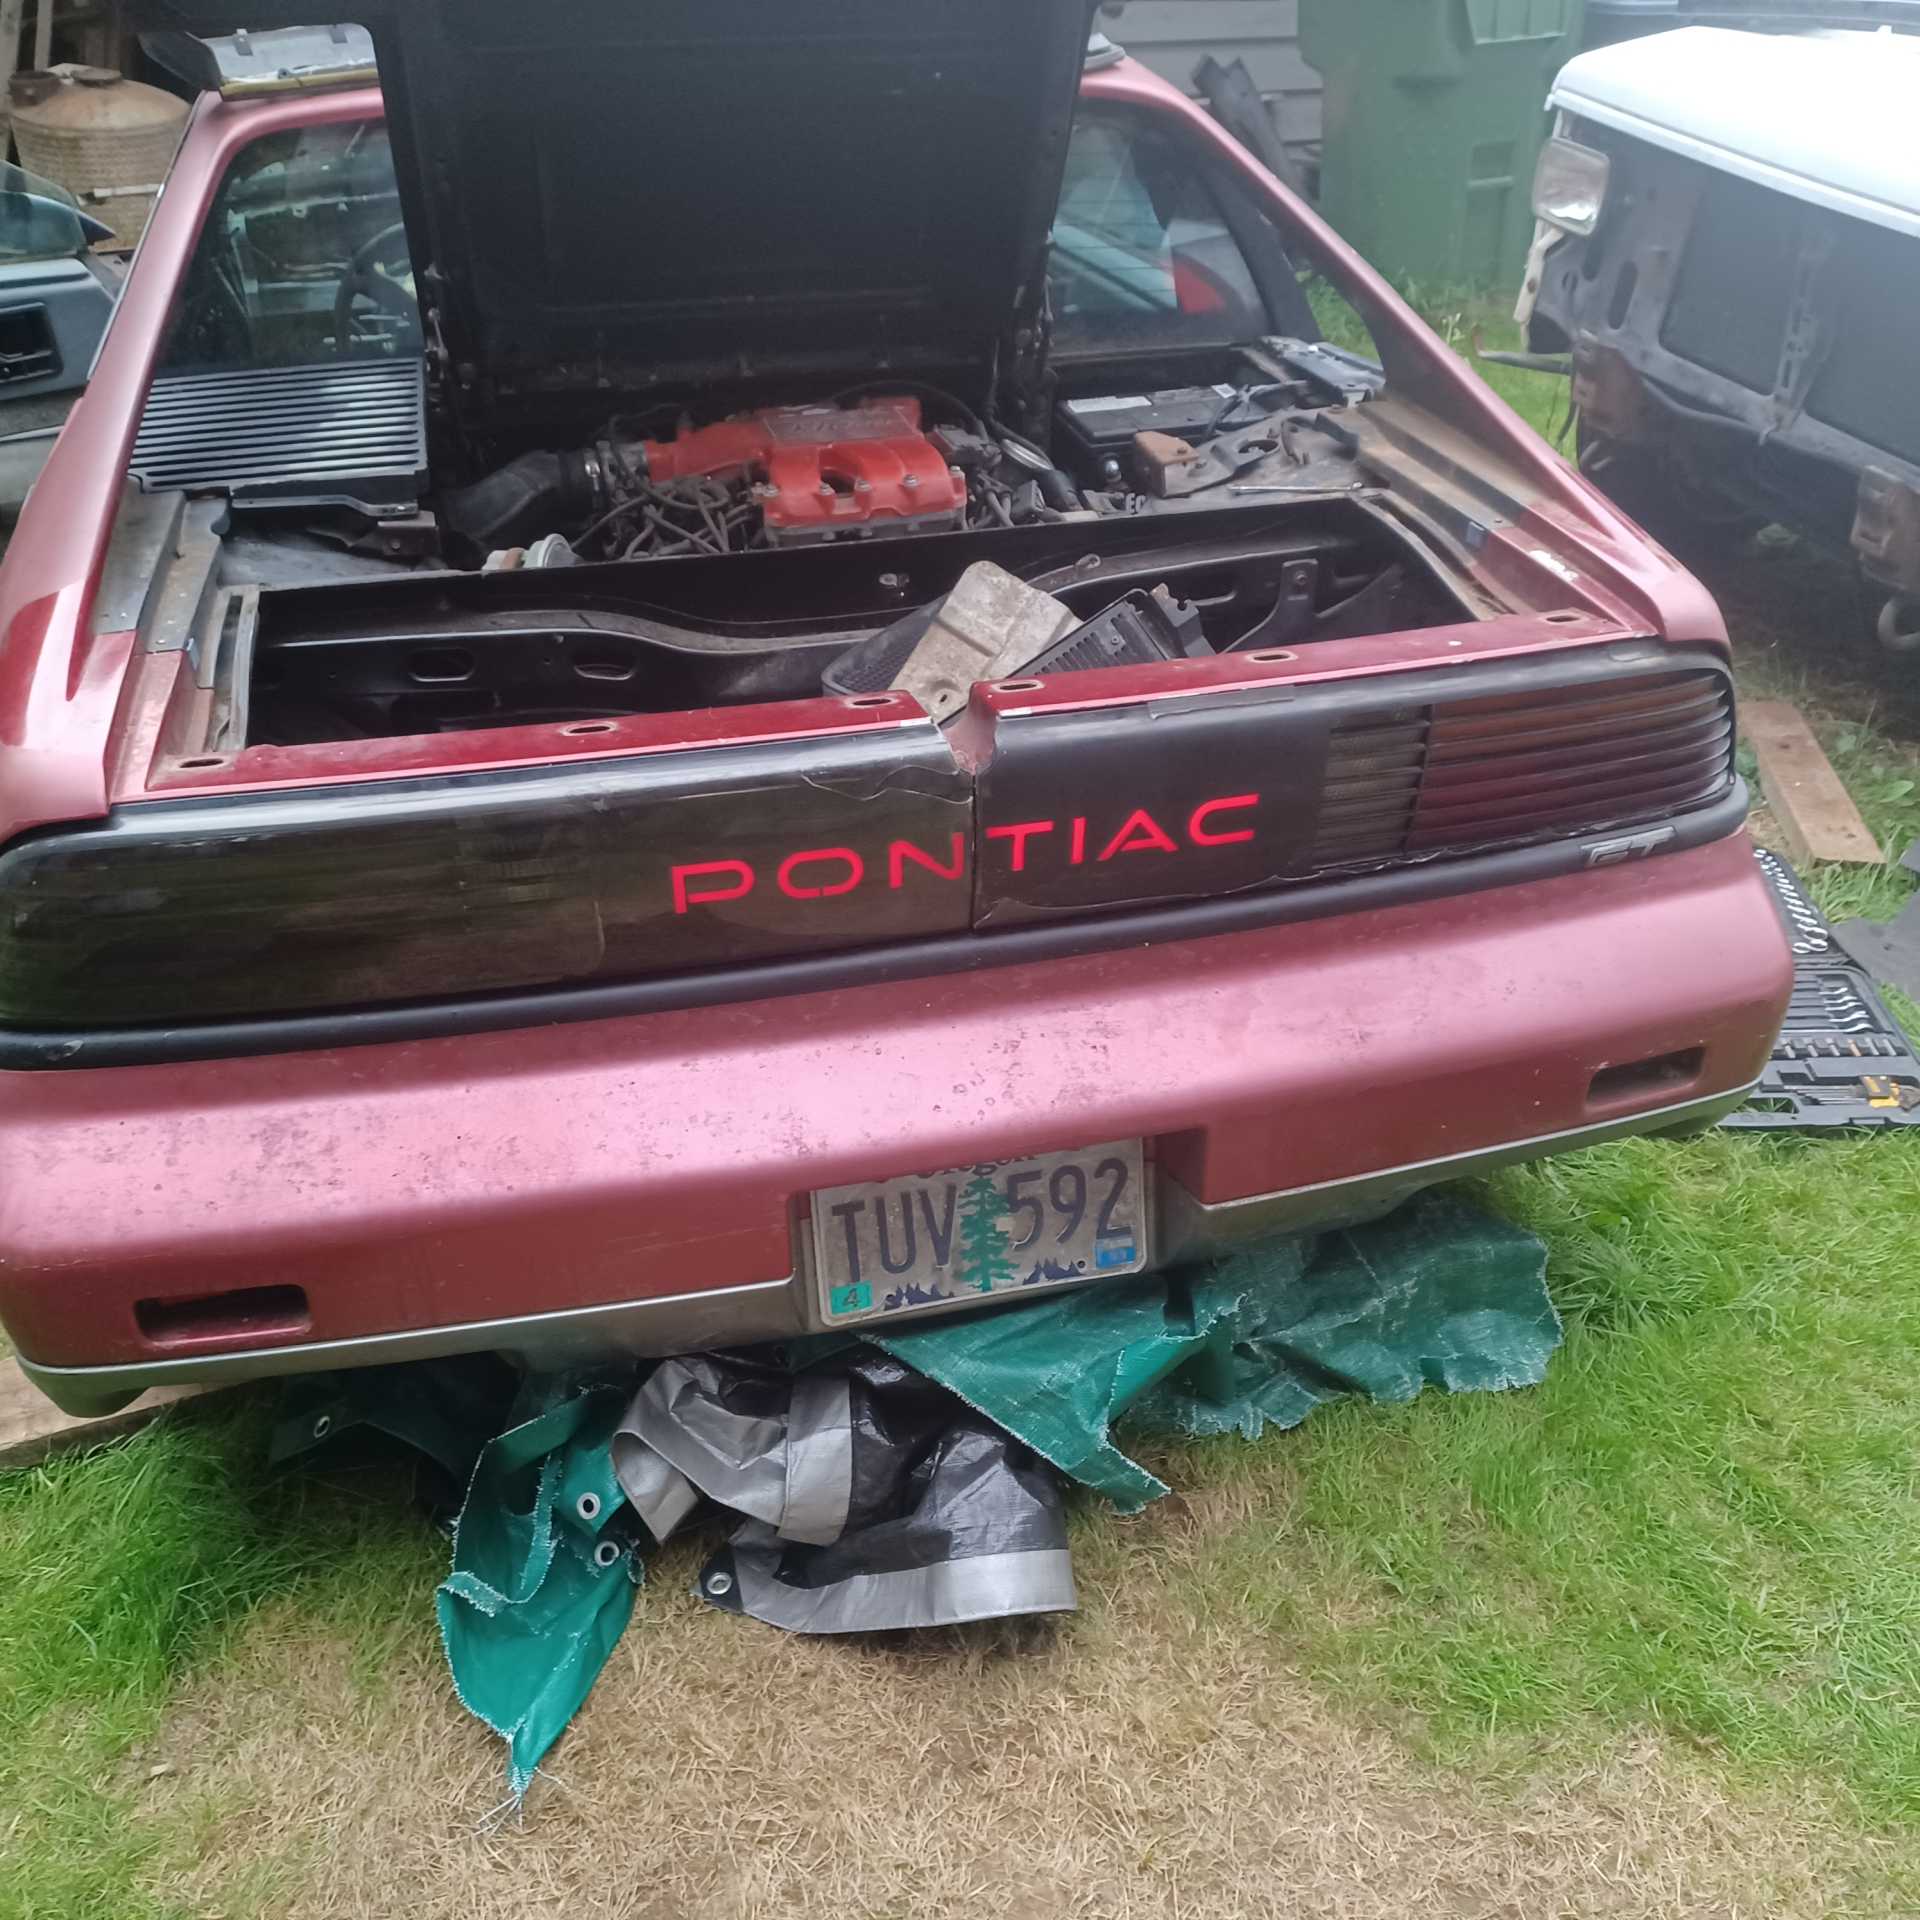
The ProblemMany PFF members have found the OEM ‘chrome’ plating on their taillight reflectors in terrible condition; especially if brighter/hotter bulbs were used. Only one of my GT reflectors was ‘bad’ with a few black areas…

To rejuvenate the reflectors, the first step is
Surface Preparation, which is critical for a long-lasting finish.
* Strip the Factory ‘Chrome’ the Easy Way - Oven Cleaner!Yes, a foaming aerosol oven cleaner will dissolve the plating in minutes without hurting the plastic; rinse the cleaner off with water and then dry. Next scrub or lightly sand the bare plastic {I used 3M Scotch-Brite pads} to remove all glossy and put a ‘tooth’ for better adhesion. Clean the reflectors again with mild soap and water, then rinse and dry…
 Paint
PaintGM likely used a multi-layer ‘chrome’ process which will be very pricey IF you can find a professional service to re-plate the reflectors.
DIYers on a tight budget don’t have many options to renovate the reflectors and the majority uses paint.
I have watched videos on the internet of ‘Spray-On Chrome’ products showing a 3-step procedure: it starts with a smooth surface; applying gloss black paint as the base coat; then is a light mist of ‘chrome’, followed with a clear topcoat as the finish will easily scratch.
The ‘cheapest’ 3-step paint gun/airbrush product I found was ‘Eastwood Liquid Chrome’ kit at around $200, which is very expensive {to me} and
a lot of painting…
I don’t recommend the ‘chrome’ paints intended for injection plastic model kits which also use a gloss black base coat too; but these ‘silvery’ paints are for decorative use only
with no clear protection. Lacking a hard topcoat; these will not hold-up in a taillight.
And of course, you’ve seen the real ‘chrome’ plastic caps of aerosol spray paints in the store; but these products are
actually silver flake paint which are far from ‘chrome’.
*Aerosol Metallic PaintsIf you
really want to use these metallic paints; pay attention on the label as many are for interior use only. Select the proper primer and ensure all the products are for plastic and exterior use.
⚠ I highly recommend practicing on test pieces
BEFORE spraying your reflectors!
If the metallic finish rubs-off fairly easy when dry, the taillight reflectors need a durably topcoat, which
might be a big problem. Many metallic paints are
very sensitive to clear paint, and the ‘wrong’ topcoat will react negatively by turning the silver paint into a ‘dull’ grey color, which ruins the reflective quality!
If this is the case; high-gloss white will be better as in general, white paint can provide 80-85% reflectivity which will be more than a dull grey paint.
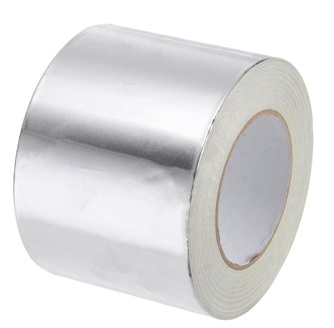
Aluminum TapeMy normal routine of restoring vintage taillights has been applying shiny aluminum foil tape; then hand polish and buff the finish, as it can provide approximately 90% reflectivity or more.
For my GT reflectors; I brought a roll of 4-inch wide, 3.9 mil thick aluminum foil tape for $12
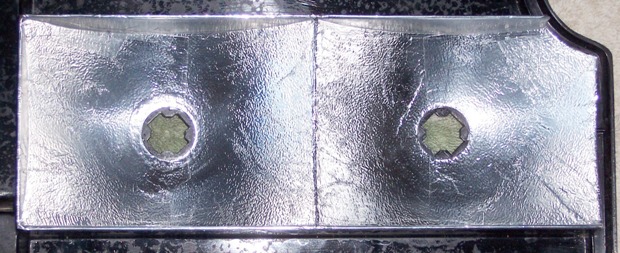
I started with the flat areas first which are easily than the concave areas.
Make a pattern with thin paper including a ‘fold over’ area at the top
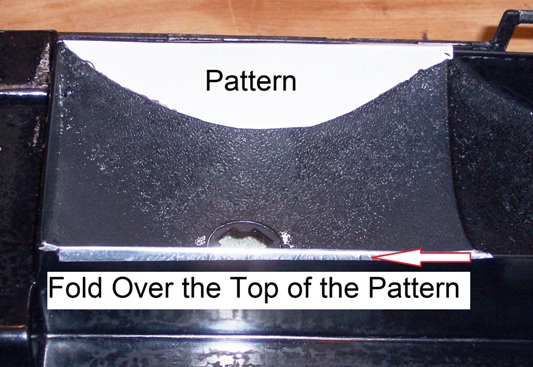
Trace the pattern onto the aluminum foil tape including the fold over area at the top
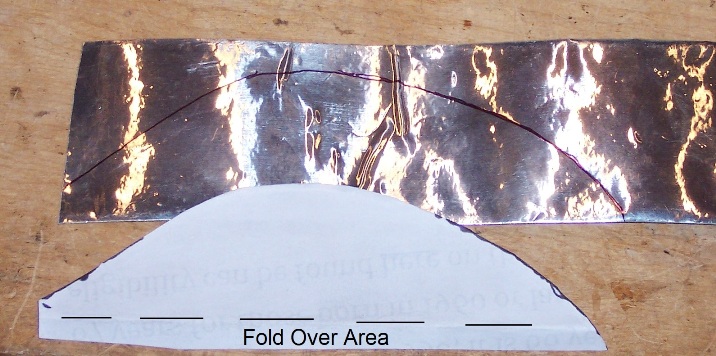
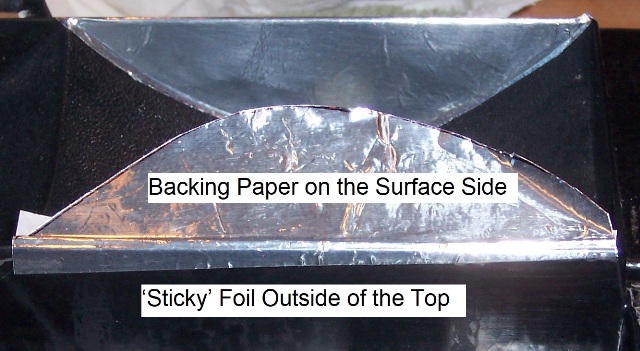
Cut out the aluminum foil tape on the line; fold over the area at the top, and then separate the foil from the backing paper only at the top.
Wipe the surface with isopropyl alcohol to clean the area.
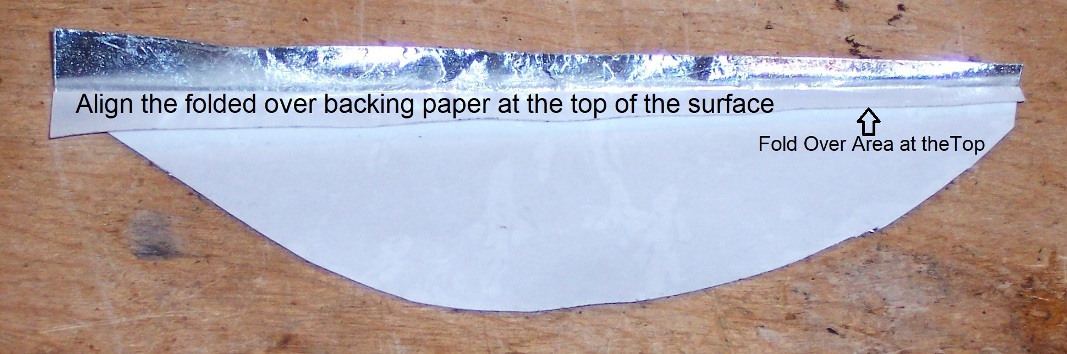
Hold the folded over backing paper with the ‘sticky’ foil at the top; place the tape onto the surface without touching the sticky foil.
Align the folded over backing paper at the top of the surface, then holding the tape in place, roll over the ‘sticky’ area outside of the top.
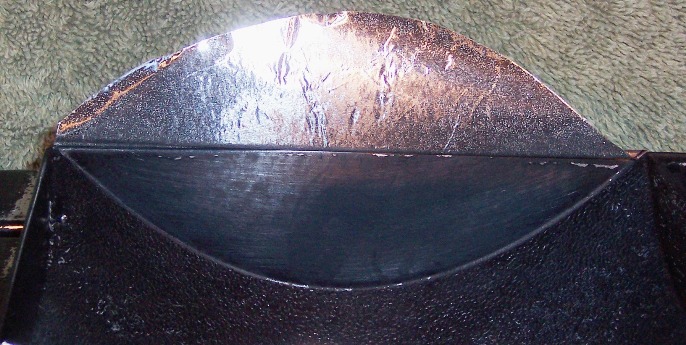
The foil is now aligned at the top with the backing paper still inside of the surface.
Remove the backing paper from the tape
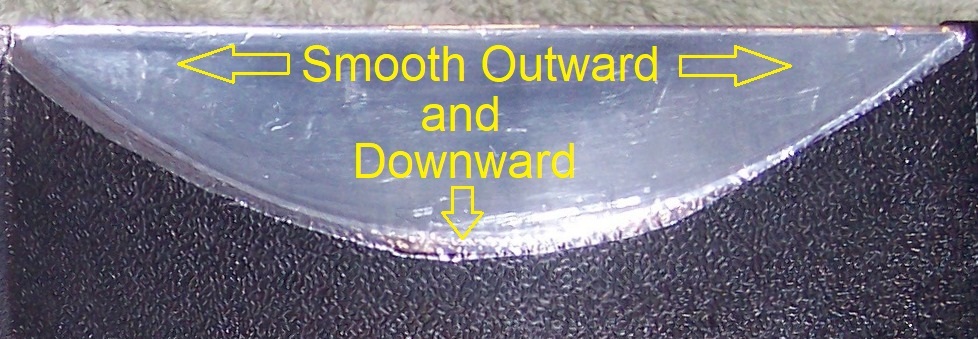
Start pushing the foil at the center top outward and downward, smoothing the tape as you go down, and at the bottom, crease the foil on the surface before sticking it any further.
Any air bubbles which are trap under the foil; use a small razor blade to slit the bubble and then smooth the foil flat.
Repeat until all the flat areas are covered with foil
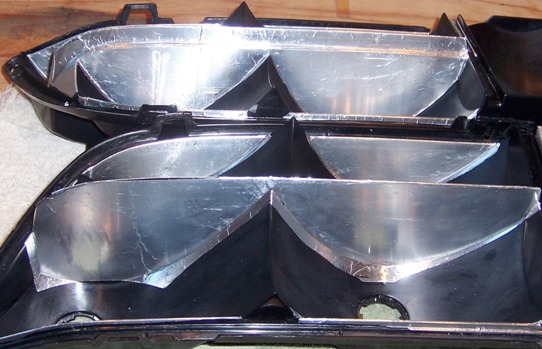
Next, install the foil in the concave areas with the same ‘outward and downward’ method.
One wide piece is more difficult to smooth out as it will scrunch up; two narrow strips are easier to smooth out with fewer wrinkles.
When all areas are covered with the foil, the last steps will be hand polish and buff the finish, a final cleaning, and then protect the aluminum from oxidation.
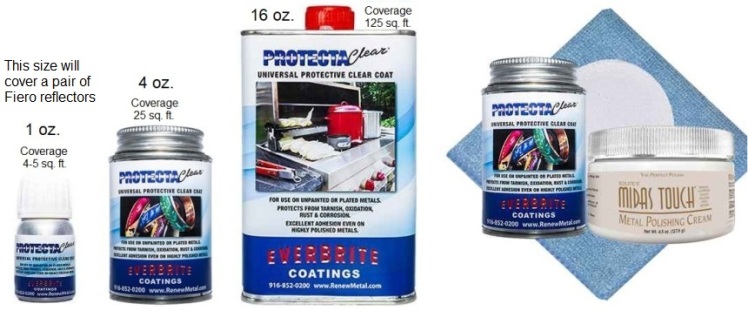
Protect the AluminumWhen I was researching protective coatings for aluminum, I came across ‘
Everbrite ProtectaClear’
It’s a very thin, UV stable clear coating, formulated for clarity and hardness on polished metals, which also can withstand temperatures up to 500* F.
ProtectaClear can be purchased alone in many sizes or in several different types of kits.
https://shop.everbritecoatings.com/If you have aluminum polish in your garage, check your product to see if it contains any type of acid; if so, you must
NEUTRALIZE the surface before applying
ProtectaClear!
Because I’m out of aluminum polish and have other projects; I brought the 4-ounce kit which included the non-acidic Midas Touch polish.
After polishing, buffing and two coats ProtectaClear…
Voilà – the Final Results!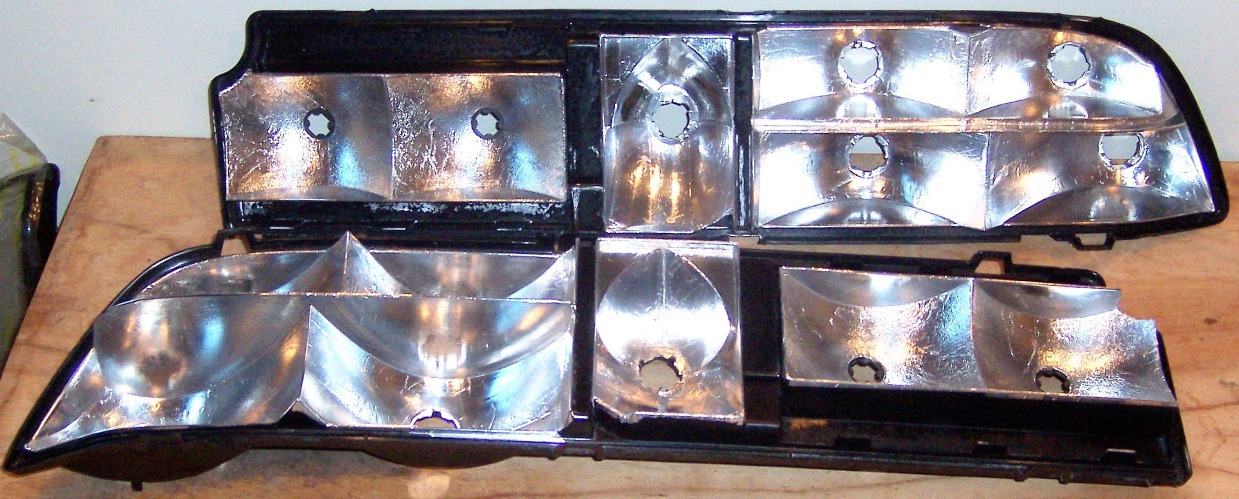
------------------
Original Owner of a Silver '88 GT
Under 'Production Refurbishment' @ 136k Miles